Dec 17, 2006
1,837
0
Bristol
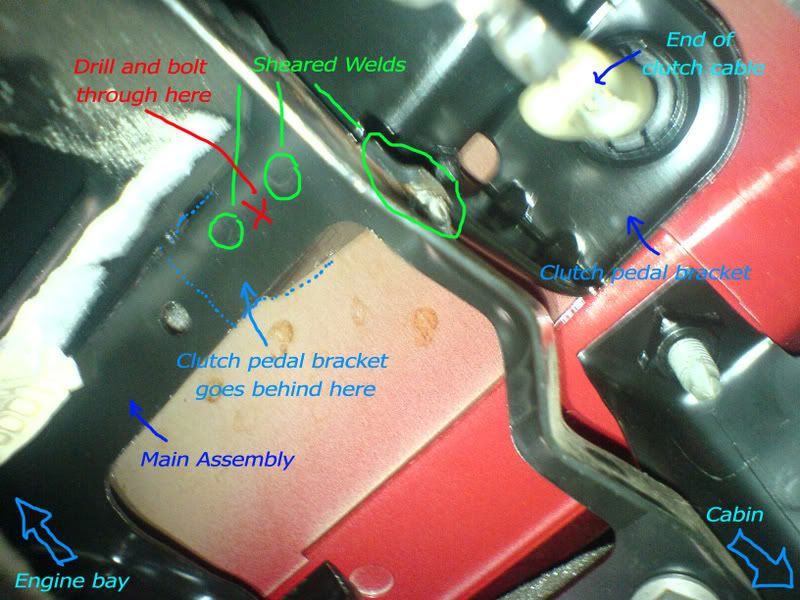
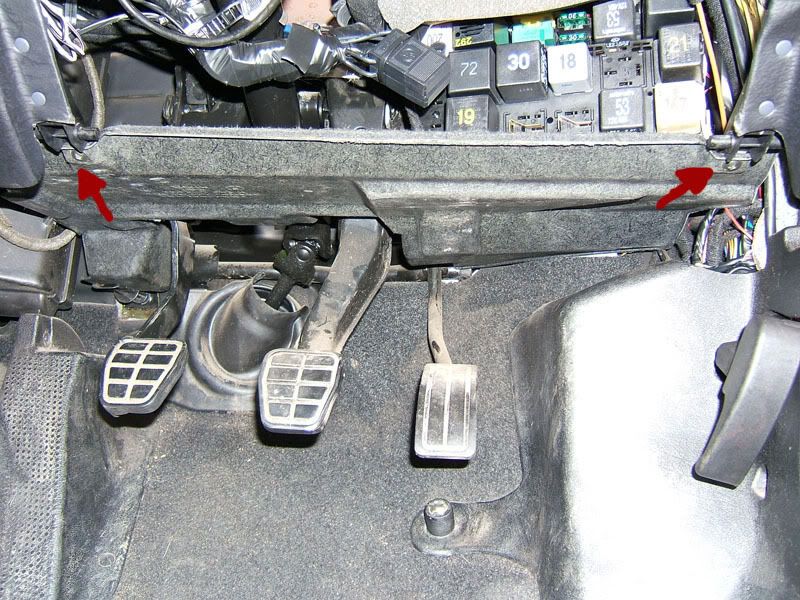
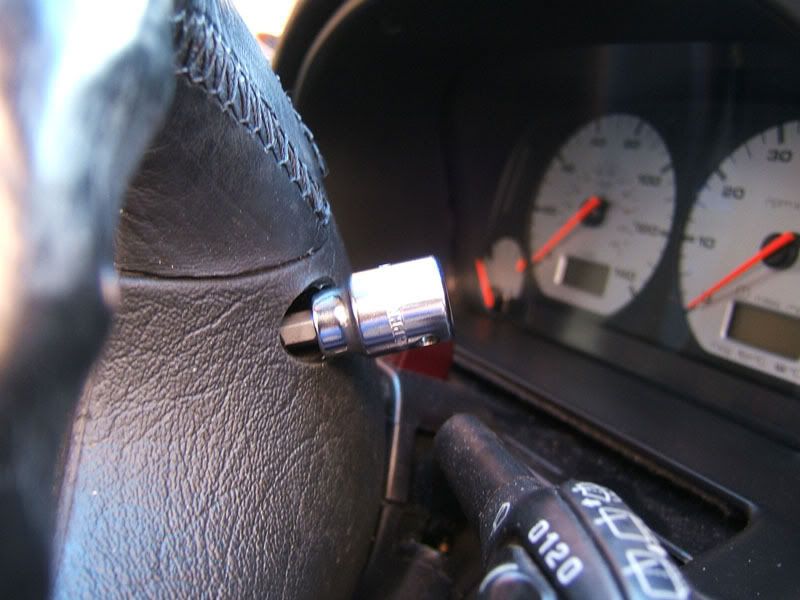
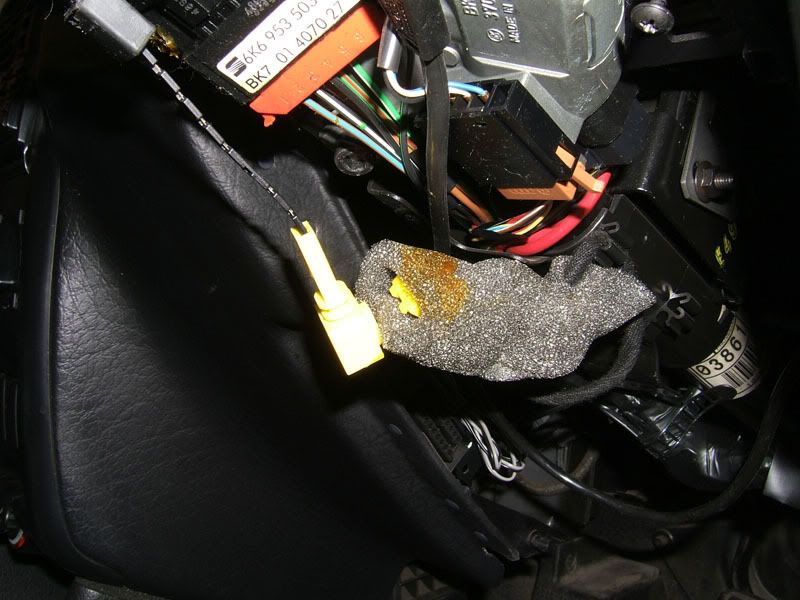
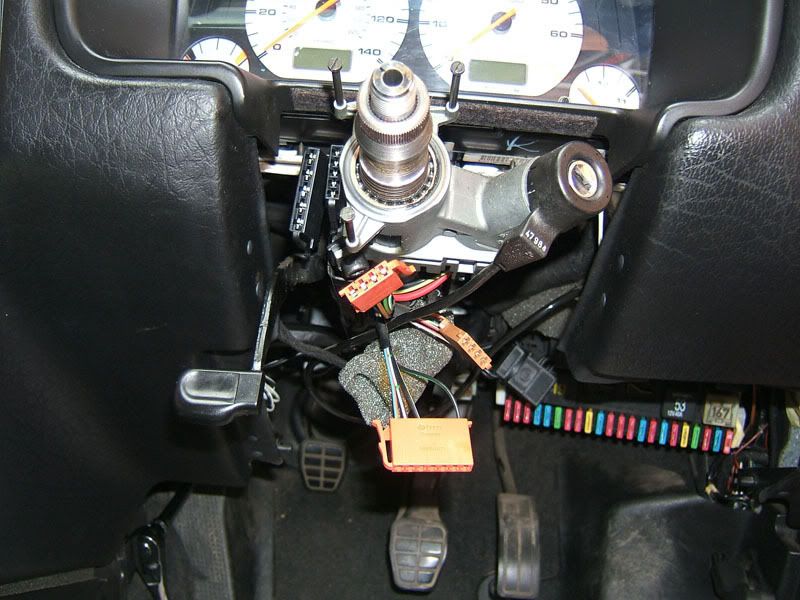
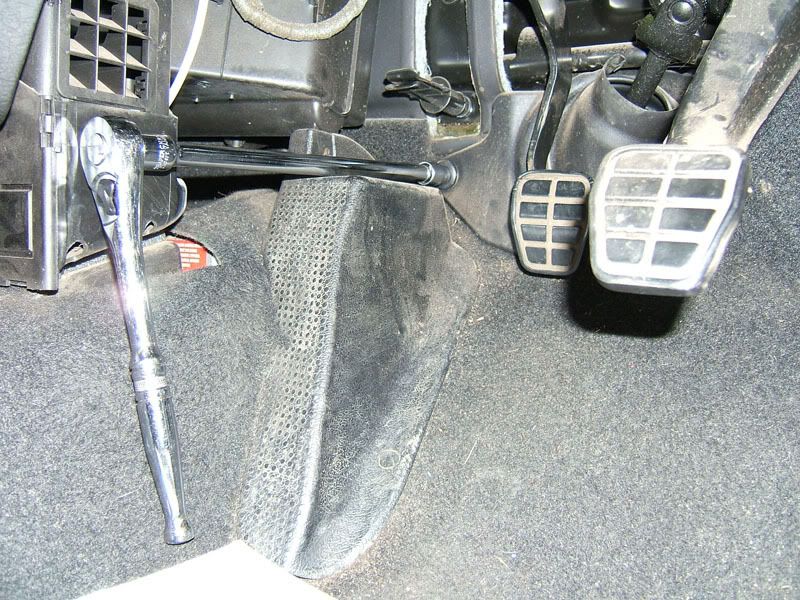
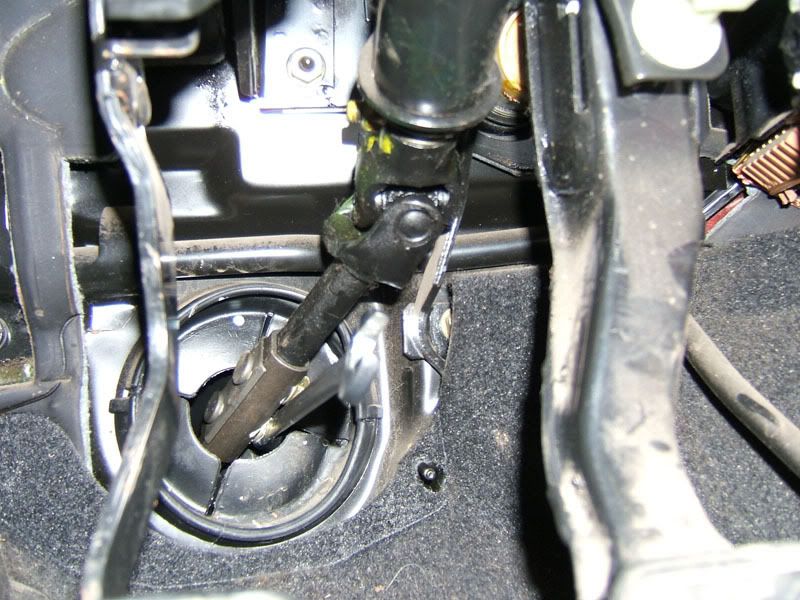
<< Scroll down for pedal box replacement step-by-step >>

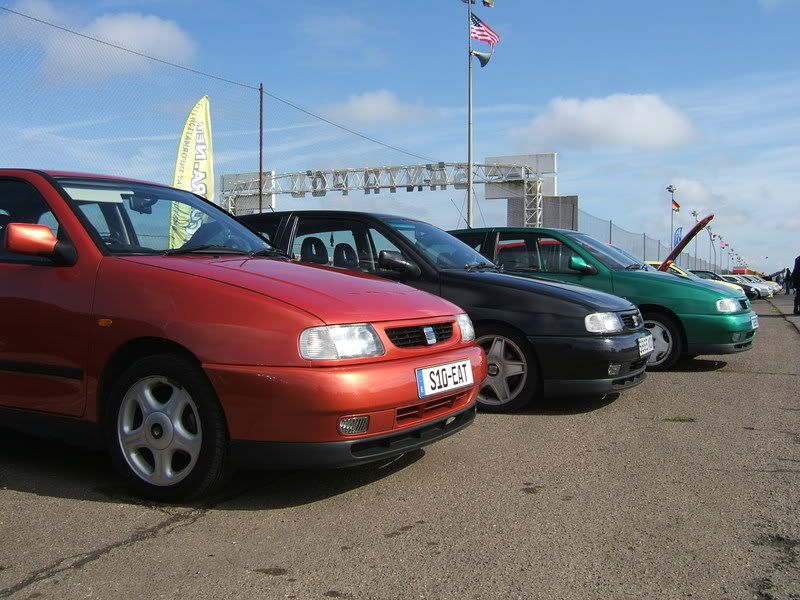
Edition 38 2008 pics on page 3

Suspension change finished - p7

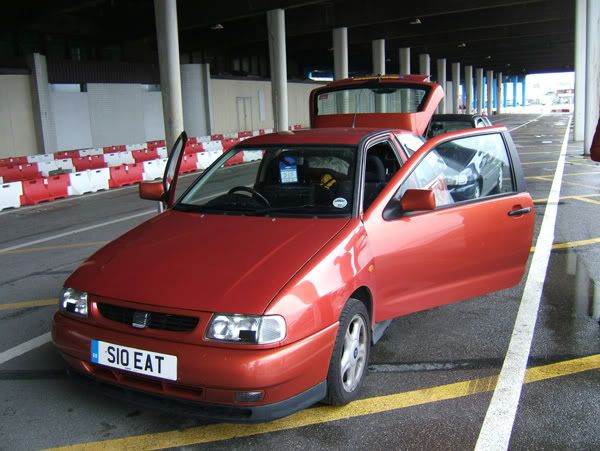
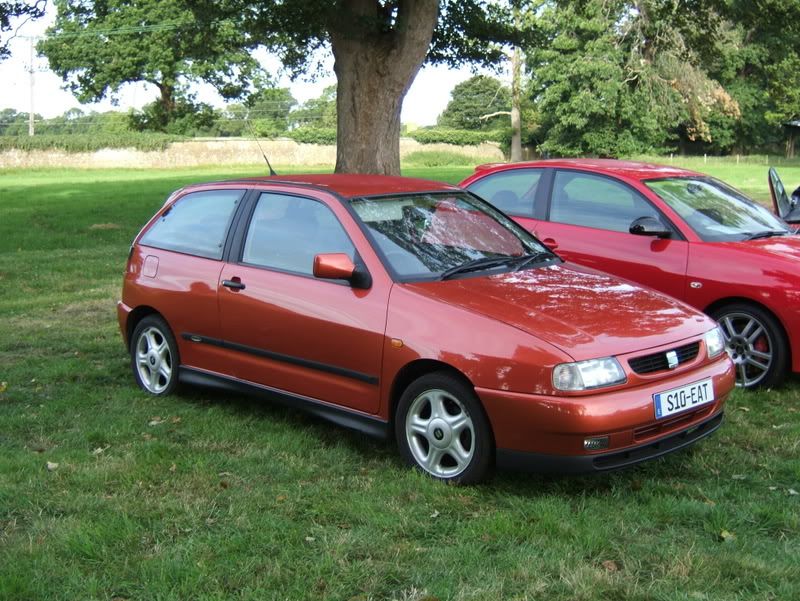
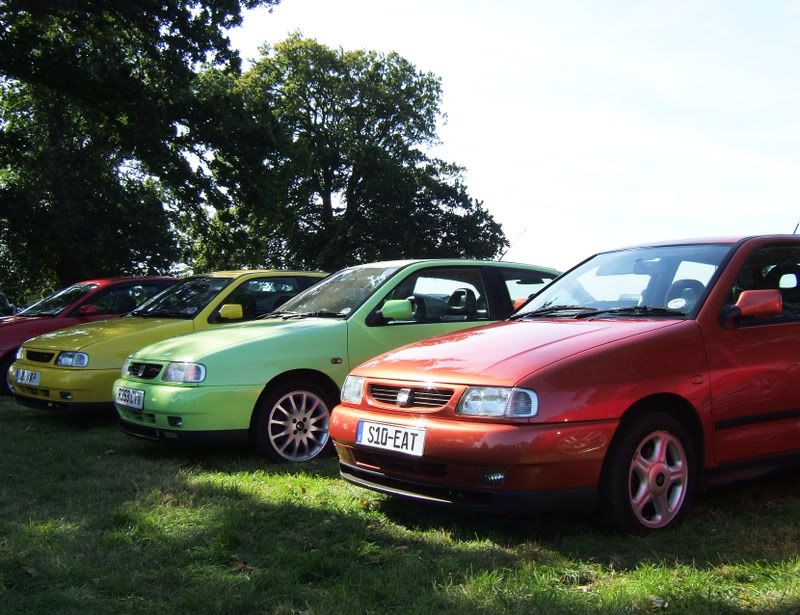
Well, I've had my Ibiza for a year (give or take a few days), and I've never put it all together in one place. So, at the 12 month point (and with exams looming), I think there's no better time!

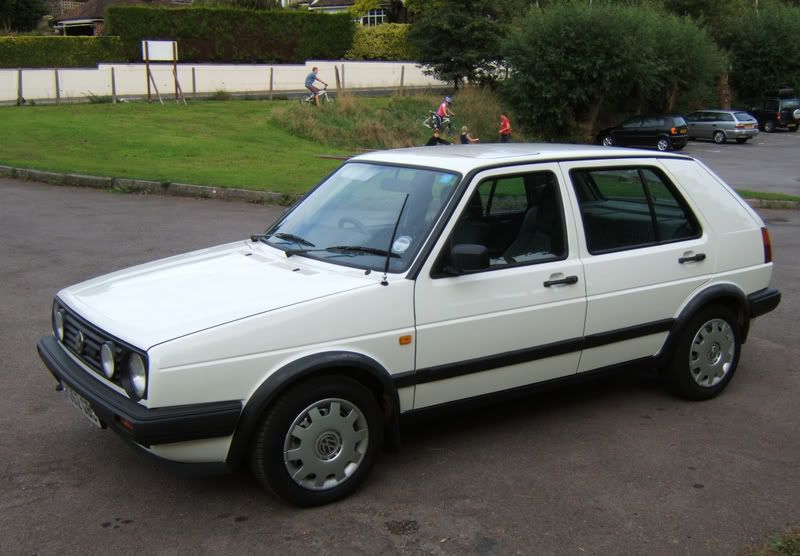
Well last January, i decided to move on from my 22k mile mk2 Golf. I didn't want to put the extra miles on, and it was dawning on me that although it was very low mileage and drove like new, it was, unfortunately, a rusty nail. So after seeing the ad on here, I took a trip up to Derby to look at the Seat. Unfortunately on the way back to Bristol, the gearbox on the golf let go - but that's a story for another day!

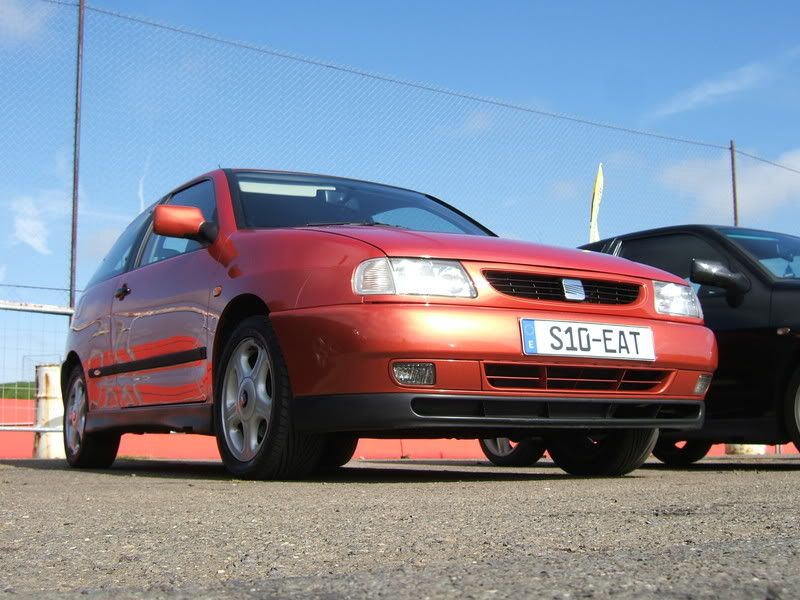
Minty on the outside, soft on the inside!
DSCF0938-2.jpg


Between January and the summer, it was given new front wheel bearings, tie-rod ends, ball joints, front discs and pads, 1x CV joint, a radiator, 4x Goodyear Eagle F1, a new exhaust system and the usual oil changes / service! Other than the tyres & exhaust, the all work was done with the help of friends! Oh, and also the infamous pedal box problem reared it's head, so that was bolted too!

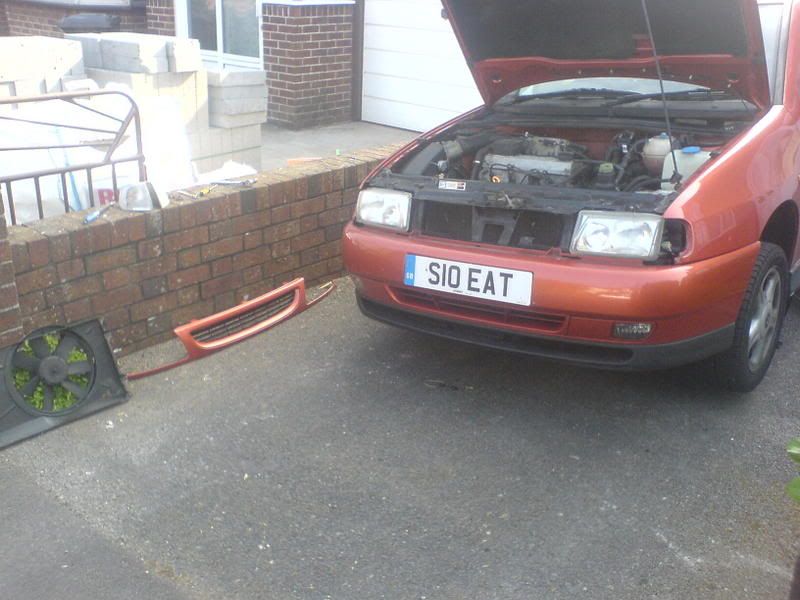
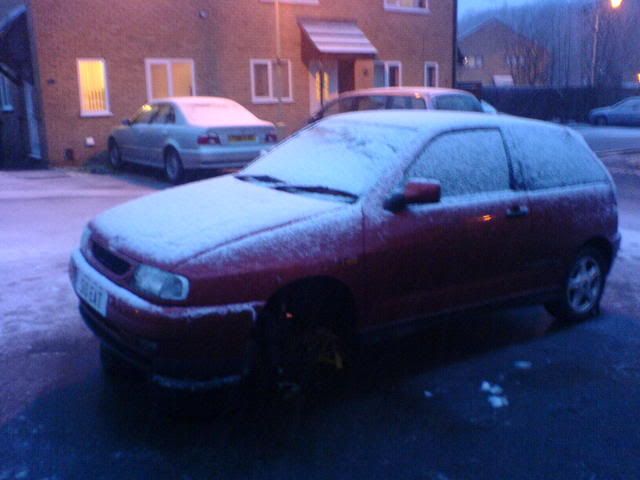
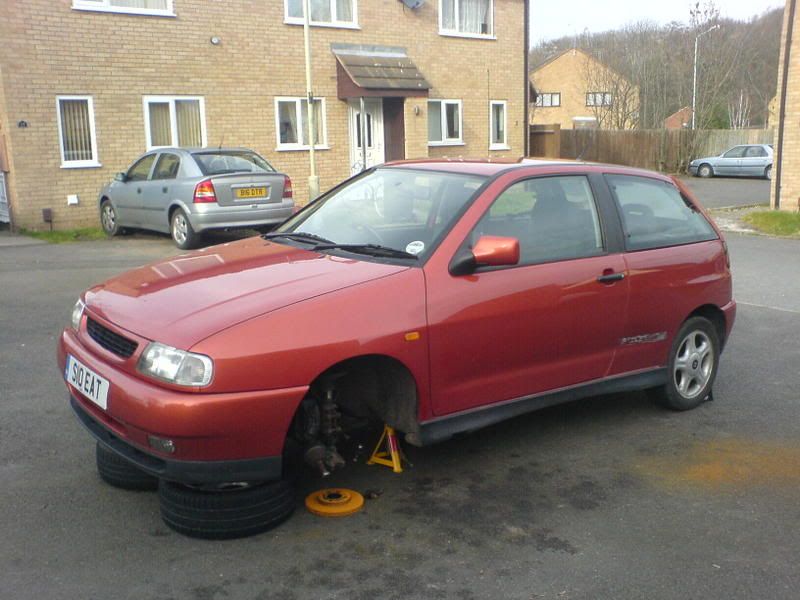
In various states of undress:

Taking the old rad out, for the third time after ECP kept supplying the wrong part......
DSC00024.jpg


Wheel bearings etc etc (Yes, we carried on working on it in the snow. There's a pic floating about somewhere with the angle grinder making sparks while the snow falls!)
DSC03317.jpg


DSC03318.jpg


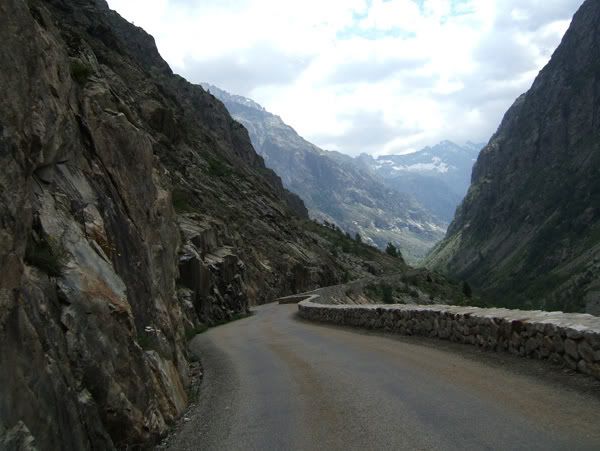
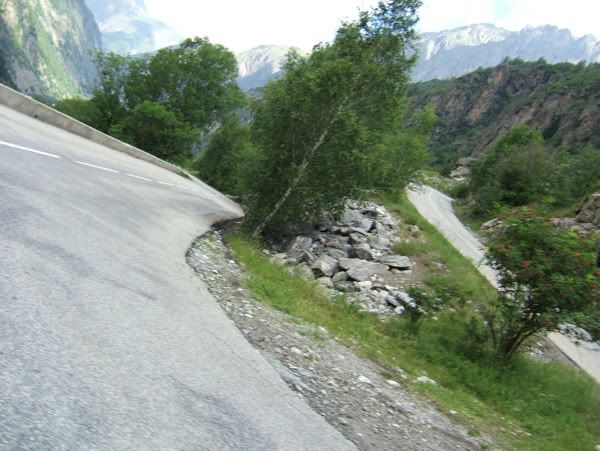
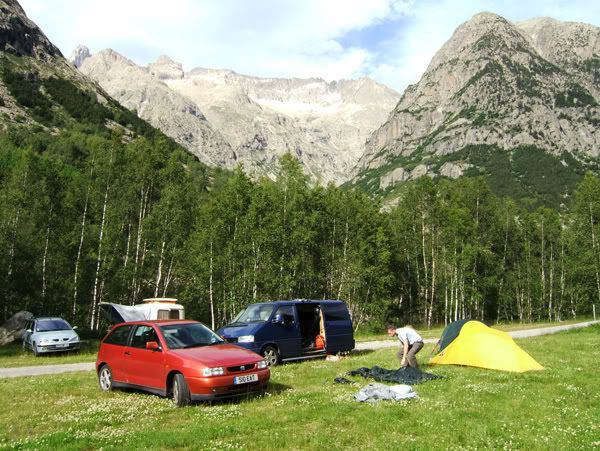
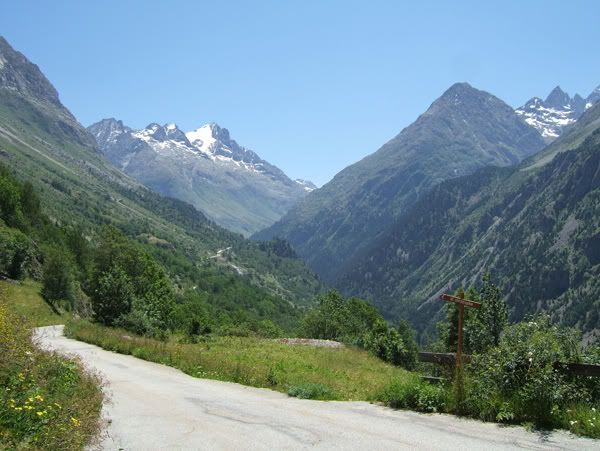
All this was building up the main event of the summer - a trip to the alps for me and two others (+ mountaineering kit) in the 'biza. Happy to report that it got there and back with no problems. And performed in fine style on the mountain pass that we went up and down half a dozen times :D

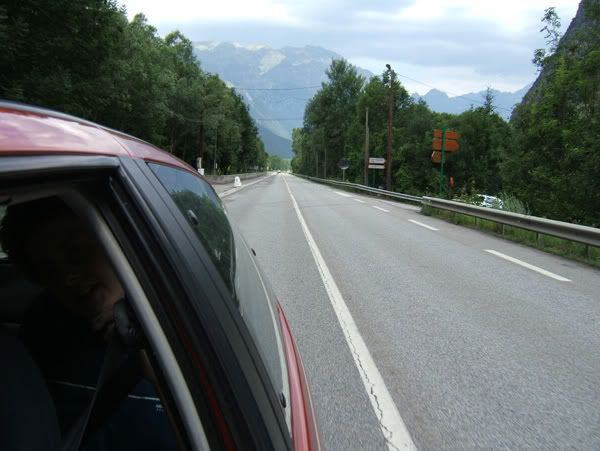
At the top of the road was the village & campsite we were staying at, at the bottom (25 miles, ~50 minutes) was the town where we got supplies & petrol from. Unfortunately we ended up at the campsite with almost no petrol and had to go down idling wherever possible. The two guys in a van behind us commented that for someone with no petrol, I was going at a fair rate (given that the Ibiza disappeared from their sight). What can I say?!

DSCF1919.jpg


DSCF1924.jpg


DSCF1960.jpg
 
Last edited:
Dec 17, 2006
1,837
0
Bristol
DSCF1938.jpg


DSCF1933.jpg


In the Boloigne (sp?) ferry port. Nearing the end of it's near-2000 mile adventure. Dirty on the outside and smelly on the inside, after we slept in it after missing the last ferry at night. The most uncomfortable night of 'sleep' i've had in a long time.
DSCF2013.jpg


Thanks again to all those offering advice before I went!

Then it was on to Edition 38. Despite the standardness of the car, it was welcome on the club stand. Some great people & cars on the SCN stand, I thought. And as most of you know, we won best club stand - I'm looking forward to this year's show already!

Before the show I fitted a new set of rub strips to cover the gluey mess that the old ones left. It was pulling the lacqeur off when I tried to take the glue off, so a new set of rub strips was the student's solution :p

DSCF2173.jpg


DSCF2180_2.jpg


Since then, it's not had much done to it, other than keeping it on the road with my student's budget!

It's currently in for the MOT with an ABS problem, hopefully will be back on the road tomorrow.
 
Last edited:

JamesE

Active Member
Nov 19, 2007
157
0
looks in very good condition matey!!

i think it looks better with the strips on aswell.

Pics of the alps are awesome!!!!


James
 
Dec 17, 2006
1,837
0
Bristol
Thanks James,
The photos are flattering it a bit I think - there's a fair bit of rust on the rear arches. I agree that it looks better with the rub strips, especially as none of the other plastic parts have been colour coded. It's a bit less slab-sided with them on I think. Alps were fantastic, some great driving roads round there!!
 
Jun 14, 2005
920
2
Northants.
Great pics! - I'd like to do a trip to the alps!

How'd your brakes cope!!

Running a car on a budget I think creates some of the best experiences/memories!

DC
 
Dec 17, 2006
1,837
0
Bristol
Hi DC,

When heading downhill, they did start to fade quite badly. But, it wasn't significant until the 4th or 5th successive hairpin, braking from probably 35-55mph each time. And this was probably 35 minutes out of 50 or so, although there were enough stretches of road for the brakes to cool.

I wouldn't want to do a more demanding road without an upgrade to say a decent set of 280's. But bear in mind, it always had me and at least two passengers in it.

I really recommend you do it - but make sure you've got decent brakes and tyres etc etc!

Running on a budget certainly keeps it interesting! Not having a huge budget certainly makes you think about where money should be spent.
 
Dec 17, 2006
1,837
0
Bristol
Thanks Rich

Yeah it was an awesome road trip, would deffo recommend the roads over there. Although we have some good roads here too, the Peak district is not far from me and can be quite entertaining when it's not full of tourists.
 
Dec 17, 2006
1,837
0
Bristol
Brummy, Toledo Widow,

Thanks guys :) Just don't look too closely next time!

I wasn't convinced by the colour either when I got it, but it's really grown on me now.

If I were you I would get the weights taken off the outside of the wheels and get a kind mate to balance them again with sticky ones :funk:

That is a good idea, the weights on the outside are a bit ugly. Unfortunately the alloys have a fair bit of corosion so it's not really a priority! I quite fancy a set of Ronal multispokes for it when these tyres are worn out - a while off yet though.
 
That is a good idea, the weights on the outside are a bit ugly. Unfortunately the alloys have a fair bit of corosion so it's not really a priority! I quite fancy a set of Ronal multispokes for it when these tyres are worn out - a while off yet though.

Well I happen to have 2 sets. They are both in need of a refurb, white ones more so (paint flaking in some place), black ones are alright just a bit of curbing. Think I am keeping the black ones though.
 
Dec 17, 2006
1,837
0
Bristol
White could be quite nice, but like I said, it's going to be a while until I can think about changing the wheels, think that sorting out the rust and a drop will come first!

Cheers anyway!
 
Dec 17, 2006
1,837
0
Bristol
Quick update,

The pedal box is finally broken, so I've just ordered a new pedal box, clutch cable and all the other parts from SEAT. Once the parts arrive (Tuesday) I'll be changing the box over. Keep an eye out for pics / guide on this thread :)

Also managed to get hold of a pair of unused 15" wheels, so they'll be going on at some point this summer when it's time for some new tyres.
 
Dec 17, 2006
1,837
0
Bristol
Stig2

pedalbox.jpg


This should help you mate.


Andy,

Yeah, you may have a slight bias! Should be there for the Derby meet next weds, providing the new pedal box goes in ok. got plenty of time to do it so should be alright..... famous last words?
 
Dec 17, 2006
1,837
0
Bristol
Well I started the pedal box yesterday. As promised, here's a step-by-step of what I did. I'm writing this up as I go along, so bear with me if some of it is unneccesary or if I get some of it wrong!

1. Access to the pedals

I removed the driver's side glovebox (just pull it upwards and outwards) and the plastic tray underneath it. It's held in by two screws (arrowed).

DSCF2238.jpg


I also took out the driver's seat. It's only held in by one bolt at the front after which point it lifts out.

2. Remove the steering wheel

Firstly the airbag has to come out (the battery must be disconnected for this). It's held together by two allen head screws at the back of the wheel.

DSCF2240.jpg


Once these are undone the airbag unit is loose. It comes away from the steering wheel but there's an electrical connector which just pulls out. The airbag should be stored with the padded side up, according to the manual.

At this point the steering wheel nut (24mm) must be removed. Also, there was another connector from the airbag that has to be unclipped. This was hidden in some foam padding:

DSCF2244.jpg


3. Remove the stalks

There are three black screws which hold the stalks on. Then, make sure all the connectors are undone - i kept finding more of them! Once they are undone the stalks just slide off the steering column and you will be left with something like this:

DSCF2249.jpg


4. Remove the steering column

At the base of the steering column is a rubber guard, held in by two plastic nuts. Take these out:

DSCF2250.jpg


You'll then have clear access to a plate with two nuts on it. Undo these, being careful not to drop them into the hole where the steering column disappears into....

DSCF2251.jpg


Once the nuts are undone, the plate comes away with the two bolts.

That's as far as I got yesterday afternoon. The next step is to remove the shear bolts that hold the steering column frame in.
 
Chris Knott Insurance - Competitive quotes for forum members