
This isn't that difficult, time consuming, took me maybe 3 hours to remove and replace as an amateur (tbh, took slightly longer but that's because I had extra time figuring it out)
This is on a 5dr but I don't see the being much/any difference between the versions, perhaps the 3dr might have 1 less screw in the arch going by russian etka.
You will need:
T25 male Torx bit
Socket set + extender bar
clip/tool removal tool
6 clips, part # 6L0 121 136 x6 from your local dealer to replace the ones you remove
Jack and axel stands to remove the rear wheels. (Not 100% necessary but would make it a lot easier)
bottle of beer
Process
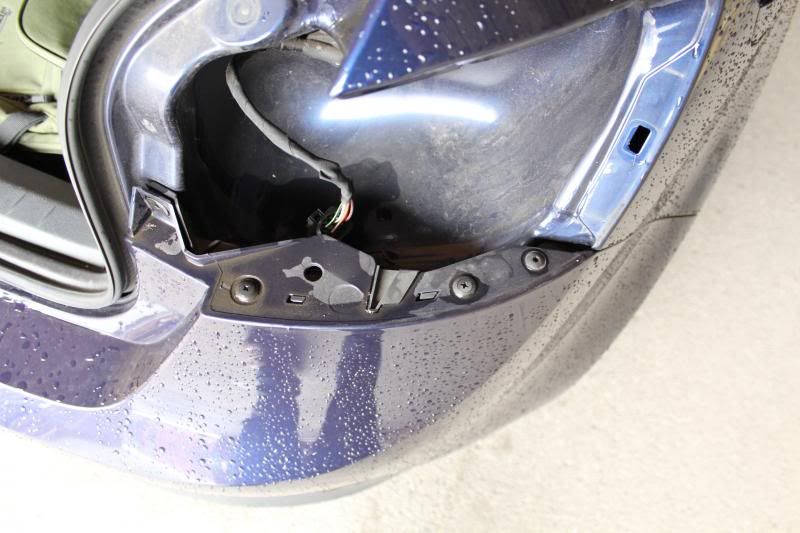
Firstly, place a bottle of beer in the fridge to chill, then remove the rear light clusters by undoing the big plastic nut inside the boot
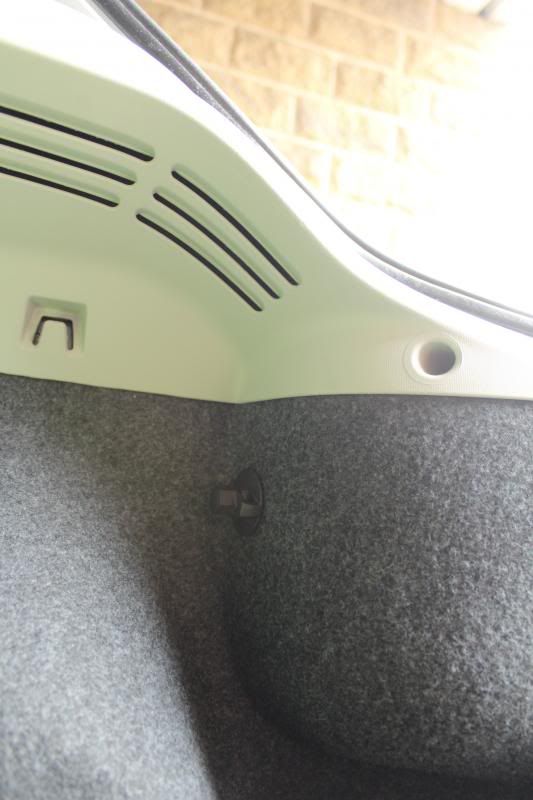
(the black thing, centre of picture)
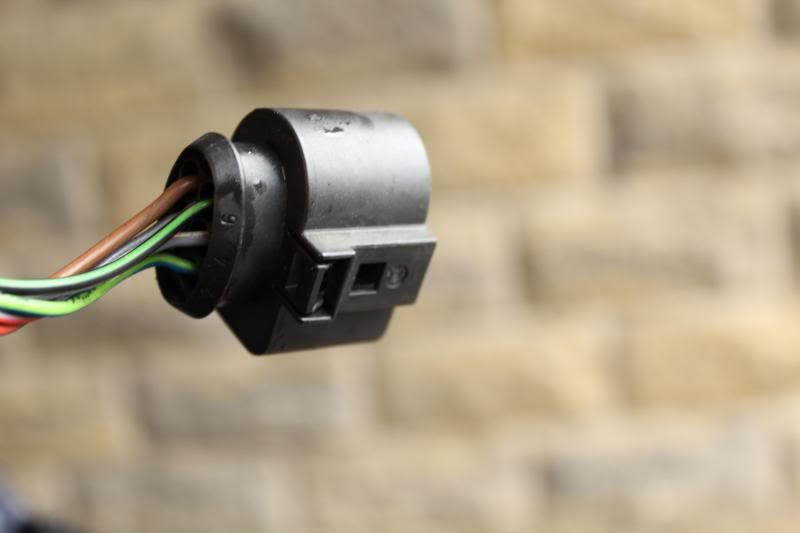
and disconnecting the light from the loom.
Get a fingernail under the small tab and pull away from the light then the connector will come free
Now time to start unscrewing it.
There's 6 T25 screws under the skirt, 3 either side. I found the centre-most on each side needed an extender bar on the socket, not for reach but because there's not a lot of room.
Drivers side:
Passenger side
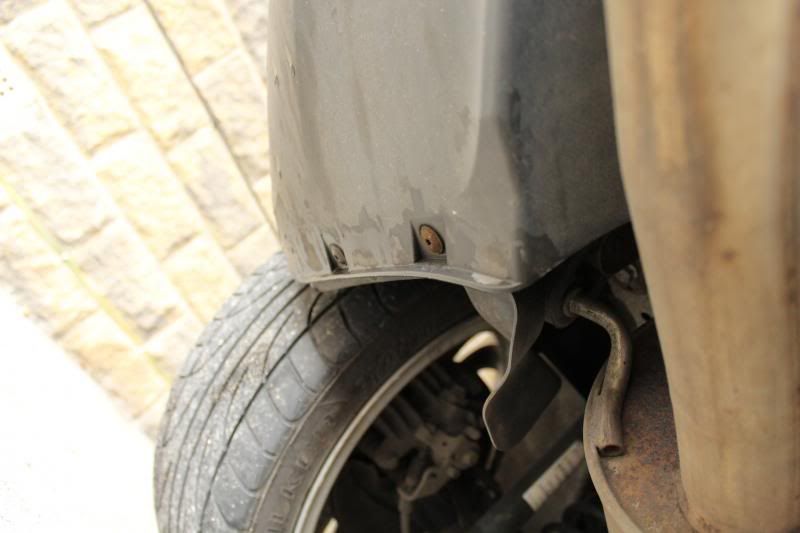
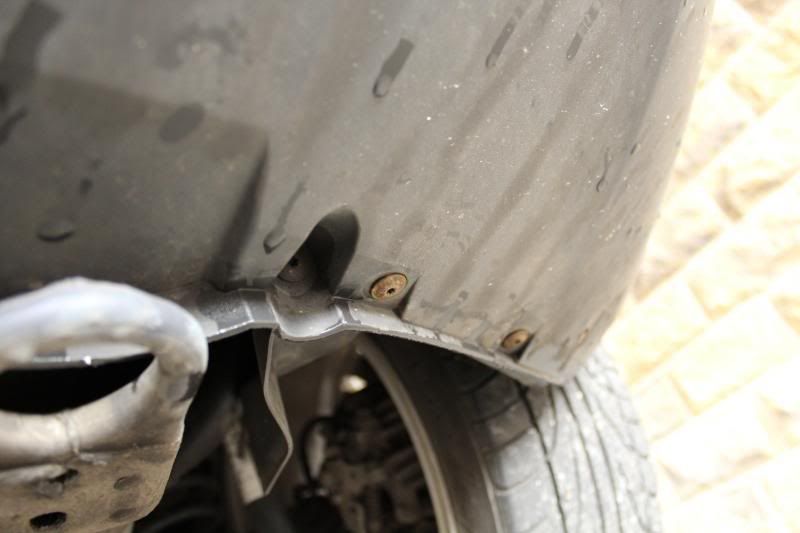
Then inside the rear arches, there's 3 T25 screws, one at the bottom which goes into the skirt, then two futher up which go into the bumper.
This is the wheel arch liner to give you an idea of where the screws are

You don't HAVE to jack the car up on axel stands and remove the rear wheels, I didn't as I don't have axel stands atm but it would've been much easier if I had as there isn't a lot of room between the tyre and the arch to get a socket into, I had to loosen the screws as much as I could then finish them of by hand.
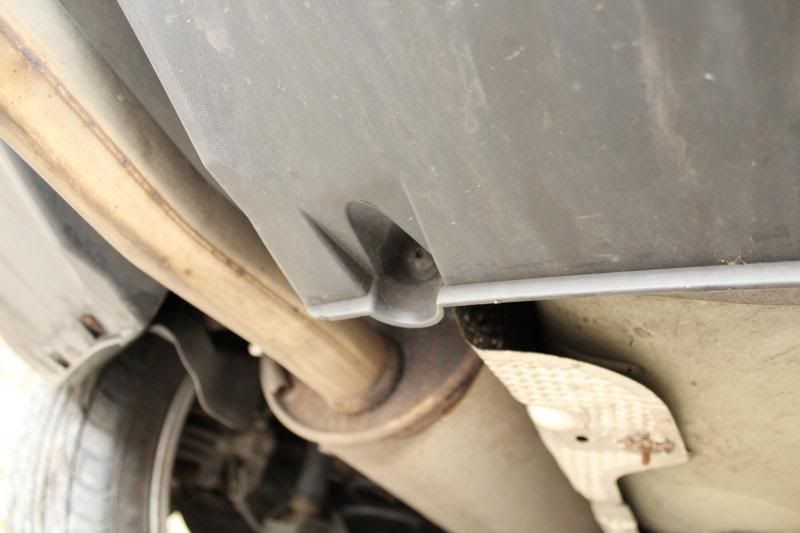
Before you depart from the arch area, where the rear 3/4 and bumper join,
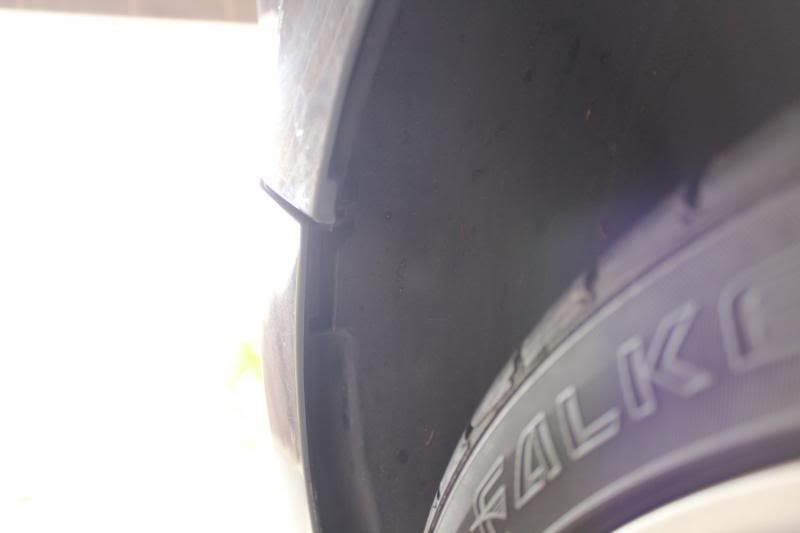
the two are held together by a really annoying clip

Clip removal tool to get rid, or if you don't have one like me, a knife to pull the clip out a bit, then in with a small hacksaw and just saw through the *******.
About now you might want to remember about the registration plate light(s) unclip them and disconnect the bulb form the holder. (Alternatively you can wait until you've completely removed the bumper from the car and whilst supporting it with your knees and one hand reaching down inside and unscrewing the bulb from the holder )
)
Now for the top bit.
T25 torx at the left and right,
The phillips looking things are annoying push clips that hold the bumper onto the bumper mounting pieces.
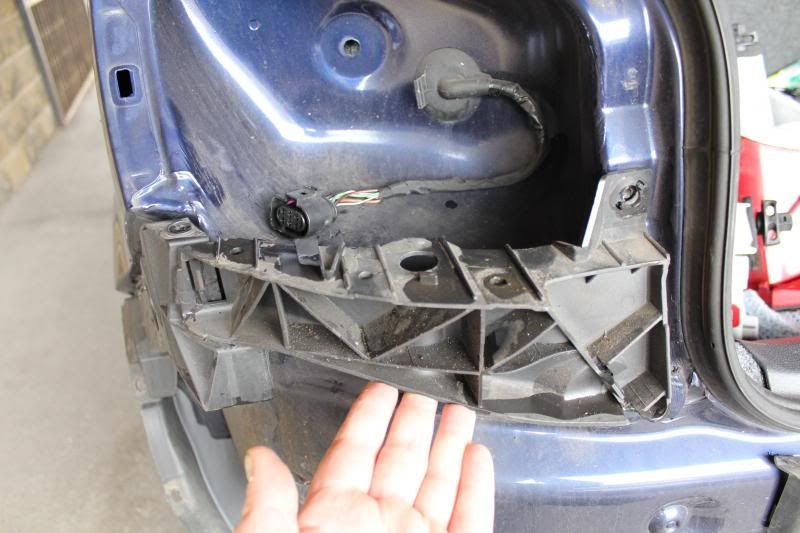
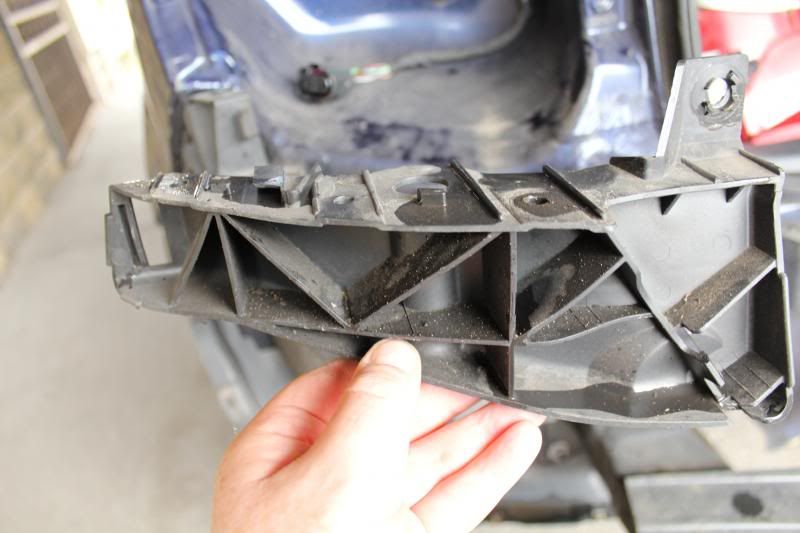
If you're replacing the bumper then wait until it's off the car before removing the clips and seperating the bumper and mount structure. Otherwise you end up with loose pieces of plastic when you tug the bumper off the car.
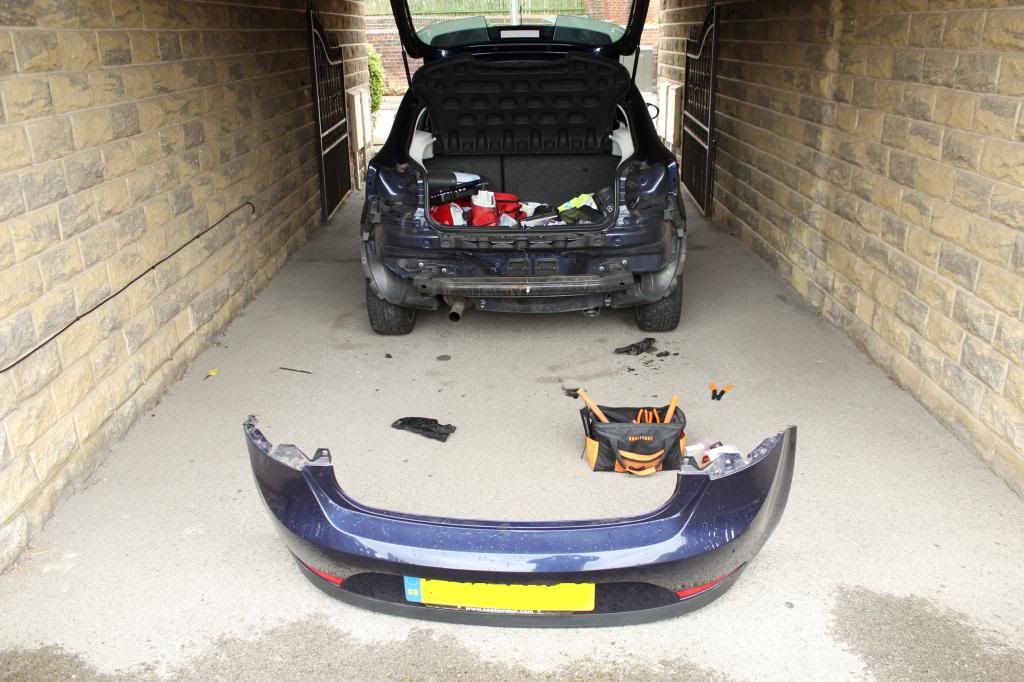
Speaking of which. That's all that's left. There's plastic hook thingys all round the bumper which hook onto the car, so a series of tugs all teh way round will see it free of the car.
To reassemble, remount the bumper mount structures with clips if you seperated them from the bumper.
Lift the bumper back into place remembering to feed the numberplate light through the hole
Use the big inner T25 bolts from the top to hold the bumper in place, then press all the way round to clip it back in place.
Replace all the screws and put the new clips in.
Reattach the number plate light (taking the opportunity to replace with LED versions if you haven't already
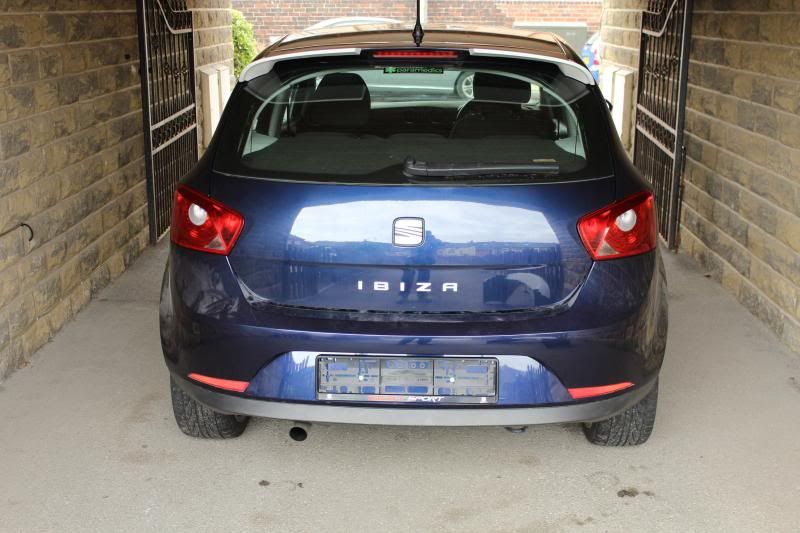
Fetch cold beer from fridge and admire handy work
This is on a 5dr but I don't see the being much/any difference between the versions, perhaps the 3dr might have 1 less screw in the arch going by russian etka.
You will need:
T25 male Torx bit
Socket set + extender bar
clip/tool removal tool
6 clips, part # 6L0 121 136 x6 from your local dealer to replace the ones you remove
Jack and axel stands to remove the rear wheels. (Not 100% necessary but would make it a lot easier)
bottle of beer
Process
Firstly, place a bottle of beer in the fridge to chill, then remove the rear light clusters by undoing the big plastic nut inside the boot
(the black thing, centre of picture)
and disconnecting the light from the loom.
Get a fingernail under the small tab and pull away from the light then the connector will come free
Now time to start unscrewing it.
There's 6 T25 screws under the skirt, 3 either side. I found the centre-most on each side needed an extender bar on the socket, not for reach but because there's not a lot of room.
Drivers side:
Passenger side
Then inside the rear arches, there's 3 T25 screws, one at the bottom which goes into the skirt, then two futher up which go into the bumper.
This is the wheel arch liner to give you an idea of where the screws are
You don't HAVE to jack the car up on axel stands and remove the rear wheels, I didn't as I don't have axel stands atm but it would've been much easier if I had as there isn't a lot of room between the tyre and the arch to get a socket into, I had to loosen the screws as much as I could then finish them of by hand.
Before you depart from the arch area, where the rear 3/4 and bumper join,
the two are held together by a really annoying clip
Clip removal tool to get rid, or if you don't have one like me, a knife to pull the clip out a bit, then in with a small hacksaw and just saw through the *******.
About now you might want to remember about the registration plate light(s) unclip them and disconnect the bulb form the holder. (Alternatively you can wait until you've completely removed the bumper from the car and whilst supporting it with your knees and one hand reaching down inside and unscrewing the bulb from the holder
)Now for the top bit.
T25 torx at the left and right,
The phillips looking things are annoying push clips that hold the bumper onto the bumper mounting pieces.
If you're replacing the bumper then wait until it's off the car before removing the clips and seperating the bumper and mount structure. Otherwise you end up with loose pieces of plastic when you tug the bumper off the car.
Speaking of which. That's all that's left. There's plastic hook thingys all round the bumper which hook onto the car, so a series of tugs all teh way round will see it free of the car.
To reassemble, remount the bumper mount structures with clips if you seperated them from the bumper.
Lift the bumper back into place remembering to feed the numberplate light through the hole
Use the big inner T25 bolts from the top to hold the bumper in place, then press all the way round to clip it back in place.
Replace all the screws and put the new clips in.
Reattach the number plate light (taking the opportunity to replace with LED versions if you haven't already
Fetch cold beer from fridge and admire handy work
