
Hi all,
Some of you eagle-eyed users may of noticed this car around here which makes this build thread slightly 'hollow' compared to others, but nevertheless here is it:
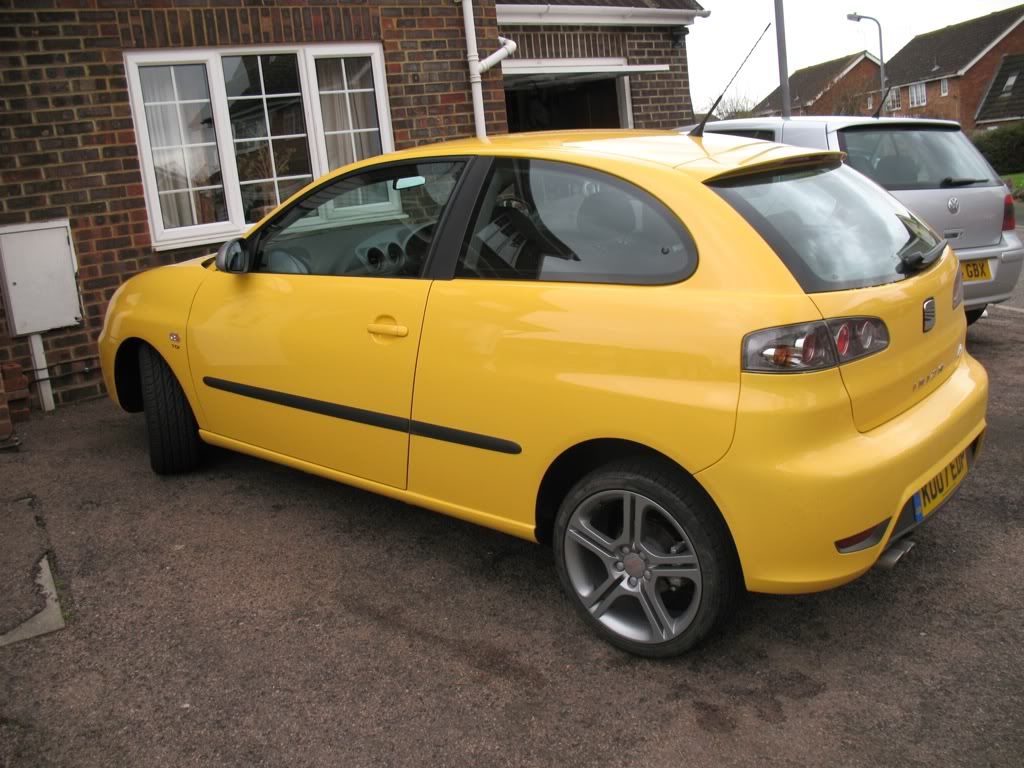
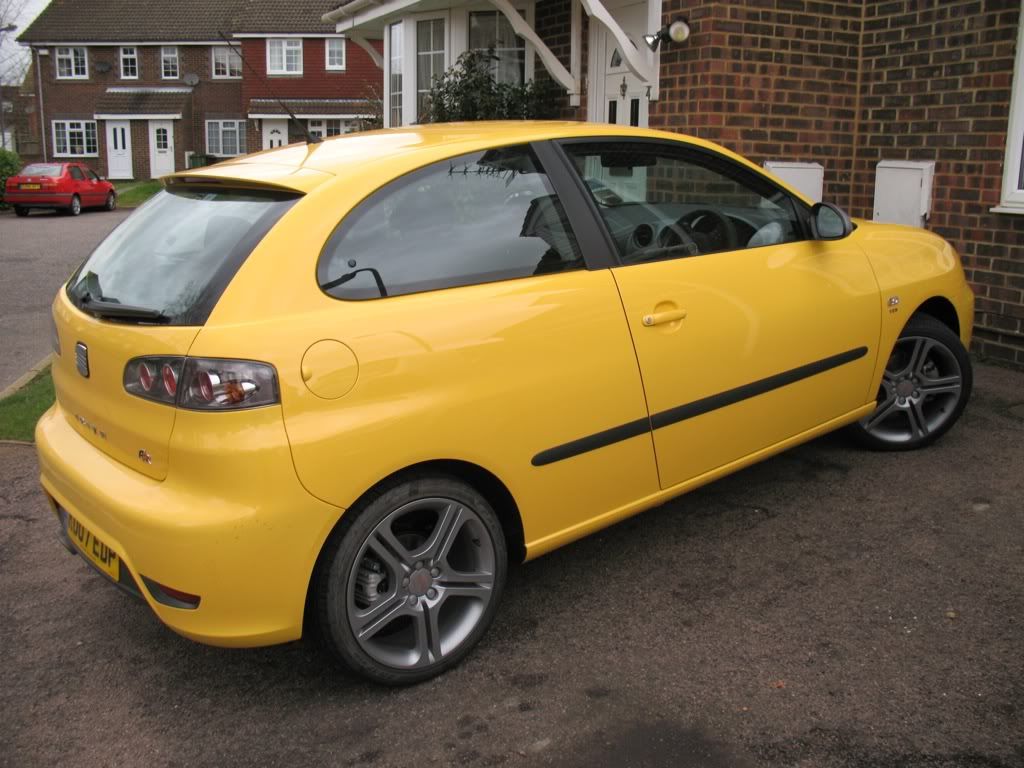
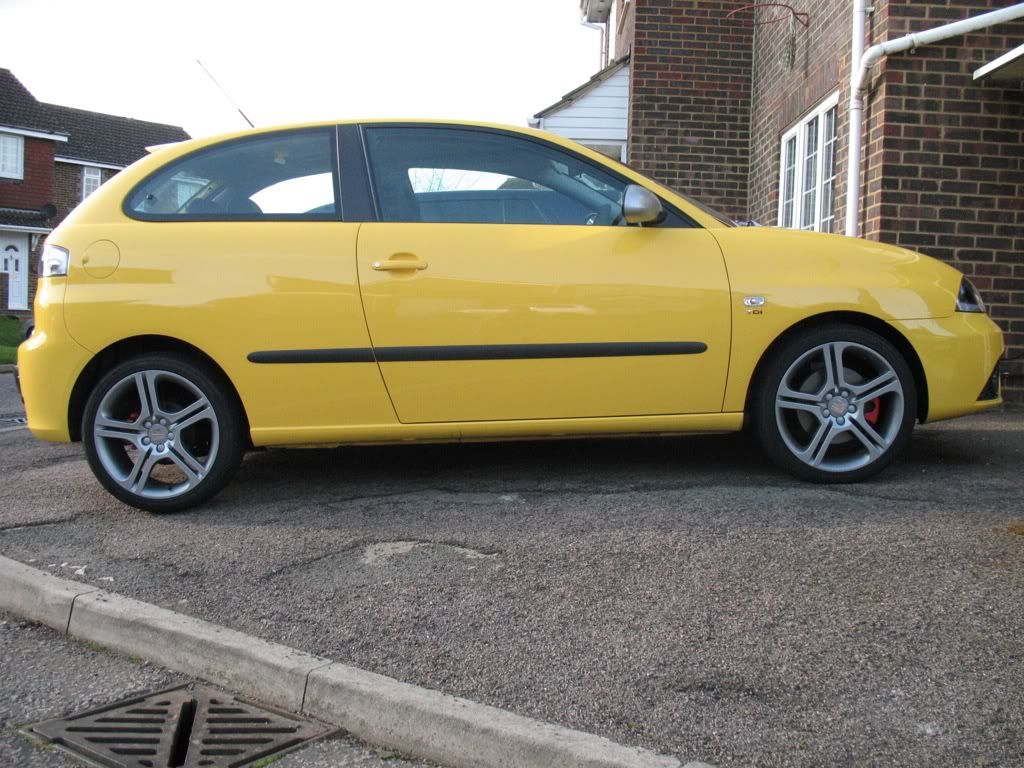
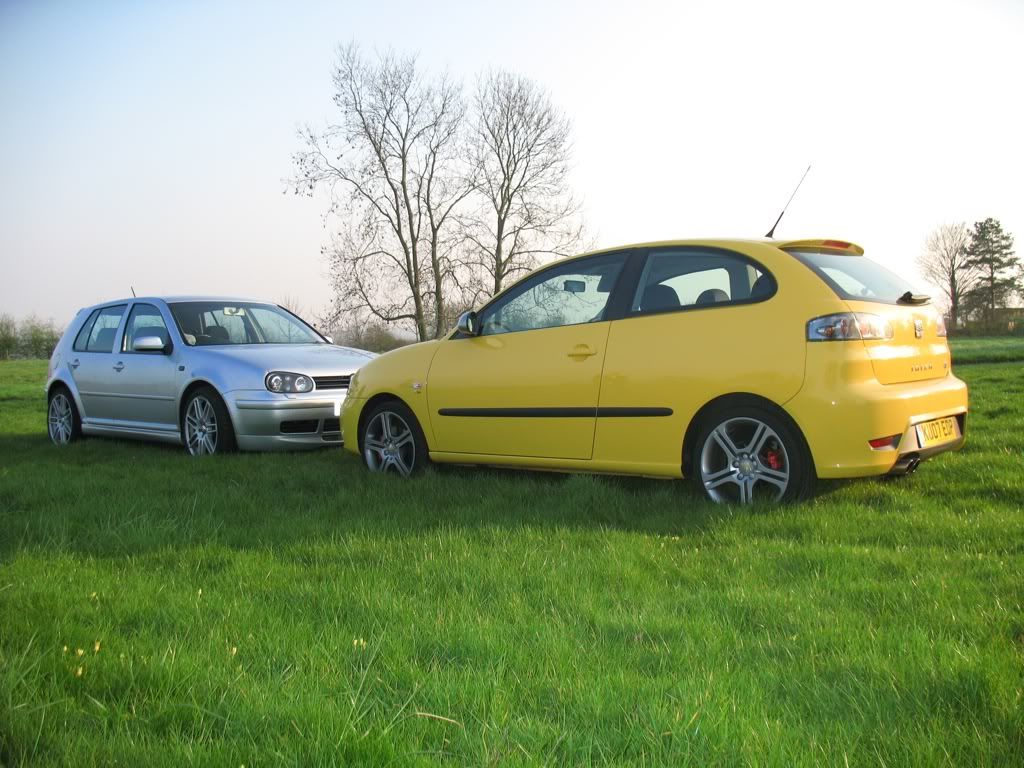
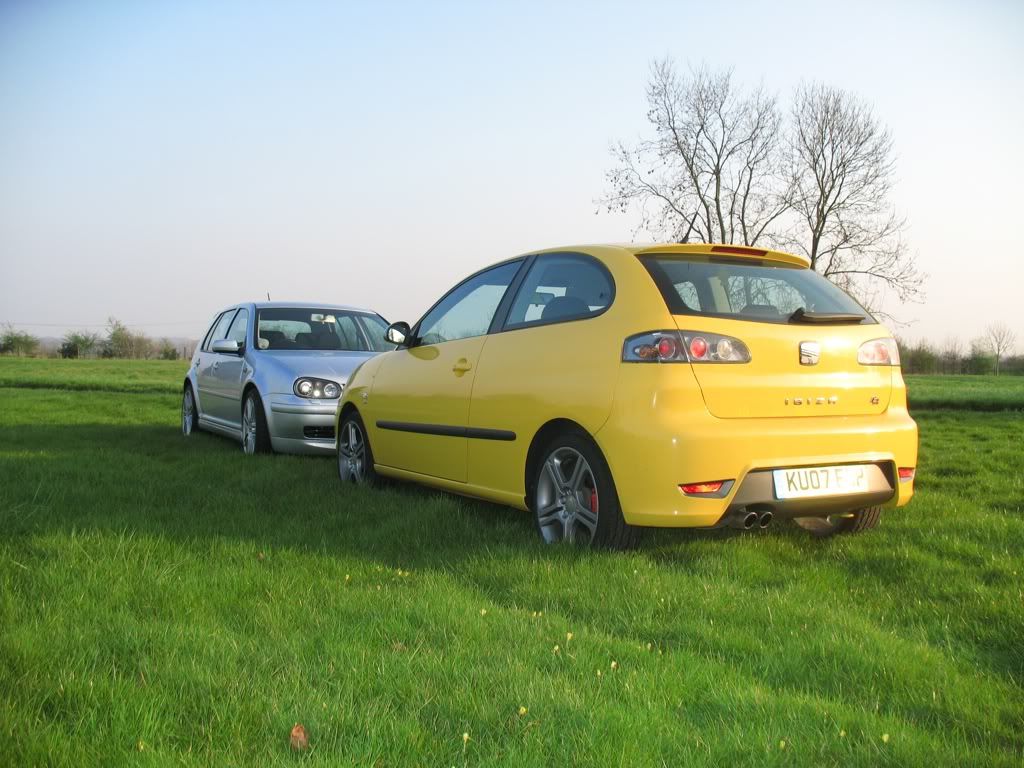
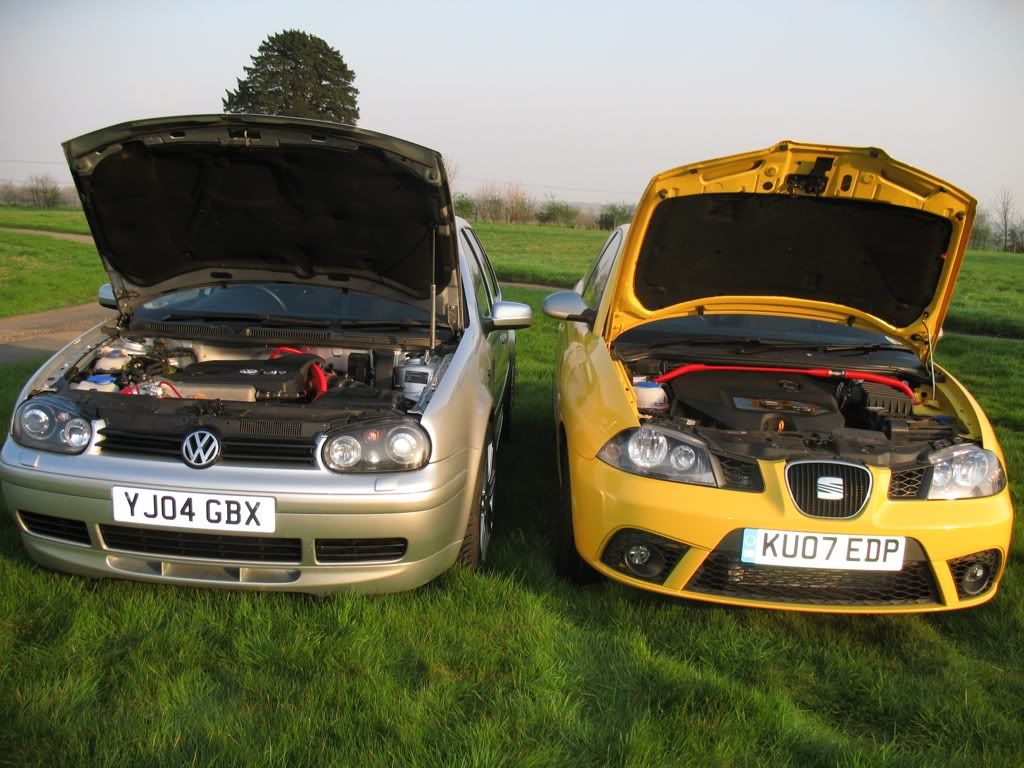
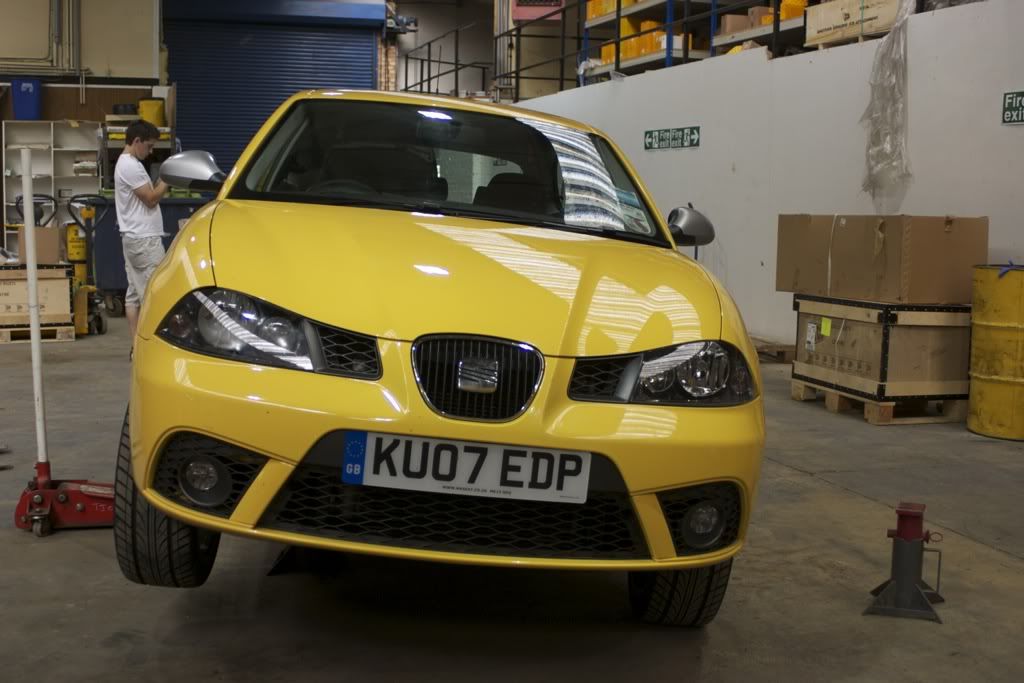
The car was owned my my brother who brought it from new, a 2007 Seat Ibiza FR PD130
Mods already done:
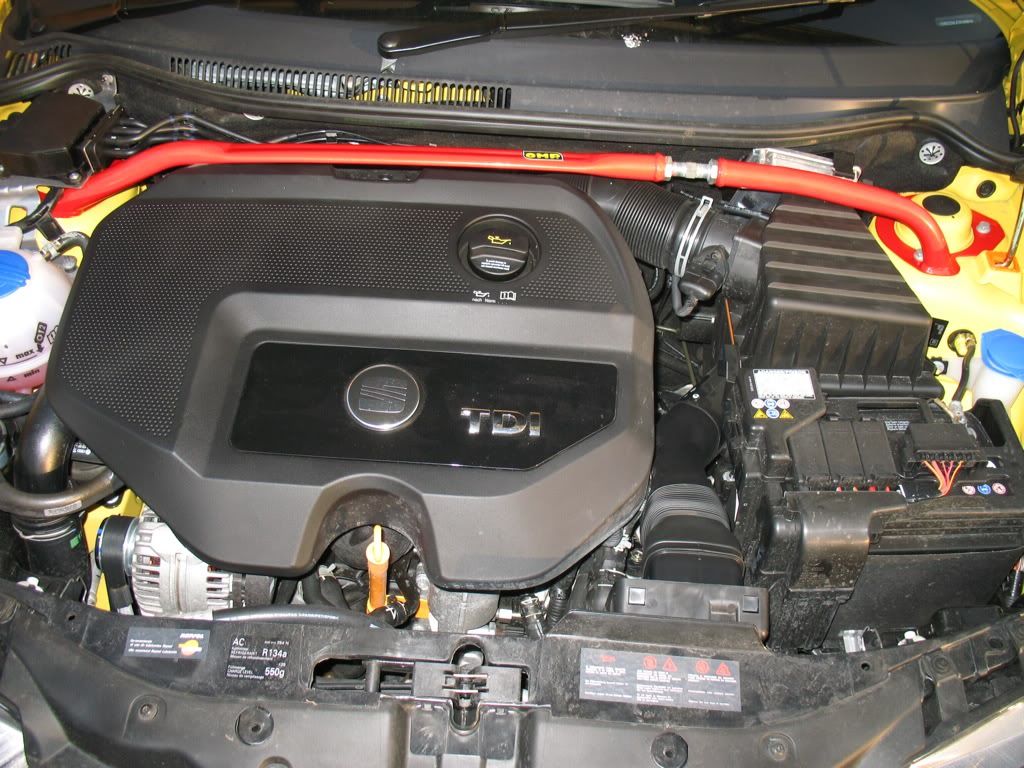
Engine
- Turbo Dynamics MD515 Stage 2 Hybrid Turbo
- Jabbasport Custom FMIC
- Allard EGR Replacement with Custom Made Intake Pipe Post 2 Post 3
- PiperCross Panel Filter
- PD160 Intake (Modified for extra airflow)
- Snow Performance Water/Methanol Injection
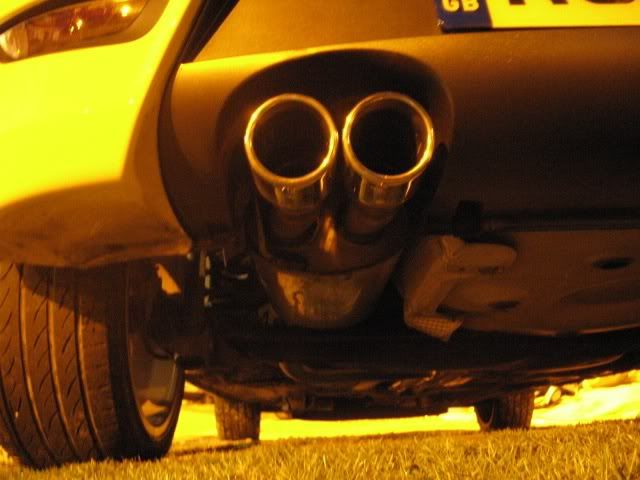
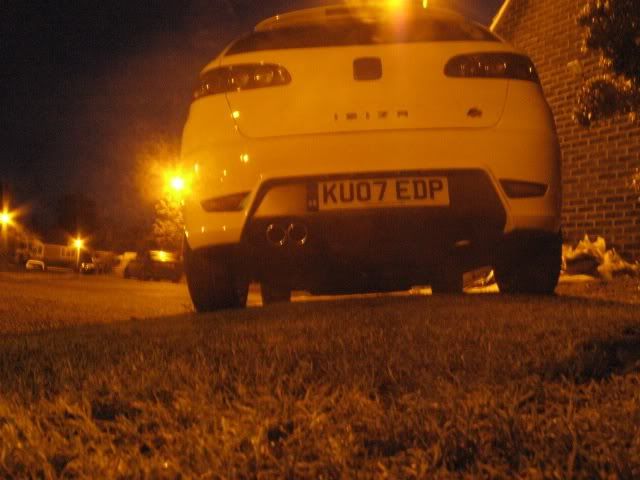
- Milltek full non-res exhaust system including decat pipe (twin jet tips)
- Full Gas Flowed and Port Matched Cylinder Head
Drivetrain
- Sachs uprated Clutch (Not sure which one)
- Weitec Hi-Con GT Coilovers
- Jabbasport Rear Anti Roll Bar
- Full Leon Cupra R Brake Setup with Goodridge Braided Brake Lines
- Polybushes
- OMP Upper and Lower Strut Braces Powdercoated In Yellow
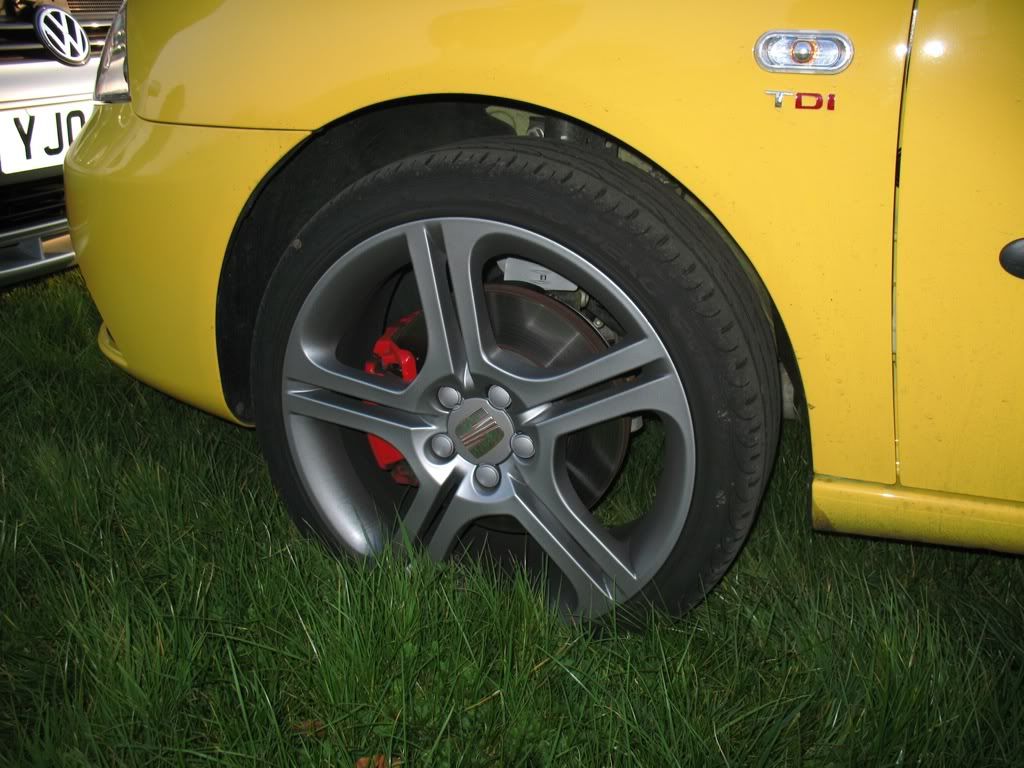
- Seat Ibiza Cupra 17" Alloys Powdercoated in Matte Black
- Carbon Wrapped Centre Caps
- 15mm Rear Wheel Spacers
- 10mm Front Wheel Spacers
Bodywork/Interior
- 6000K HID upgrade
- Ibiza Cupra Rear Spoiler
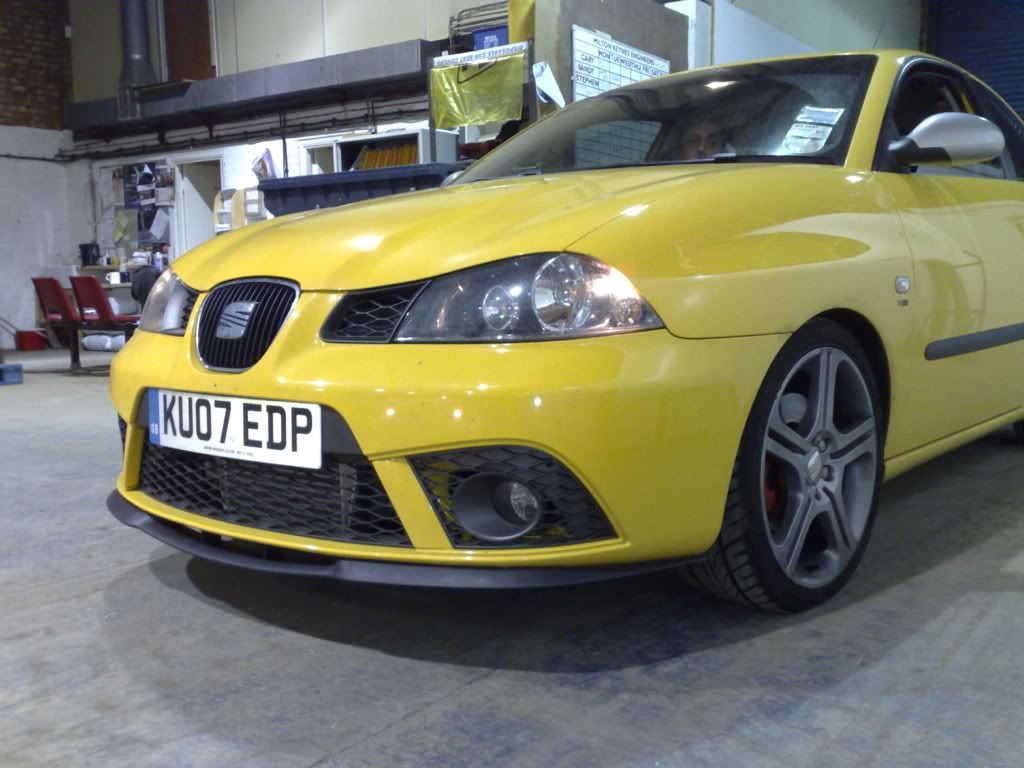
- Leon Cupra R Front Splitter Sprayed Piano Black
- Centre Section Of Front Bumper and Fog Light Grilles Sprayed Piano Black
- Rear Bumper Centre Section Sprayed Piano Black
- Ibiza Cupra Black Wing Mirror Covers
- Ibiza Cupra Interior (Headlining, A's, B's and C-Pillars)
- Audi TT Pedals
- Double DIN Kenwood Headunit
- Custom Boot Build using Kicker L5 12" Square Sub
- ScanGauge fitted
- Carbon Wrapped B-Pillars
- Carbon Wrapped Rear Badge
- Philips Silvervision Indicator Bulbs
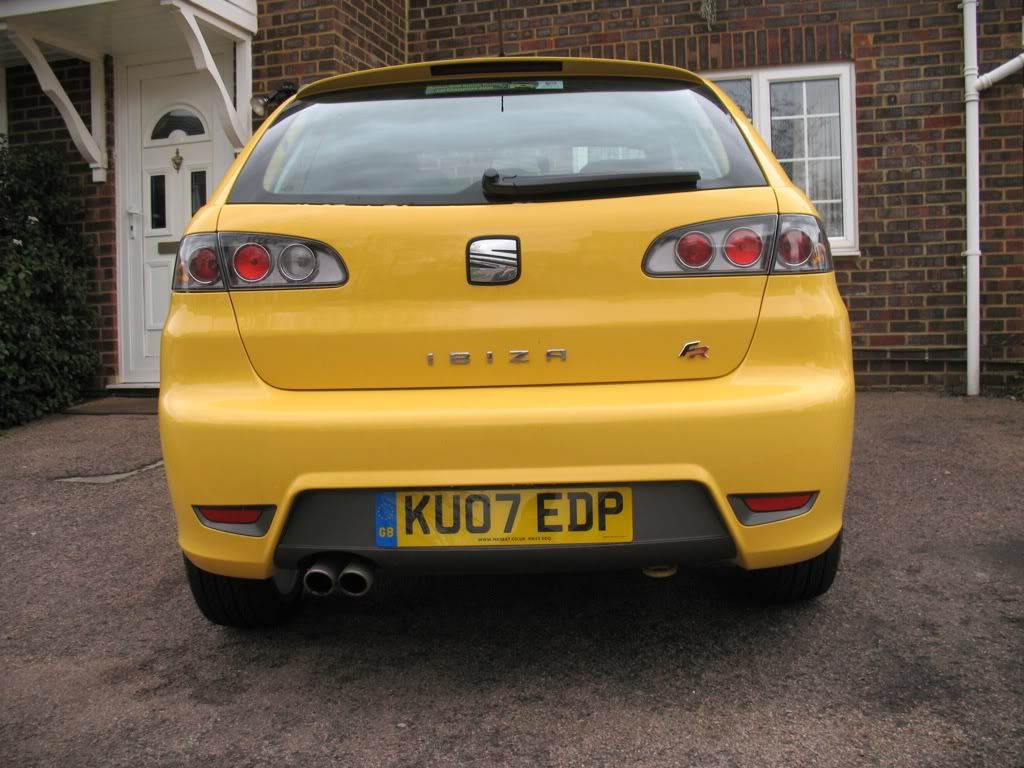
- De-Wipered Rear
- Black Wing Mirror Caps
- Blue Tinted Wing Mirror Glass
- Flip Key Upgrade
- Bonnet Gas Strutshttp://www.seatcupra.net/forums/showpost.php?p=3829312&postcount=237
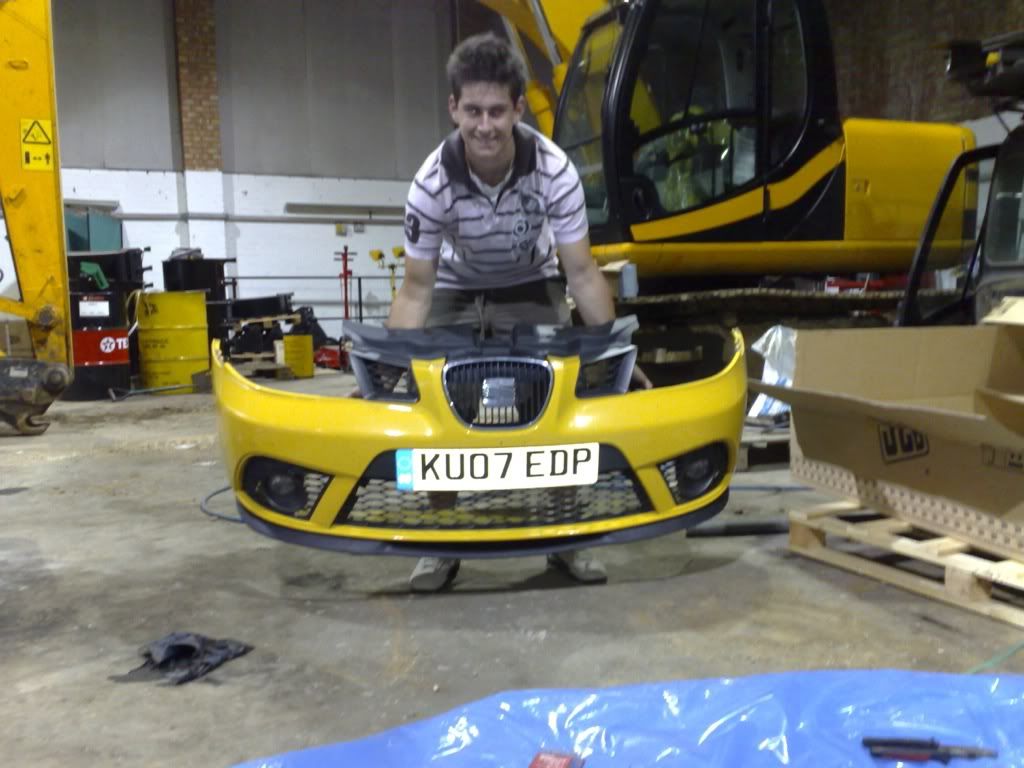
How it looked as standard..

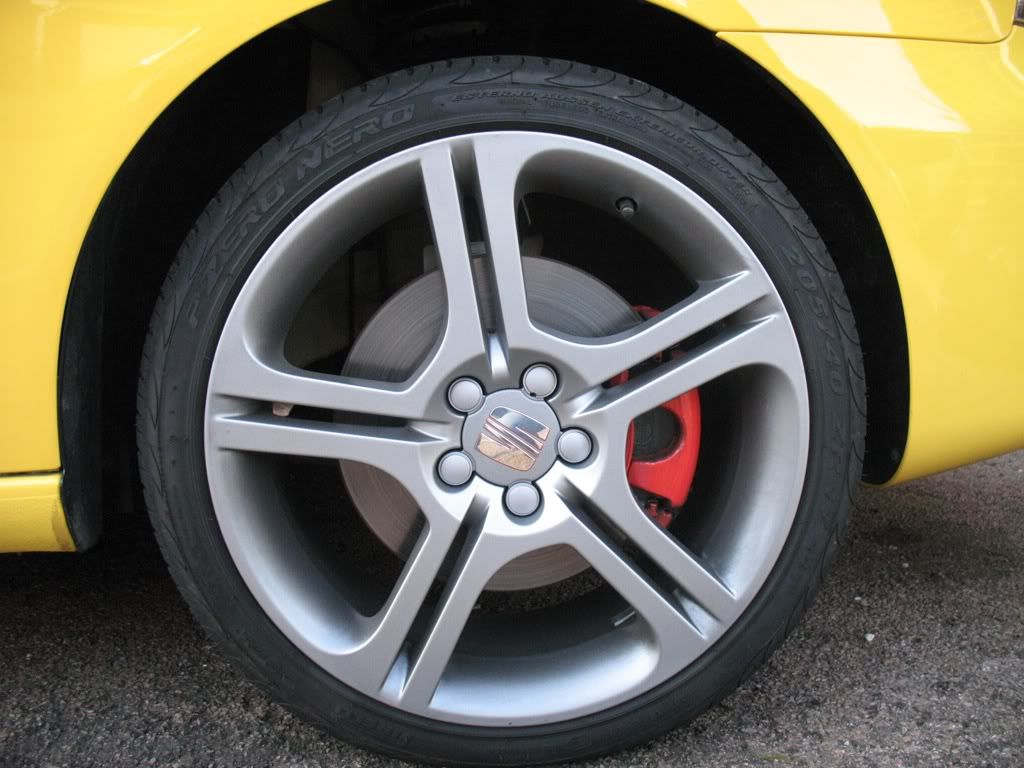
First off the standard calipers were painted red.


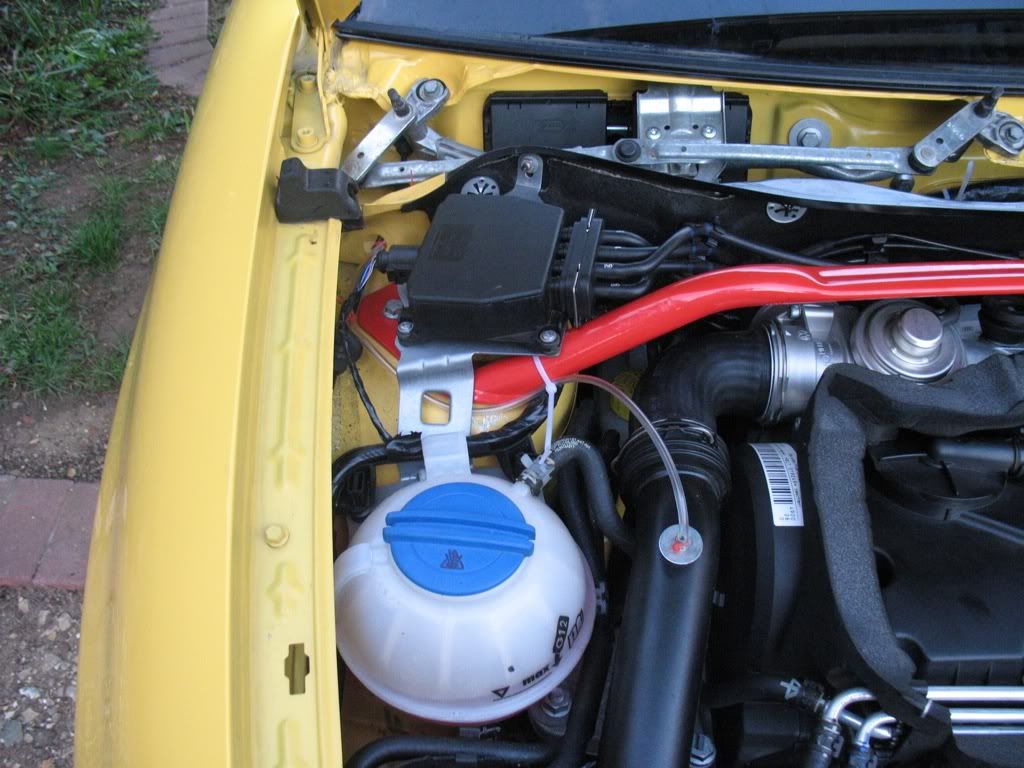
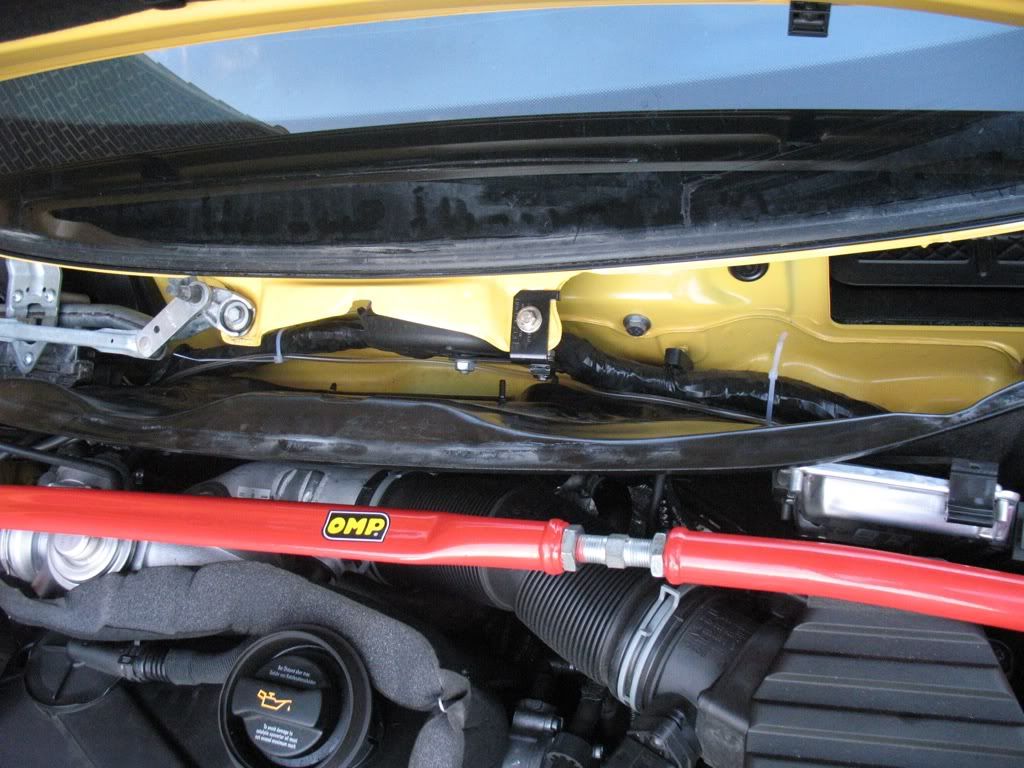
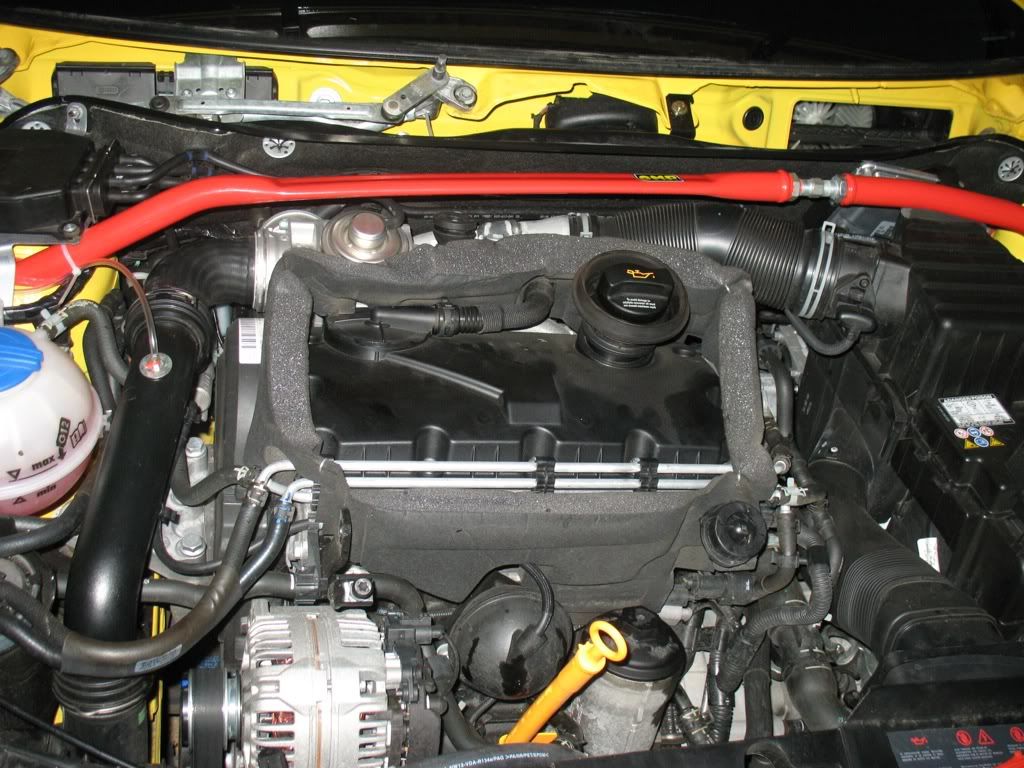
Next up was the OMP upper Strut Brace..

And the classic LCR Splitter..
After this was done, the car went up to Jabbasport for the first remap (car was approximately 6 months old at the time) coming away with 187BHP and a shed load more torque (can't remember the precise figure) the car felt like it had been transformed.
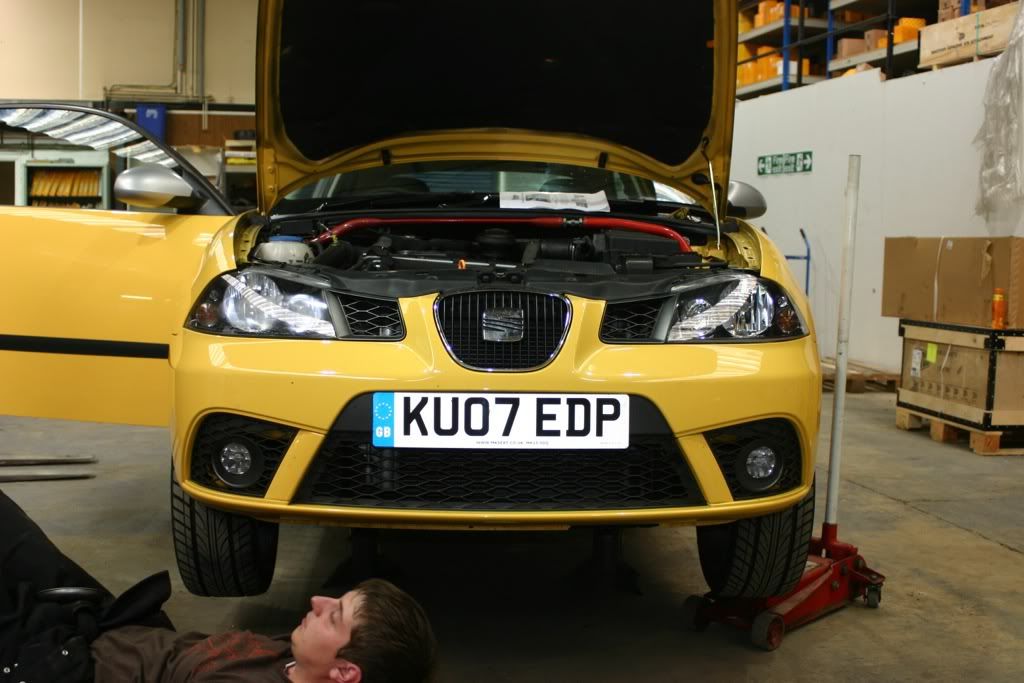
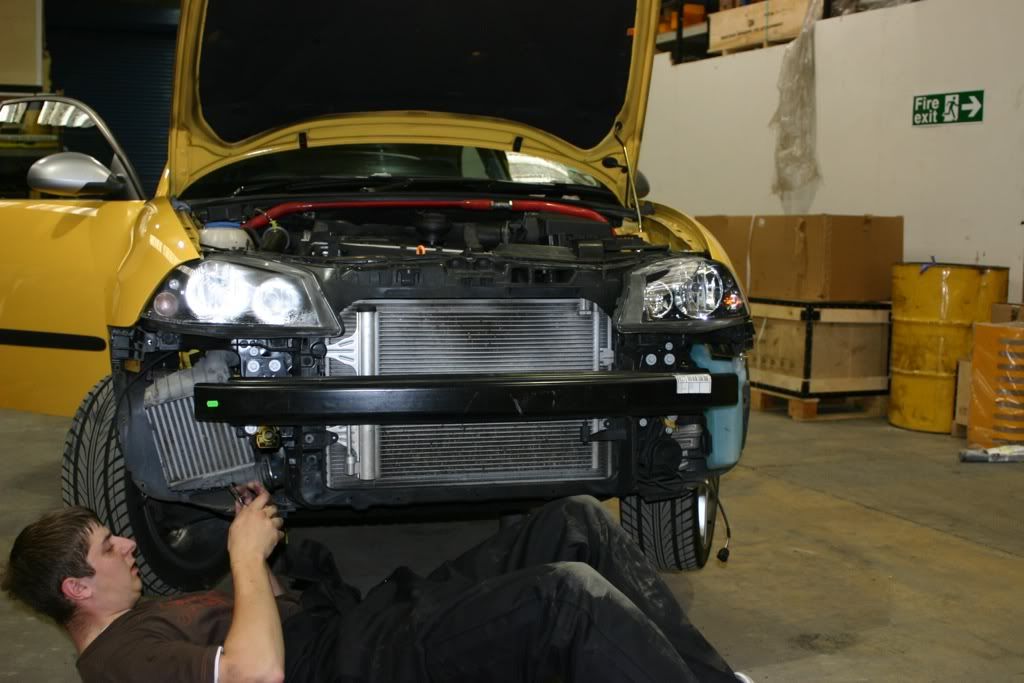
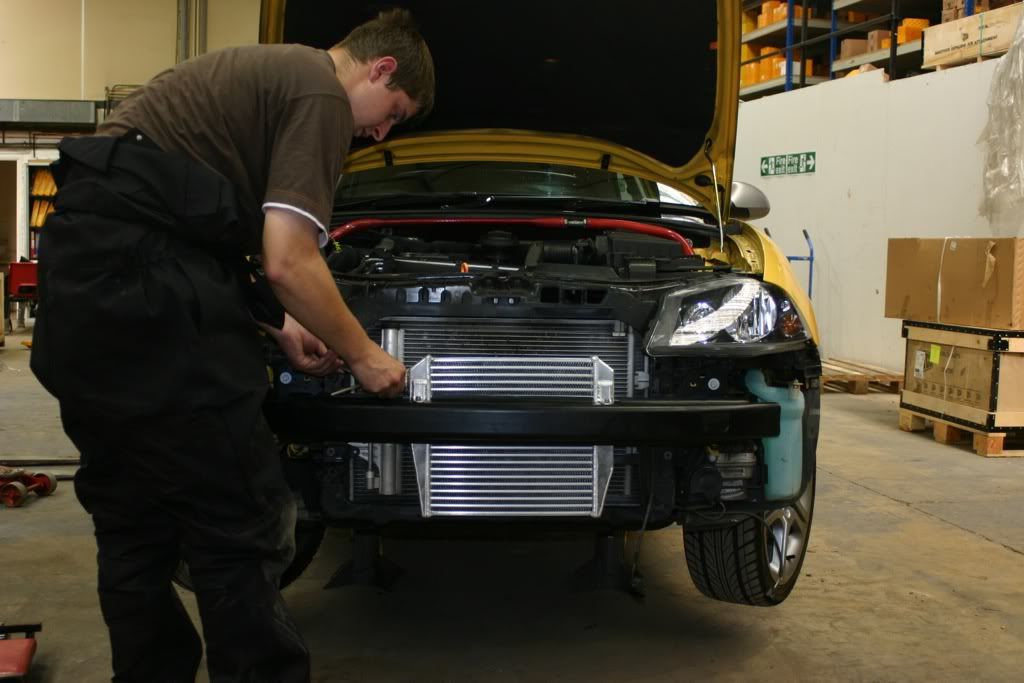
Another 3 months down the line though, the car was being booked in for some more treatment.. Turbo Dynamics MD515 Stage 2 Hybrid Turbo, Sachs Organic Clutch, Weitec Hicon GT Coilovers, Milltek Non-Res system with DeCat, Jabbasport RARB and a Forge FMIC, as the FMIC was delivered to home instead of Jabbasport I thought I'd have a go at fitting it myself..
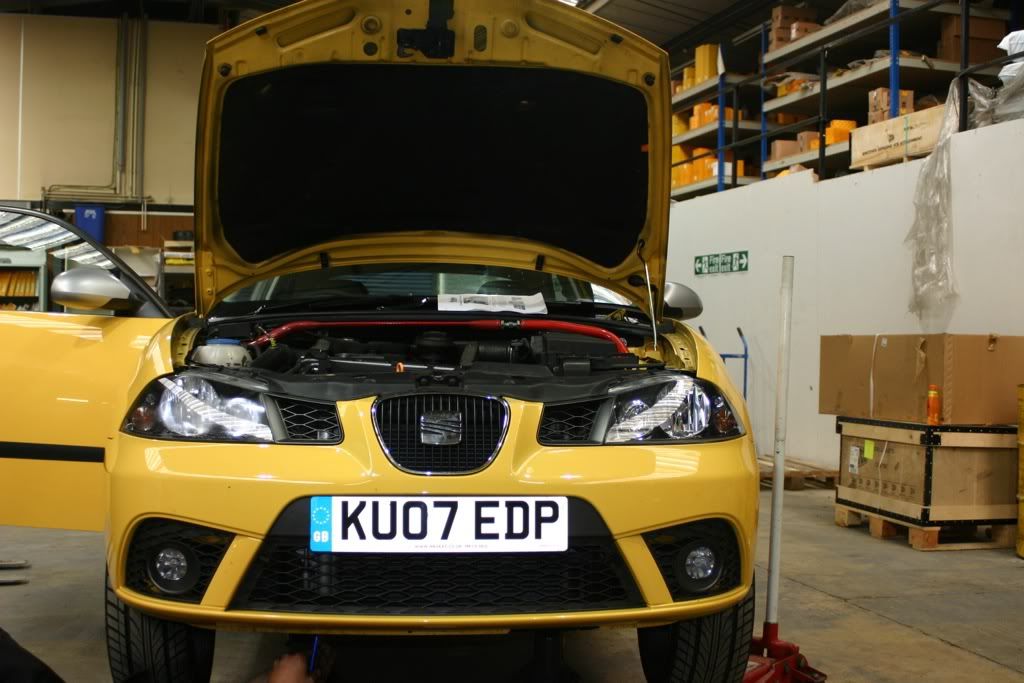
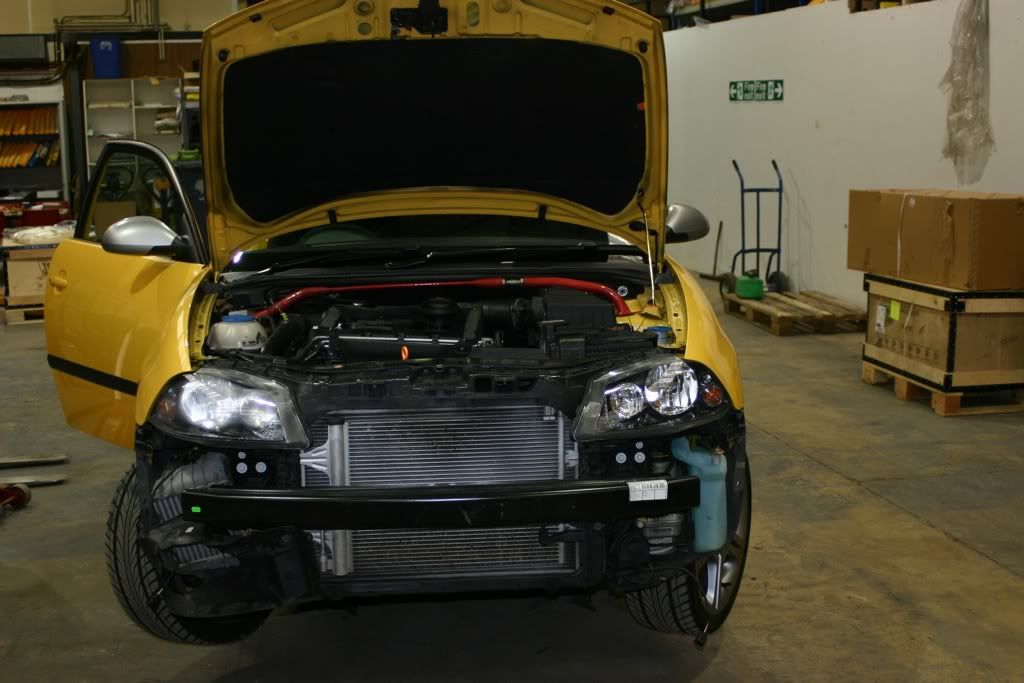
Milltek System..
As the car was still 'Running In' Jabbasport had difficulties mapping the car, there was lots of backwards and forwards journeys to have the map tweaked we found that the Forge FMIC brackets had broken, after receiving a new core from Forge and that snapping again they supplied a diesel dump valve..
Shown here with the SFS inlet pipe (quickly binned due to the valve opening all the time due to the boost pressure)

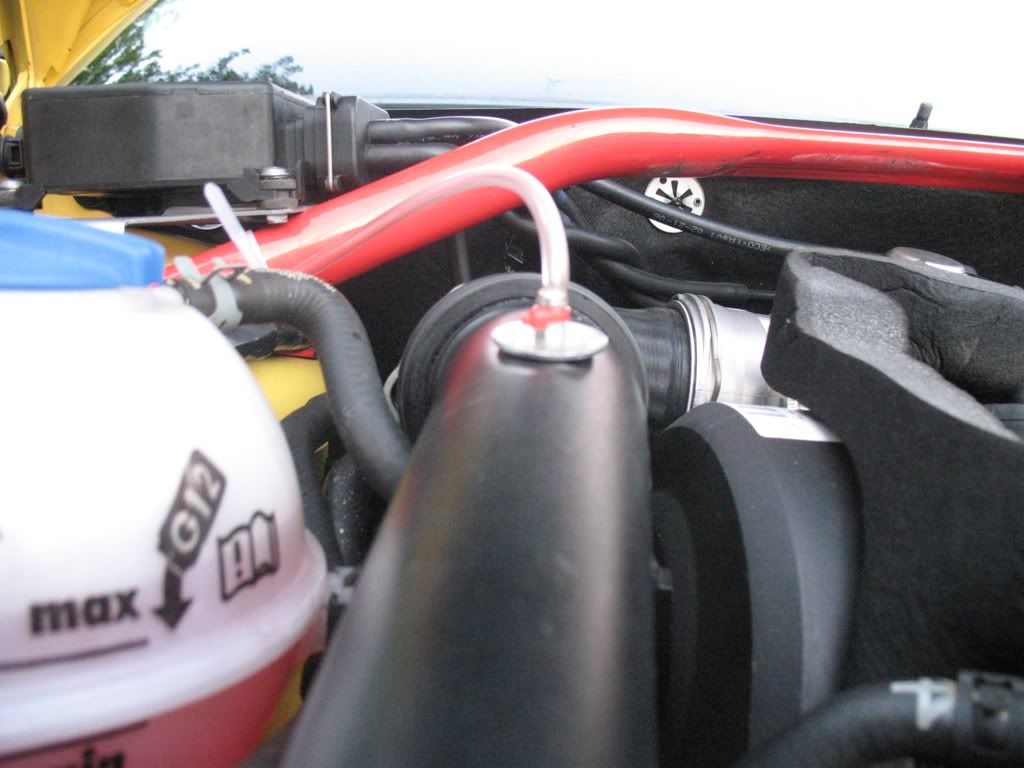
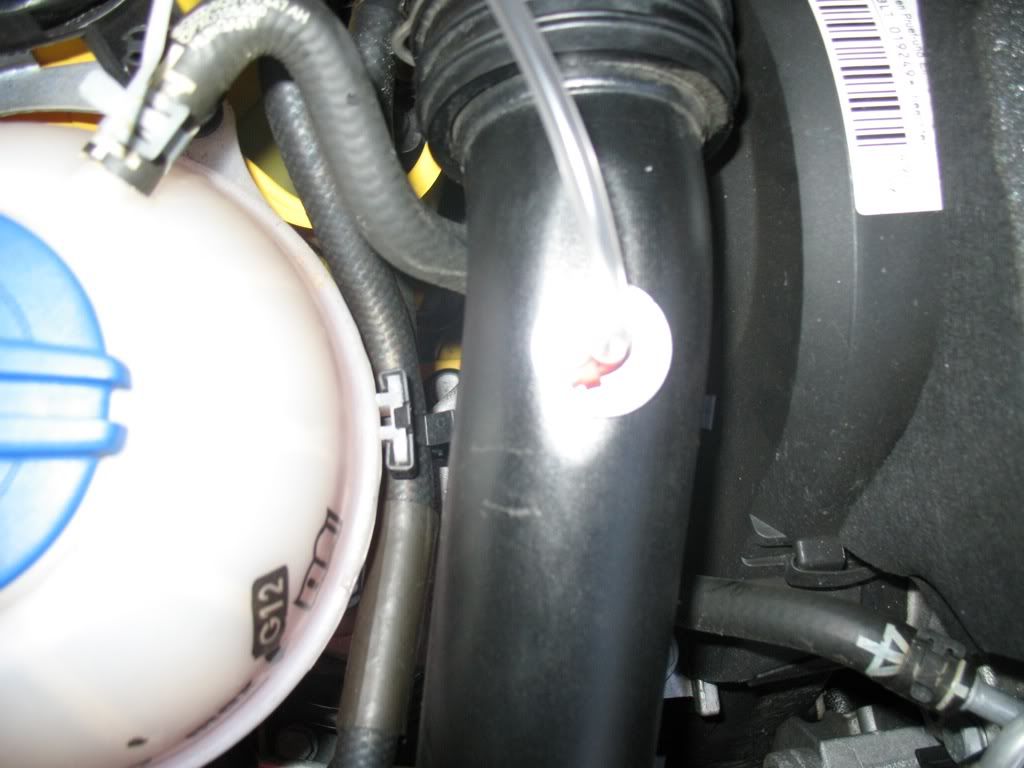
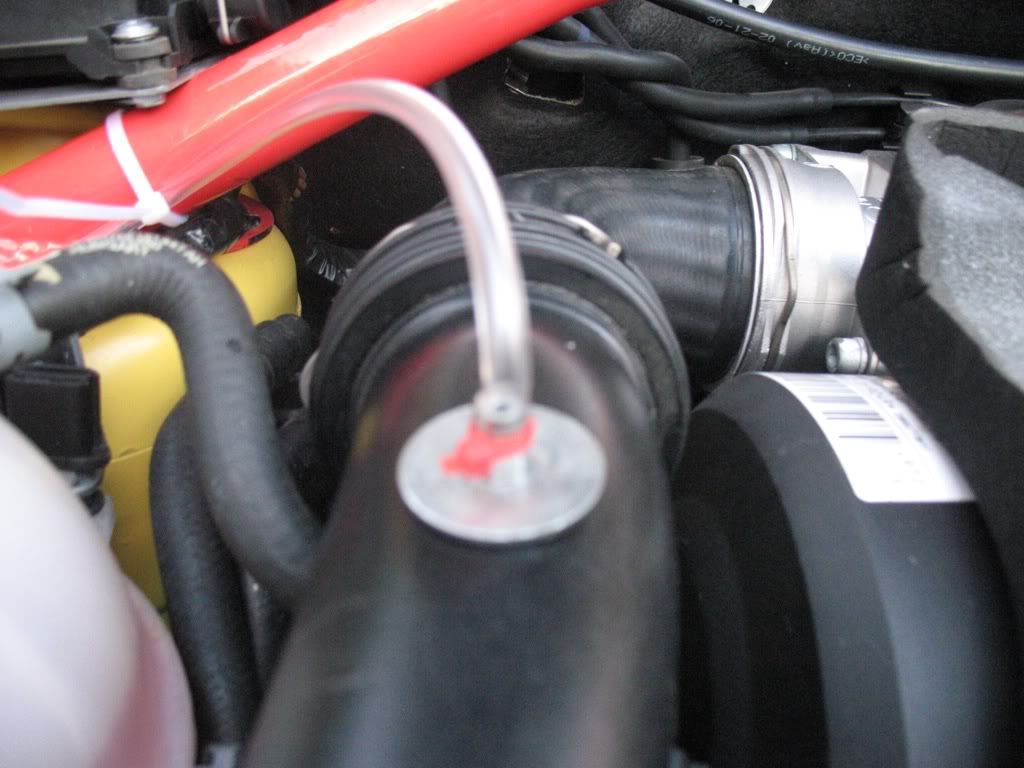
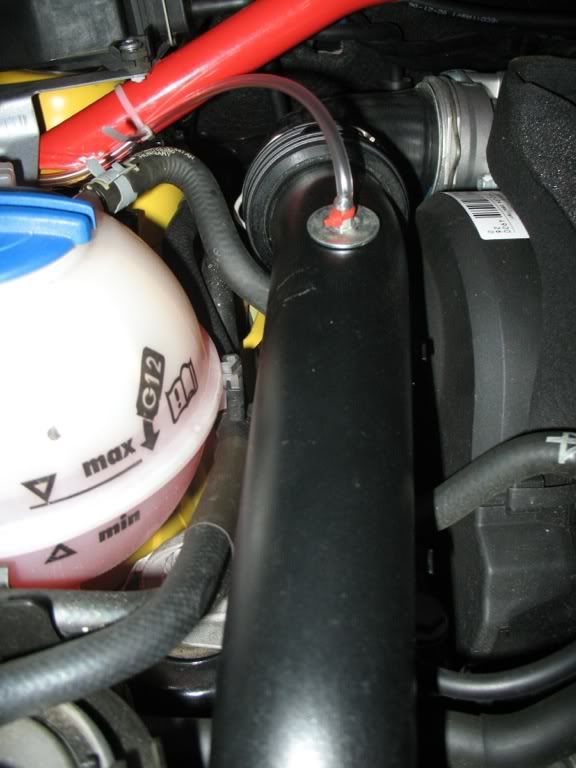
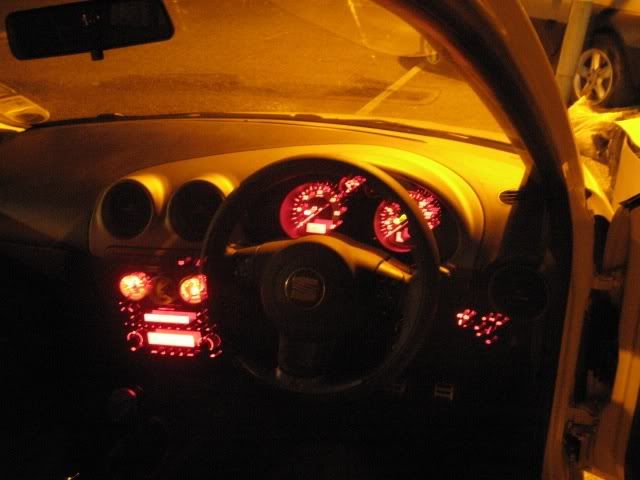
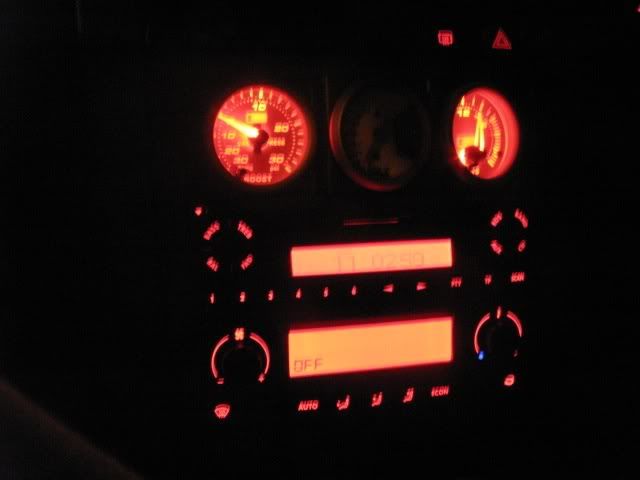
Due to the valve constantly opening a boost gauge was brought to try and figure out why, originally it was drilled into the plastic inlet manifold pipe..
The gauge was fitted into a 3 pod holder and placed in the tray above the standard head unit along with a voltmeter and an exhaust gas temperature gauge..
Going up the strip at Santa Pod, GTi Spring Fest..

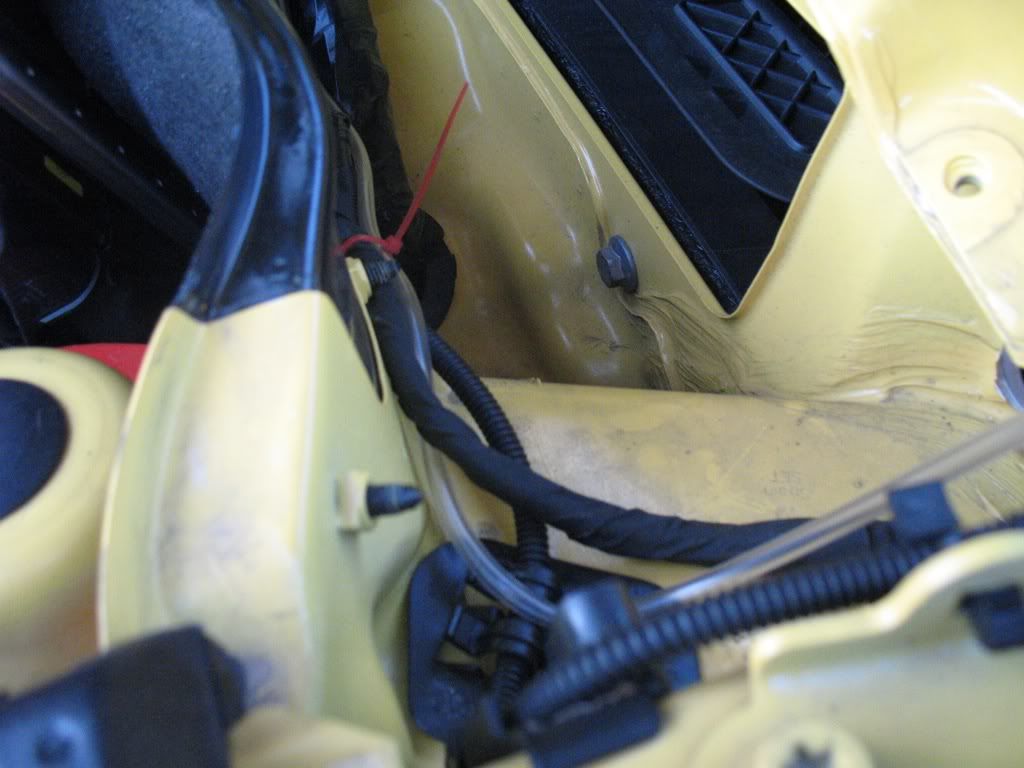
After snapping the engine mount chassis turret while going up the strip, trying to put the engine back in..

Proud owner with his 3 trophies (My Brother that is )

3 years, 3 trophies.. quickest diesel at santa pod

She is currently running around the 265BHP mark and at the limit of the 440ftlbs of torque on the clutch (which is currently slipping) at 38psi of boost
Mods to be done:
- Cupra Gear gaitor & Handbrake cover
- New Clutch
- SMF
- LSD
- Custom Car Mats
- ScanGuage re-locate
- Shorter Rear Springs
- Personalised Numberplate Changed Over
- Pre-Facelift Battery Box and Cover
- Audi R8 Oil Cap
- VW Scirocco Digital Aerial
- New Fog Lights (Both cracked)
- RH Inner arch needs replacing
- Weitec Coilover adjusters need replacing
More photos to come, hope you enjoy
Paulie..
Some of you eagle-eyed users may of noticed this car around here which makes this build thread slightly 'hollow' compared to others, but nevertheless here is it:
The car was owned my my brother who brought it from new, a 2007 Seat Ibiza FR PD130
Mods already done:
Engine
- Turbo Dynamics MD515 Stage 2 Hybrid Turbo
- Jabbasport Custom FMIC
- Allard EGR Replacement with Custom Made Intake Pipe Post 2 Post 3
- PiperCross Panel Filter
- PD160 Intake (Modified for extra airflow)
- Snow Performance Water/Methanol Injection
- Milltek full non-res exhaust system including decat pipe (twin jet tips)
- Full Gas Flowed and Port Matched Cylinder Head
Drivetrain
- Sachs uprated Clutch (Not sure which one)
- Weitec Hi-Con GT Coilovers
- Jabbasport Rear Anti Roll Bar
- Full Leon Cupra R Brake Setup with Goodridge Braided Brake Lines
- Polybushes
- OMP Upper and Lower Strut Braces Powdercoated In Yellow
- Seat Ibiza Cupra 17" Alloys Powdercoated in Matte Black
- Carbon Wrapped Centre Caps
- 15mm Rear Wheel Spacers
- 10mm Front Wheel Spacers
Bodywork/Interior
- 6000K HID upgrade
- Ibiza Cupra Rear Spoiler
- Leon Cupra R Front Splitter Sprayed Piano Black
- Centre Section Of Front Bumper and Fog Light Grilles Sprayed Piano Black
- Rear Bumper Centre Section Sprayed Piano Black
- Ibiza Cupra Black Wing Mirror Covers
- Ibiza Cupra Interior (Headlining, A's, B's and C-Pillars)
- Audi TT Pedals
- Double DIN Kenwood Headunit
- Custom Boot Build using Kicker L5 12" Square Sub
- ScanGauge fitted
- Carbon Wrapped B-Pillars
- Carbon Wrapped Rear Badge
- Philips Silvervision Indicator Bulbs
- De-Wipered Rear
- Black Wing Mirror Caps
- Blue Tinted Wing Mirror Glass
- Flip Key Upgrade
- Bonnet Gas Strutshttp://www.seatcupra.net/forums/showpost.php?p=3829312&postcount=237
How it looked as standard..
First off the standard calipers were painted red.
Next up was the OMP upper Strut Brace..
And the classic LCR Splitter..
After this was done, the car went up to Jabbasport for the first remap (car was approximately 6 months old at the time) coming away with 187BHP and a shed load more torque (can't remember the precise figure) the car felt like it had been transformed.
Another 3 months down the line though, the car was being booked in for some more treatment.. Turbo Dynamics MD515 Stage 2 Hybrid Turbo, Sachs Organic Clutch, Weitec Hicon GT Coilovers, Milltek Non-Res system with DeCat, Jabbasport RARB and a Forge FMIC, as the FMIC was delivered to home instead of Jabbasport I thought I'd have a go at fitting it myself..
Milltek System..
As the car was still 'Running In' Jabbasport had difficulties mapping the car, there was lots of backwards and forwards journeys to have the map tweaked we found that the Forge FMIC brackets had broken, after receiving a new core from Forge and that snapping again they supplied a diesel dump valve..
Shown here with the SFS inlet pipe (quickly binned due to the valve opening all the time due to the boost pressure)
Due to the valve constantly opening a boost gauge was brought to try and figure out why, originally it was drilled into the plastic inlet manifold pipe..
The gauge was fitted into a 3 pod holder and placed in the tray above the standard head unit along with a voltmeter and an exhaust gas temperature gauge..
Going up the strip at Santa Pod, GTi Spring Fest..
After snapping the engine mount chassis turret while going up the strip, trying to put the engine back in..
Proud owner with his 3 trophies
(My Brother that is )
3 years, 3 trophies.. quickest diesel at santa pod
She is currently running around the 265BHP mark and at the limit of the 440ftlbs of torque on the clutch (which is currently slipping) at 38psi of boost
Mods to be done:
- Cupra Gear gaitor & Handbrake cover
- New Clutch
- SMF
- LSD
- Custom Car Mats
- ScanGuage re-locate
- Shorter Rear Springs
- Personalised Numberplate Changed Over
- Pre-Facelift Battery Box and Cover
- Audi R8 Oil Cap
- VW Scirocco Digital Aerial
- New Fog Lights (Both cracked)
- RH Inner arch needs replacing
- Weitec Coilover adjusters need replacing
More photos to come, hope you enjoy
Paulie..
Last edited:


