Yellow Beastie - '03 LCR Now Stage 2 :D

FroggyLCR

Yellow Beastie
Oct 2, 2012
251
0
Norwich
Hello and welcome to my readers ride build thread.

This is my first venture into both writing a RR and into the VAG community of cars, but here goes!! :)

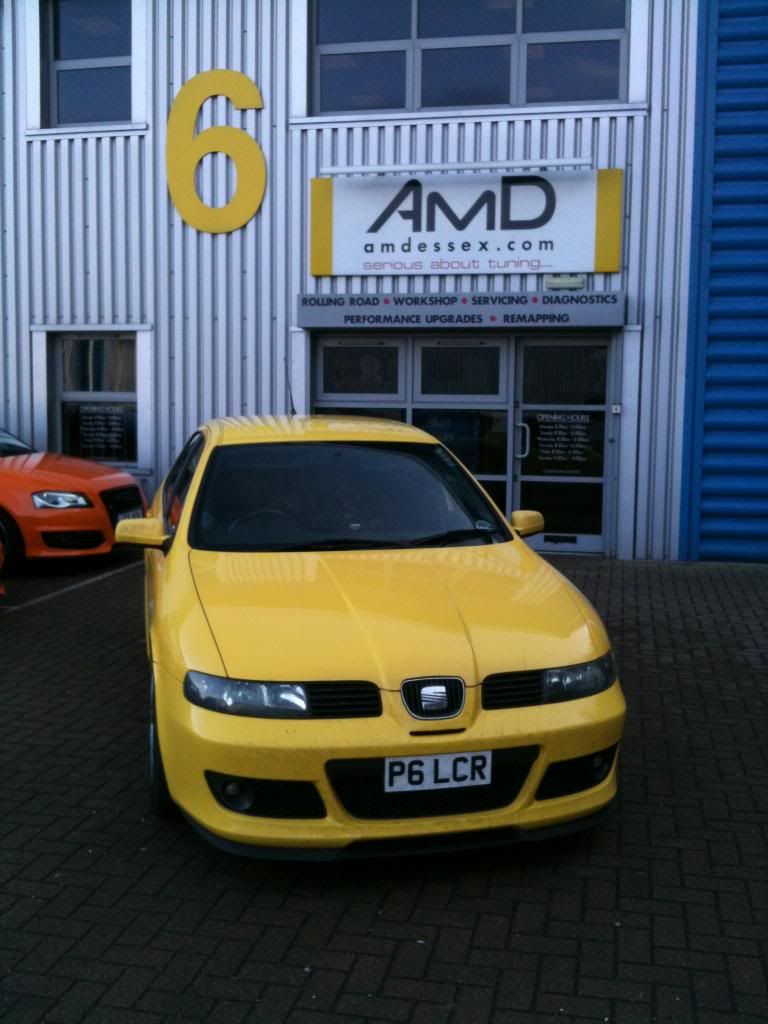
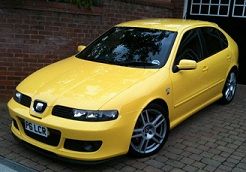
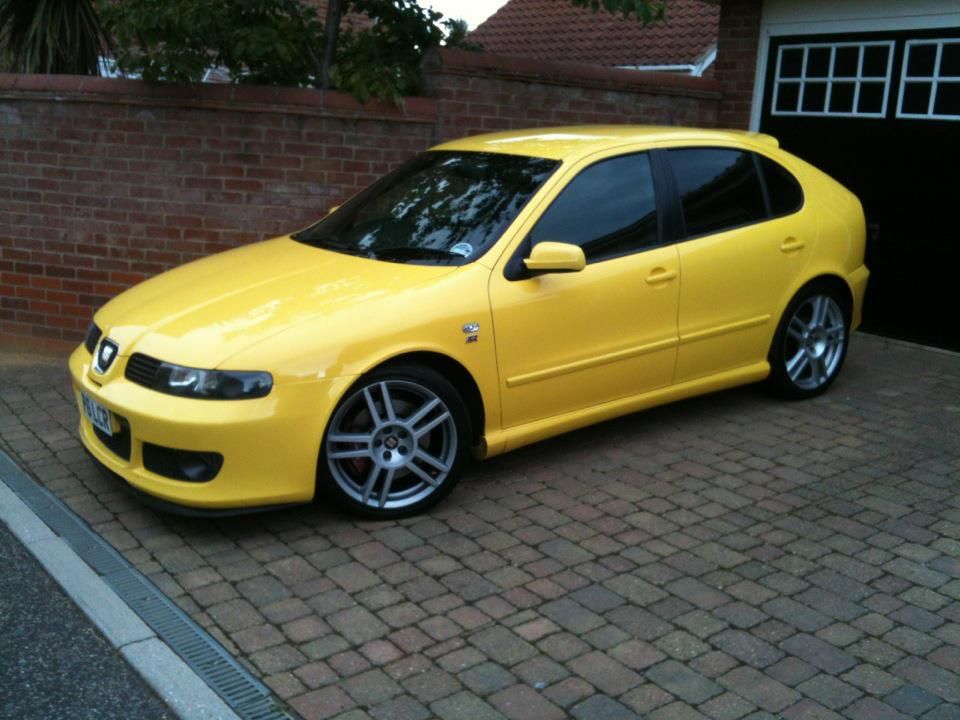
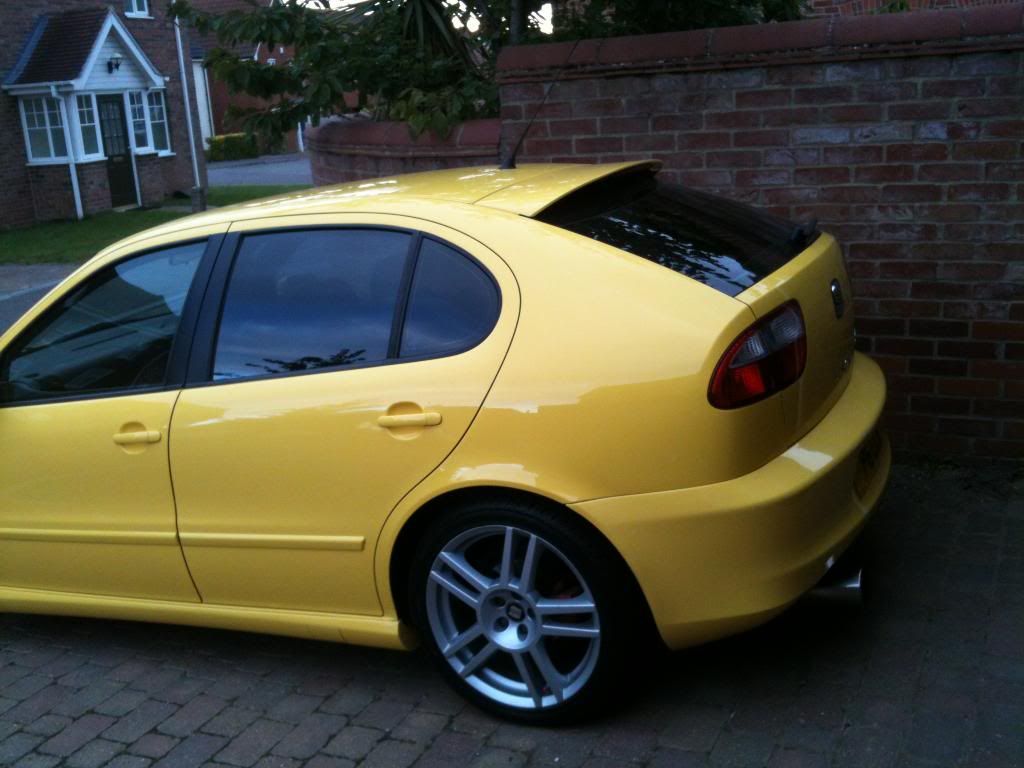
My new car is a 2003 Leon Cupra R in onvi yellow with the AMK engine. I bought her back in October last year with just over 82,000 on the clock.

My previous cars were a Fiesta 1.25 zetec, MG ZR160, MG ZS 120, MG ZS 180, Impreza sports wagon and before the cupra, a Mondeo diesel estate.

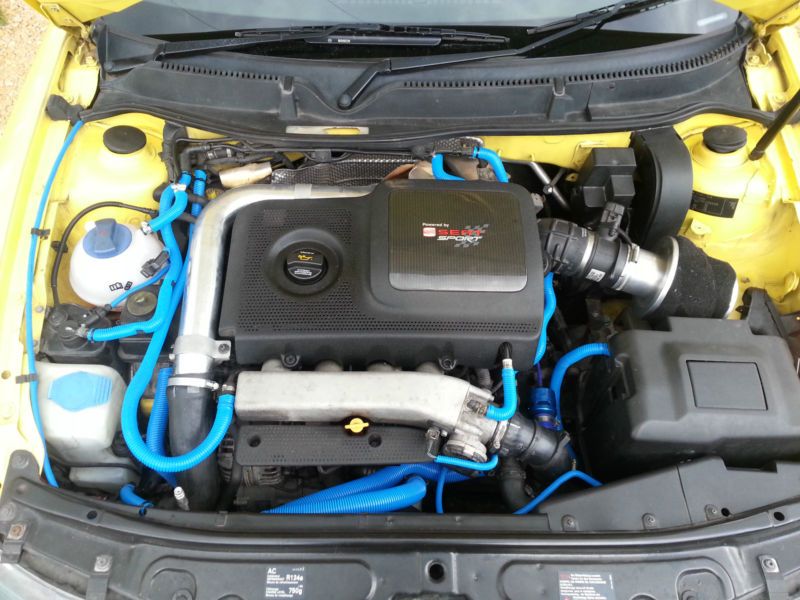
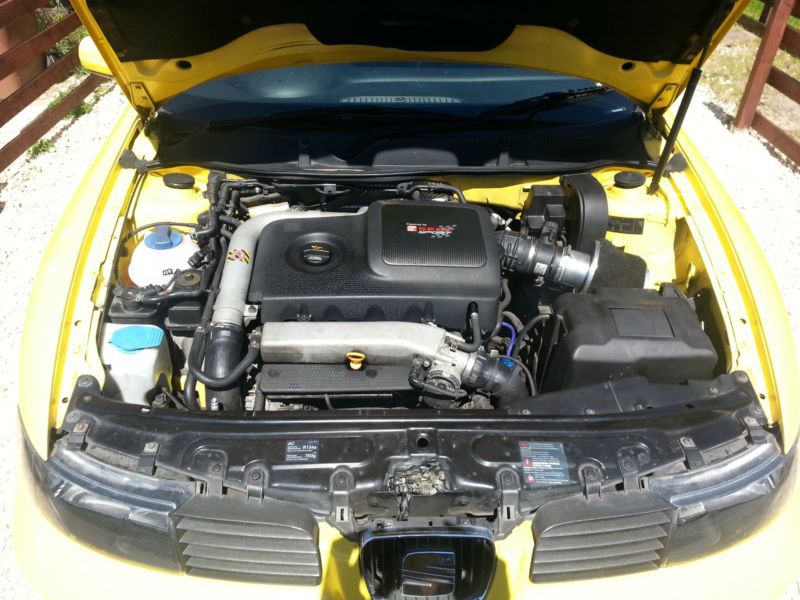
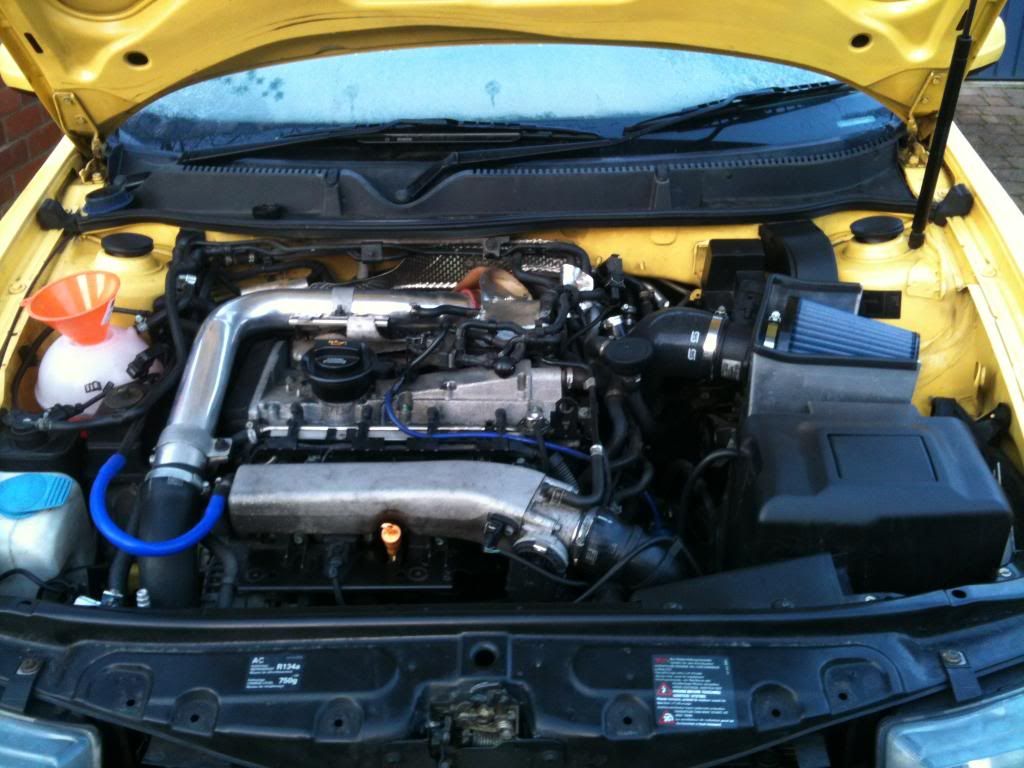
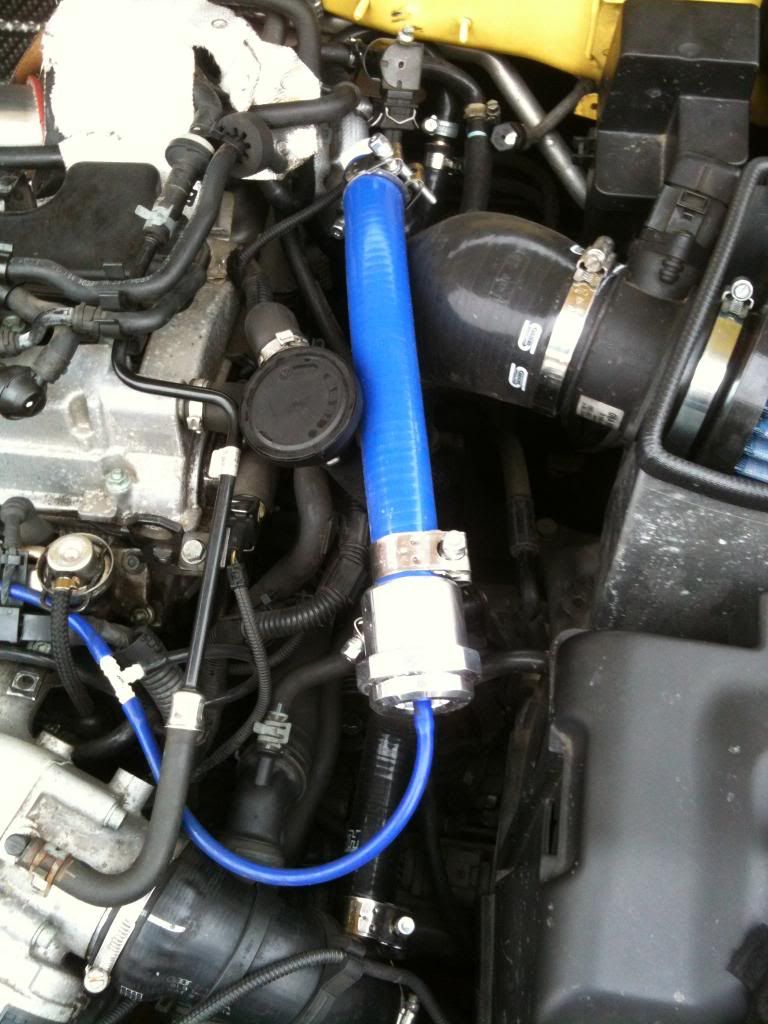
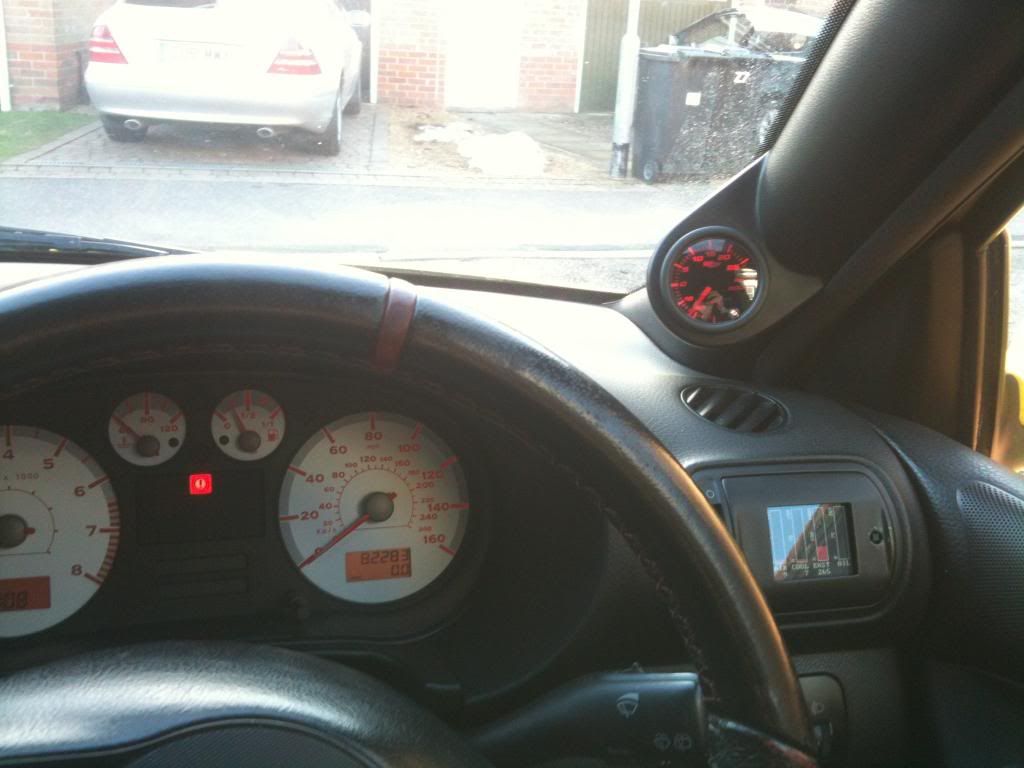
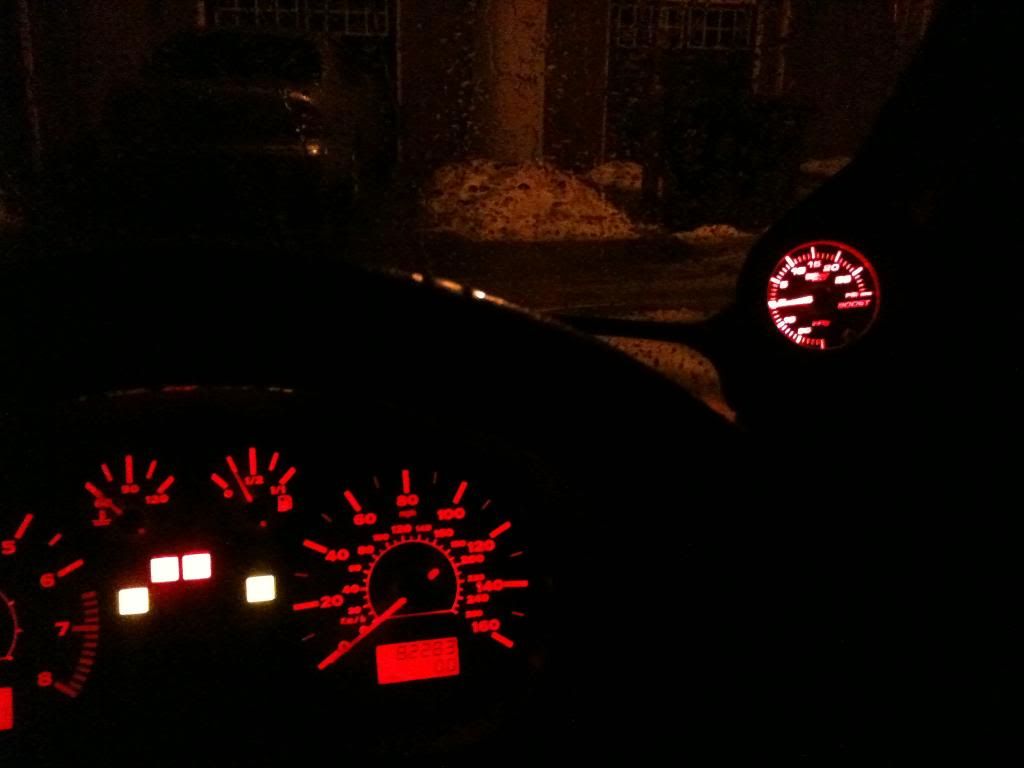
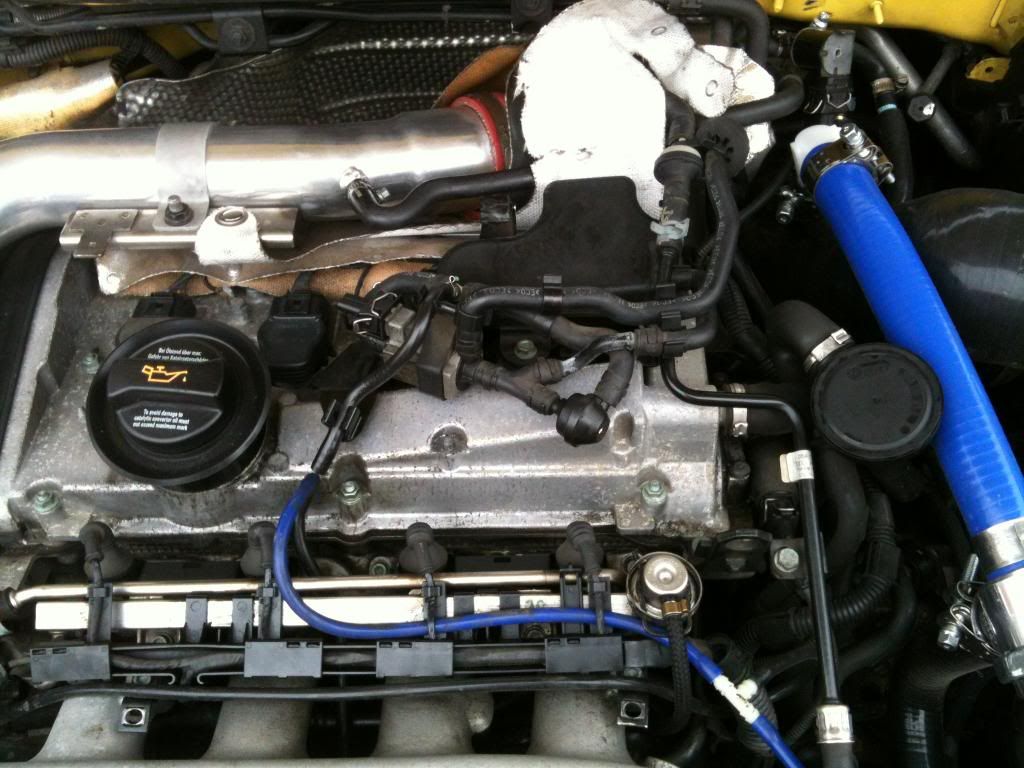
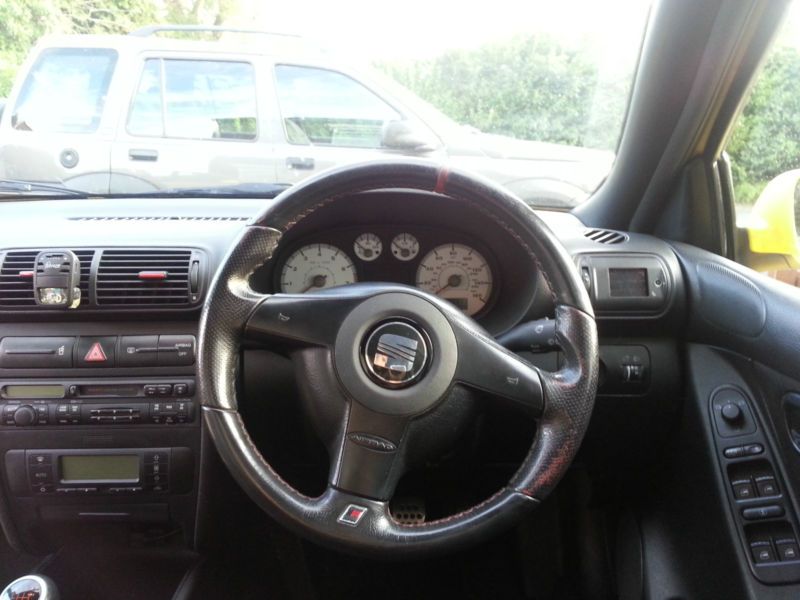
I bought the car in a very good condition with a few mods already done, Revo remap with SPS 2 switch, unknown 3" cat back stainless exhaust, pipercross foam air filter, bonnet sound deaderning removed, Liquid gauge in vent, Baileys atmosheric dump valve, Forge polished charge pipe, personalised number plate and a new paint job.

Unfortuantly this won't be the thread with the quickest progress, but I will get there!

Few photos,

LCR2photobucket.jpg


LCR1_zpsf2e3442d.jpg


IMG_1514_zps30e5690a.jpg


IMG_1494_zps0997e948.jpg
 
Last edited:

FroggyLCR

Yellow Beastie
Oct 2, 2012
251
0
Norwich
First job was to remove the blue plastic covering over some of the engine bay hoses, just wasn't my thing.

Before,

IMG_1496_zps3408e996.jpg


And after,

IMG_1497_zps3e5a5484.jpg


Looks a lot better I feel.

Next job was to swap out the standard oem headunit and cd changer to get some glove box room back.

Going in was my Alpine unit. (--Under construction-- Awaiting daylight to get photos!!--)
 
Dec 29, 2010
1,115
0
Mids
That blue trunking looks poo m8, your right nice lookin motor and not to faded


Sent from my iPad using Tapatalk HD
 

FroggyLCR

Yellow Beastie
Oct 2, 2012
251
0
Norwich
Thanks! She had a respray so thankfully no fade. Got plenty of stone chips to attack at some point mind.

Yeah, I will add photos and details of headunit tomorrow. Need to photograph my other mods to date so I can get properly upto date tomorrow.
 

Andi

Back in Black
Mar 5, 2006
493
0
Inverness
First job was to remove the blue plastic covering over some of the engine bay hoses, just wasn't my thing.

Before,

IMG_1496_zps3408e996.jpg


And after,

IMG_1497_zps3e5a5484.jpg


Looks a lot better I feel.

Next job was to swap out the standard oem headunit and cd changer to get some glove box room back.

Going in was my Alpine unit. (--Under construction-- Awaiting daylight to get photos!!--)

Your second job should be to remove that Atmospheric Dumpvalve :thumbd:
 

ReDBull

Every day's a school day.
Nov 21, 2006
2,991
13
Lincoln
Nice looking car I'm jealous of you paint work!!! Sorry I just realised I did reply to you last pm, very rude. You said that you're looking at the Airtec FMIC. Have you looking into the Wellycooler as an alternative cheaper option? I can't believe you lived at the end of my road all that time. You should of bought an LCR sooner!
 

FroggyLCR

Yellow Beastie
Oct 2, 2012
251
0
Norwich
Hey RedBull, Lol, would of loved a Cupra sooner but had to wait till I had the cash unfortuanatly! Did I read on your thread your heading over to Marham soon? Have to give us a shout mate, I'm only 30 minutes ish away up the A47.

Yeah, have considered the welly cooler but for me its got to be the Airtec model. Have had some very good reviews of it I trust. Hopfully will be fitted inside next 5 months.
 

FroggyLCR

Yellow Beastie
Oct 2, 2012
251
0
Norwich
Right, as above I soon swapped out the standard oem headunit with my Alpine iDA-X100. Has full ipod control, 3.5mm aux input and a 6 disk cd changer under the passenger seat. Standard cd changer was removed and replaced with the cubby hole type insert.

IMG_2257_zpsdefd1733.jpg
 

FroggyLCR

Yellow Beastie
Oct 2, 2012
251
0
Norwich
Next up was to get into the engine bay for some breathing mods. So enter a turbo inlet pipe, jentex cone and heatsheild from Badger 5.

IMG_1589_zps67bd988f.jpg


and fitted,

IMG_1591_zps4d14b61b.jpg


IMG_1761_zps7e50fd99.jpg


Next up was the Baileys atmopsheric dump valve. I have replaced it with a Forge 007 recirculating one, with the green spring swapped out for the yellow one from the spring kit. Much better!! Helpfully, a previous owner had fitted a cold side relocation fitting for the atmosheric dv so I now have the correct dv on the coldside. The blue silicon pipe will be soon replaced by the same in black and have a metal elbow to replace the white plastic one going into the tip.

IMG_2240_zpscadcdf87.jpg
 
Last edited:

FroggyLCR

Yellow Beastie
Oct 2, 2012
251
0
Norwich
Next up, following on the boost theme was a glow shift boost gauge to complement my liquid gauge. Boost gauge was fitted in a nomad pod. I went for the glow shift as I wanted one without a white face, black bezel surround and be blank when the key is out. It it switchable between 7 different colours. I tend to leave it on red to match up with everything else but the yellow is good during the day, just a bit different as it matches the paint work!

IMG_2176_zpsd649af27.jpg


IMG_2147_zpse1b1feb1.jpg
 

FroggyLCR

Yellow Beastie
Oct 2, 2012
251
0
Norwich
Up until last friday than these mods are all I had got done so far.

Friday I took my first trip to AmD Essex. I had the boost system checked over to make sure it was all working correctly and to get the dog bone bushes changed for poly ones.

Turns out all was good with the engine and the dogbone bushes feel good with hardly any vibration.

IMG_2220_zps04e4a2c2.jpg


I had washed her ready for turn up at AmD all clean and shiney but the snow and rain soon ruined that effot!

I have also removed the LEON badges from the boot and fitted yellow dust caps on the wheels.

Best performance figures so far, taken of the liquid gauage are 271bhp and 320 lbft tourque. Happy with thoses and knowing the engine is running strong and correctly with no error codes. Now bring on exhuast mods and new cooler!
 
Last edited:

FroggyLCR

Yellow Beastie
Oct 2, 2012
251
0
Norwich
With thanks to a conversation and a comparision of engine bays (Which left me very jealous!) with t0m I finally removed the PCV and pipe work. Simples when you know how, so cheers t0m!!

Before,

IMG_2246_zpsa1bacaf3.jpg


And after,

IMG_2248_zpsa833bb72.jpg


Took it for a good run down a few A roads and back and all feels good. Would say its deffinantly smoother boosting now, which it good :)

So thats everything to date. Next up will be either new downpipe and decat or a whole turbo back 3" cobra system, airtec fmic and rip out the breather pipe work and fit a oil catch can. Fingers crossed any ways!! :)
 
Last edited:
Oct 21, 2006
1,226
1
Norfolk
A very nice example of an Ovni, and nice healthy figures for an '03 too. It's amazing how your attention can be drawn to detailing the engine bay. It took me ages to achieve an OEM+ look, but the effort is worth it as these bays come up really well. Are you thinking Milltek for the exhaust?

Keep up the top work :)
 

FroggyLCR

Yellow Beastie
Oct 2, 2012
251
0
Norwich
Thank you James :)

Miltek is sooo expensive. Not saying its not worth the money, but its more cash than I have for an exhaust!

Most likey is a Cobra system. 3" turbo back with decat, resonated centre section and 6x4" oval tail pipe with out the baffle. Just need to get saving for it now! Spent enough this month with the new dv and my trip to AmD considering have to tax and mot her in the next few weeks. Due a service soon too.
 

FroggyLCR

Yellow Beastie
Oct 2, 2012
251
0
Norwich
Dammit, I feel very stupid now lol!!

I removed the black box on top of the rocker cover, right hand side of the cover and asscoiated pipe work. I still have the electrical conector fitted to the grey section untill I work out how best to fit the resistor to the loom plug. Just removed the three hoses from it and tucked it away for now.

I thought this black box etc was the PCV and the N249?? Can you tell this is my first Audi engine! Back to the books for me............

dazjstuart, many thanks for your commet :) Much appreciated!