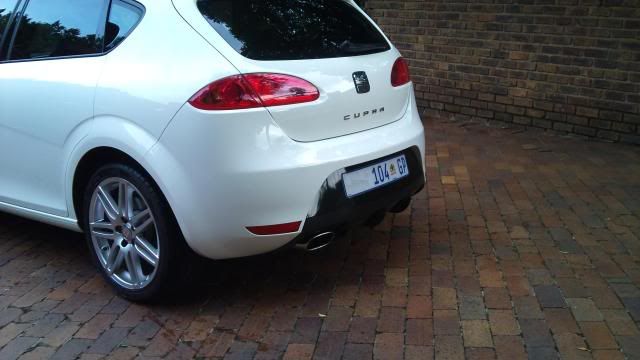
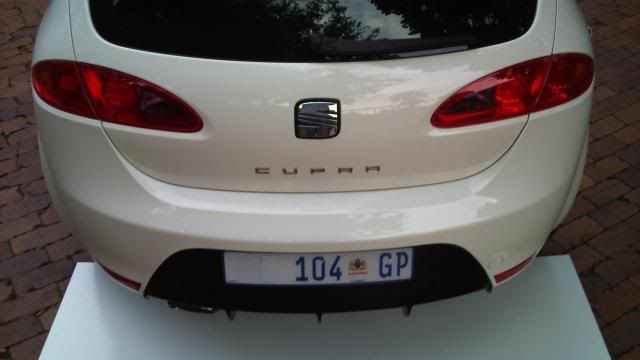
A few months ago I came across this attachable diffuser for the Leon (FR and CUPRA).
I really liked the look and went about researching where to buy them from. Eventually I found a supplier (with some help from fellows on this forum) and through shipment and currency conversions would have cost +-R7k (500+ pounds) to get one. Little bit steep for a piece of plastic.
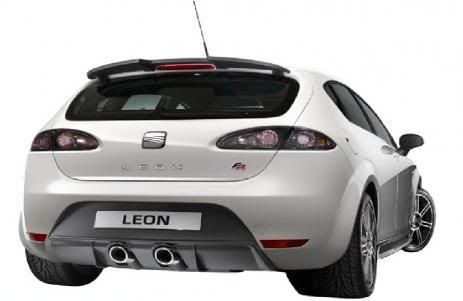
I then turned to the idea of making my own diffuser, knowing that I should be able to make one for much less than the one available overseas. It had to be as good quality if not better than the R7k diffuser. Before starting with any construction I did a lot of image searches on the net for cars (hatchbacks) with diffusers. I came up with cars like the facelift Focus STs, the concept Alfa Mito GTA, and Clio RS. I didn’t want a Jap style massive diffuser. I wanted the diffuser to look as OEM as possible.
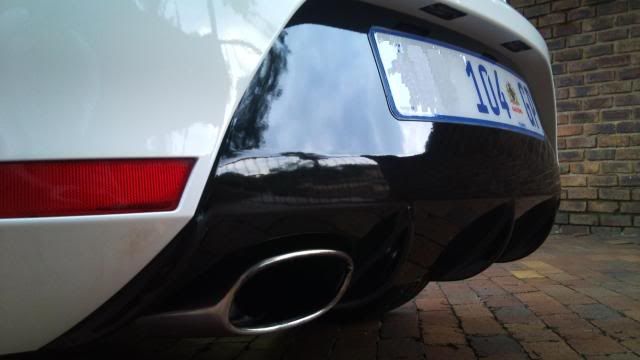
The sequence of images is how I went about making the diffuser. . .
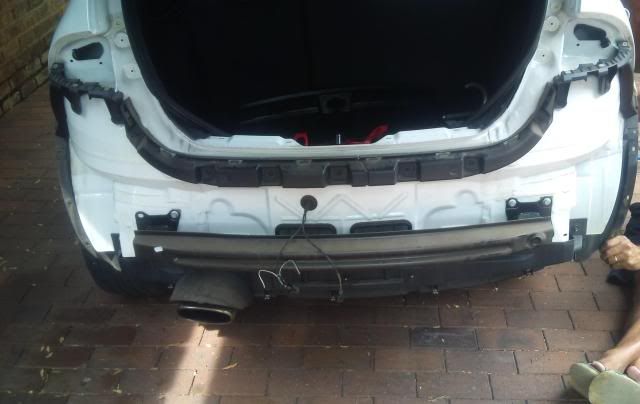
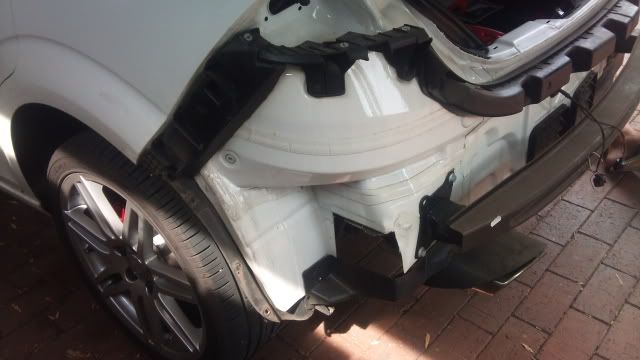
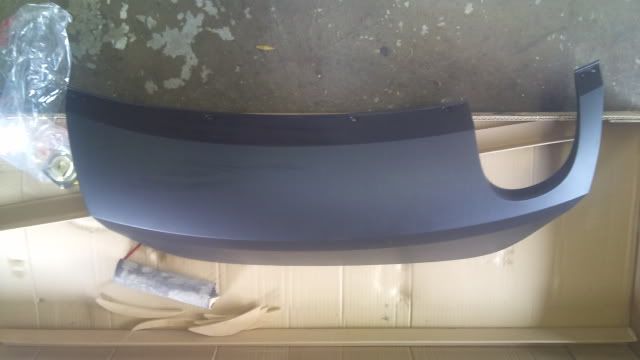
I bought a new grey plastic “diffuser/bumper” from a dealer for R500, I didn’t want to work on the original on the car.
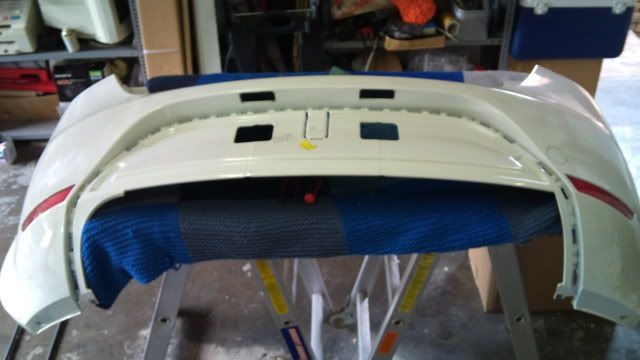
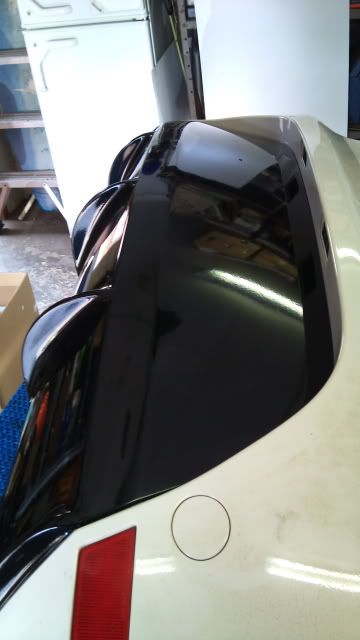
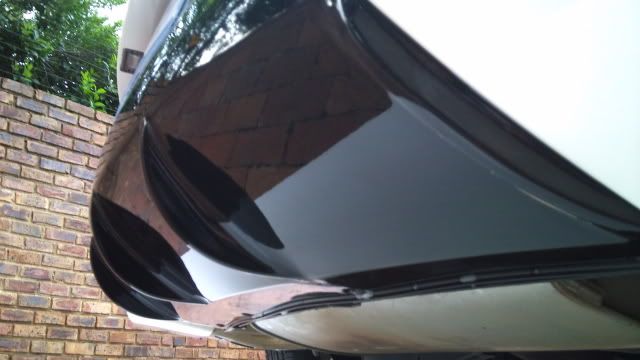
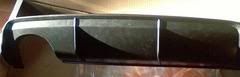
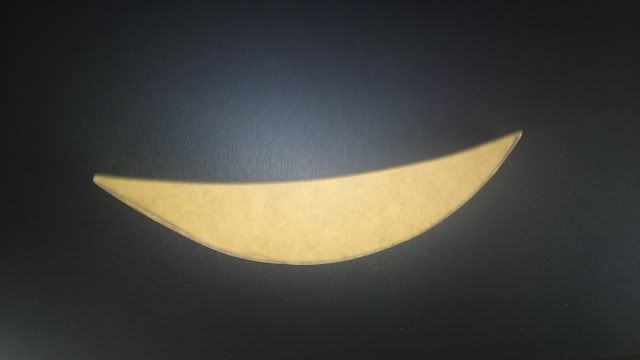
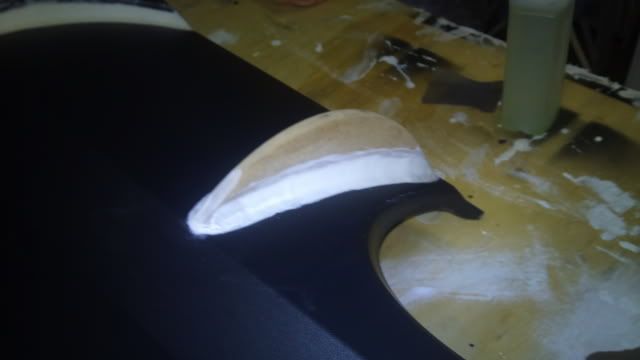
After a few attempts I got the fin to sit neatly to the curve of the plastic, using a jig-saw to profile and sand paper to make final adjustments. The fins are made from superwood (the only material that I could think of at the time), after sending it out for spraying it was suggested that thick plastic sheet would have been better to use. The profiled diffuser fin:
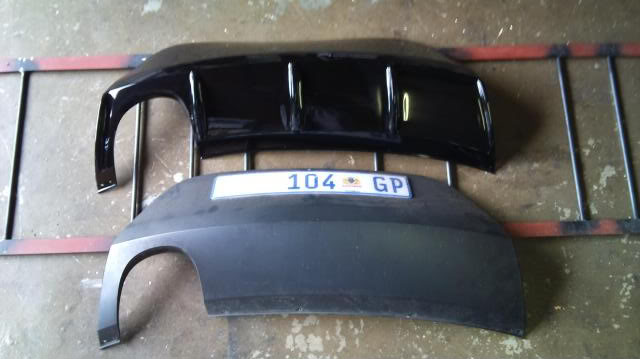
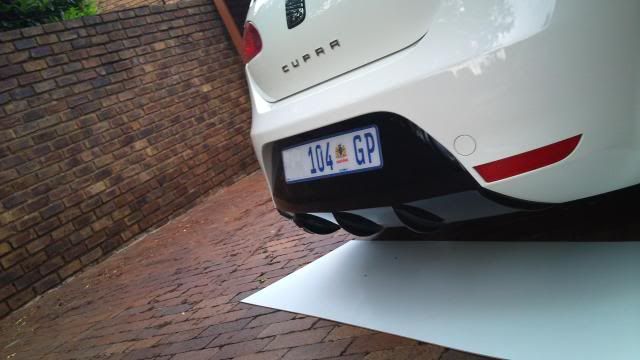
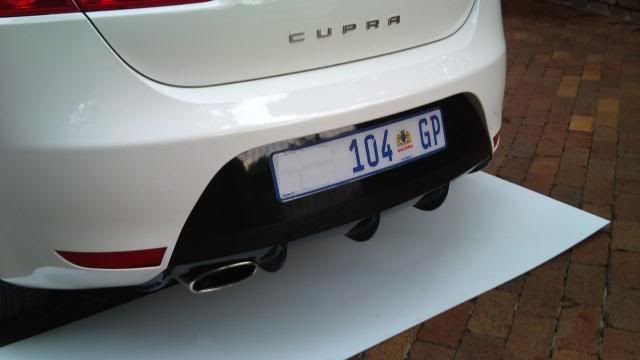
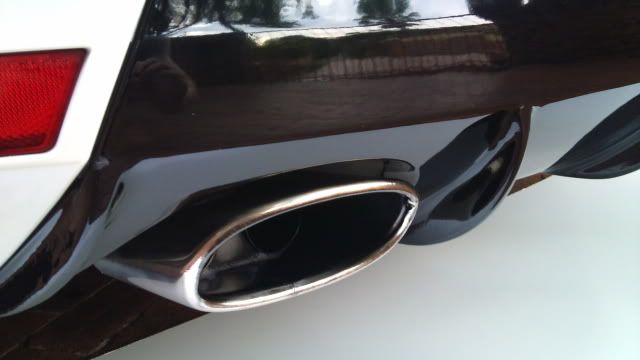
The leading edge blending with the bottom flat and the trailing edge blending to the vertical part of the plastic diffuser.
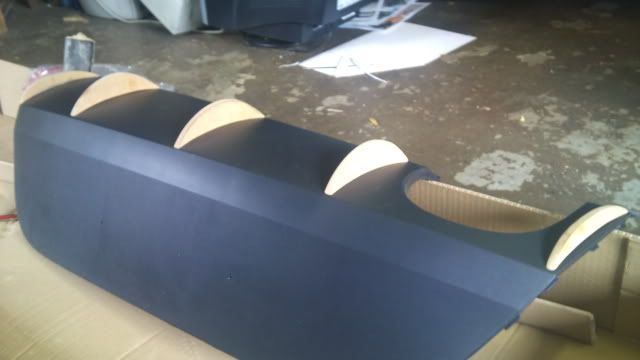
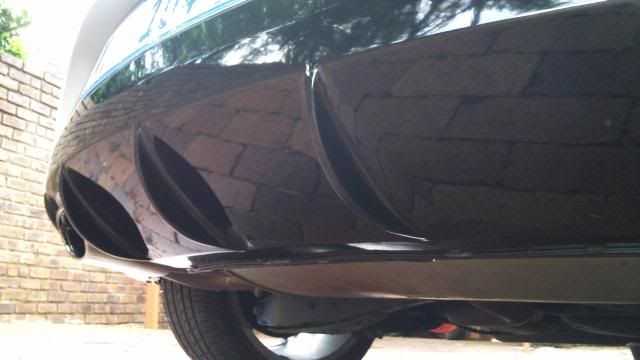
The fins were attached through the back of the plastic bumper with self taping screws. 4 were needed for each fin to stop the ends from wanting to pull away from the plastic (after painting).
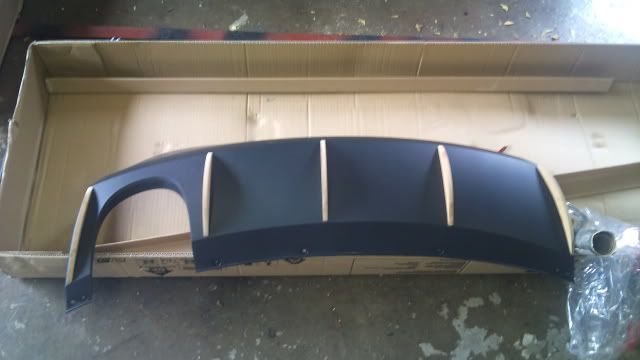
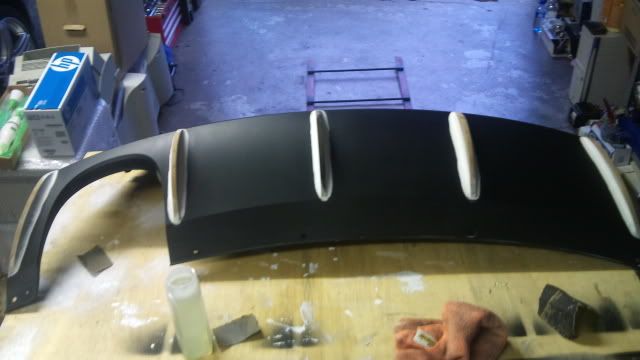
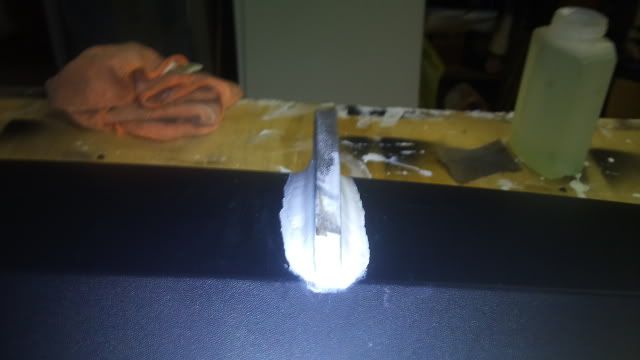
After looking at the diffusers on the above mentioned cars I wanted to fillet the edges of the fins to make them blend in with the plastic bumper. The fillets were made with body filler and sanded to smooth and blend them to the bumper.

I really liked the look and went about researching where to buy them from. Eventually I found a supplier (with some help from fellows on this forum) and through shipment and currency conversions would have cost +-R7k (500+ pounds) to get one. Little bit steep for a piece of plastic.
I then turned to the idea of making my own diffuser, knowing that I should be able to make one for much less than the one available overseas. It had to be as good quality if not better than the R7k diffuser. Before starting with any construction I did a lot of image searches on the net for cars (hatchbacks) with diffusers. I came up with cars like the facelift Focus STs, the concept Alfa Mito GTA, and Clio RS. I didn’t want a Jap style massive diffuser. I wanted the diffuser to look as OEM as possible.
The sequence of images is how I went about making the diffuser. . .
I bought a new grey plastic “diffuser/bumper” from a dealer for R500, I didn’t want to work on the original on the car.
After a few attempts I got the fin to sit neatly to the curve of the plastic, using a jig-saw to profile and sand paper to make final adjustments. The fins are made from superwood (the only material that I could think of at the time), after sending it out for spraying it was suggested that thick plastic sheet would have been better to use. The profiled diffuser fin:
The leading edge blending with the bottom flat and the trailing edge blending to the vertical part of the plastic diffuser.
The fins were attached through the back of the plastic bumper with self taping screws. 4 were needed for each fin to stop the ends from wanting to pull away from the plastic (after painting).
After looking at the diffusers on the above mentioned cars I wanted to fillet the edges of the fins to make them blend in with the plastic bumper. The fillets were made with body filler and sanded to smooth and blend them to the bumper.