
Decided I don't much like the textury plasticyness of the B-pillar trim so decided this weekend shall be partly spent glossing them up.
Required:
Something to remove the trim with, I used a desert spoon wrapped in a microfibre cloth
Assorted Sandpaper
-P80
-P400
-P800
-P1200
Primer
Paint
Leveller
Lacquer
2.5mm thick doublesided foam sticky stuff (like numberplate tape only thicker)
Difficulty:
1/5 - Seriously, even I'm managing to do it!
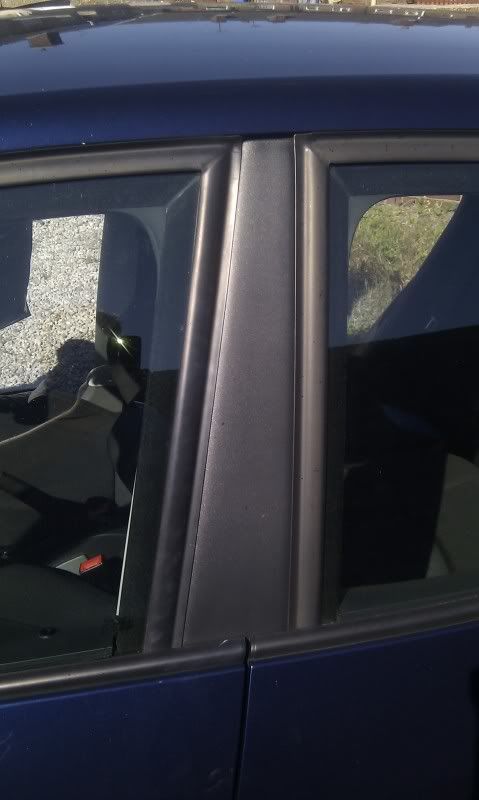
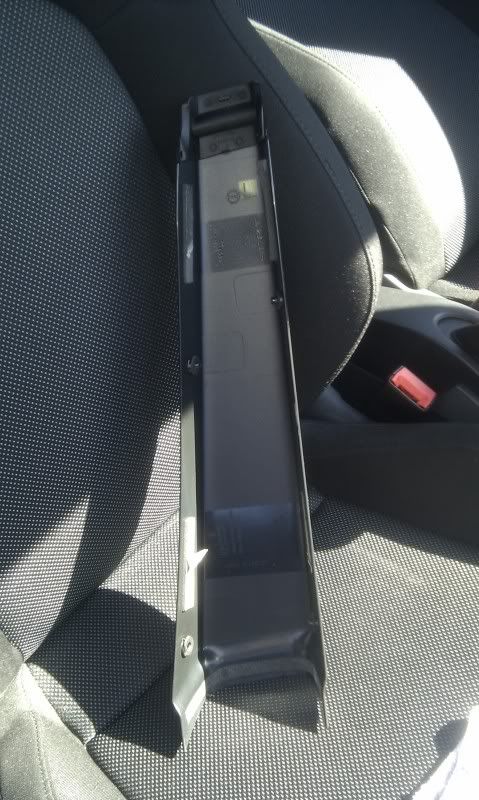
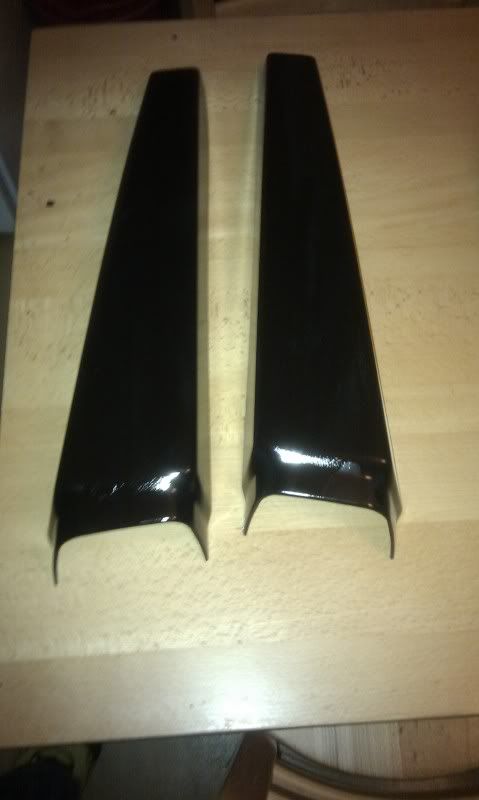
(Just so we're clear what i'm talking about)
Step One,
removing them;
This is a doddle, the trim is held on by a strip of tape at the bottom of the trim, and 2 pieces either side. It's kept in position by 4 plastic prongs (not clips, they just slot in to the B-pillar)
Yeah, pictures make it easier to understand...
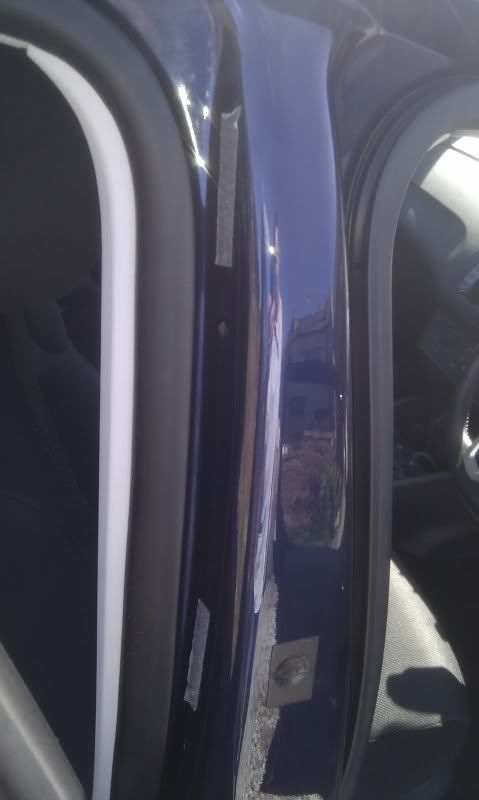
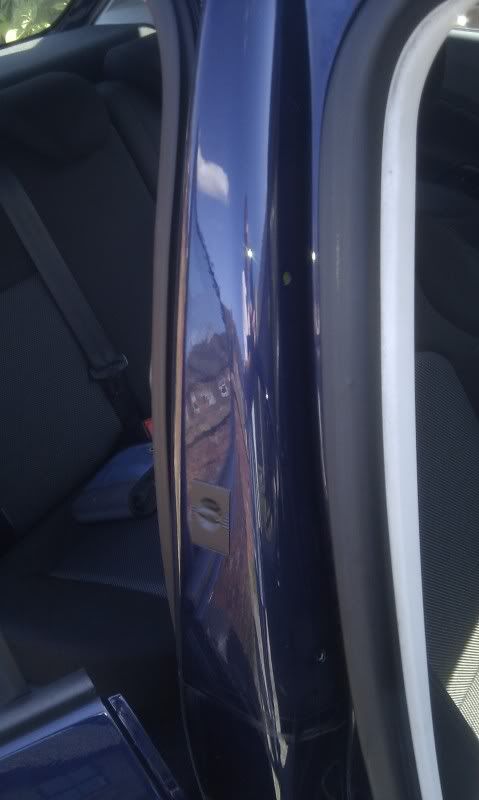
Easy on a warm day like today, if not, use a hairdryer to soften the glue slightly, then use the trim removal tool (or spoon in cloth) to prise the sides away and it'll come off quite easily.
Keep an eye out in case you snap a prong off, (i did one on each bit of trim, d'oh) guite easy to superglue back in place though if you do.
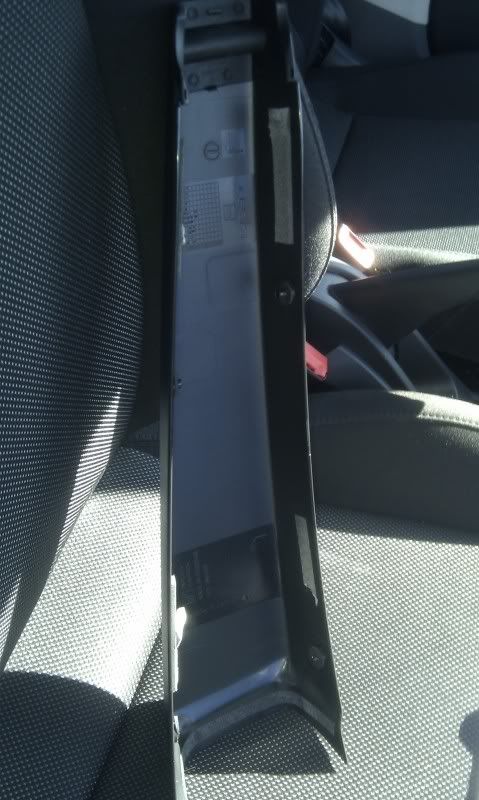
Take off the bits of rubber from the top of the trim, (pinch the sides of the rubber in and it'll come out with a wiggle, keep them safe.

Step Two
Sanding them down.
Start off with the P40 paper,
go to town on them, you want to sand down the texture stuff. Don't go crazy on the pressure as the plastics pretty soft, but the texture goes deeper than it appears at first glance, and remember to keep the sanding elvel even across the whole piece.
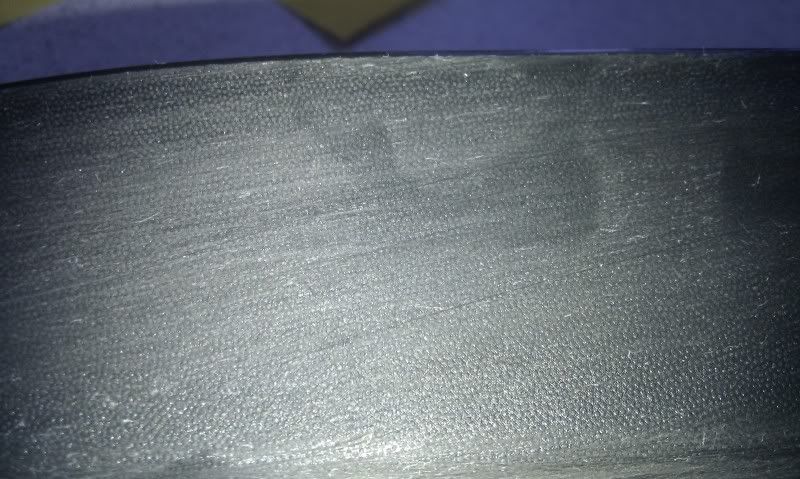
It may look like you're scratching it to hell, don't worry, we'll sort that out once the textures levelled back.
(I didn't bother doing the backs of them, they're out of sight so why bother?)
Step Three
Prepping for paint.
Once you've sanded the textured down enough, rinse the trim under a tap and brush off the shavings. Don't bother drying it, just crack straight onto it with the P400 paper.
This'll smooth off the trim where the P40's been.
Rinse and repeat with the P800 paper to get a nice smooth piece of trim. It'll feel smooth but be rough enough for the primer to stick to.
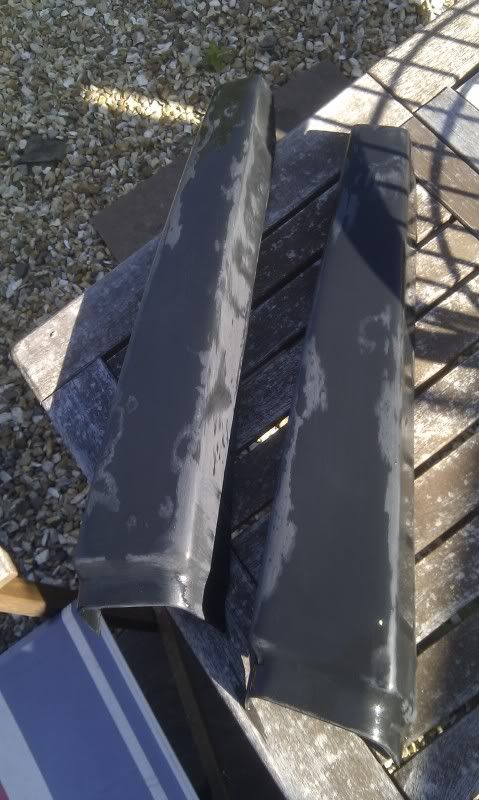
Sunning the trim to dry them off
Once mostly dried, wipe the trim down with some white spirit to get all the grease off them, now don't touch the front bits or you'll just put new finger grease on them. Pretend to be robocop and slife your arm into the reverse of the trim to handle them in future.
Rinse the white spirit off under a tap and leave them to dry again.
Step Four
Primer.
Nice even coats of primer, following the instructions on the can.
I used halfords filler primer, as I want to make sure that the painted trims are as smooth as possible, so these'll help fill in any bits of texture that the sanding has missed.
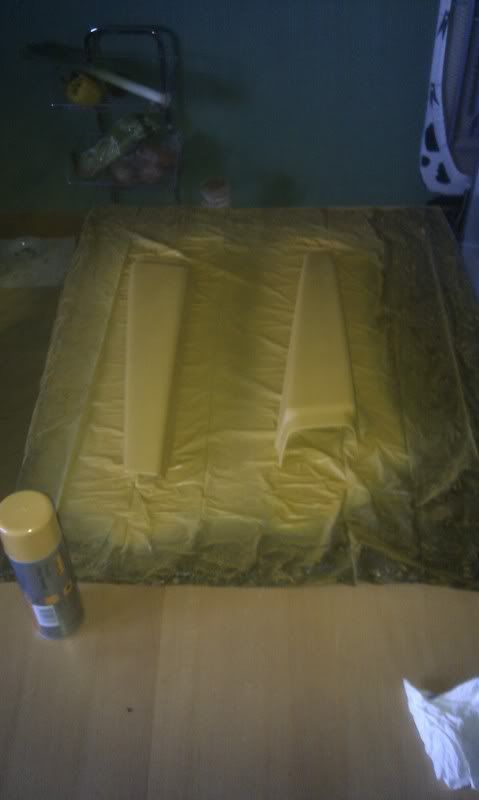
Yep, girly's out for the evening so the kitchen has become my paint booth)
Paint and lacquer
Remember, take yout time, if you make a mistake like get a paint run, put a finger mark in the paint etc, then LEAVE IT TIL IT DRIES, trying to do anything while it's wet will only make it worse, just let it dry, then sand it down and do it again.
Required:
Something to remove the trim with, I used a desert spoon wrapped in a microfibre cloth
Assorted Sandpaper
-P80
-P400
-P800
-P1200
Primer
Paint
Leveller
Lacquer
2.5mm thick doublesided foam sticky stuff (like numberplate tape only thicker)
Difficulty:
1/5 - Seriously, even I'm managing to do it!
(Just so we're clear what i'm talking about)
Step One,
removing them;
This is a doddle, the trim is held on by a strip of tape at the bottom of the trim, and 2 pieces either side. It's kept in position by 4 plastic prongs (not clips, they just slot in to the B-pillar)
Yeah, pictures make it easier to understand...
Easy on a warm day like today, if not, use a hairdryer to soften the glue slightly, then use the trim removal tool (or spoon in cloth) to prise the sides away and it'll come off quite easily.
Keep an eye out in case you snap a prong off, (i did one on each bit of trim, d'oh) guite easy to superglue back in place though if you do.
Take off the bits of rubber from the top of the trim, (pinch the sides of the rubber in and it'll come out with a wiggle, keep them safe.
Step Two
Sanding them down.
Start off with the P40 paper,
go to town on them, you want to sand down the texture stuff. Don't go crazy on the pressure as the plastics pretty soft, but the texture goes deeper than it appears at first glance, and remember to keep the sanding elvel even across the whole piece.
It may look like you're scratching it to hell, don't worry, we'll sort that out once the textures levelled back.
(I didn't bother doing the backs of them, they're out of sight so why bother?)
Step Three
Prepping for paint.
Once you've sanded the textured down enough, rinse the trim under a tap and brush off the shavings. Don't bother drying it, just crack straight onto it with the P400 paper.
This'll smooth off the trim where the P40's been.
Rinse and repeat with the P800 paper to get a nice smooth piece of trim. It'll feel smooth but be rough enough for the primer to stick to.
Sunning the trim to dry them off
Once mostly dried, wipe the trim down with some white spirit to get all the grease off them, now don't touch the front bits or you'll just put new finger grease on them. Pretend to be robocop and slife your arm into the reverse of the trim to handle them in future.
Rinse the white spirit off under a tap and leave them to dry again.
Step Four
Primer.
Nice even coats of primer, following the instructions on the can.
I used halfords filler primer, as I want to make sure that the painted trims are as smooth as possible, so these'll help fill in any bits of texture that the sanding has missed.
Yep, girly's out for the evening so the kitchen has become my paint booth)
Paint and lacquer
Remember, take yout time, if you make a mistake like get a paint run, put a finger mark in the paint etc, then LEAVE IT TIL IT DRIES, trying to do anything while it's wet will only make it worse, just let it dry, then sand it down and do it again.
Last edited:


