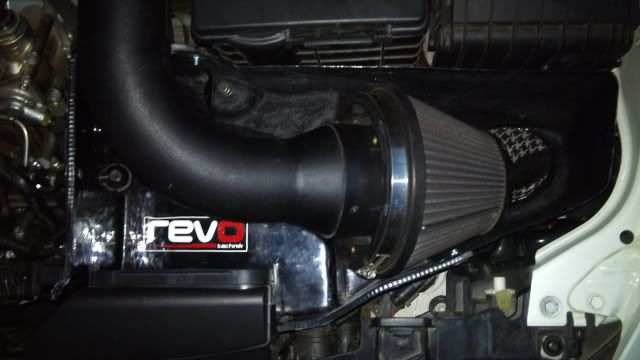
I wanted to quieten down the overbaring sound of the intake for daily use. During highway driving it is particularly loud at cruising speeds. The noise, which seems to come through the glovebox and passenger footwell, all comes from the cone (well at least with an EVOMS it does), so that needed to be caged. Some research revealed a useful tutorial from the net on fibreglassing an air filter enclosure. Bought a couple of fibreglass repair kits from the local hardware store for R95 each, paint brushes and masking tape and I was good to go.
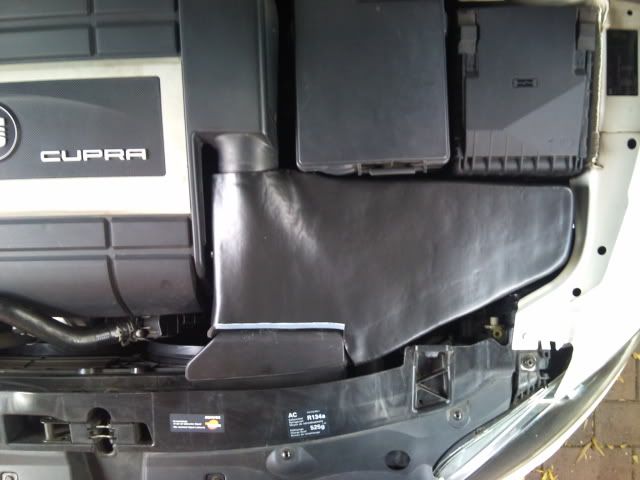
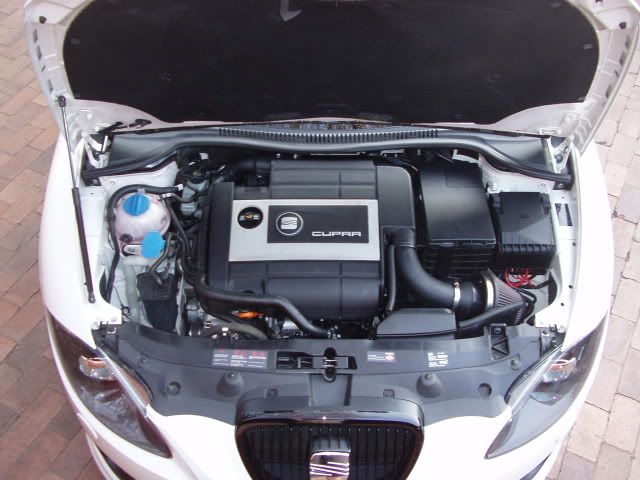
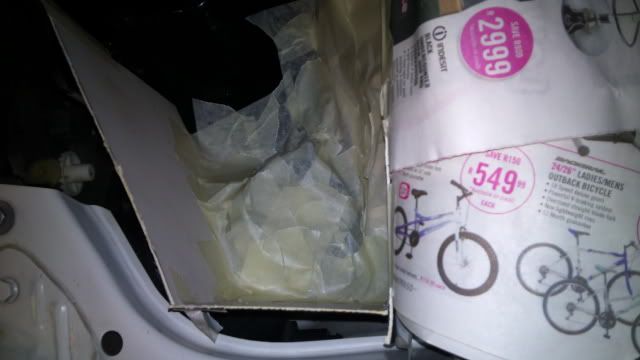
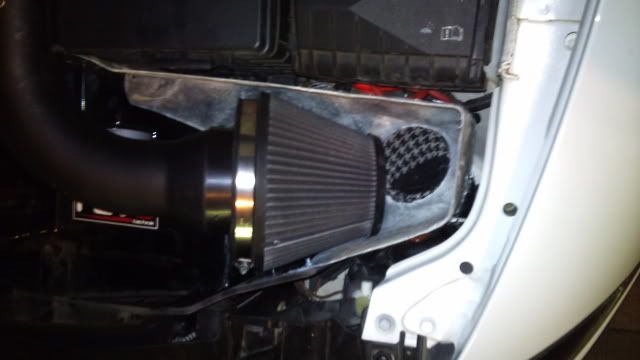
Before
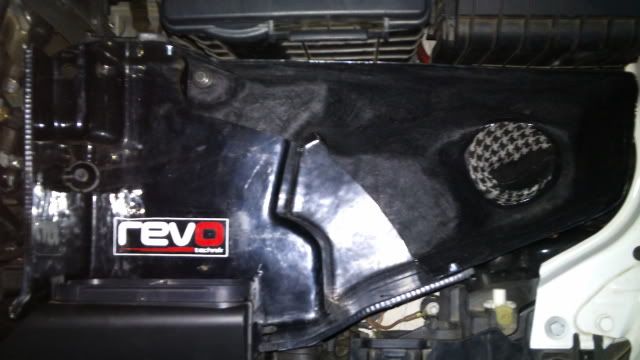
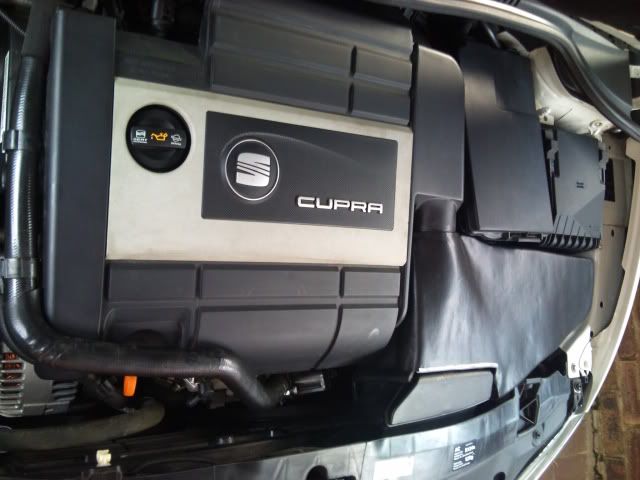
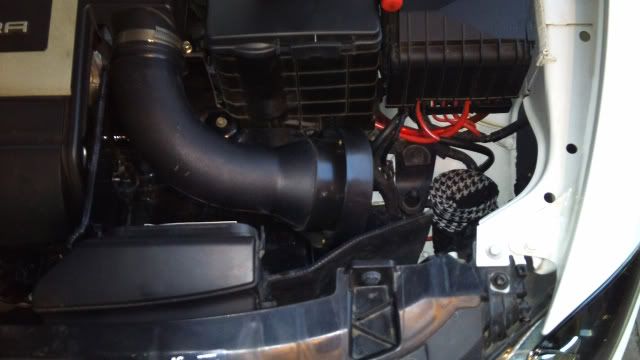
The EVOMS partition and pipe (cone removed)
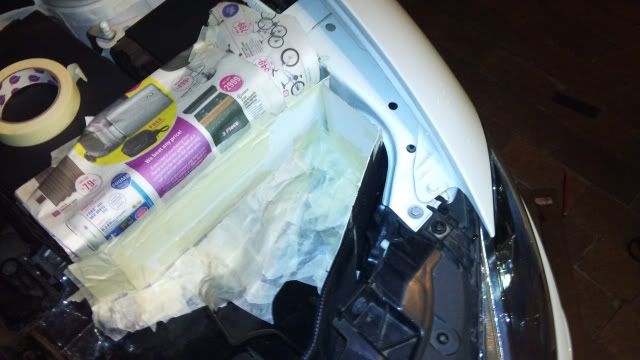
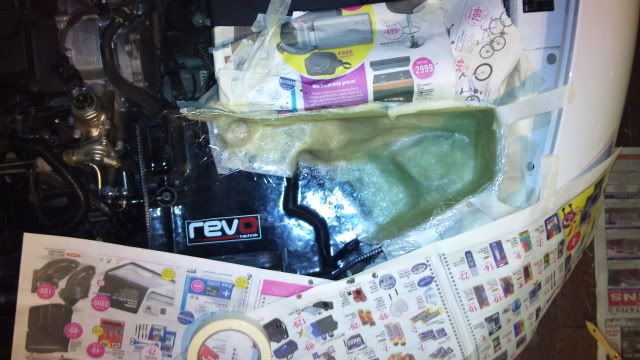
Making a mould of the cavity with masking tape, cardboard and newspaper to protect the car and engine bay from stray resin drops. I decided to make the enclosure two parts to add to the EVOMS partion. A bottom and sides was made first and the lid thereafter.
Moulding the ram air pipe to feed into the enclosure
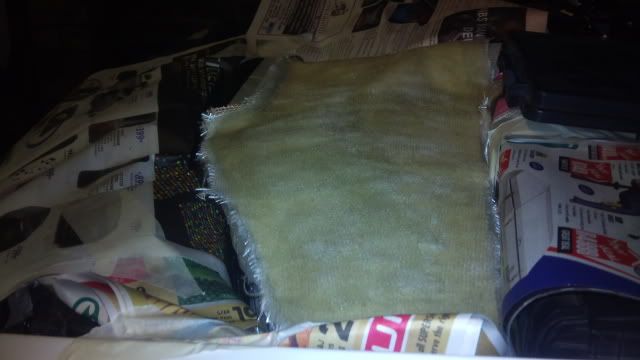
The fibreglass sheets impregnated with resin (mixed with the provided catalyst). Its really great material to work with, once wet with resin it melts to the curves of the mould. Latex gloves come in handy (excuse the pun) when working with fibreglass sheeting and resin
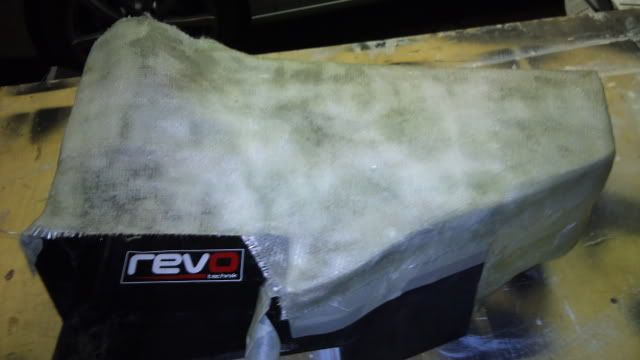
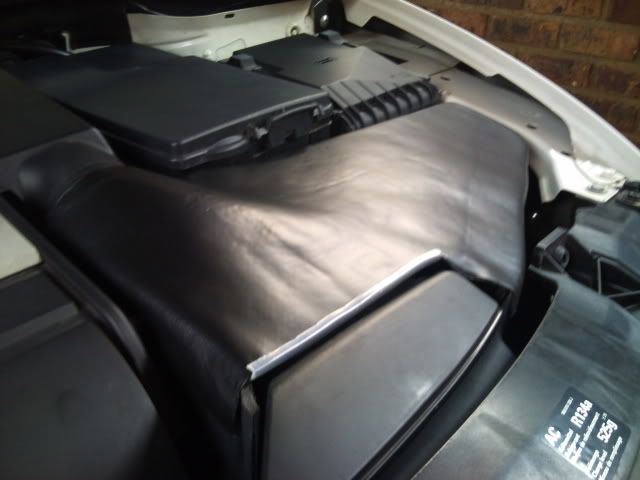
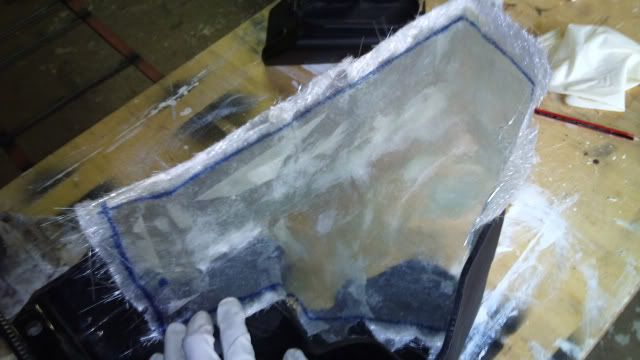
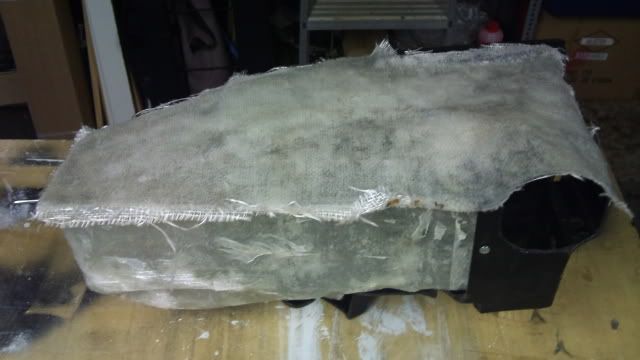
The bottom and sides part of the enclosure dry and stripped from the cardboard mould
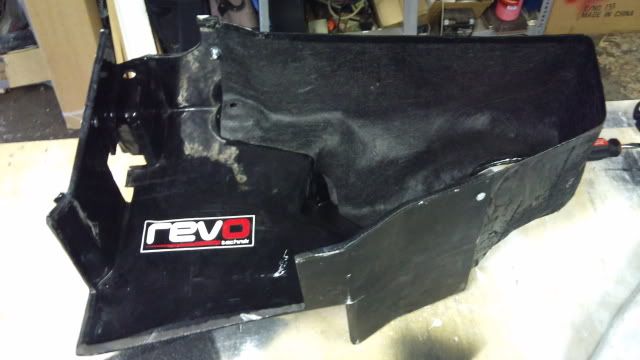
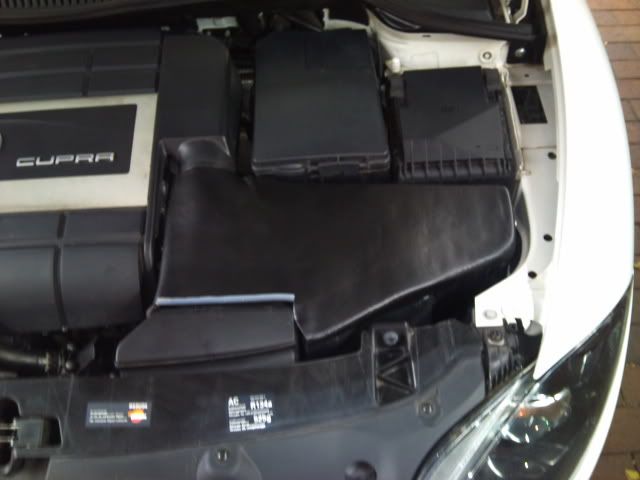
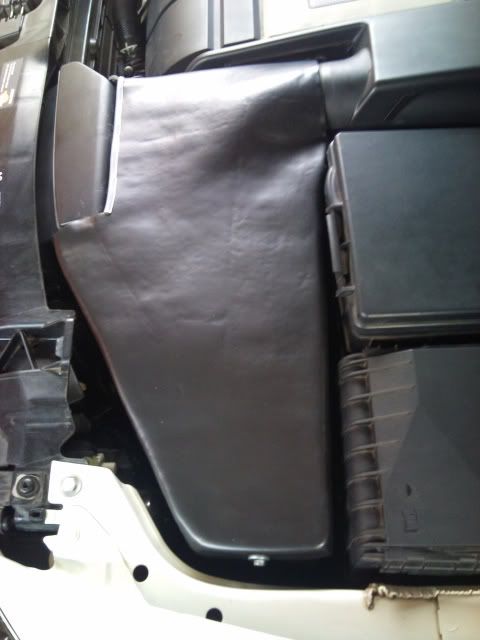
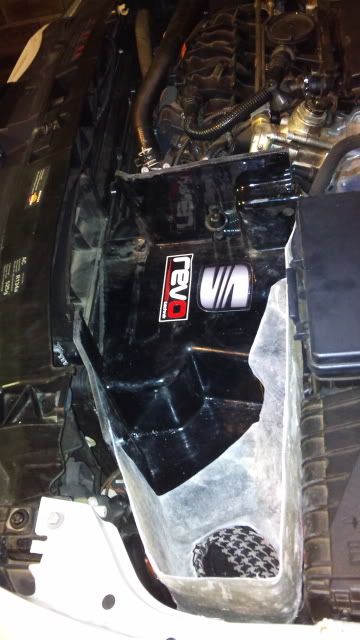
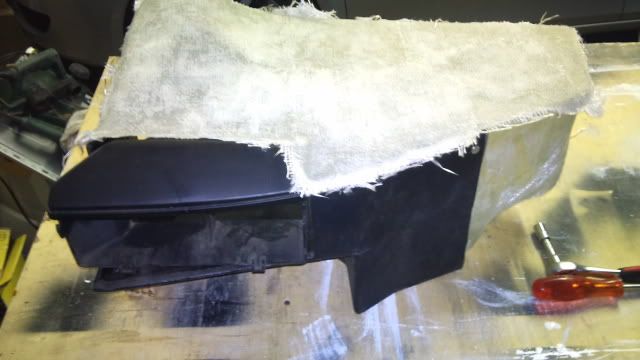
The bottom and sides of the enclosure installed back into the engine bay
A hole was cut for the ram air pipe to feed into the enclosure
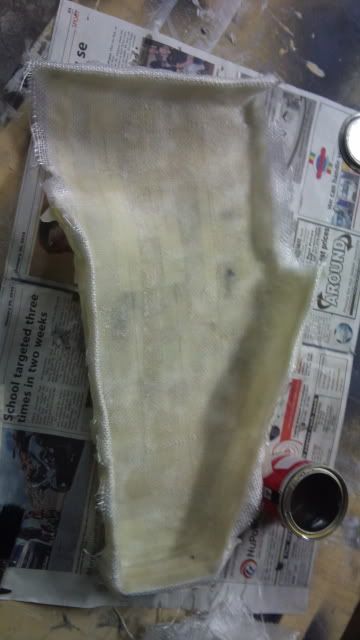
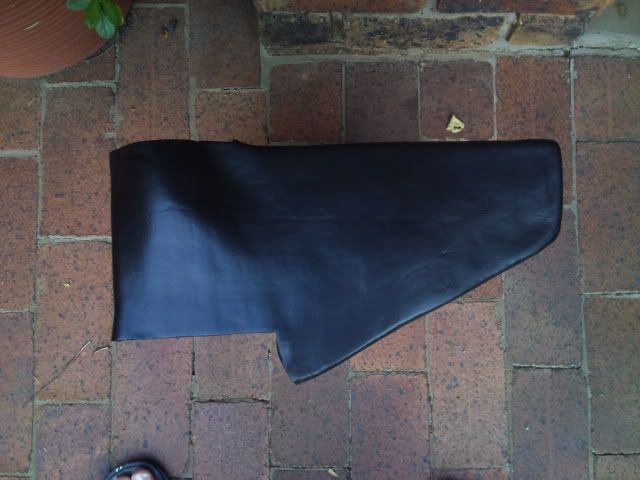
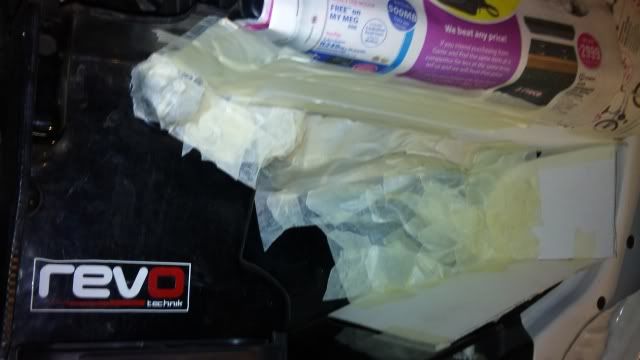
The lid was made but profiling some cardboard, sticking it to the sides of the enclosure and then using masking tape to contour the CAI pipe. The resin impregnated fibreglass of the lid

Before
The EVOMS partition and pipe (cone removed)
Making a mould of the cavity with masking tape, cardboard and newspaper to protect the car and engine bay from stray resin drops. I decided to make the enclosure two parts to add to the EVOMS partion. A bottom and sides was made first and the lid thereafter.
Moulding the ram air pipe to feed into the enclosure
The fibreglass sheets impregnated with resin (mixed with the provided catalyst). Its really great material to work with, once wet with resin it melts to the curves of the mould. Latex gloves come in handy (excuse the pun) when working with fibreglass sheeting and resin
The bottom and sides part of the enclosure dry and stripped from the cardboard mould
The bottom and sides of the enclosure installed back into the engine bay
A hole was cut for the ram air pipe to feed into the enclosure
The lid was made but profiling some cardboard, sticking it to the sides of the enclosure and then using masking tape to contour the CAI pipe. The resin impregnated fibreglass of the lid
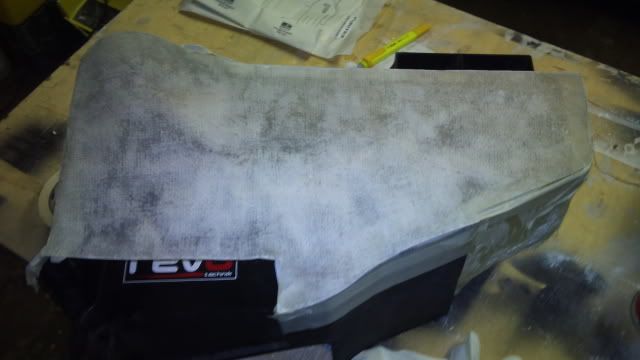
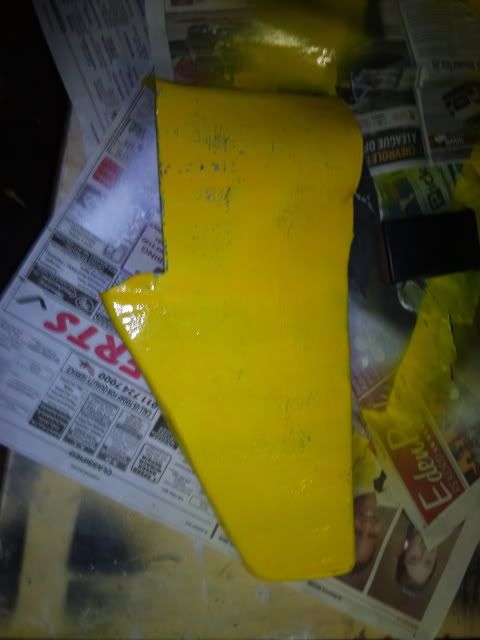
 ) and resin i made a lip around the edge of the lid