
down and hella flush k1 new killer adjustments to the interior say buy to plastic
- Thread starter k1fro
- Start date
You are using an out of date browser. It may not display this or other websites correctly.
You should upgrade or use an alternative browser.
You should upgrade or use an alternative browser.
Let us know when you do as will want it
Only a matter ov time
I will
I will put the dates on here wen they come through
I'll be buying it too mate loving this project but makes me spend more on mine lol
Sorry to b a bad influence lol but I'm the same can't stop changing things lol
It's the name of the game ")
Liking the pic on your instagram of it cocking a wheel dude such a quality trick
Liking the pic on your instagram of it cocking a wheel dude such a quality trick
Last edited:
It's the name of the game
Liking the pic on your instagram of it cocking a wheel dude such a quality trick
Dose have its advantages rear wheel changing is very easy lol
Dose have its advantages rear wheel changing is very easy lol
Lol love it
I'll be buying it too mate loving this project but makes me spend more on mine lol
Exactly

So as the cars now done 3 shows time for a change so its going in for some more interior work this will b kept a secret so it can't b copied buy anyone all I will say is there's not gunna b any plastic left inside the leon now so I think next time it's put will be players at good wood
Hi there I’m new to seat cupra .net and bin advised over here buy a few friend and a couple of people off of other forums so I thought I would put some pics up and create a little build thread
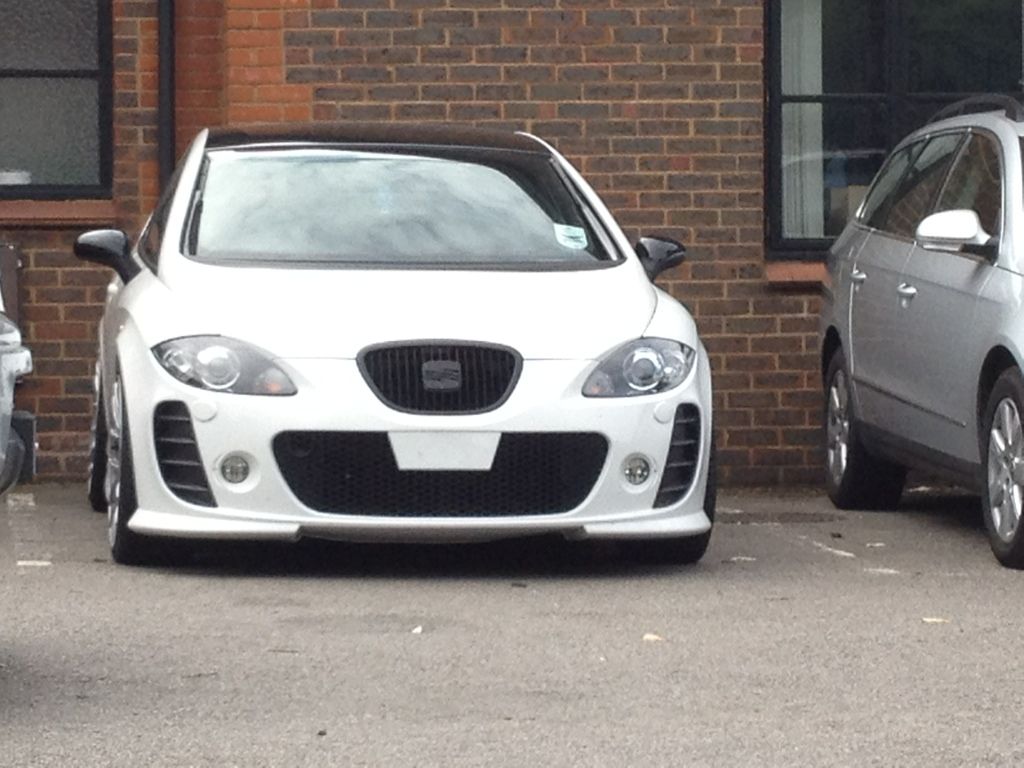
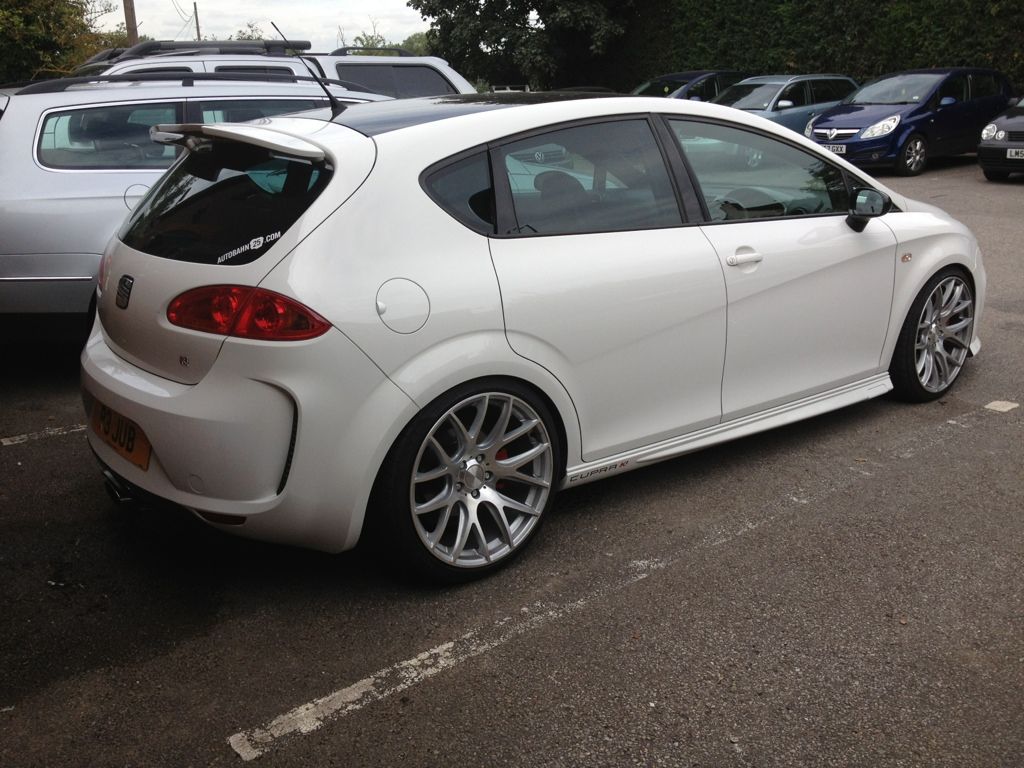
Ok so i drive a white leon cupra k1 (58 reg as far a i know it is a genuine k1)
I brought the car with the idea that it would b a nice family car that i wouldn’t start to play with wouldn’t modify but what the heck it’s a vag so i could resist me self so her what i have done so far
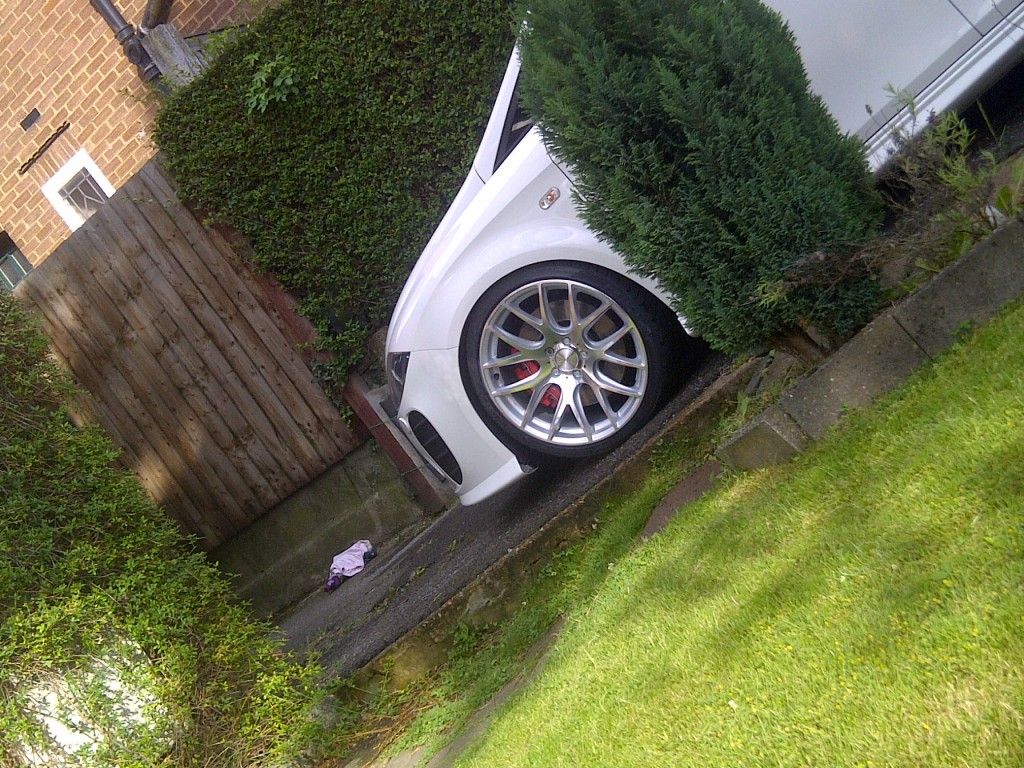
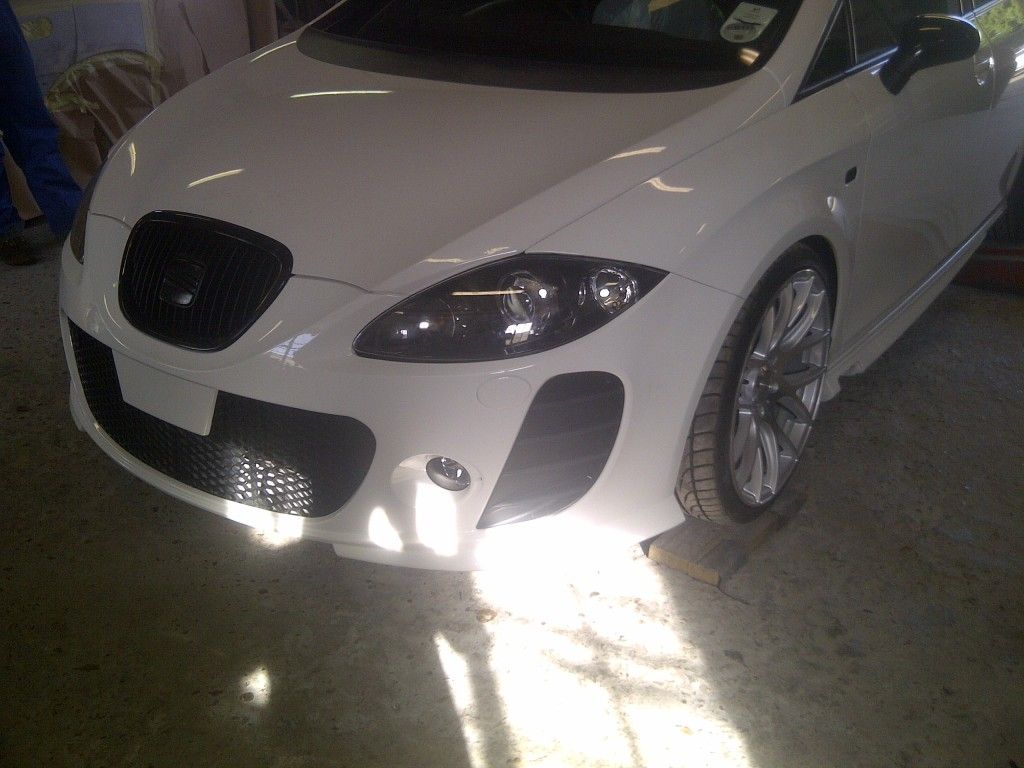
here the car is how i brought it it has the adaptoive headlights and for some reason seat decide it paint the wheels black so it looks like every oter k1 on the road

the next step was get it low was looking like a 4x4 so some cheap coilovers have come as a temporary measure as a mate had a set laying around
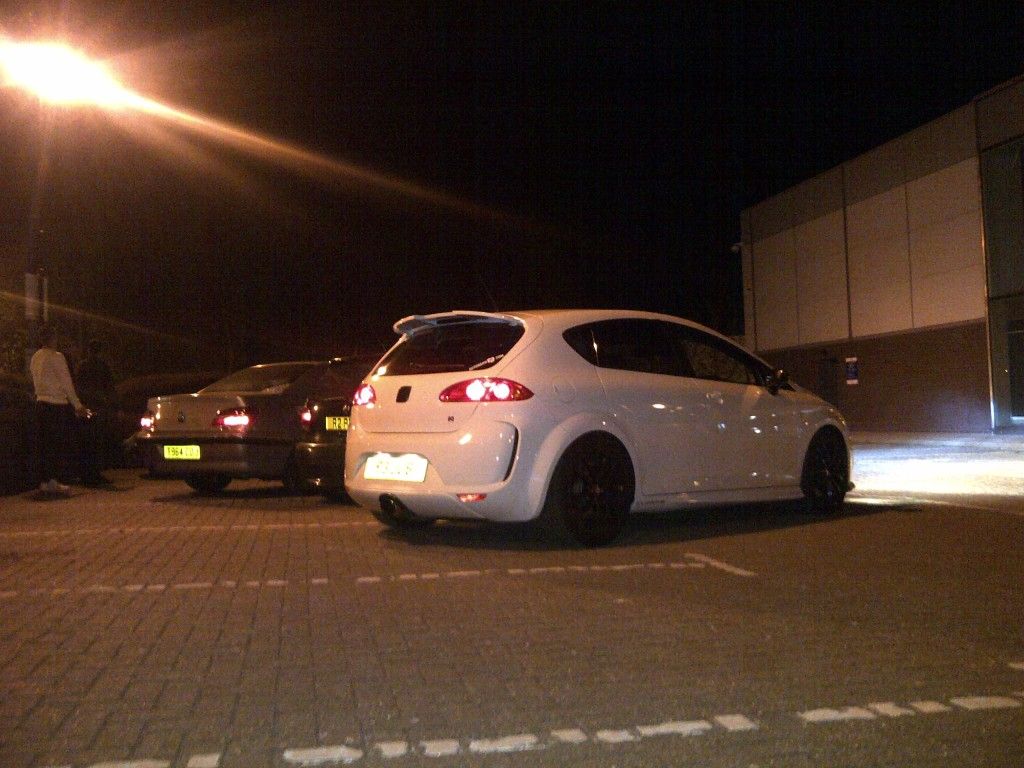
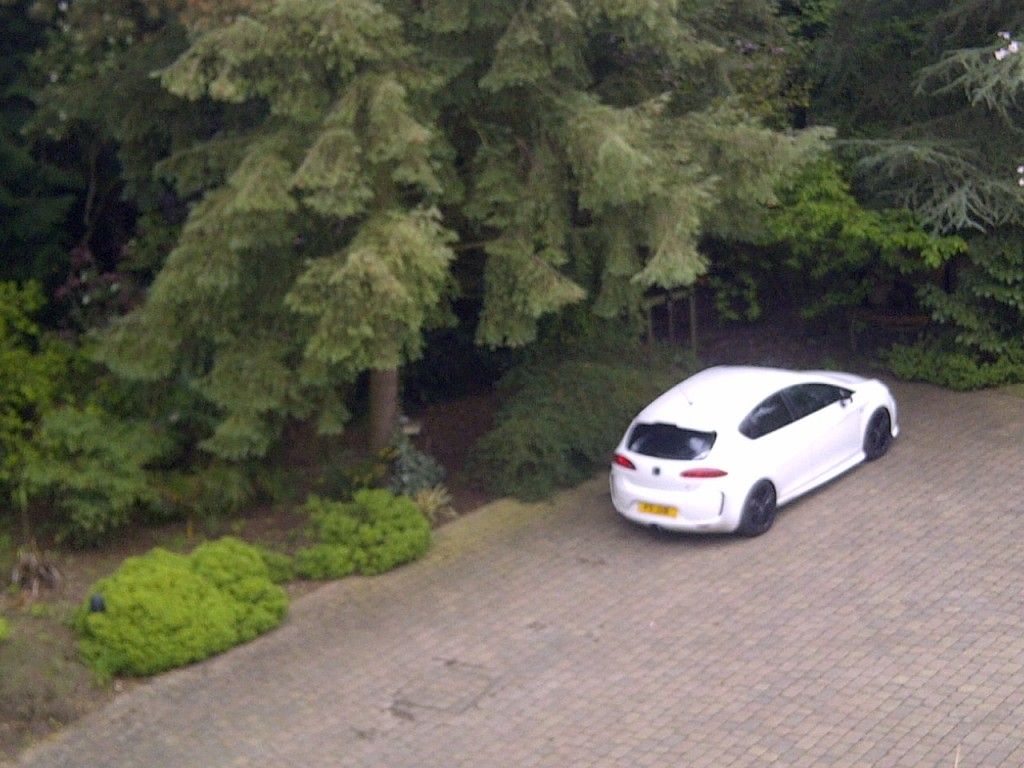
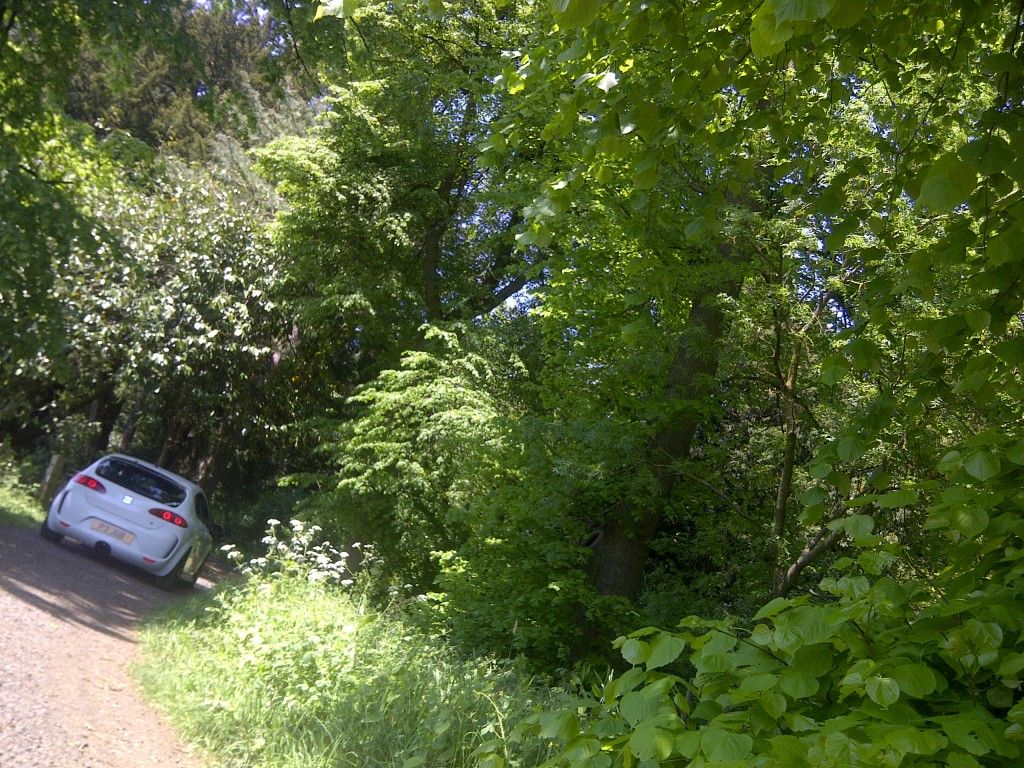
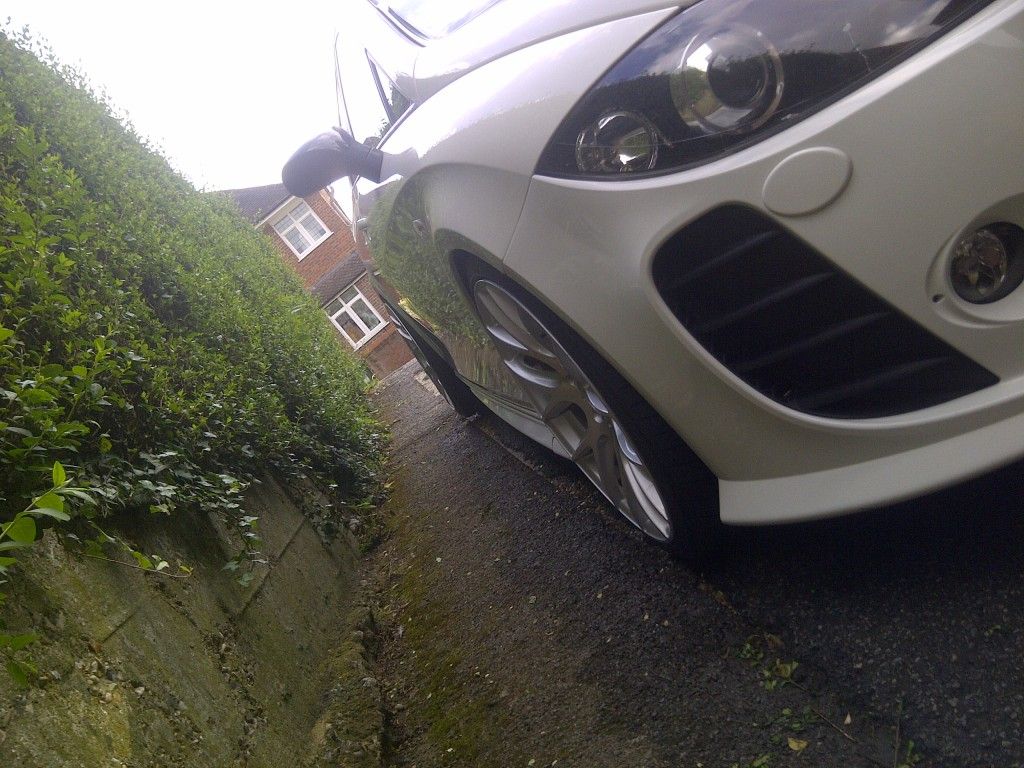
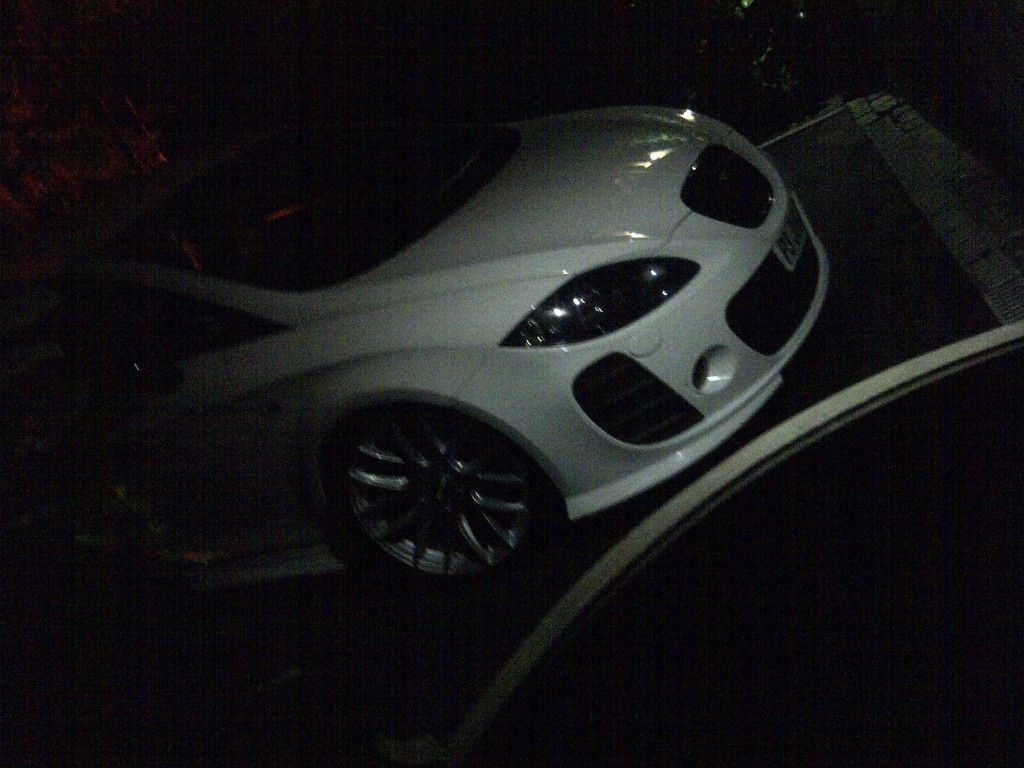
was at work after getting the car cleaned and saw a perfect photo opportunity so had to take a few snaps
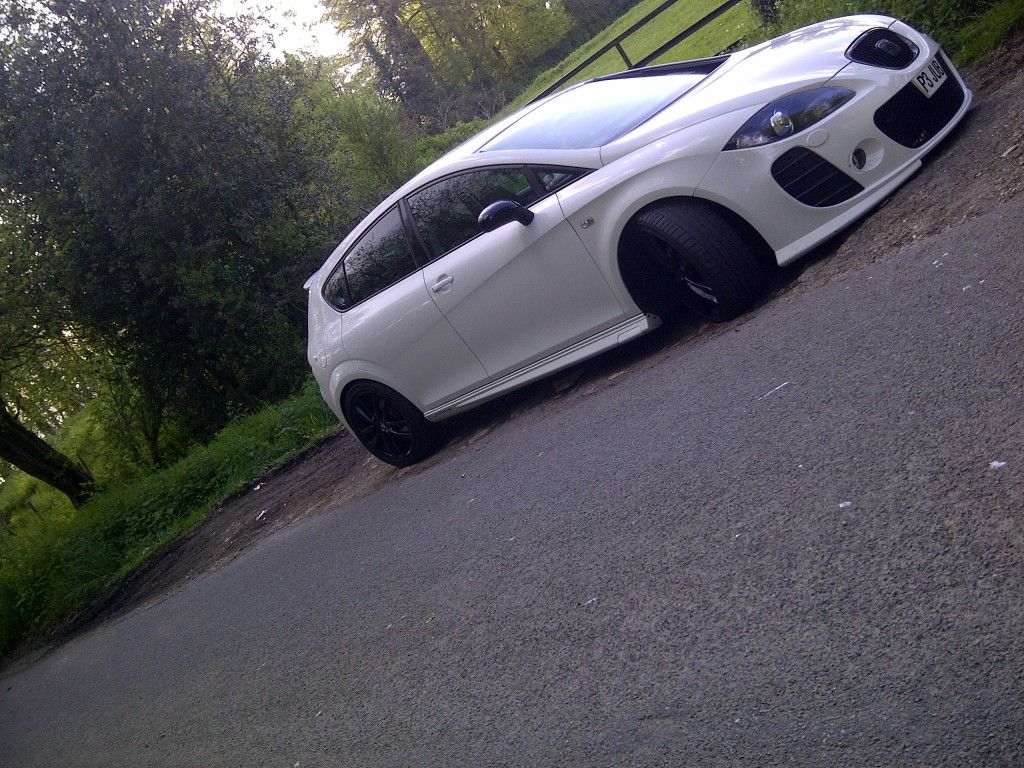
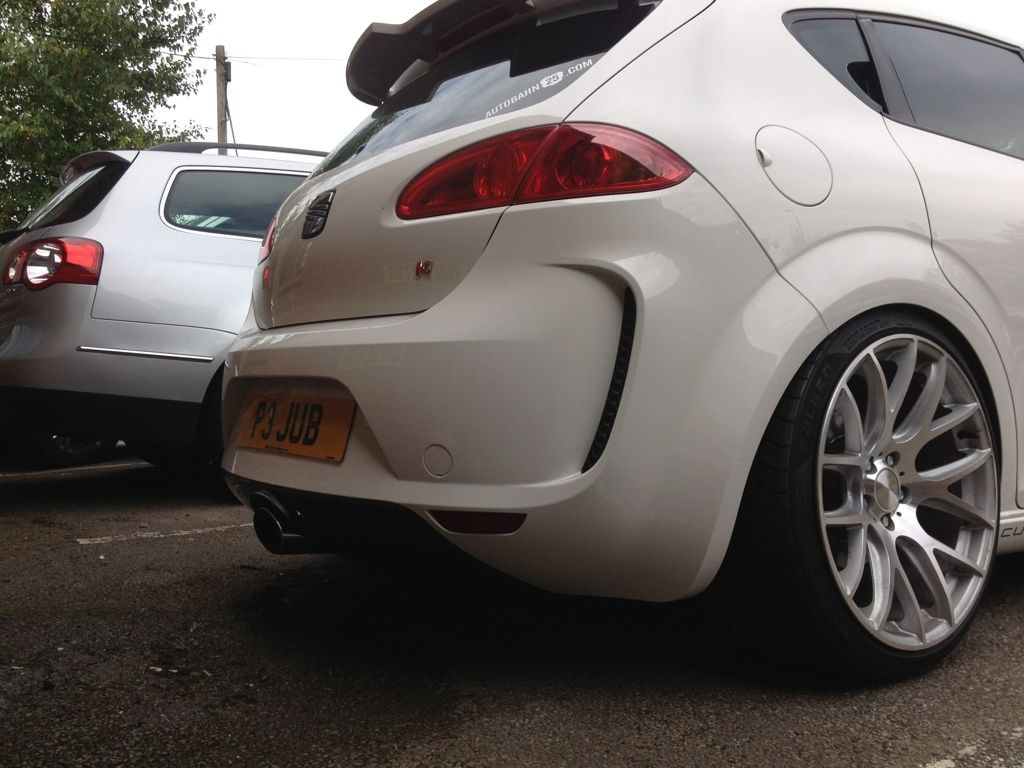
the next step was to run down to another m8 and get some 15mm spacers to get a bit of a wider look going at the rear it all sat quite well as a temporary measure as i was still undecided on what wheels to use as i didn’t want anything i had seen on a k1 before
You may be able to see the slight poke on the rear with this pic
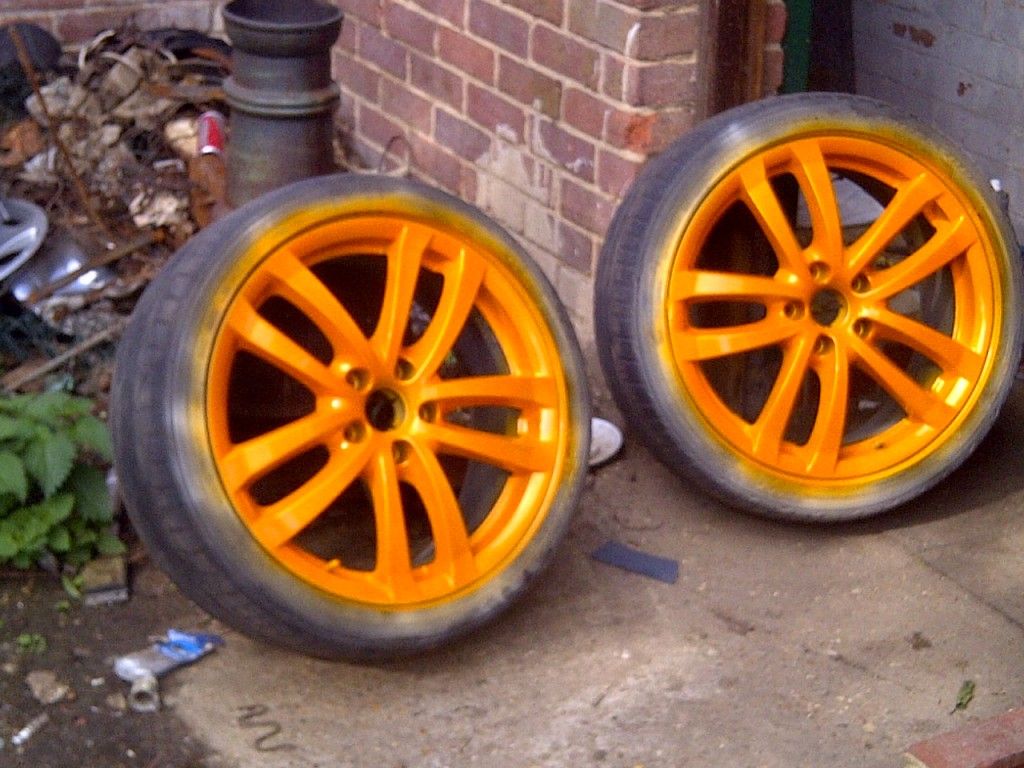
i then had an amazing idea for winter wheels lets go orange (think i had one too many drinks at this point but what the heck i cracked on and this was what come at the end of it
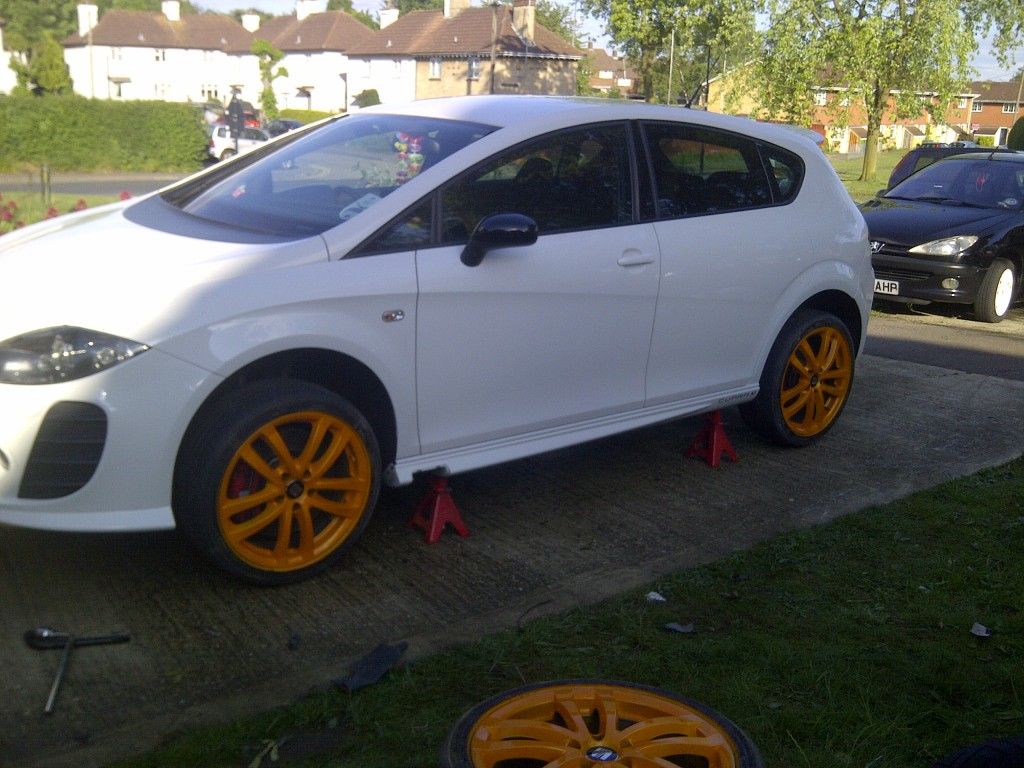
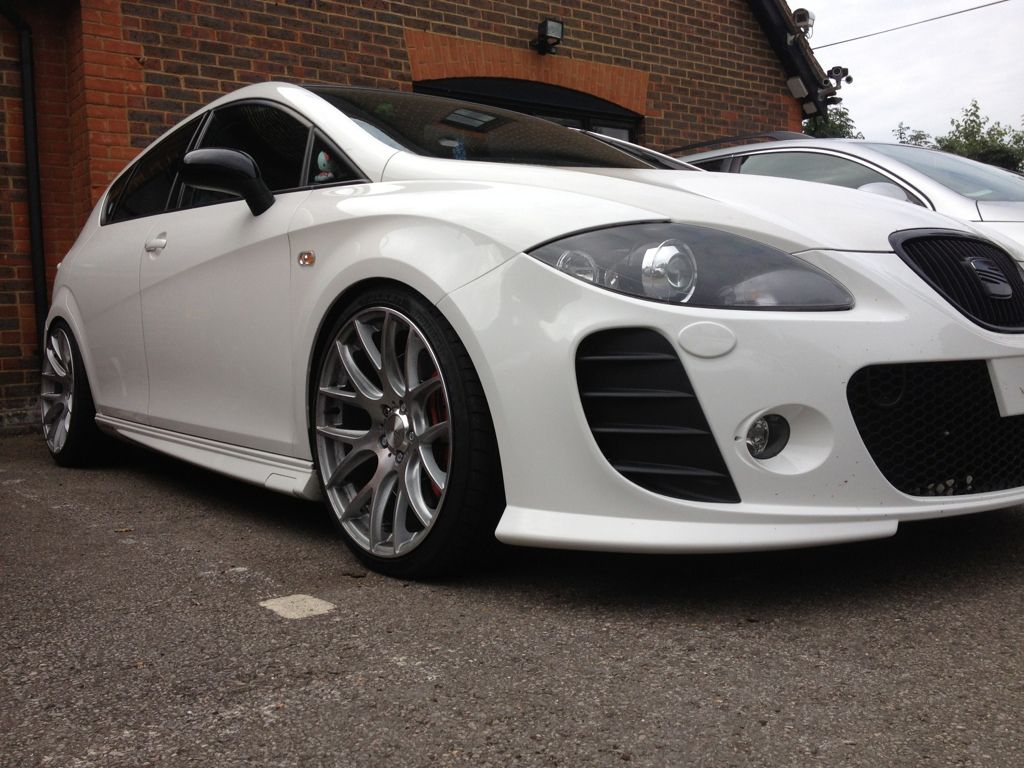
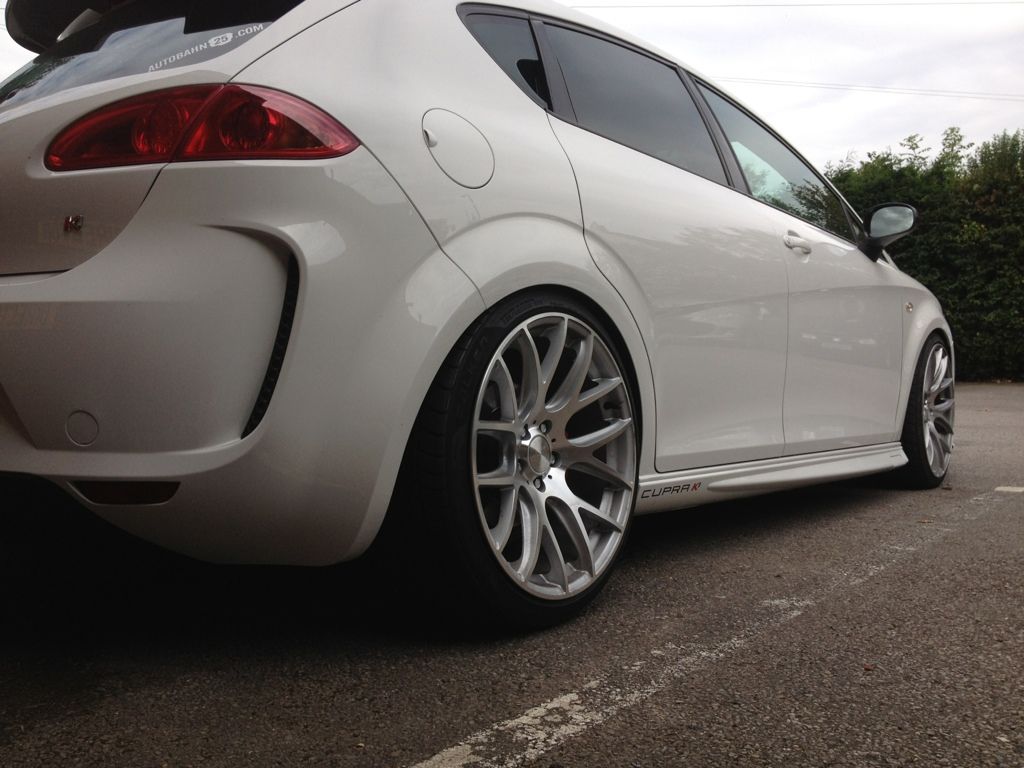
so now i have a set of winter but i kind of forgot about the summer so i went up to see a Taz at atomic wheels and went in there with the idea of something big dish and different from the norm wheel that had changed buy the time i left as i walked out with a set of 3sdm 0.01 19 x 8.5 on the front (with falken 452 225 35 19) and 19 x 9.5 on the rear (with falken 452 235 35 19) after a few day of fiddling and driving about we had to put 3.8 degrees of negative camber on the rear

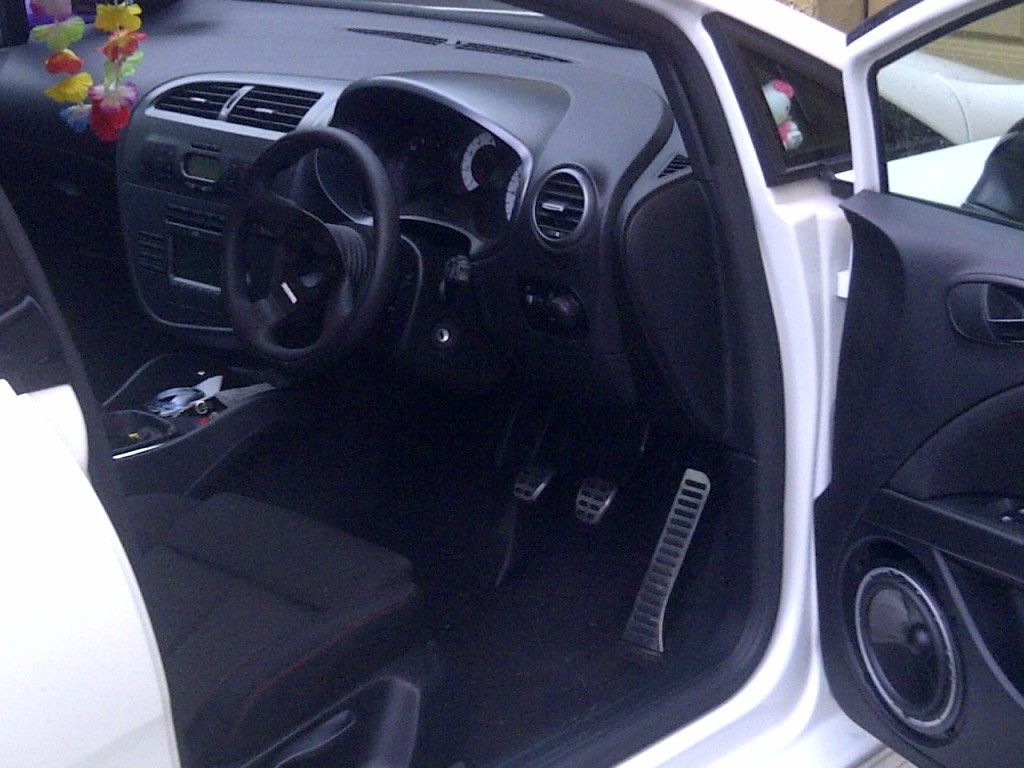
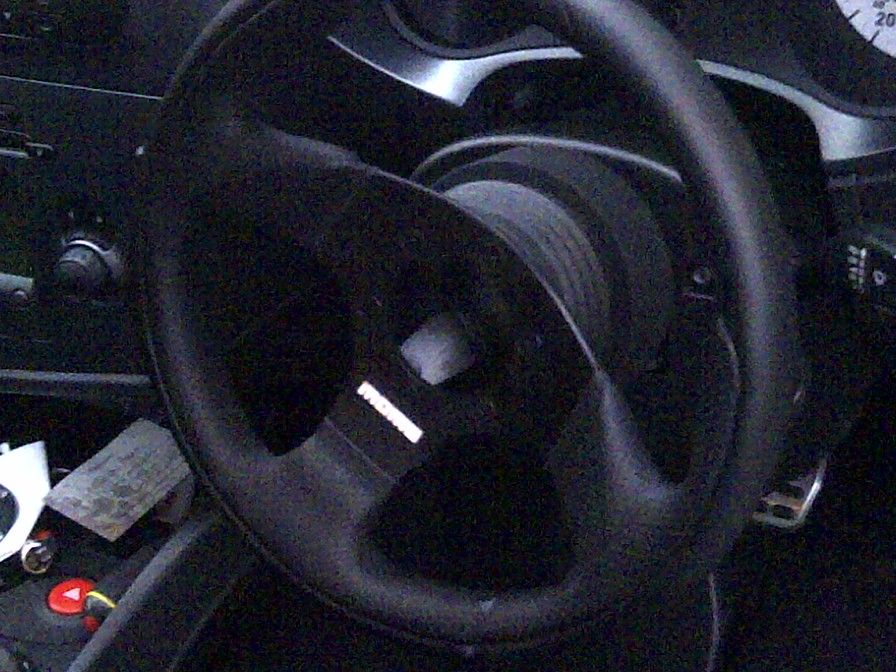
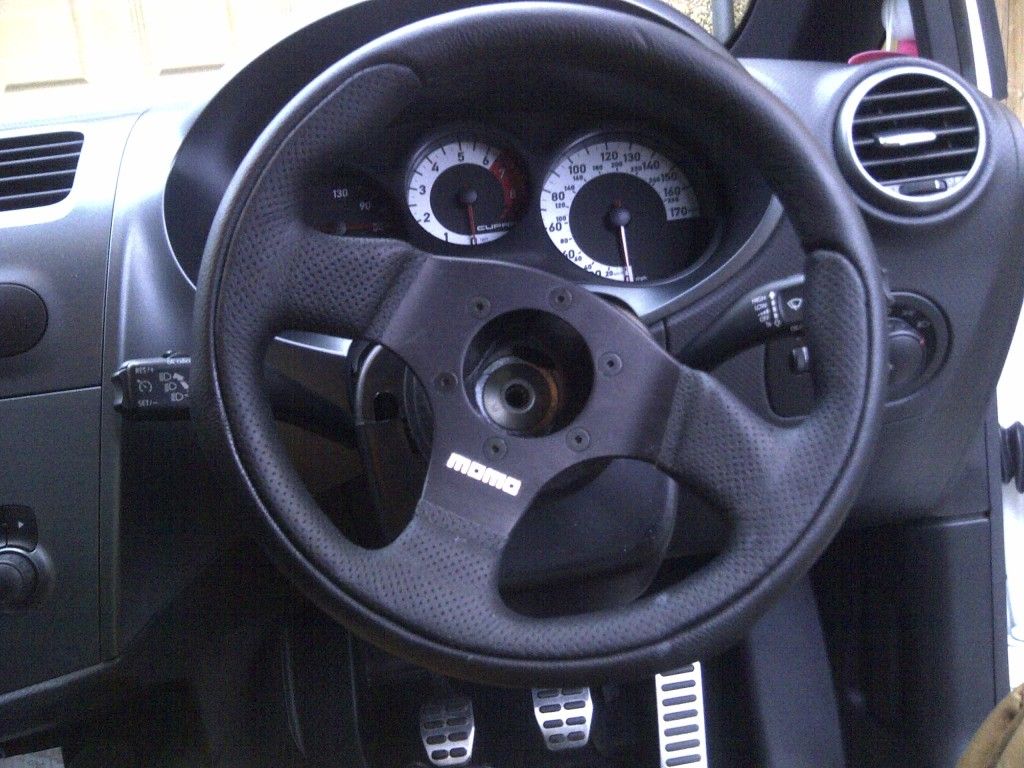
went back to me parents house to find that i had a 280mm momo team and boss laying in me shed so that was put on as well just wait for a horn button to come as that has been lost at some point some pics of it fitted
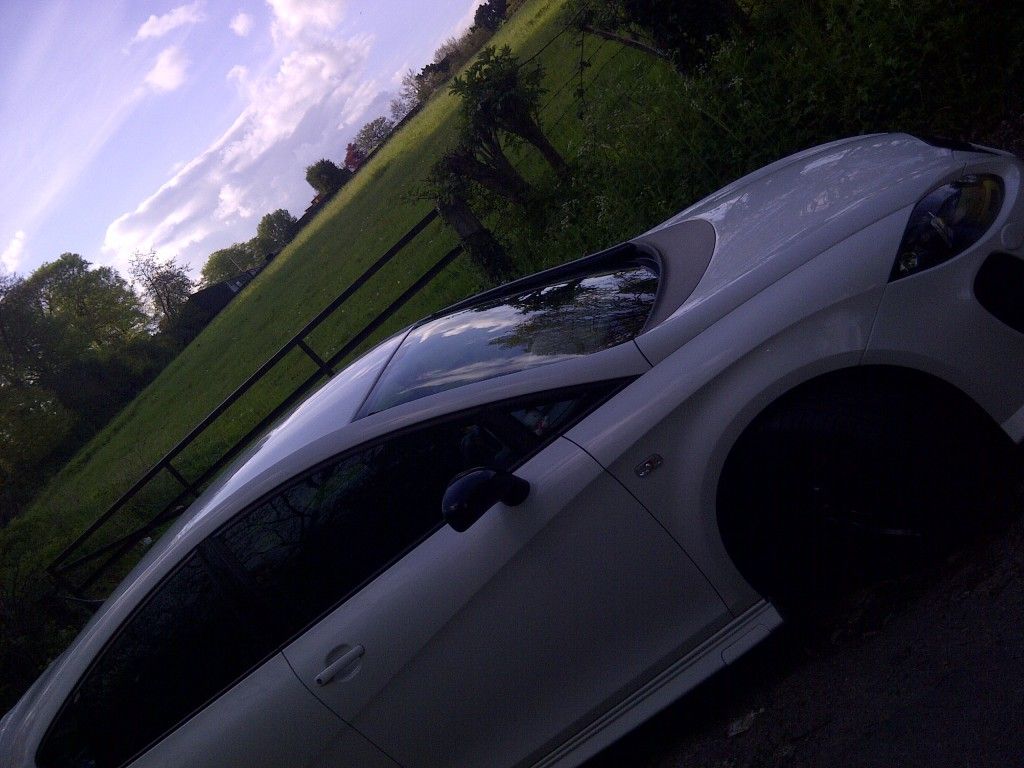
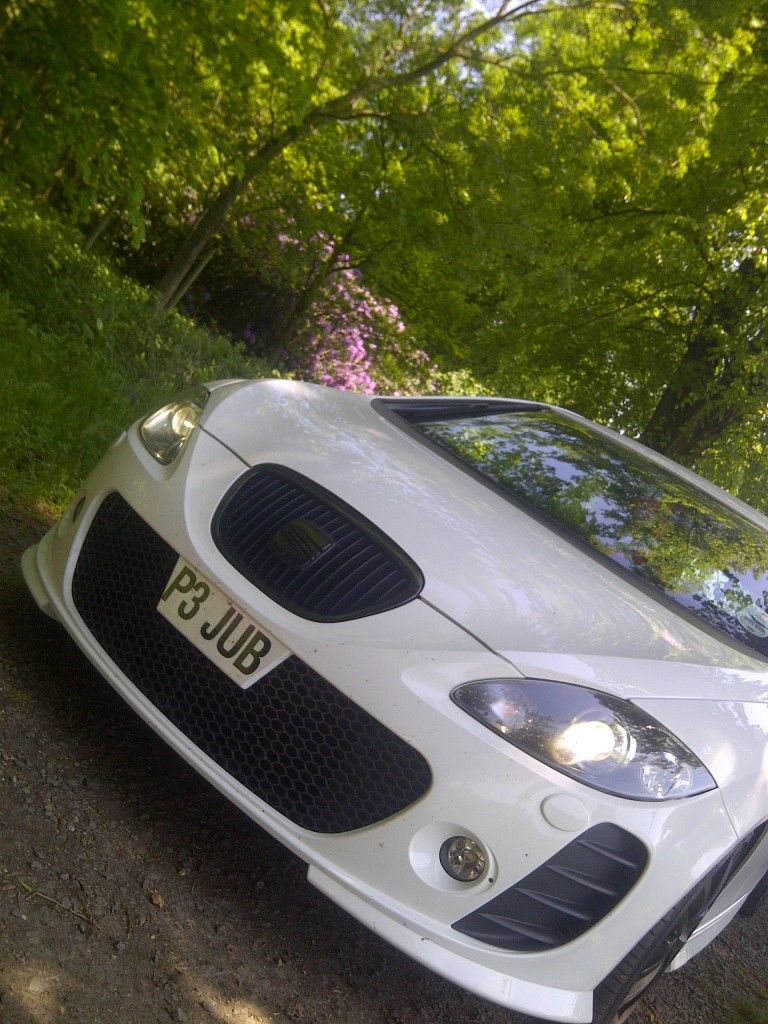
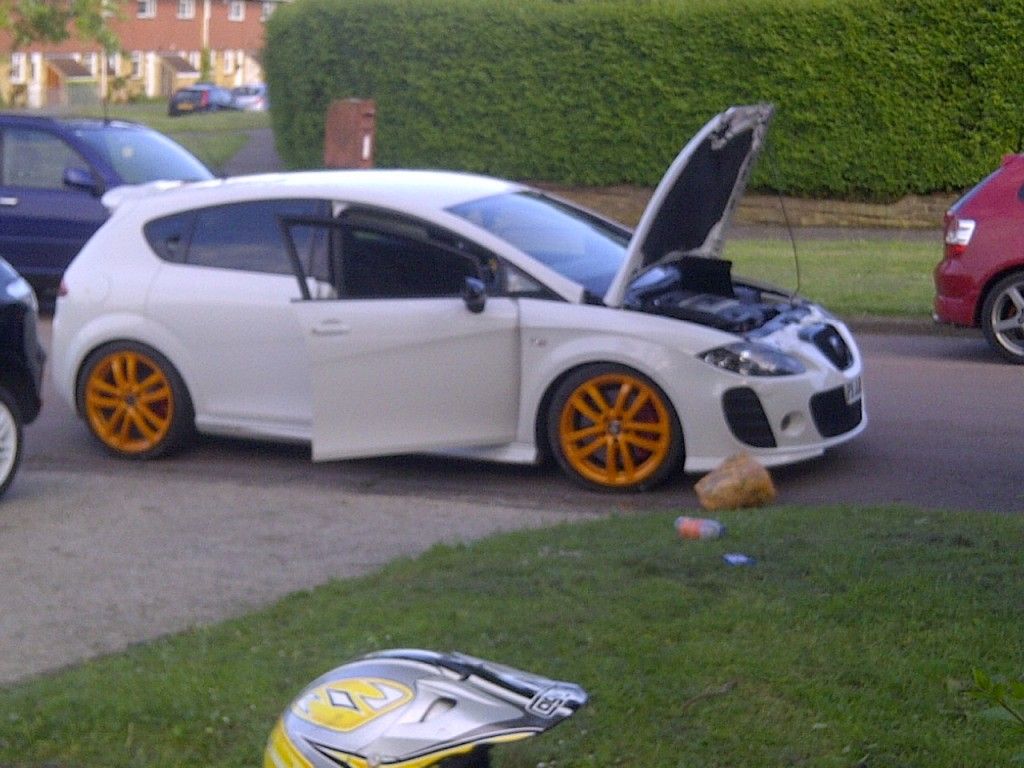
just a cheeky pic manly cos i thought the car look very nice like this
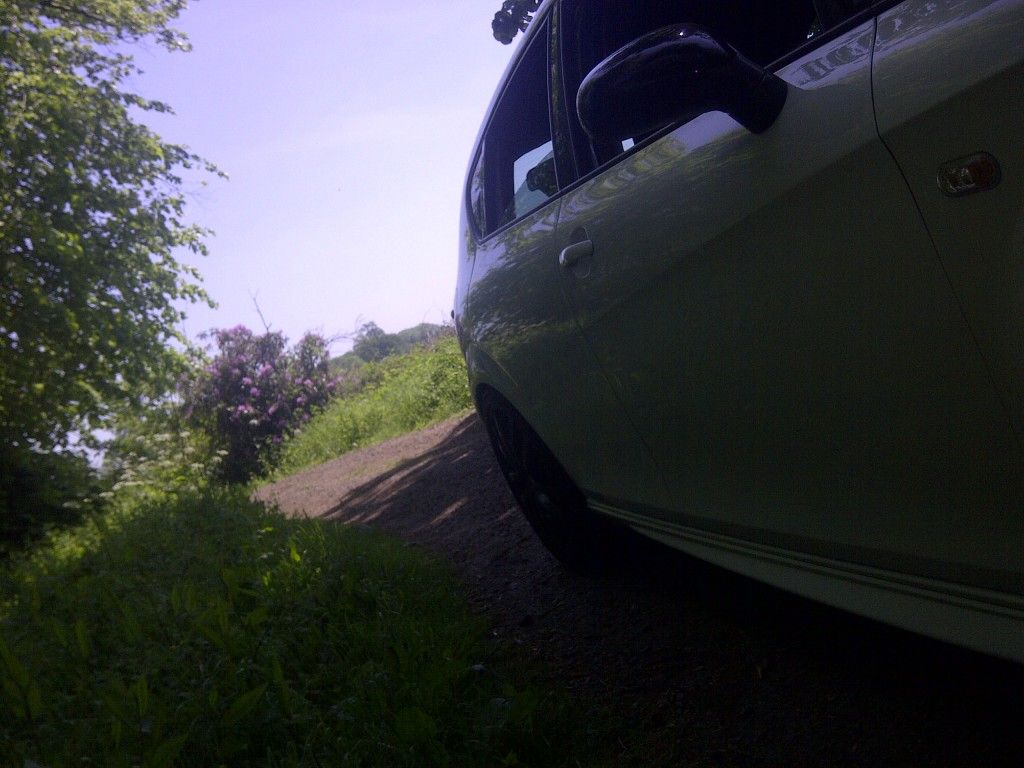
sorry for the bad quality ill get some gd quality pics up soon
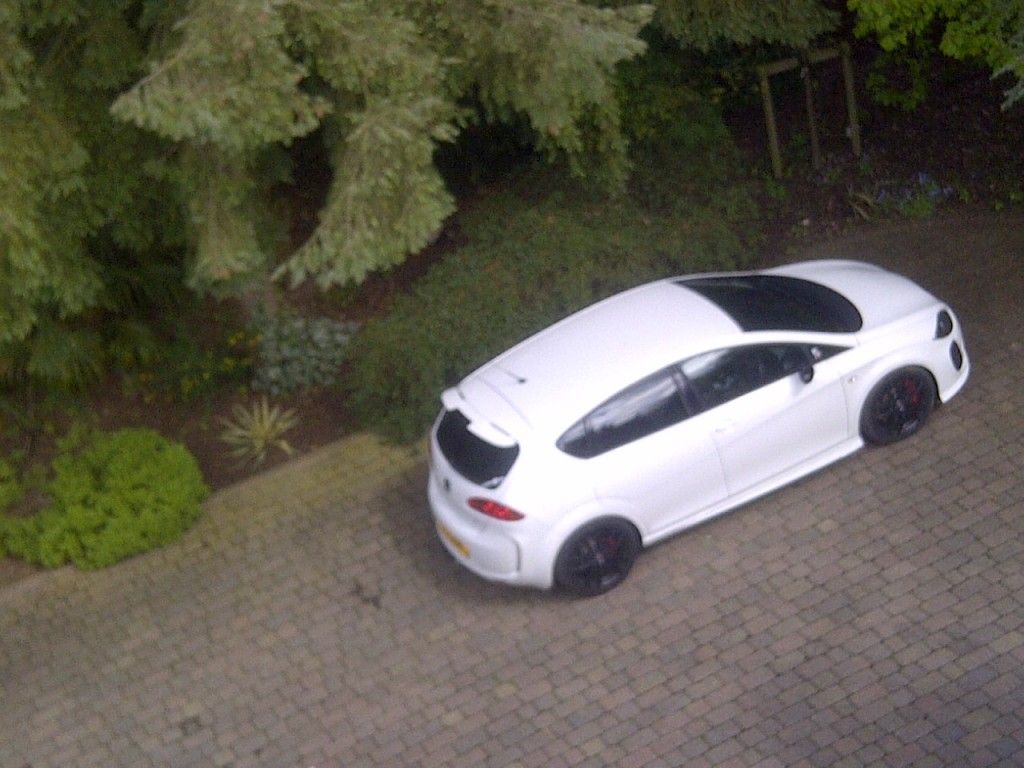
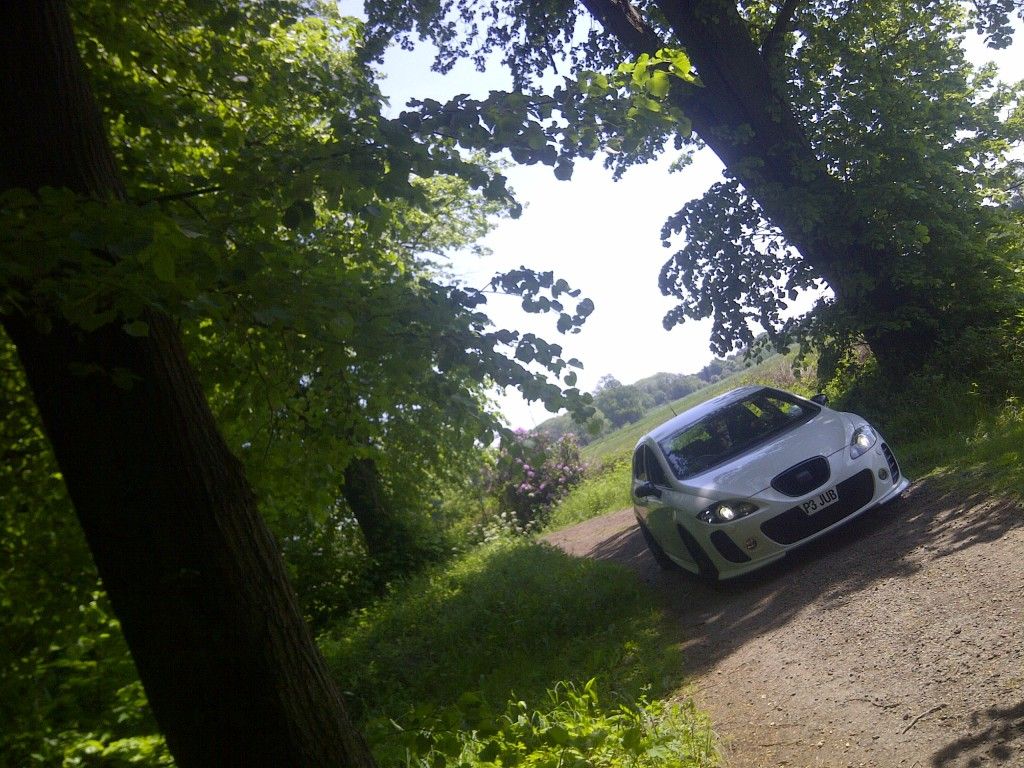
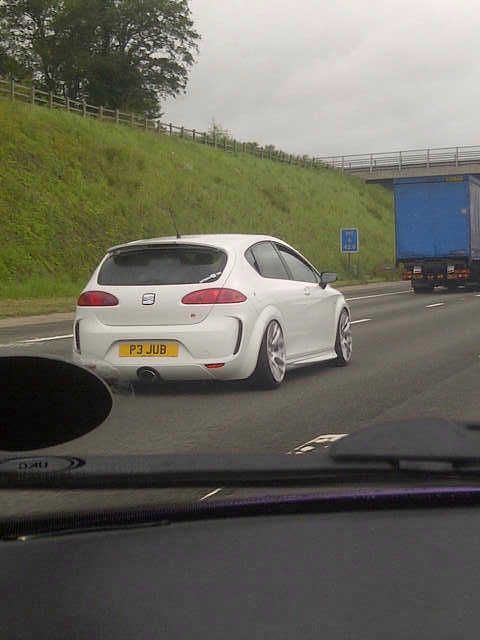
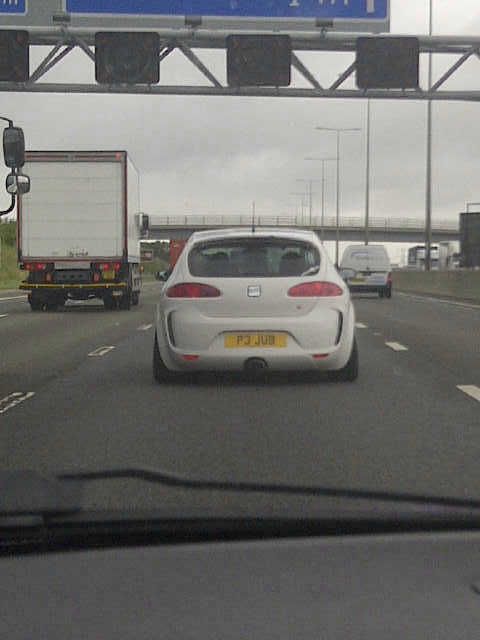
just a few rolling shots i found
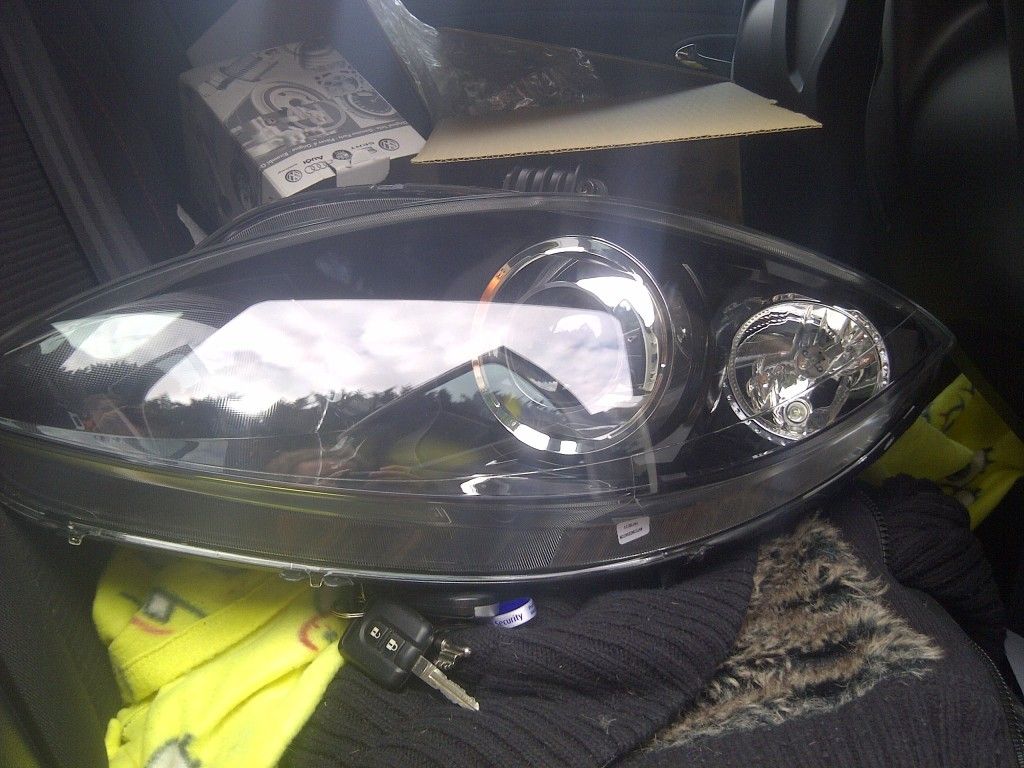
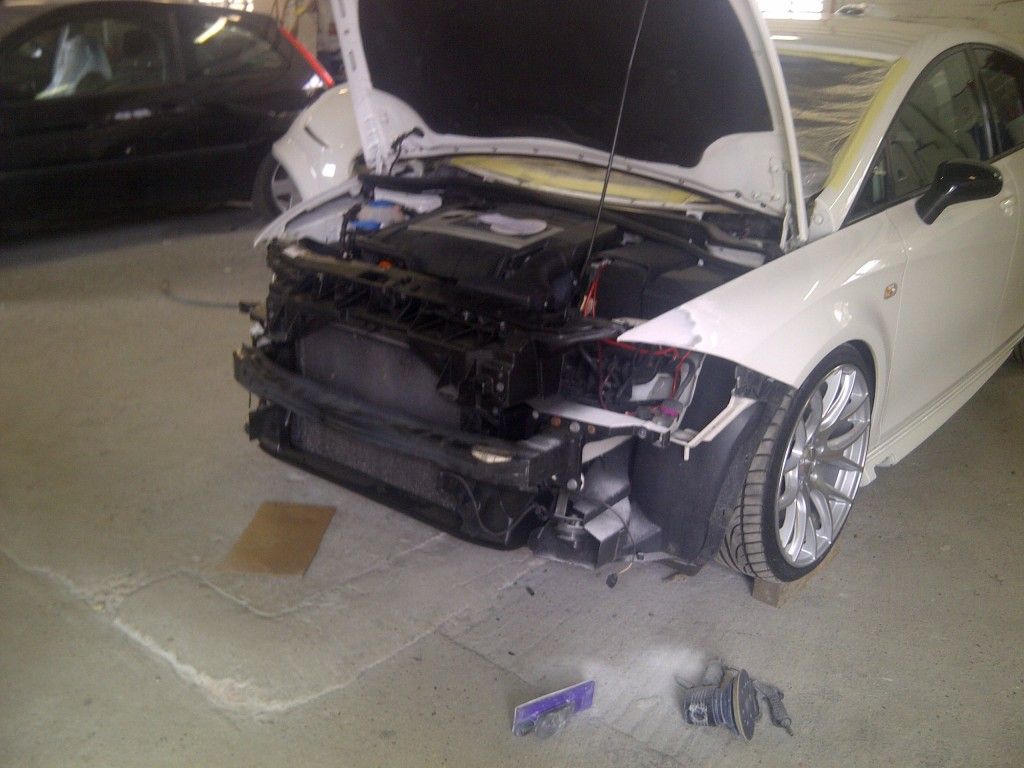
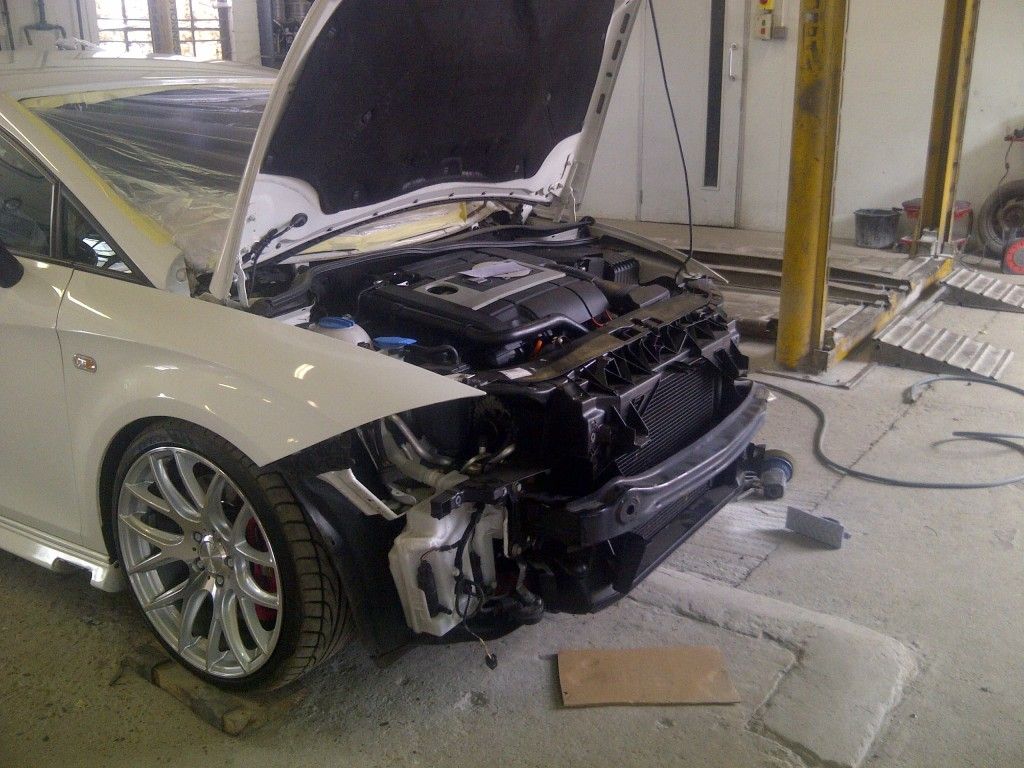
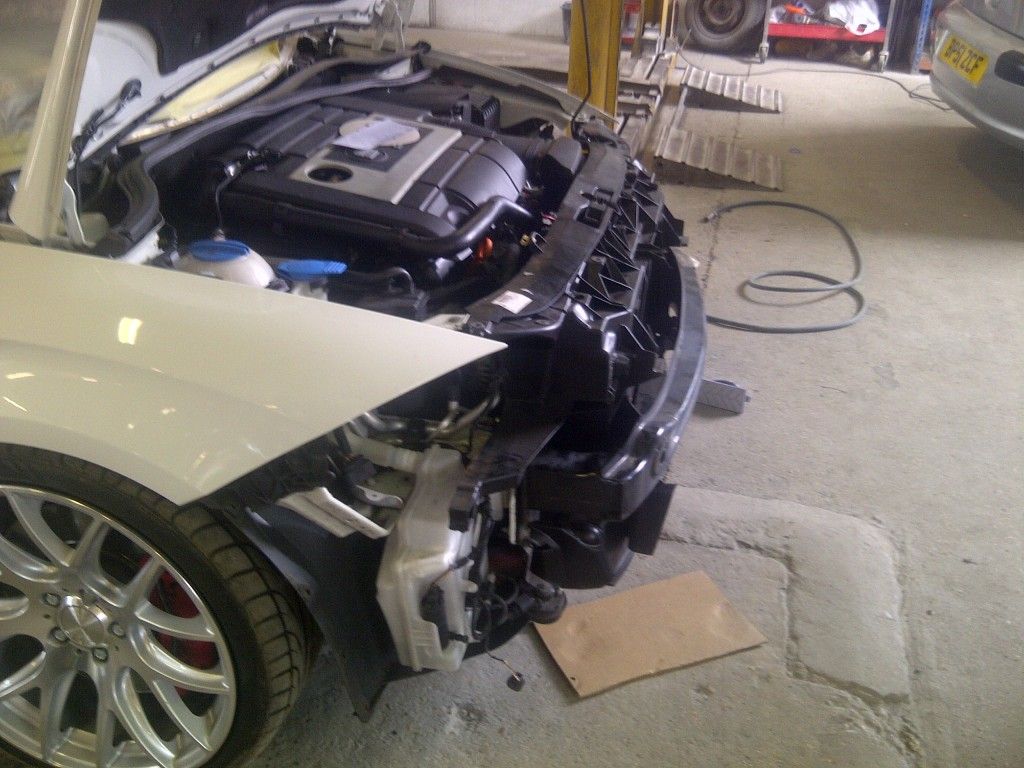
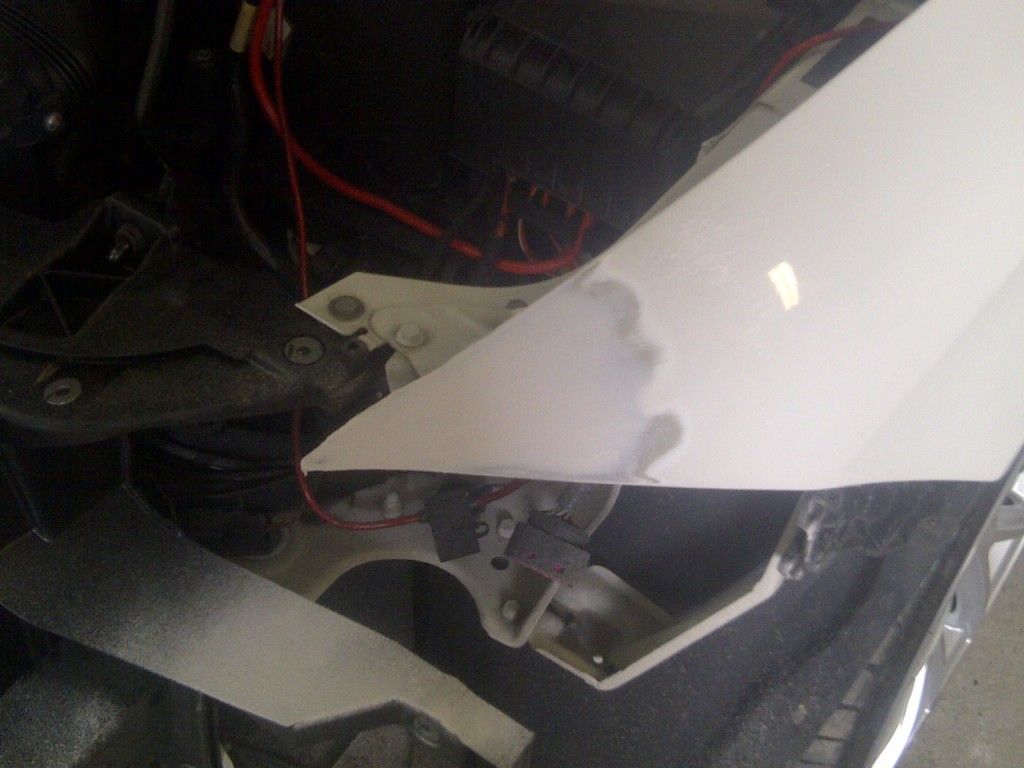
ok so went down to the body shop today to have a look on how the car is gettin on and to discuss some bits on how they wanted to do some things so they ar e now all sort had a look at the car to find out it had some damage before at somepoint in its life and had broken the slam panel so new slam panel was ordered £90 more for the slam panel also new head light and fog light were there as the fog light had been smashed buy a stone and the head light was scratched and i broke the mount were i rolled into a corsa
so new shines fog light
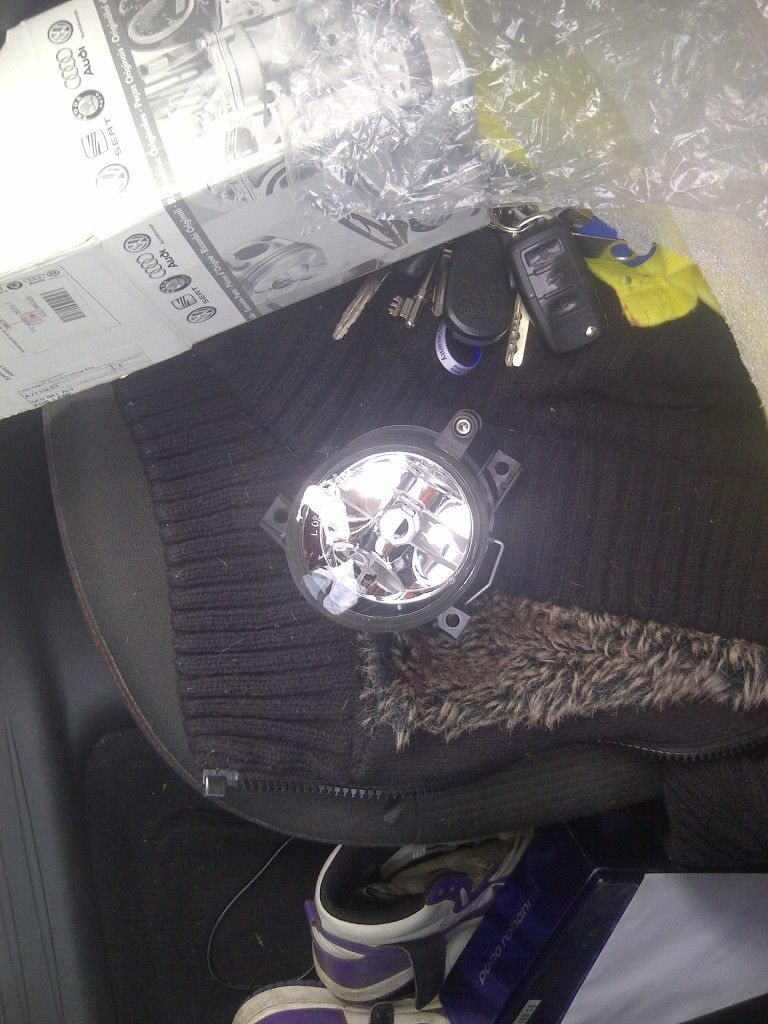
new shiney head light may had to get another one for the other side so they both new and shiney but will see once i got the car back and together
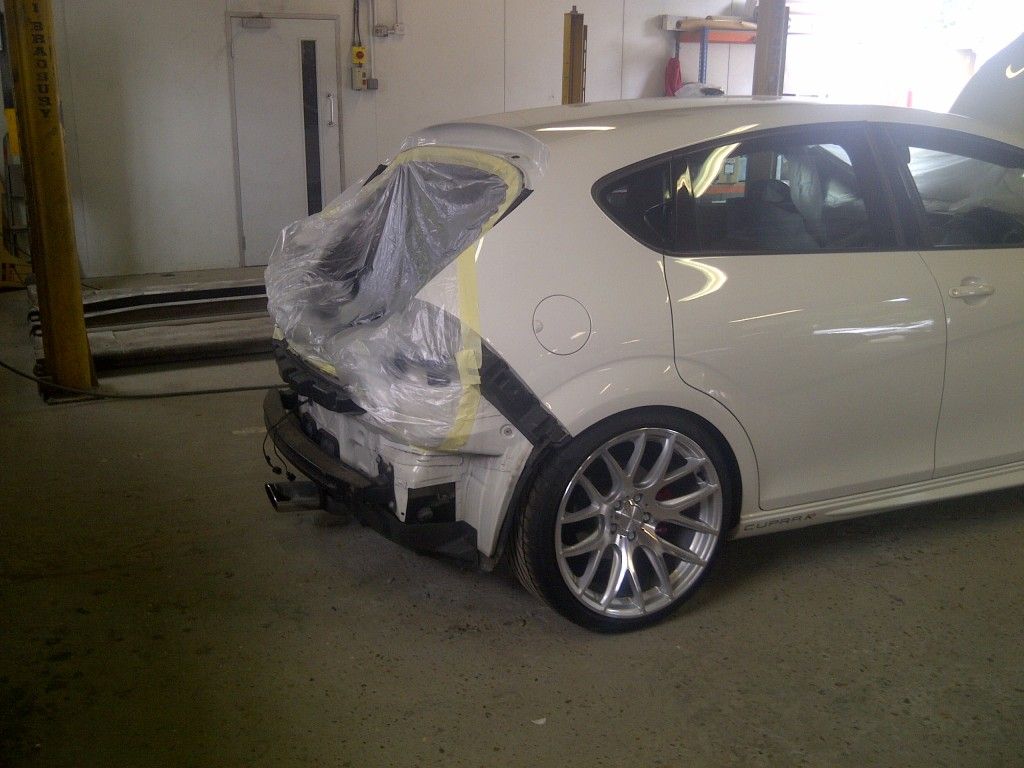
front bumper is off and ready to be prept
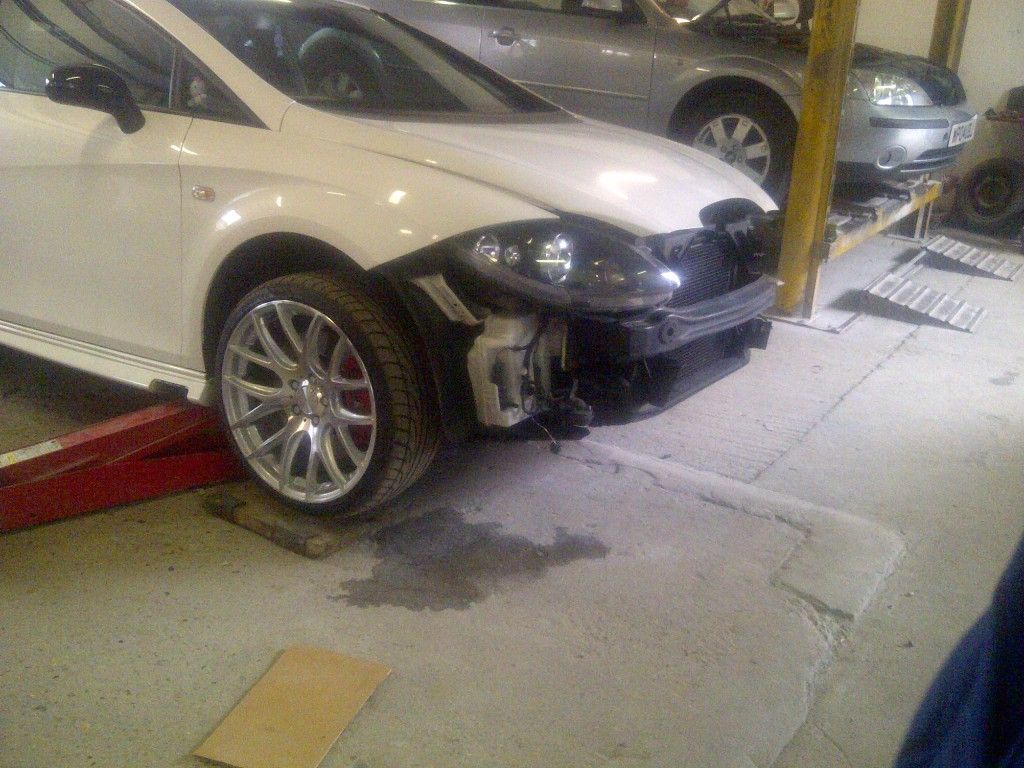
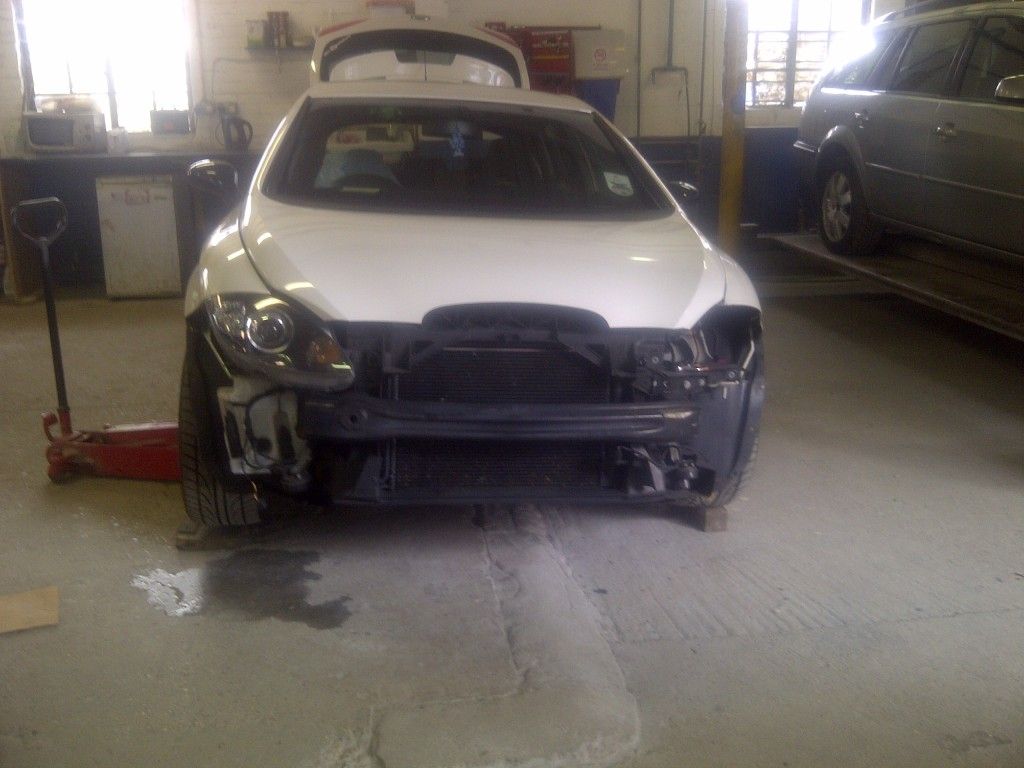
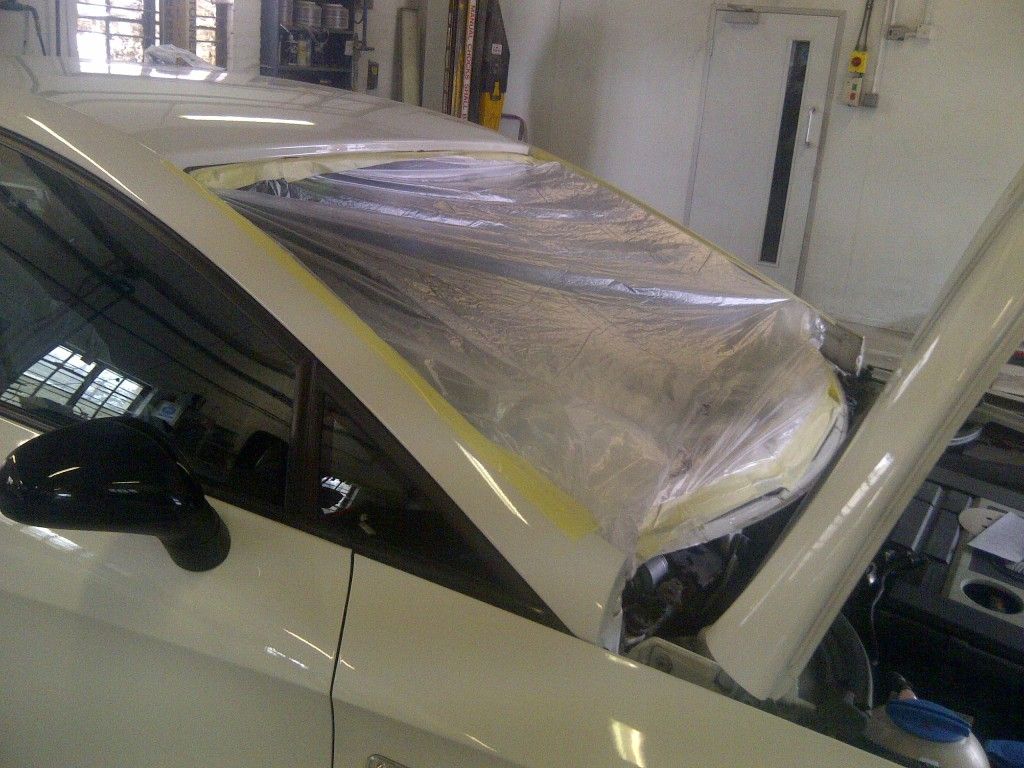
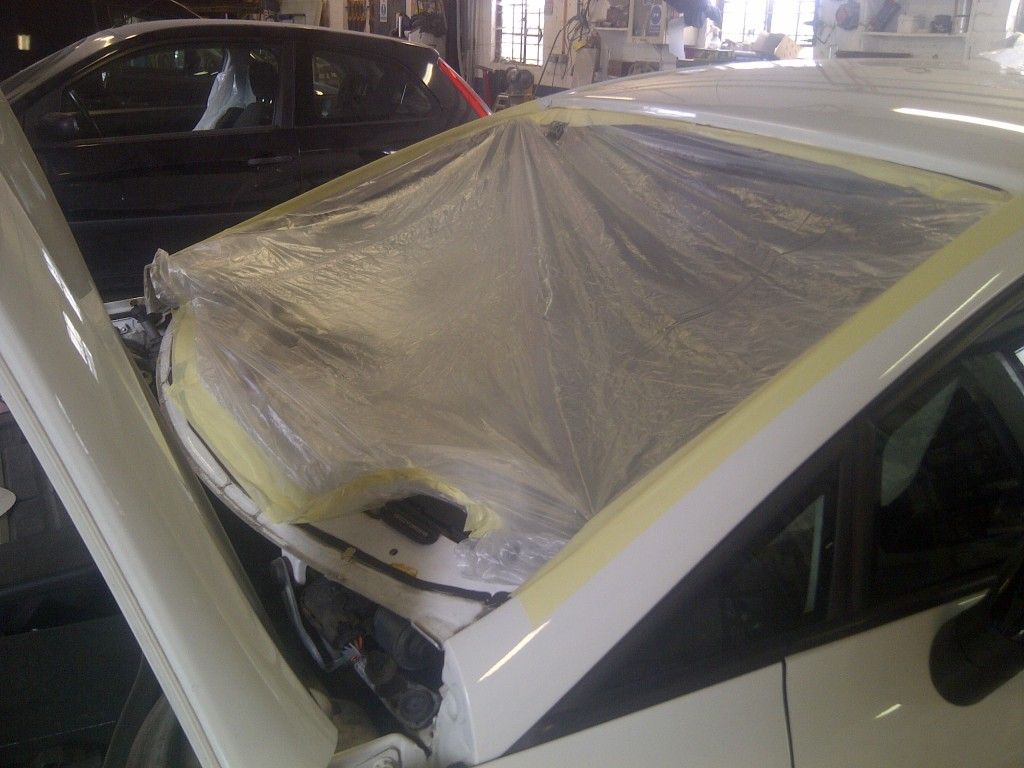
the window screen is commin out today as well so the roof can be painted properly should b bk up there tomorro to get some more progress picturce
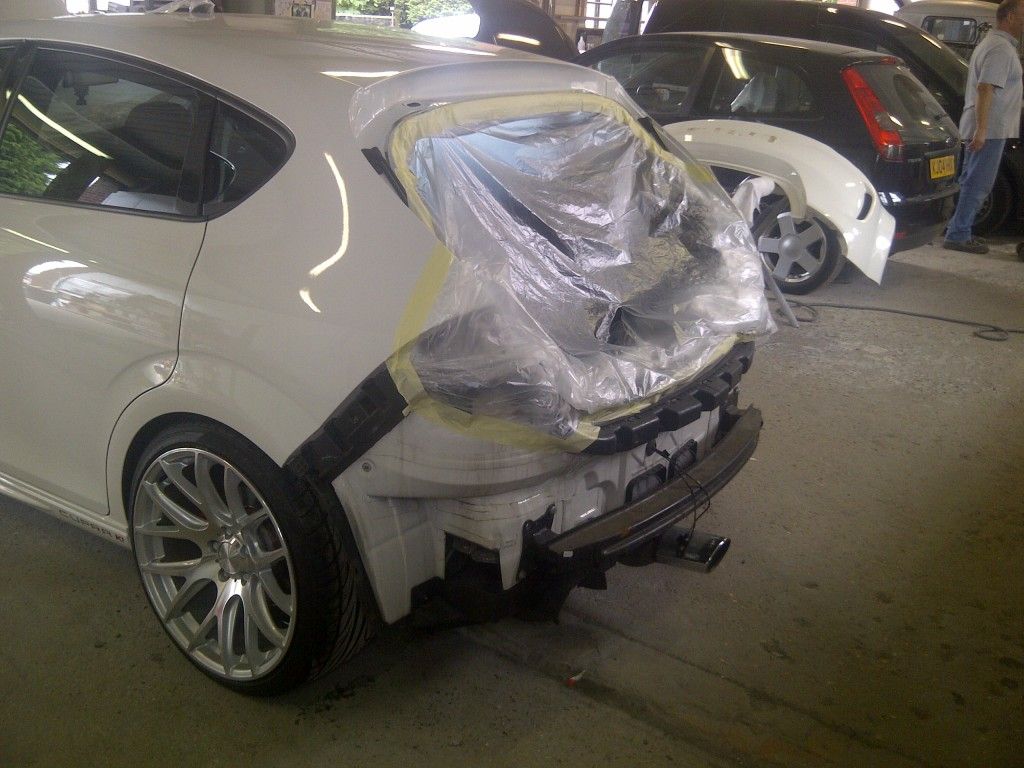
ok so back to the body shop today to find they had got a bit of a wriggle on and that the k1 was looking a bit bare the new slam pannel had been fitted and the wing had been repaired the window screen had been removed ready for the roof to be painted jet black rear bumper was off read for its new layer of paint and for the bits of black detailing boot had been taken off so the rooff didnt have any masking lines i took a few picturse so i wil let the pictures do the rest of the talking
new slam panel fitted
wing repaired just needs painting now
rear bumper and boot removed
the bit around the exhaust cut out will be jet black too
boot removed and masked up
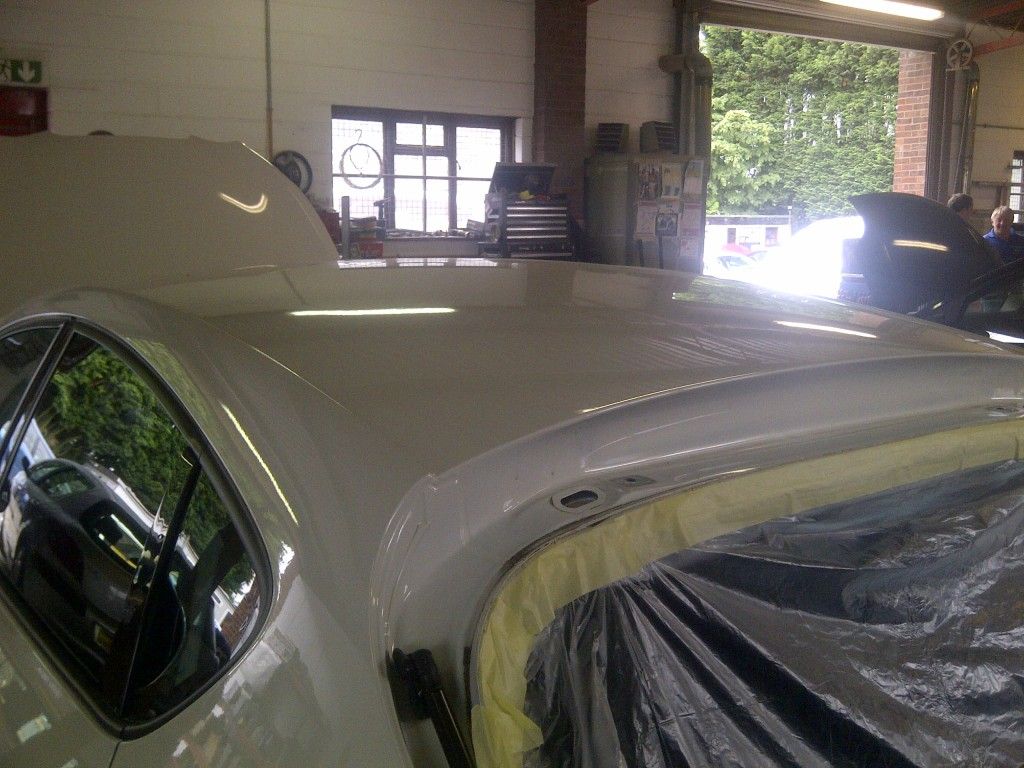
window screen removed and masked up ready for roof too be painted jet black
will b back at the bodyshop tomorro to get some more pics and hopefully the car may have some paint it too
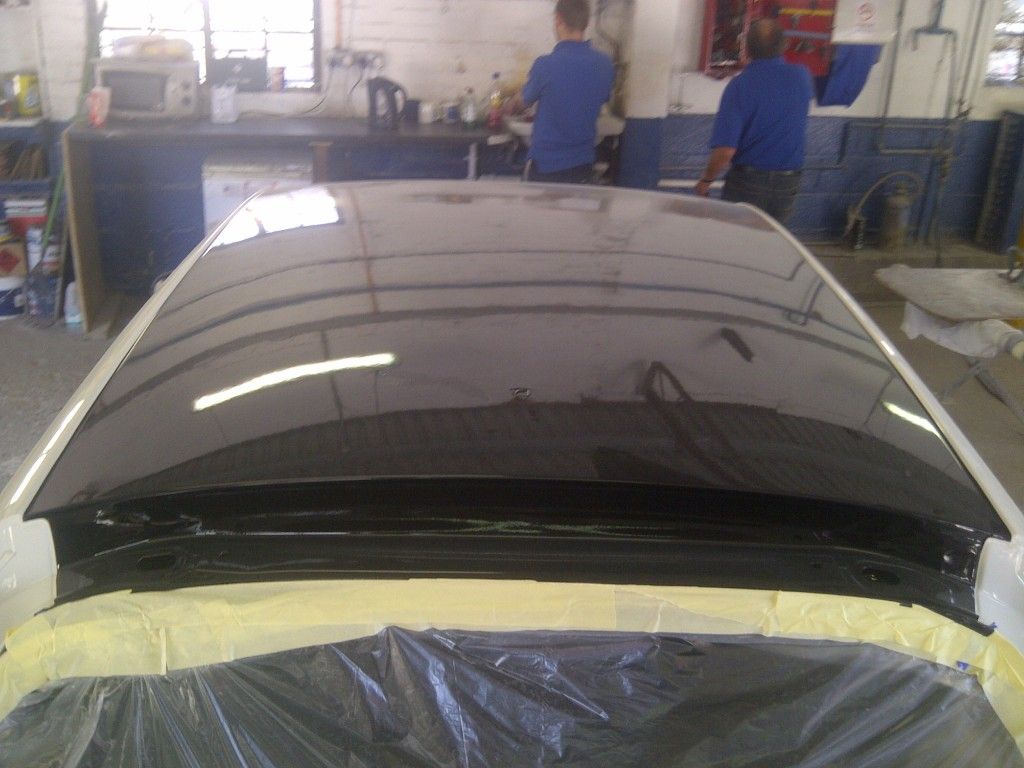
back to the body shop today hopeing the k1 would b ready for collection to b told that something went wrong when primering the front bumper so wont have it back till tuesday but on the plus side the roof was all painted lookin shiney lol shame wen i took some pics that it was all dusty

rly cant wait for it to come back and be ready for edition as i havent bin to any shows yet this year thats very unlike me but o well now i have the car almost ready
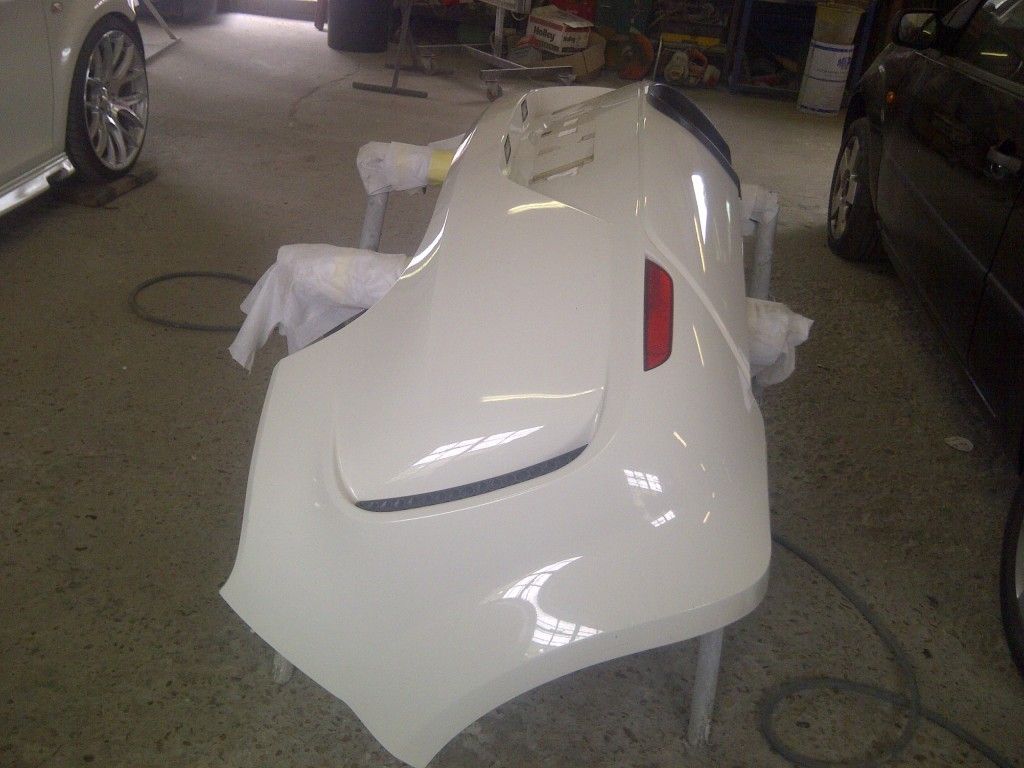
back to the body shope yesterday to find out hows things are moving on to see all the paint had been done and windowscreen was back in i was very happy with what had been done now the last thing im waiting on is the rear wheel to be refurbed that will b back on friday
the damage on the front all fixed
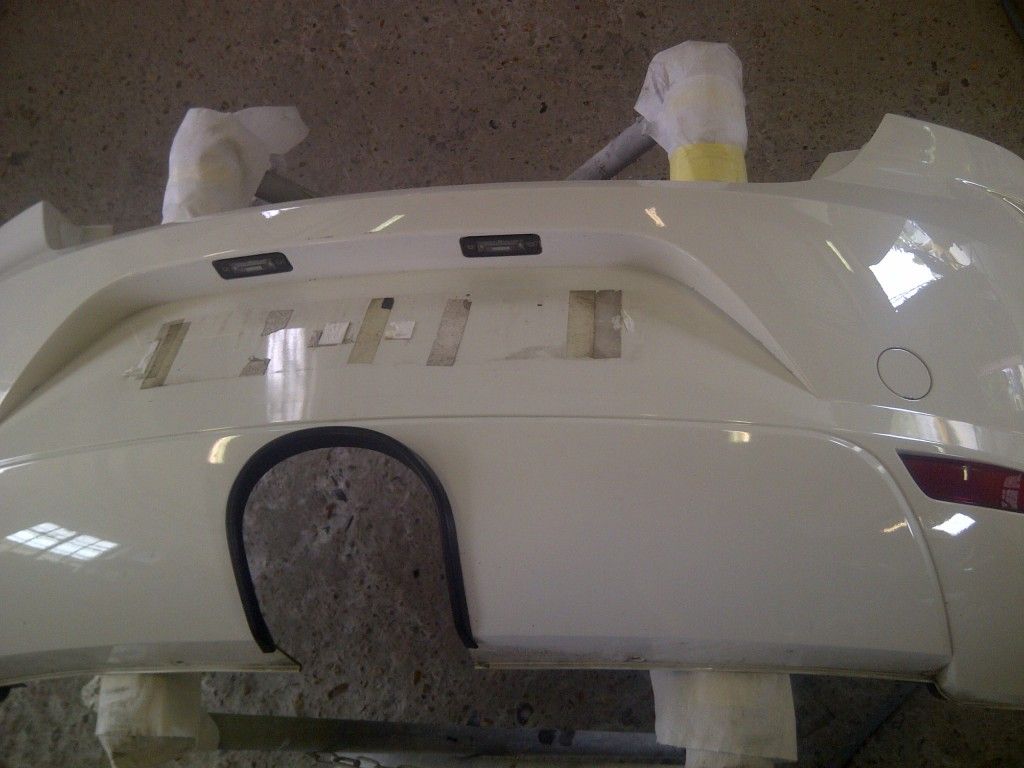
the new bit of paint to the rear bumper
i kinda forgot to take any more pics so will get some wen the cars is back
Big eck these pics r just for u buddy will add some more soon from behind
Hope there good enough bud
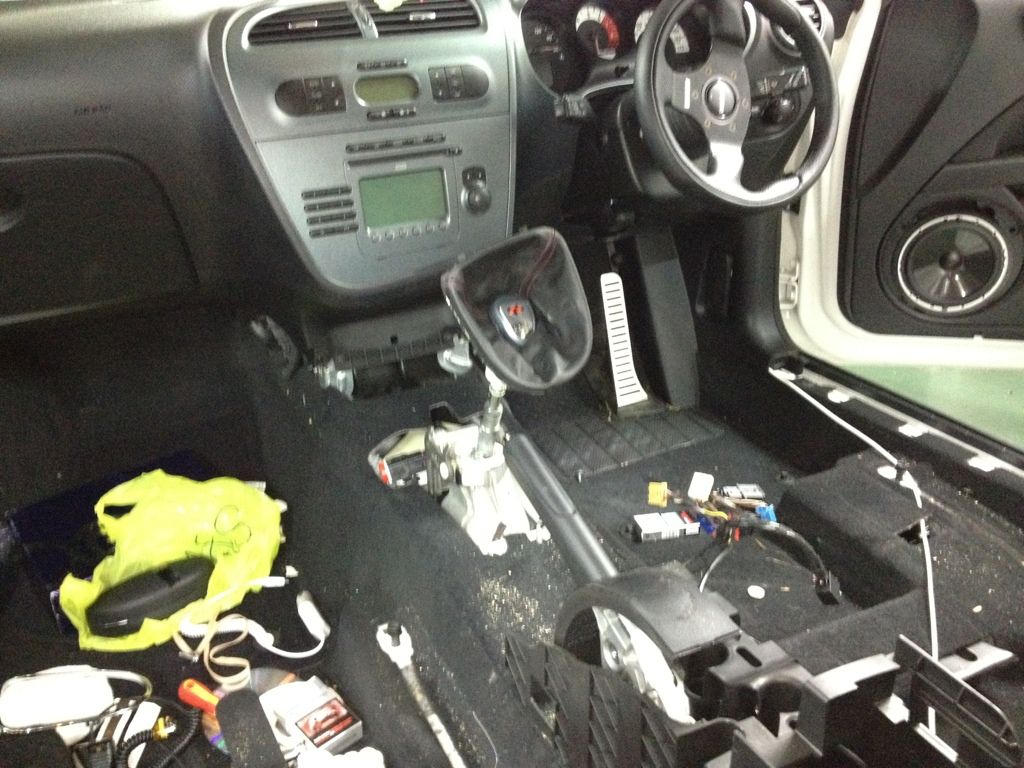
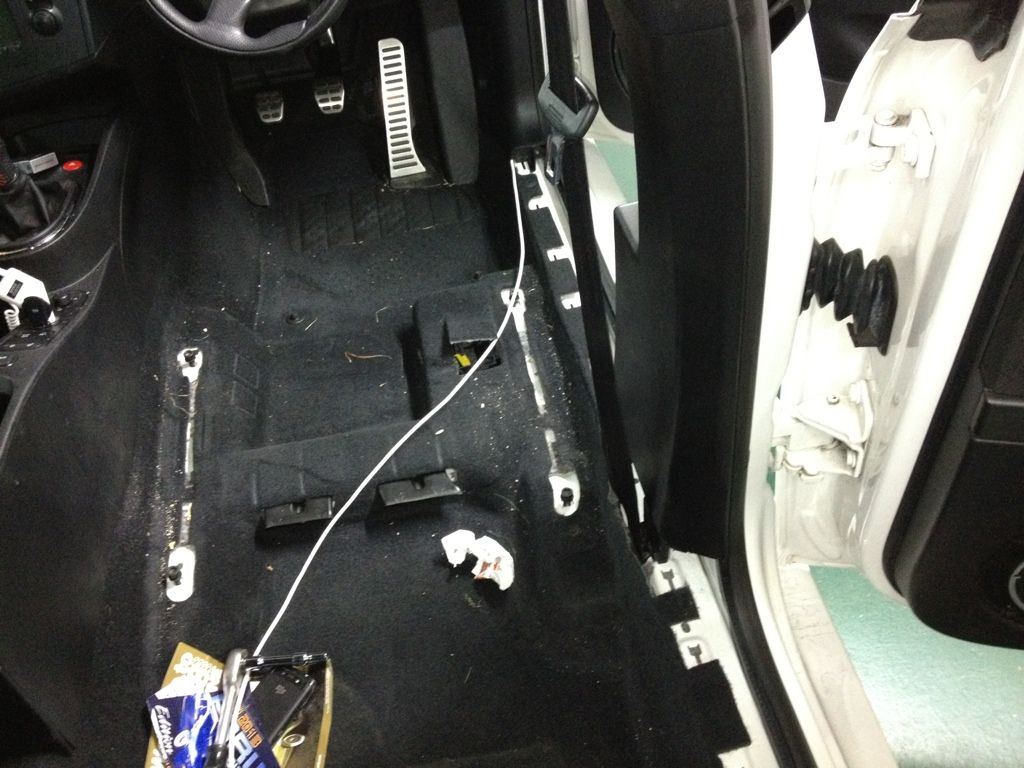
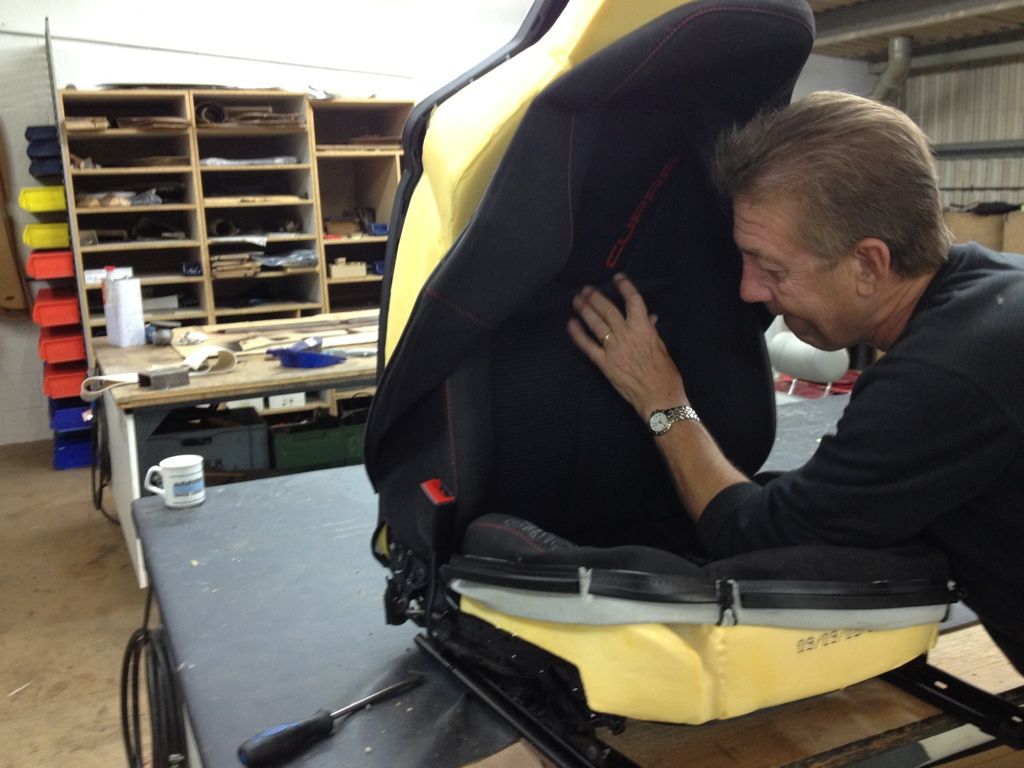
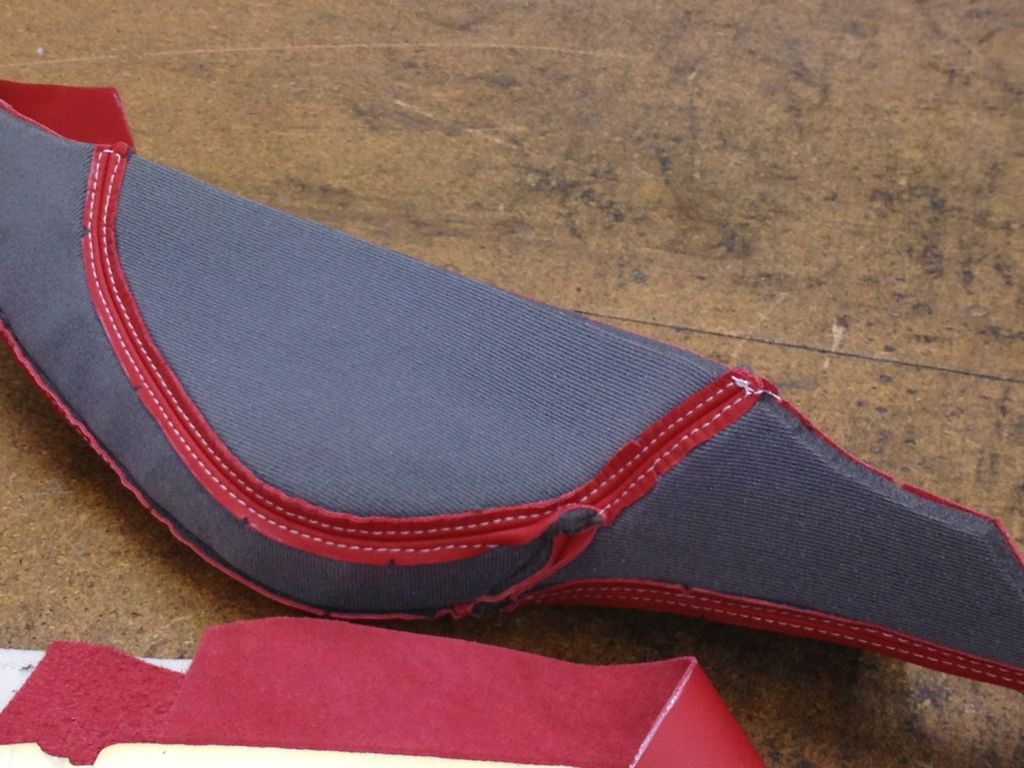
Ok back up to the trim centre today to start pullin the interior out so here's some pics it isn't a nice feeling watching your seats get cut apart lol
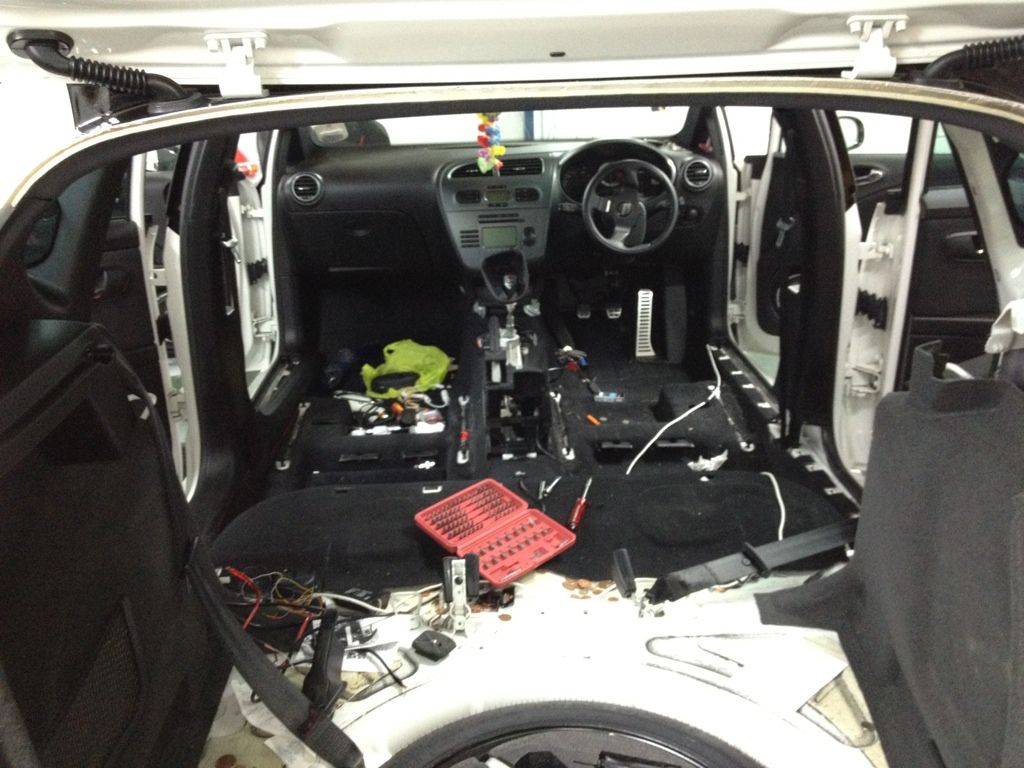
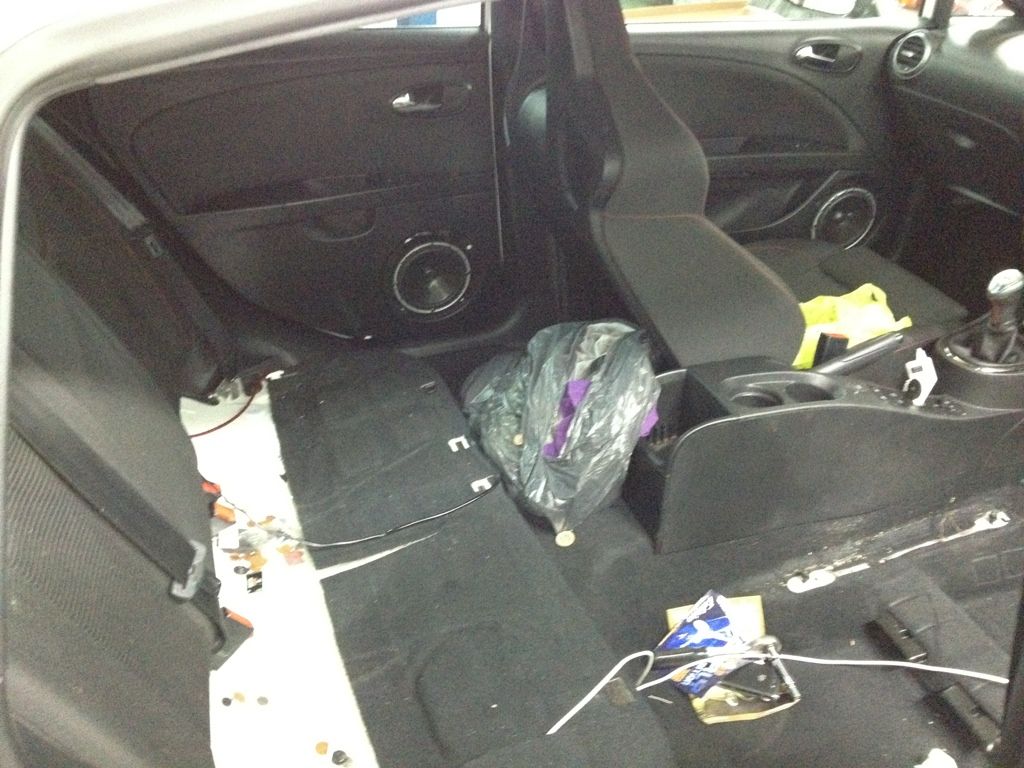
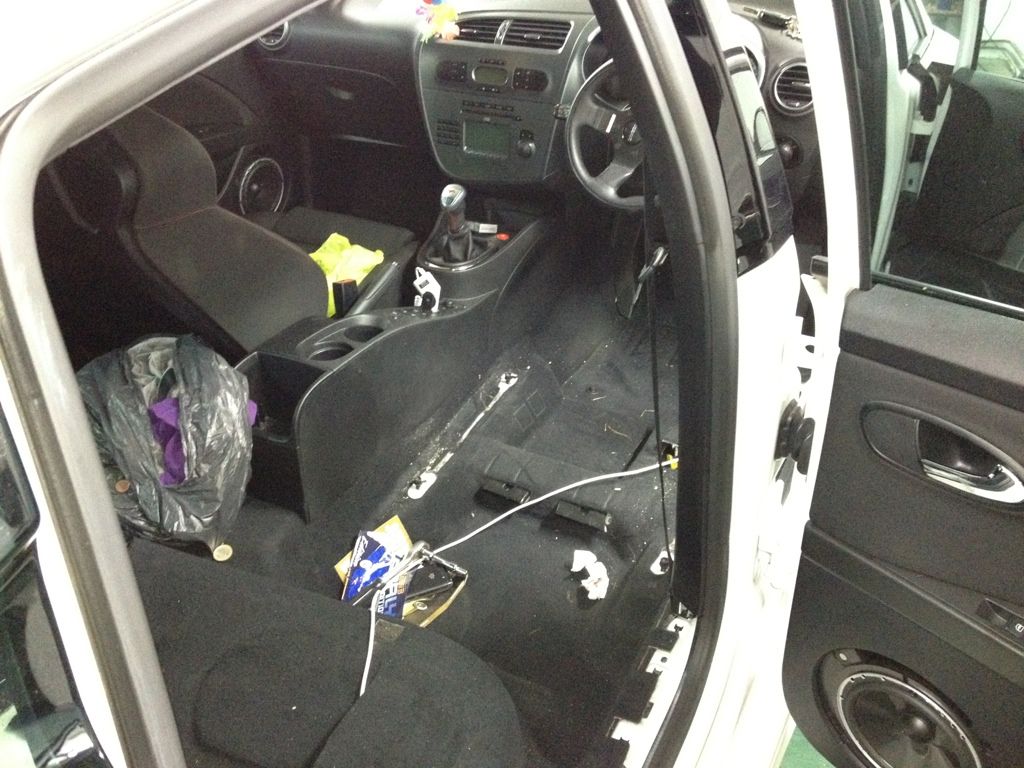
All parts out and gettin cut apart

The base colour for the seats
Will post more as I get more done
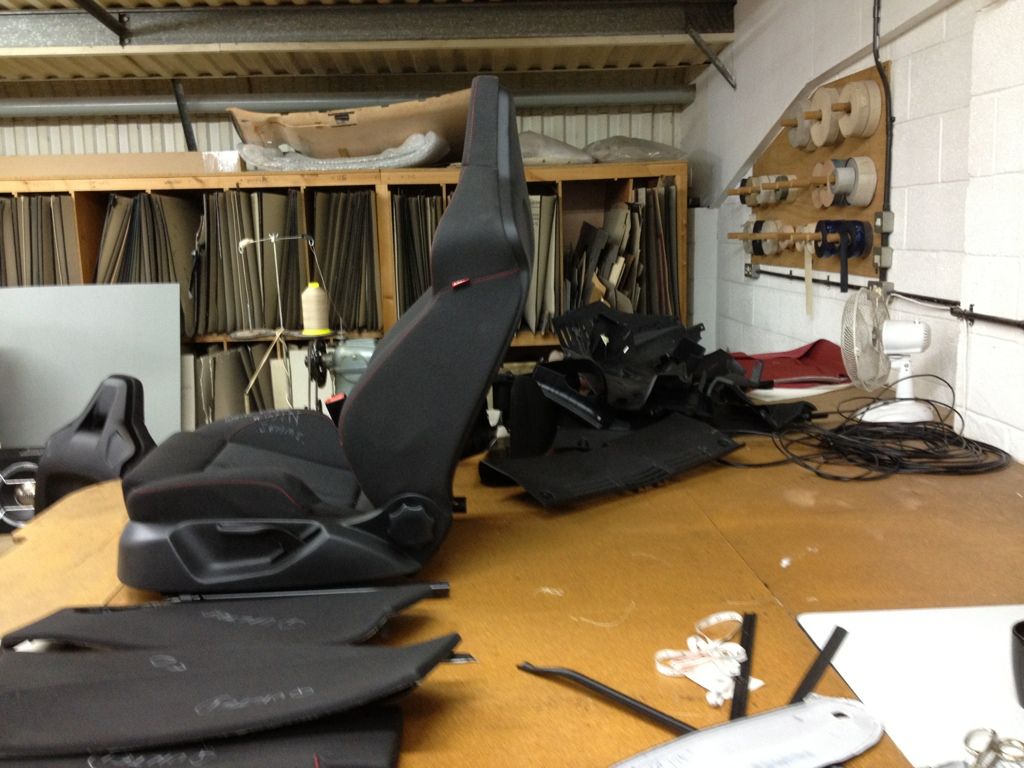
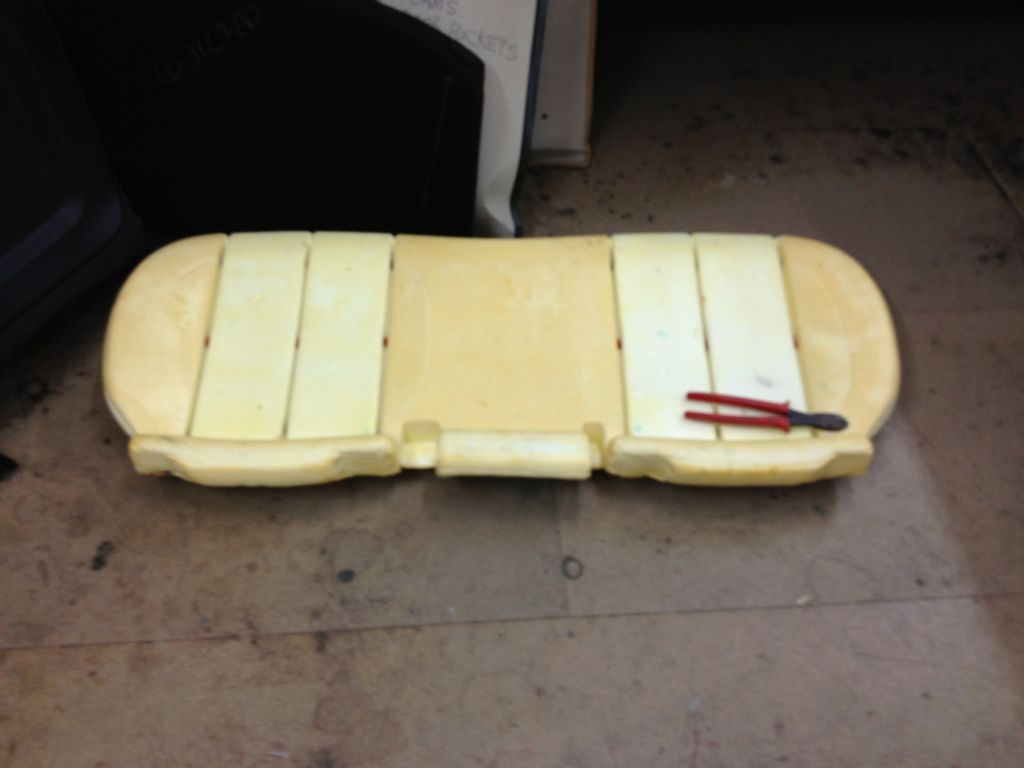
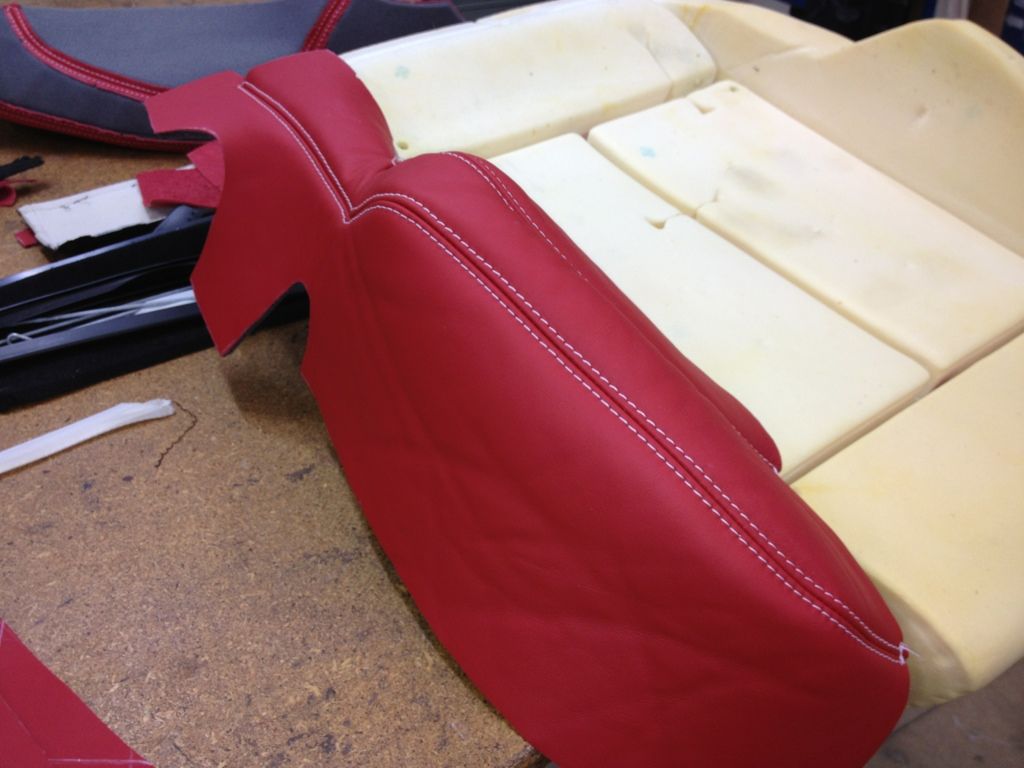
Bin up at the trim shop today to discuss some bits and bobs we have decided on a 3/4 thick foam for the twin quilting and 1/4 thick foam for the rest of the seats the original town of the seat will be stayin as well the head rests are done and the drives side frobt seat it's goin together as we speak so here are some pics
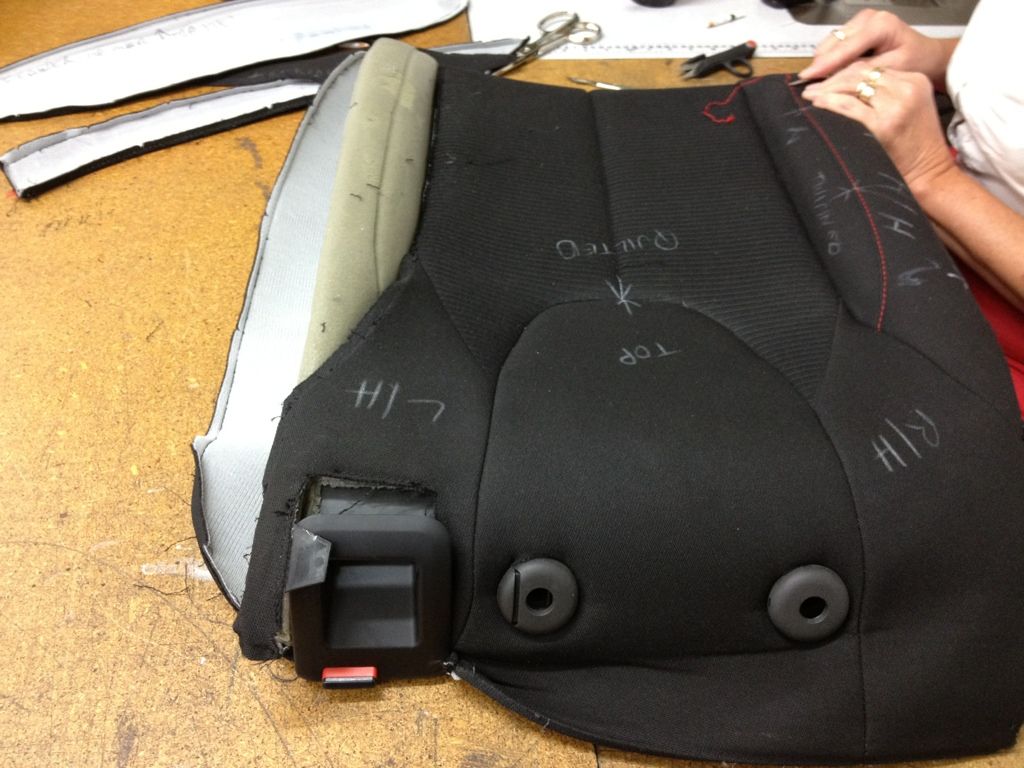
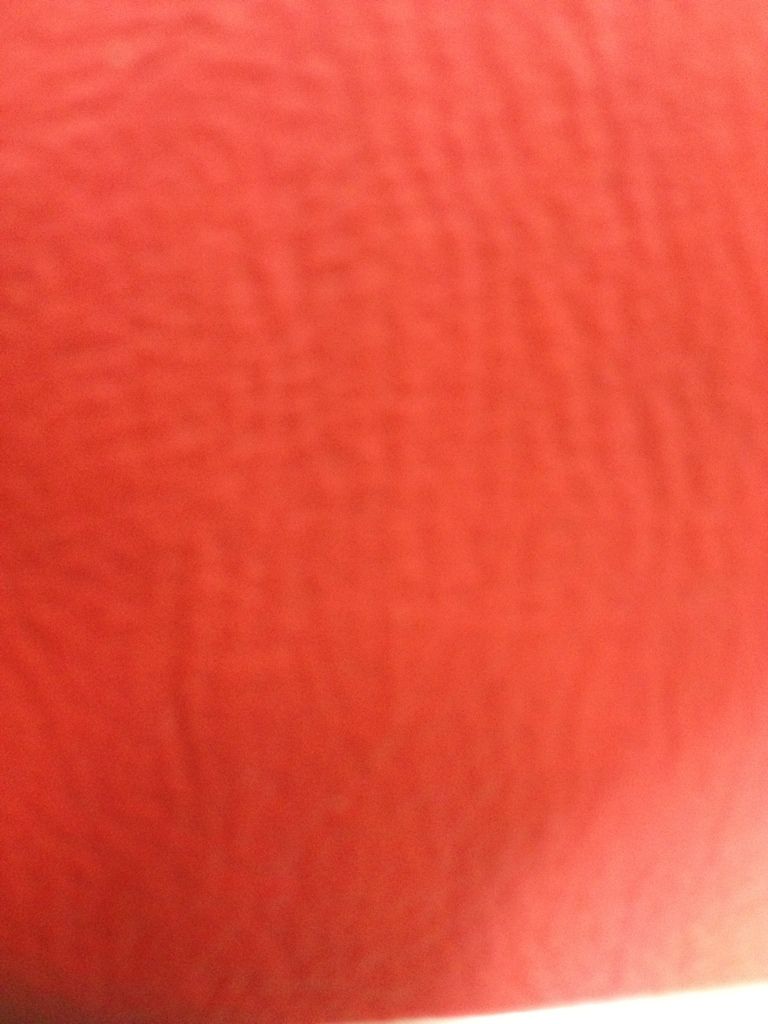
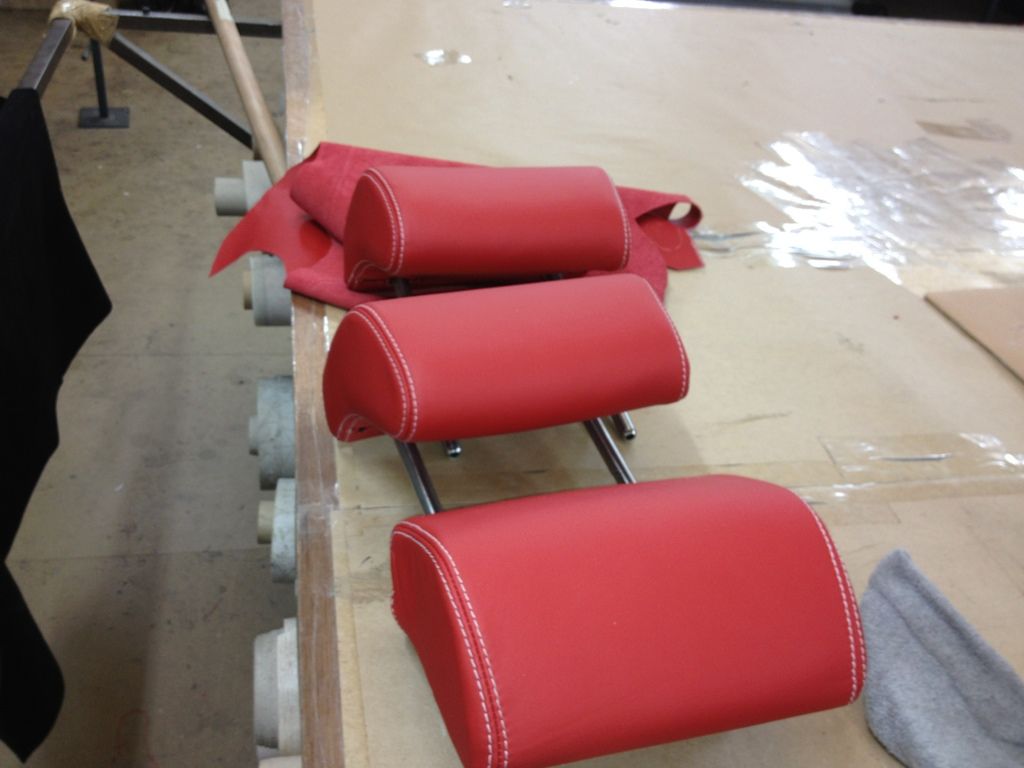
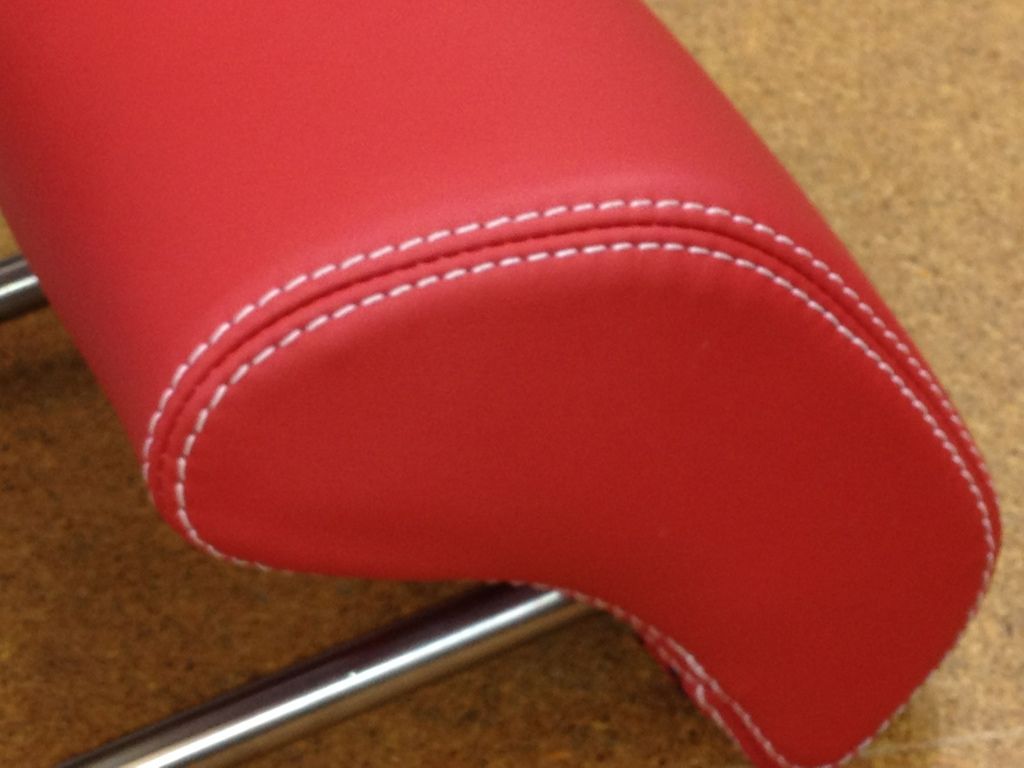
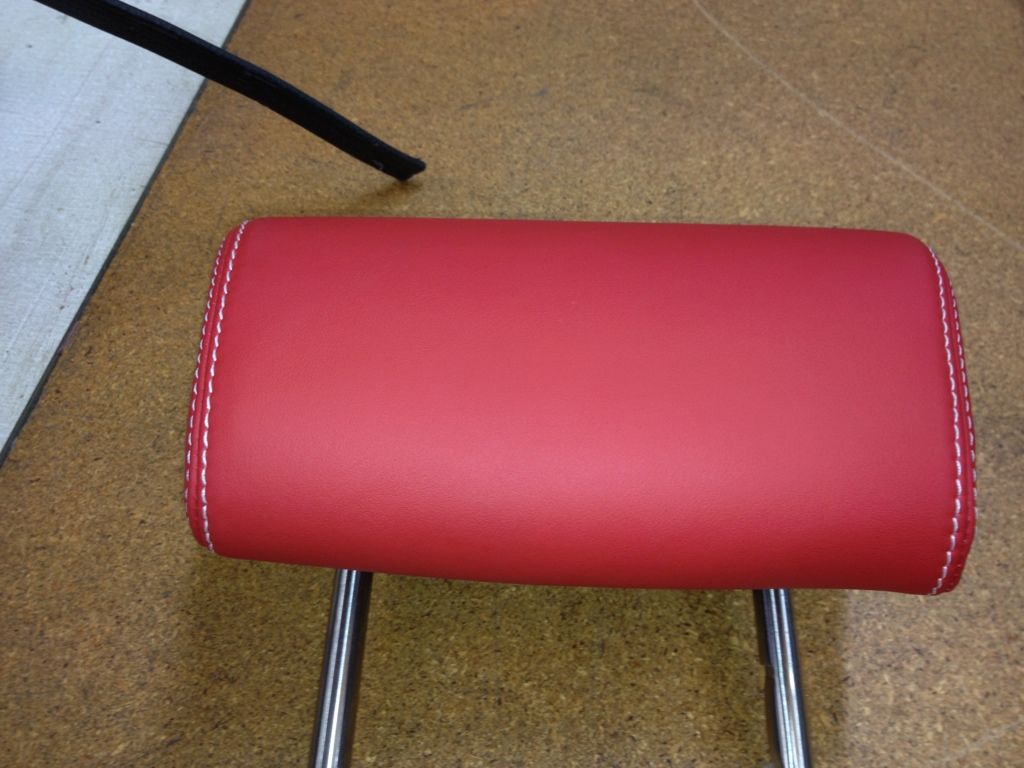
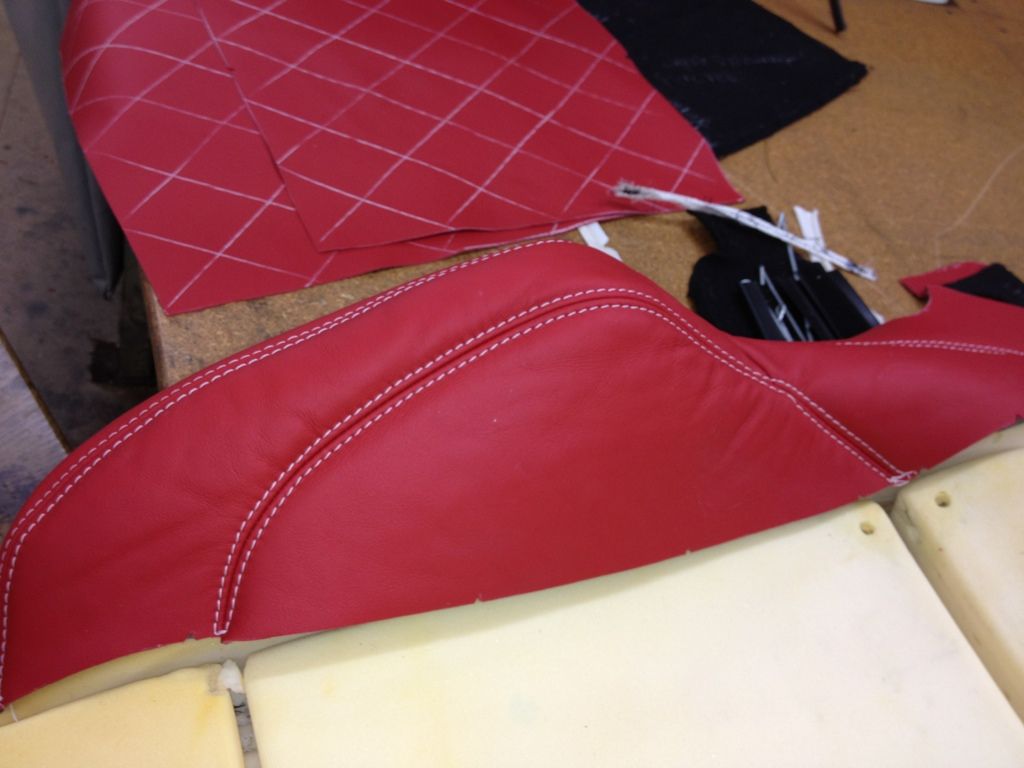
Here are some pf the head rests they are twin stitched in white stitching with poppy red leather
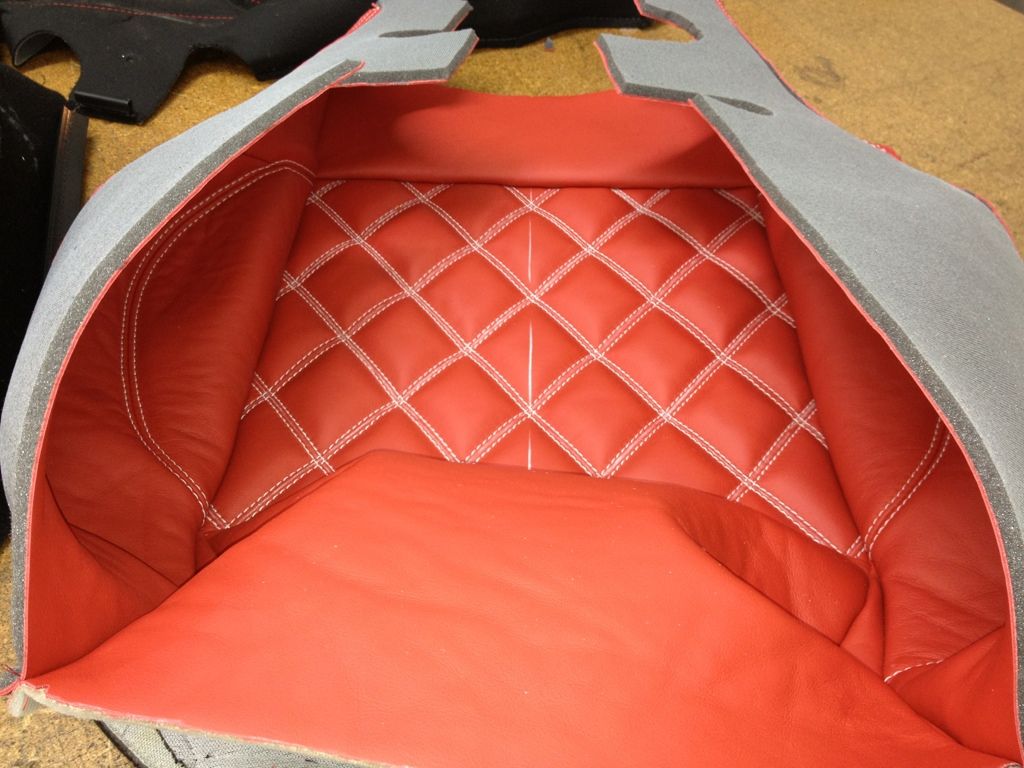
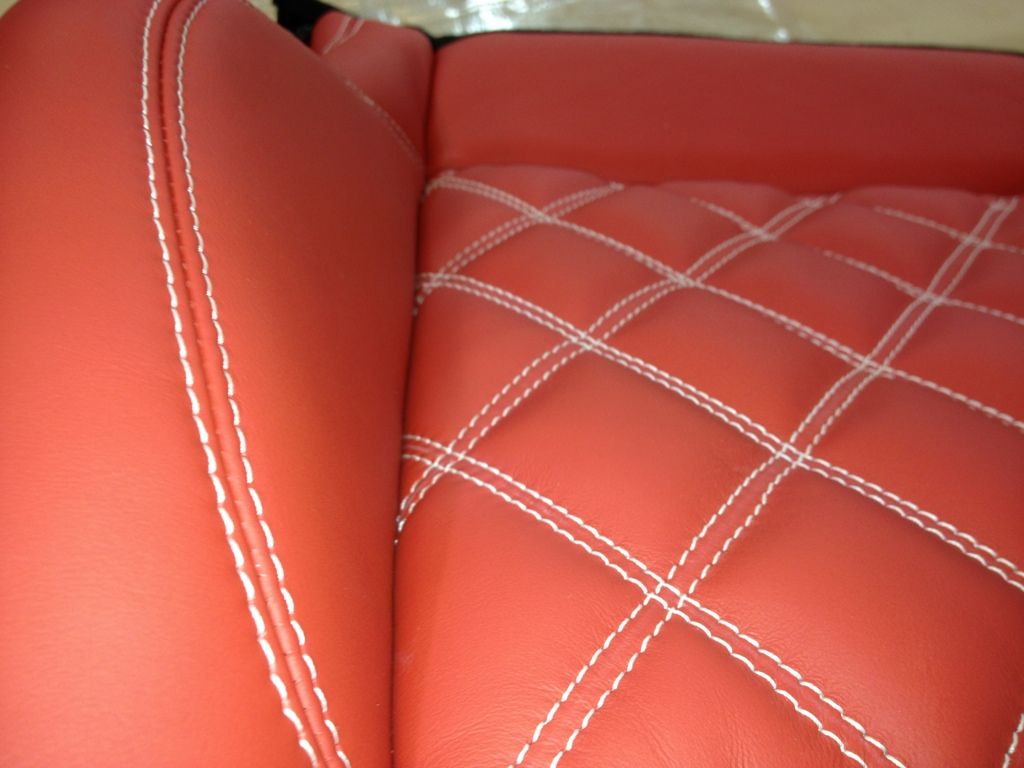
Here are a few of the drivers seat the bolsters are done waiting for a few bits to be embroidered in the tops of the seats and the centres are being twin diamond quilted and the foam for the quilting will b 3/4 of an inch thick do the diamonds stand out well
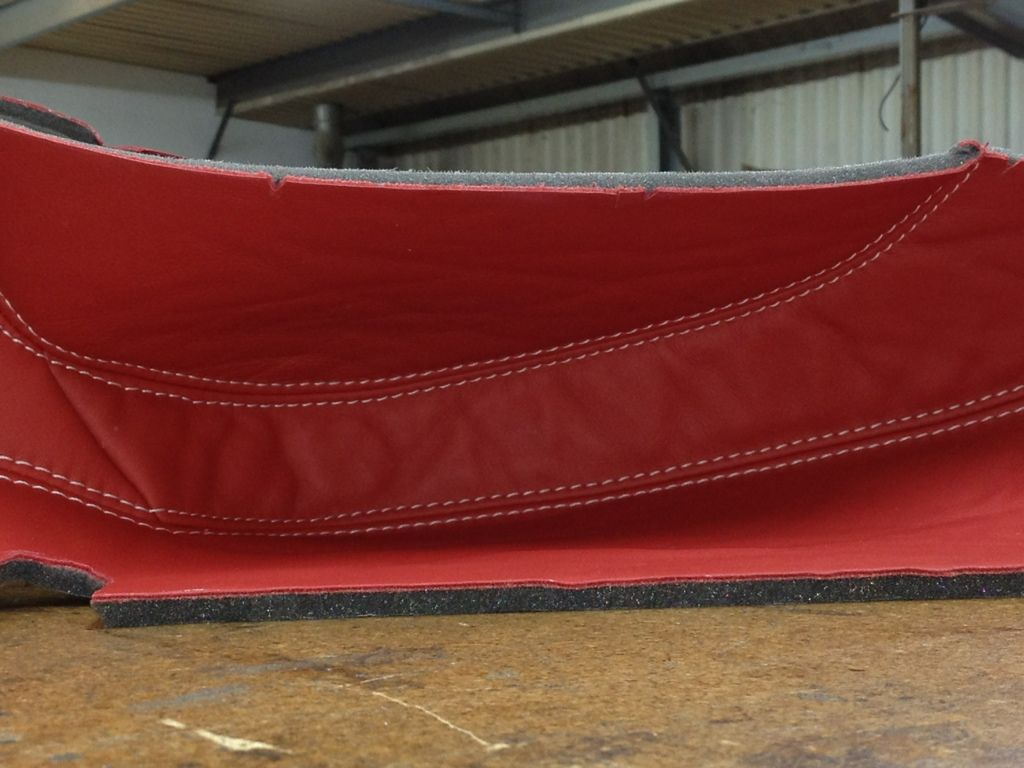
In this pic u can see the quilted templated on the centre of the seats
Will update again when there is more progress
The last update for today
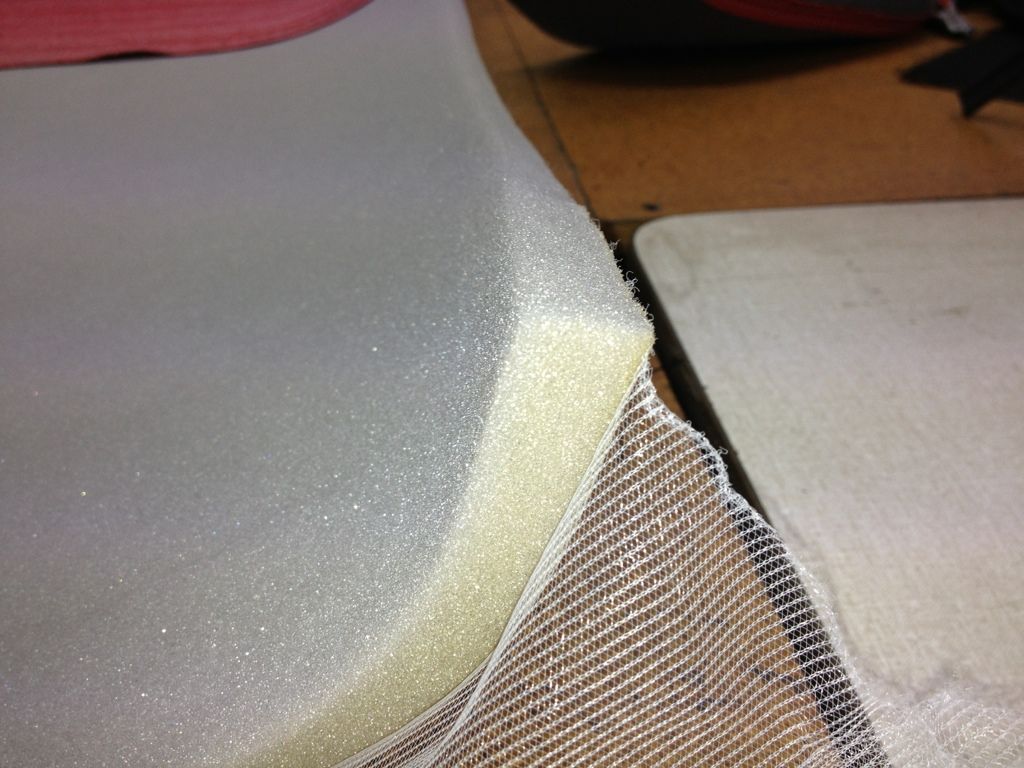
The quilting getting its 3/4 inch foam stuck and getting ready for stitching
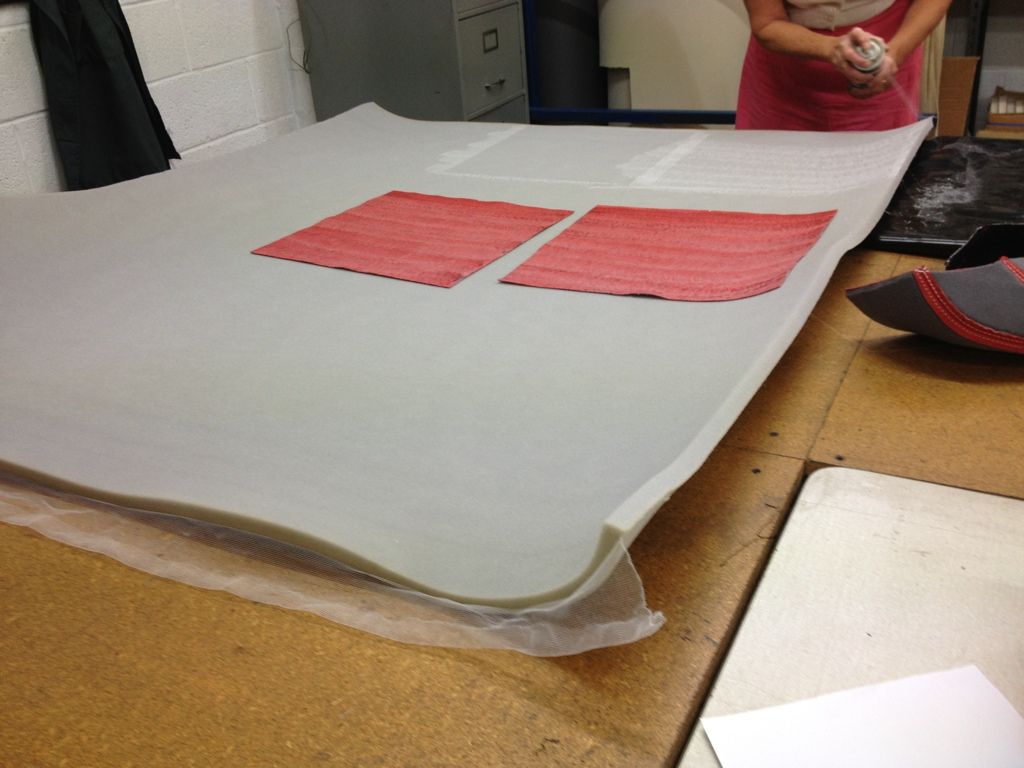
A close up of the foam so u can see the thickness
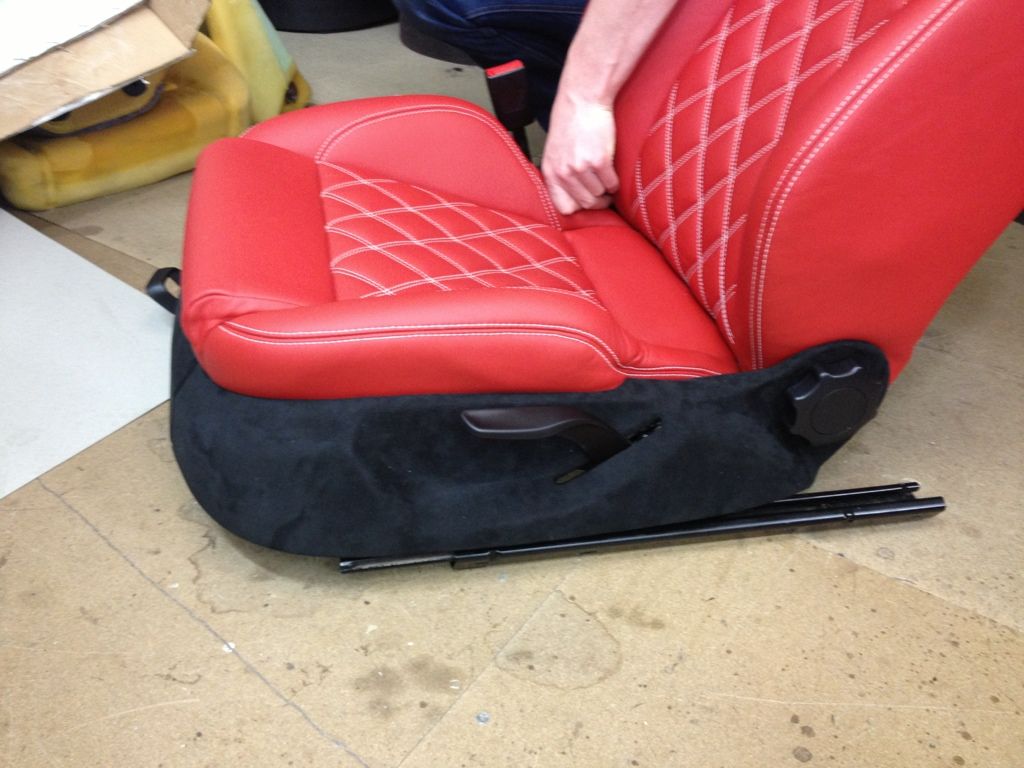
The finished seat panel just needs stitching to the rest of the seat now

In this picky can see how raised the twin diamond quilting is

Will be more updates 2 moz
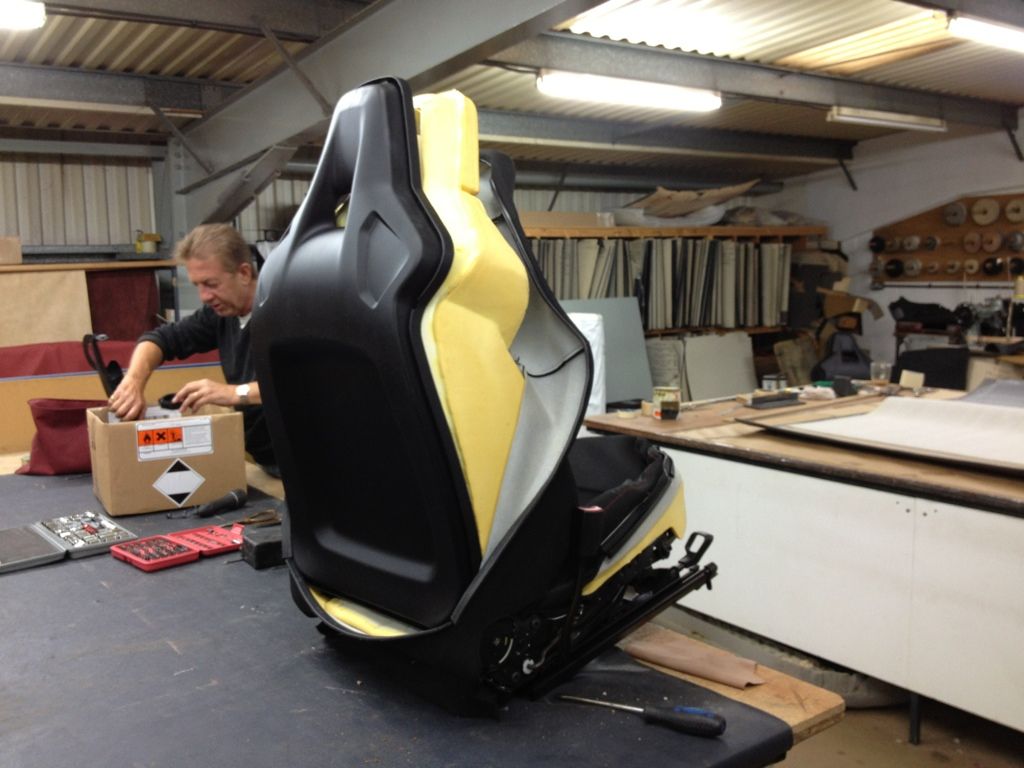
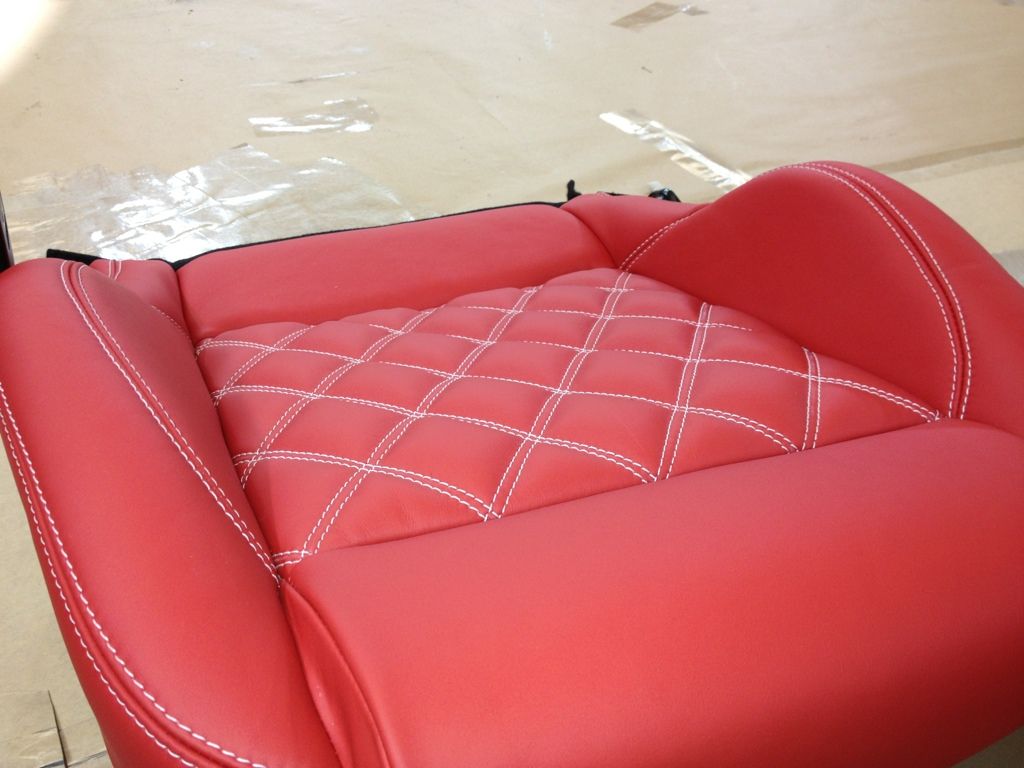
Little update the bases are done myt even have a seat finished so here a checky pics
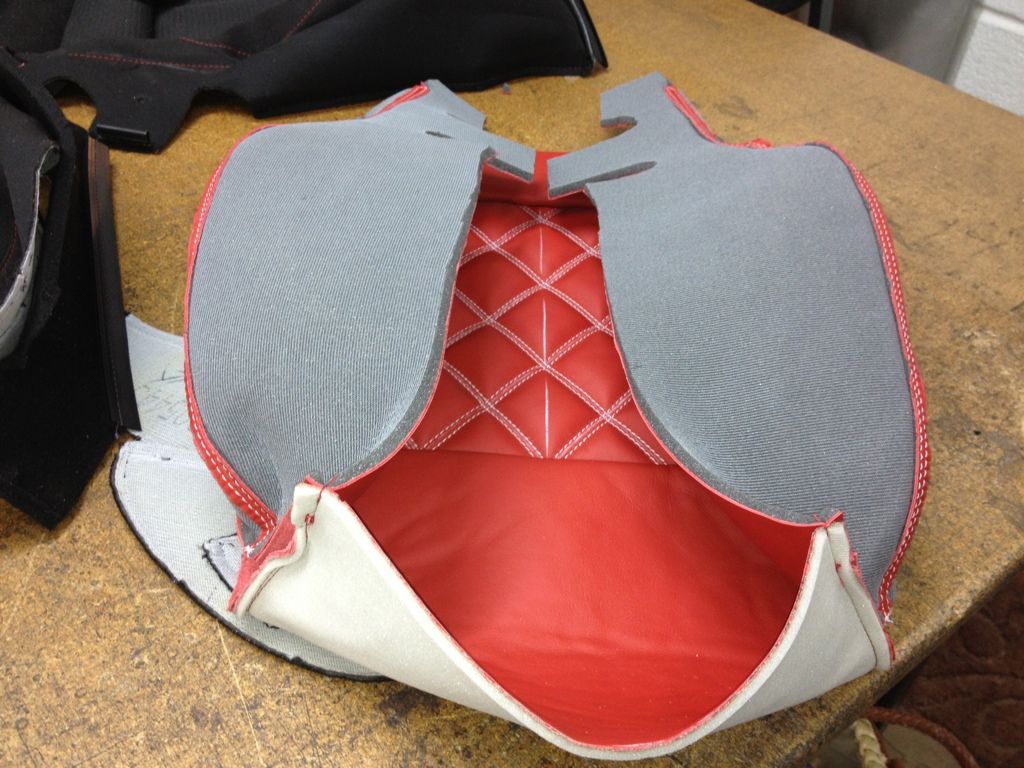
And the base built a leather on


nice your dash should look well smart.
Can't wait to see it finished
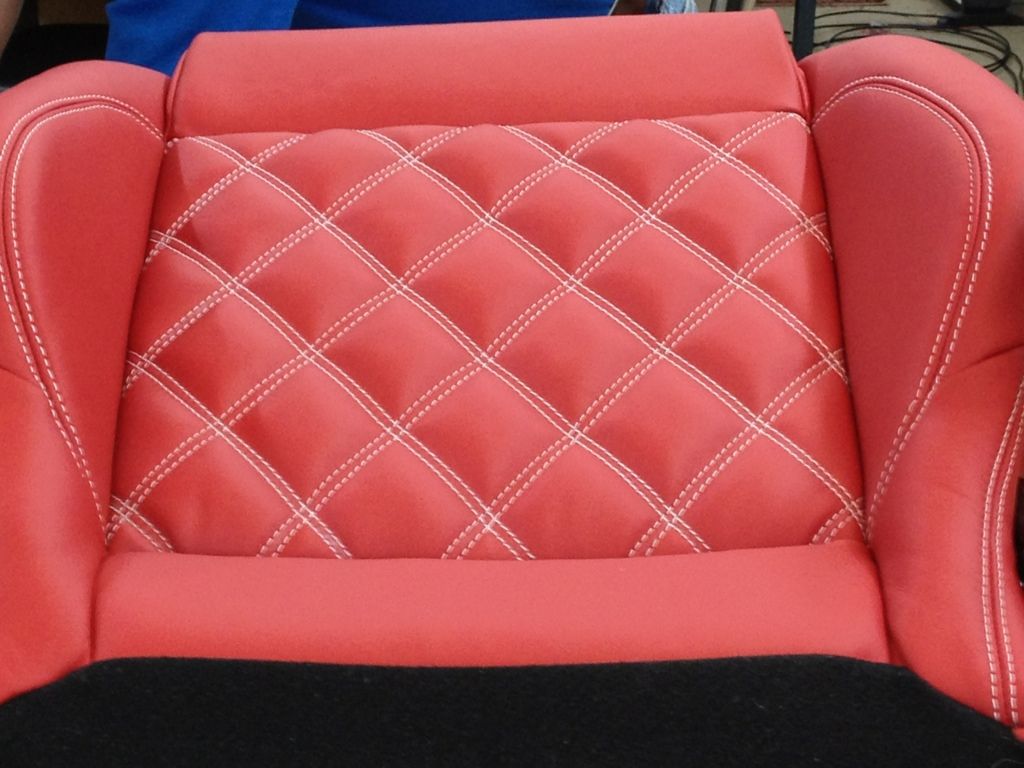
Lovely shoot for performance seat magazine mate some great pictures
Cheers bud
I really need to buy it lol will be buying it on Monday
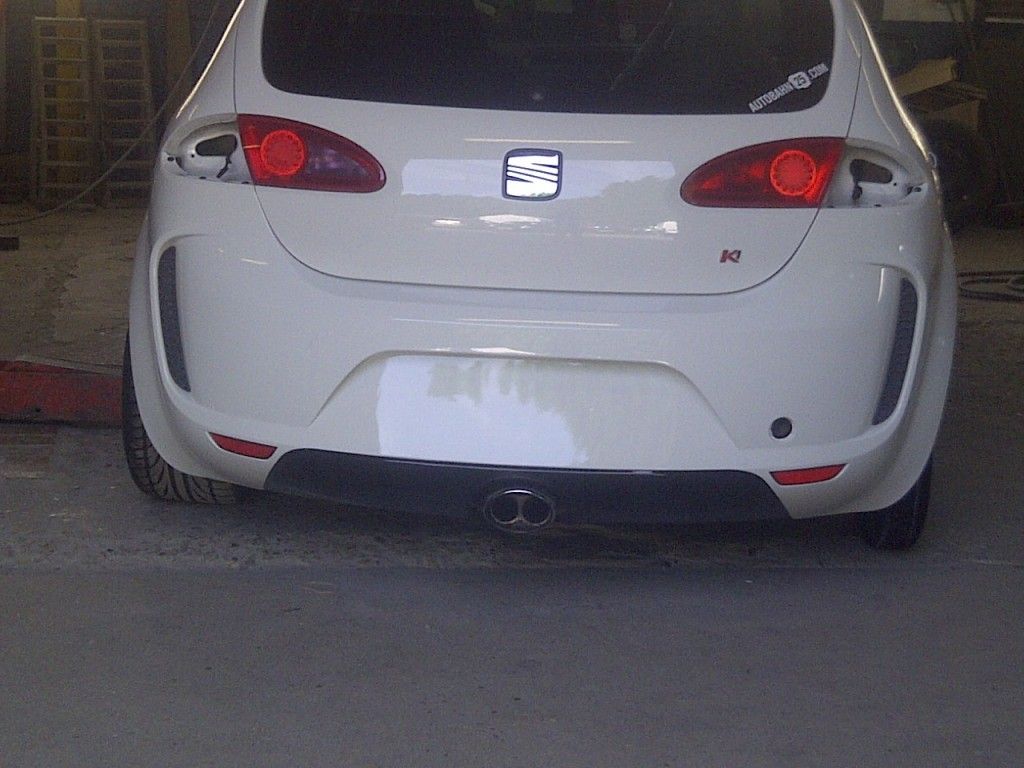
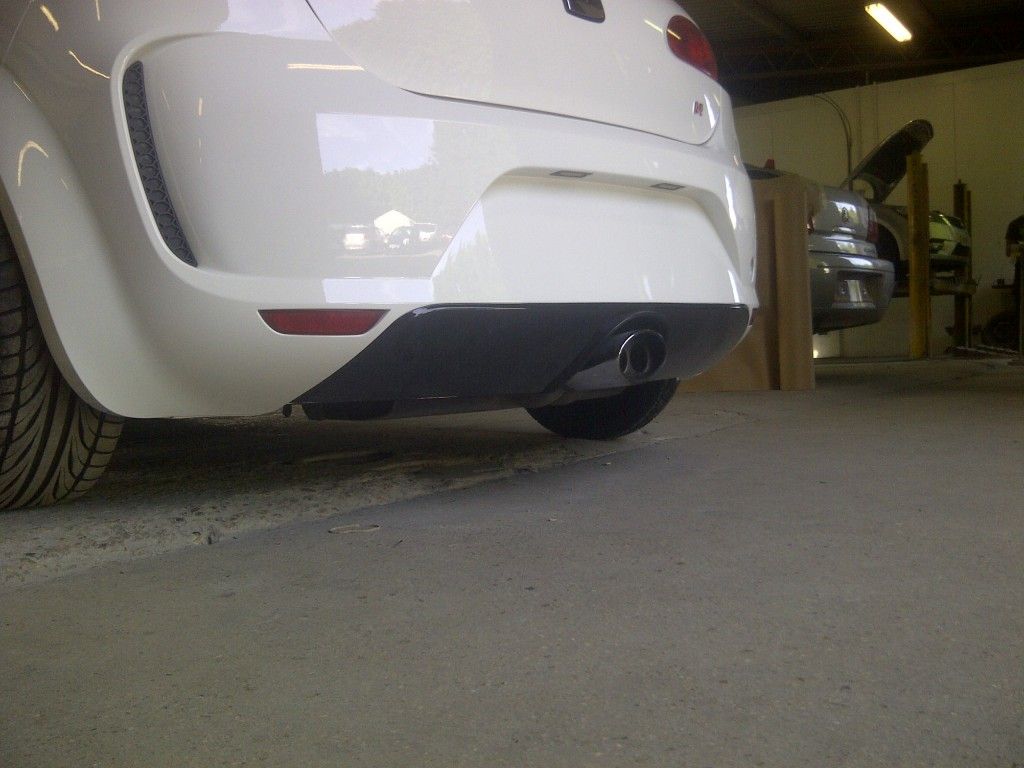
Pictures of the exhaust mate
I am properly jell of this car!! Its unreal!! Whats your instagram mate?
I am properly jell of this car!! Its unreal!! Whats your instagram mate?
Pictures of the exhaust mate
I am properly jell of this car!! Its unreal!! Whats your instagram mate?
Will put some up l8a that I Gota ant got many ATM as the cars not with me it's being trimmed again n my insta name is k1jake
Similar threads
