


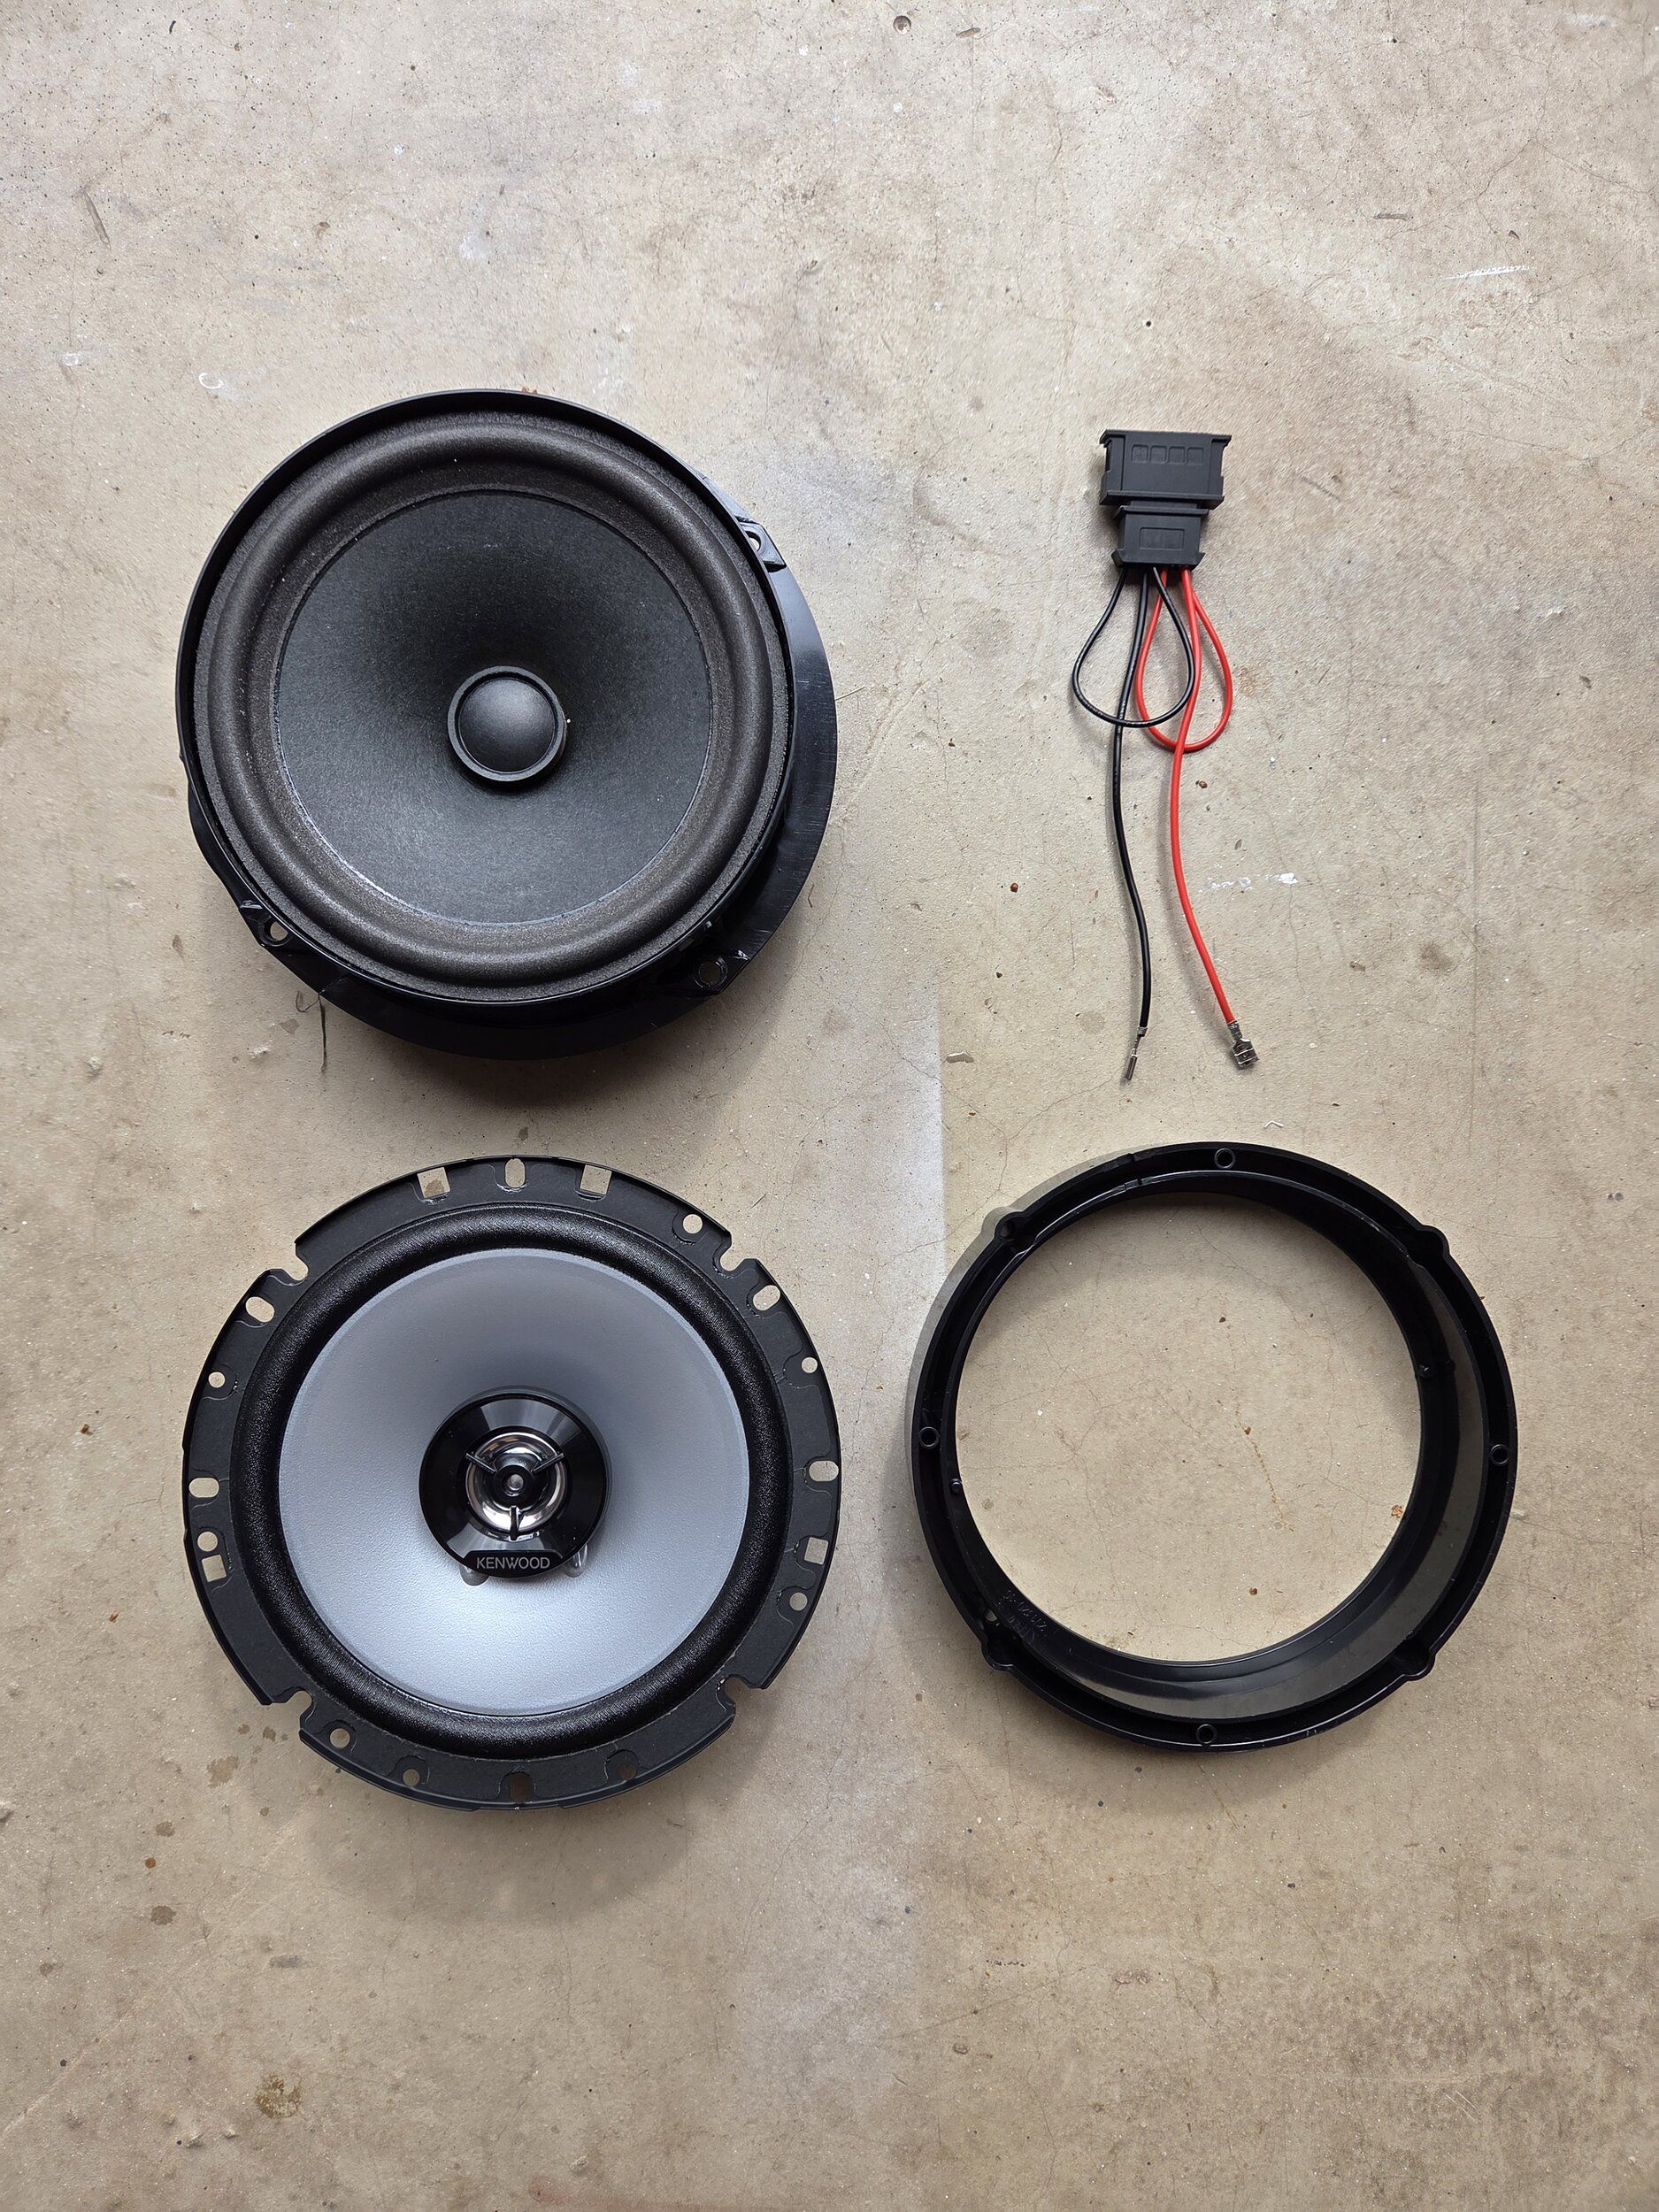
This how to guide is for the removal of the rear speakers in the Cupra Raval but the front doors are similar too. You will require plastic trim removal tools, T27 Torx screwdriver, a drill and metal drillbits along with adaptor ring and I recommend car sealant to bond the adaptor ring to the door. Speakers are standard 17.5 or 6.5 inch OEM are full range and I swapped for two speakers opting for a pair of Kenwood KFS S1766 2 way speakers.
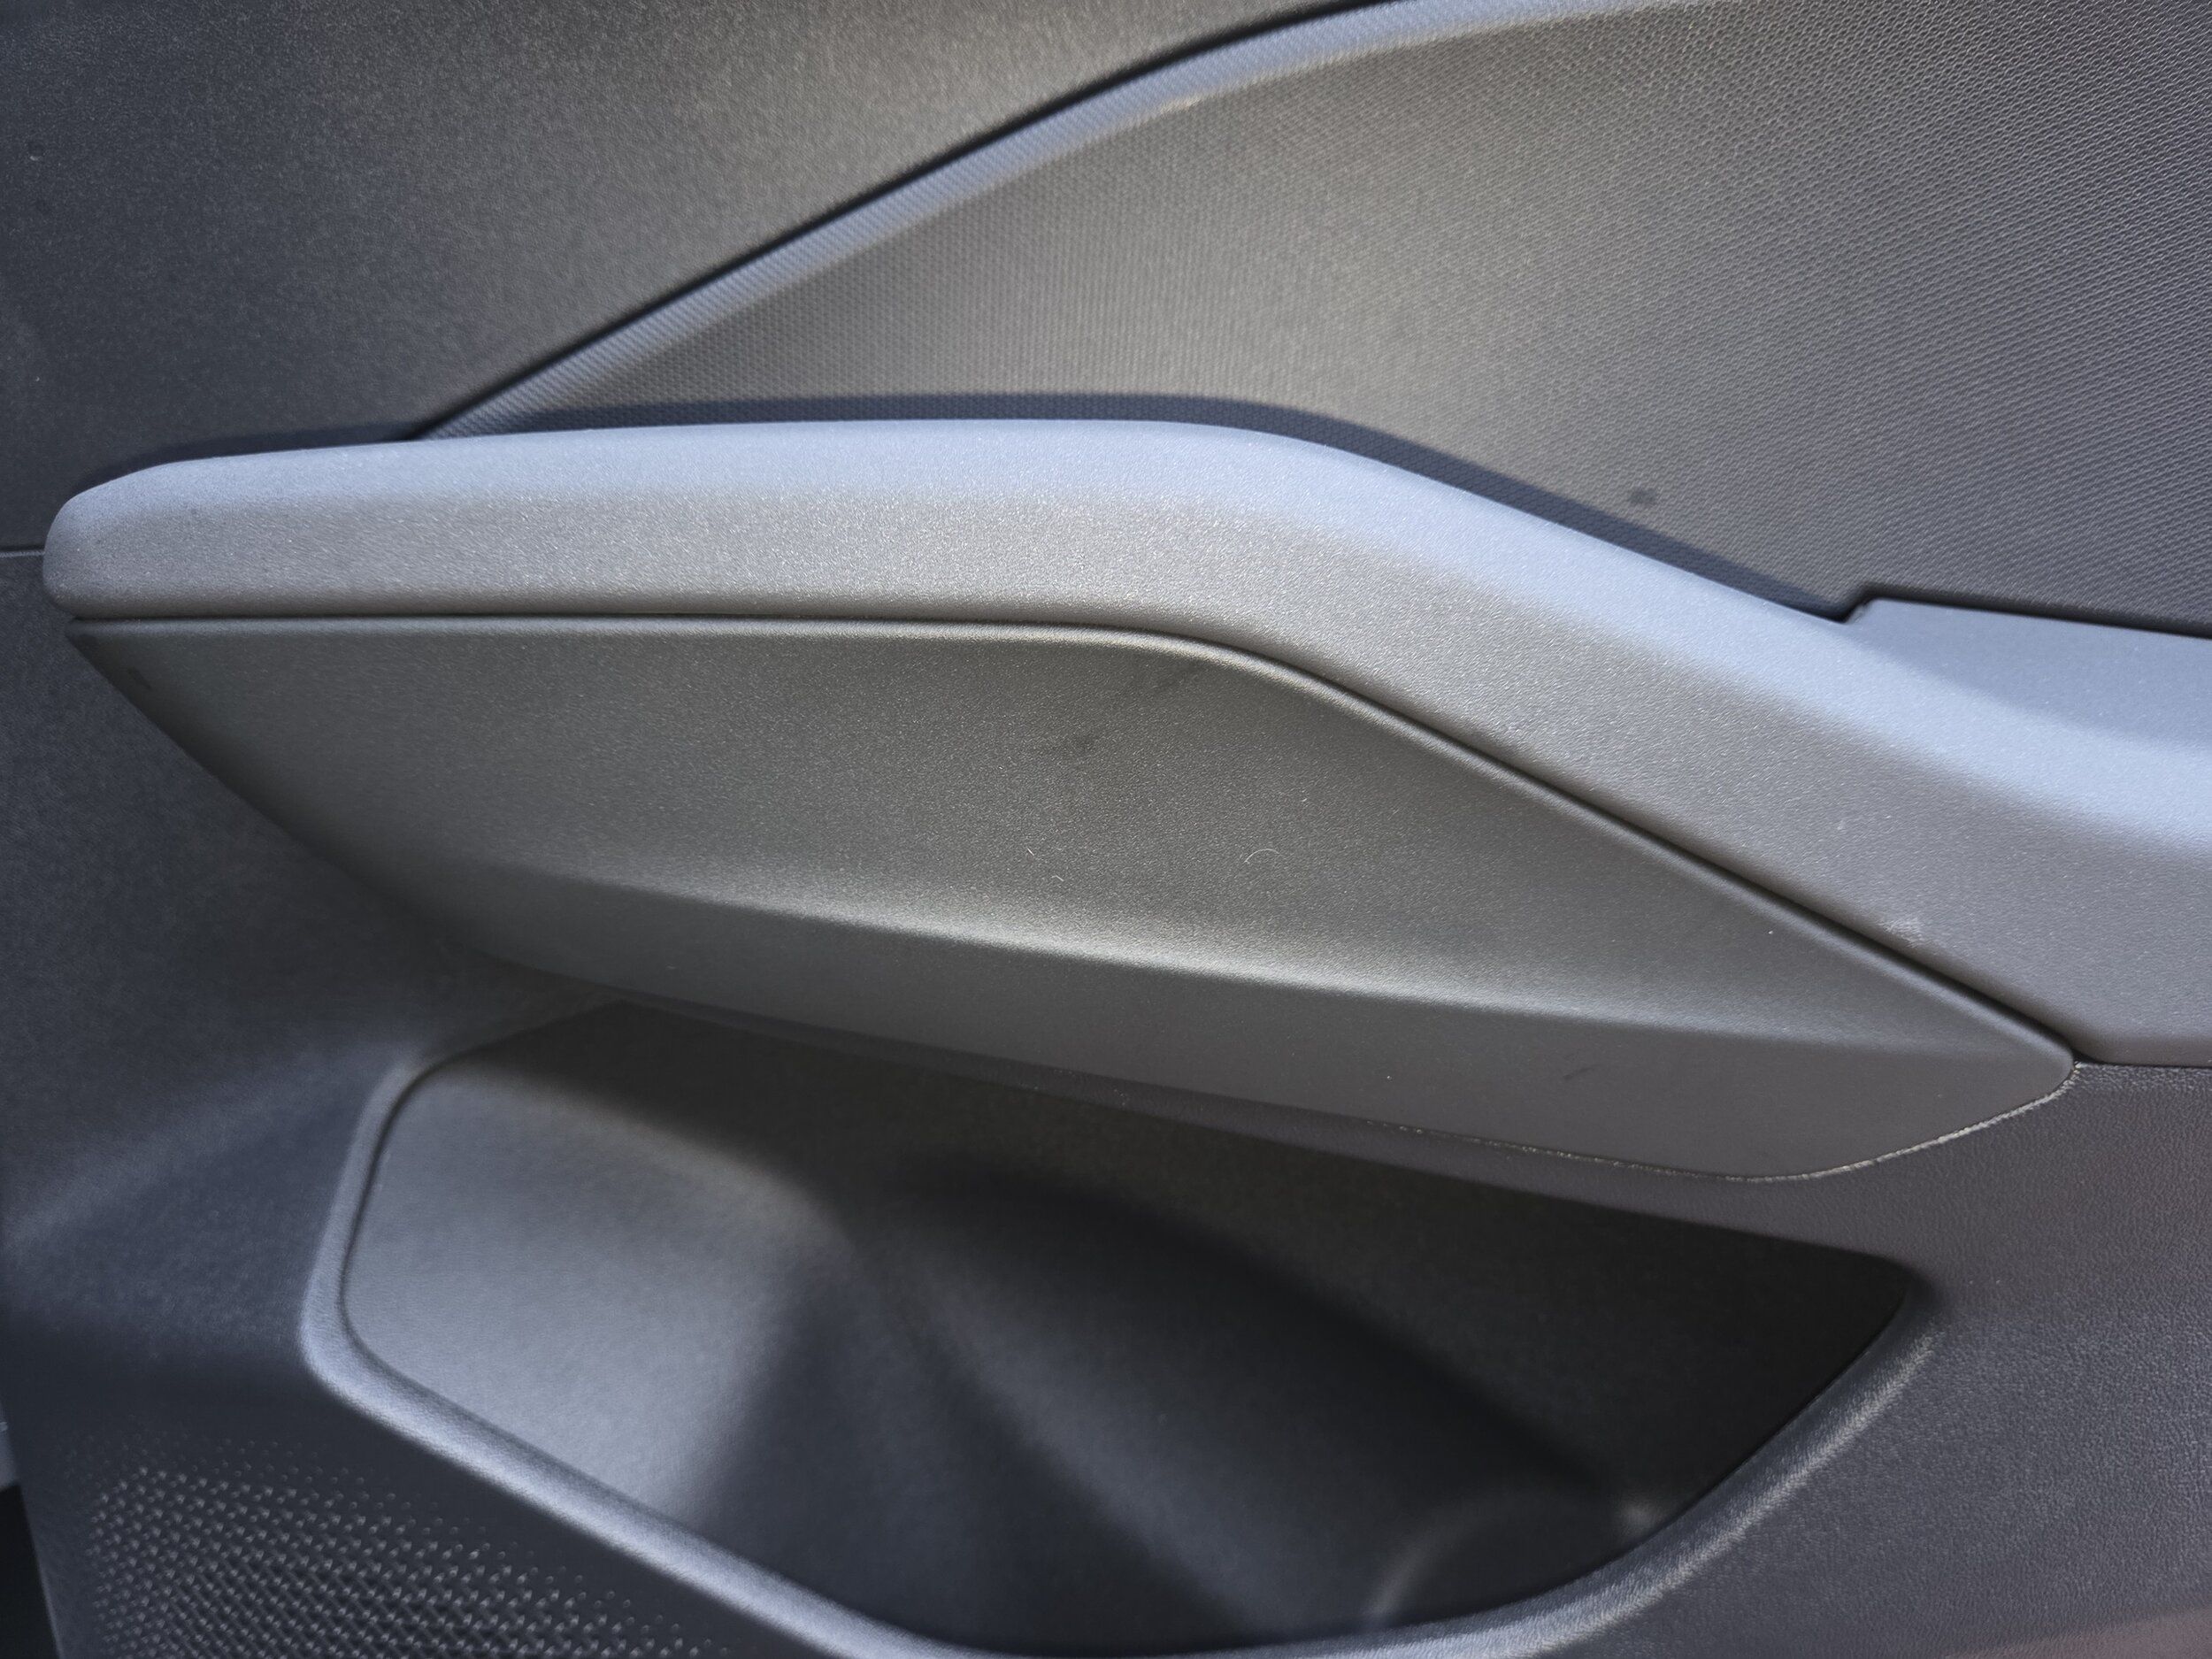
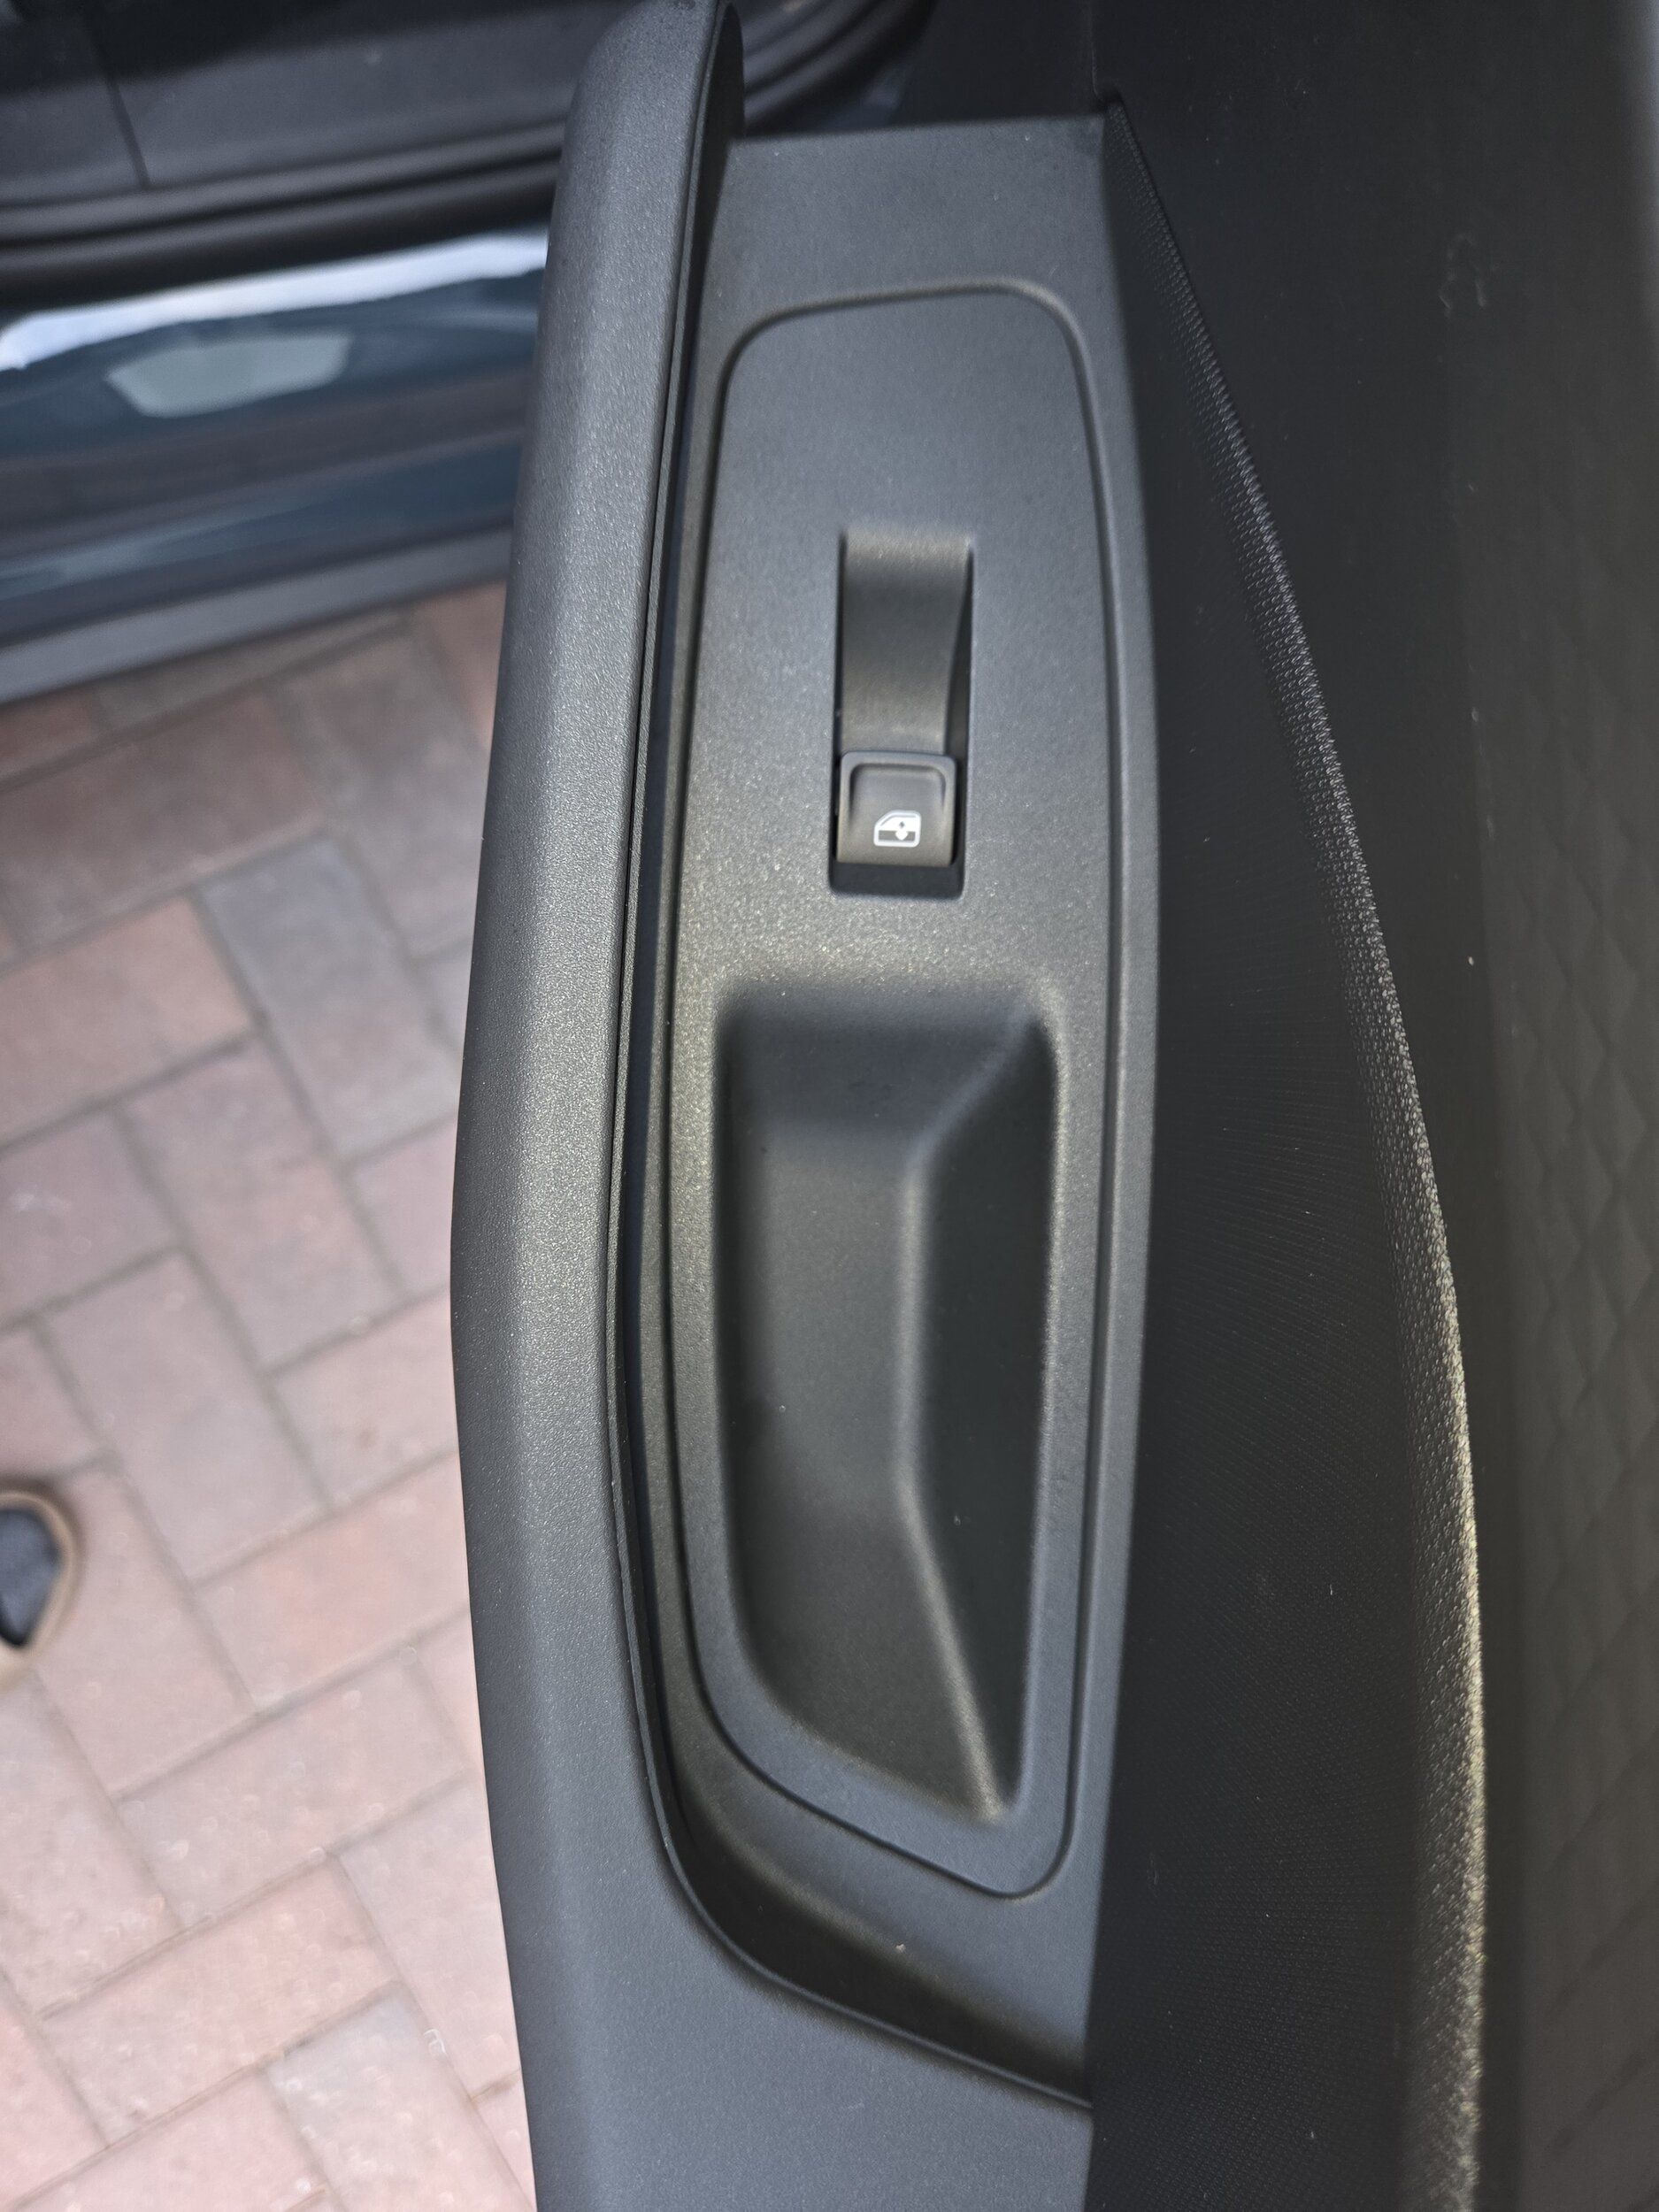
The first thing to do is remove the black plastic trim that sits in the centre below the dark grey door handle, start from the front top with a plastic removal tool and gently prise it off front to back. Once off there are the two T27 torx screws which sit in two round recess. The smaller torx screws you can see easily see are for the dark grey door trim/integrated handle.
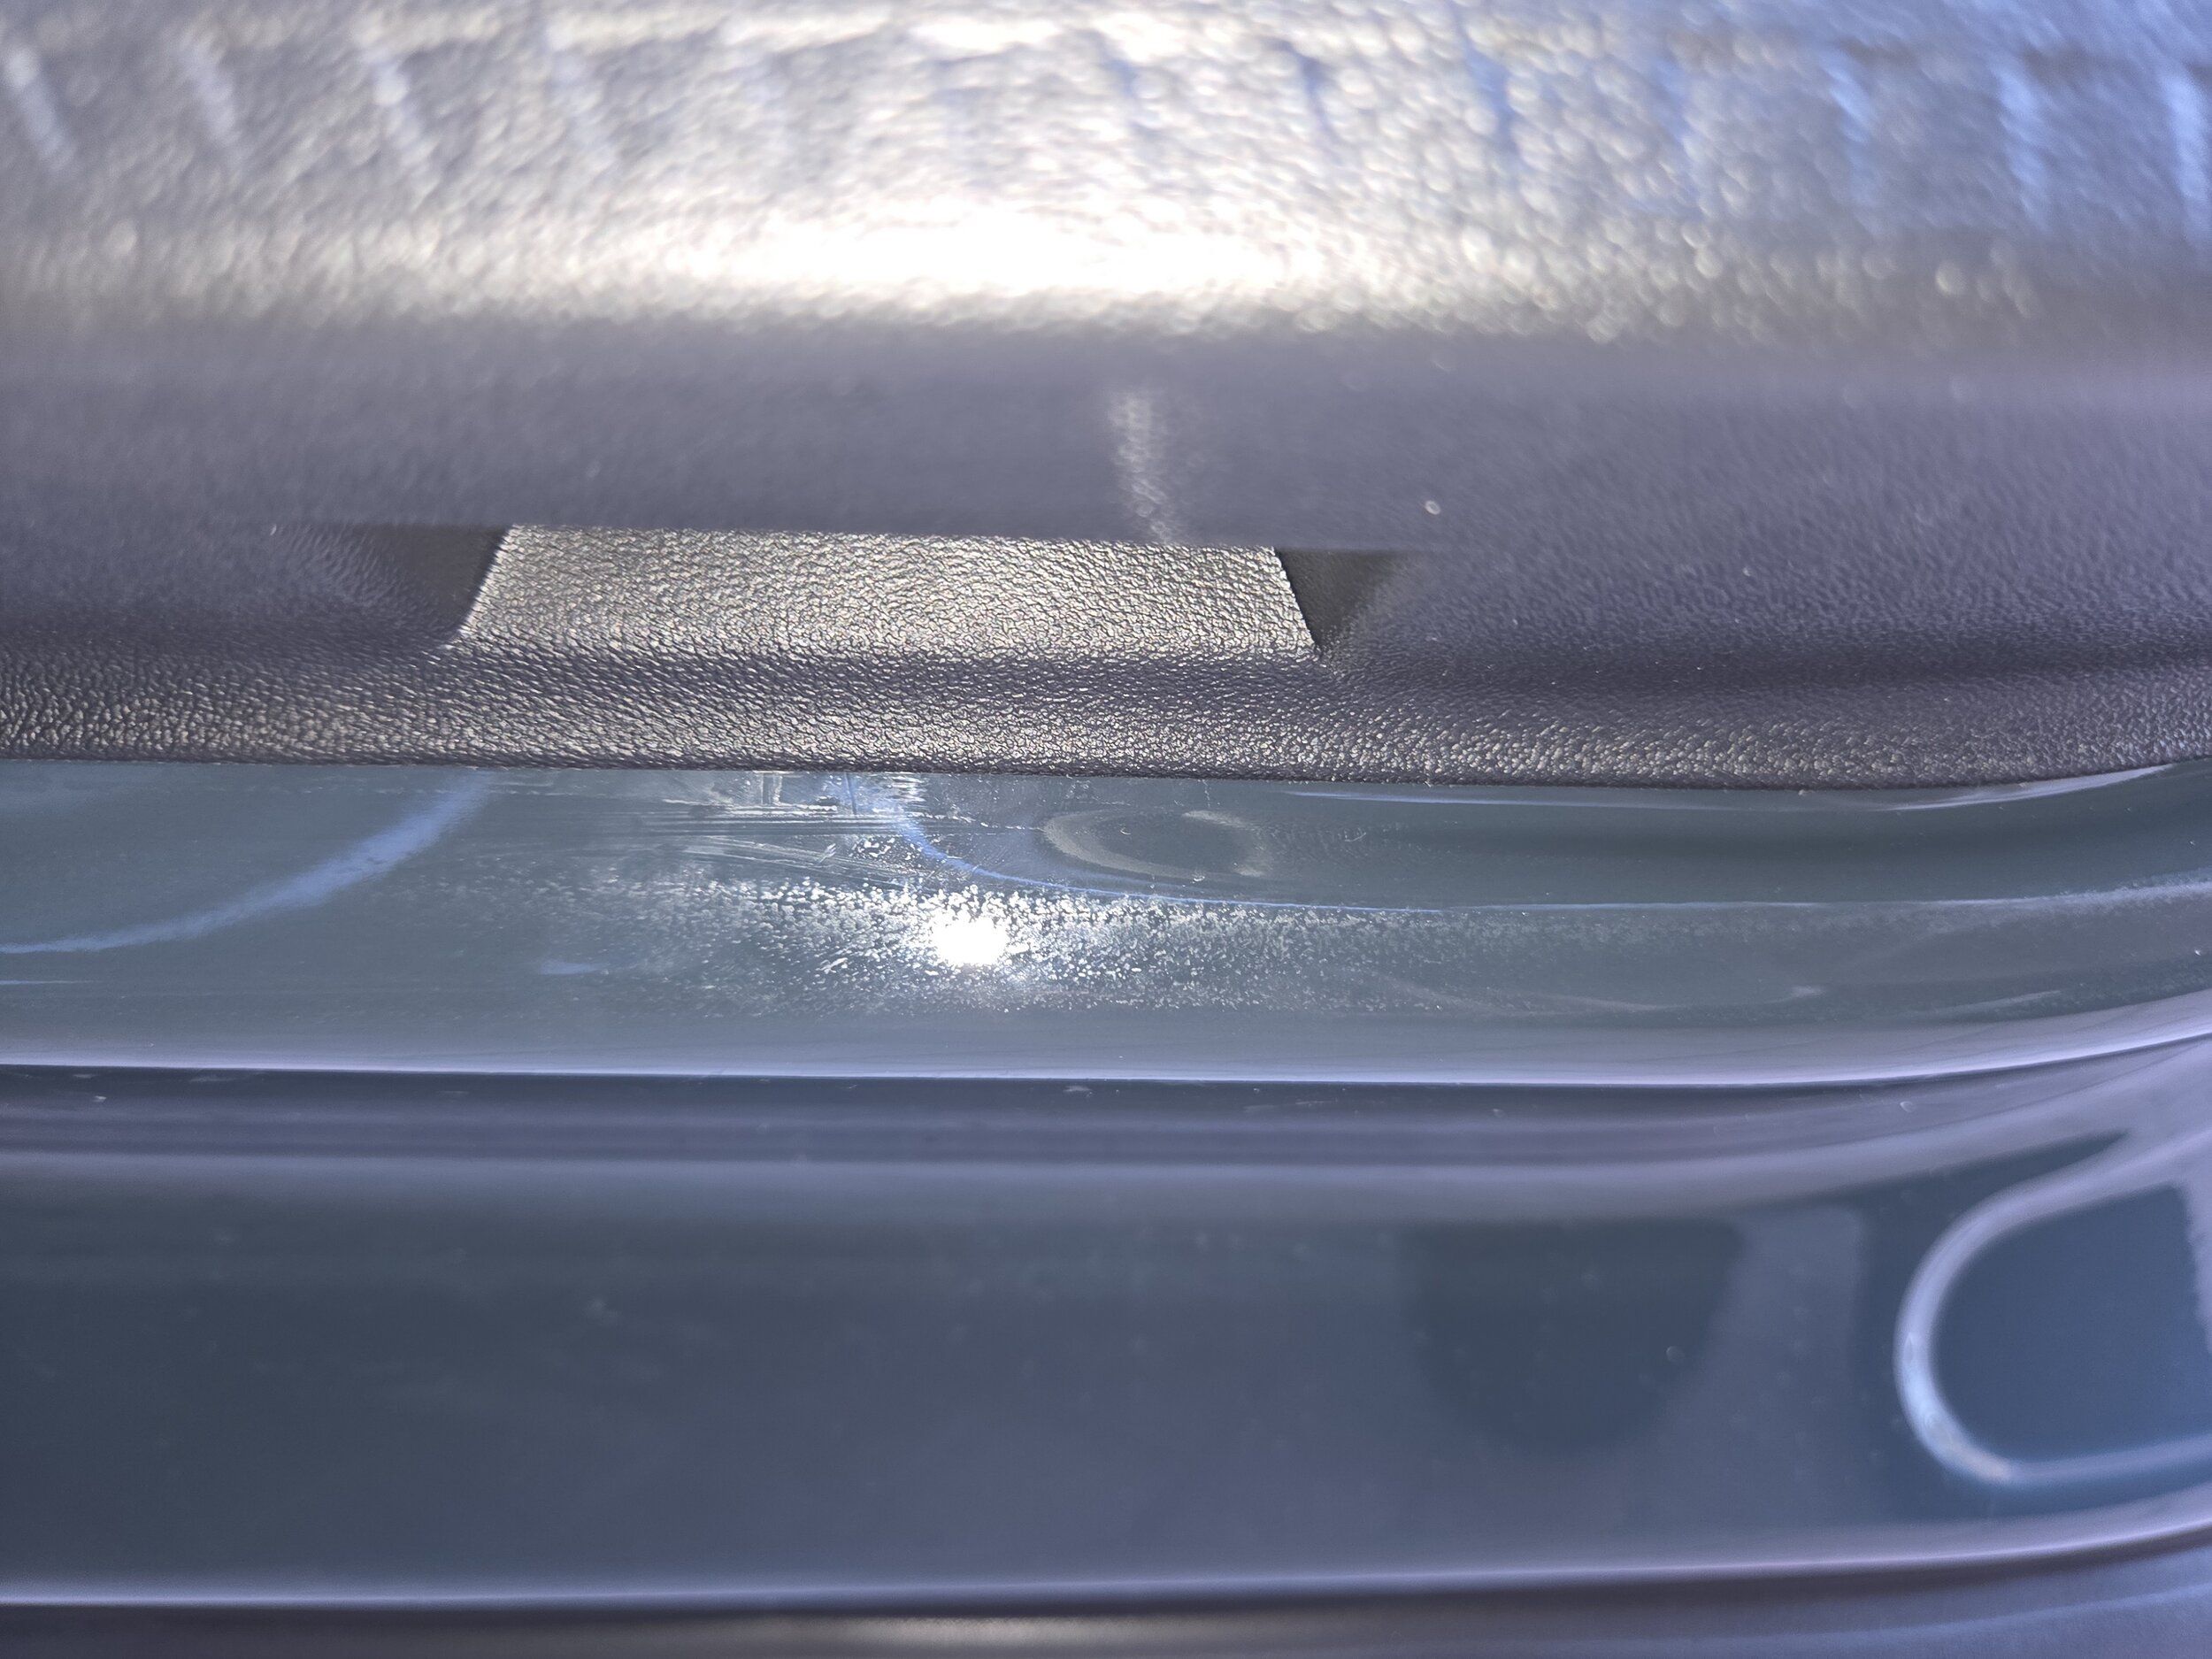
At the bottom of the door in the centre is another recess which has a retaining clip which twists from horizontal to a vertical with a 10 mm spanner.
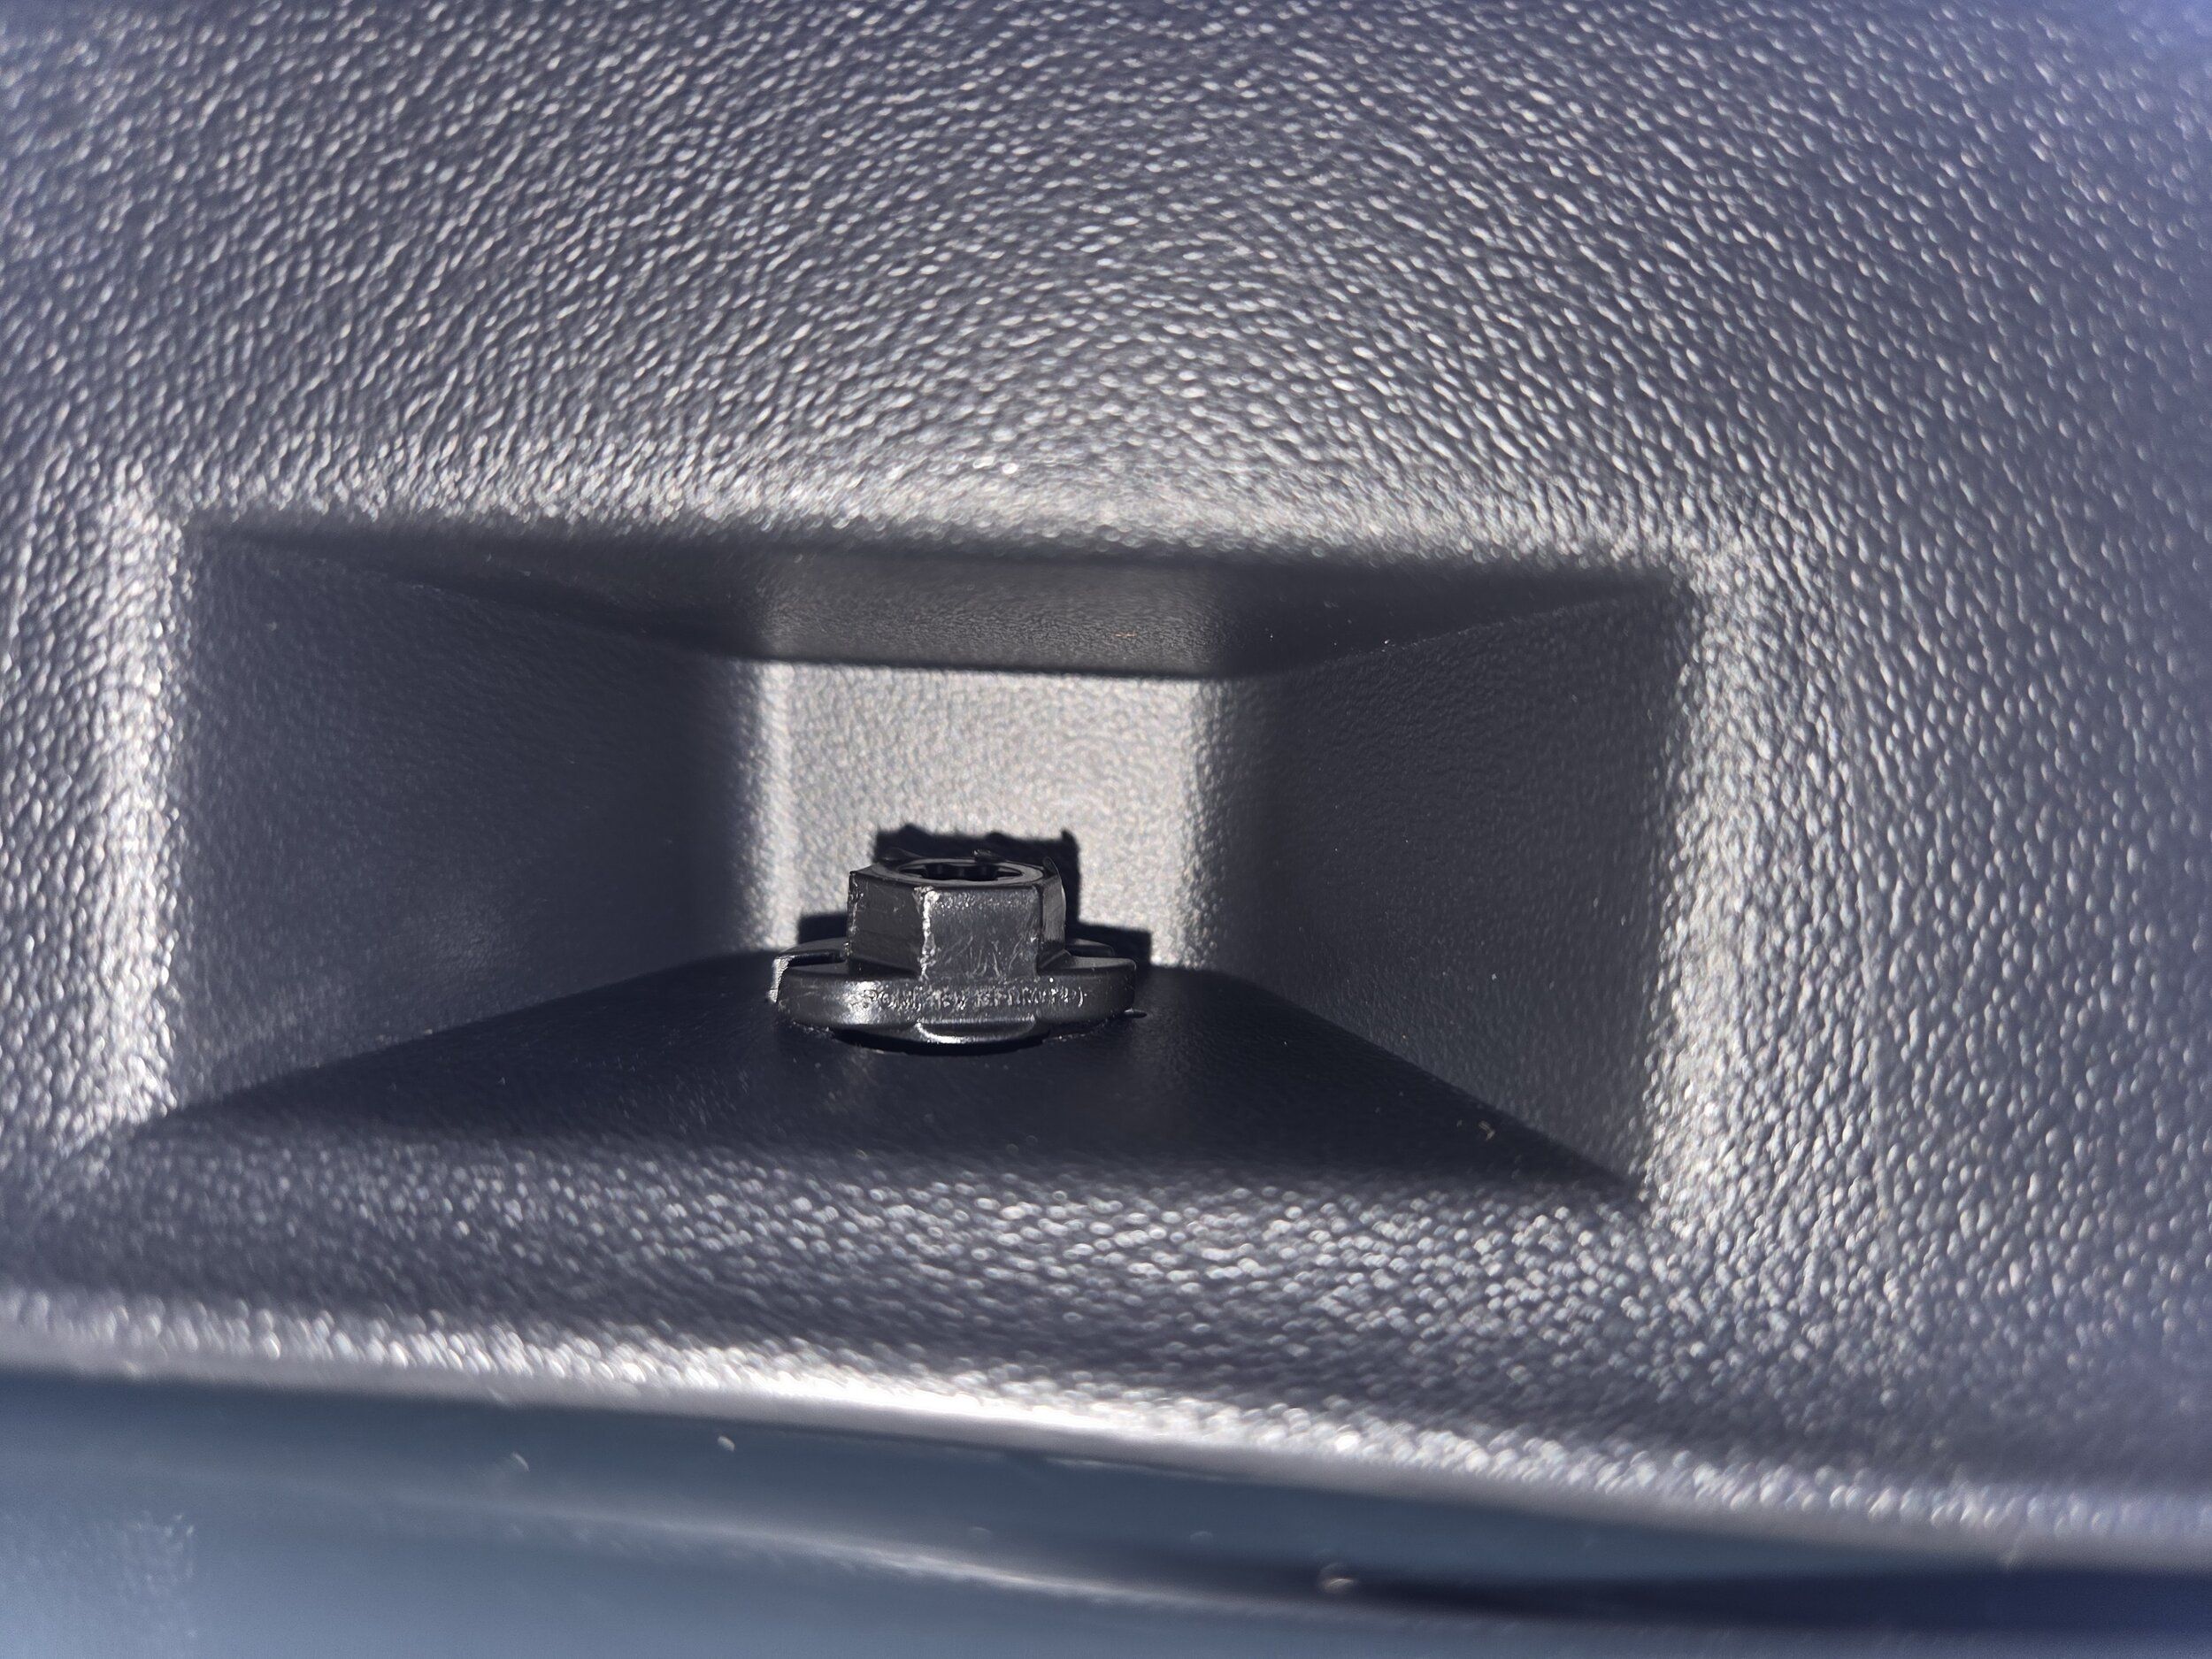
With this undone you can now start the removal process and use a trim removal tool to lever at the bottom to push the door car away from the door. As soon as you can get your fingers underneath yo can pull the card towards you and they will start to pop out at the bottom and then needs pushing up and off at the window.
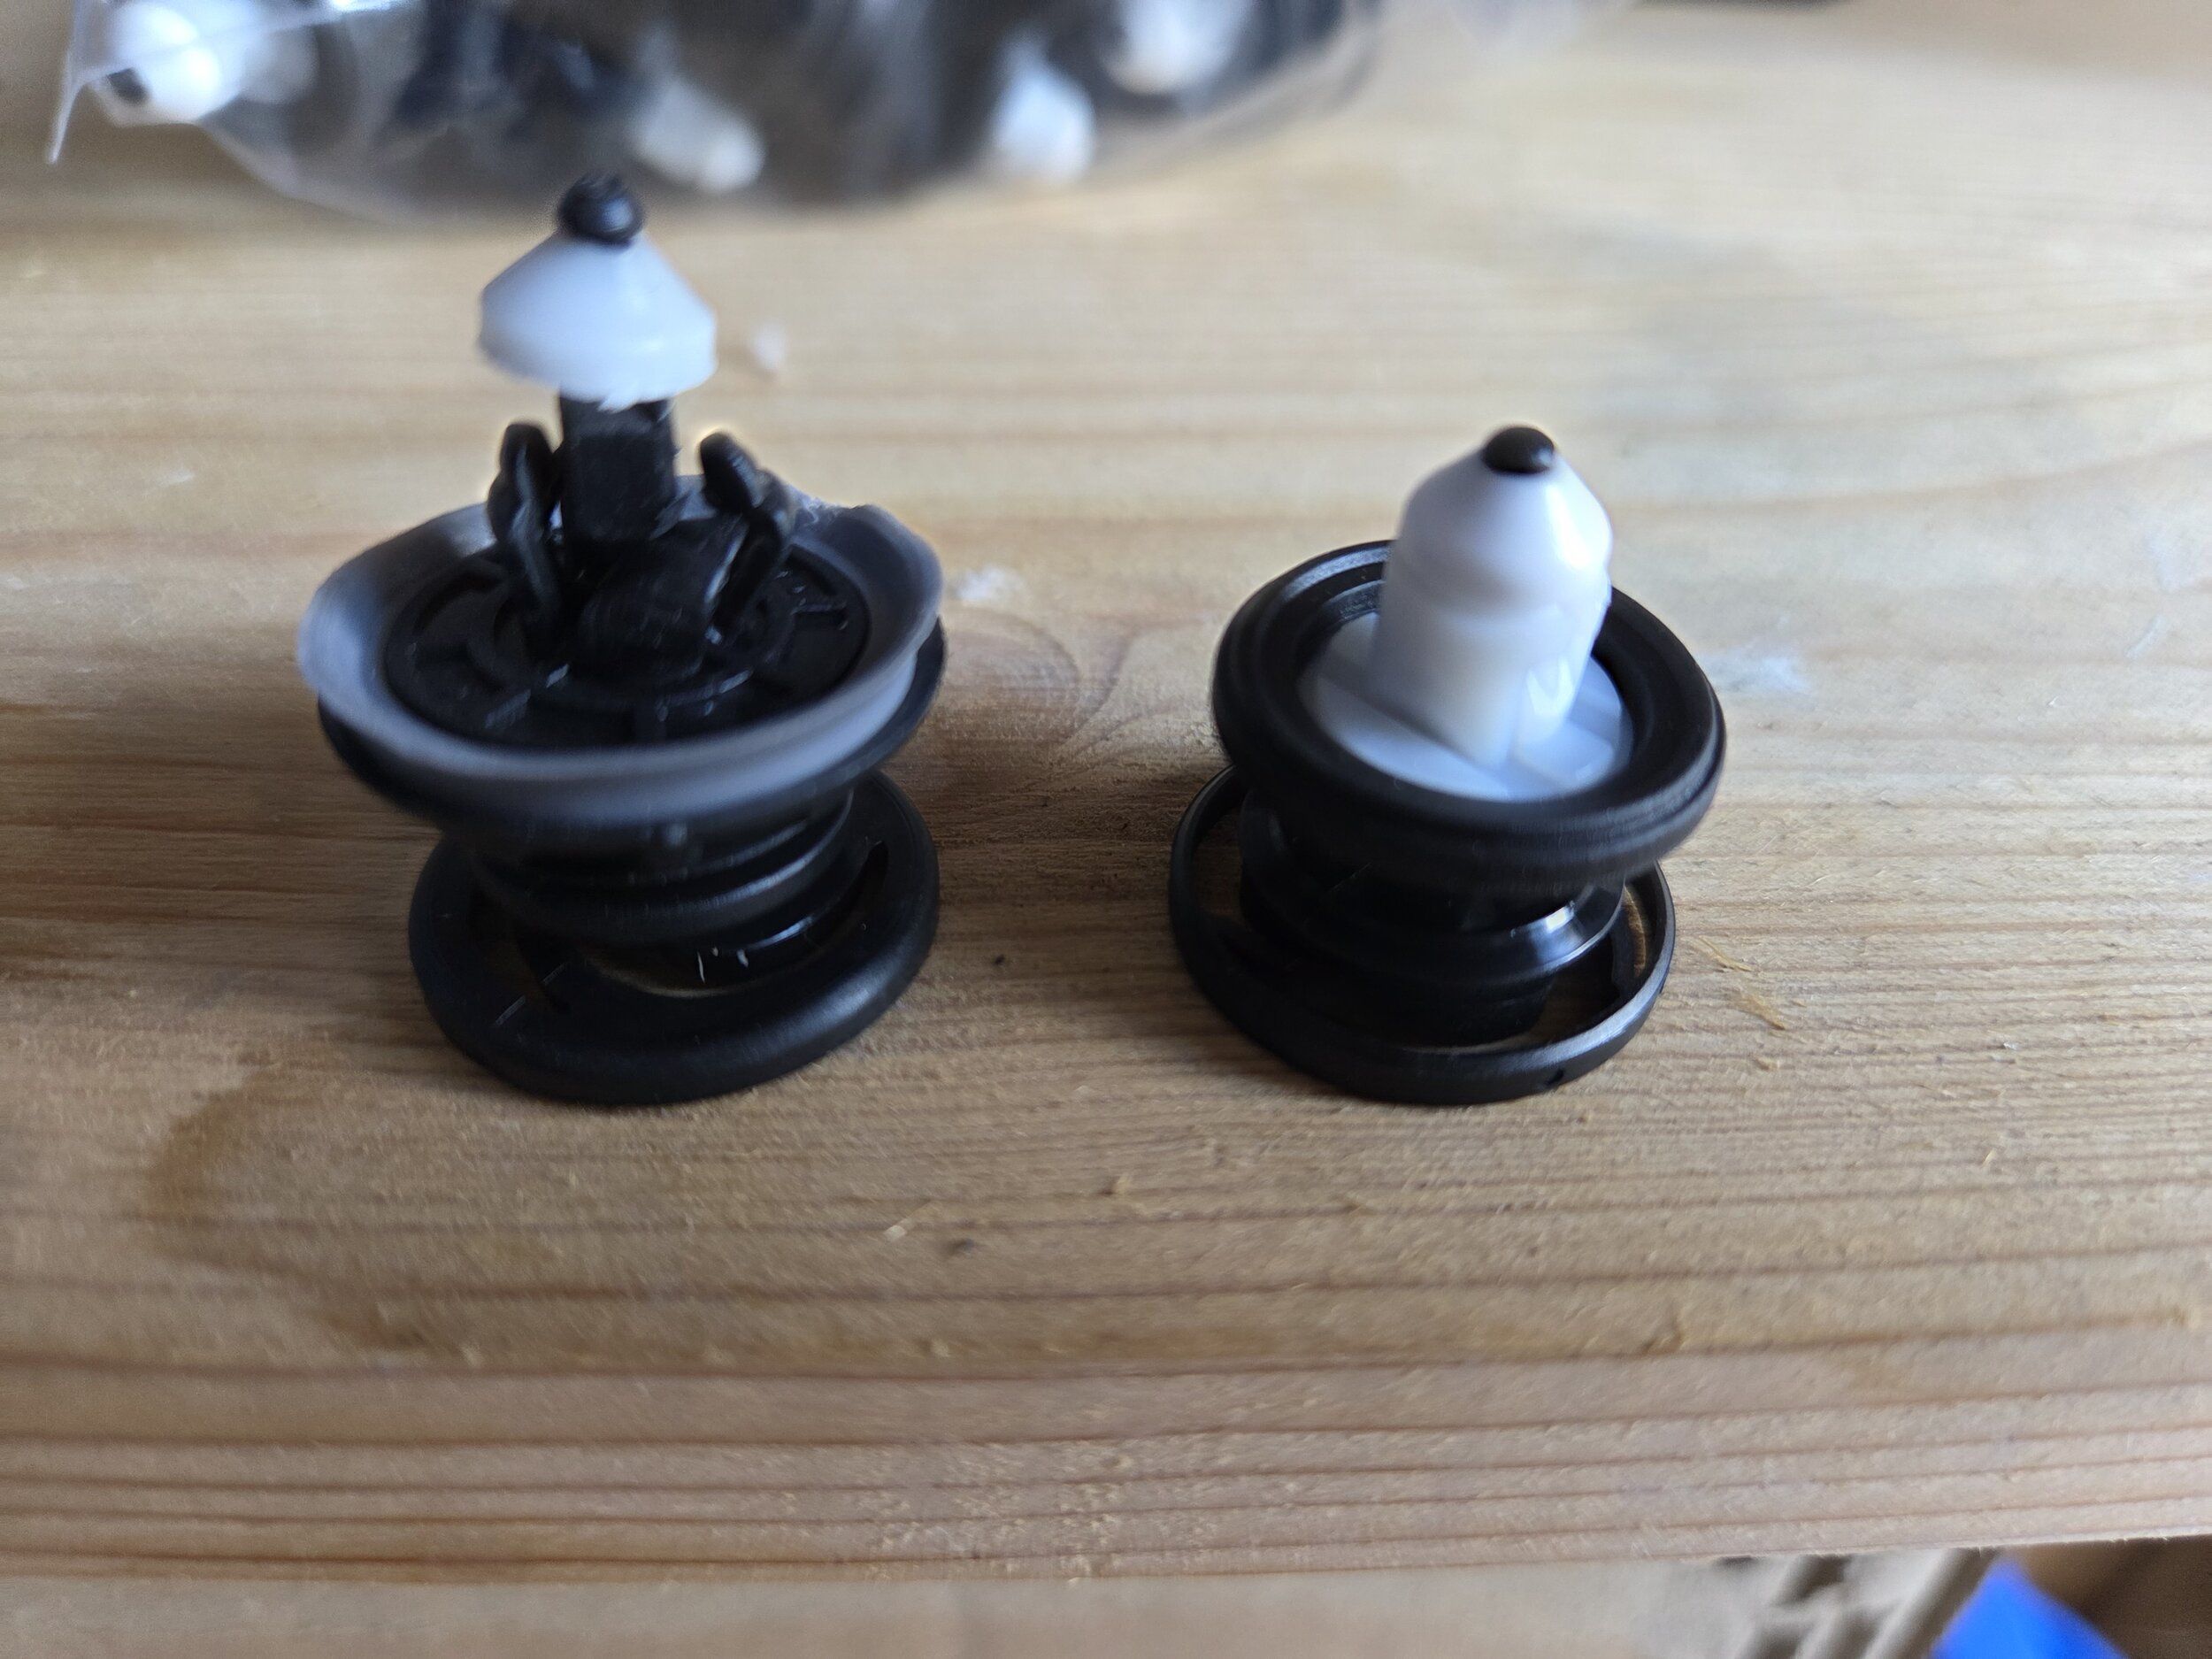
The MEB door clips can be reset and reused although quit fiddly as you need to lever open two small white tabs on the shaft and push up to reset. So may be easier to fit new ones that are in need of being reset. Here is a picture of MQB v MEB door clips, the shorter one being MEB. As MEB clips don't mount the door card flush but is floats 2mm off the door and are shorter than MQB ones. MQB has been used and MEB is in its reset as new position just so you can see the two positions the fixings can be in.
With the door panel removed you can leave it to hang or better still support it as removing the trim with the window switch is is quite difficult as needs to be prised off so you can unclip the wire from the window switch. There is also a single lug which require pushing in from where the plastic door handle trim was removed.
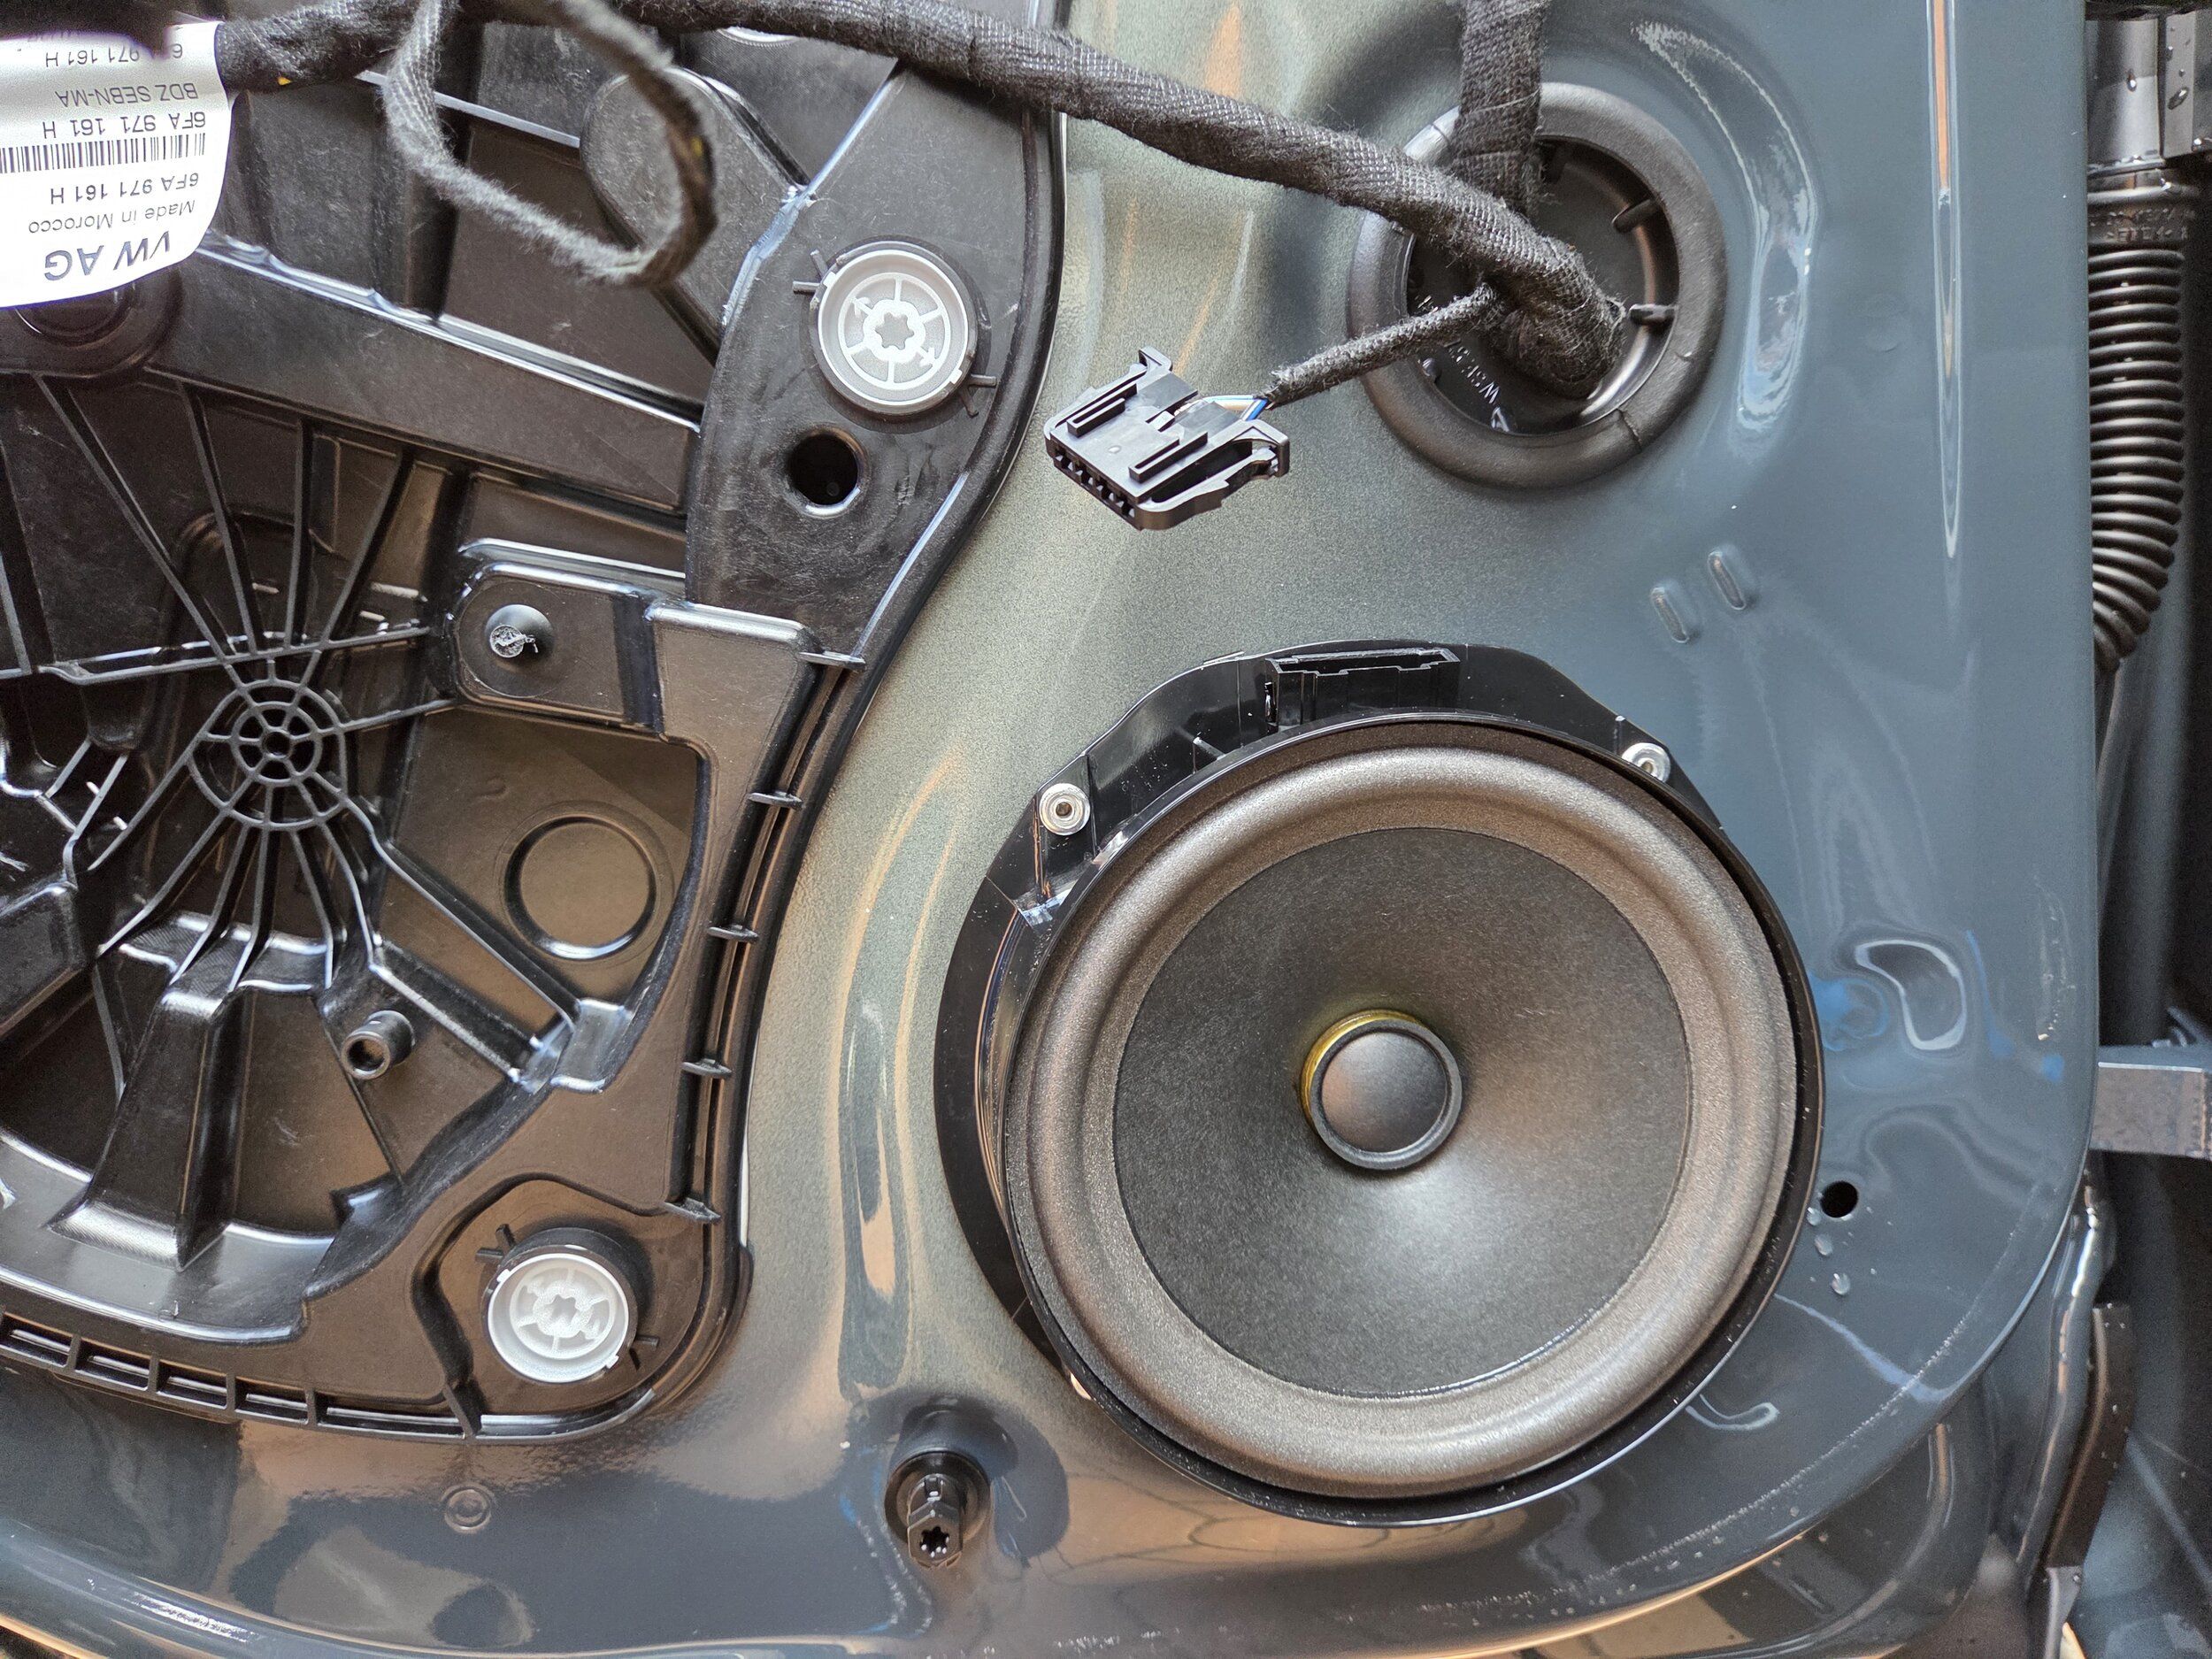
The OEM speaker is attached via pot rivets which have to be drilled off using a drill bit smaller than the head of the pop rivet so you can drill through it and push out.
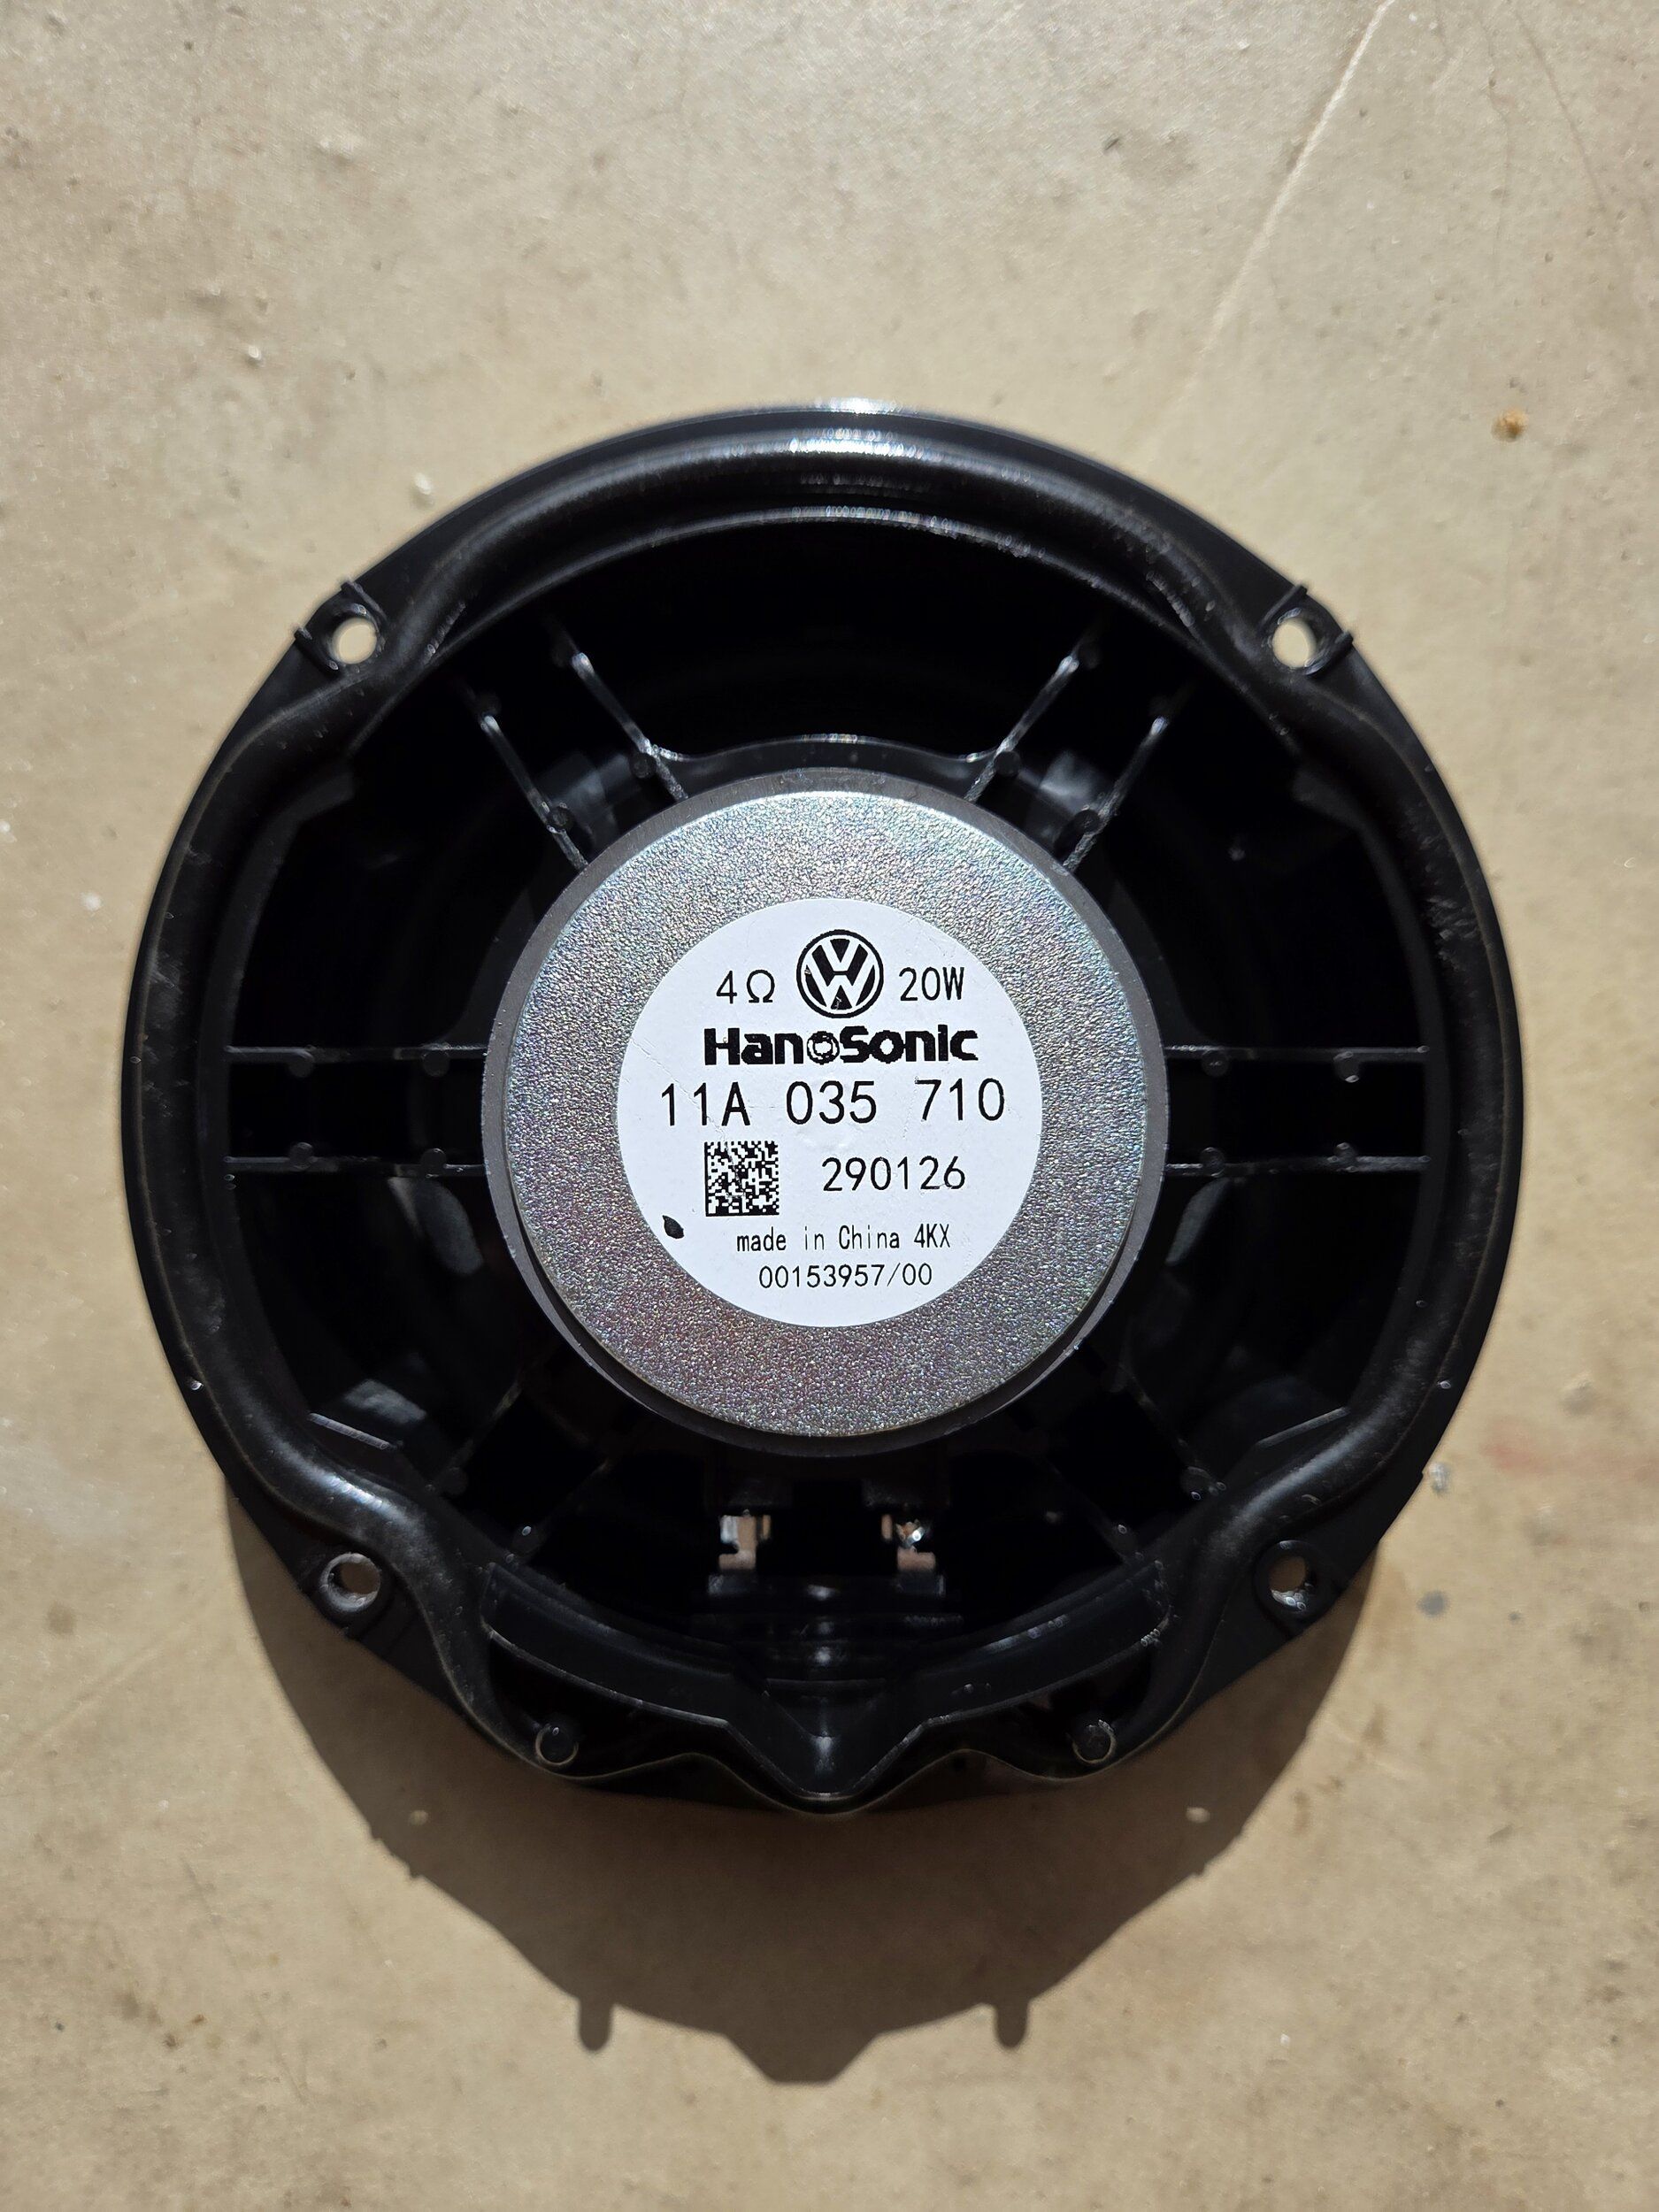
With the OEM diver removed I then put to bolts into the adapter ring to use as locating pins spread a thin layer of sealant I used Sika Stixall easily purchased off Amazon and have used it a few times including attaching side skirts to my eldest Alfa Romeo Mito a few years ago. With the sealant on locate with locating pins to two holes and push on.
I left it for an hour to cure enough to attach the speaker with four screws supplied with the kit. Before fitting the speaker I did add some sound deadening material to the door. It is optional but will hep improve performance of the speaker and improve clarity.
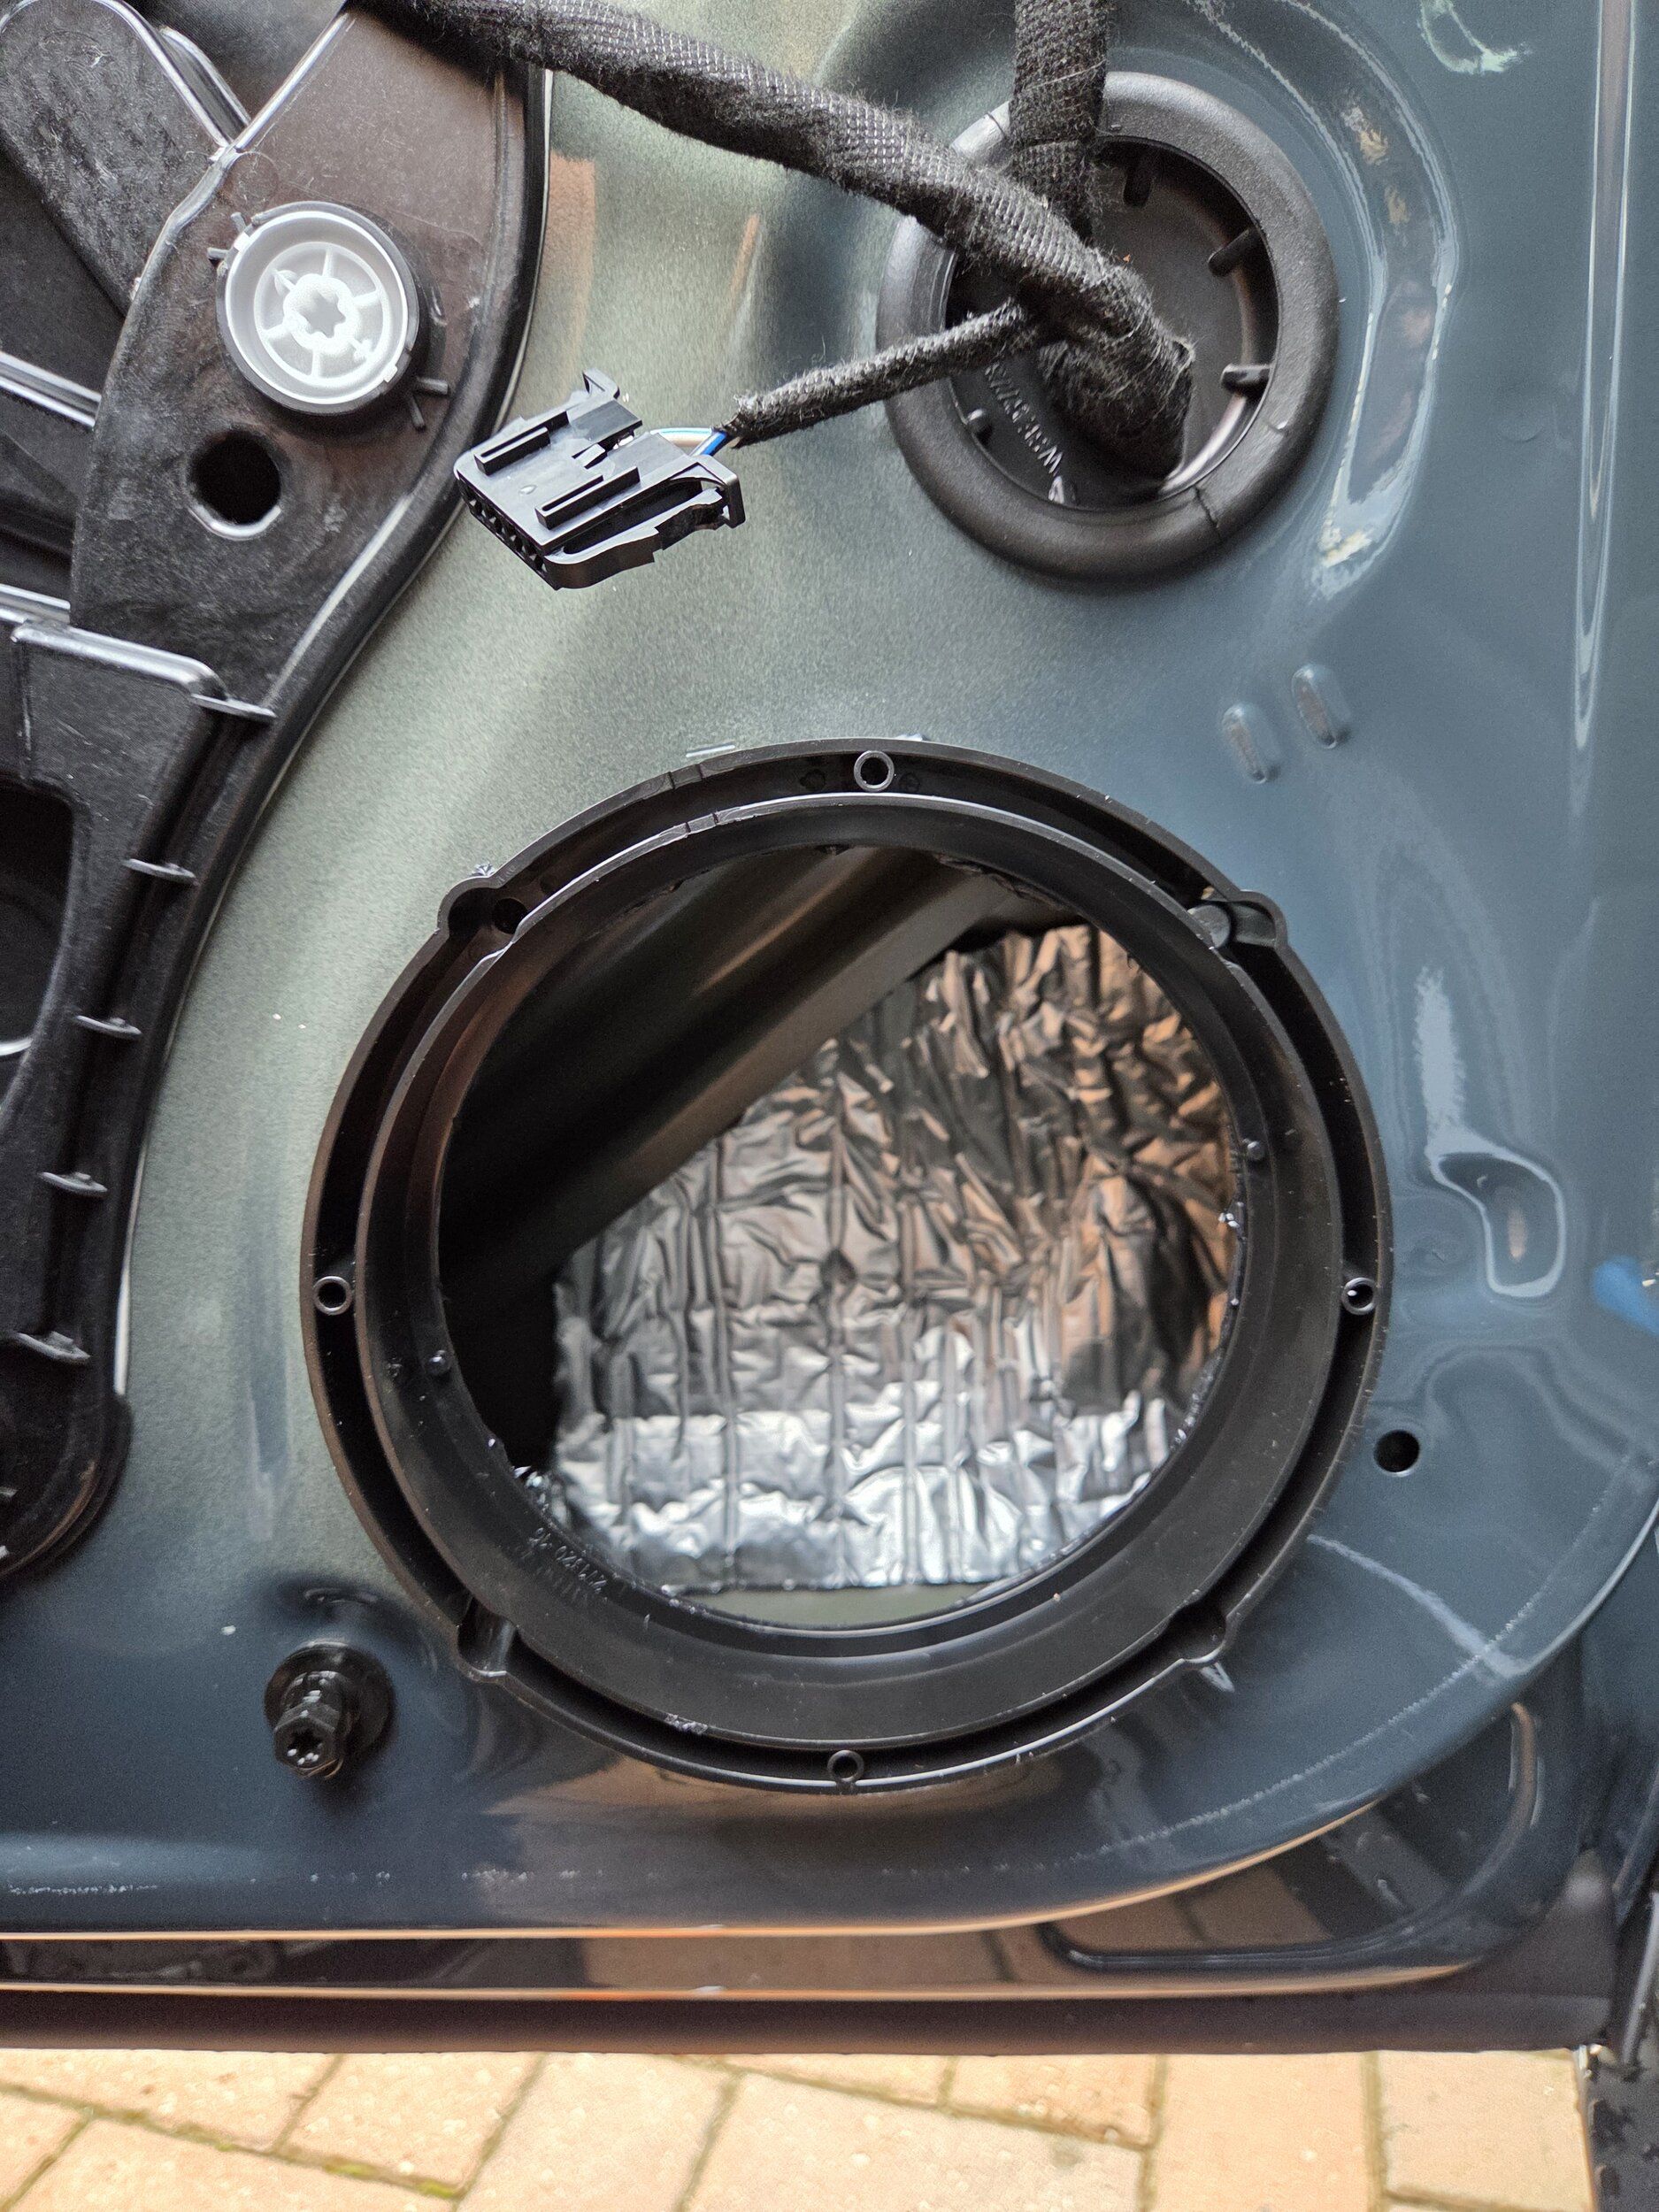
Using the wiring harness adaptor seen in the first photograph and attaching to the speaker before fitting I simply clipped it into the existing wiring harness. Tested speaker before refitting the door card. Took a coupe of hours per door factoring allowing the sealant to cure enough to be able to fit the speaker.
Cost wise adaptor rings are around £13 and speaker connectors £2l cheapest place to buy is Ali Express but easily found on Amazon and eBay too as can be MQB or MEB but best to search for VW ID3 or Born as that seem to yield the most results.
The first thing to do is remove the black plastic trim that sits in the centre below the dark grey door handle, start from the front top with a plastic removal tool and gently prise it off front to back. Once off there are the two T27 torx screws which sit in two round recess. The smaller torx screws you can see easily see are for the dark grey door trim/integrated handle.
At the bottom of the door in the centre is another recess which has a retaining clip which twists from horizontal to a vertical with a 10 mm spanner.
With this undone you can now start the removal process and use a trim removal tool to lever at the bottom to push the door car away from the door. As soon as you can get your fingers underneath yo can pull the card towards you and they will start to pop out at the bottom and then needs pushing up and off at the window.
The MEB door clips can be reset and reused although quit fiddly as you need to lever open two small white tabs on the shaft and push up to reset. So may be easier to fit new ones that are in need of being reset. Here is a picture of MQB v MEB door clips, the shorter one being MEB. As MEB clips don't mount the door card flush but is floats 2mm off the door and are shorter than MQB ones. MQB has been used and MEB is in its reset as new position just so you can see the two positions the fixings can be in.
With the door panel removed you can leave it to hang or better still support it as removing the trim with the window switch is is quite difficult as needs to be prised off so you can unclip the wire from the window switch. There is also a single lug which require pushing in from where the plastic door handle trim was removed.
The OEM speaker is attached via pot rivets which have to be drilled off using a drill bit smaller than the head of the pop rivet so you can drill through it and push out.
With the OEM diver removed I then put to bolts into the adapter ring to use as locating pins spread a thin layer of sealant I used Sika Stixall easily purchased off Amazon and have used it a few times including attaching side skirts to my eldest Alfa Romeo Mito a few years ago. With the sealant on locate with locating pins to two holes and push on.
I left it for an hour to cure enough to attach the speaker with four screws supplied with the kit. Before fitting the speaker I did add some sound deadening material to the door. It is optional but will hep improve performance of the speaker and improve clarity.
Using the wiring harness adaptor seen in the first photograph and attaching to the speaker before fitting I simply clipped it into the existing wiring harness. Tested speaker before refitting the door card. Took a coupe of hours per door factoring allowing the sealant to cure enough to be able to fit the speaker.
Cost wise adaptor rings are around £13 and speaker connectors £2l cheapest place to buy is Ali Express but easily found on Amazon and eBay too as can be MQB or MEB but best to search for VW ID3 or Born as that seem to yield the most results.
