Hi all, been a while since I've posted here. Recently caught Maz's latest work so thought I'd list a few of my recent VAG jobs. Enjoy! ")
VW Corrado G60 – ‘Ultimate Dubs 2011’ show prep
A year goes by since Adam last had his Corrado on display indoors at the International Centre in Telford for Ultimate Dubs. One or two visits to the bodyshop, a few thousand miles and a couple of subtle mods later, it’s that time again…
March 2010, this was my working environment:

March 2011 however:

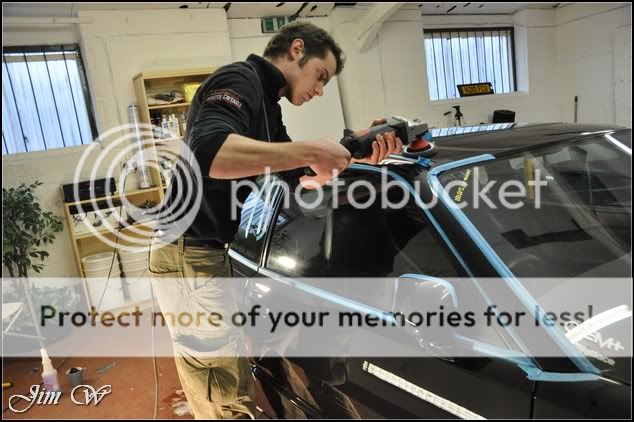
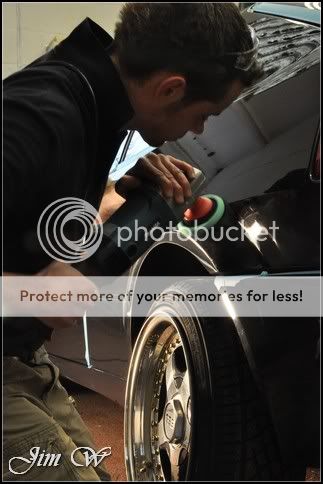
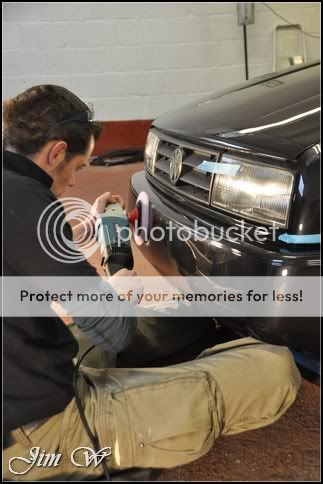
Two days were initially given to freshen up the paintwork and to tidy the interior and upholstery. In the end however, spread over four days, some 26/27 hours were clocked and the “minor” paint correction detail soon turned into more of a “major” paint correctional detail.
Product
• 3M Glass Cleaner
• 3M Fast Cut + (green)
• 3M Extra Fine (yellow)
• 3M Ultra Fina (blue)
• AutoSmart G101
• AutoSmart Tardis
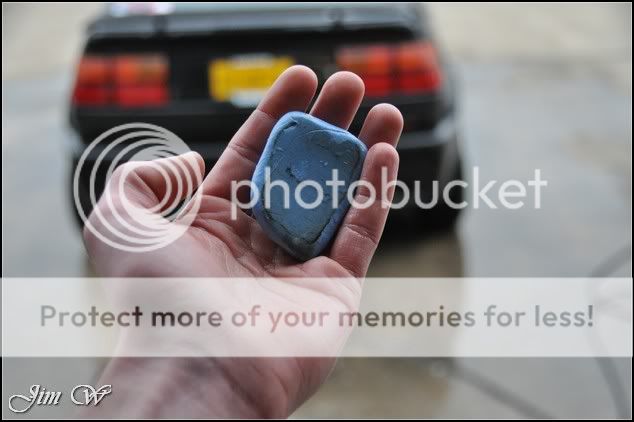
• AMDetails’ mild clay bar
• Belgom ALU
• Dodo Juice Born To Be Mild
• Jeffs Werkstat Prime Strong
• Menzerna 85RD 3.02
• Menzerna 203S
• Meguiars All Purpose Cleaner
• Meguiars Super Degreaser
• Meguiars Last Touch
• RaceGlaze Black Label wax
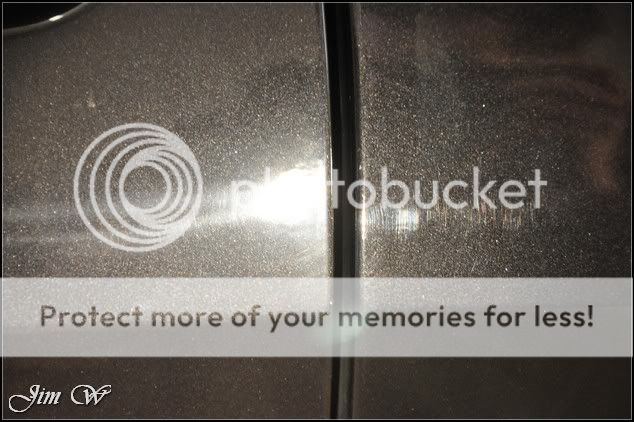
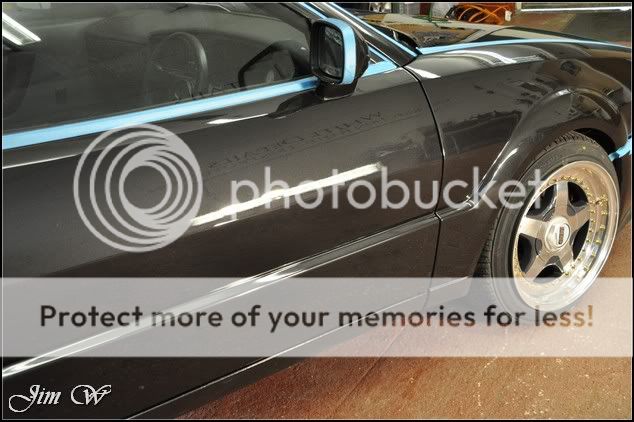
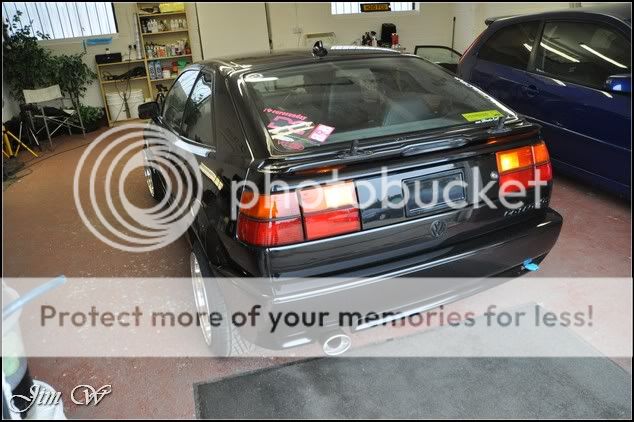
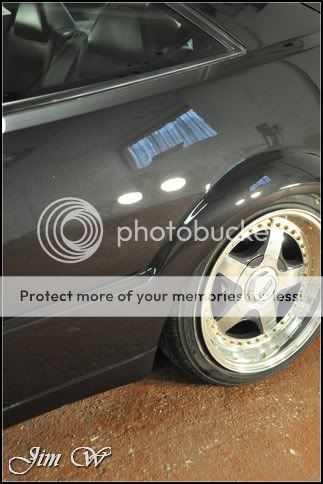
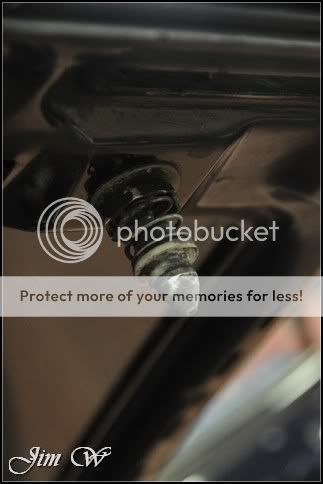
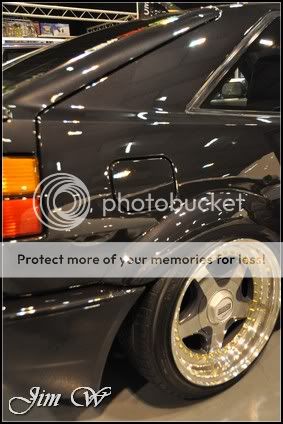
The car:


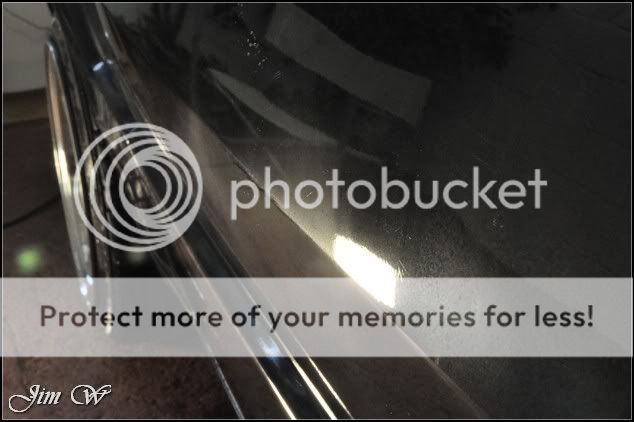
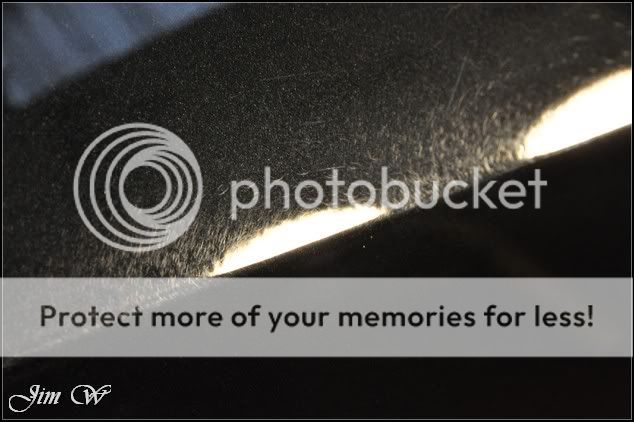
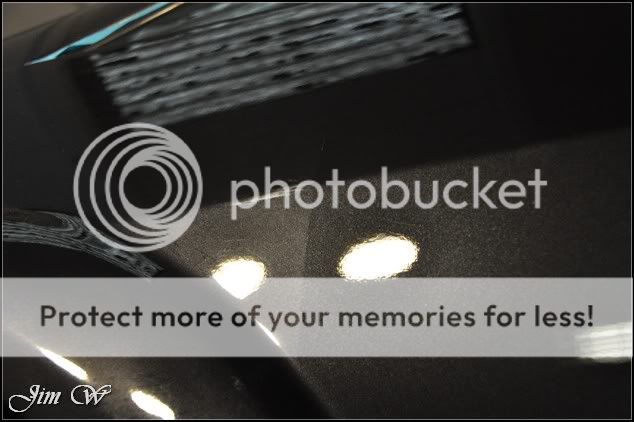
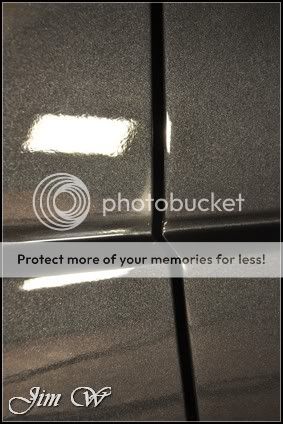
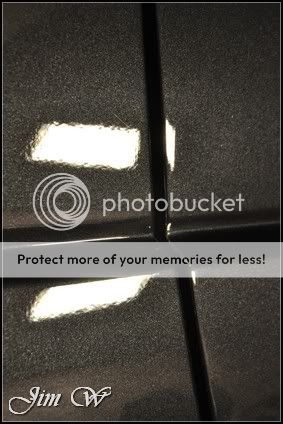
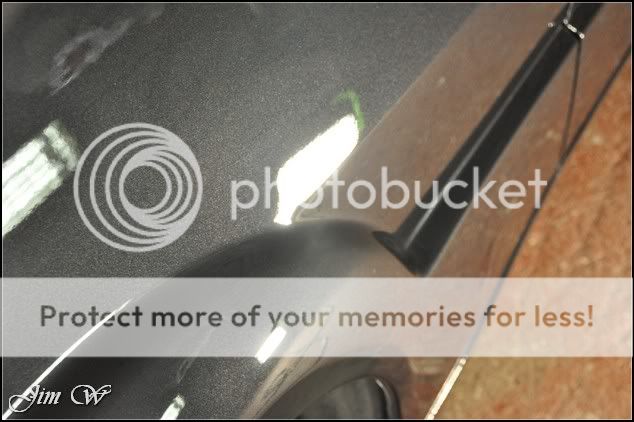
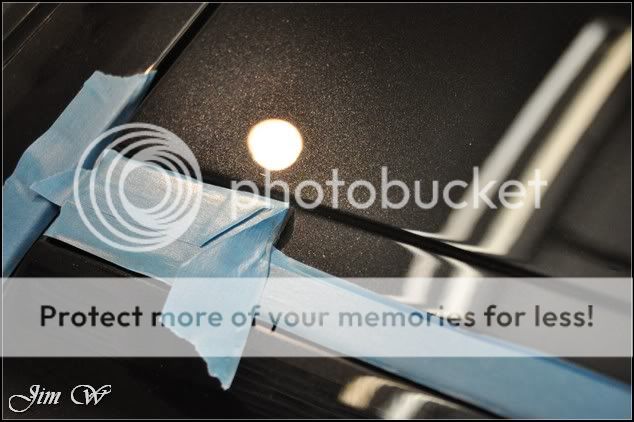
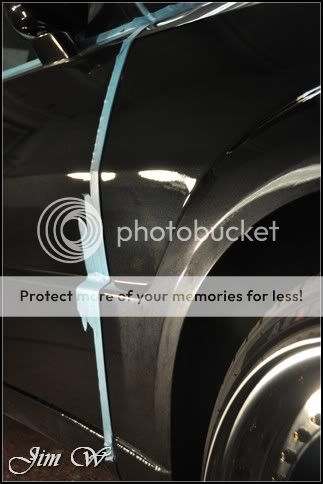
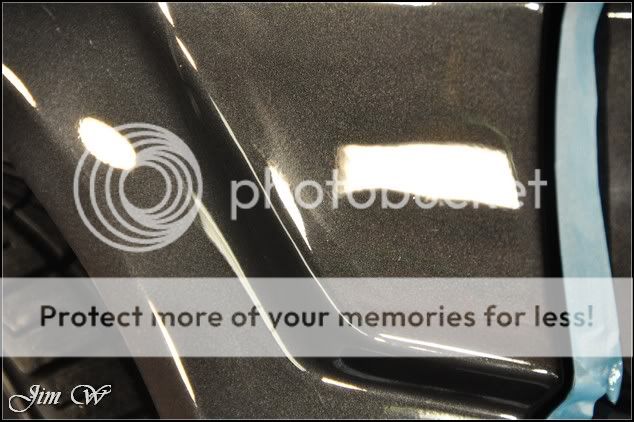
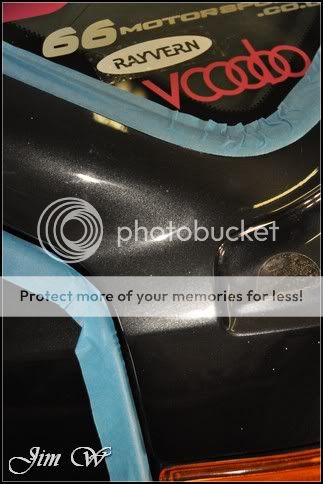
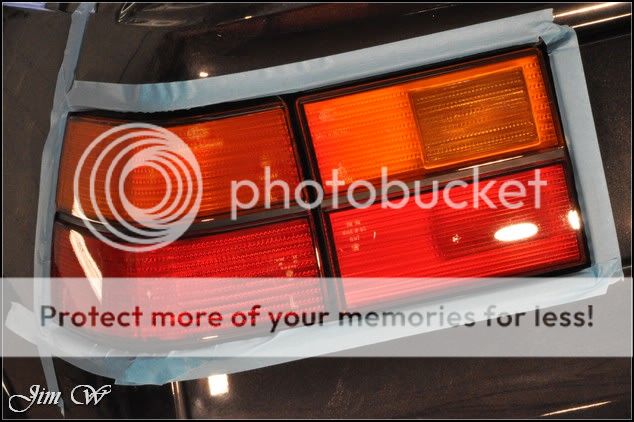
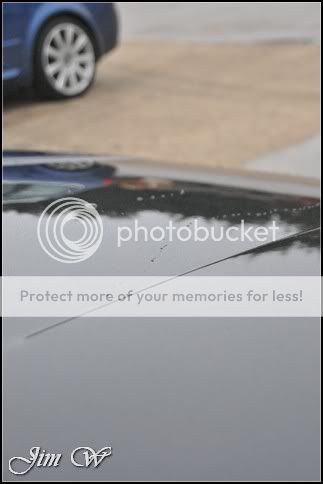
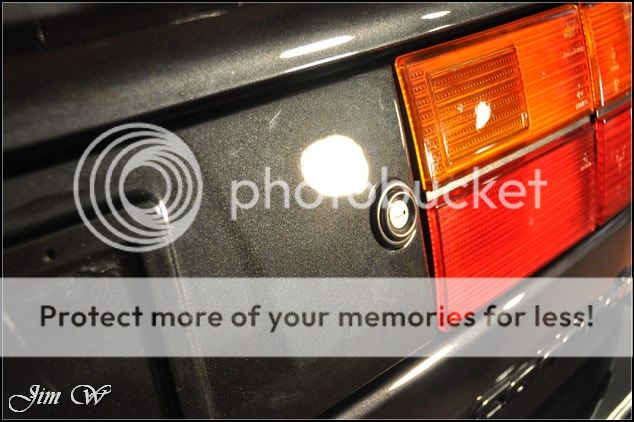
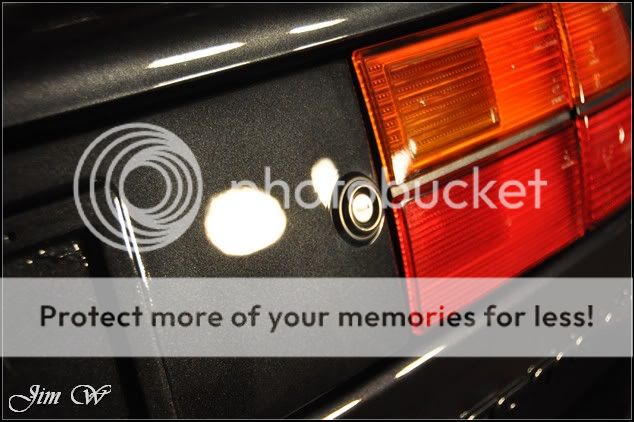
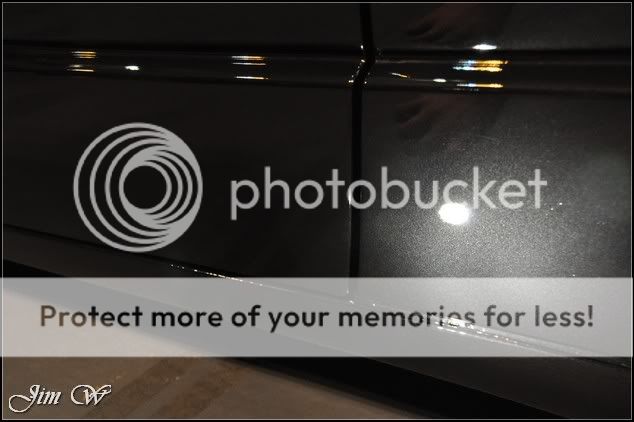
The defects:


VW Corrado G60 – ‘Ultimate Dubs 2011’ show prep
A year goes by since Adam last had his Corrado on display indoors at the International Centre in Telford for Ultimate Dubs. One or two visits to the bodyshop, a few thousand miles and a couple of subtle mods later, it’s that time again…
March 2010, this was my working environment:
March 2011 however:
Two days were initially given to freshen up the paintwork and to tidy the interior and upholstery. In the end however, spread over four days, some 26/27 hours were clocked and the “minor” paint correction detail soon turned into more of a “major” paint correctional detail.
Product
• 3M Glass Cleaner
• 3M Fast Cut + (green)
• 3M Extra Fine (yellow)
• 3M Ultra Fina (blue)
• AutoSmart G101
• AutoSmart Tardis
• AMDetails’ mild clay bar
• Belgom ALU
• Dodo Juice Born To Be Mild
• Jeffs Werkstat Prime Strong
• Menzerna 85RD 3.02
• Menzerna 203S
• Meguiars All Purpose Cleaner
• Meguiars Super Degreaser
• Meguiars Last Touch
• RaceGlaze Black Label wax
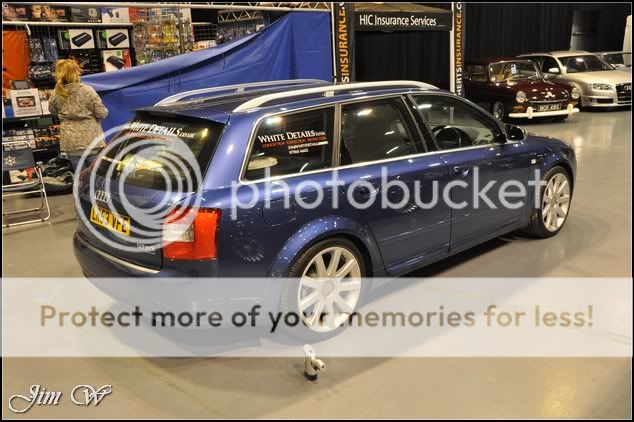
The car:
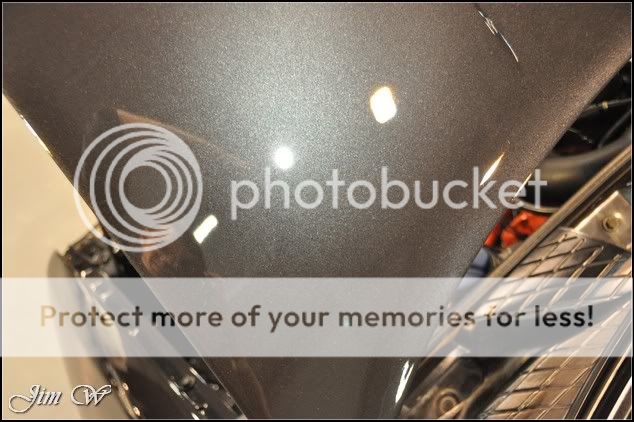
The defects: