
Thought i should start a RR as i will be doing a fair bit of modding to my leon.
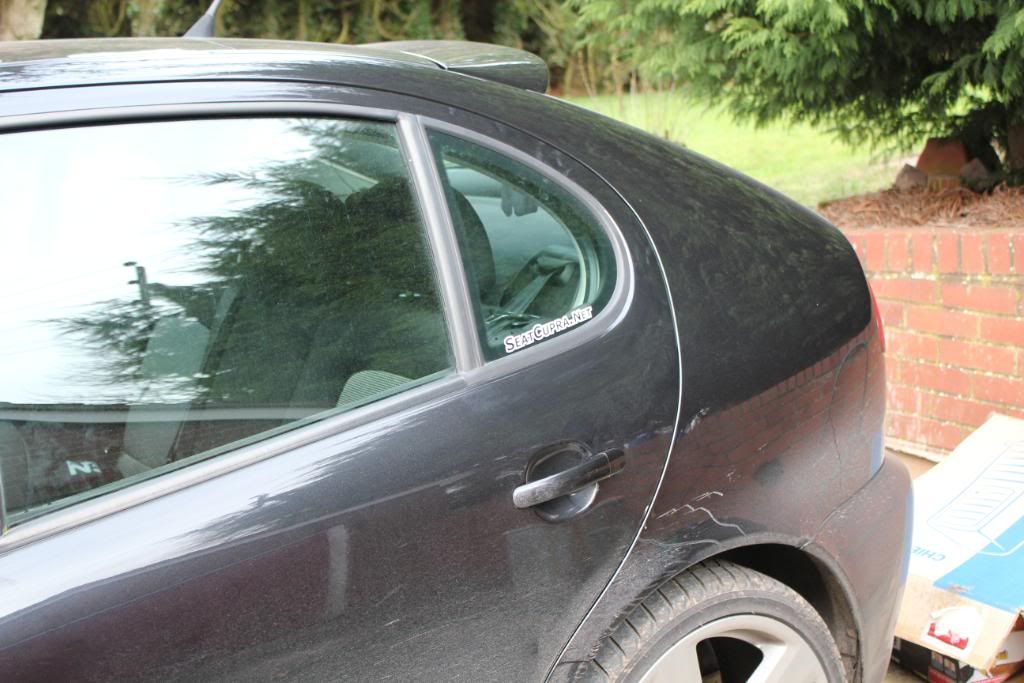
I bought my car on 12/02/2012 from my brother who bought it on 03/12/2008. Its been very well looked after and is in Mint Condition (apart from a 2 tiny dings on N/S rear quarter panel and N/S back door)..
Mods
JVC KD-AVX44 DVD Player - Fitted 12/02/2012
Aero Flat Blade Wipers - Fitted 15/02/2012
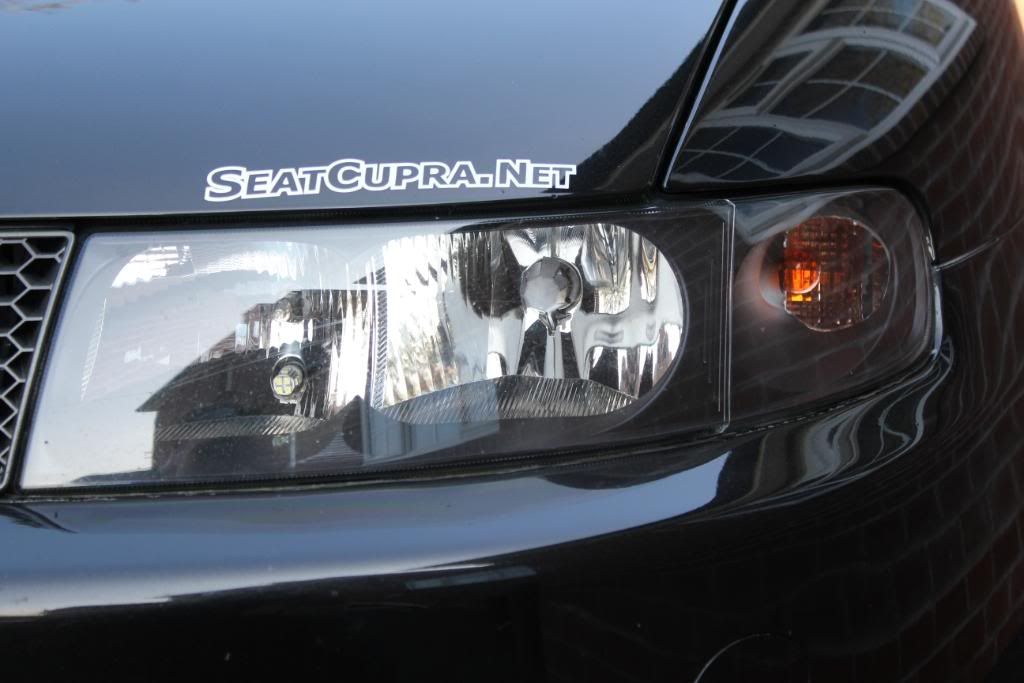
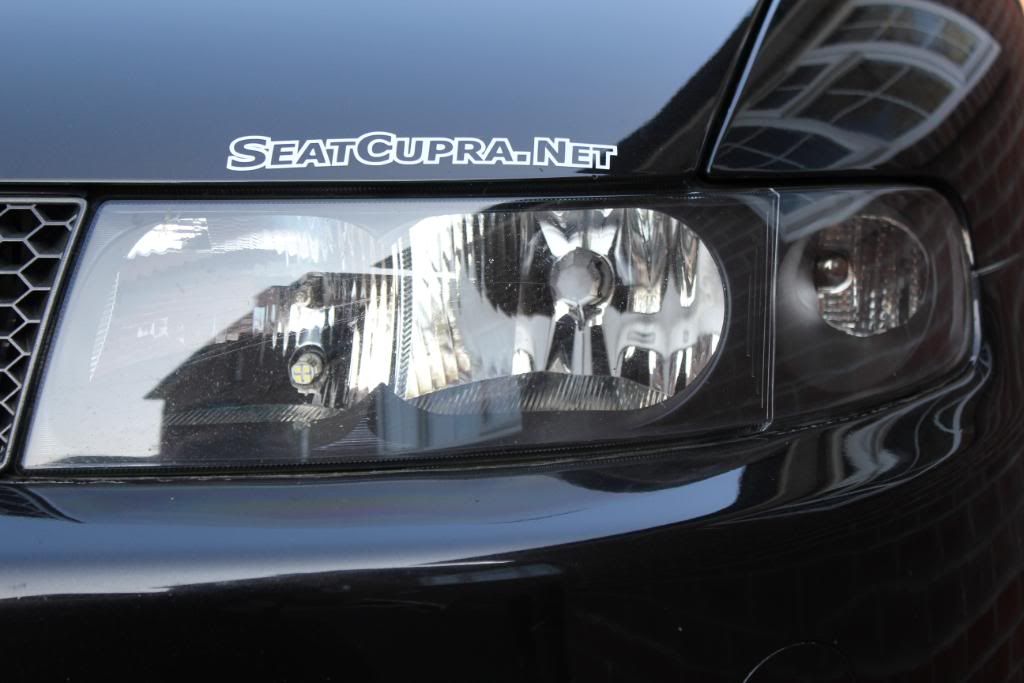
SCN Stickers - Fitted 16/02/2012
FR Seat Covers & Seatbelt Pads - Pads fitted 20/02/2012
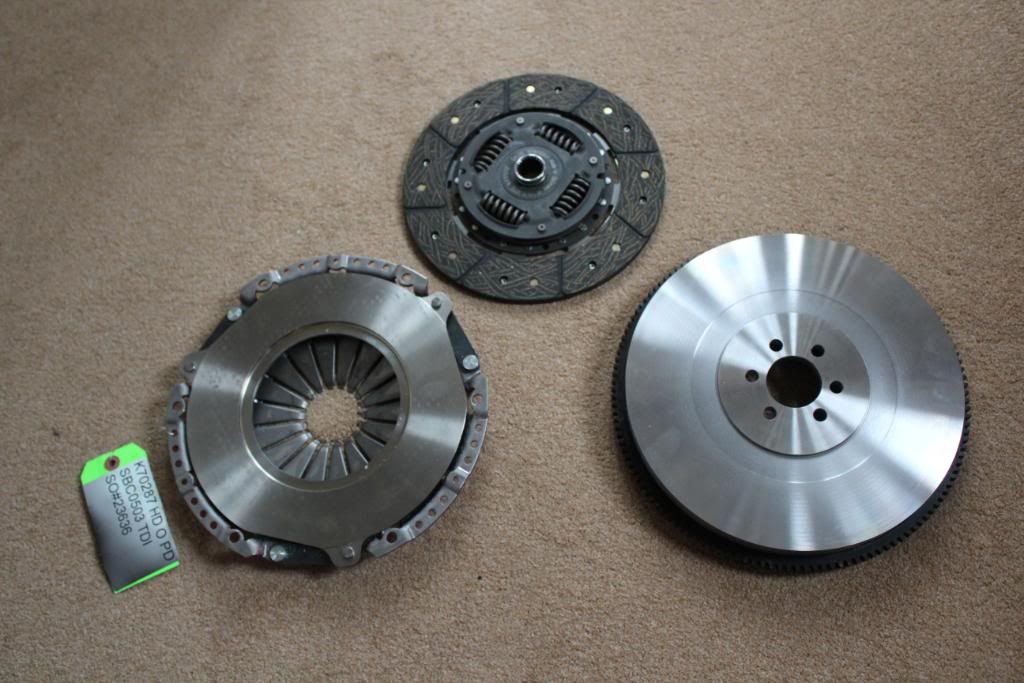
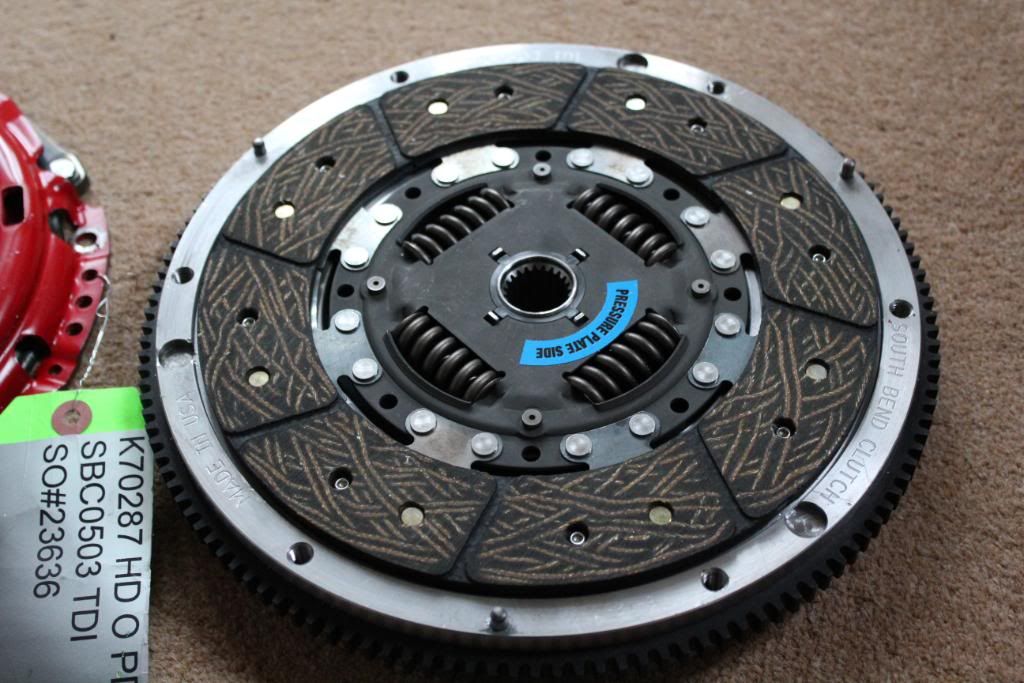
Southbend Stage 2 Daily Driver Silent SMF Clutch - Fitted 22/02/2012
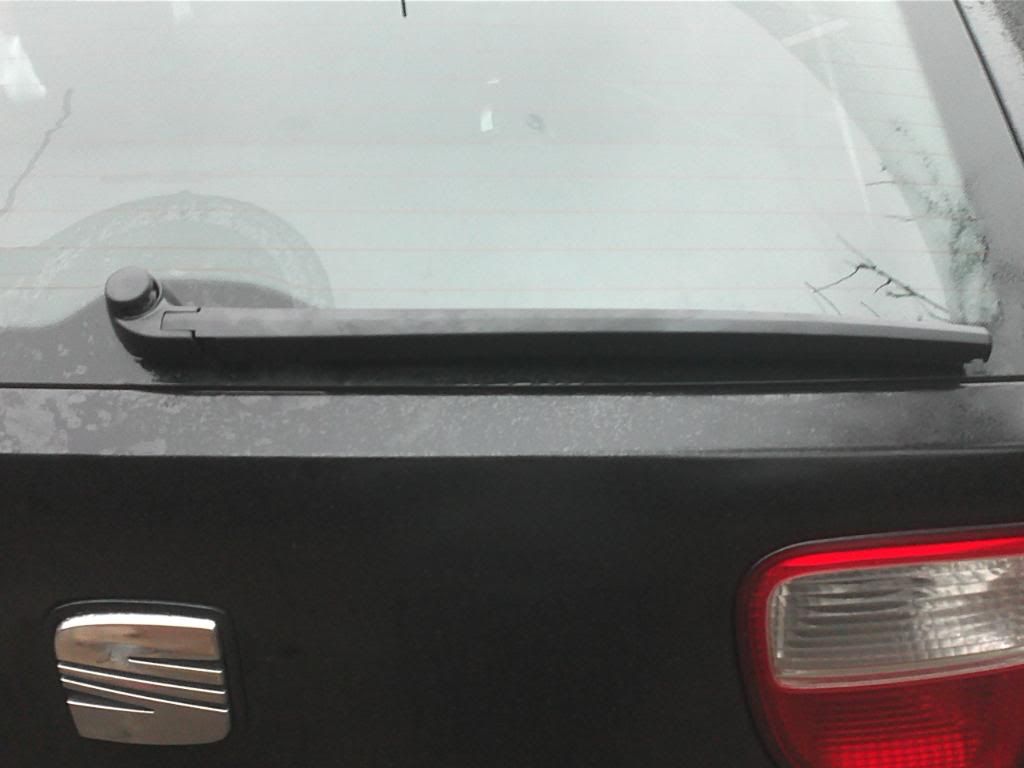
Skoda Fabia Rear Wiper - Fitted 22/02/2012
Team Heko Wind Deflectors - Fitted 27/02/2012
VW Sunglasses Holder - Fitted 15/03/2012
Liquid Gauge - Fitted 18/03/2012
Sub - Fitted 24/03/2012
Milltek Turbo Back Stainless De-cat Non-Resonated Exhaust - Fitted 26/03/2012
Chrome Indicator Bulbs Front & Back - Fitted 28/03/2012
RAMAIR Induction Kit Fitted - 29/03/2012
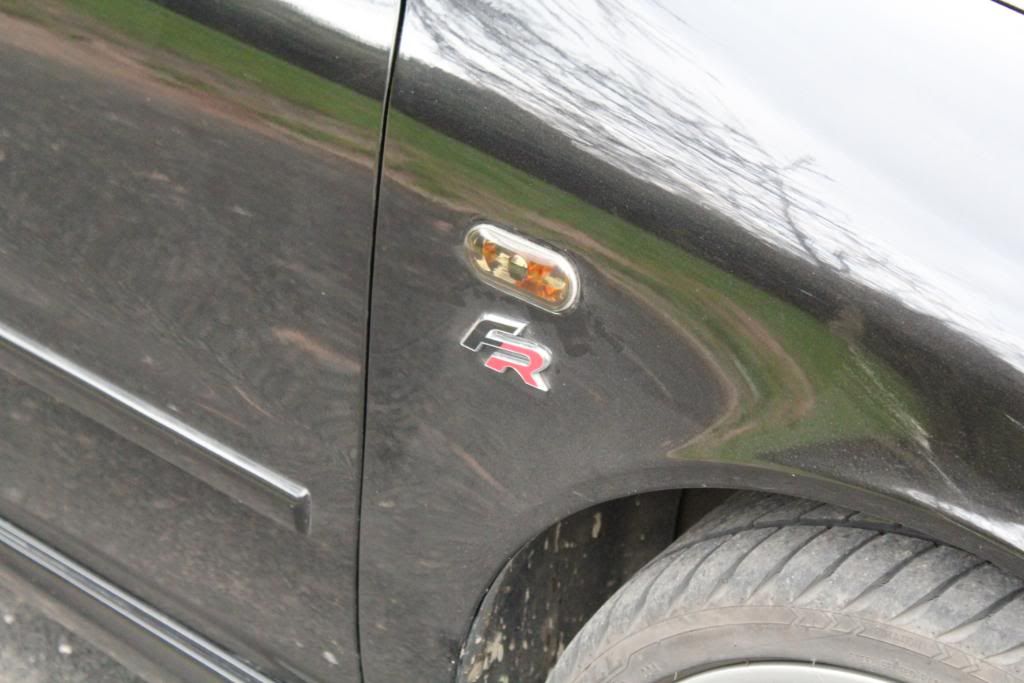
Smoked Side Indicators - Fitted 31/03/2012
SFS Performance Silicone 3" TIP - Fitted 28/04/2012
De-Badge boot - Done 28/04/2012
GREEN Temp Sensor - Fitted 28/04/2012
Stage 1 Remap (191 BHP & 324 FT/IBS) - Done 12/05/2012
Team Dynamics Imola Graphite 18" Alloys - Done 04/10/2012
Another Southbend Clutch - Fitted 04/02/2013
Sachs SRE Organic Clutch - Fitted 02/04/2013
Dash Magnetic Mounts for Nexus 7 - Done 23/05/2013
Genuine VW Brakes Discs and Pads All Round - Fitted 02/08/2013
BBS CH 18" Alloys - Done 02/08/2013
Genuine VW/SEAT Fuel Filter - Fitted 03/08/2013
Honda S2000 Filter + Heatshield - Coming soon
Spray Wing Mirror Covers to Match Paint - Coming Soon
Tint White Bits on Rear Light - Coming Soon
Upgrade all speakers - Coming in future
Detachable Tow Bar - Coming Soon
LCR Splitter - Coming Soon
FR Mudflaps - Coming in near future
Alloy Pressed Plates + Surrounds - Coming in near future
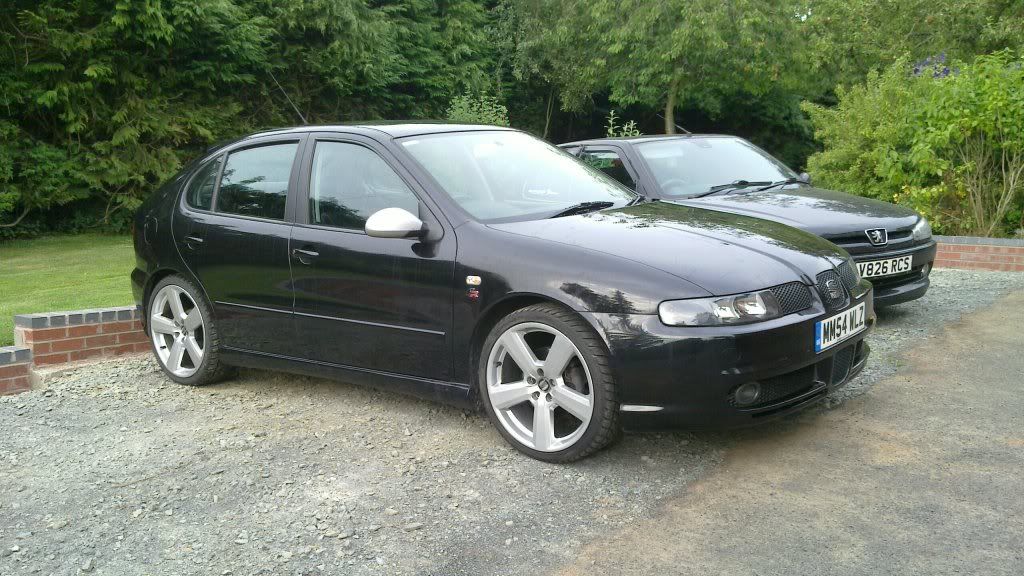
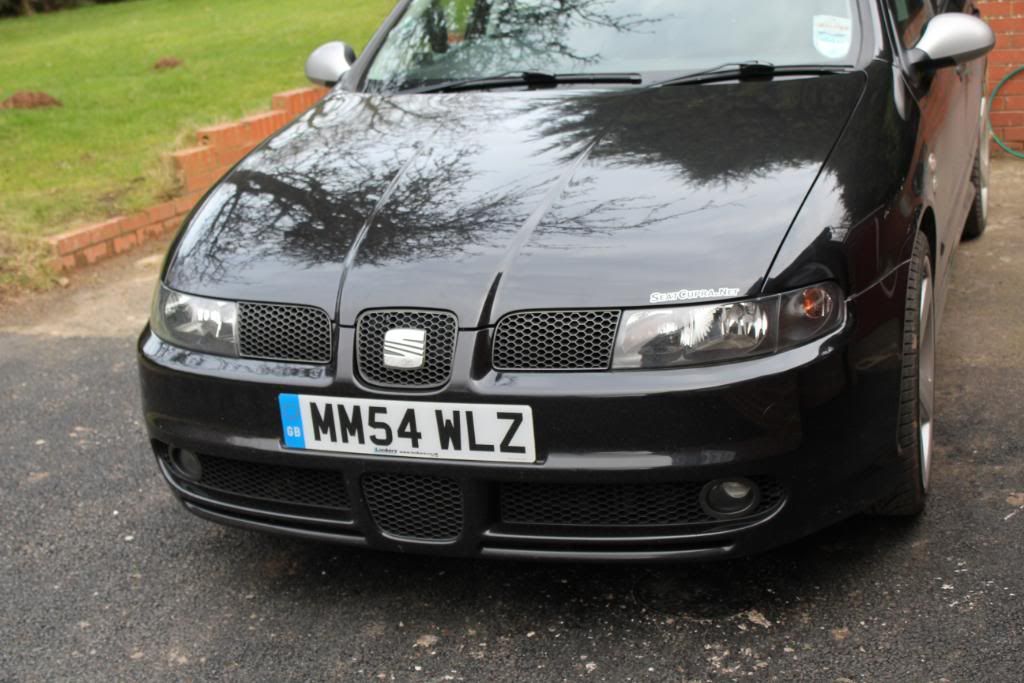
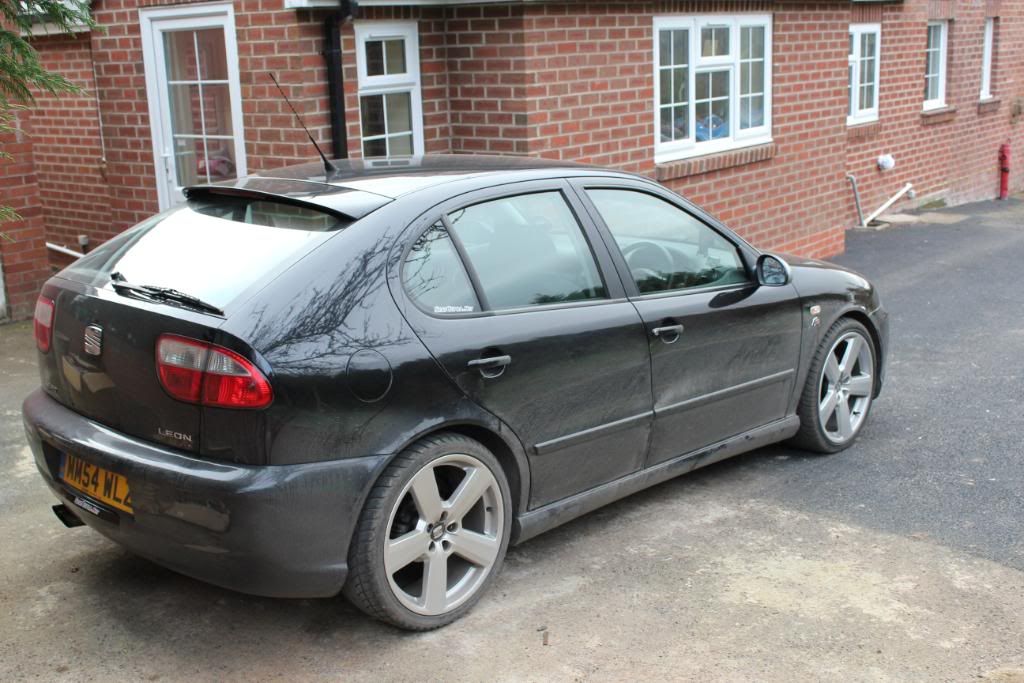
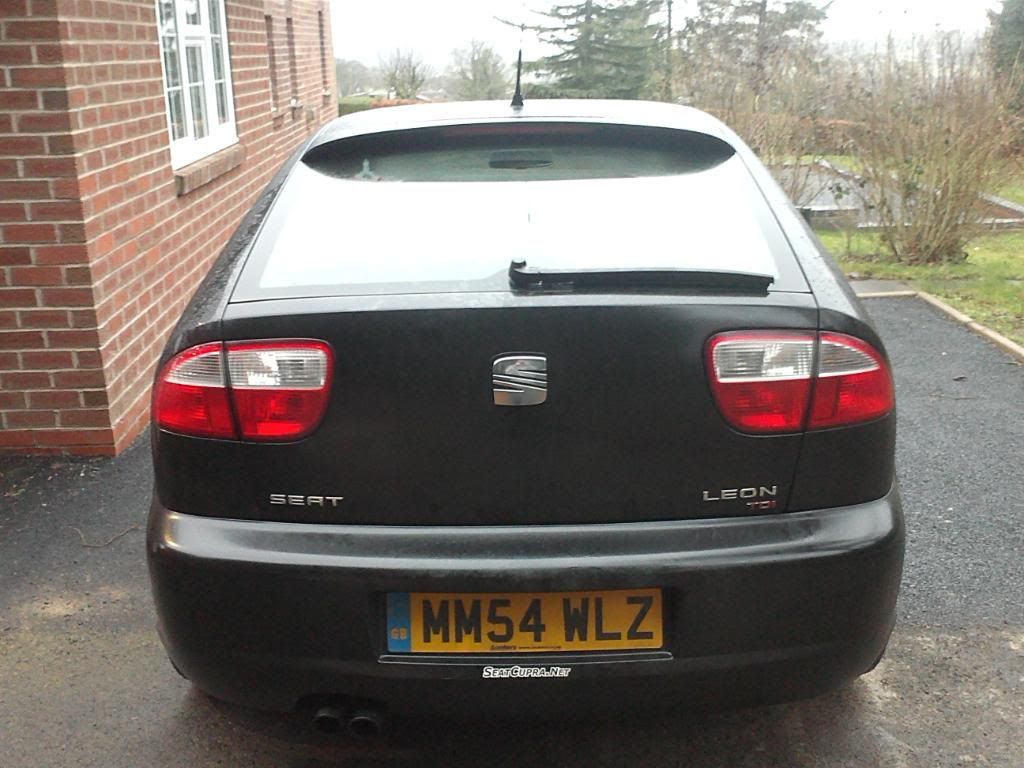
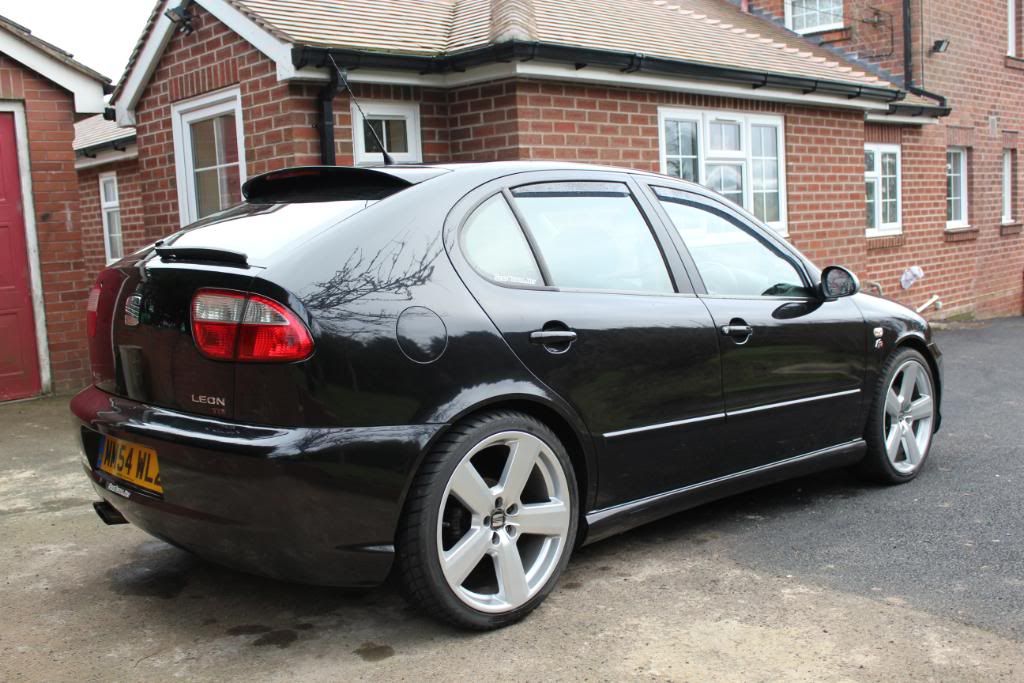
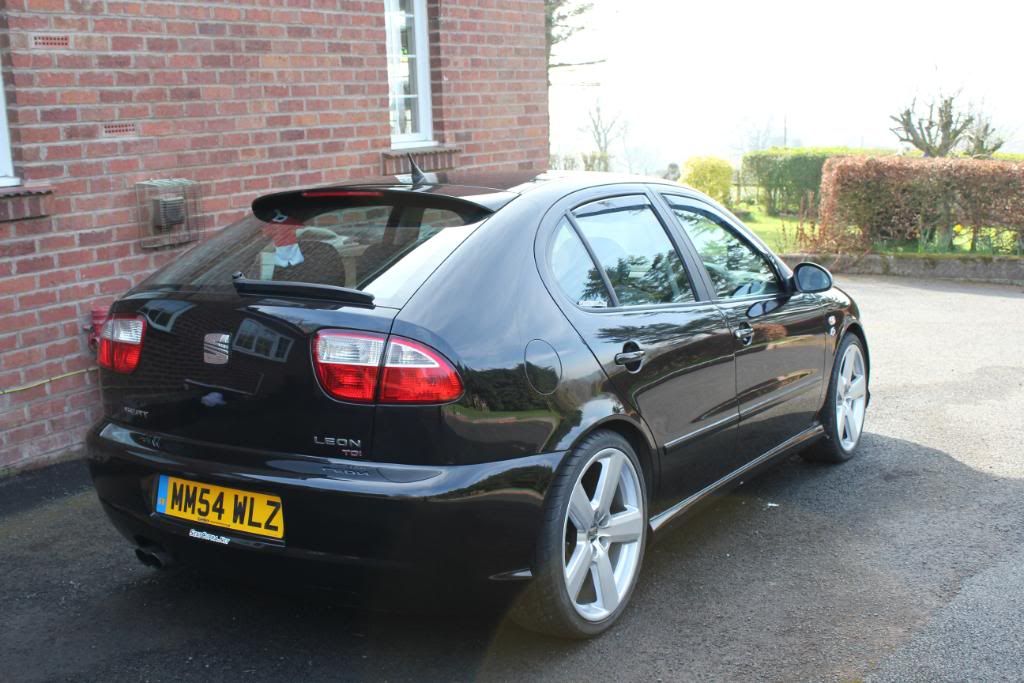
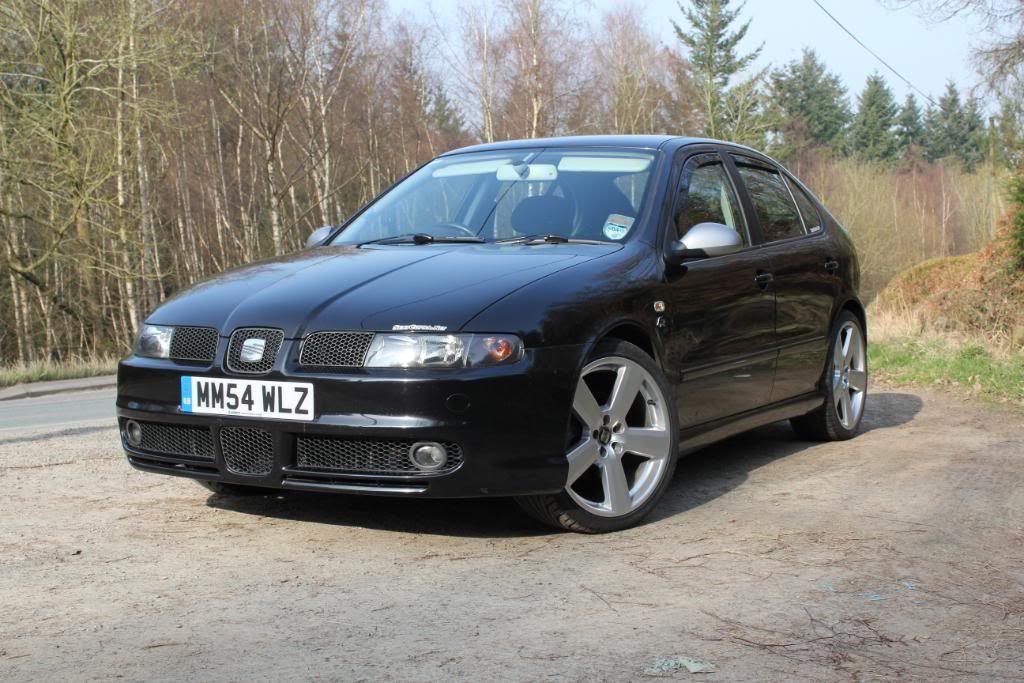
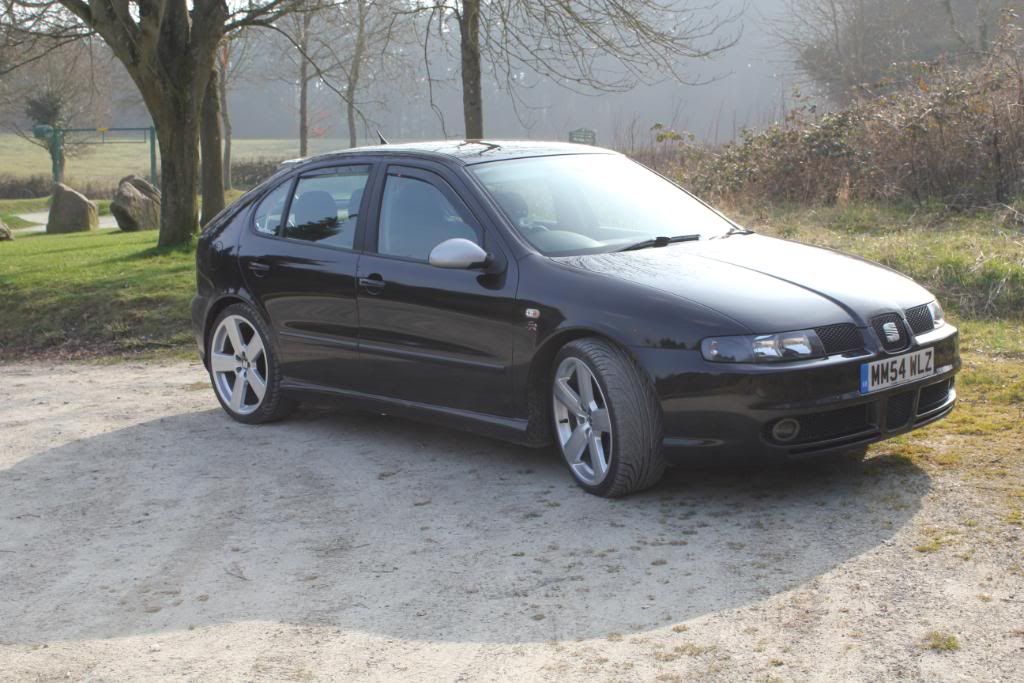
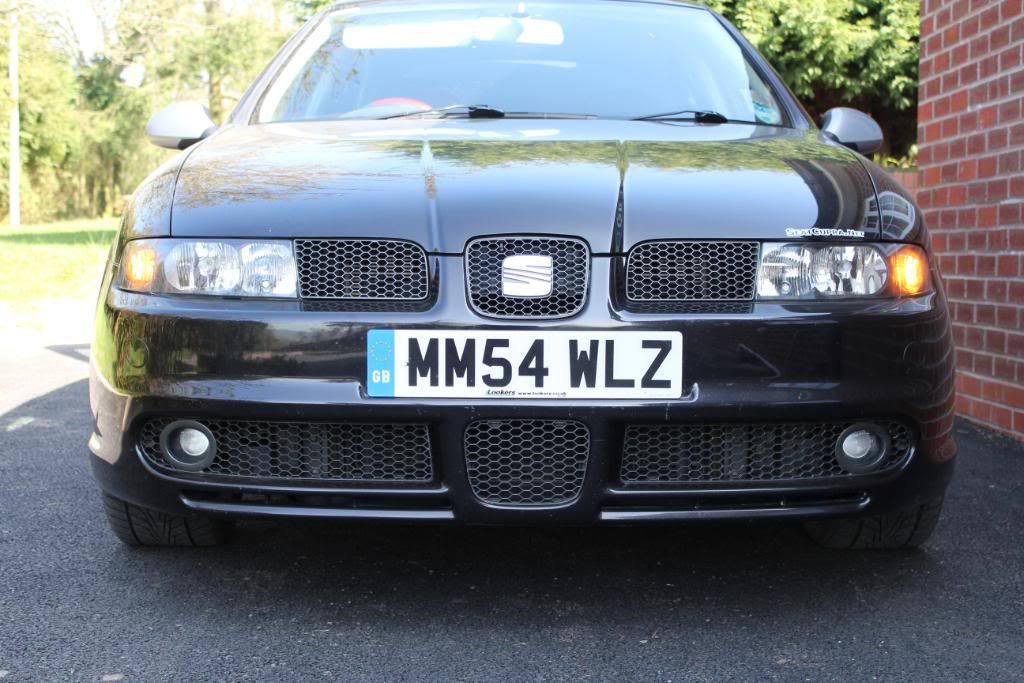
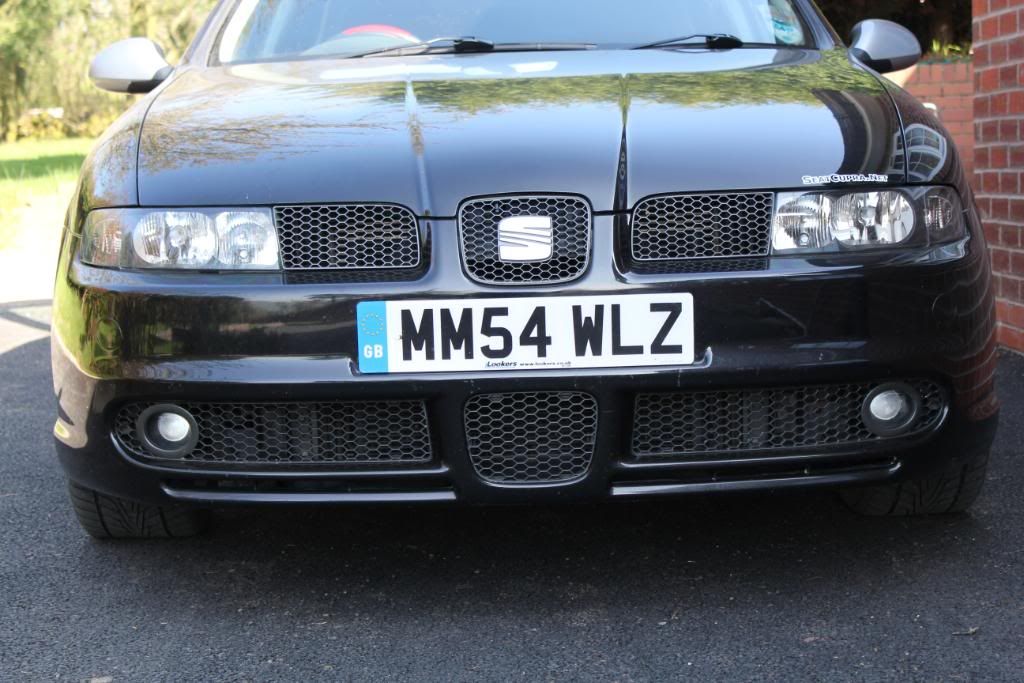
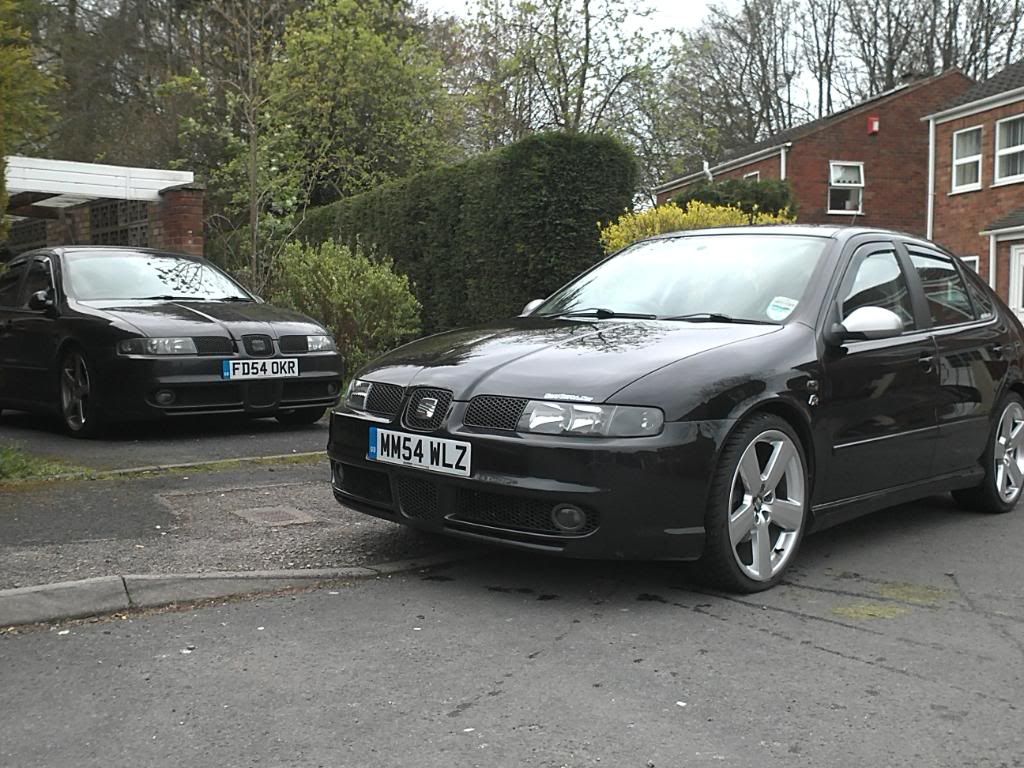
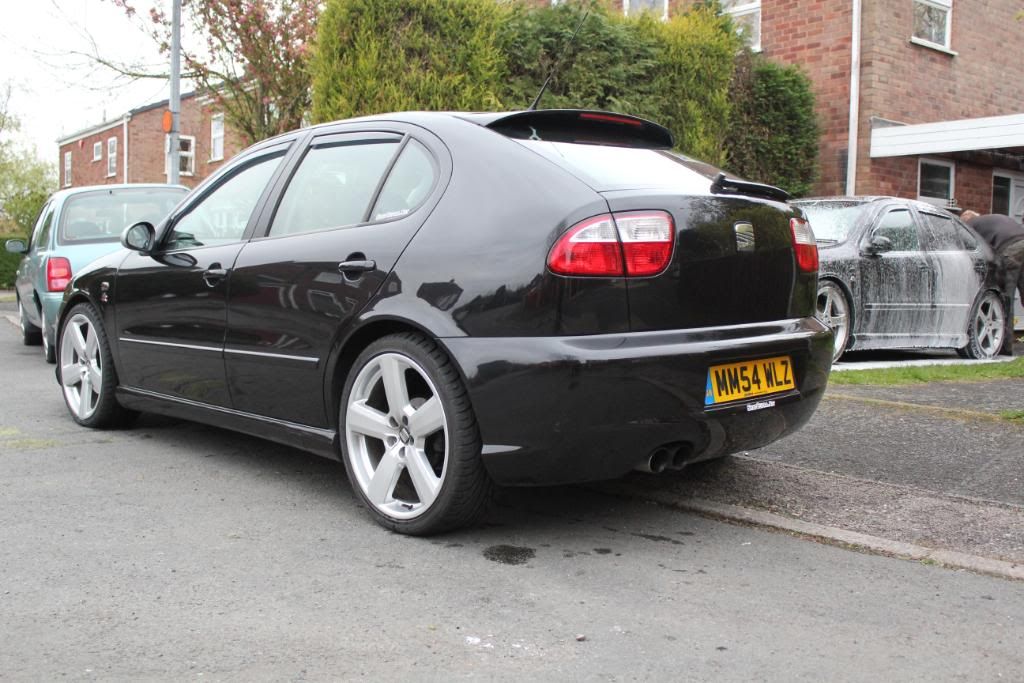
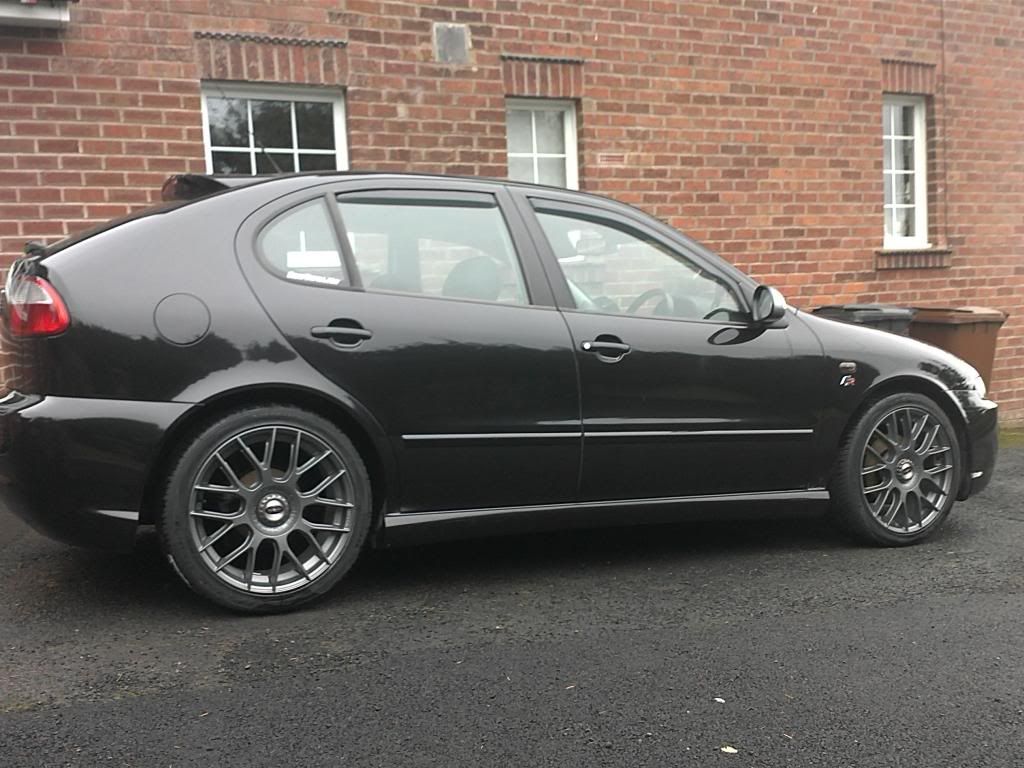
Heres a picture of it from a few weeks ago before i bought it.
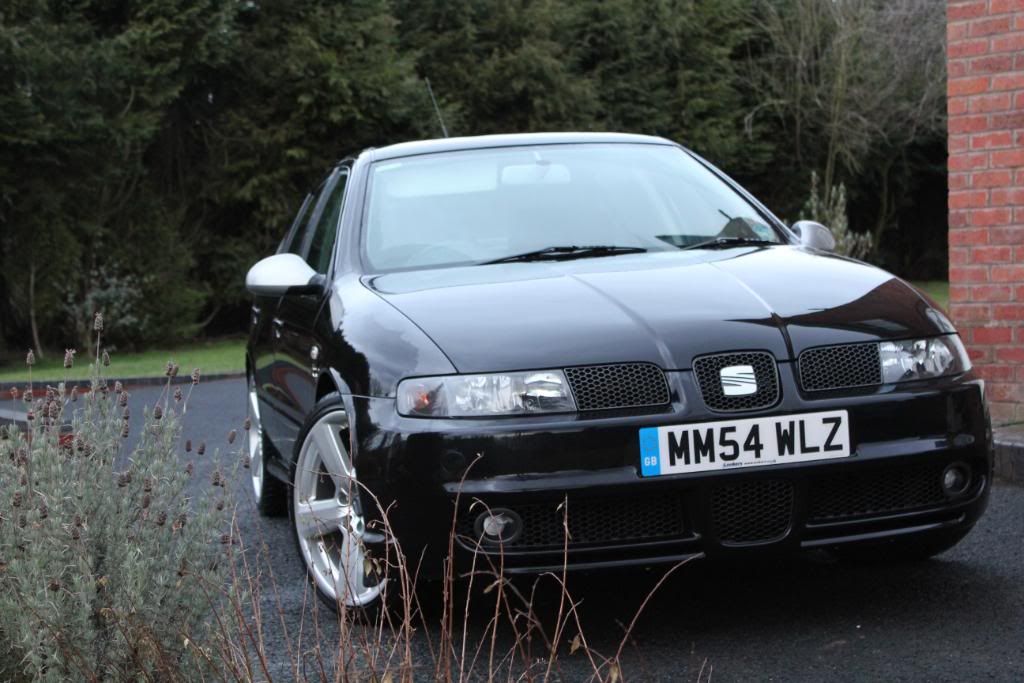
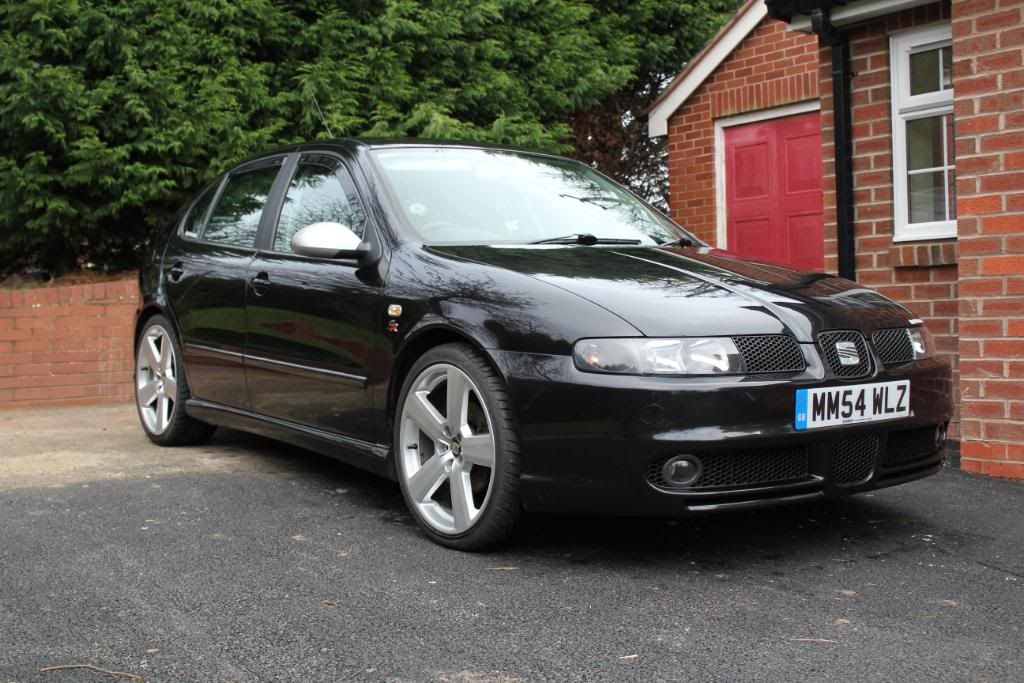
First Quick Wash and Wax since ive owned it (13/02/2012)
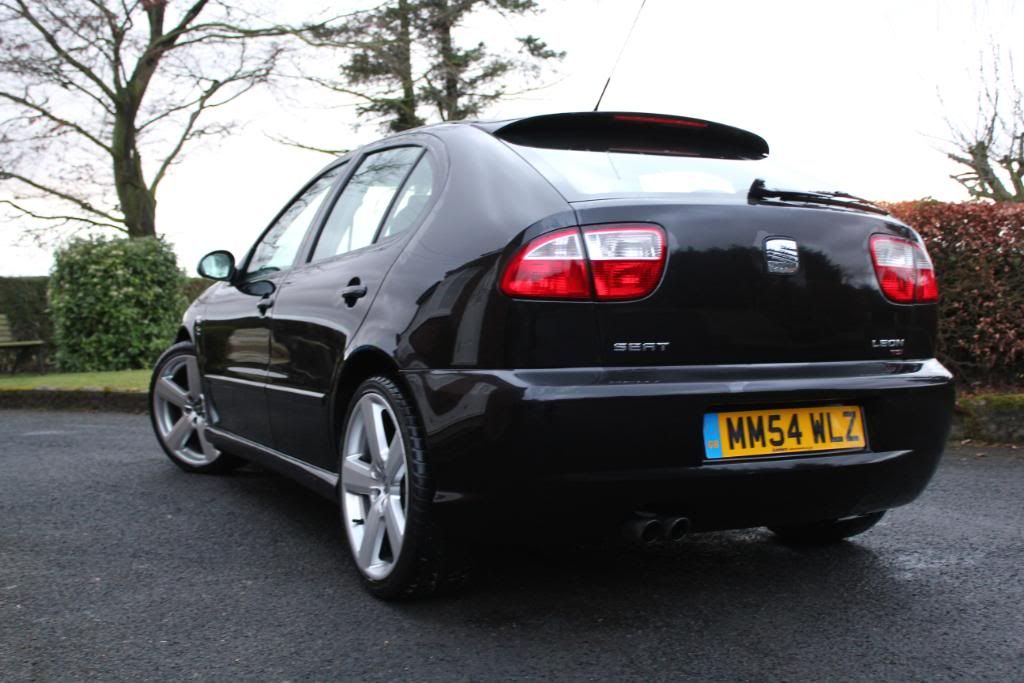
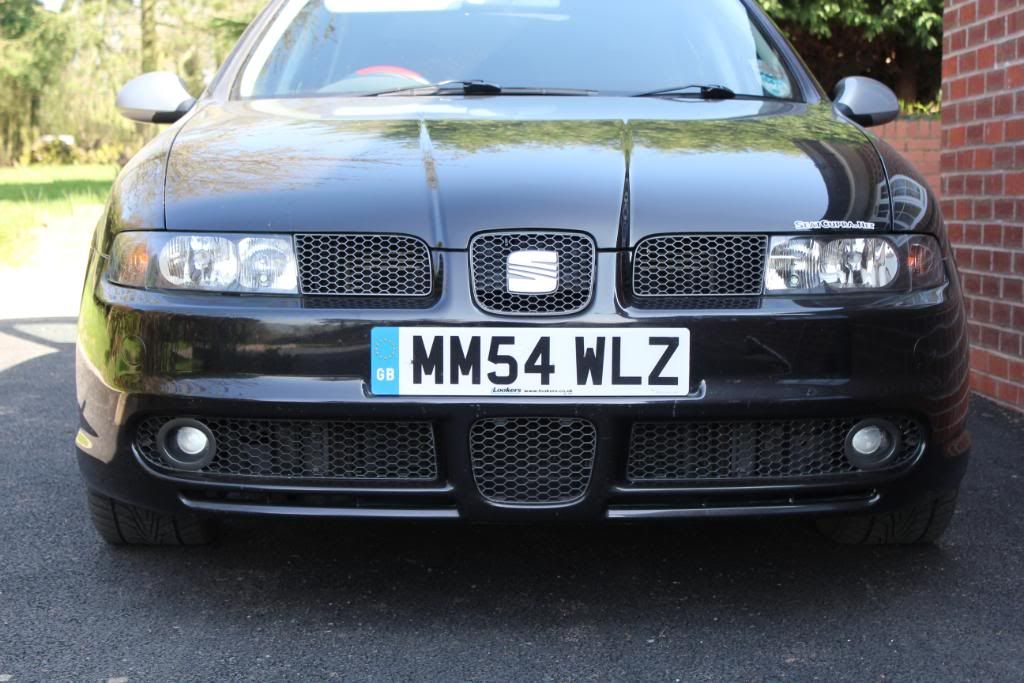
Stickers and Aero Wiper now fitted (16/02/2012)
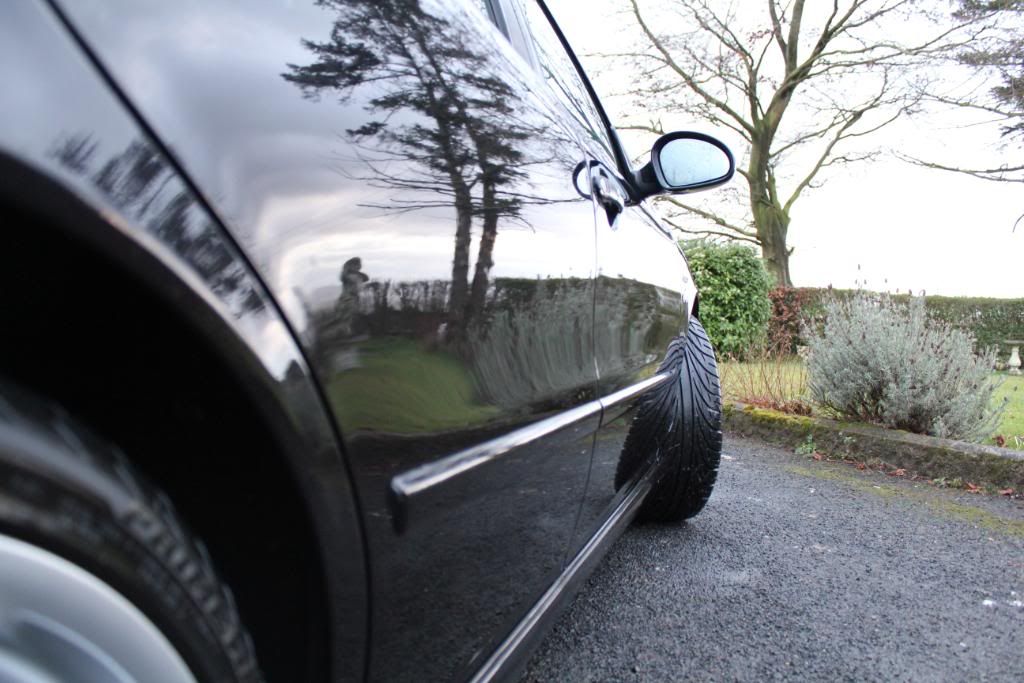
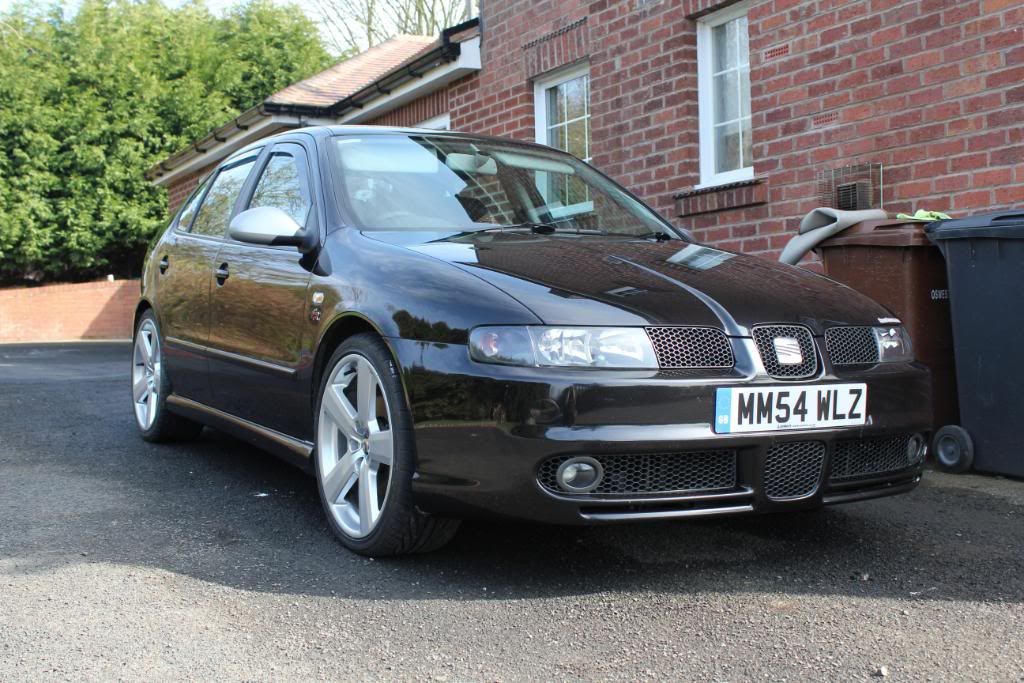
Needs a clean again i know but heres how it stands atm.
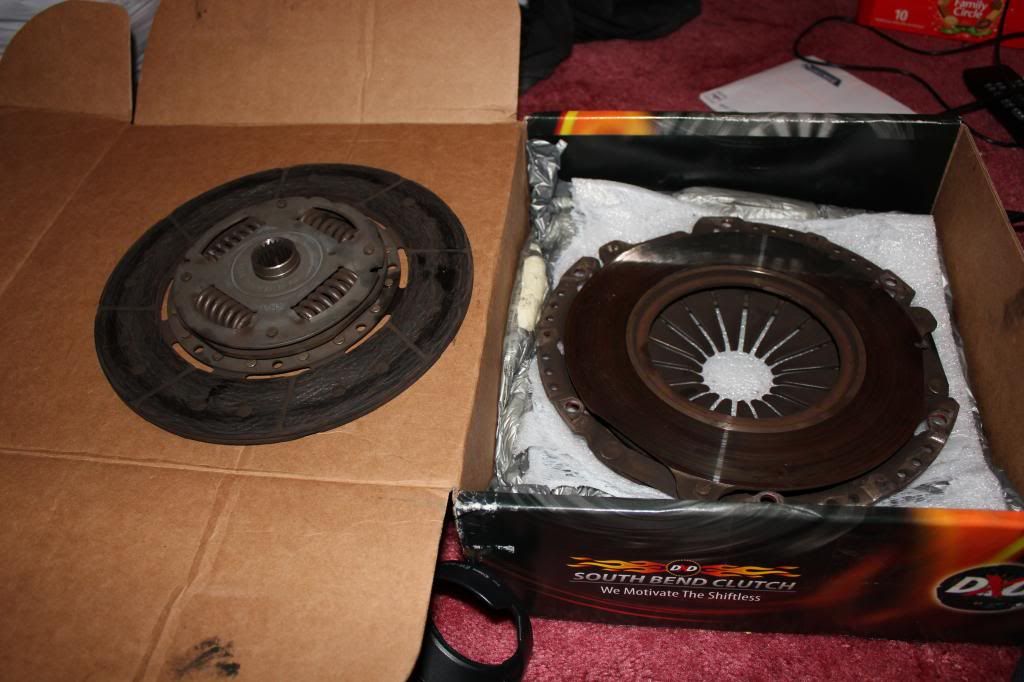
New Clutch Fitted and Skoda Fabia Rear Wiper (22/02/2012)
Southbend Stage 2 Daily Driver now fitted Perfect. No slipping now The pedal feels spot on and no heavier than the stock clutch. Also its got the SMF and it truely is silent. No noise difference at all Took the garage about 5 hours to fit it so not to bad on the wallet lol.
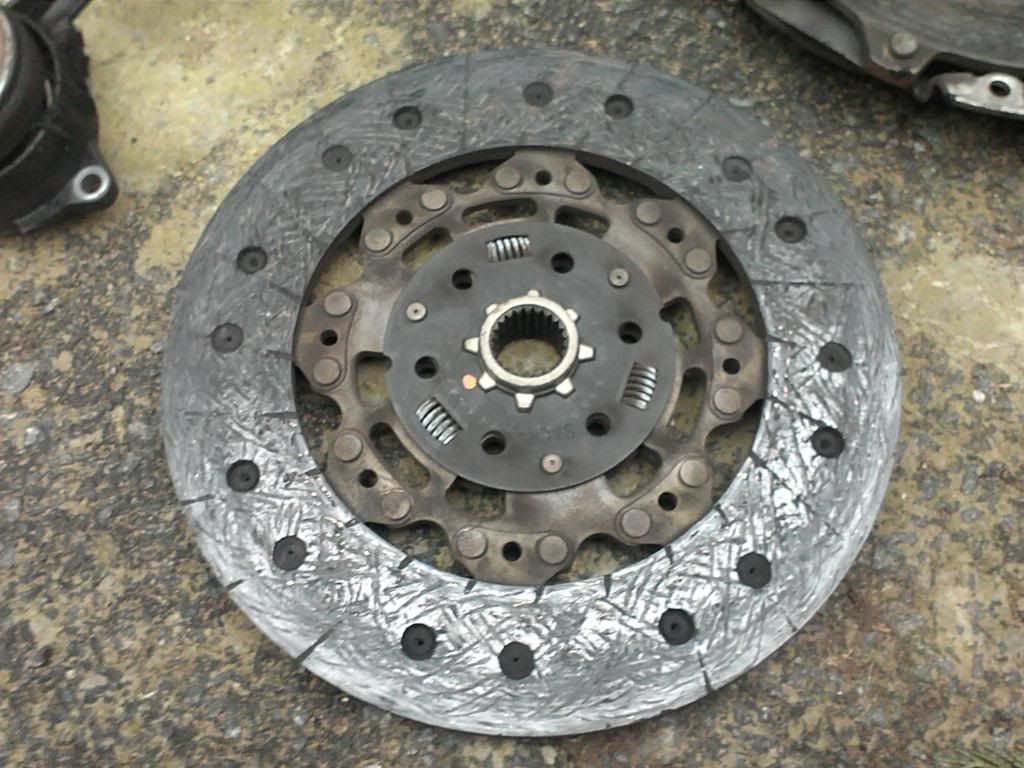
Old clutch, its definatly had it lol
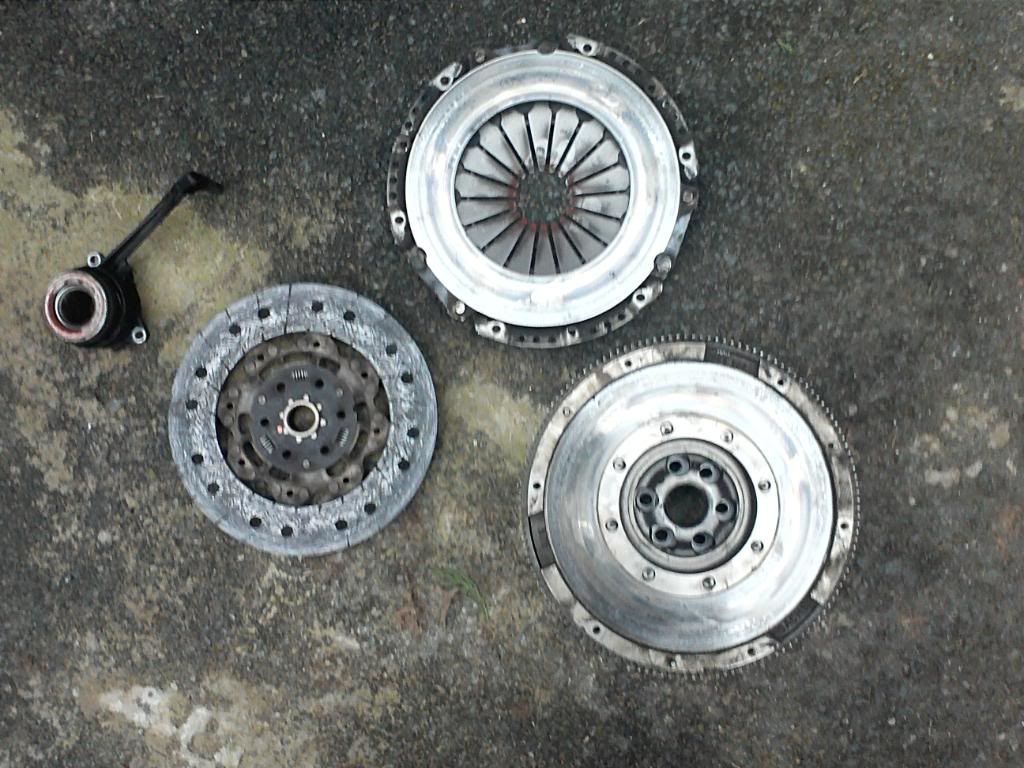
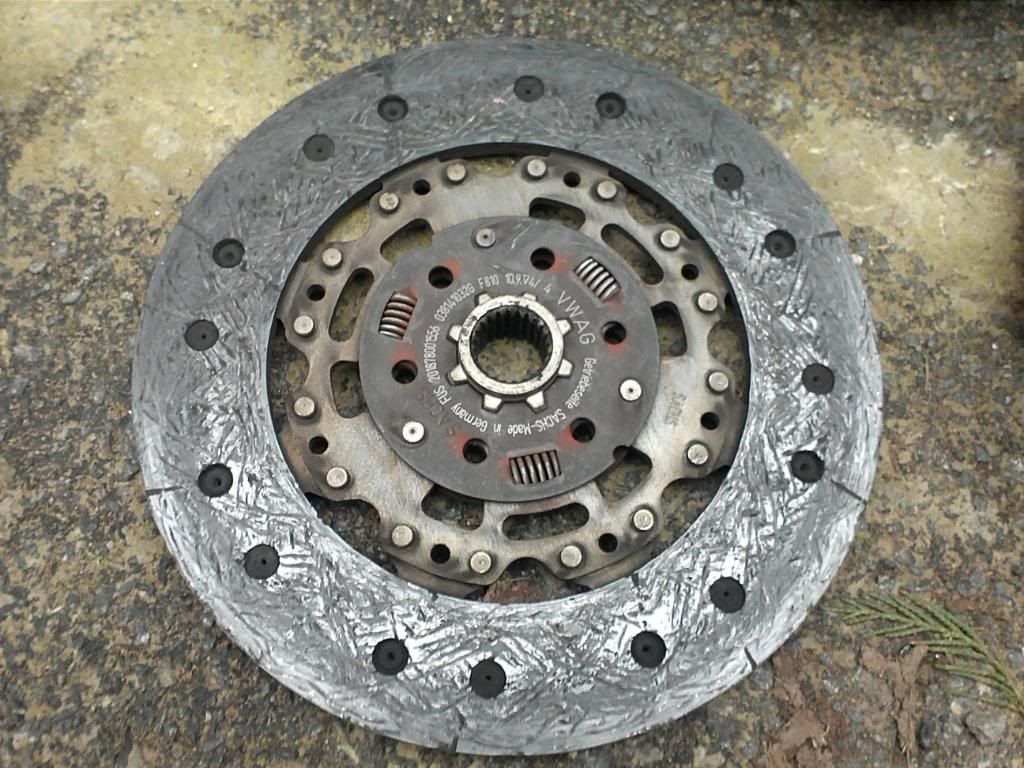
Nice new one
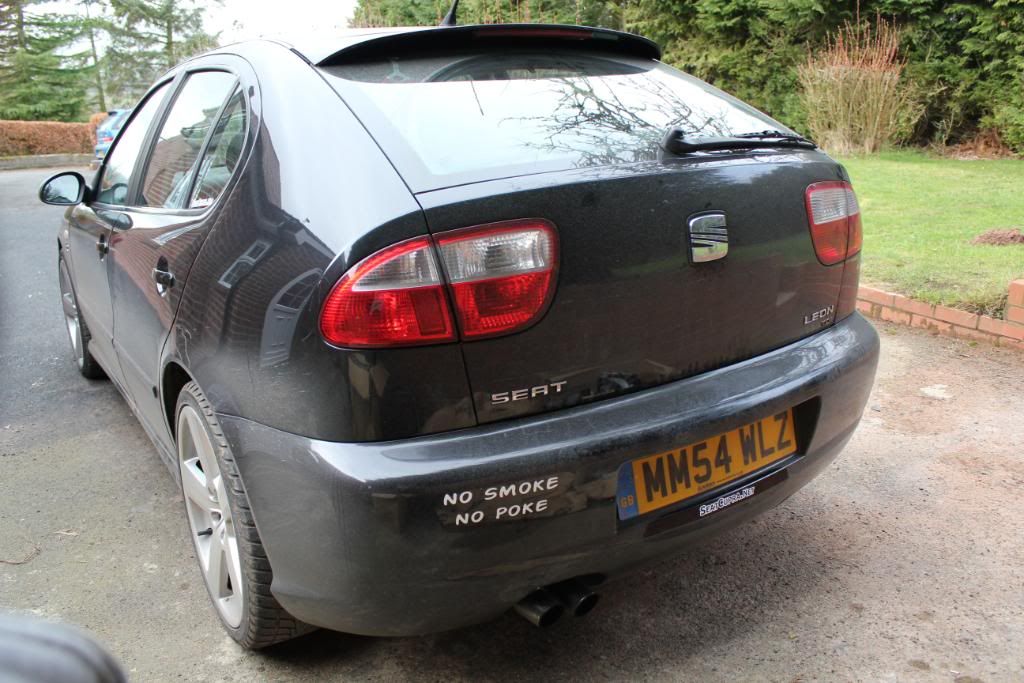
Oh i also removed the No Smoke No Poke sticker as it didnt look right
I also fitted the skoda fabia rear wiper arm aswell. Took only a min to fit it but the original plastic cover took some doing to pull off lol.
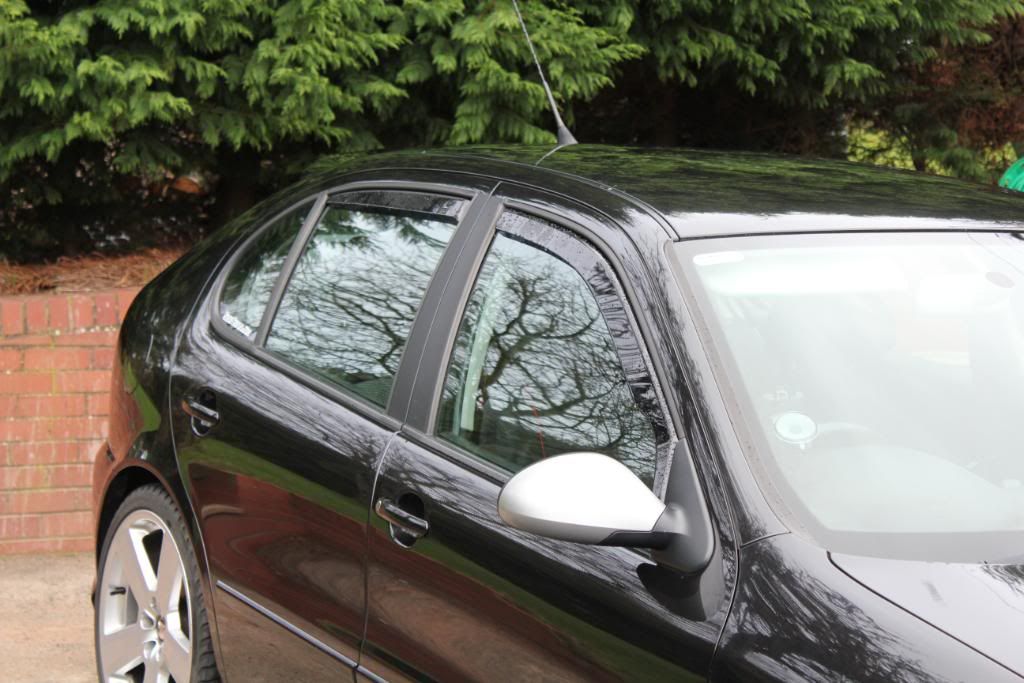
Wind Deflectors Fitted - 27/02/2012
Fitted my Team Heko Wind Deflectors and gave the car a quick wash.
Quick update on clutch - Going brilliantly atm. There is a slight chatter noise now as i got the SMF but nothing to loud/bothering me.
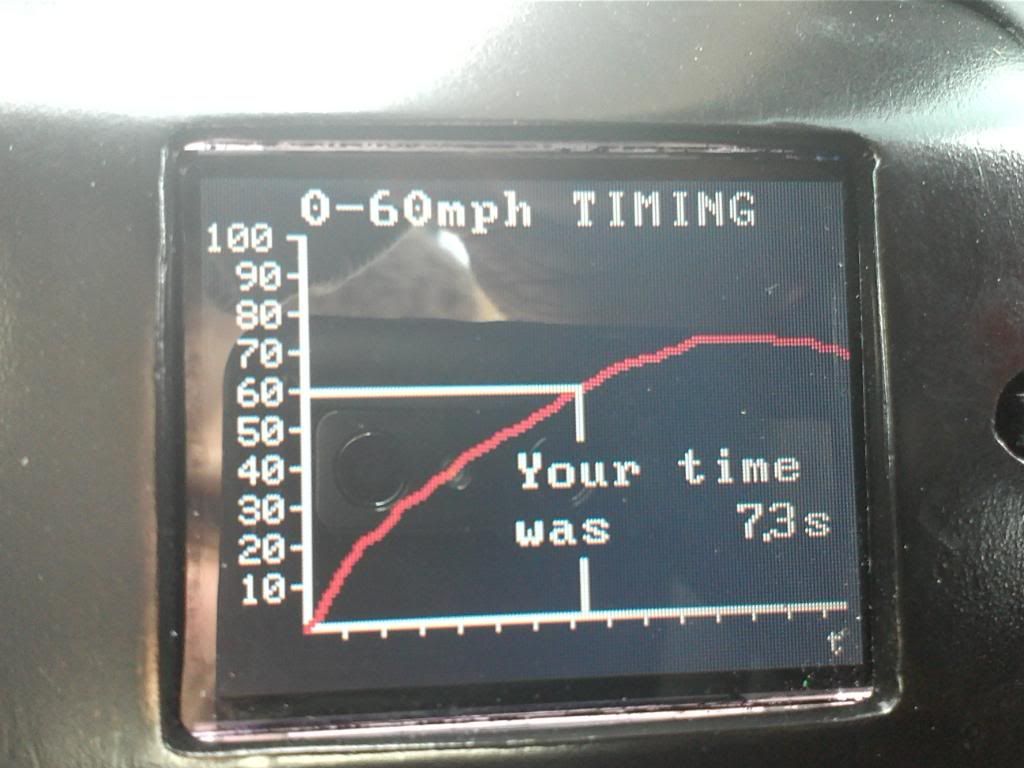
Liquid Gauge Fitted - 18/03/2012
Resprayed the liquid gauge and fitted it. Need to give it another spray though as its a bit too shiney so i havent glued the circuit board back in yet Oh and did my 0-60
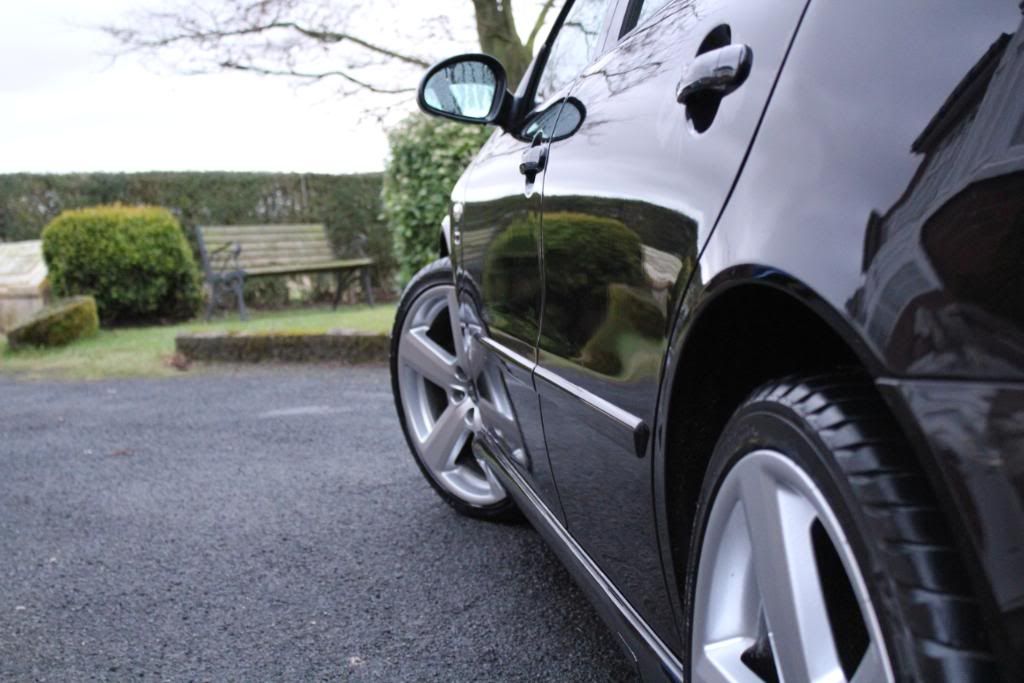
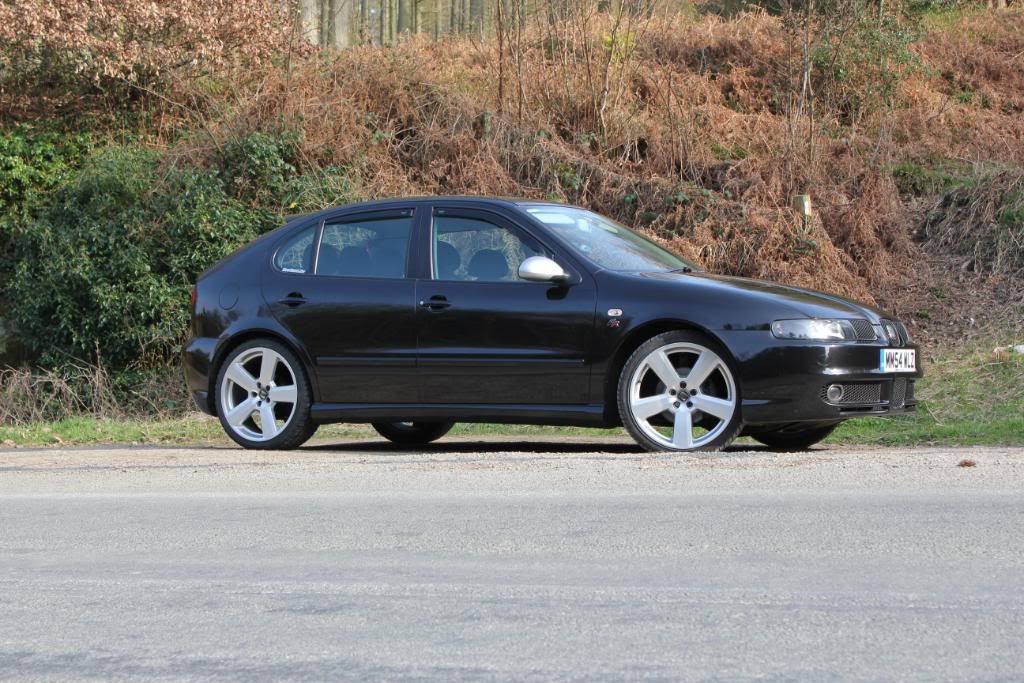
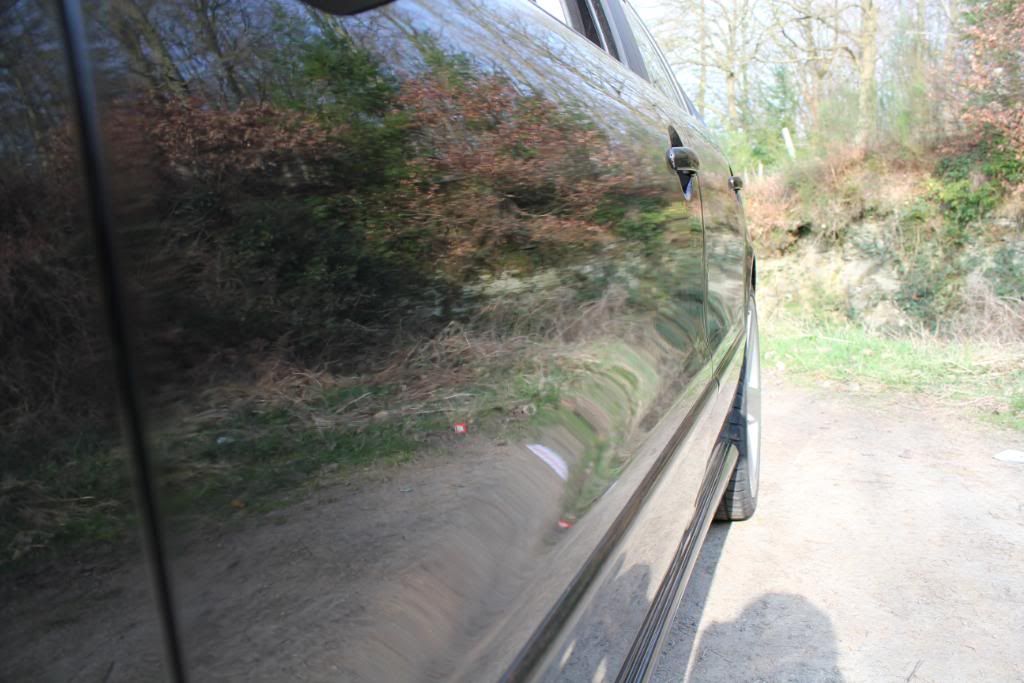
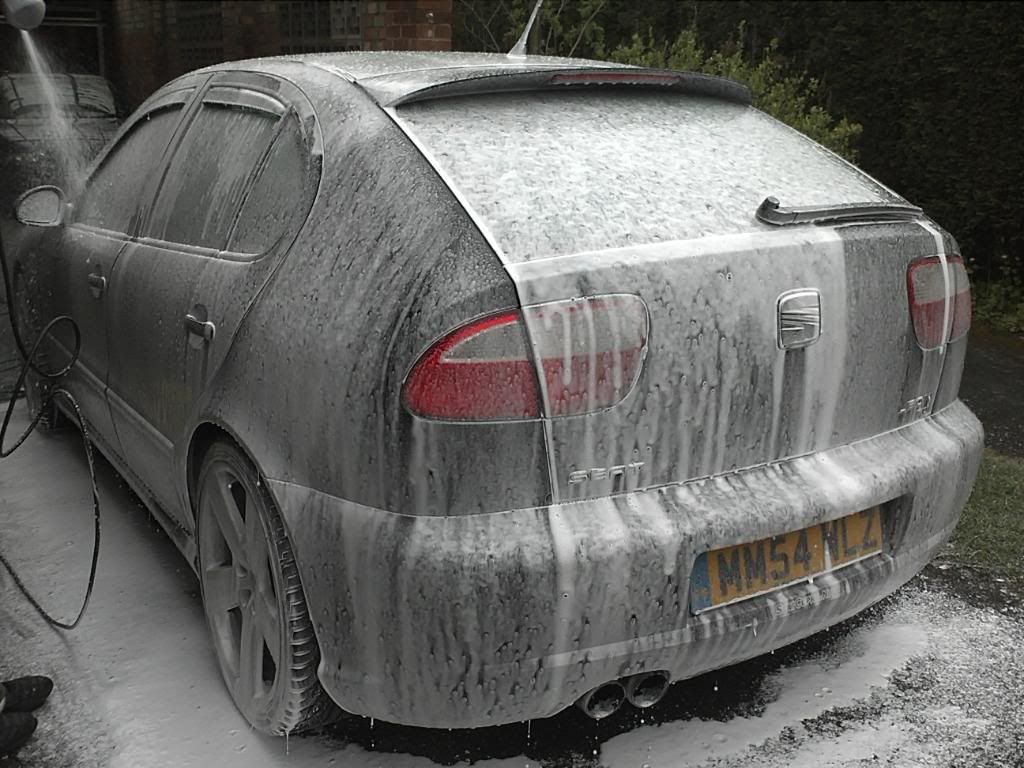
Washed, Clayed, Polished and Protected - 23/03/2012
Had a day off work so i thought i would polish the car. I used pressure washer to get loose dirt off (not on full pressure obviously) Turtle Wash and Wax to wash it with lambswool wash mitt and 2 buckets, Bilt Hamber Clay with lots and lots of water, AutoGlym SRP with microfiber cloth and AutoGlym UGP with microfiber cloth. I just followed all the instructions on the bottle as ive never touch a car with clay or polish before. Im very pleased with the results tbh. Took be a good few hours and alot of hard work but well worth it.
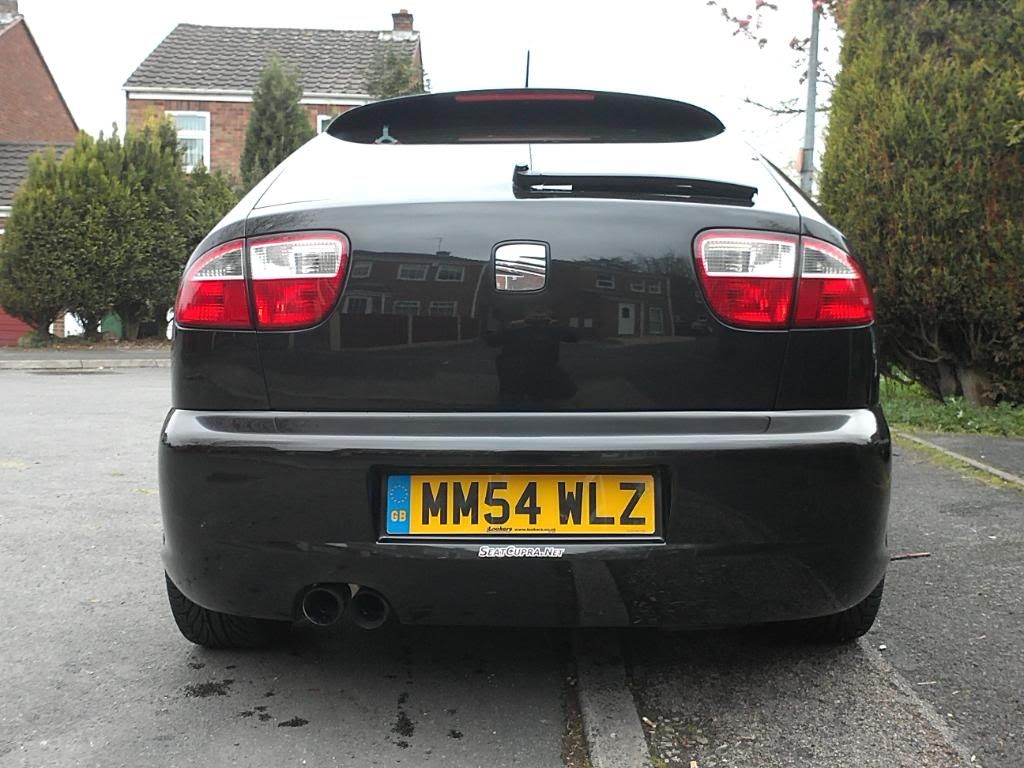
Milltek Turbo Back Stainless De-cat Non-Resonated Exhaust - Fitted 26/03/2012
Had the exhaust fitted today and very pleased with it. Its not too loud and cant be heard under 3k Looks much better.
Before
After
Fitted Chrome Indicator Bulbs 28/03/2012
Only a little mod i know but makes a difference i think
Before with yellow bulbs
Chrome Bulb on Drivers Side, Normal Yellow Bulb on Passenger side. Hardly any difference if any on colour and brightness
After with chrome indicator bulbs
I have fitted rear ones. You cant see them much on camera so i didnt bother to take a pic.
RAMAIR Induction Kit Fitted 29/03/2012
Fitted the filter today. Was a fairly easy job to fit it tbh. Sounds better and tbh i think its ever so slightly increased the performance but that maybe because of the sound Overall, im very pleased with it :d

Smoked Side Indicators - Fitted 31/03/2012
I did buy some smoked indicators but they were utter sh*t. Didnt fit and the clips broke so i decided to buy a can of Etech Tint Spray and have a go myself. I removed them from my car, gave them a wipe with panel wipe and 3 light sprays on tint spray. I think they have come out rather well tbh. The tint looked uneven when it was wet, but as soon as it dried it looked much better with even coverage Also they are not to dark either

SFS Performance 3" TIP, GREEN Temp Sensor and De-Badged boot - Fitted and Done 28/04/2012
Went over to see John (M20FES) today and he gave me a hand to fit the 3" TIP, GREEN temp sensor and de-badge the boot. Fitting the TIP was fairly straight forward until we got to removing the original TIP from the turbo. Not much room at all to get the pliars on the stupid clip to release the pipe. After about 30mins, managed to get it off Fitting the GREEN temp sensor was ok apart from loosing all water out of header tank as the O ring seal got stuck in there. Filled it back up and started the engine, the coolant level just dropped to 0 and the light of the dash for temp gauge started flashing red so kept topping up the water until it wouldnt go down anymore. Noticed the light was still flashing, at this point i was getting a bit worried. So shut the engine off and start it back up and all is fine.
The 3" TIP has made a difference. You can hear the air rushing in and turbo spool louder. Also got a slightly louder induction note and engine seems to rev more freely. Performance wise, i think its made a slight difference but not massively, but every little helps Very happy with it to say at the least.
Had to tighten the backbox a little as it was twisting and annoy me but its all good now
Also had a look at the turbo as was very happy to feel it has hardly any play what so ever. Not bad for a turbo thats done 83k miles
SFS TIP with engine cover removed:
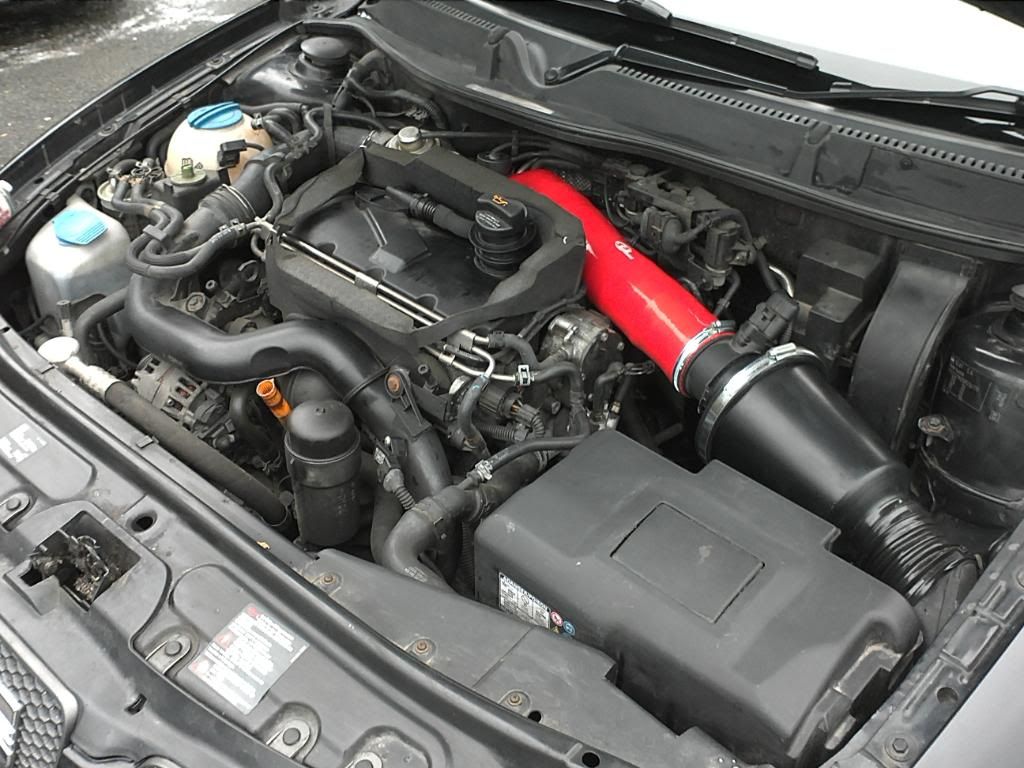
SFS TIP with engine cover on:
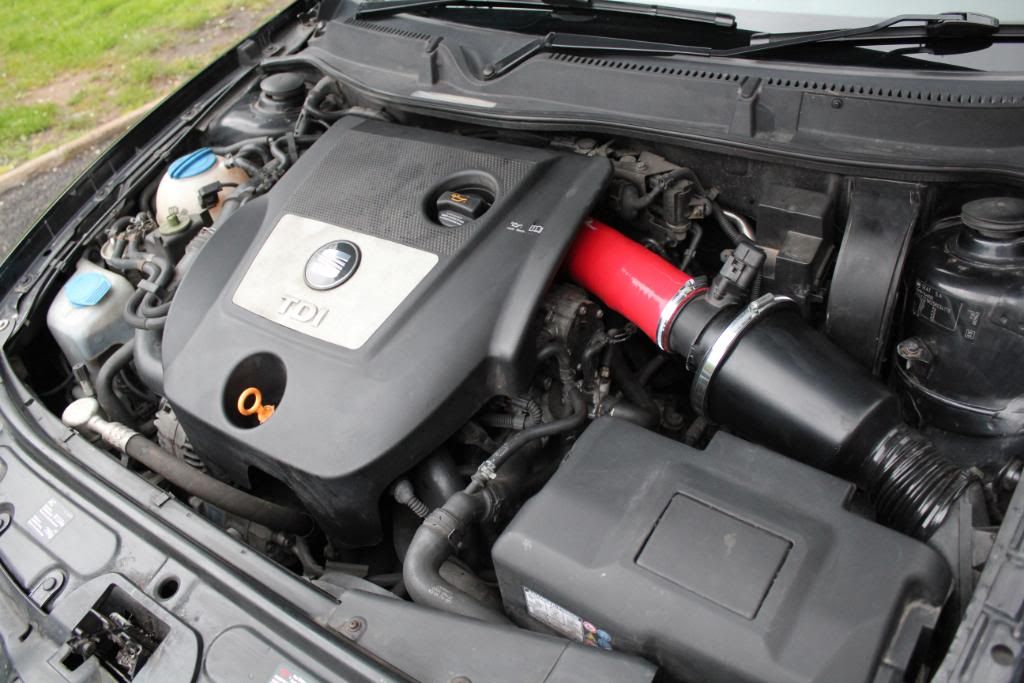
Few pics of the turbo:
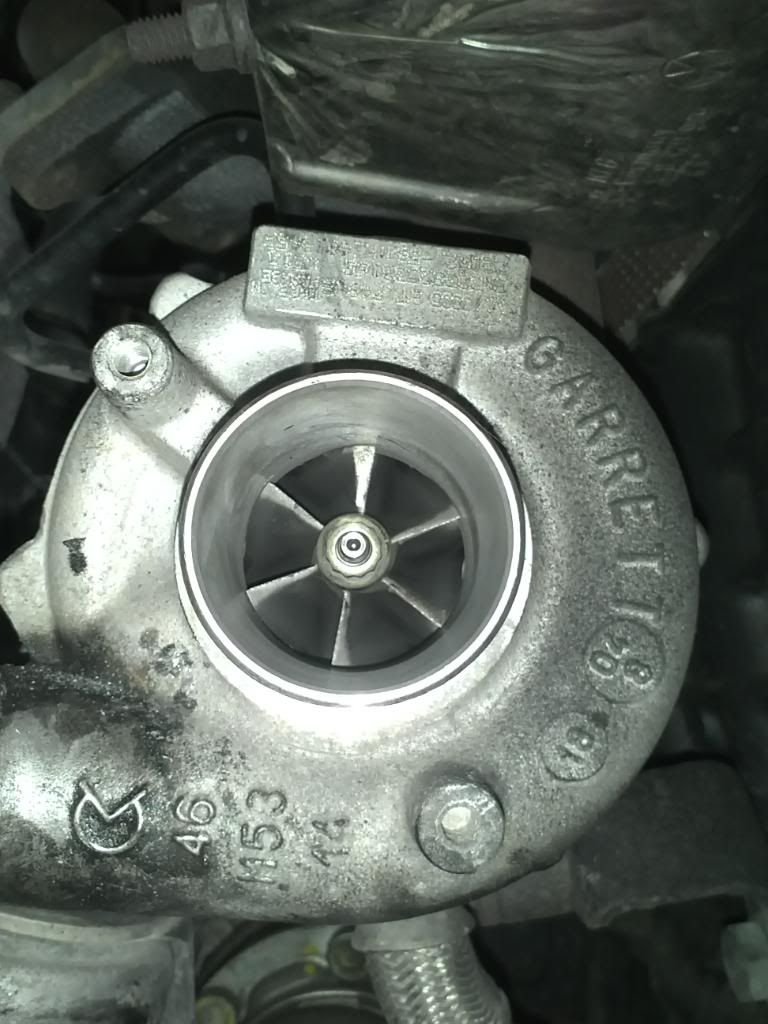
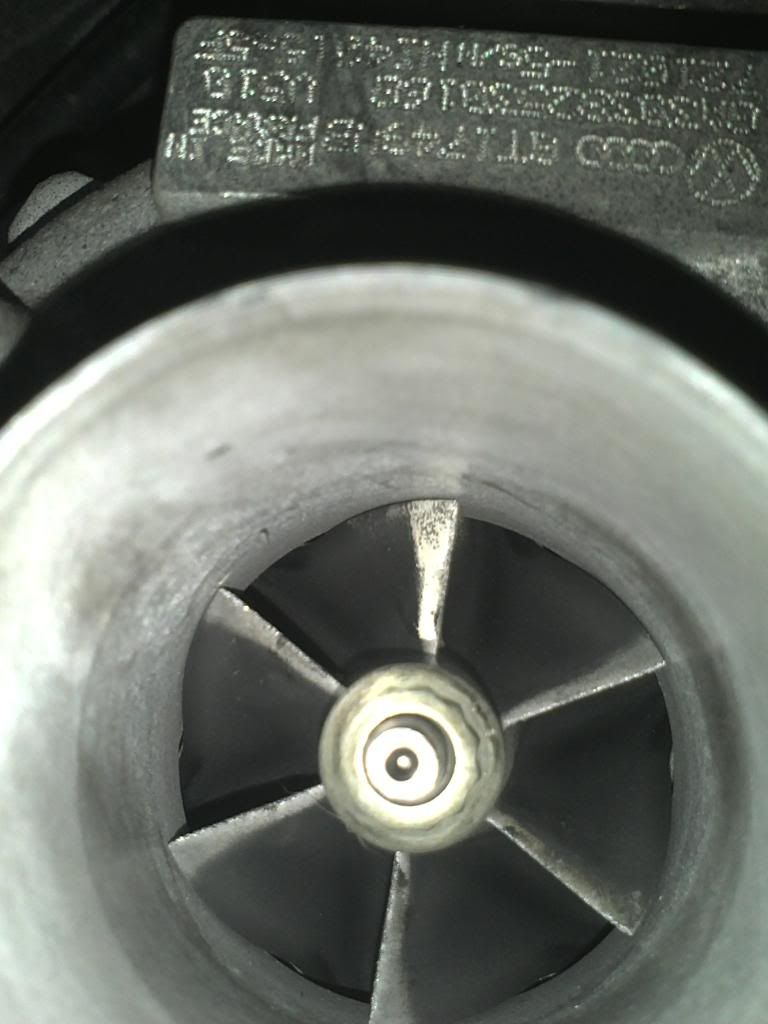
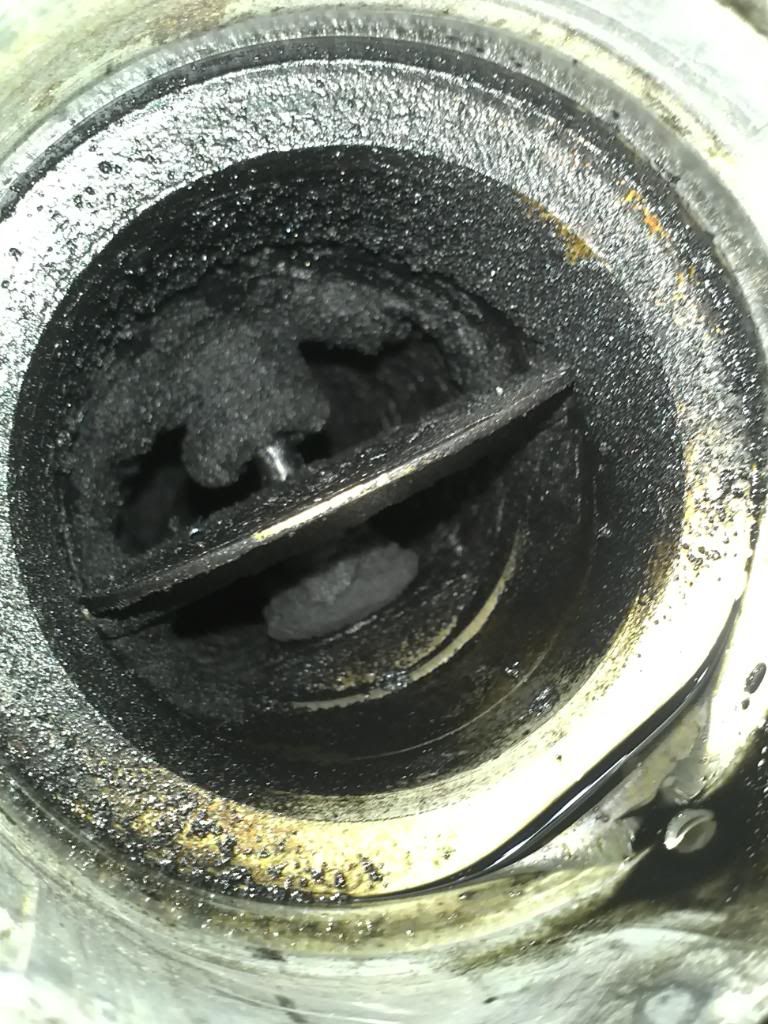
Had a look at the EGR valve aswell. It wasnt as bad as i thought it would be, but its bad enough. Restriction gasket is in order i think.
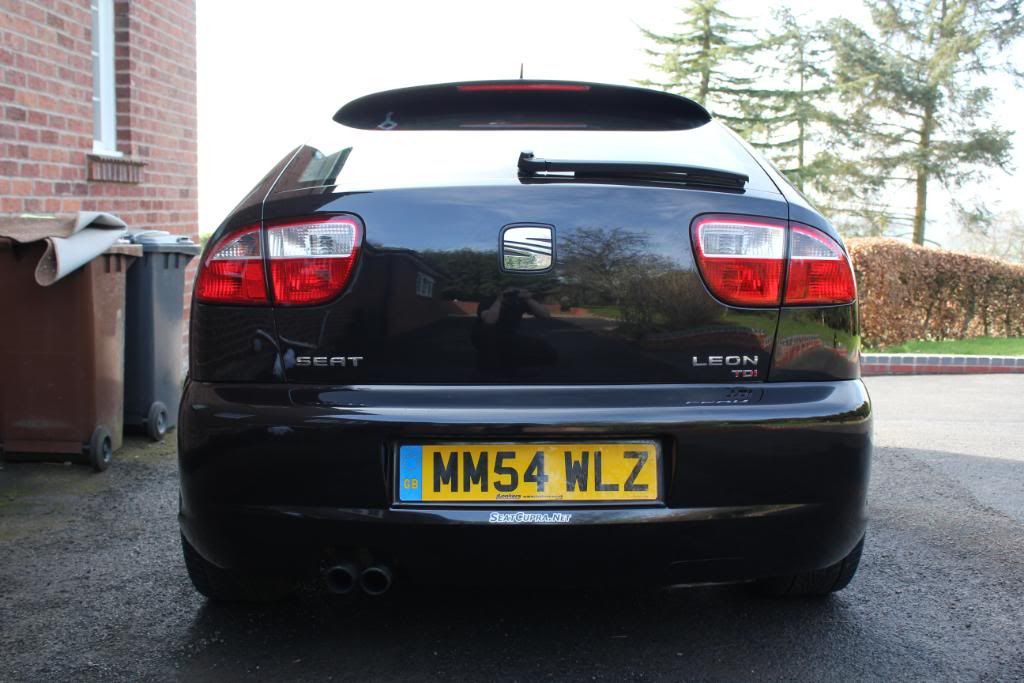
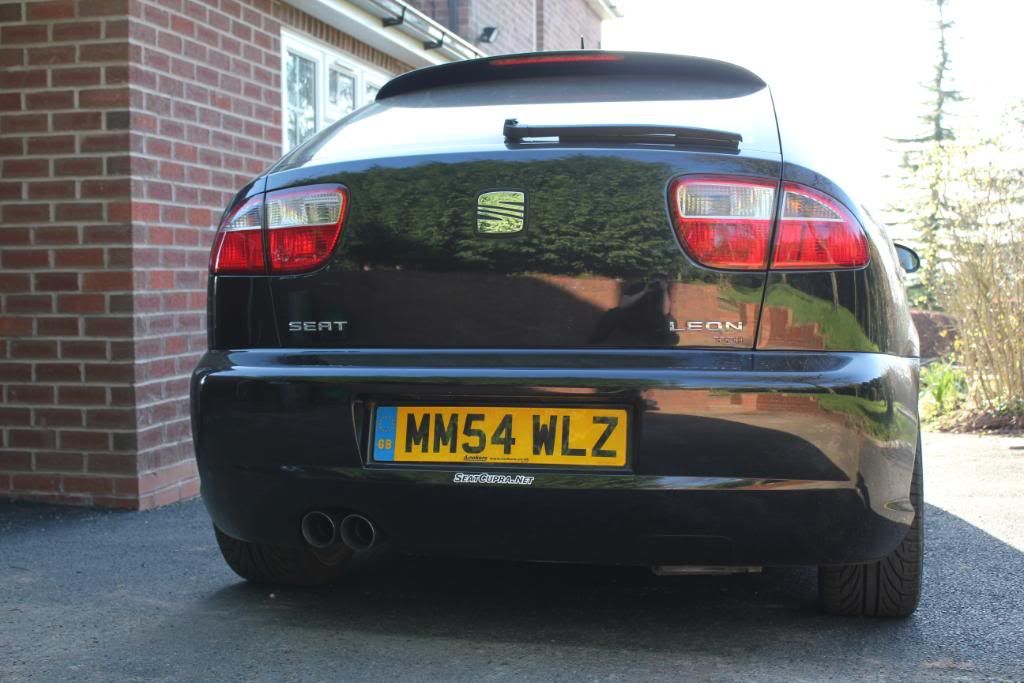
Rear de-badged, looks much better i think. Not sure if i should keep the seatcupra.net sticker on the back though:
Really great day anyway. John (M20FES) even give my car a wash Thanks very much John, much appreciated.
Fews more pictures:
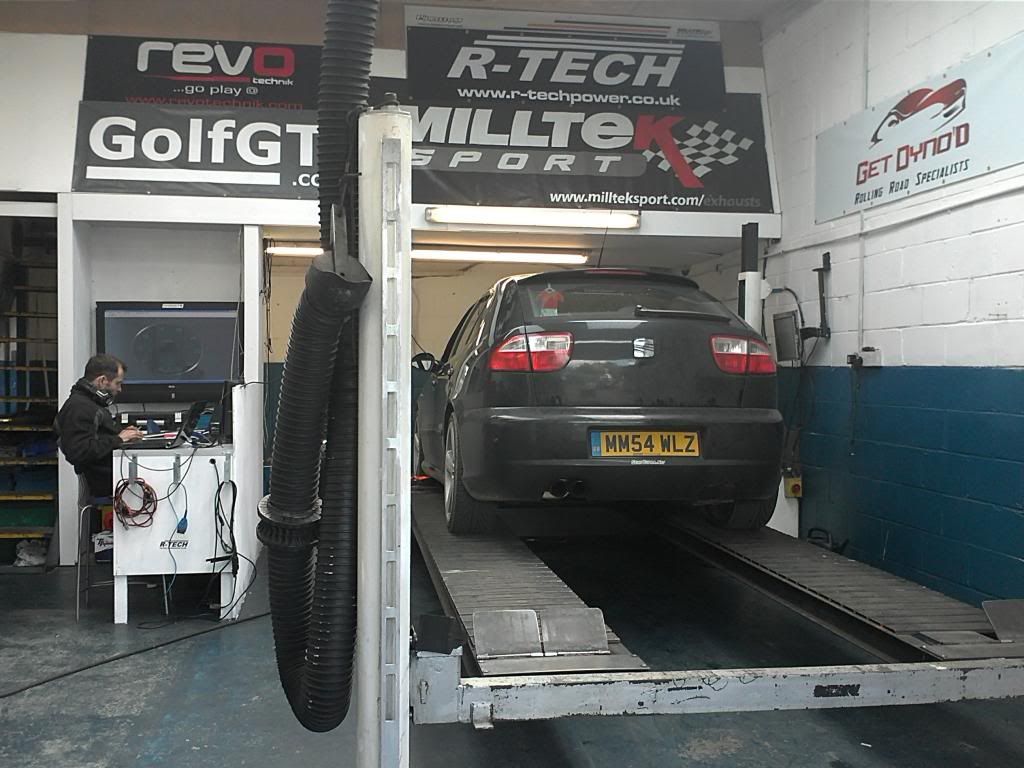
Stage 1 Remap - Done 12/05/2012
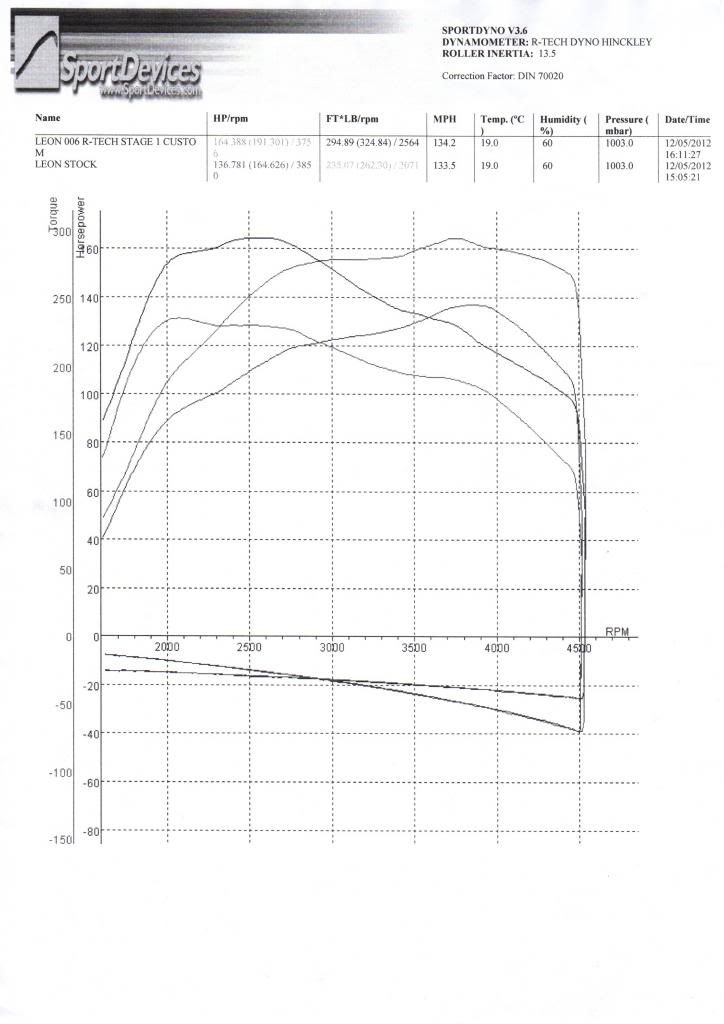
Well took my Leon to a well known remapping place in Hinckley, Leicestershire for a custom stage 1 remap. After a quick inspection and a standard power run on the Dyno, it was time for Niki to work his magic. Very please with the results. 168 BHP to 191 BHP, 234 FT/IBS to 324 FT/IBS.
Pic of car on Dyno
The graph results
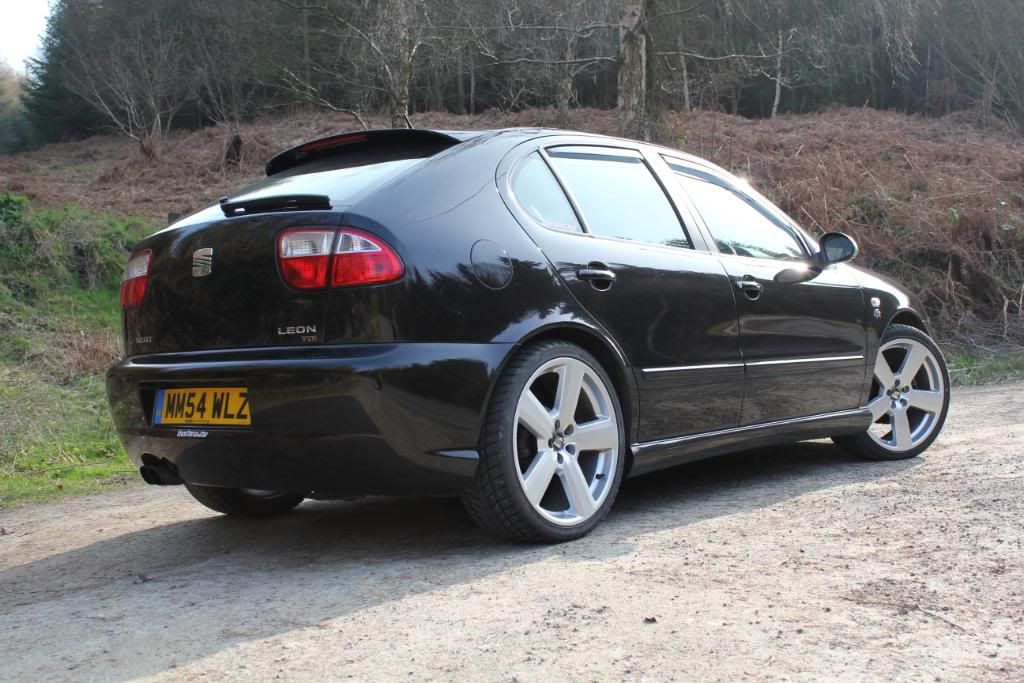
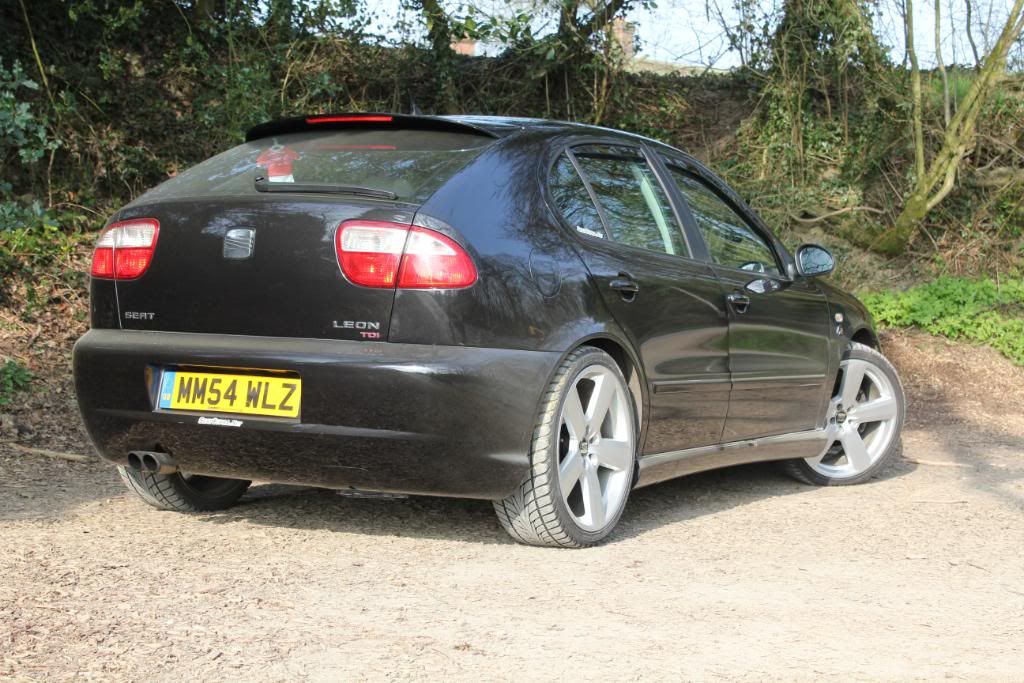
Team Dynamics Imola Graphite 18" Alloys with Vredestein Ultrac Sessanta Tyres - Fitted 04/10/2012
Well after destroying one of my alloys in a rather large pot hole I decided its time for a new set. Here's a few pics of damaged alloy and pot hole that I hit.
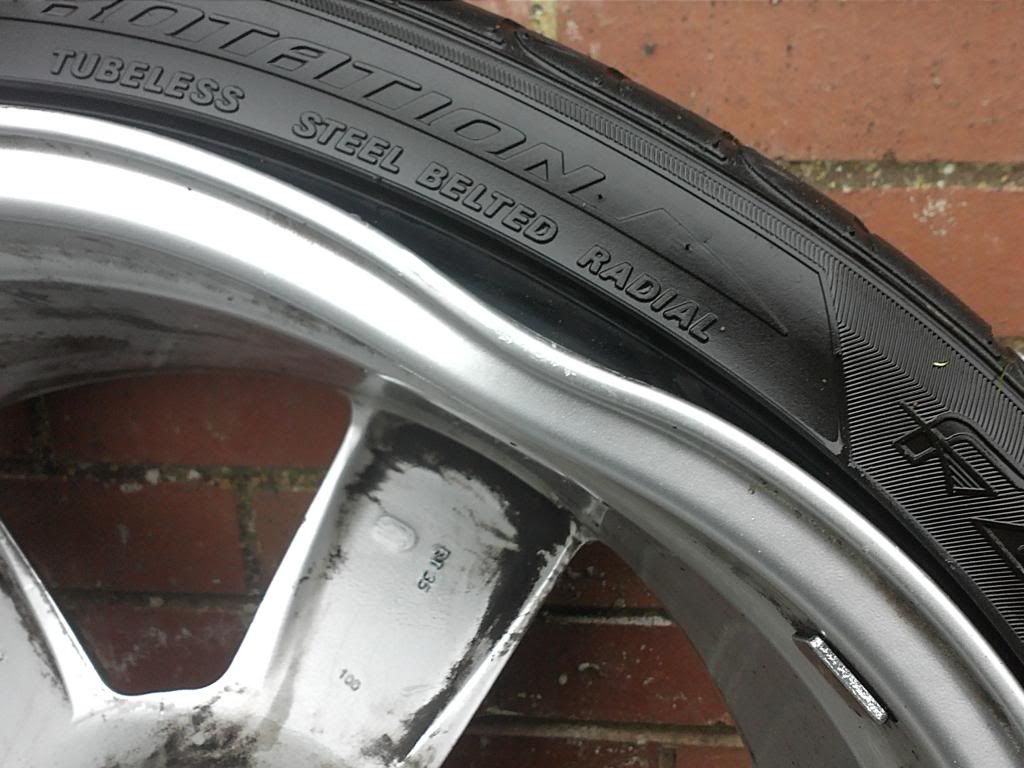
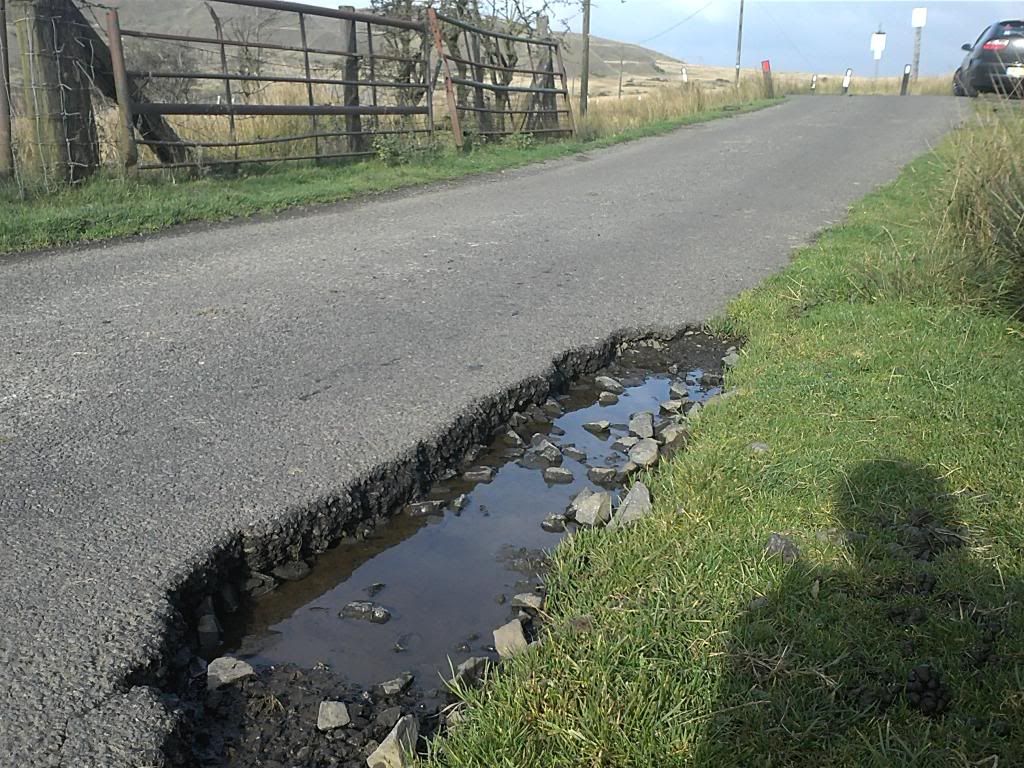
It was pitch black when I hit it but lucky I was following a mate so at least I had some light to put the spare on. Anyway here's my new alloys.
Another SouthBend Clutch - Done 20/01/2013
Well I'm just under a year my south bend clutch decided to give up. It wouldn't disengage at all after I come off a roundabout in 2nd gear. Managed to get it in neutral but no matter what I did, it wouldn't go in any gear when engine was running as clutch wouldn't disengage. Anyway contacted the company I got it from and they agreed in sending me a new clutch under warrenty so had that fitted and its OK now. Not sure what went wrong and nor did my mechanic but it looked like the clutch disc has only been making contact on the outside of the friction material but no sign as to why it wouldn't disengage.

*CLICK HERE TO SEE MORE RR*
I bought my car on 12/02/2012 from my brother who bought it on 03/12/2008. Its been very well looked after and is in Mint Condition (apart from a 2 tiny dings on N/S rear quarter panel and N/S back door)..
Mods
JVC KD-AVX44 DVD Player - Fitted 12/02/2012
Aero Flat Blade Wipers - Fitted 15/02/2012
SCN Stickers - Fitted 16/02/2012
FR Seat Covers & Seatbelt Pads - Pads fitted 20/02/2012
Southbend Stage 2 Daily Driver Silent SMF Clutch - Fitted 22/02/2012
Skoda Fabia Rear Wiper - Fitted 22/02/2012
Team Heko Wind Deflectors - Fitted 27/02/2012
VW Sunglasses Holder - Fitted 15/03/2012
Liquid Gauge - Fitted 18/03/2012
Sub - Fitted 24/03/2012
Milltek Turbo Back Stainless De-cat Non-Resonated Exhaust - Fitted 26/03/2012
Chrome Indicator Bulbs Front & Back - Fitted 28/03/2012
RAMAIR Induction Kit Fitted - 29/03/2012
Smoked Side Indicators - Fitted 31/03/2012
SFS Performance Silicone 3" TIP - Fitted 28/04/2012
De-Badge boot - Done 28/04/2012
GREEN Temp Sensor - Fitted 28/04/2012
Stage 1 Remap (191 BHP & 324 FT/IBS) - Done 12/05/2012
Team Dynamics Imola Graphite 18" Alloys - Done 04/10/2012
Another Southbend Clutch - Fitted 04/02/2013
Sachs SRE Organic Clutch - Fitted 02/04/2013
Dash Magnetic Mounts for Nexus 7 - Done 23/05/2013
Genuine VW Brakes Discs and Pads All Round - Fitted 02/08/2013
BBS CH 18" Alloys - Done 02/08/2013
Genuine VW/SEAT Fuel Filter - Fitted 03/08/2013
Honda S2000 Filter + Heatshield - Coming soon
Spray Wing Mirror Covers to Match Paint - Coming Soon
Tint White Bits on Rear Light - Coming Soon
Upgrade all speakers - Coming in future
Detachable Tow Bar - Coming Soon
LCR Splitter - Coming Soon
FR Mudflaps - Coming in near future
Alloy Pressed Plates + Surrounds - Coming in near future
Heres a picture of it from a few weeks ago before i bought it.
First Quick Wash and Wax since ive owned it (13/02/2012)
Stickers and Aero Wiper now fitted (16/02/2012)
Needs a clean again i know but heres how it stands atm.
New Clutch Fitted and Skoda Fabia Rear Wiper (22/02/2012)
Southbend Stage 2 Daily Driver now fitted
Perfect. No slipping now The pedal feels spot on and no heavier than the stock clutch. Also its got the SMF and it truely is silent. No noise difference at all Took the garage about 5 hours to fit it so not to bad on the wallet lol.Old clutch, its definatly had it lol
Nice new one
Oh i also removed the No Smoke No Poke sticker as it didnt look right
I also fitted the skoda fabia rear wiper arm aswell. Took only a min to fit it but the original plastic cover took some doing to pull off lol.
Wind Deflectors Fitted - 27/02/2012
Fitted my Team Heko Wind Deflectors and gave the car a quick wash.
Quick update on clutch - Going brilliantly atm. There is a slight chatter noise now as i got the SMF but nothing to loud/bothering me.
Liquid Gauge Fitted - 18/03/2012
Resprayed the liquid gauge and fitted it. Need to give it another spray though as its a bit too shiney so i havent glued the circuit board back in yet
Oh and did my 0-60
Washed, Clayed, Polished and Protected - 23/03/2012
Had a day off work so i thought i would polish the car. I used pressure washer to get loose dirt off (not on full pressure obviously) Turtle Wash and Wax to wash it with lambswool wash mitt and 2 buckets, Bilt Hamber Clay with lots and lots of water, AutoGlym SRP with microfiber cloth and AutoGlym UGP with microfiber cloth. I just followed all the instructions on the bottle as ive never touch a car with clay or polish before. Im very pleased with the results tbh. Took be a good few hours and alot of hard work but well worth it.
Milltek Turbo Back Stainless De-cat Non-Resonated Exhaust - Fitted 26/03/2012
Had the exhaust fitted today and very pleased with it. Its not too loud and cant be heard under 3k
Looks much better.Before
After
Fitted Chrome Indicator Bulbs 28/03/2012
Only a little mod i know but makes a difference i think
Before with yellow bulbs
Chrome Bulb on Drivers Side, Normal Yellow Bulb on Passenger side. Hardly any difference if any on colour and brightness
After with chrome indicator bulbs
I have fitted rear ones. You cant see them much on camera so i didnt bother to take a pic.
RAMAIR Induction Kit Fitted 29/03/2012
Fitted the filter today. Was a fairly easy job to fit it tbh. Sounds better and tbh i think its ever so slightly increased the performance but that maybe because of the sound
Overall, im very pleased with it :d
Smoked Side Indicators - Fitted 31/03/2012
I did buy some smoked indicators but they were utter sh*t. Didnt fit and the clips broke so i decided to buy a can of Etech Tint Spray and have a go myself. I removed them from my car, gave them a wipe with panel wipe and 3 light sprays on tint spray. I think they have come out rather well tbh. The tint looked uneven when it was wet, but as soon as it dried it looked much better with even coverage
Also they are not to dark either
SFS Performance 3" TIP, GREEN Temp Sensor and De-Badged boot - Fitted and Done 28/04/2012
Went over to see John (M20FES) today and he gave me a hand to fit the 3" TIP, GREEN temp sensor and de-badge the boot. Fitting the TIP was fairly straight forward until we got to removing the original TIP from the turbo. Not much room at all to get the pliars on the stupid clip to release the pipe. After about 30mins, managed to get it off
Fitting the GREEN temp sensor was ok apart from loosing all water out of header tank as the O ring seal got stuck in there. Filled it back up and started the engine, the coolant level just dropped to 0 and the light of the dash for temp gauge started flashing red so kept topping up the water until it wouldnt go down anymore. Noticed the light was still flashing, at this point i was getting a bit worried. So shut the engine off and start it back up and all is fine.The 3" TIP has made a difference. You can hear the air rushing in and turbo spool louder. Also got a slightly louder induction note and engine seems to rev more freely. Performance wise, i think its made a slight difference but not massively, but every little helps
Very happy with it to say at the least.Had to tighten the backbox a little as it was twisting and annoy me but its all good now
Also had a look at the turbo as was very happy to feel it has hardly any play what so ever. Not bad for a turbo thats done 83k miles
SFS TIP with engine cover removed:
SFS TIP with engine cover on:
Few pics of the turbo:
Had a look at the EGR valve aswell. It wasnt as bad as i thought it would be, but its bad enough. Restriction gasket is in order i think.
Rear de-badged, looks much better i think. Not sure if i should keep the seatcupra.net sticker on the back though:
Really great day anyway. John (M20FES) even give my car a wash
Thanks very much John, much appreciated.Fews more pictures:
Stage 1 Remap - Done 12/05/2012
Well took my Leon to a well known remapping place in Hinckley, Leicestershire for a custom stage 1 remap. After a quick inspection and a standard power run on the Dyno, it was time for Niki to work his magic. Very please with the results. 168 BHP to 191 BHP, 234 FT/IBS to 324 FT/IBS.
Pic of car on Dyno
The graph results
Team Dynamics Imola Graphite 18" Alloys with Vredestein Ultrac Sessanta Tyres - Fitted 04/10/2012
Well after destroying one of my alloys in a rather large pot hole I decided its time for a new set. Here's a few pics of damaged alloy and pot hole that I hit.
It was pitch black when I hit it but lucky I was following a mate so at least I had some light to put the spare on. Anyway here's my new alloys.
Another SouthBend Clutch - Done 20/01/2013
Well I'm just under a year my south bend clutch decided to give up. It wouldn't disengage at all after I come off a roundabout in 2nd gear. Managed to get it in neutral but no matter what I did, it wouldn't go in any gear when engine was running as clutch wouldn't disengage. Anyway contacted the company I got it from and they agreed in sending me a new clutch under warrenty so had that fitted and its OK now. Not sure what went wrong and nor did my mechanic but it looked like the clutch disc has only been making contact on the outside of the friction material but no sign as to why it wouldn't disengage.
*CLICK HERE TO SEE MORE RR*
Last edited:

