As promised in this thread http://www.seatcupra.net/forums/showthread.php?t=112523 i've upgraded my Poor standard leon washers to the better fan type washers more commonly found on the VW Golf.
So heres a quick guide with some do's and don'ts.
Equipment
Phillips head screw driver.
Flat head screw driver (small).
Small File.
Small Sharp cutting tool.
13mm Socket.
I used tape in this, but its optional.
Firstly pop the bonnet and open it fully.
Using the small flat head screw driver, prise the caps off the wiper base.
Use the 13mm socket to loosen the nut holding the wipers on, and carefully remove them. They can be fiddly to remove, so when the nut is off, try moving the blade across the screen in a wiping action, they should go loose and allow you to lift them off. (Daves TOP TIP: Put the wipers down in an order you can remember in order to put them back on the correct side).
Next step is to remove the seal along the scuttle panel. This comes off easily.
Now using the phillips head screw driver remove the cover for the pollen filter. This is in the top right corner. (Daves TOP TIP: Now is a good time to check your pollen filter and bang out any debris.)
Now to remove the scuttle panel, or water deflector as it's also known. This is easier than expected and no tools are required. Starting in one corner, lift the panel upwards and move along. The panel only clicks into place, so it clicks out when removed. REMEMBER, don't lift the panel up too high as the washer pipes are still conected.
Turn it over and carefully unclip the hose. I found it best to disconnect the pipe from the black rubber bit thats connected to the underside of the washer. Trust me on that, i found out the hard way when reconnecting!
(most of the above is very simple and self axplanatory, so no pics were taken)
Now your good to start and your bonnet should look like this:
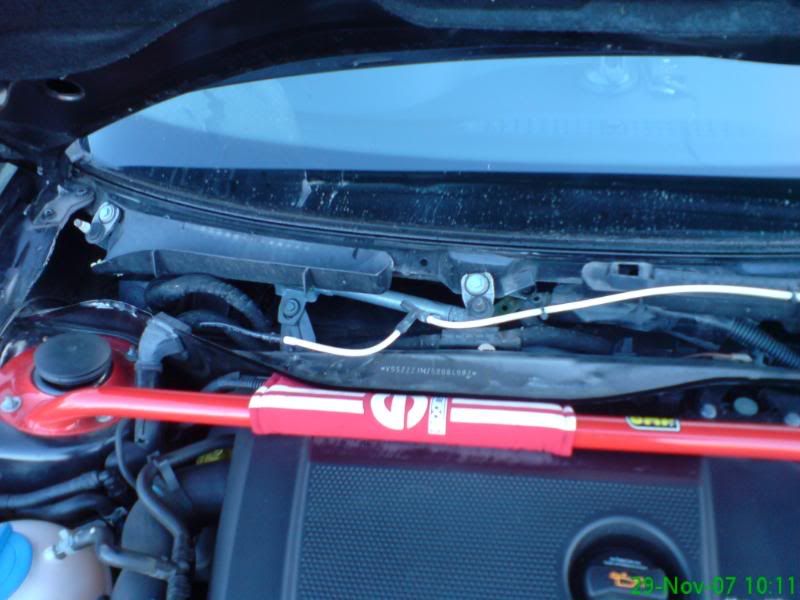
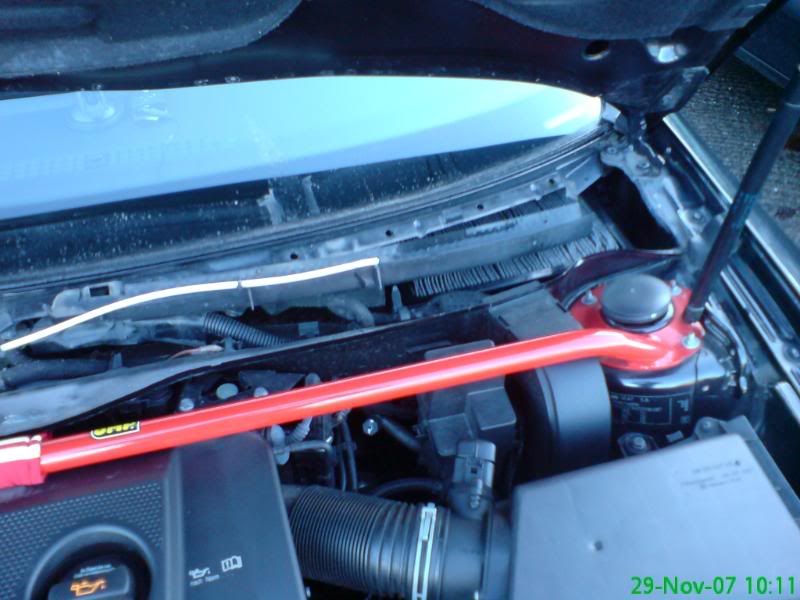
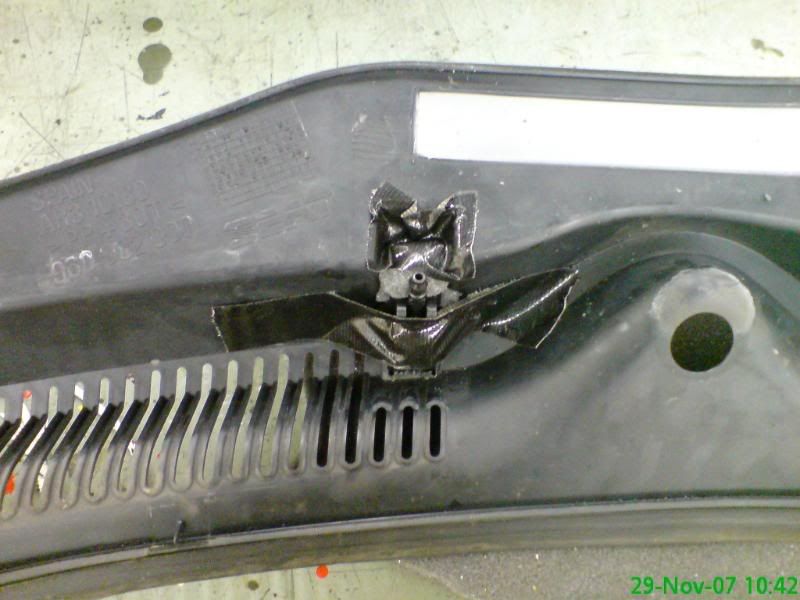
The white pipe work is the washer hose. This is connected to the bottom of the panel to keep it in place by 2 clips. They pull off if you carefully persuade them upwards.
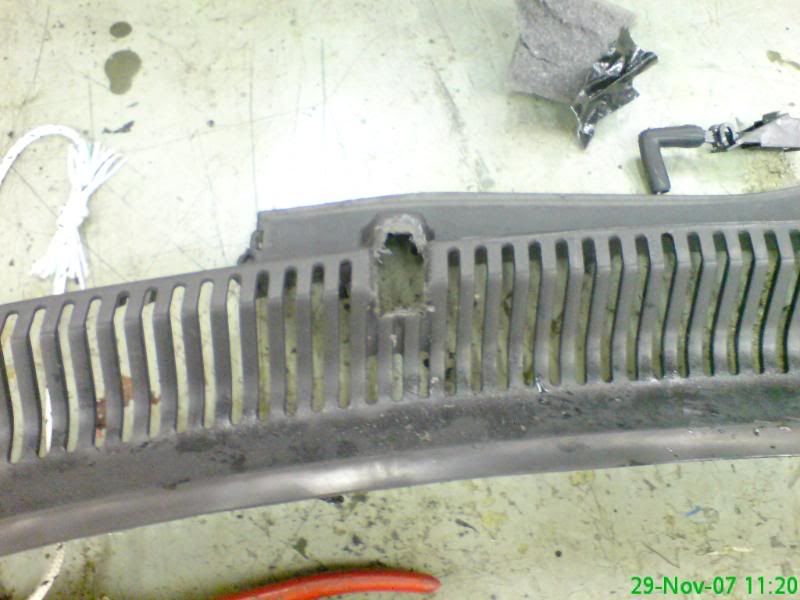
The underside of the panel will look like this:
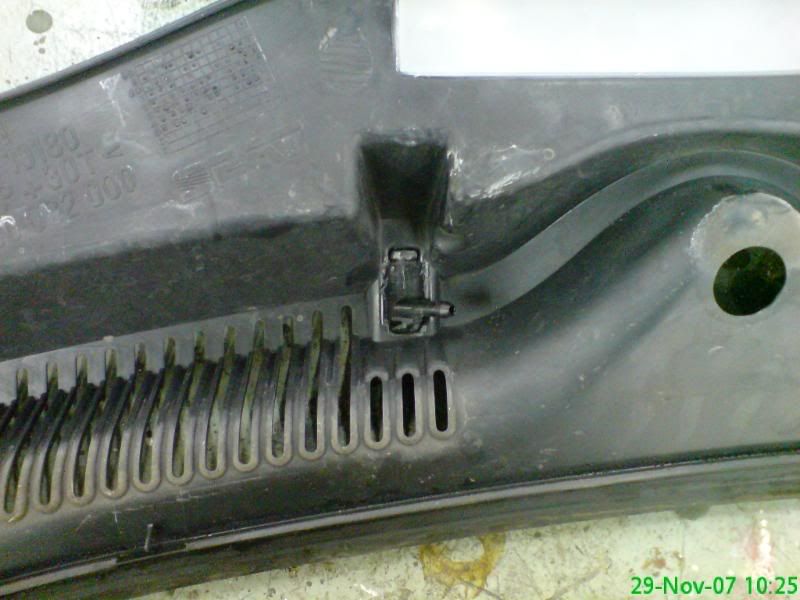
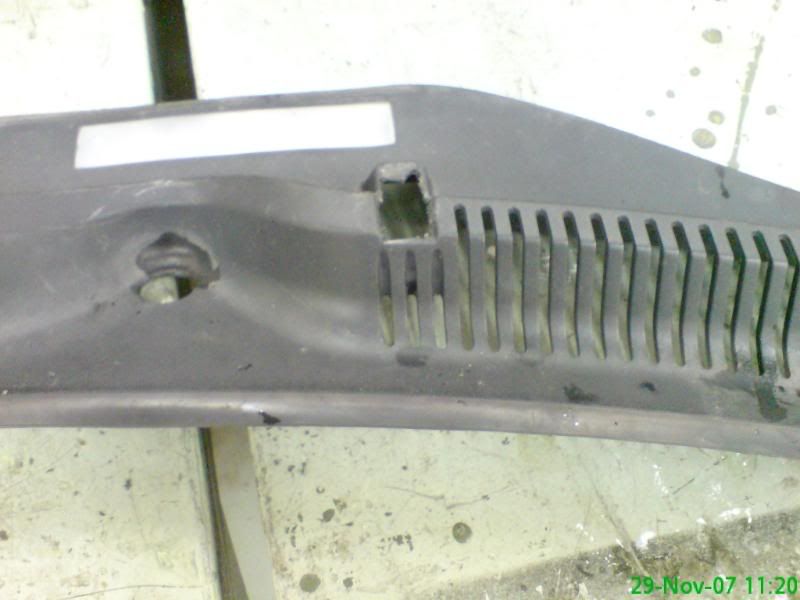
And the top like this:
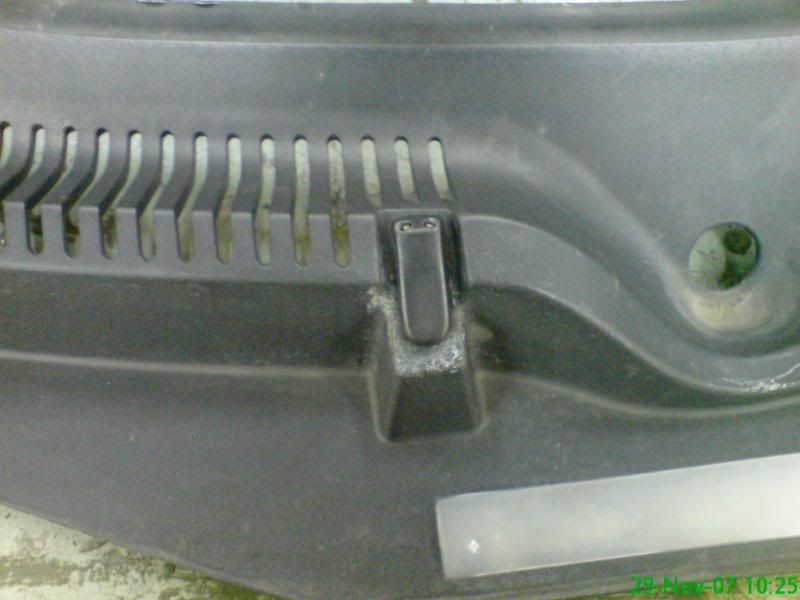
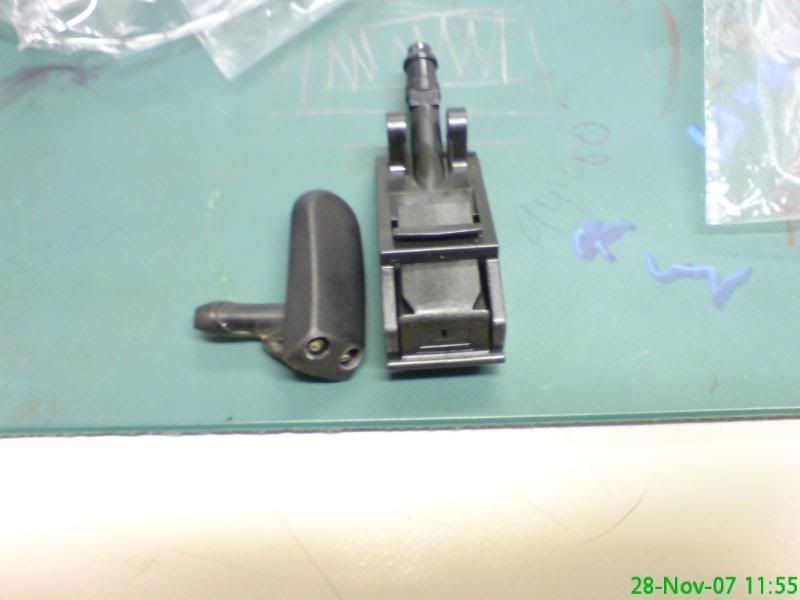
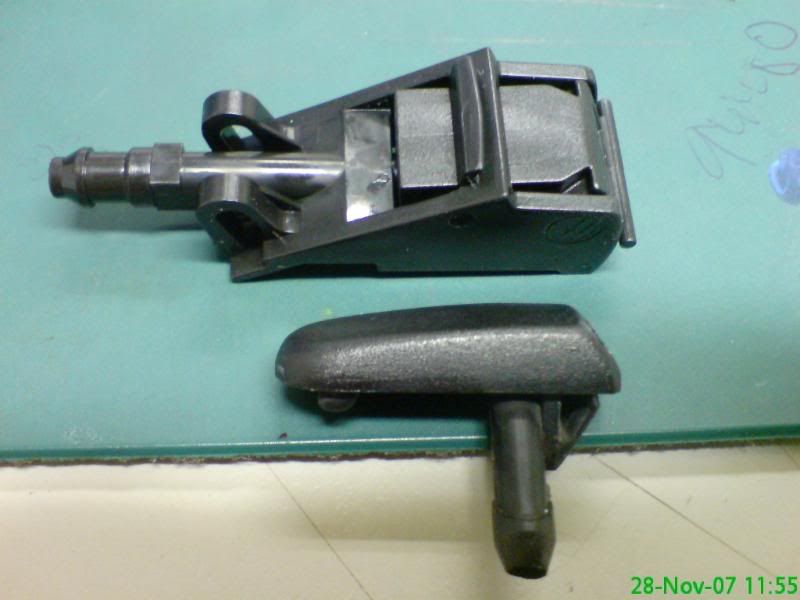
Now remember that the new washer and the old one are very different sizes:
So heres a quick guide with some do's and don'ts.
Equipment
Phillips head screw driver.
Flat head screw driver (small).
Small File.
Small Sharp cutting tool.
13mm Socket.
I used tape in this, but its optional.
Firstly pop the bonnet and open it fully.
Using the small flat head screw driver, prise the caps off the wiper base.
Use the 13mm socket to loosen the nut holding the wipers on, and carefully remove them. They can be fiddly to remove, so when the nut is off, try moving the blade across the screen in a wiping action, they should go loose and allow you to lift them off. (Daves TOP TIP: Put the wipers down in an order you can remember in order to put them back on the correct side).
Next step is to remove the seal along the scuttle panel. This comes off easily.
Now using the phillips head screw driver remove the cover for the pollen filter. This is in the top right corner. (Daves TOP TIP: Now is a good time to check your pollen filter and bang out any debris.)
Now to remove the scuttle panel, or water deflector as it's also known. This is easier than expected and no tools are required. Starting in one corner, lift the panel upwards and move along. The panel only clicks into place, so it clicks out when removed. REMEMBER, don't lift the panel up too high as the washer pipes are still conected.
Turn it over and carefully unclip the hose. I found it best to disconnect the pipe from the black rubber bit thats connected to the underside of the washer. Trust me on that, i found out the hard way when reconnecting!
(most of the above is very simple and self axplanatory, so no pics were taken)
Now your good to start and your bonnet should look like this:
The white pipe work is the washer hose. This is connected to the bottom of the panel to keep it in place by 2 clips. They pull off if you carefully persuade them upwards.
The underside of the panel will look like this:
And the top like this:
Now remember that the new washer and the old one are very different sizes: