The Problem
I've been having an intermittent problem with the starter. It began last year, when the car refused to start in a supermarket car park. Turn the key, and nothing happens, no cranking, just the click of the pre-engagement solenoid going home. Tried again, and on the third try it burst into life. Odd.
Over the months it happened more often, and usually in the morning. I found that just holding the key in the start position was sometimes enough - after three or four seconds the starter would crank the engine over.
Replaced the battery last week: it was at least five years old and beginning to wear out. However, last night the starting problem came back with a vengeance: it wouldn't start at all. Time to get the starter motor out and see if anything could be done.
Getting it out
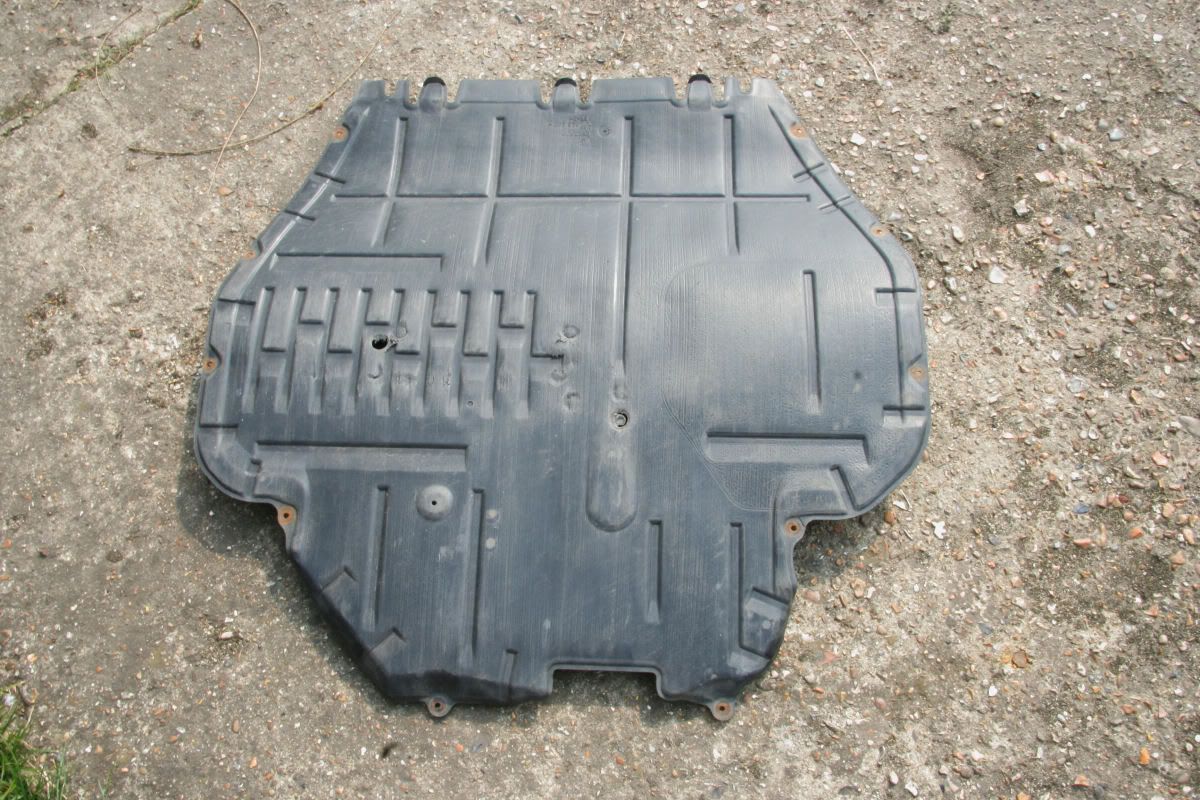
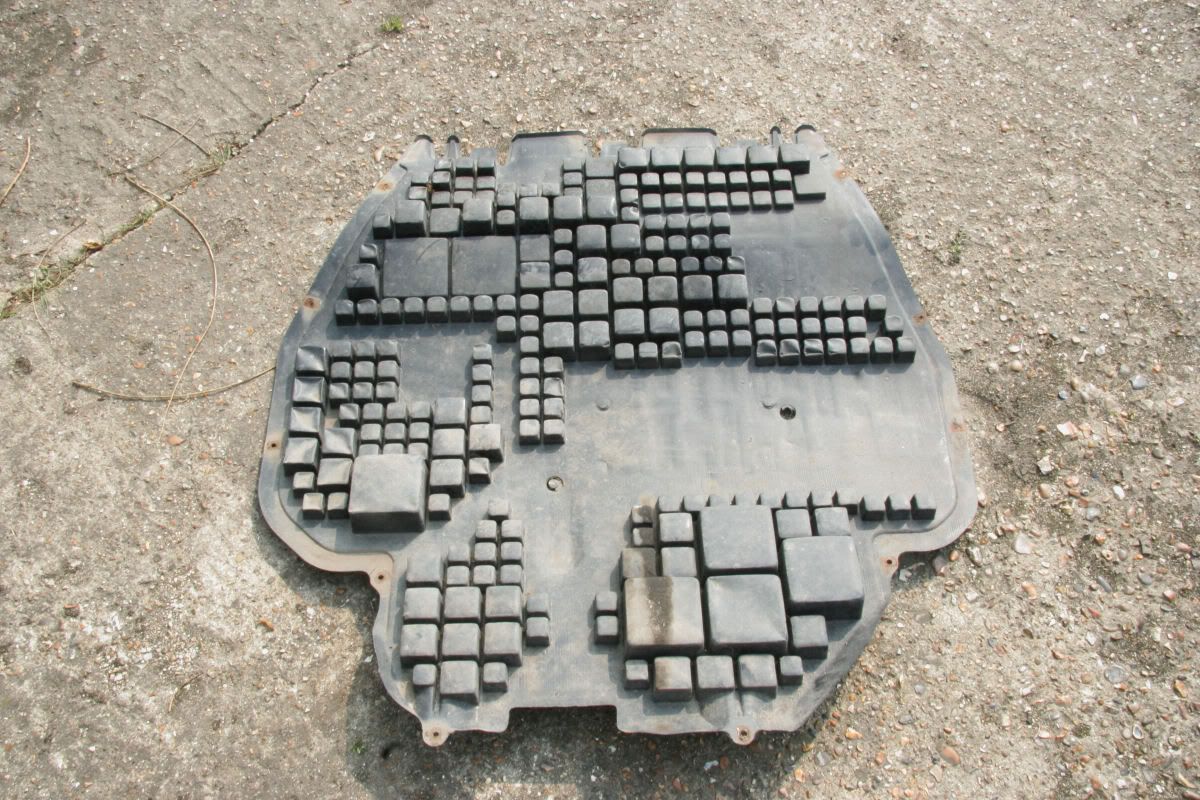
Now, getting the starter out is not as easy as it used to be on my old Mini: there's too much in the way under the bonnet. The undertray has to come off to reach the bottom bolt, and the battery and battery tray have to come out to get at the top of the starter.
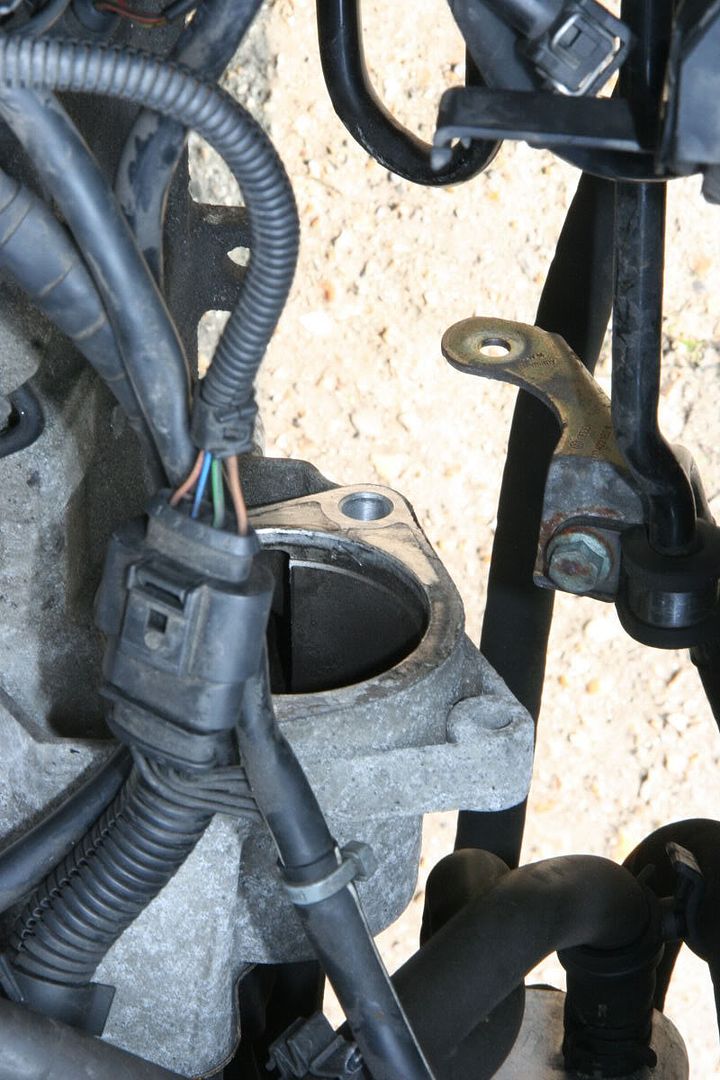
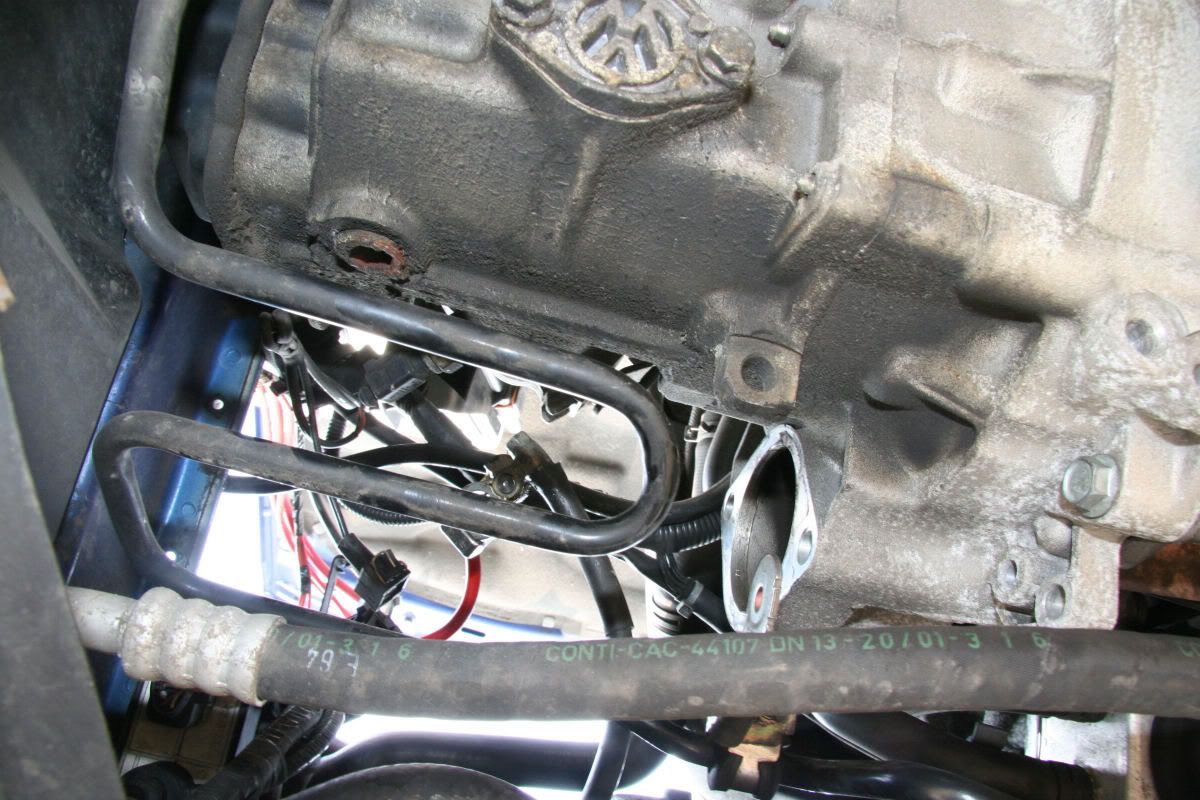
So, up onto axle stands and undertray off. The starter is held in place by two bolts which go right through to the engine block and are part of the engine-gearbox fixings. Each bolt has a 13mm-threaded extension on the head end to support a cable tray (on top) and the air-condidioning pipework (on the bottom). There's not a lot of space to work in for either bolt.
Bottom end first, 13mm spanner to get the refrigerant pipe support off, then 15mm socket to undo the bolt. There's a lot of thread to undo before the bolt is free to slide out.
Now the top. Battery cover off, disconnect the battery, negative first. Two screws allow the offside headlamp cover to be removed to give enough space to reach the battery fixing bolt. Take this out with the fixing plate. Now the battery can be lifted out of the way. It will be heavy: most of them have a handle these days. Now remove the battery-top fuse box from its hinged mount - it just slides out backwards.
Now the four bolts holding the battery cover to the wing are revealed. 10mm socket makes short work of these, but attempting to remove the box shows that there is a fifth bolt holding the air filter box to the battery box. Out with the 10mm socket again. Finally, the flat cover over the cable runs up the back of the battery box slides upwards to release the cables. Now the box can be lifted out of the way.
At this point you can see the connections to the starter, a signal cable (squeeze the metal clips together to let you remove the connector) and a power connection to the battery, under a plastic splash protector. 10mm nut comes off to release this.
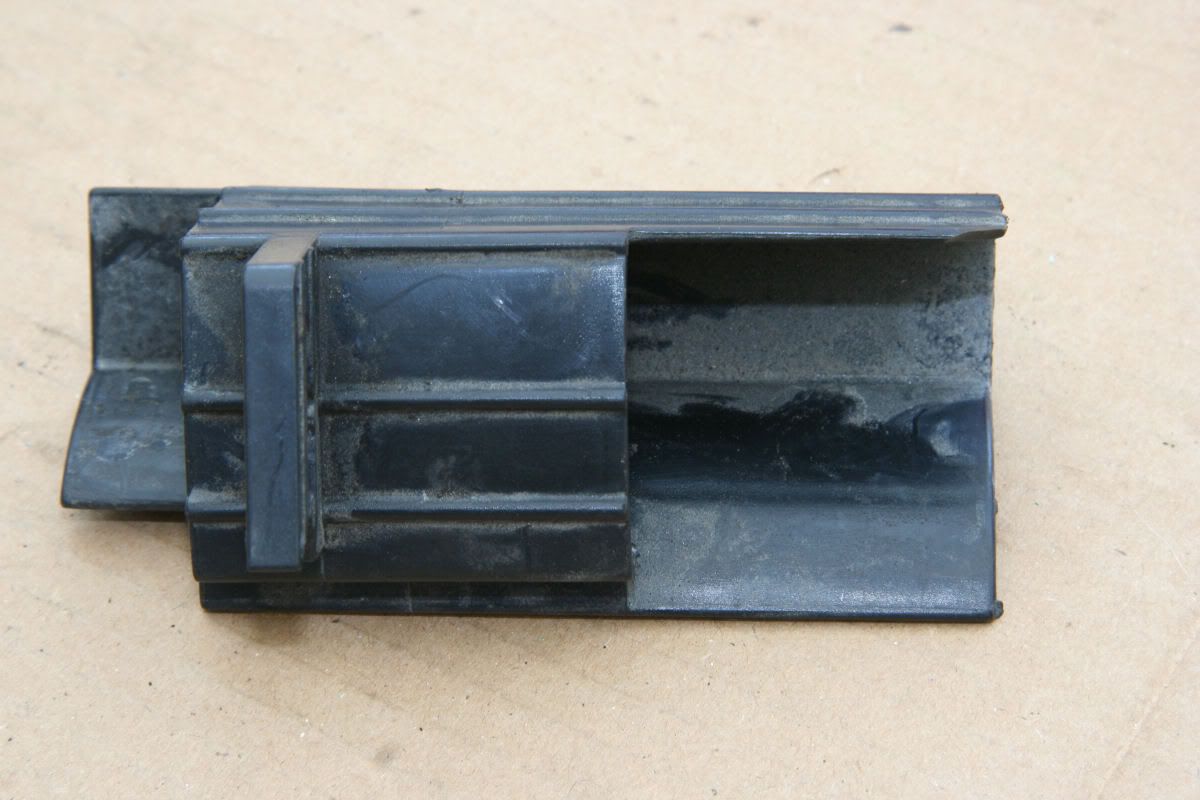
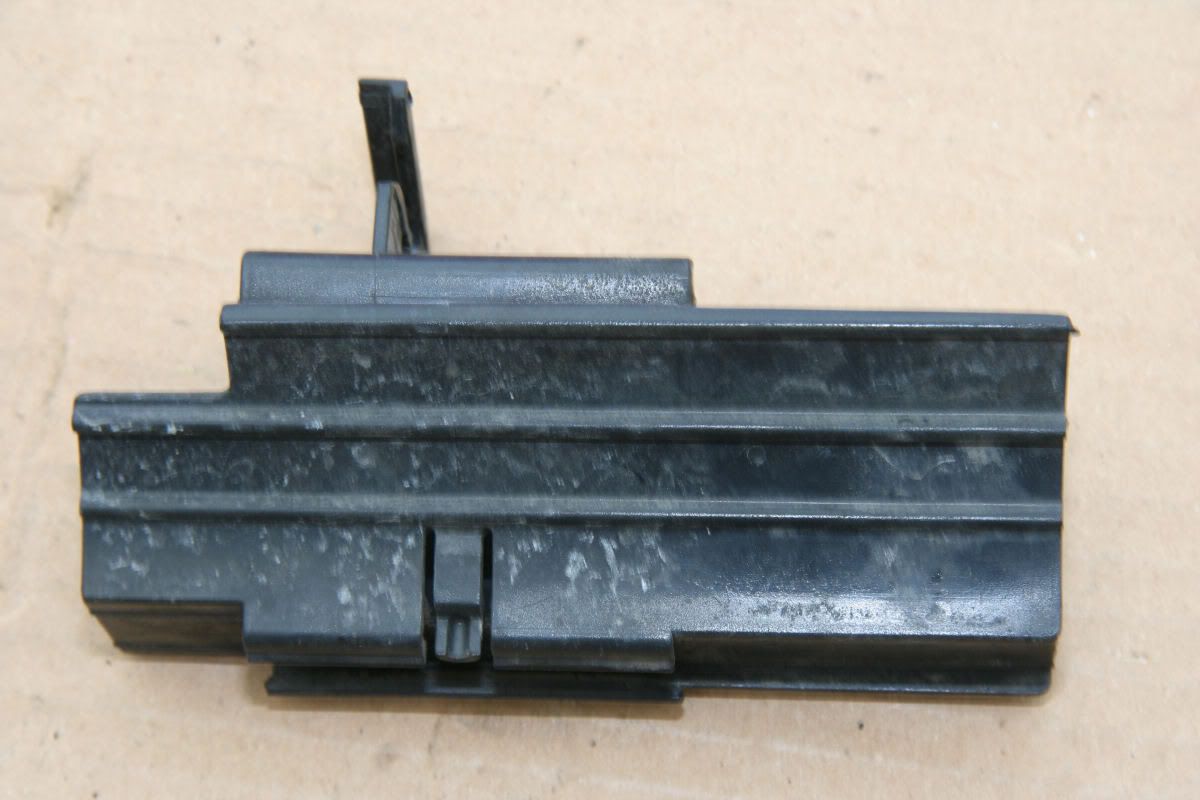
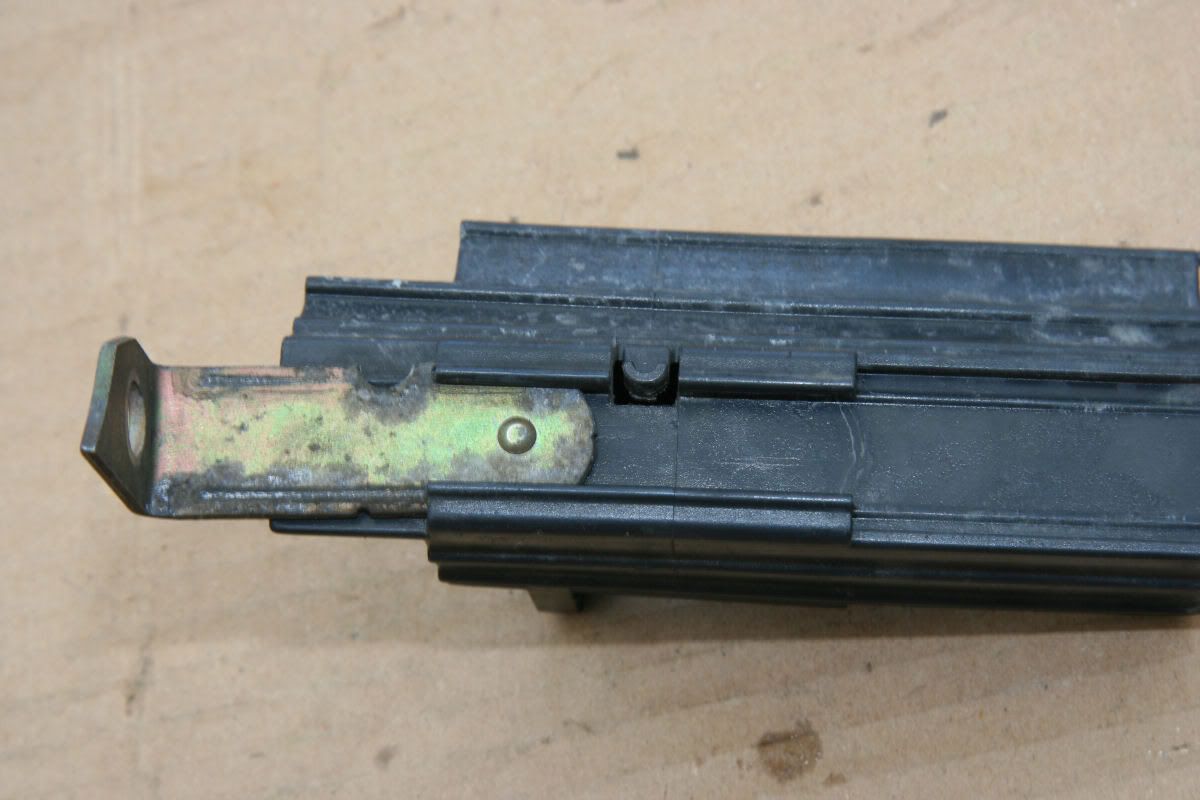
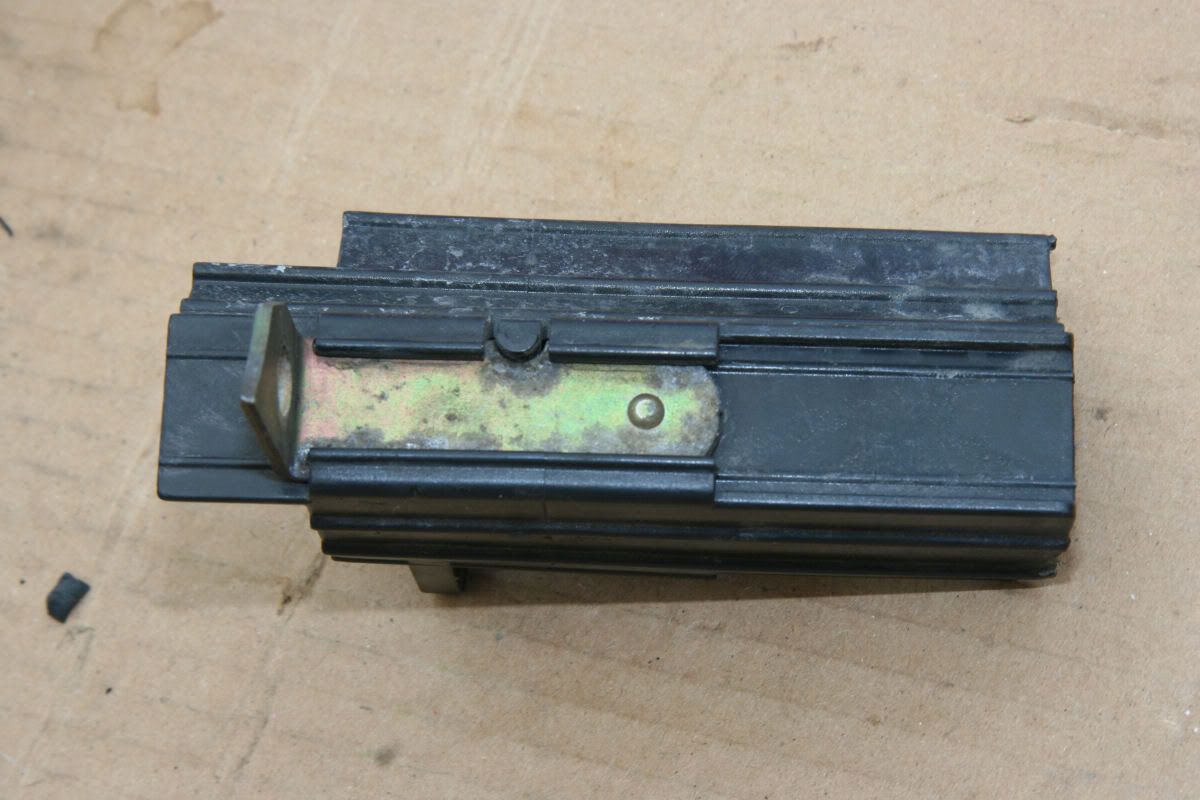
The top bolt is hidden under a cable tray. Cut the cable-tie, unclip and remove all the cables as far as they will go (which isn't far). I then used a 13mm socket on a short extension, but there's not a lot of room and you end up with the ratchet handle next to the reverse-light switch on the gearbox, endangering the connections. Once the nut was off and the tray in the open I discovered that it slides on to a metal mount and can be removed to gain better access to the fixing nut. Nothing about this in the manual, of course.
Last bolt to undo and the starter motor lifts out upwards. Tidy the removed bits away safely out of sight and remove the starter to the workbench for attention.
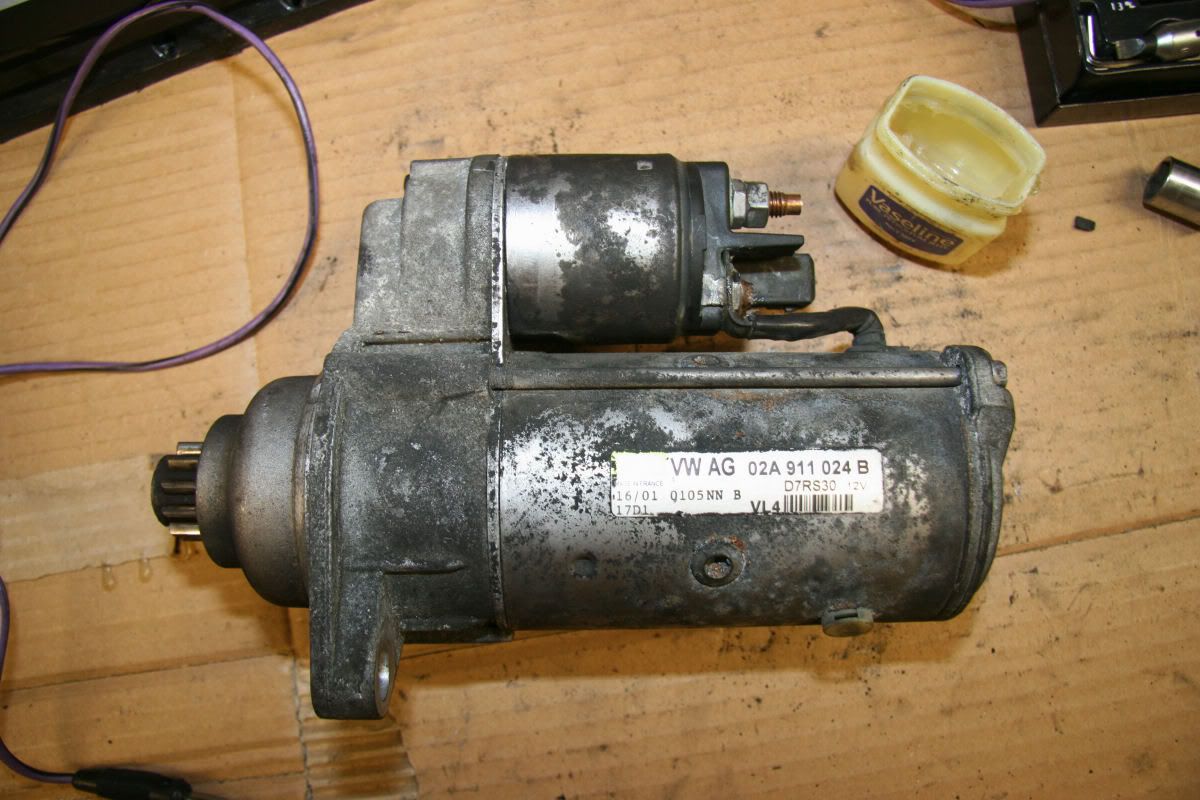
The starter
This is a pre-engaged starter mechanism, with a large solenoid mounted on top of the motor itself. The starting process is initiated by a signal voltage on the solenoid, which energises it, pulling in the core which pushes the starter cog into engagement on the flywheel by means of a lever. At the end of its stroke, the solenoid core engages a contacter which puts voltage onto the motor itself. This way the cog is guaranteed to be fully engaged before the motor tries to spin it.
I clipped a thin jumplead between the signal connector and the main power attachment (on the solenoid) then used fatter jumpleads to apply 12V from the battery to the assembly. Fat sparks ensued, and the motor spun, and was disconnected straight away (this is not kind to the battery, the leads or the places you make contact to - leaving marks). Repeating the exercise produced a click as the solenoid activated, but no spin-up: so whatever is wrong is in the starter assembly. Contacting the motor input directly produced spinup, indicating the solenoid/contacter as the culprit.
Two long bolts and three torx screws hold the assembly together. Releasing the end cap exposes the lever and lets the pivot pin fall out - don't lose it! No obvious problems here, no stiffness or broken bits. The solenoid contacter output is connected to the motor by a fat cable with a spade connector under another 10mm bolt. Undoing this allows the solenoid to be released, and it turns out to be potted in place with resin, no way to get into it. Keeps the moisture out.
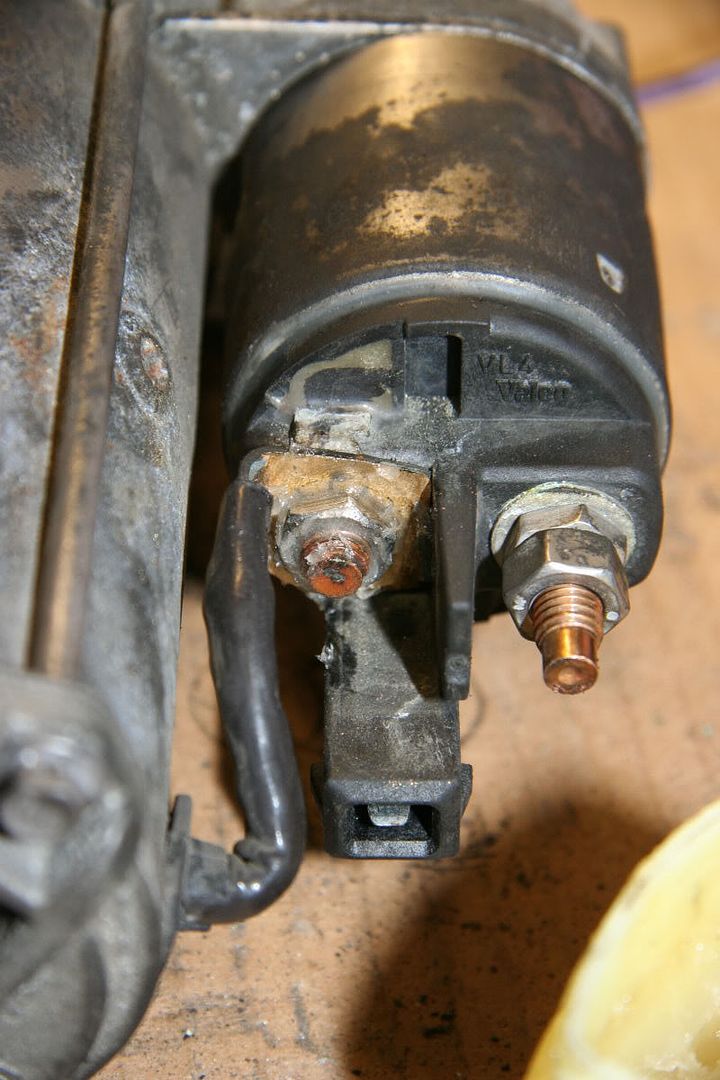
A corroded connection
So no way to examine the contacter itself, which I initially suspected to be perhaps dirty or spark-eroded. However, now I could see the connection between solenoid and starter was heavily corroded. Unlike the top connection, there is no cover to keep water off this connection and it had suffered. Examining the nut, I could see significant spark erosion on the mating face, a sure sign that contact was being lost.
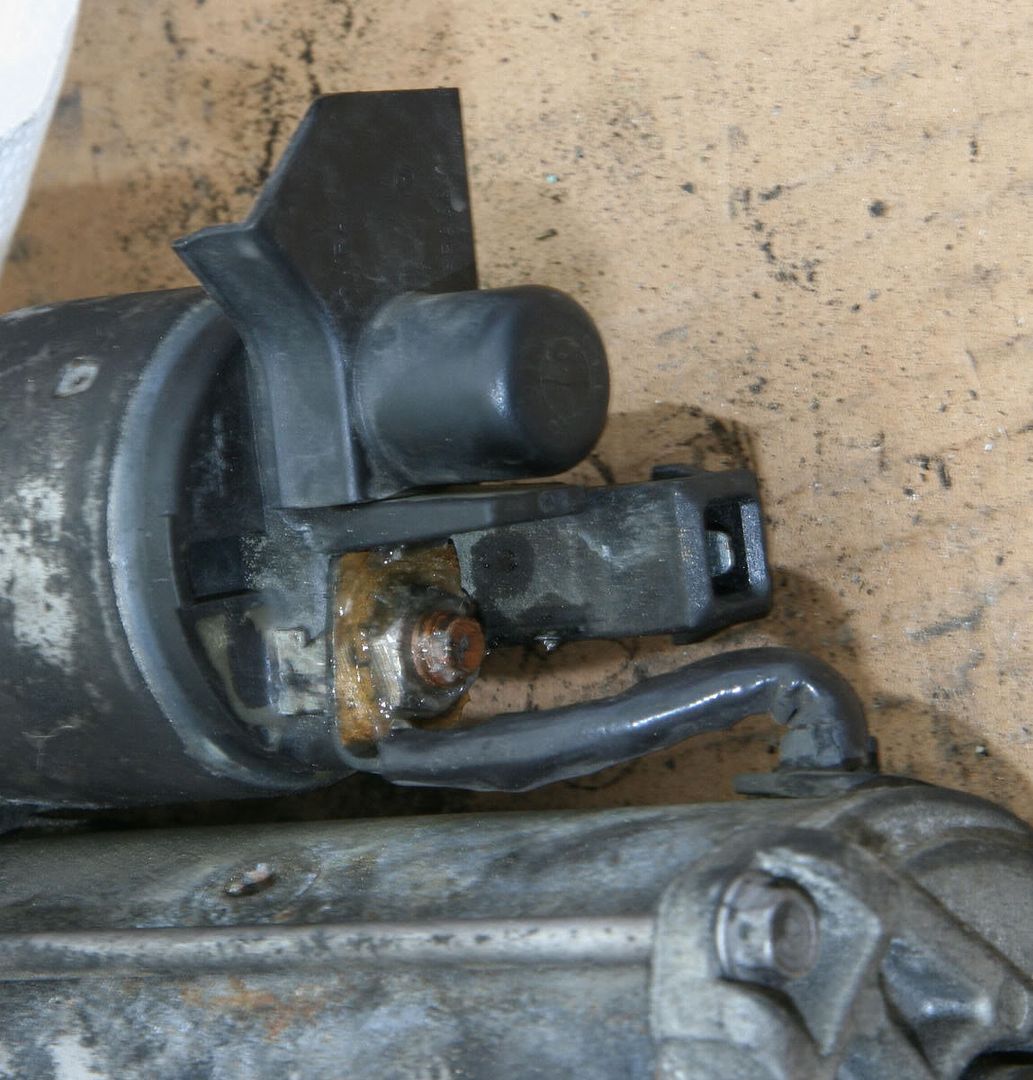
Cleaned up all four mating faces (soleloid output, both sides of the spade connector and the inside face of the nut). Then reassembled the starter motor, making sure the electrical connection was tight, then covered the assembly with Vaseline for protection.
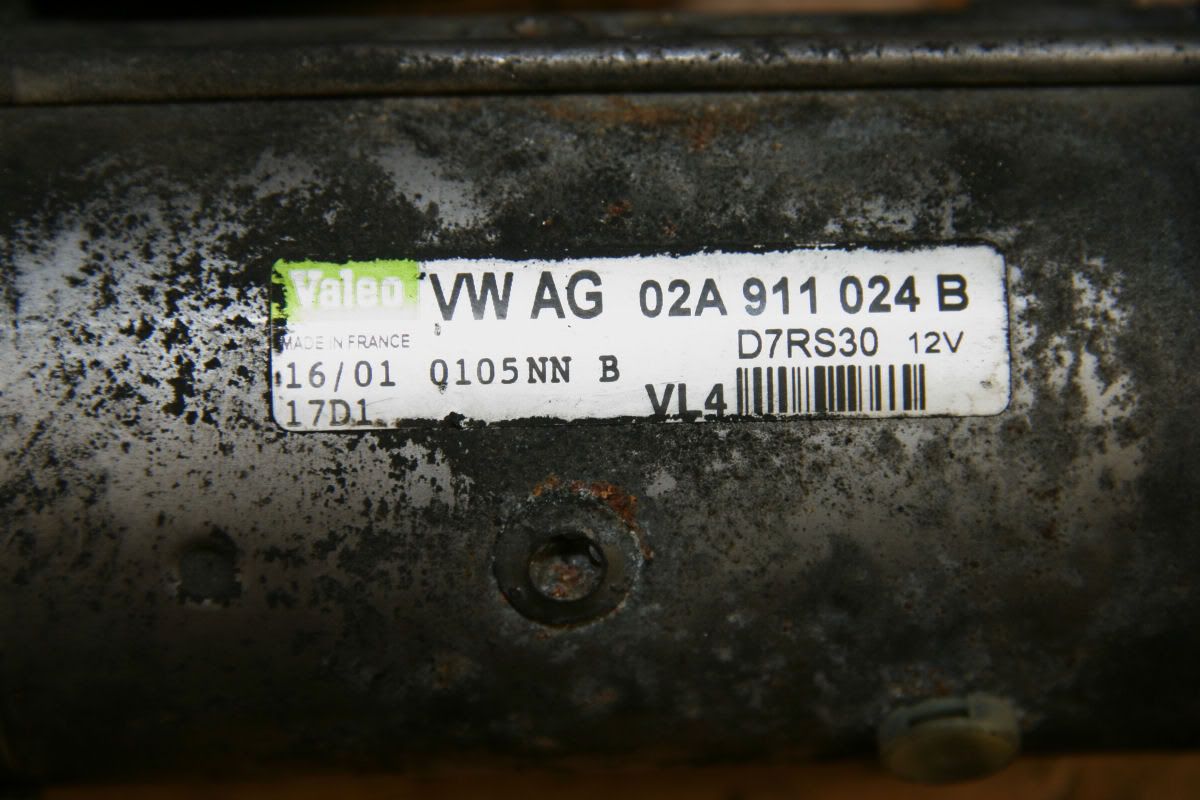
Subesquent bench tests showed reliable starter action every time voltage was applied. The jumpleads grew warm quite quickly, an indication of how much current was being drawn. The label on the motor shows it to be French made.
Reassembly, as Mr.Haynes says, is by reversal of the removal steps. I used a wider cable tie than the original as the cable bundle is pressed hard against the edge of the plastic tray and I wanted some extra protection there.
Starting is now much easier, indicating that the problem had been growing for some time.
Road test
The ECU had reset, and I needed to drive it for a bit, stop and restart the motor a few times to let it learn again. I suspect it will need a few more miles before it's back to full performance.
Radio code was needed to reset the radio. Electric mirror fold needed two goes (ignition on/off/on) before it worked again. The autowindow function using the key in the doorlock needed to be reset (lock the car with the key, then turn the key to the lock position again for a few seconds.)
Not sure what else will have been reset. Anybody know of anything else?
Tips:
Make sure you have your radio's anti-theft code before you start, as you have to remove the car's battery.
The battery box (at least in my car) is attached to the air filter housing by a fifth bolt. 10mm, like the four obvious ones in the base of the box.
The cables up the back of the battery box are held in place by a flat cover. Slide it upwards to release.
The cable tray attached to the top bolt is right in the way: get the cables out and then open it up to see a little slide-lock at the bottom. Push this to free the tray to slide off to the right.
You need to cut a cable tie, or at least I did, holding the cable bundle together. Have one ready for reassembly.
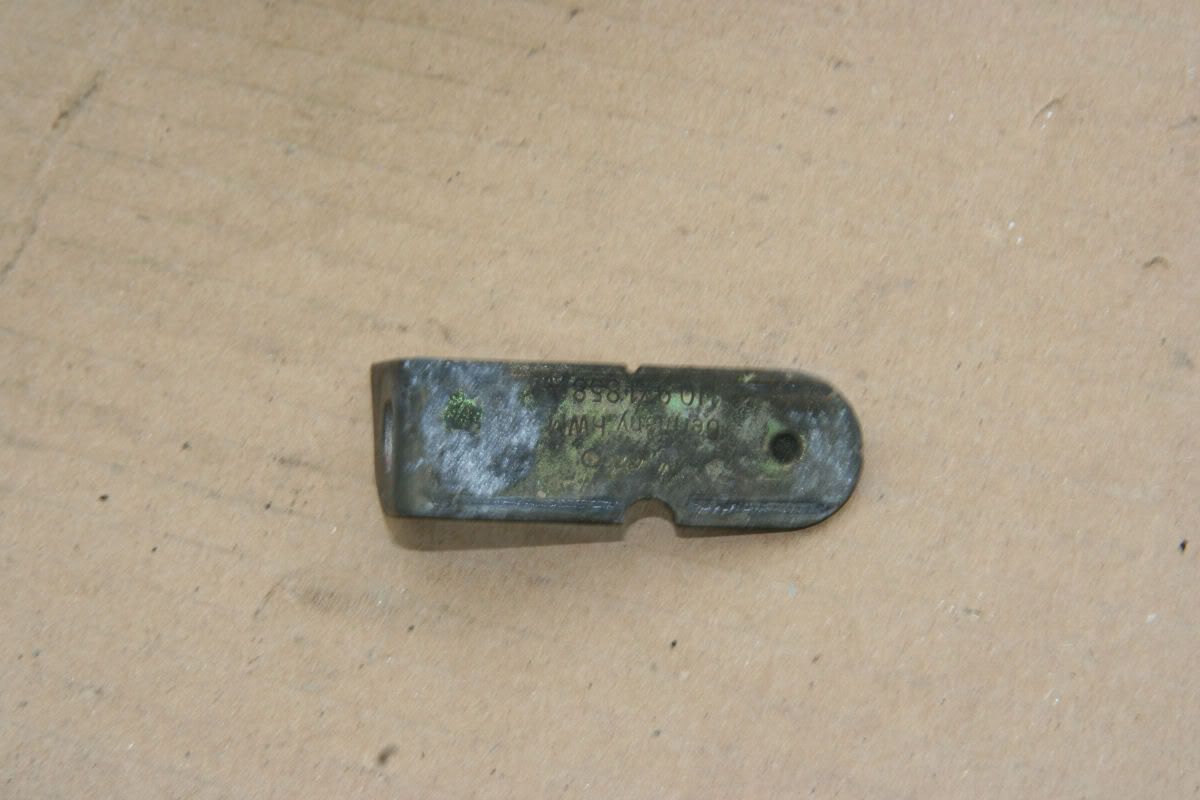
If you have air-conditioning, have a 13mm spanner ready to release the refrigerant pipework support from the bottom bolt extension. The pipework zigzags to occupy the space between the gearbox and the wing, and makes it difficult to get a socket on the nut.
Note:
I suspect that a dealer would fix this by replacing the starter motor, not wanting to disassemble the motor, when in fact the fix is simple and (with hindsight) should be a known issue - they've provided a protector for the battery-to-solenoid lead, but nothing for the connection on the starter itself.
I'm working on an 01-plate TDI 110 Toledo. Anything with an FMIC will have more pipework to get in the way.
Summary:
If your starter goes intermittent like mine did, look at all the high-current connections for corrosion and spark-erosion. Good electrical contact over a large area is important with high-current connections, and corrosion can make a big difference.
Pictures to follow
I've been having an intermittent problem with the starter. It began last year, when the car refused to start in a supermarket car park. Turn the key, and nothing happens, no cranking, just the click of the pre-engagement solenoid going home. Tried again, and on the third try it burst into life. Odd.
Over the months it happened more often, and usually in the morning. I found that just holding the key in the start position was sometimes enough - after three or four seconds the starter would crank the engine over.
Replaced the battery last week: it was at least five years old and beginning to wear out. However, last night the starting problem came back with a vengeance: it wouldn't start at all. Time to get the starter motor out and see if anything could be done.
Getting it out
Now, getting the starter out is not as easy as it used to be on my old Mini: there's too much in the way under the bonnet. The undertray has to come off to reach the bottom bolt, and the battery and battery tray have to come out to get at the top of the starter.
So, up onto axle stands and undertray off. The starter is held in place by two bolts which go right through to the engine block and are part of the engine-gearbox fixings. Each bolt has a 13mm-threaded extension on the head end to support a cable tray (on top) and the air-condidioning pipework (on the bottom). There's not a lot of space to work in for either bolt.
Bottom end first, 13mm spanner to get the refrigerant pipe support off, then 15mm socket to undo the bolt. There's a lot of thread to undo before the bolt is free to slide out.
Now the top. Battery cover off, disconnect the battery, negative first. Two screws allow the offside headlamp cover to be removed to give enough space to reach the battery fixing bolt. Take this out with the fixing plate. Now the battery can be lifted out of the way. It will be heavy: most of them have a handle these days. Now remove the battery-top fuse box from its hinged mount - it just slides out backwards.
Now the four bolts holding the battery cover to the wing are revealed. 10mm socket makes short work of these, but attempting to remove the box shows that there is a fifth bolt holding the air filter box to the battery box. Out with the 10mm socket again. Finally, the flat cover over the cable runs up the back of the battery box slides upwards to release the cables. Now the box can be lifted out of the way.
At this point you can see the connections to the starter, a signal cable (squeeze the metal clips together to let you remove the connector) and a power connection to the battery, under a plastic splash protector. 10mm nut comes off to release this.
The top bolt is hidden under a cable tray. Cut the cable-tie, unclip and remove all the cables as far as they will go (which isn't far). I then used a 13mm socket on a short extension, but there's not a lot of room and you end up with the ratchet handle next to the reverse-light switch on the gearbox, endangering the connections. Once the nut was off and the tray in the open I discovered that it slides on to a metal mount and can be removed to gain better access to the fixing nut. Nothing about this in the manual, of course.
Last bolt to undo and the starter motor lifts out upwards. Tidy the removed bits away safely out of sight and remove the starter to the workbench for attention.
The starter
This is a pre-engaged starter mechanism, with a large solenoid mounted on top of the motor itself. The starting process is initiated by a signal voltage on the solenoid, which energises it, pulling in the core which pushes the starter cog into engagement on the flywheel by means of a lever. At the end of its stroke, the solenoid core engages a contacter which puts voltage onto the motor itself. This way the cog is guaranteed to be fully engaged before the motor tries to spin it.
I clipped a thin jumplead between the signal connector and the main power attachment (on the solenoid) then used fatter jumpleads to apply 12V from the battery to the assembly. Fat sparks ensued, and the motor spun, and was disconnected straight away (this is not kind to the battery, the leads or the places you make contact to - leaving marks). Repeating the exercise produced a click as the solenoid activated, but no spin-up: so whatever is wrong is in the starter assembly. Contacting the motor input directly produced spinup, indicating the solenoid/contacter as the culprit.
Two long bolts and three torx screws hold the assembly together. Releasing the end cap exposes the lever and lets the pivot pin fall out - don't lose it! No obvious problems here, no stiffness or broken bits. The solenoid contacter output is connected to the motor by a fat cable with a spade connector under another 10mm bolt. Undoing this allows the solenoid to be released, and it turns out to be potted in place with resin, no way to get into it. Keeps the moisture out.
A corroded connection
So no way to examine the contacter itself, which I initially suspected to be perhaps dirty or spark-eroded. However, now I could see the connection between solenoid and starter was heavily corroded. Unlike the top connection, there is no cover to keep water off this connection and it had suffered. Examining the nut, I could see significant spark erosion on the mating face, a sure sign that contact was being lost.
Cleaned up all four mating faces (soleloid output, both sides of the spade connector and the inside face of the nut). Then reassembled the starter motor, making sure the electrical connection was tight, then covered the assembly with Vaseline for protection.
Subesquent bench tests showed reliable starter action every time voltage was applied. The jumpleads grew warm quite quickly, an indication of how much current was being drawn. The label on the motor shows it to be French made.
Reassembly, as Mr.Haynes says, is by reversal of the removal steps. I used a wider cable tie than the original as the cable bundle is pressed hard against the edge of the plastic tray and I wanted some extra protection there.
Starting is now much easier, indicating that the problem had been growing for some time.
Road test
The ECU had reset, and I needed to drive it for a bit, stop and restart the motor a few times to let it learn again. I suspect it will need a few more miles before it's back to full performance.
Radio code was needed to reset the radio. Electric mirror fold needed two goes (ignition on/off/on) before it worked again. The autowindow function using the key in the doorlock needed to be reset (lock the car with the key, then turn the key to the lock position again for a few seconds.)
Not sure what else will have been reset. Anybody know of anything else?
Tips:
Make sure you have your radio's anti-theft code before you start, as you have to remove the car's battery.
The battery box (at least in my car) is attached to the air filter housing by a fifth bolt. 10mm, like the four obvious ones in the base of the box.
The cables up the back of the battery box are held in place by a flat cover. Slide it upwards to release.
The cable tray attached to the top bolt is right in the way: get the cables out and then open it up to see a little slide-lock at the bottom. Push this to free the tray to slide off to the right.
You need to cut a cable tie, or at least I did, holding the cable bundle together. Have one ready for reassembly.
If you have air-conditioning, have a 13mm spanner ready to release the refrigerant pipework support from the bottom bolt extension. The pipework zigzags to occupy the space between the gearbox and the wing, and makes it difficult to get a socket on the nut.
Note:
I suspect that a dealer would fix this by replacing the starter motor, not wanting to disassemble the motor, when in fact the fix is simple and (with hindsight) should be a known issue - they've provided a protector for the battery-to-solenoid lead, but nothing for the connection on the starter itself.
I'm working on an 01-plate TDI 110 Toledo. Anything with an FMIC will have more pipework to get in the way.
Summary:
If your starter goes intermittent like mine did, look at all the high-current connections for corrosion and spark-erosion. Good electrical contact over a large area is important with high-current connections, and corrosion can make a big difference.
Pictures to follow
Last edited: