
Here's my guide to putting the battery in the boot in a mk4 Ibiza. PLEASE NOTE I TAKE NO RESPONSIBILITY IF YOUR CAR DOESN'T START OR SHORTS OUT/ANY FAULTS THAT OCCOUR!
Right straight into it:
Tools required:
Ratchet,
10mm socket,
13mm socket,
17mm or 19mm socket (I think),
T20 torx piece,
Stanley knife,
Side cutters,
Pozi-drive screwdriver,
Flathead screwdriver,
9mm metal drill bit,
Drill,
8mm socket,
Ratchet crimper.
Equipment required:
0 gauge distribution block (min 3 way),
5m 0 gauge power cable,
1m 2/4 gauge earth cable,
Quick release battery terminals,
2x M8 threaded bar,
3or4x M8 ny-lock nuts,
Penny washer with 8mm hole,
Washer for 8mm threaded bar,
Steel plate (min 5mm thick),
Ring crimp (get this from a local electrical wholesaler by taking cable and bolt from seatbelt buckle in).
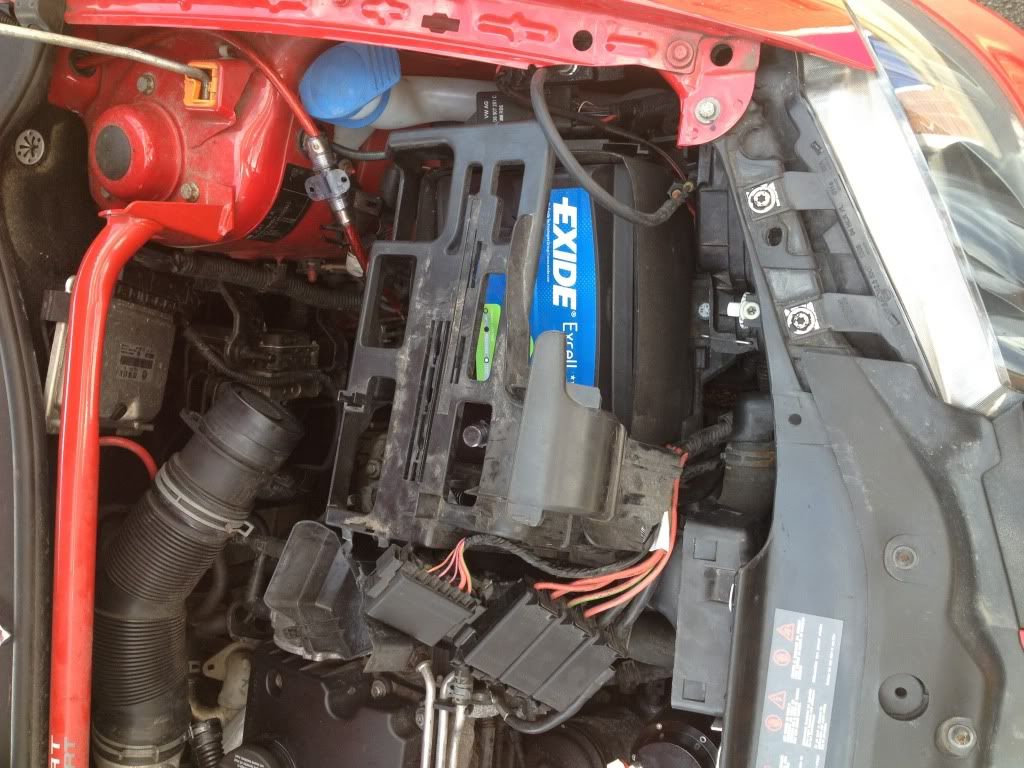
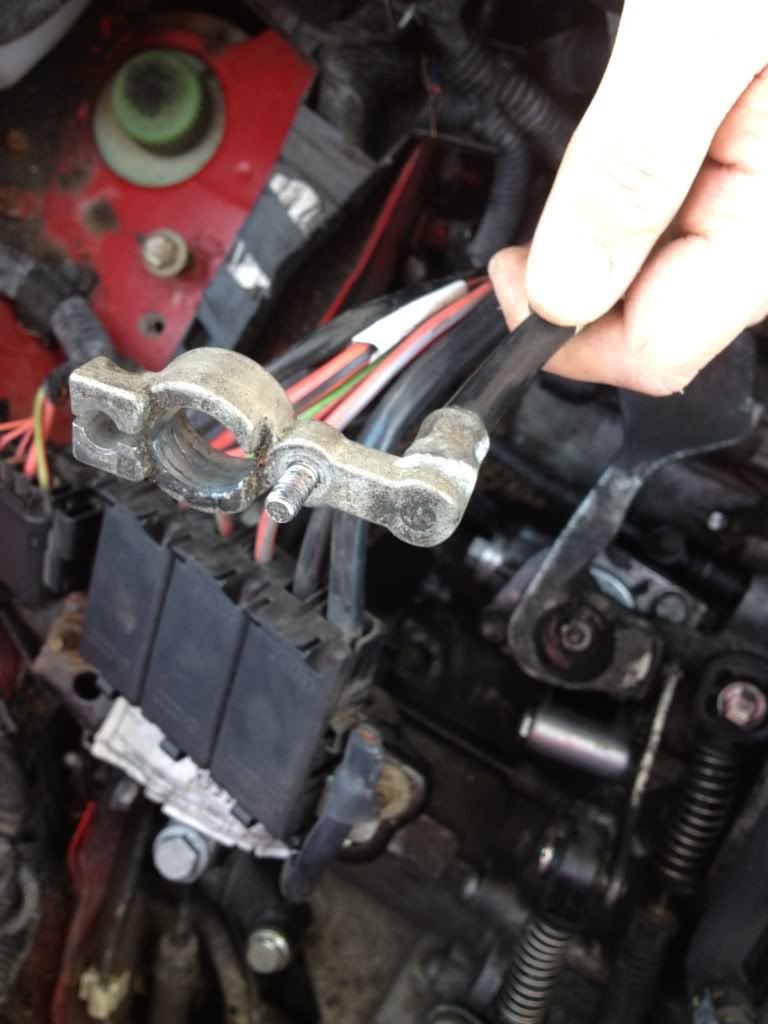
1) Take the cage off the battery by unclipping it on the LHS, RHS and rear of the battery. Then you need to release the cables from the front of the cage by prying it open and sliding the cables out and unbolt terminals using 10mm socet so it looks like this:
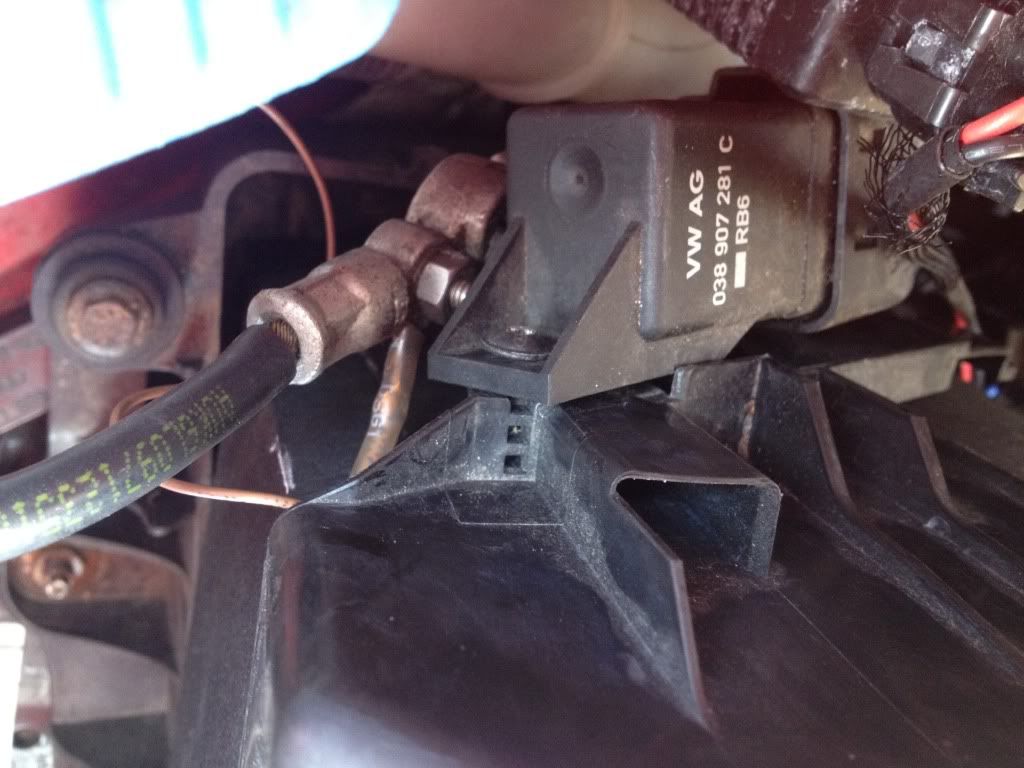
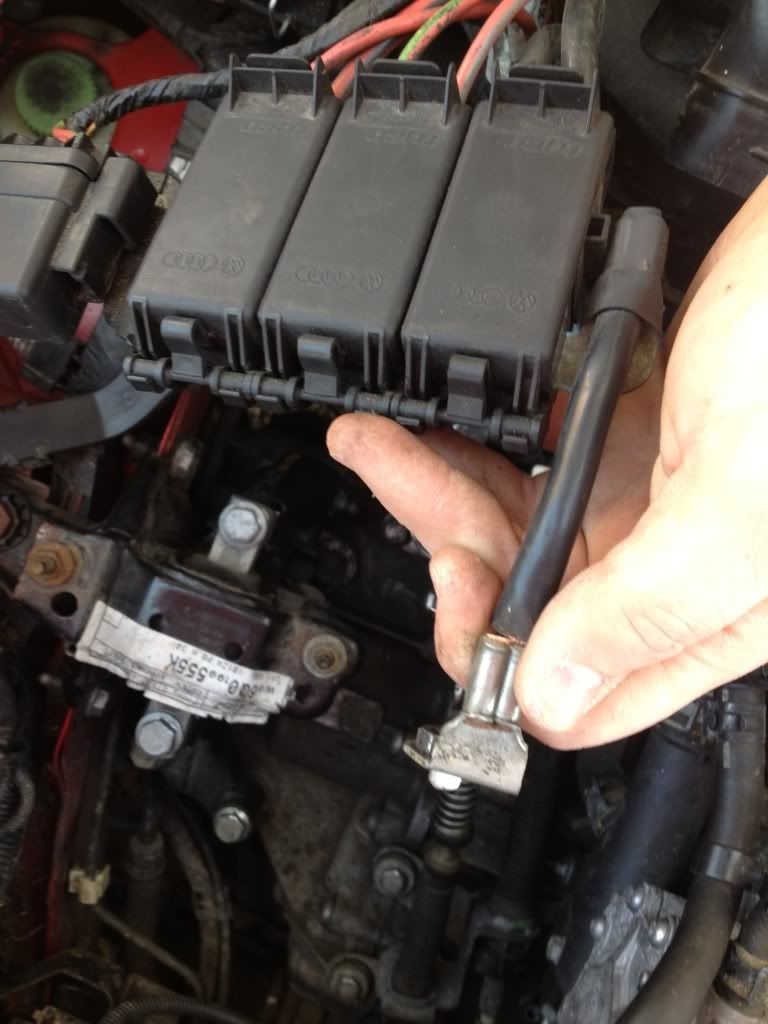
2) Using the t20 torx bit unscrew this screw in the side of the casing to release the block on the RHS of the cage:
3) Remove the fabric casing around the battery:

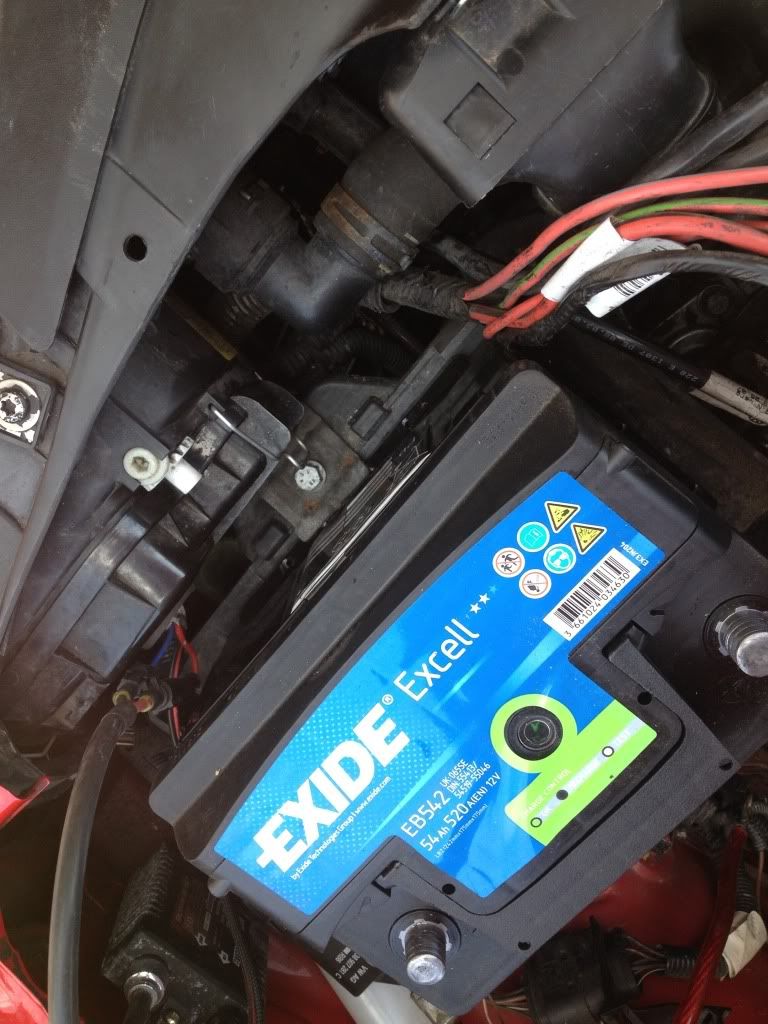
4) Unbolt the battery clamp at the front of the battery using a 13mm socket and remove. This will release the battery so it will come out easily:
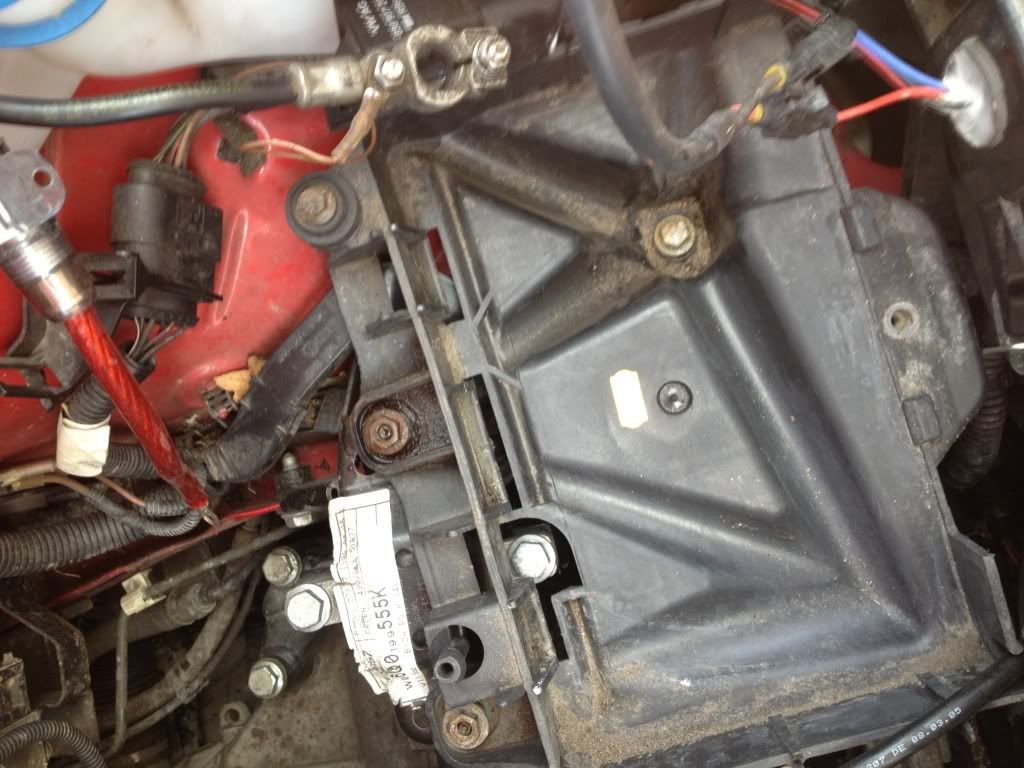
5) Remove battery to reveal this annd where the three bolts run alongside each other at the top you need to unbolt the top left and middle one using a 10mm socket and the big 13mm one offset in the centre to remove the battery tray:
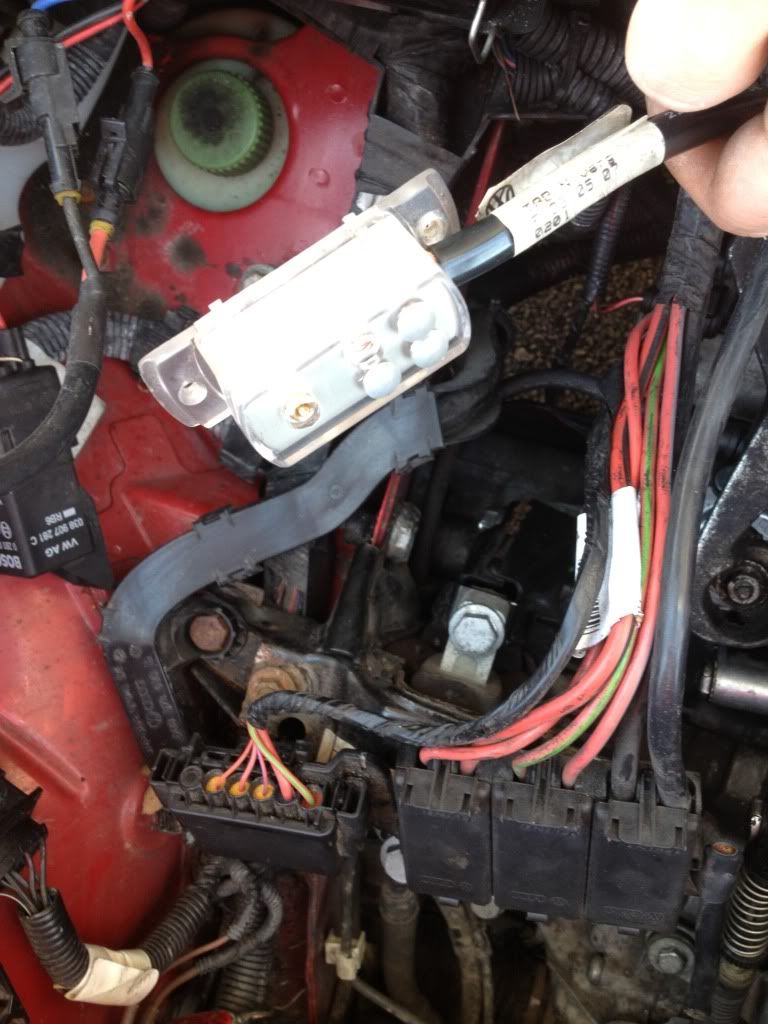
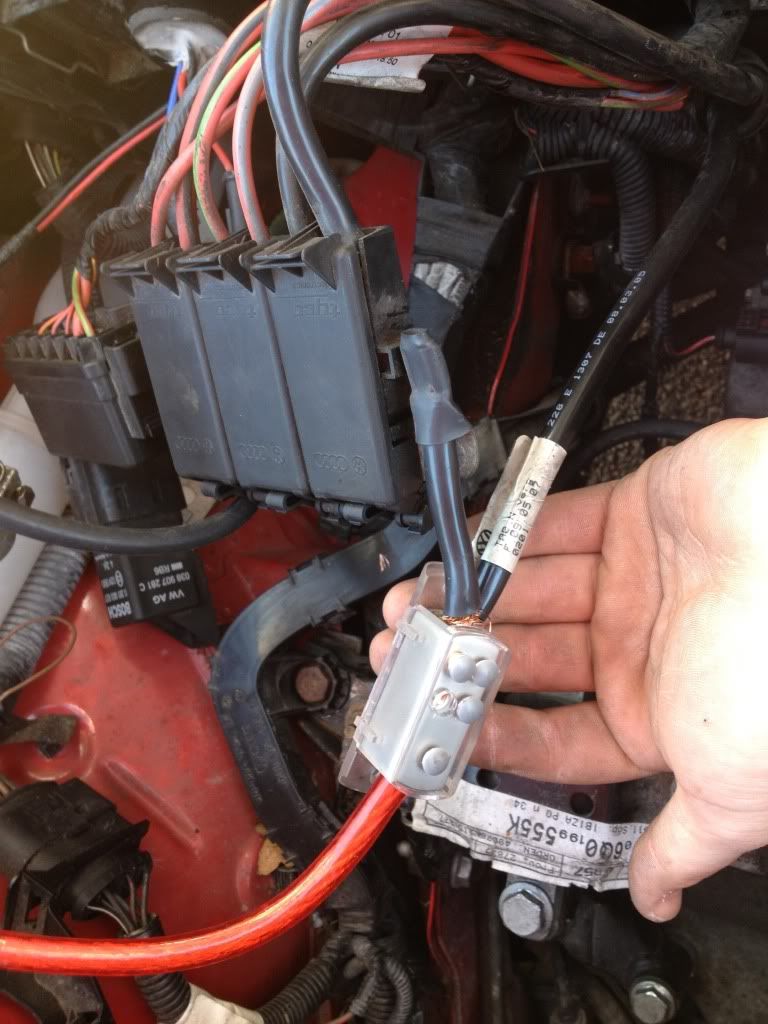
6) Now cut off the positive terminal and cut off the cable that was joined to that when on the battery (goes to fuse rail) like so:
7) Now strip the insulation off these two cables and put into a distribution block:
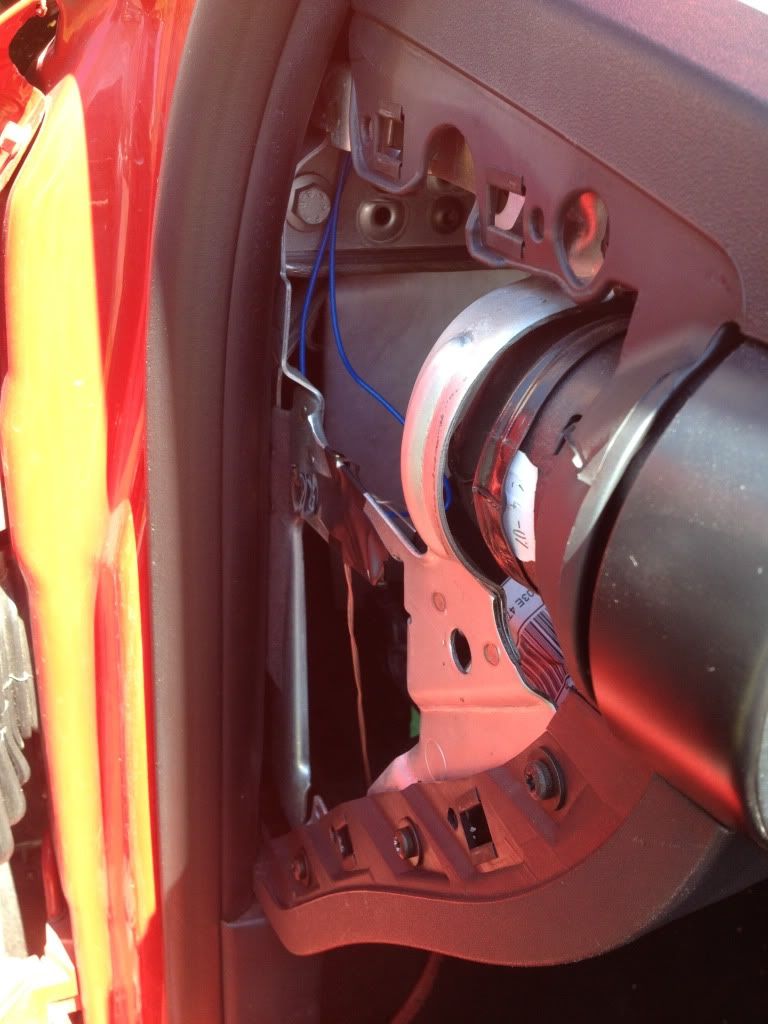
8) Now run your power cable through the bulkhead and remove the side panel to the glovebox and pull back the firewall and feel for the cable:
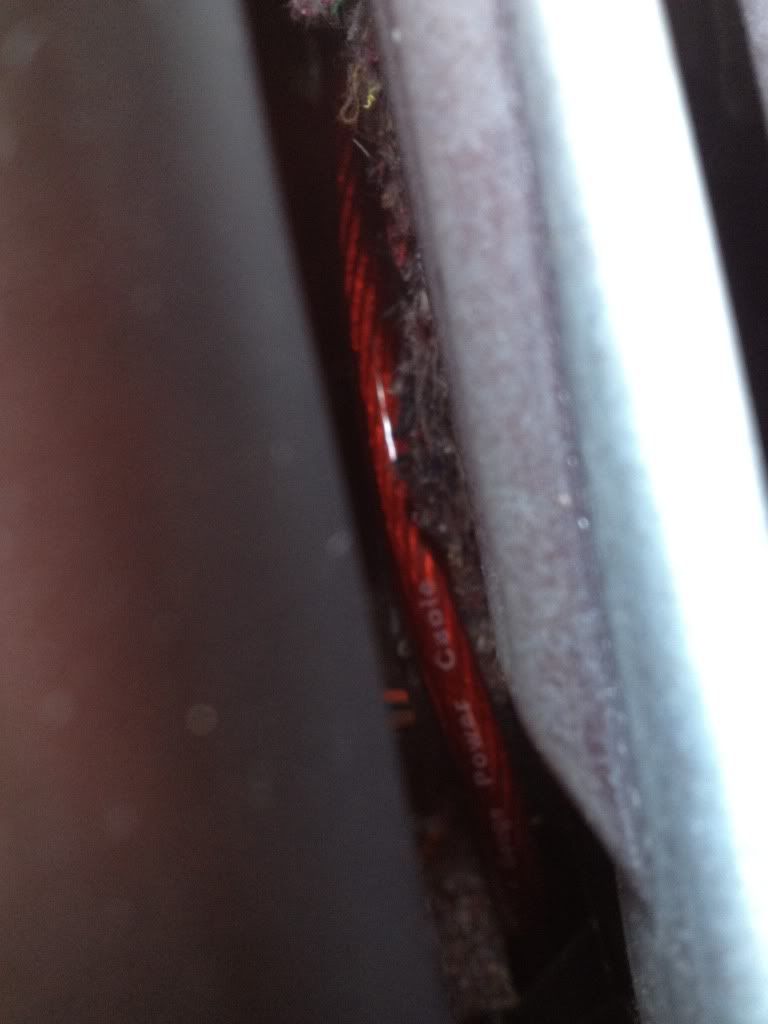
9) Run it down and behind the trim by footwell and run under door trim to the back seat like so:

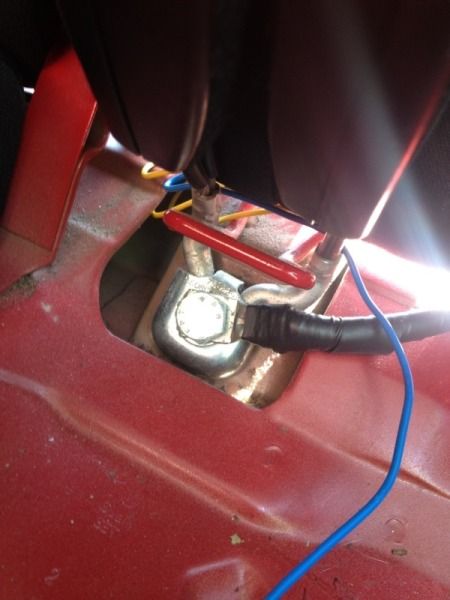
10) Attach your crimp to the earth cable and crimp until tight and bolt to the seatbelt buckle. I think it's a 17mm socket but I can't remember as I already had this for the sub.
11) Strip the power cables insulation back and put into distribution block like so:
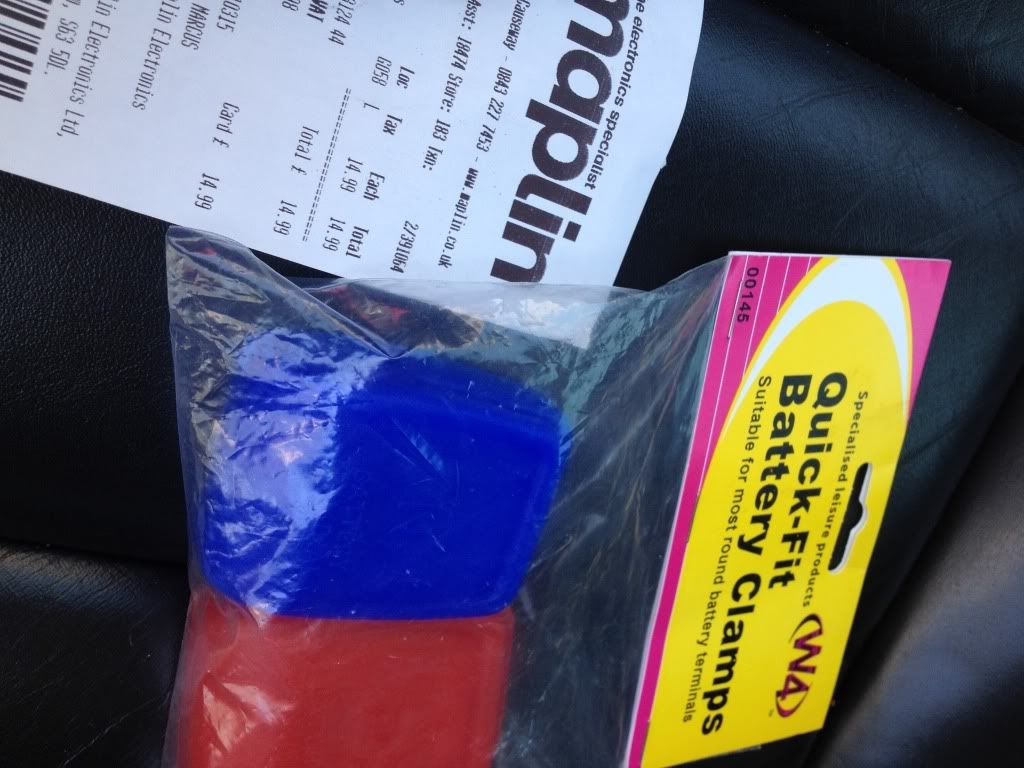
12) Using your quick release clamps (bought mine from napkin for £14.99 but can get from eBay or halfords for cheaper) and attach by stripping the insulation back on the cables to reveal the cores and unscrew the cable clamps on the quick release terminals and fasten the cable clamp down tight onto the cores.
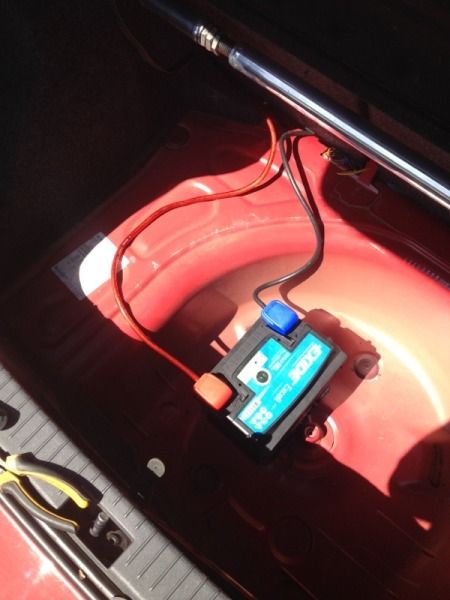
Now comes the battery fastening.
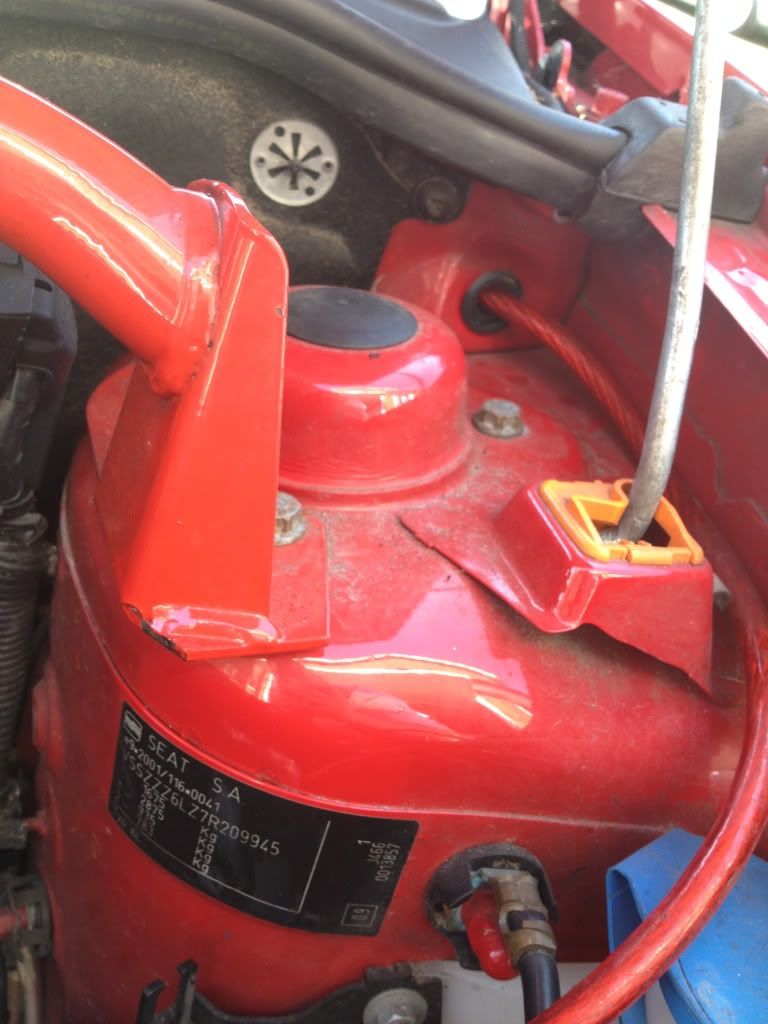
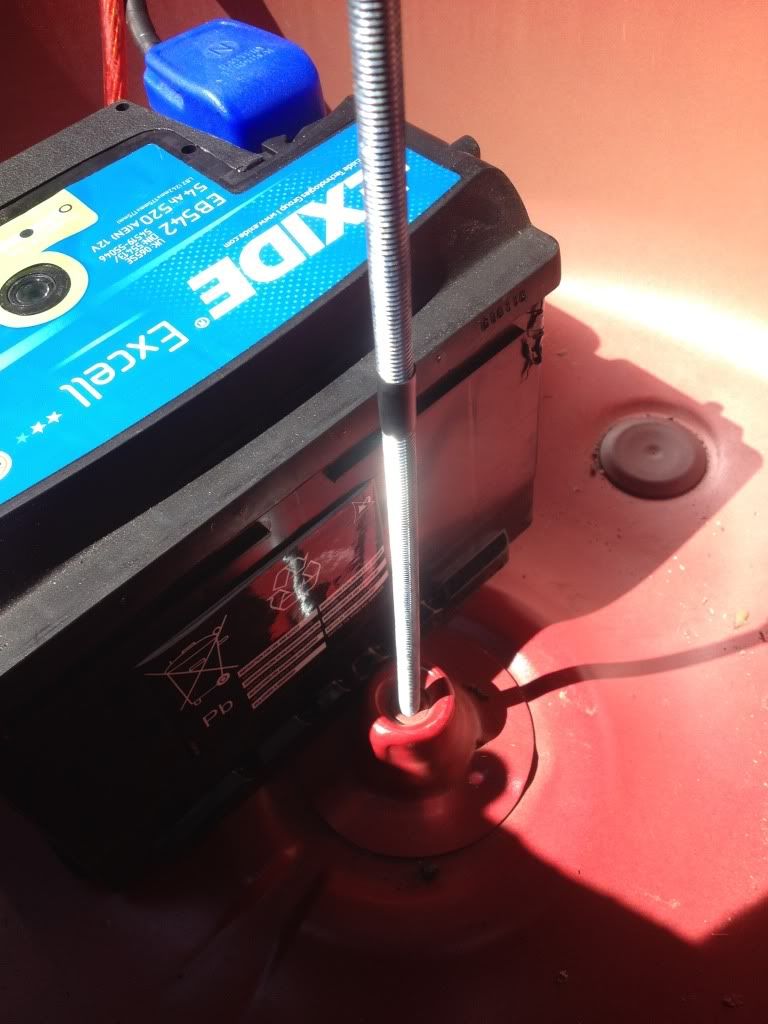
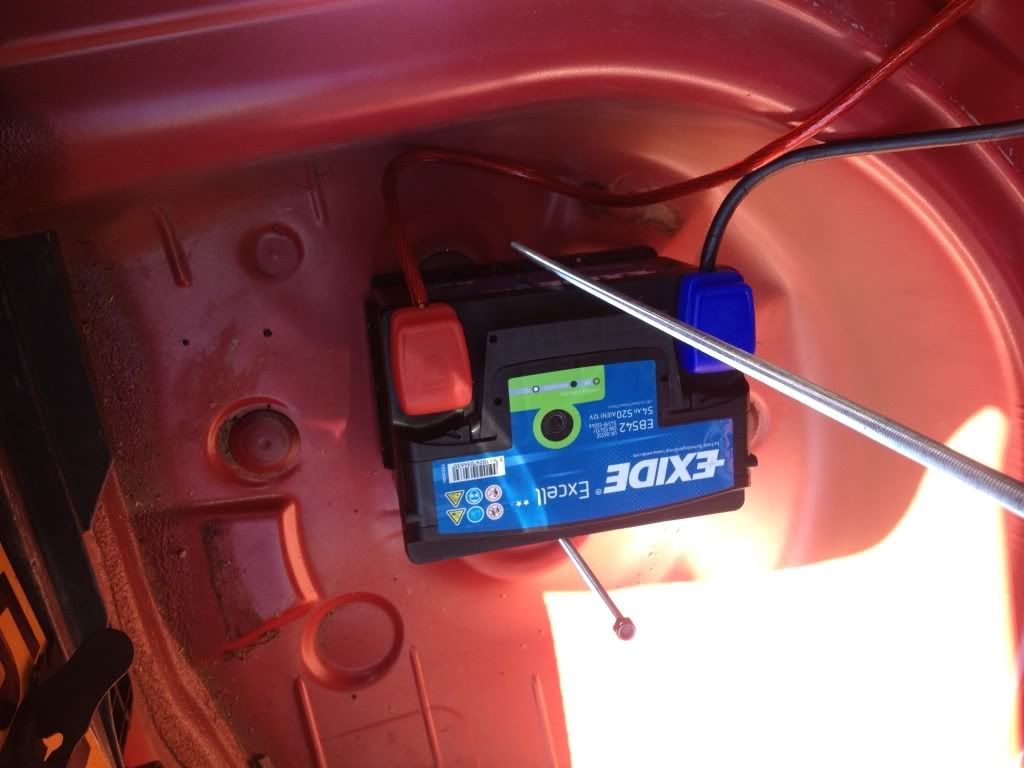
13) Using a length of 8mm threaded bar which I got from b&q for £2.49 I cut a length off after screwing it into the spare wheel well fastener using a bit of tape to indicate the length needed so I could mount a piece of metal over the battery so I went an extra 3-4cm taller than the battery like so:
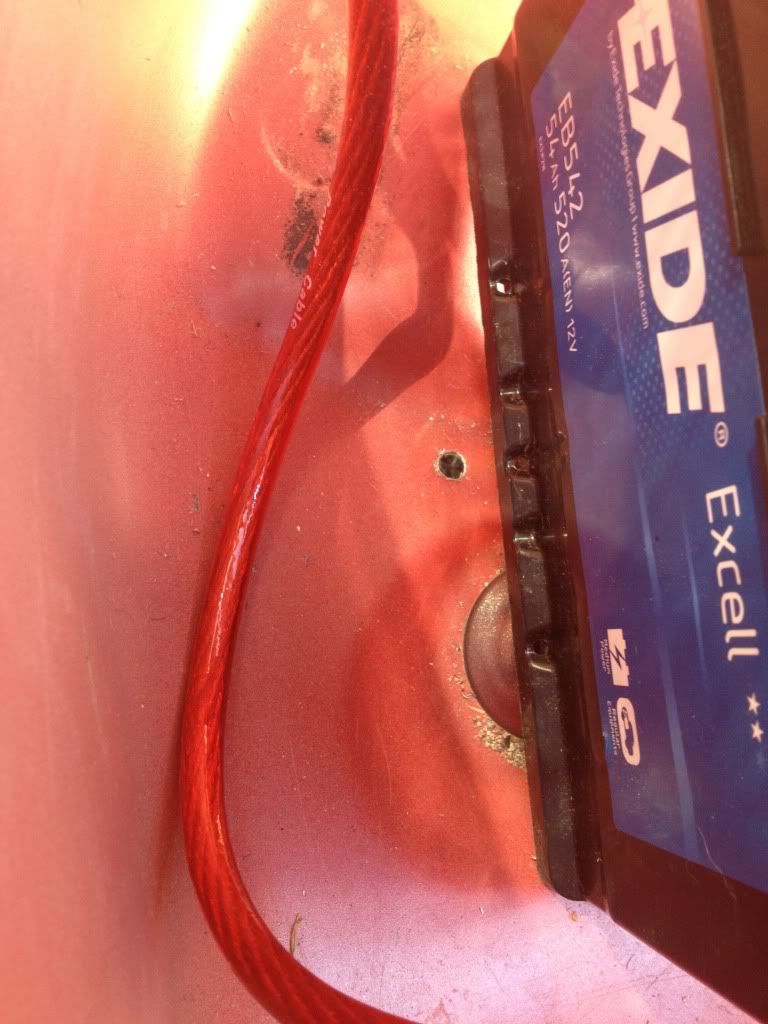
14) I then drilled a 9mm hole the other side of the battery into the wheel well like so:
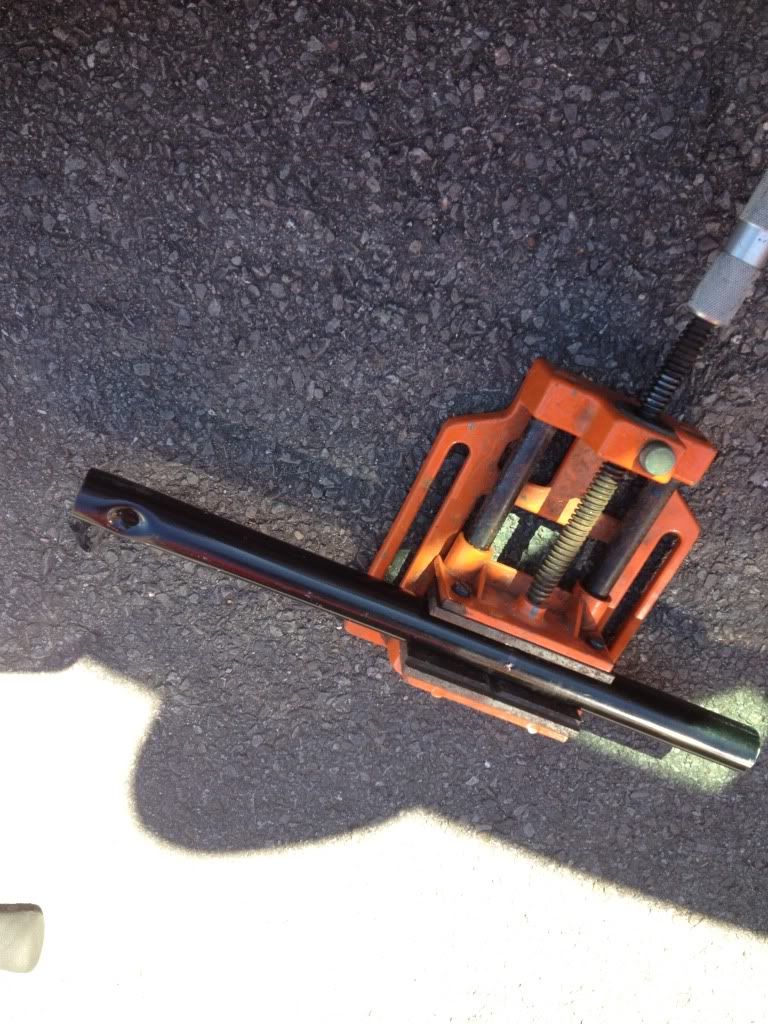
15) I then put the offcut of the threaded bar through the hole and again indicated how big I wanted it by using tape:
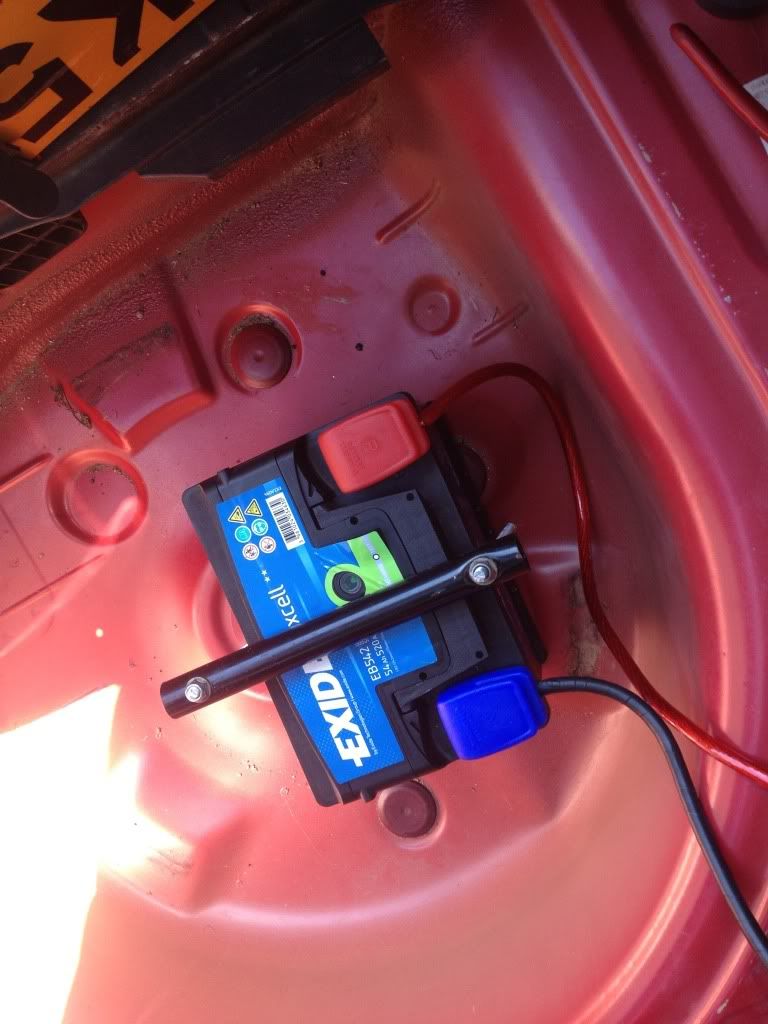
16) I cut that to length and had a spare bit of metal hanging around the garage so used this but you can buy a piece of metal to use instead from b&q or similar. You need this metal bar to go across the top of the battery to clamp it into position. To do this you need to drill another two 9mm holes in the bar at the distance your rods are apart like so (leave loose so you can tighten the bolt up under the car first in next step)
17) Using a penny washer put silicon on one side to make it water tight and put it onto the threaded bar and silicon side against the body and bolt down leaving only a few mm of thread out the end of lock nut like so:

18) Now tighten the top bar down ising lock nuts and washers but DO NOT OVER TIGHTEN AS YOU MAY CRACK THE BATTERY!! Only enough do it clamps down on the battery! I am going to put a rubber mat under the battery too to help prevent any movement.
This is my guide I hope it helps people understand it better. (yes I used 4gauge cable but this was a trial as it was already there for the sub so I just attached it to it but it's being replaced by 0 gauge as soon as it gets here for all you observant people that will notice it haha).
Right straight into it:
Tools required:
Ratchet,
10mm socket,
13mm socket,
17mm or 19mm socket (I think),
T20 torx piece,
Stanley knife,
Side cutters,
Pozi-drive screwdriver,
Flathead screwdriver,
9mm metal drill bit,
Drill,
8mm socket,
Ratchet crimper.
Equipment required:
0 gauge distribution block (min 3 way),
5m 0 gauge power cable,
1m 2/4 gauge earth cable,
Quick release battery terminals,
2x M8 threaded bar,
3or4x M8 ny-lock nuts,
Penny washer with 8mm hole,
Washer for 8mm threaded bar,
Steel plate (min 5mm thick),
Ring crimp (get this from a local electrical wholesaler by taking cable and bolt from seatbelt buckle in).
1) Take the cage off the battery by unclipping it on the LHS, RHS and rear of the battery. Then you need to release the cables from the front of the cage by prying it open and sliding the cables out and unbolt terminals using 10mm socet so it looks like this:
2) Using the t20 torx bit unscrew this screw in the side of the casing to release the block on the RHS of the cage:
3) Remove the fabric casing around the battery:
4) Unbolt the battery clamp at the front of the battery using a 13mm socket and remove. This will release the battery so it will come out easily:
5) Remove battery to reveal this annd where the three bolts run alongside each other at the top you need to unbolt the top left and middle one using a 10mm socket and the big 13mm one offset in the centre to remove the battery tray:
6) Now cut off the positive terminal and cut off the cable that was joined to that when on the battery (goes to fuse rail) like so:
7) Now strip the insulation off these two cables and put into a distribution block:
8) Now run your power cable through the bulkhead and remove the side panel to the glovebox and pull back the firewall and feel for the cable:
9) Run it down and behind the trim by footwell and run under door trim to the back seat like so:
10) Attach your crimp to the earth cable and crimp until tight and bolt to the seatbelt buckle. I think it's a 17mm socket but I can't remember as I already had this for the sub.
11) Strip the power cables insulation back and put into distribution block like so:
12) Using your quick release clamps (bought mine from napkin for £14.99 but can get from eBay or halfords for cheaper) and attach by stripping the insulation back on the cables to reveal the cores and unscrew the cable clamps on the quick release terminals and fasten the cable clamp down tight onto the cores.
Now comes the battery fastening.
13) Using a length of 8mm threaded bar which I got from b&q for £2.49 I cut a length off after screwing it into the spare wheel well fastener using a bit of tape to indicate the length needed so I could mount a piece of metal over the battery so I went an extra 3-4cm taller than the battery like so:
14) I then drilled a 9mm hole the other side of the battery into the wheel well like so:
15) I then put the offcut of the threaded bar through the hole and again indicated how big I wanted it by using tape:
16) I cut that to length and had a spare bit of metal hanging around the garage so used this but you can buy a piece of metal to use instead from b&q or similar. You need this metal bar to go across the top of the battery to clamp it into position. To do this you need to drill another two 9mm holes in the bar at the distance your rods are apart like so (leave loose so you can tighten the bolt up under the car first in next step)
17) Using a penny washer put silicon on one side to make it water tight and put it onto the threaded bar and silicon side against the body and bolt down leaving only a few mm of thread out the end of lock nut like so:
18) Now tighten the top bar down ising lock nuts and washers but DO NOT OVER TIGHTEN AS YOU MAY CRACK THE BATTERY!! Only enough do it clamps down on the battery! I am going to put a rubber mat under the battery too to help prevent any movement.
This is my guide I hope it helps people understand it better. (yes I used 4gauge cable but this was a trial as it was already there for the sub so I just attached it to it but it's being replaced by 0 gauge as soon as it gets here for all you observant people that will notice it haha).
Last edited:
") (information from knowledge of being in the electrical industry and a little common sense) lol
(information from knowledge of being in the electrical industry and a little common sense) lol .
.