Platinum FR - wolf in sheeps clothing

Bigjohn84

Intagram / johnyoung84
May 5, 2015
2,330
1
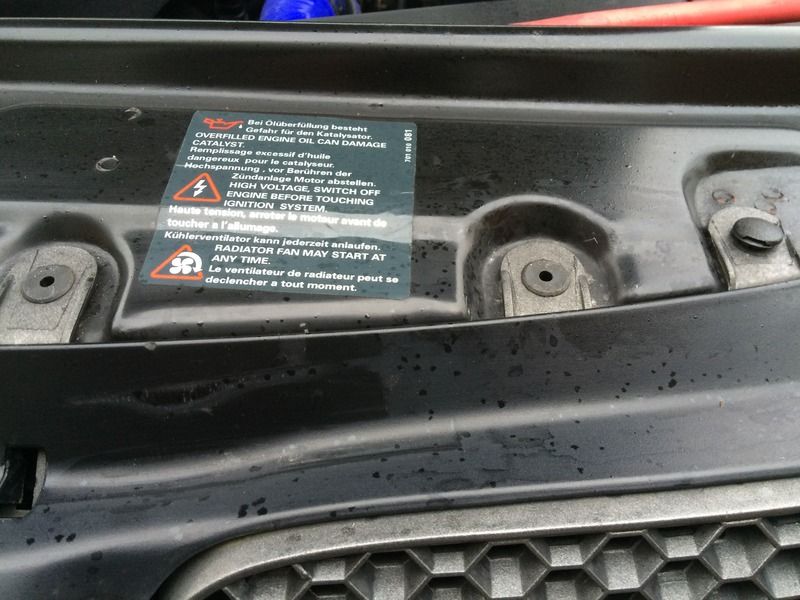
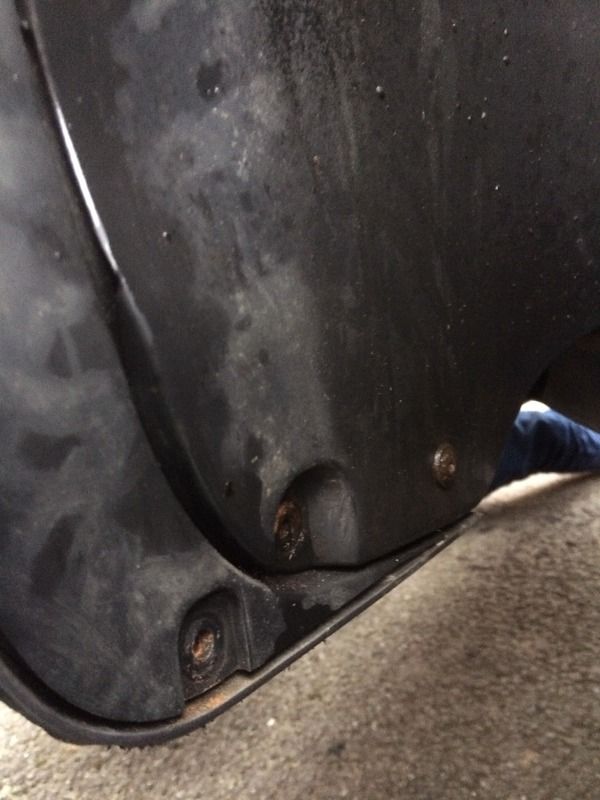
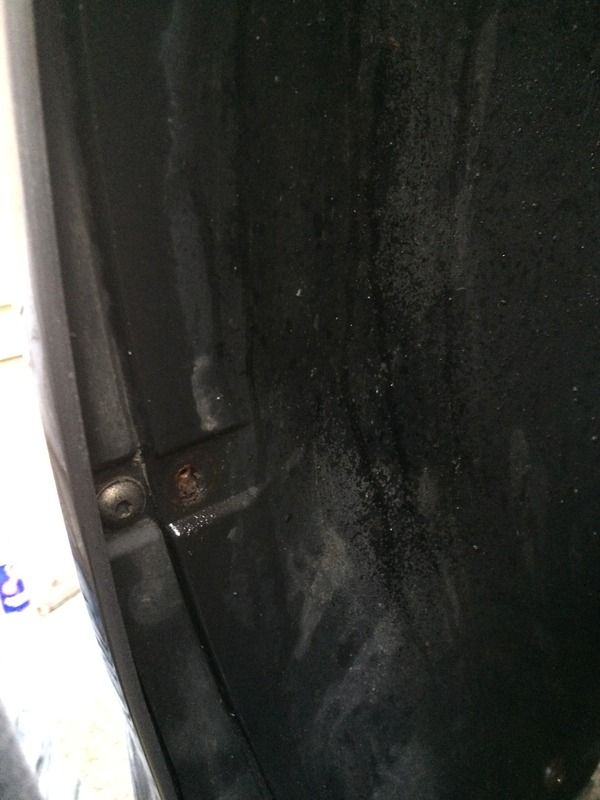
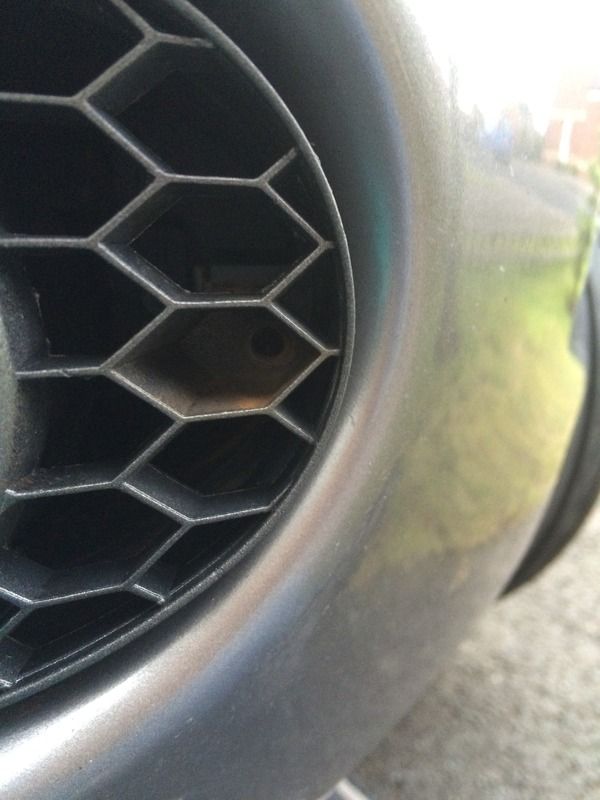
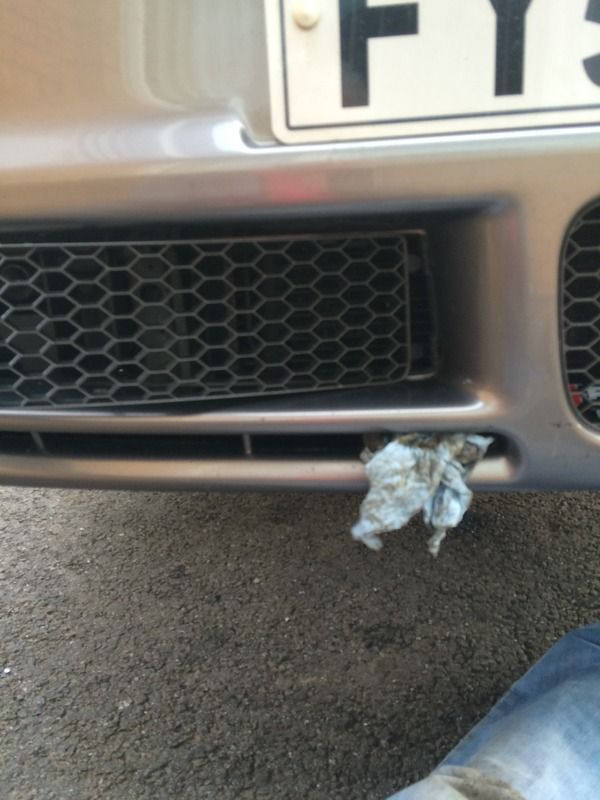
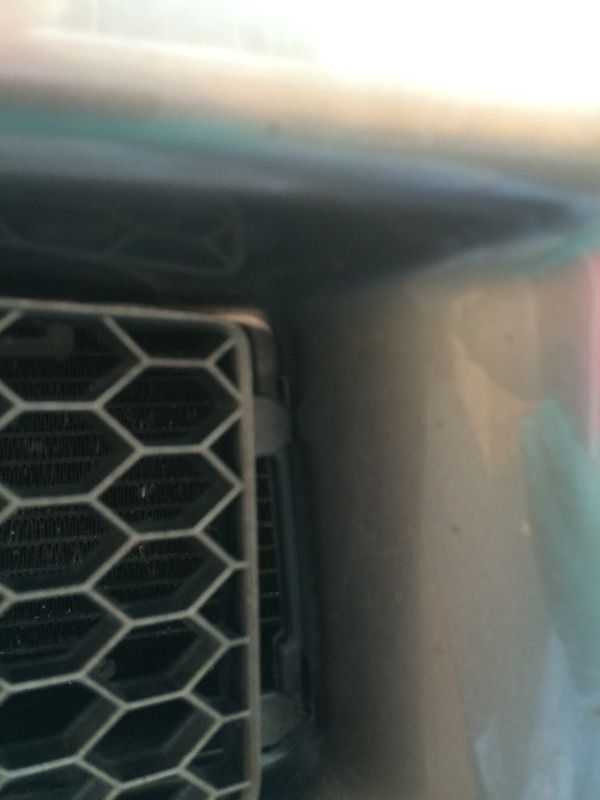
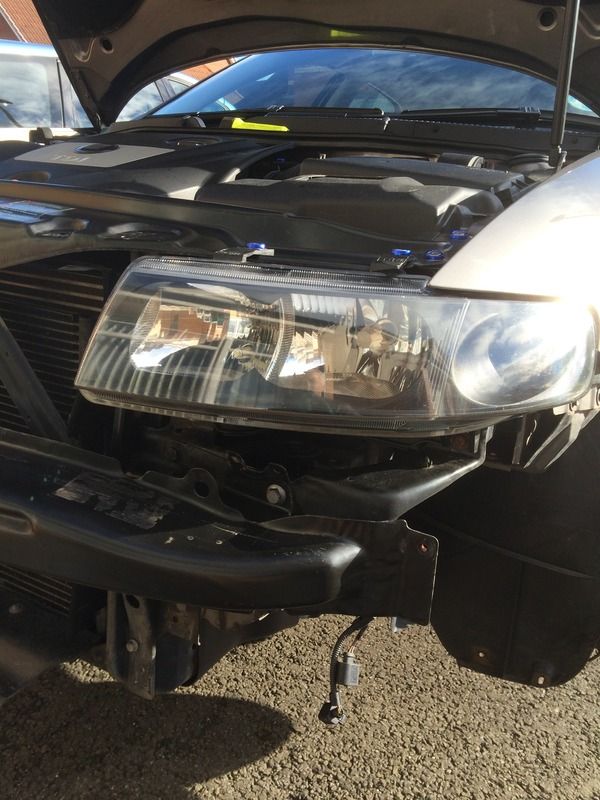
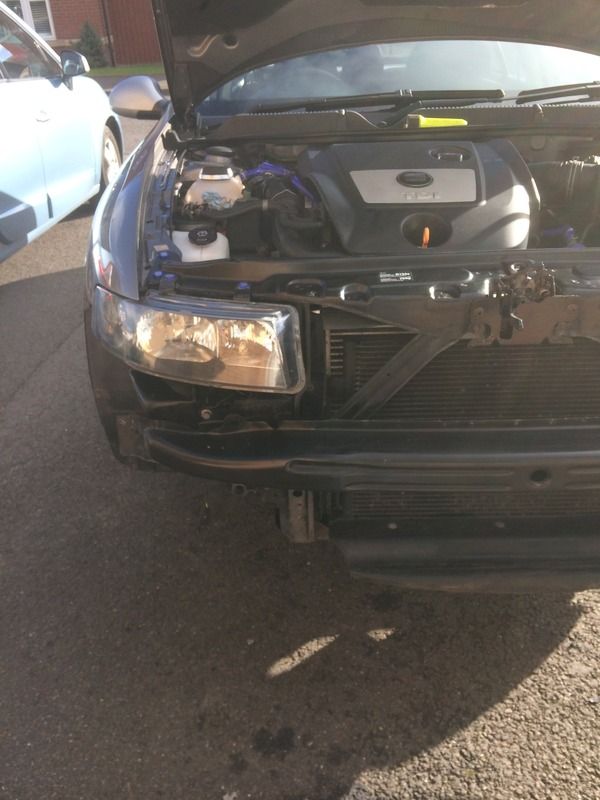
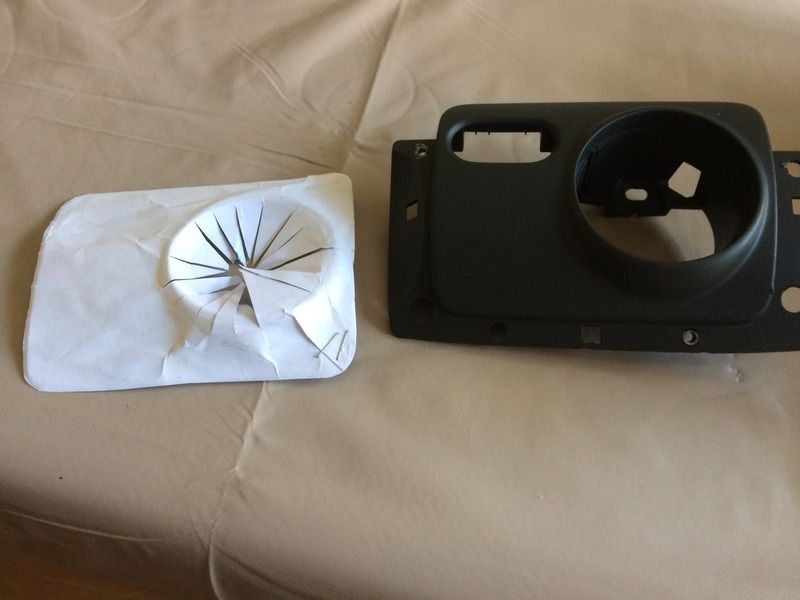
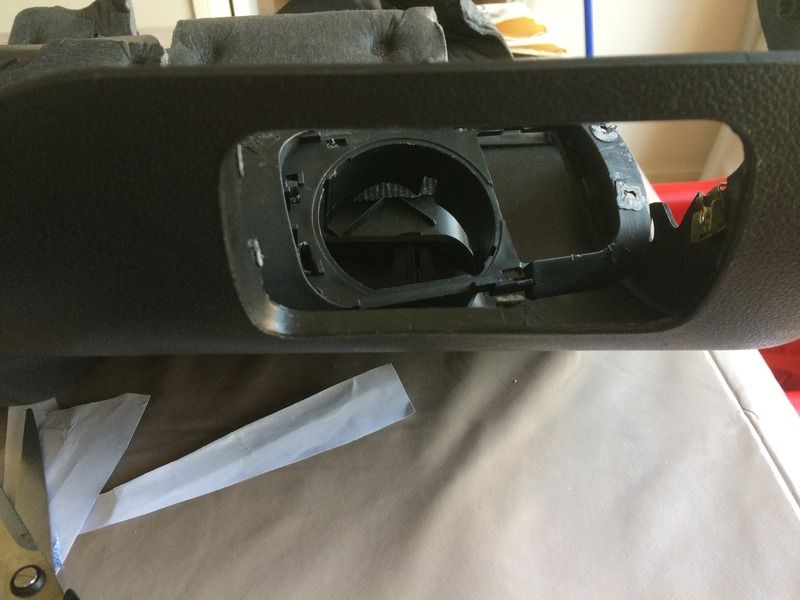
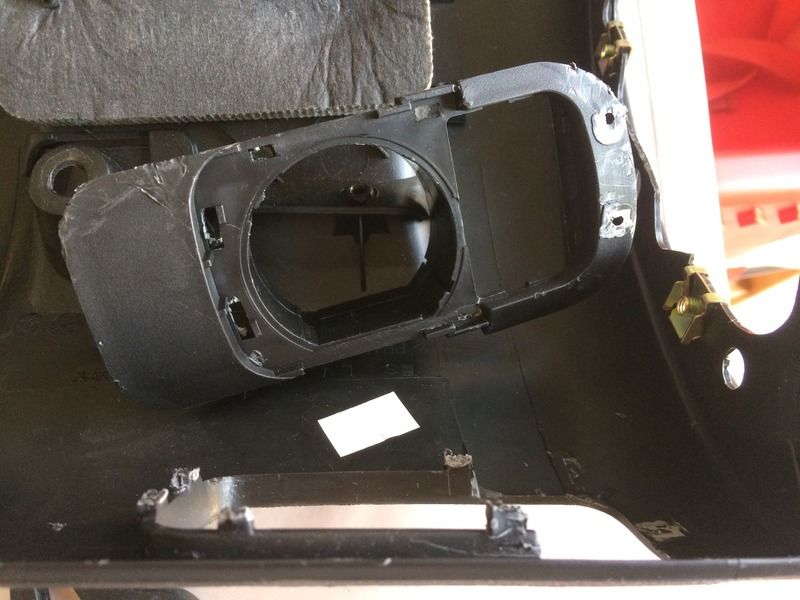
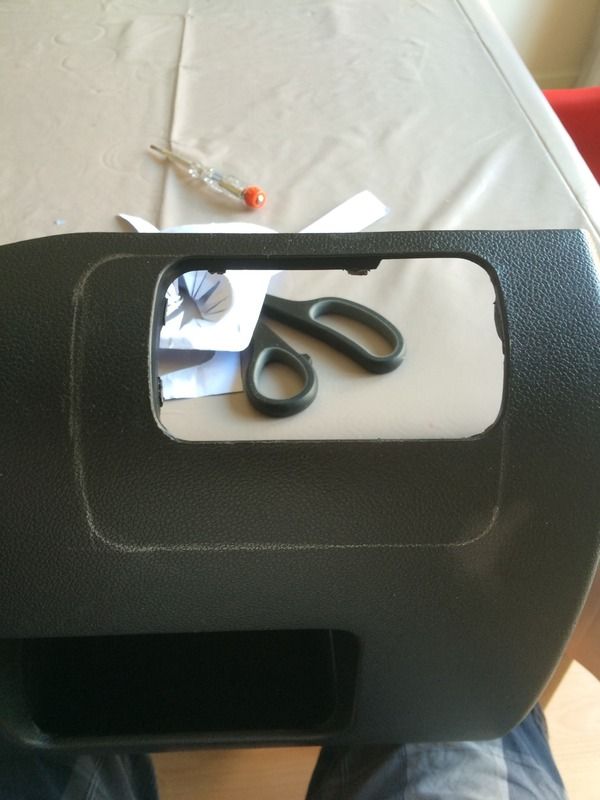
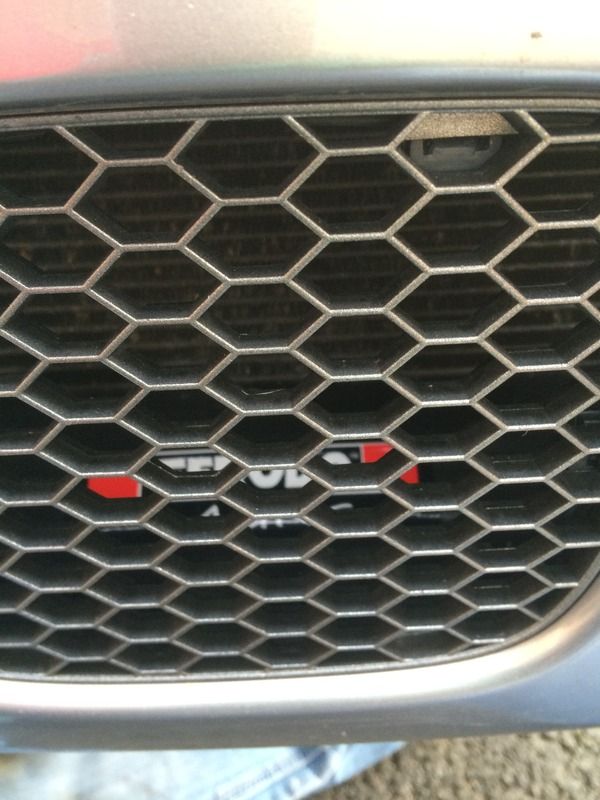
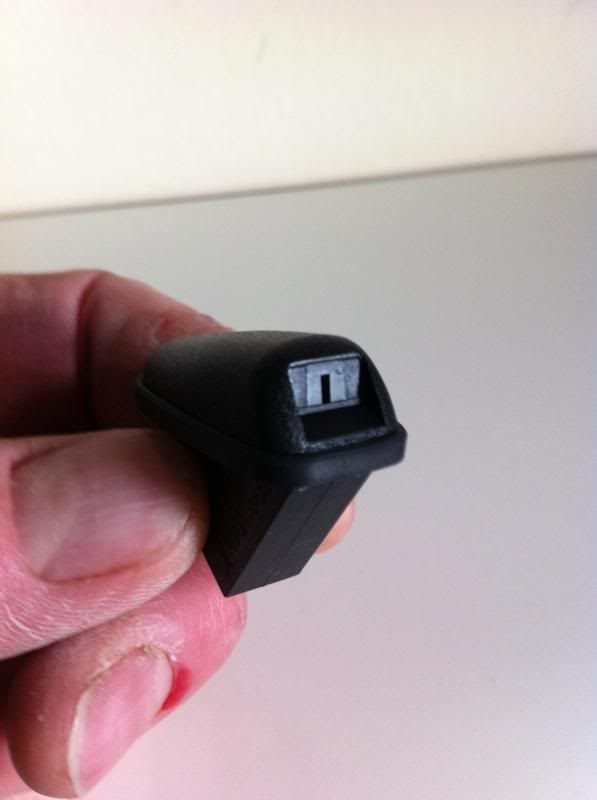
Just got a new set of mist spray washer jets - from a Ford Focus
image_zpsc66da691.jpg

image_zps511f1638.jpg

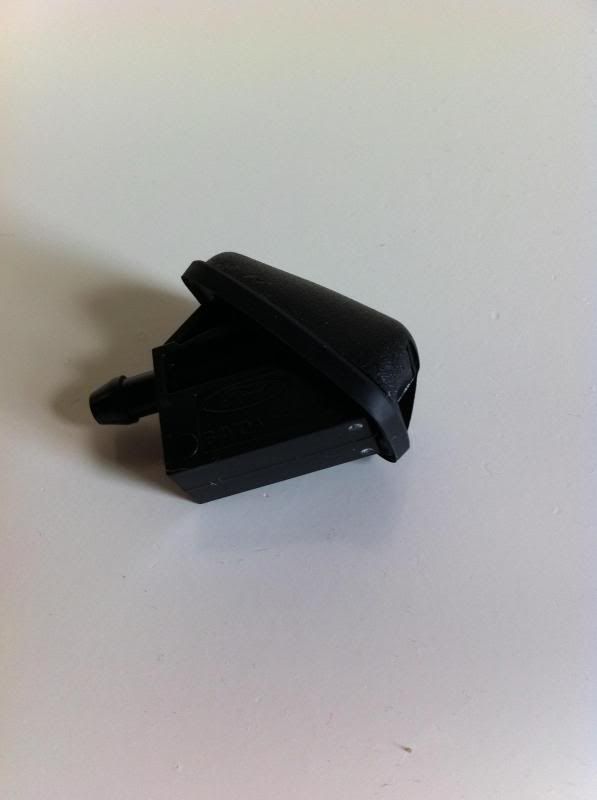
Will get them fitted 2moro and take more pics ;)

Are they a direct fit mate
 

bruceR

Active Member
Apr 11, 2005
2,540
616
Monifieth, Dundee
Hey John, yeah they fit in but the only thing I added was a little rubber spacer at the rear of them to get the spray onto the centre of the windscreen.
The only other thing is the nozzle for the water hose is straight whereas ours come out at an angle - but not that it affects the fitment or operation.
 

dudes45

Active Member
Feb 4, 2016
11
0
Basingstoke
After an advisory at the last MOT regarding a broken exhaust mount, I decided it was time for a stainless exhaust. I opted for the Milteck cat-back non resonated

The back box is near standard but it fills the gap much better (80mm diam. Instead of 76mm)

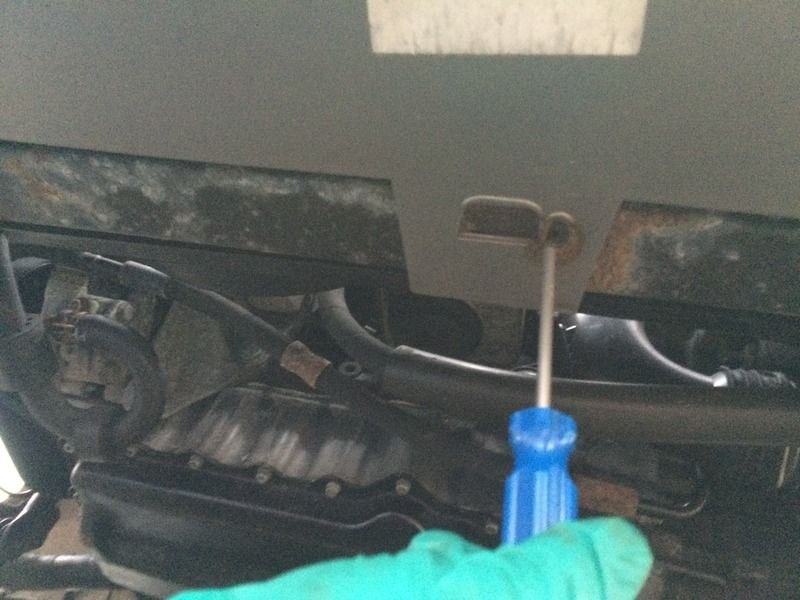
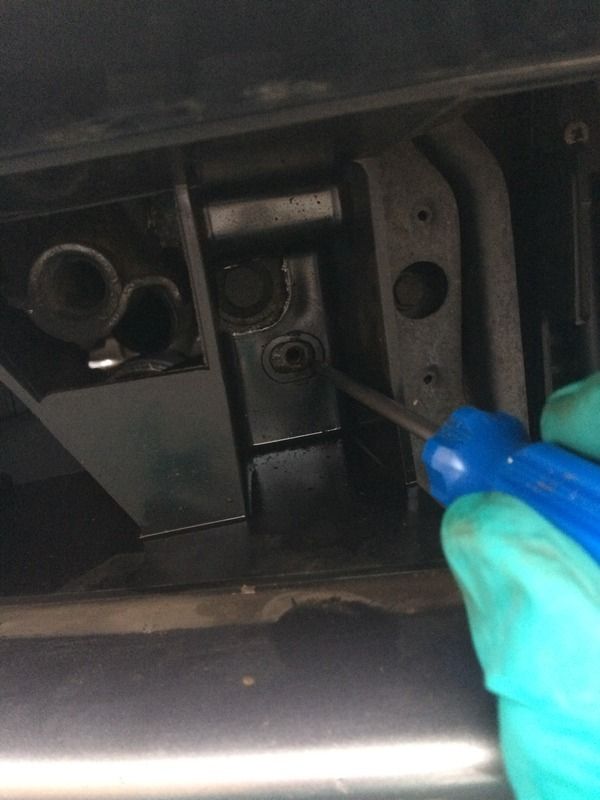
Tried to remove my dog bone mount but ended up shearing a bolt :cry: So bought a new complete mount and replaced the rubber with new Powerflex bush - diesel version

Oh and bought a set of alloy pedal covers
Old pedals

New pedals


Am well pleased with the car as it is and just keep her clean and fresh with regular cleaning. I bought a Das6 polisher and Meguires polish & wax, clay bar and lots of microfibre towels, so like to spend a few hours of me time keeping her looking good.
Not much else apart from another set of EBC Ultimax discs/DS2500 pads for front and a set of Brembo discs/pads for the rear.

Wow, that looks really good man! Can't wait to start modifying my car!
 

Bigjohn84

Intagram / johnyoung84
May 5, 2015
2,330
1
Hey John, yeah they fit in but the only thing I added was a little rubber spacer at the rear of them to get the spray onto the centre of the windscreen.
The only other thing is the nozzle for the water hose is straight whereas ours come out at an angle - but not that it affects the fitment or operation.
Cool next time im at thw scrapies i might pick them up

AmD Stage 1 Map, Forge 007 DV, CDA Induction Kit, GT80 Milltek Sports Cat Back.
 

mjaho

Active Member
Sep 25, 2015
4
0
Austria
Hey John, yeah they fit in but the only thing I added was a little rubber spacer at the rear of them to get the spray onto the centre of the windscreen.
The only other thing is the nozzle for the water hose is straight whereas ours come out at an angle - but not that it affects the fitment or operation.

Hi bruce
have you more pictures/infos from the "mist spray washer jets - from a Ford Focus"

thanks :)
 
Last edited:

bruceR

Active Member
Apr 11, 2005
2,540
616
Monifieth, Dundee
Here are a couple of pics of the washer 'spray' jets, not sure if you can see the rubber grommet underneath that I cut halfway to make the spray hit the windscreen at a better angle:
image_zpsa1tkhuq4.jpeg

image_zpsrltufd4i.jpeg
 

bruceR

Active Member
Apr 11, 2005
2,540
616
Monifieth, Dundee
This afternoon I decided to get the HIDs wired up inside the light housing but not enough room, didn't want to split it all so just carried out a wee mod:
As much wiring inside as I could
image_zpssojhfnr0.jpeg

image_zpsyefglxgv.jpeg

A handy wee tool for all types of jobs
image_zpskgyw19na.jpeg

image_zpsalkl4zlt.jpeg

All routed and secure
image_zpsfmhd69mk.jpeg

Ballast secured with double sided tape
image_zpsgvreh9mo.jpeg


Just need to get bumper off and get them fitted :D
 

bruceR

Active Member
Apr 11, 2005
2,540
616
Monifieth, Dundee
Today was a busy day again.........got the bumper off, fitted and tested new light clusters, refitted bumper, installed left & right undertray covers and fitted new undertray.
I know there's a good write up of how to remove the Cupra/FR front bumper but I'll add to it anyway.
To start with open bonnet and remove the plastic pins and grommets from the platic cover over the bonnet latch:
IMG_3693_zpsjksqscnp.jpg

IMG_3694_zpsxycfxf6e.jpg


Then remove 6off T25 Torx screws and 1off Philips screw from inside each wheel arch (I removed my wheels to make it easier):
IMG_3696_zps0ssu4r1b.jpg

IMG_3695_zpslish96d7.jpg

IMG_3697_zpspfsfzdpr.jpg


Next, remove the 3off Philips screws on the underneath of the bumper:
IMG_3700_zps0zmseaje.jpg


Next remove the Philips screw on the outside edge of each foglight inside the honeycomb grill:
IMG_3698_zpskjmgyrsb.jpg


Next up, remove the foglight grills by pulling on the outside edge first and moving towards the centre:
IMG_3707_zpsg4tkylos.jpg

The inner edge of the grill pulls sideways away from the centre:
IMG_3708_zps19ihbak7.jpg


There is 1off T30 Torx screw either end of the bumper to remove:
IMG_3699_zpsozglz3lb.jpg


Now the last 2off T30 Torx screws are under the oval covers at each corner of the bumper, lever the covers up from the bottom:
IMG_3701_zpsv4ejkrvc.jpg


Now comes the tricky part, to remove the bumper you have to pull it forwards at the same time as levering the edge of the bumper out past the lights - I used the plastic trim levers for this.
Once the bumper is loose, disconnect both foglights and the temperature sensor then pull the bumper free :funk:

To refit the bumper just reverse the above steps but with the added step of pushing the edges of the bumper into the guides at the same time as shoving the front of the bumper into place.
 
Last edited:

bruceR

Active Member
Apr 11, 2005
2,540
616
Monifieth, Dundee
Fitted the headlights that I had been reworking:
IMG_3702_zpsalofebbb.jpg

IMG_3703_zpsglmlnz7o.jpg


The lenses are much clearer and all bulbs working fine, will have to get them aligned now :D
 

bruceR

Active Member
Apr 11, 2005
2,540
616
Monifieth, Dundee
Since I upgraded the pancake pipe to one from 1.8T, I've had boost pipe pop off a few times (the pipe that fits into Intercooler from pancake pipe. Fed up with this I bought a coupling from Creation Motorsports and a 90deg silicone pipe from AutoSiliconeHoses:
image_zpsq1q4xliz.jpeg

The hose is 70mm X 90deg, the coupling is a 68-63mm

Took her out for run and progressively gave her full beans, revved to red-line with no issues so all good for now
 
Last edited:

bruceR

Active Member
Apr 11, 2005
2,540
616
Monifieth, Dundee
Right I had an urge to install "Auto Lights" after seeing it done on another forum members car, so purchased the switch/sensor off fleabay: item no. 251555972840
Having spent ages looking for a way to fit the Euro Switch I decided the mk5 Golf switch surround was the best fit (it has the same curvature as the dash - so bought one odd fleabay:
item no. 151987602317 (It came with a switch and dimmer)
Made up a paper template:
image_zpsppx8mziq.jpeg


Removed the lower dash trim, easy enough and covered loads on here but first remove the light switch assembly and disconnect the wiring, there are 3 torx screws on the dash + all the torx screws around the fuse box then pull the panel out from the bottom and down from the top.
I then chapped out the old surround:
image_zpsiypkmzgz.jpeg

image_zpszewtatm6.jpeg


Marked up the hole to be cut using template:
image_zpsgeogafij.jpeg


Got out the handy Dremmel and grew a set of bigger hairy ones!!!!!!:
image_zpshpojklsx.jpeg

image_zpstgqcjejy.jpeg

Rounded the corners with another attachment then sanded/trial fit/sanded/trial fit/sanded until a nice fit.

Got a tin of flexi bumper paint (Halfords) and prepped then sprayed 3 times (drying in between each coat):
image_zpssqfbbuqa.jpeg
 

Thai-wronghorse

Self proclaimed Cupra R addict & butcher!
Dec 3, 2015
2,199
1,038
Kent
Brilliant, I was going to ask for me details on this and you've beaten me to it.
How come you painted the dash panel?
How does the paint colour match up with the rest of the plastics?

Sent from my HTC One_M8 using Tapatalk
 
Genuine SEAT Parts and Accessories.