Audi A8 W12 by FinerDetails

FinerDetails

Official SCN Supporter
As its part of the Audi group I thought I'd share this one on here with you guys and gals. I kknow my forum contribution has been a tad lower recently, but hopefully the arrival of a laptop to support my PC will improve things...

any, back to that detail:

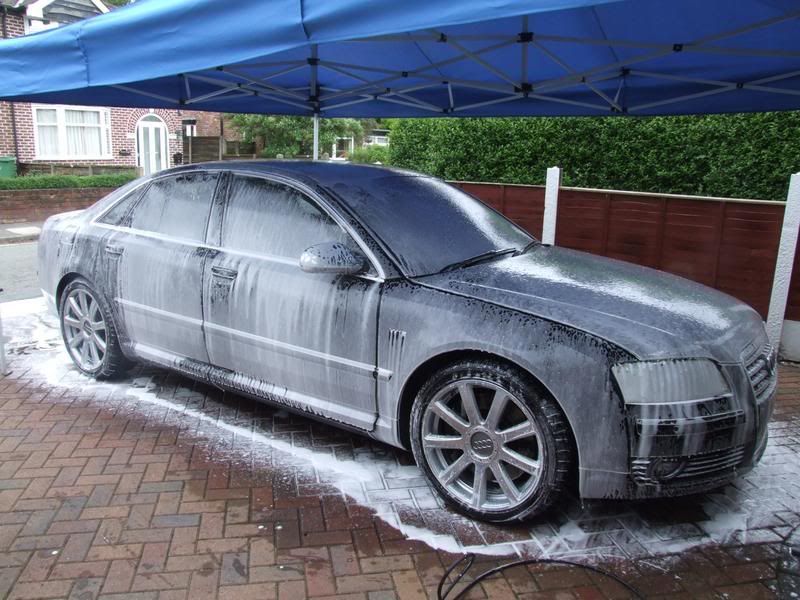
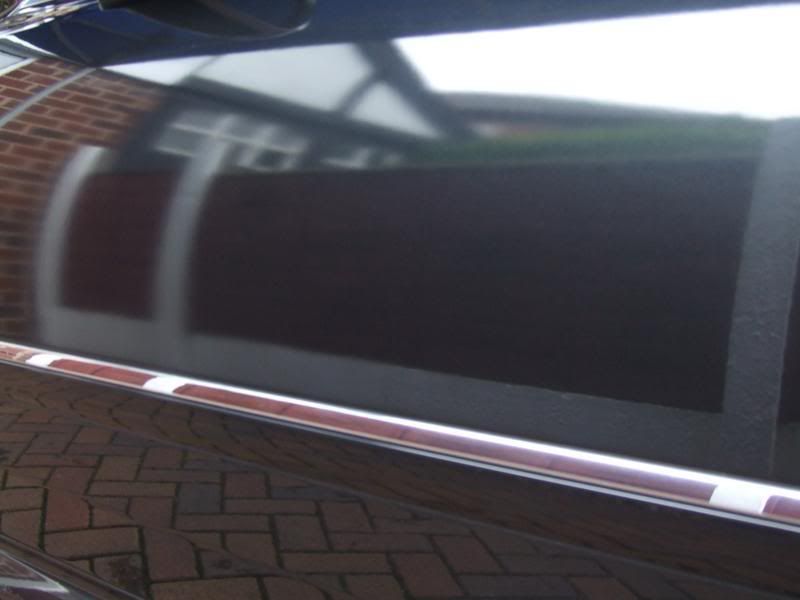
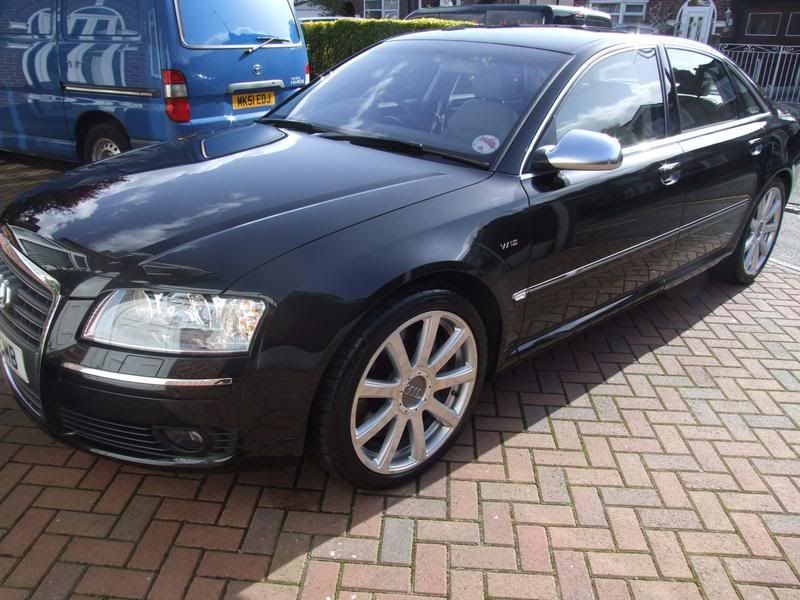
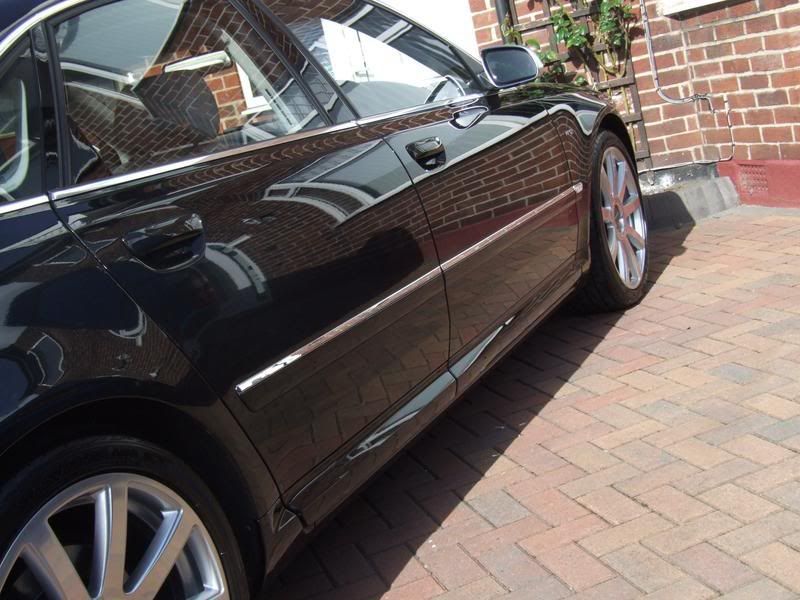
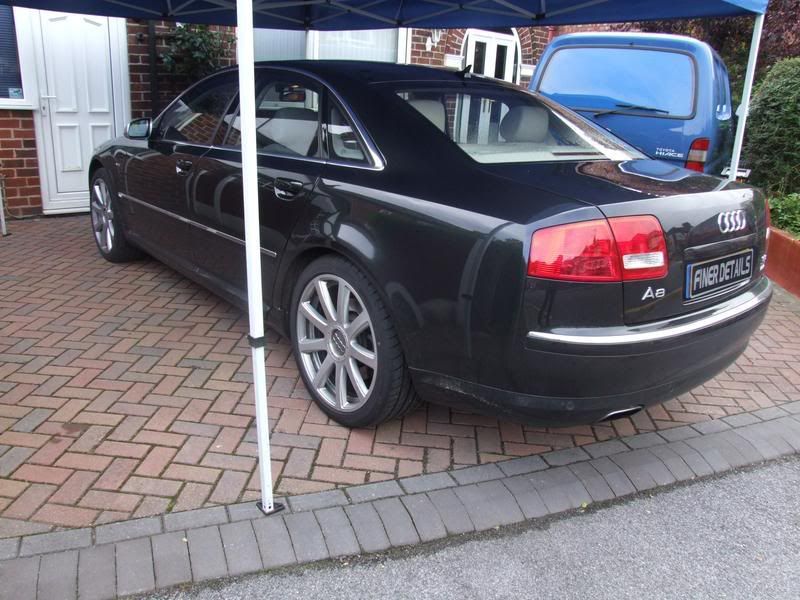
When it comes to the big cars, these babies really do seem to have So much paint to detail! Here is the car when I arrived in the morning, already sat under the owner's canopy ready for the day's work.

AudiA8W12.jpg


AudiA8W121.jpg
 

FinerDetails

Official SCN Supporter
The first job was to clean the alloys. I clean the alloys first, this way if any dirt is splashed on onto the paintwork it can be removed when the body work is cleaned after wards.

AudiA8W122.jpg


So out with the Pinnacle wheel gel cleaner and my many brushes:

AudiA8W123.jpg


The wheels, tyres and arches were then sprayed with the Wheel Gel:

AudiA8W124.jpg


and aggravated with the many brushes, ensuring the alloys were clean front, and inside:

AudiA8W125.jpg


I then sprayed the alloys with a snow foam. This is done to ensure all the wheel gel is lifted and cleaned away to leave a nice streak free finish after rinsing:

AudiA8W126.jpg
 

FinerDetails

Official SCN Supporter
Once the alloys were all rinsed down, it was time to start on the paintwork. I then applied snow foam layer to the paintwork:

AudiA8W127.jpg


This was left to sit for a few minutes before being rinsed off with the pressure washer. A second snow foam was then applied and used with a lambs wash mitt and the Pinnacle Bucket, grit guard and dolly for a wash down. Once fully cleaned, from top to bottom, a further rinse with the pressure washer to remove all soap and foam.

Next, using Pinnacle Ultra Fine Poly Clay and quick detailer I clayed the car, using the clay to remove all surface contamination and prepare the car for the paint correction machine polishing.

Once the claying was complete I started on the interior, waiting for the brighter weather to appear around lunch time.
 

FinerDetails

Official SCN Supporter
First job was to vac the car out, removing all loose dirt and grit from the seats, floor and car matts. Next out with the Leather cleaning kit, Pinnacle Leather Cleaner, Pinnacle Leather Conditioner, a leather cleaning brush and a few Micro fibre cloths.

AudiA8W1214.jpg


I sprayed the leather with the Leather Cleaner before giving each area good scrub with the special brush, paying attention to the creases, stitching and folds. After each area was cleaned I wiped away the dirt and spray with the MFA cloth. Once all the leather had been cleaned and was suitable free from dirt, stains and marks I applied with Leather Conditioner with a Microfiber pad. Working the conditioner well into the leather and leaving it to soak for 30Min's or so.

Whilst the seats were soaking in the conditioner I cleaned all the vents, dash, rear shelf and doors with interior cleaner, a MFA cloth and a double ended interior brush. I then used upholstery cleaner, the Meggi's Miltie purpose brush and the wet n dry vac to clean the interior floor Matt's. Once clean and dry they were placed back into the car. I then used a MFA cloth to buff the seats, leaving a nice clean, fresh and Matt finish to the leather.

AudiA8W1237.jpg


AudiA8W1238.jpg


AudiA8W1239.jpg


AudiA8W1240.jpg


AudiA8W1241.jpg
 

FinerDetails

Official SCN Supporter
With the interior finished for now, it was time to start on the exterior. First job was to improve a smart repair. Here is the passenger door reflection:

AudiA8W1216.jpg


Next I went around the car, checking the paint depth and recording them on my Vehicle Detail report. I paid particular attention to the readings on the passenger door ready for the next stage.

to show the difference here is the reflection in the rear passenger door:

AudiA8W1215.jpg


The owner hadn't seen wet sanding work being completed before, and I thought he might find it useful to watch, especially since its his W12 that I'm about to scratch up...

AudiA8W1218.jpg


Next I used the rotary, a Wolfgang polishing pad and 3m finesse it final finish polish to start to polish out the wet sanding marks:
AudiA8W1219.jpg


Once all done, I checked the area, and the paint depth readings before doing some parts a second time.

Once full happy with the finish I then moved to the paint correction work. Using the same combination as the wet sanding correction I worked around the car to remove these:

AudiA8W1222.jpg


AudiA8W1223.jpg
 

FinerDetails

Official SCN Supporter
Once happy with the results I used a pre glaze to prepare the surface for the wax stage. The wax used was Swissvax best of Show, massaged and applied by bare hands. This was applied to the whole car and then wiped clear and buffed with 2 ultra plush MF cloths. The alloys were coated with Wolfgang Sealant to protect them, the front arches dressed with AS finish, and all glass cleaned with Stoners Invisible glass. Tyres dressed with Pinnacle Onyx Black Tire gel.

The afters:
AudiA8W1234.jpg


AudiA8W1243.jpg


AudiA8W1244.jpg


AudiA8W1233.jpg


AudiA8W1232.jpg
 

__B3NNY__

OEM with a 'Twist'
May 5, 2005
3,449
1
Oxford
He must have been happy with that! Some seriously good work on that dull door, How could anybody leave a repair like that??

Top job again!


David.
 
Nimbus hosting - Based solely in the UK.