Hey!
Quite a few updates from the past few days. I've fitted a powerflex dogbone mount bush, EGr delete kit and finally plumbed in my boost gauge!
I fitted the EGR delete pipe first. I did block my EGR vac pipe off originally however the restriction within the egr is still there, mines also leaking like mad everywhere so probably losing me boost there! Also gets rid of another horrible VAG boost connector clip and replaced with a jubilee clip")
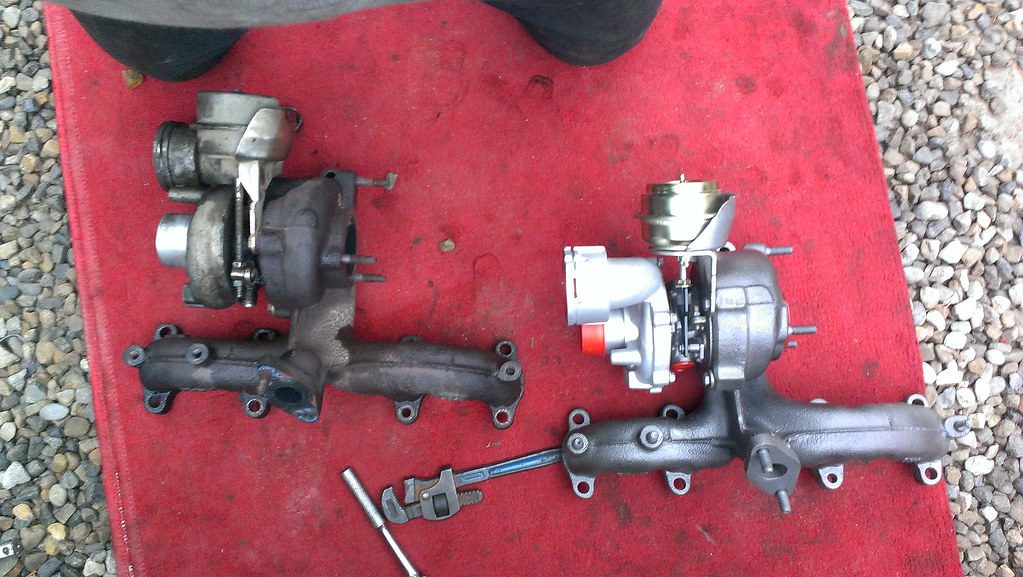
Here they are!
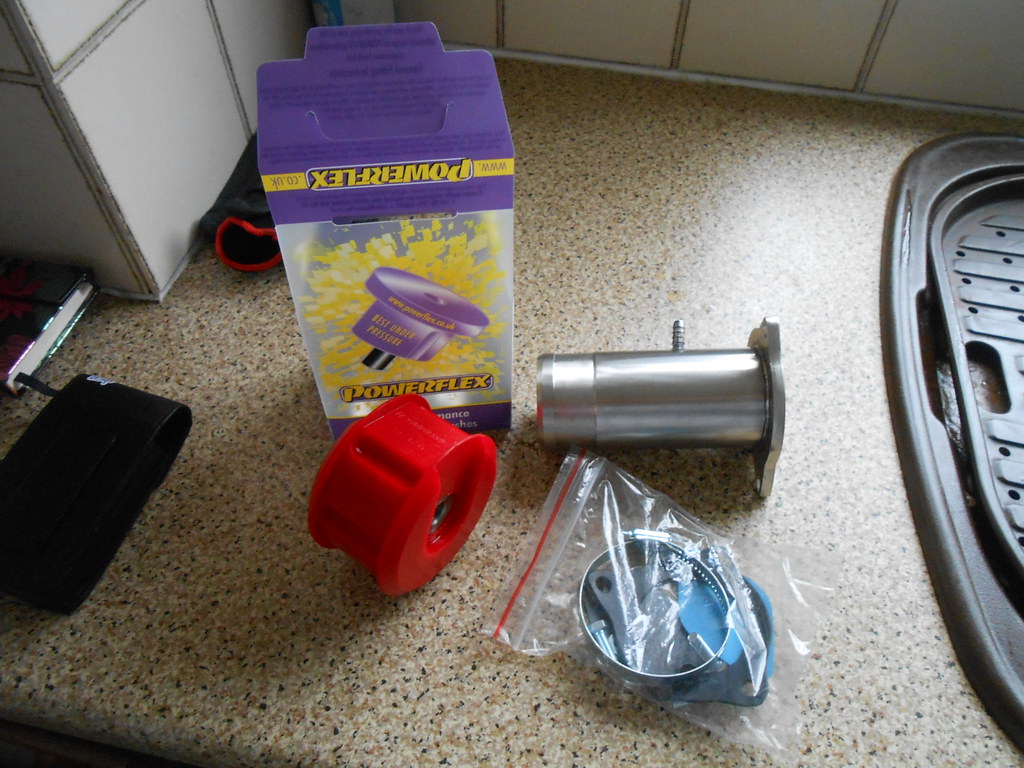
My original EGR in the top left
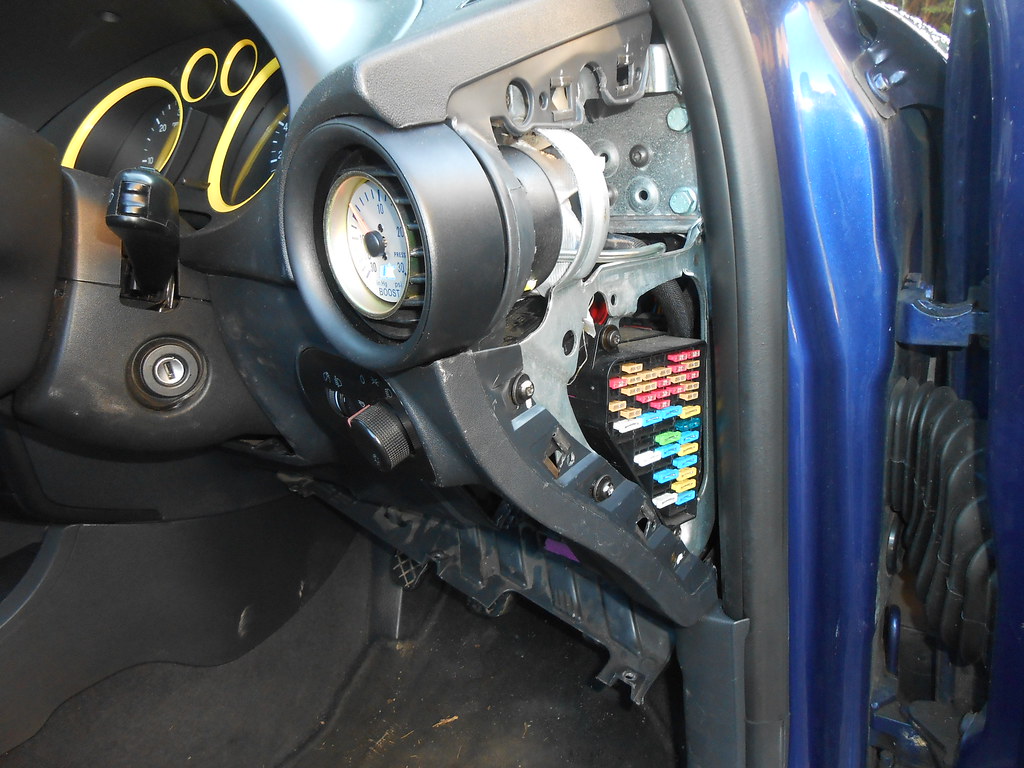
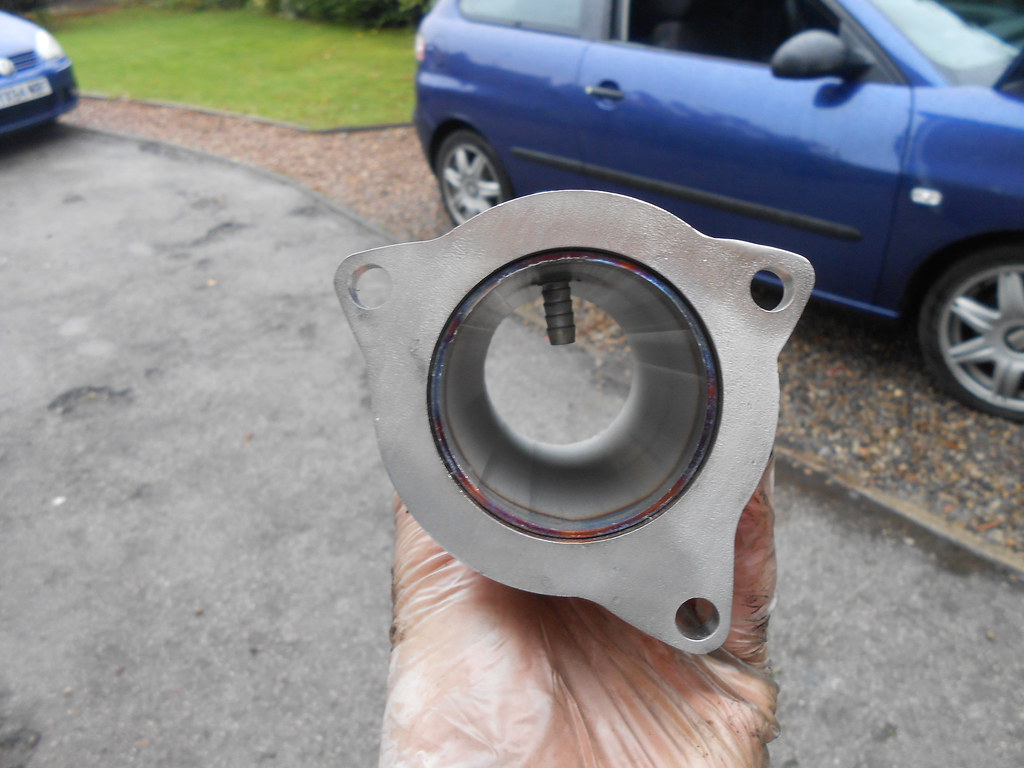
This is the EGR delete compared to the normal EGR pipe. The thing sticking out is the nipple for the boost gauge!
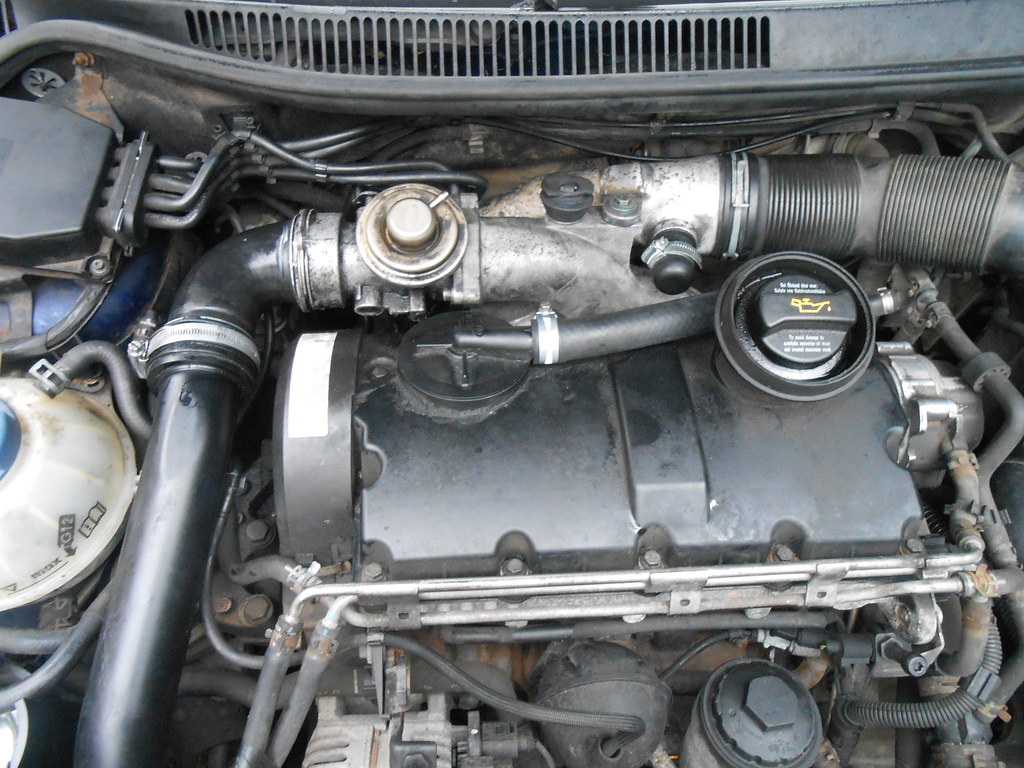
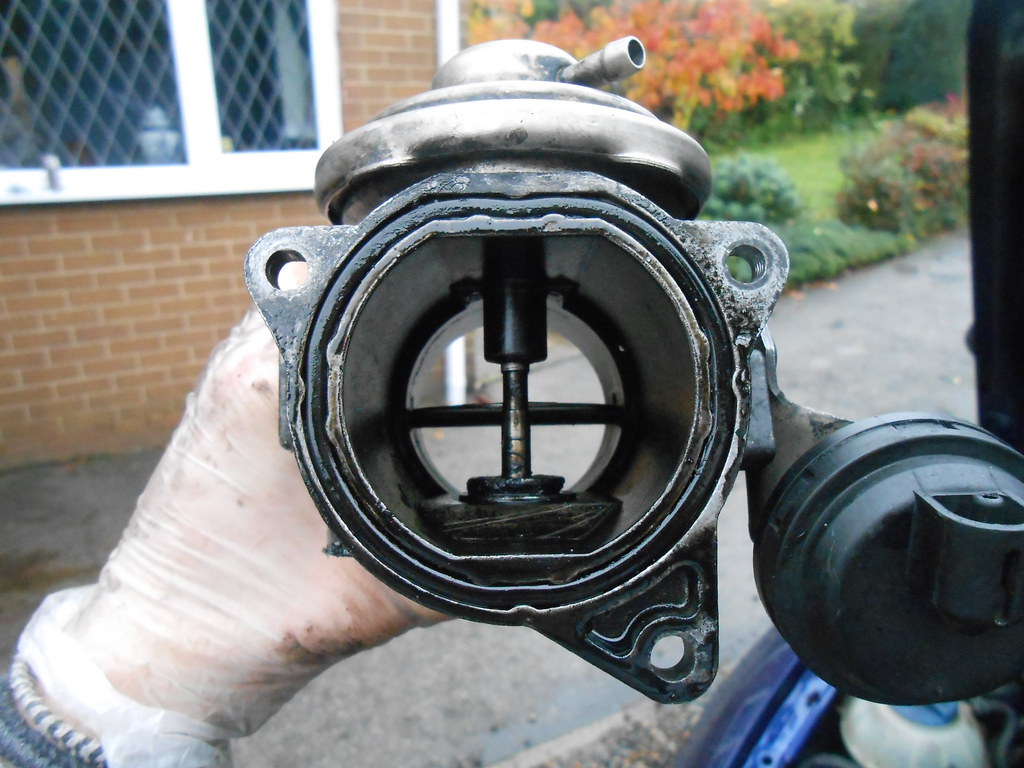
EGR valve
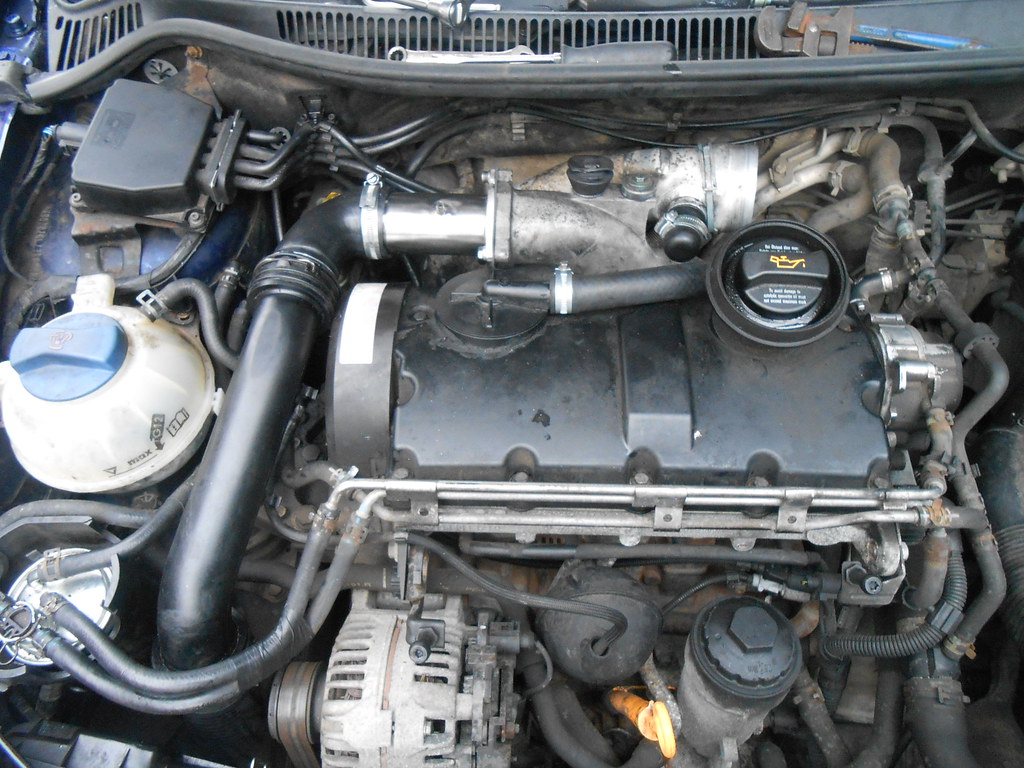
Then removed the EGR pipe to the EGR and blanked it off with the plate provided in the kit.
And after!
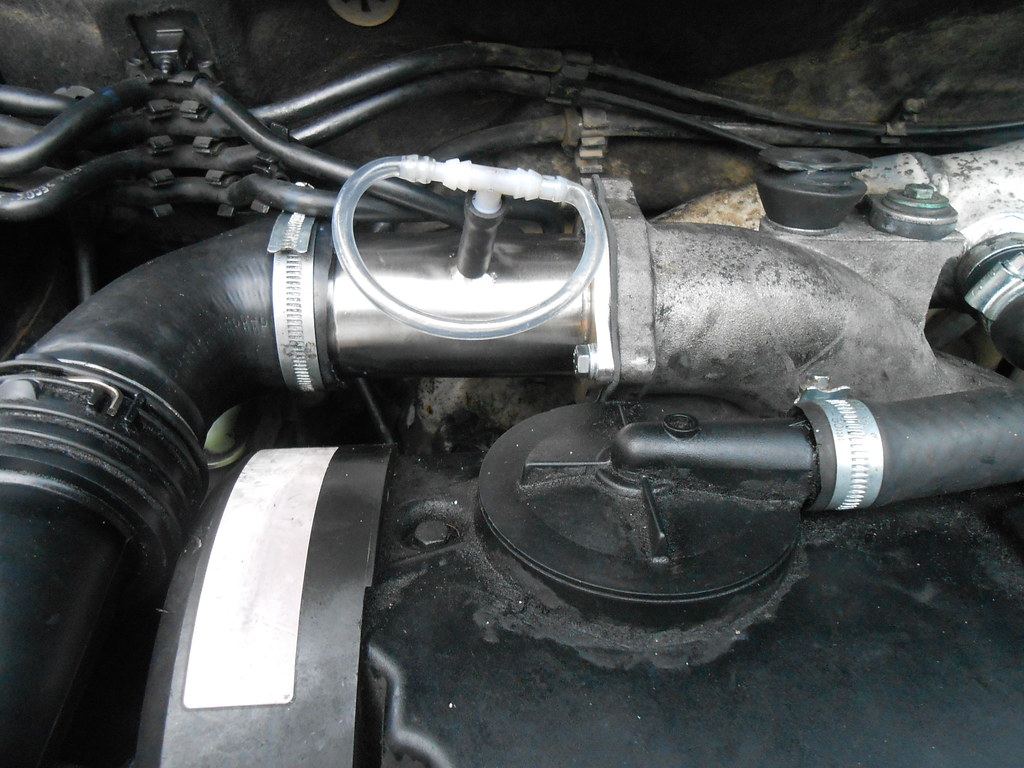
I didn't have anything to simply block the nipple off and didn't have enough time / supplies to fit the boost gauge yesterday as I needed some more piping. IMPROVISSSSEEE! haha Worked a treat
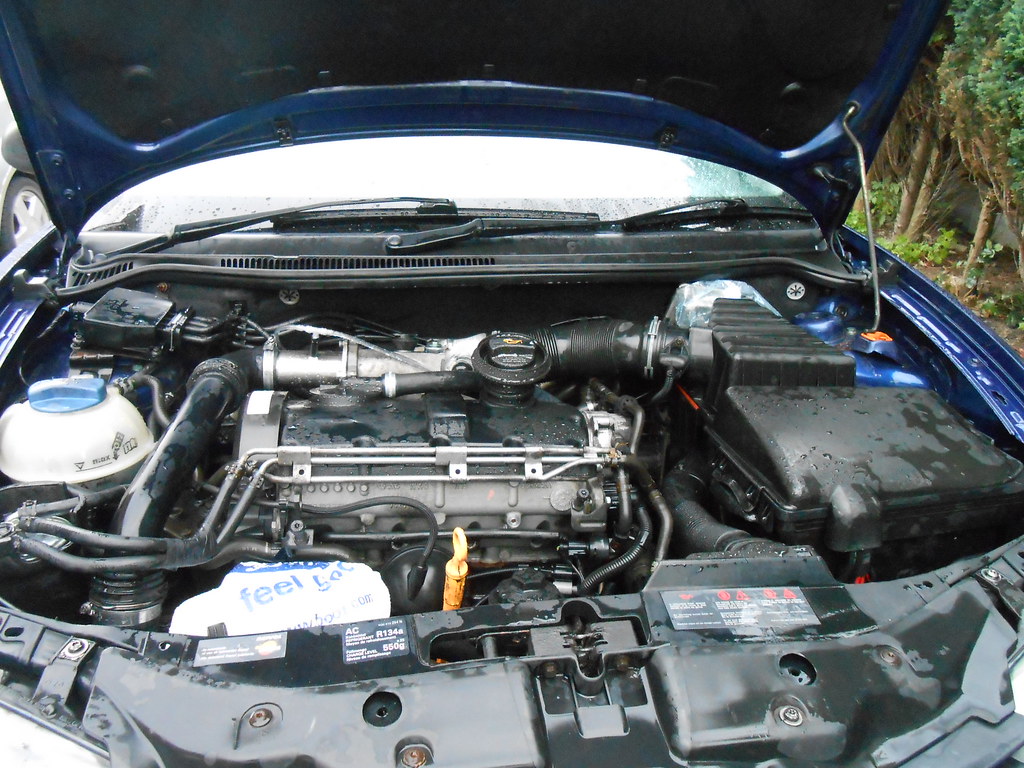
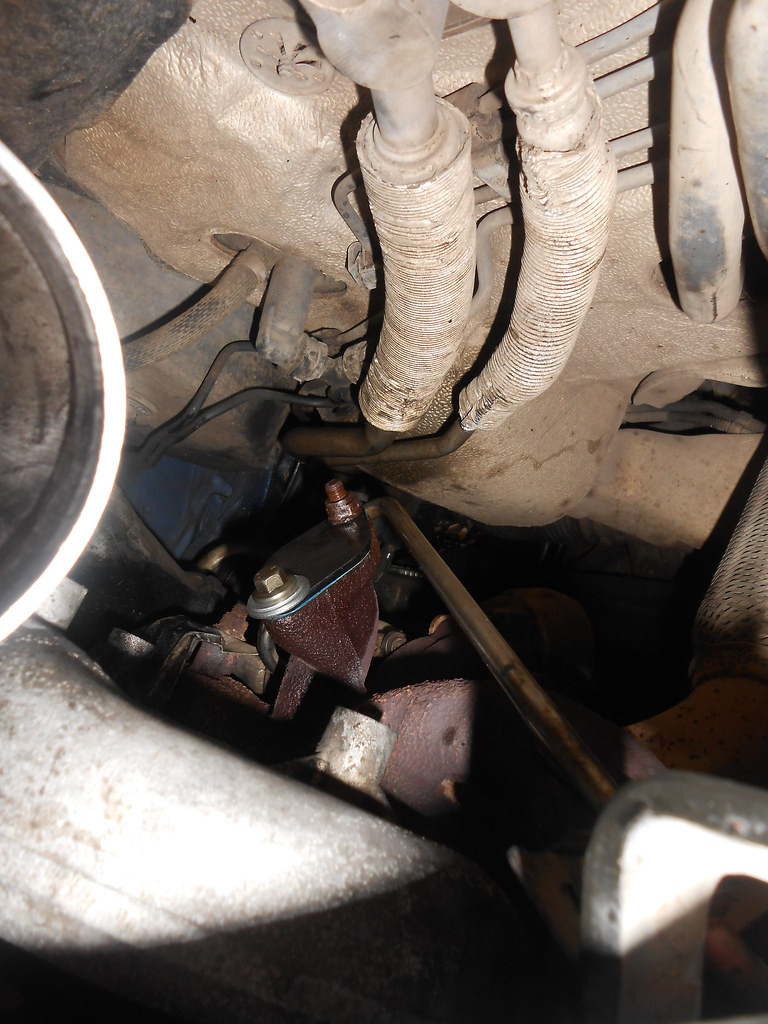
I then set out to fit the dogbone mount bush. So easy to remove. 4 bolts and it was off. Absolutely no need to support the engine whilst doing this

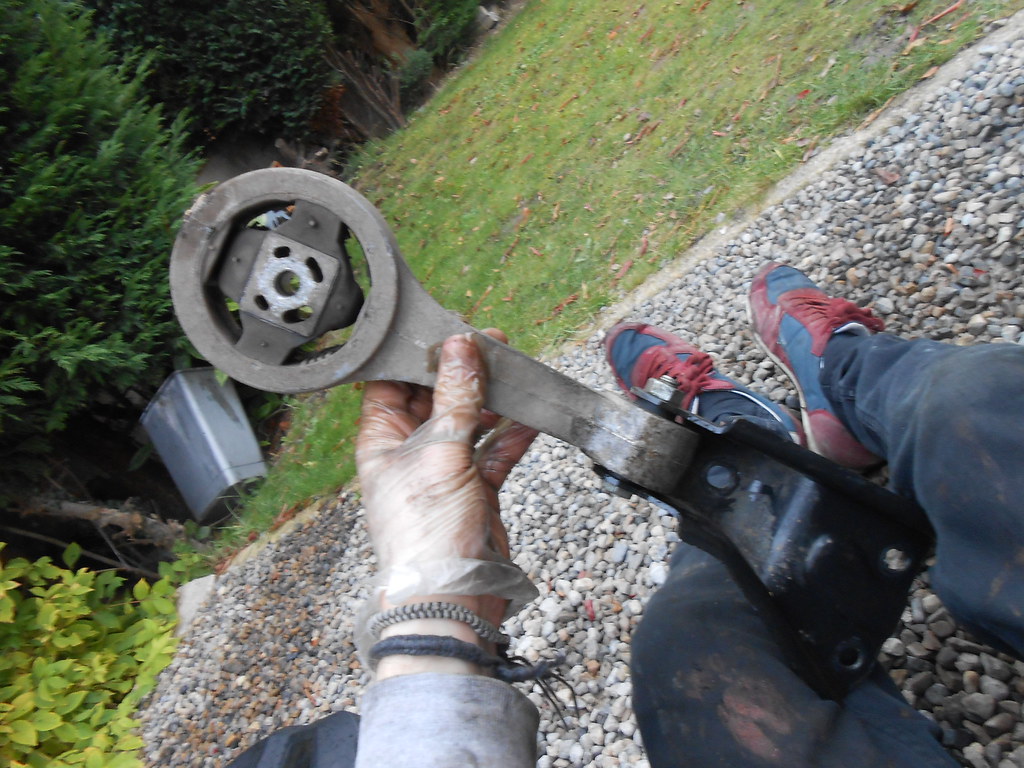
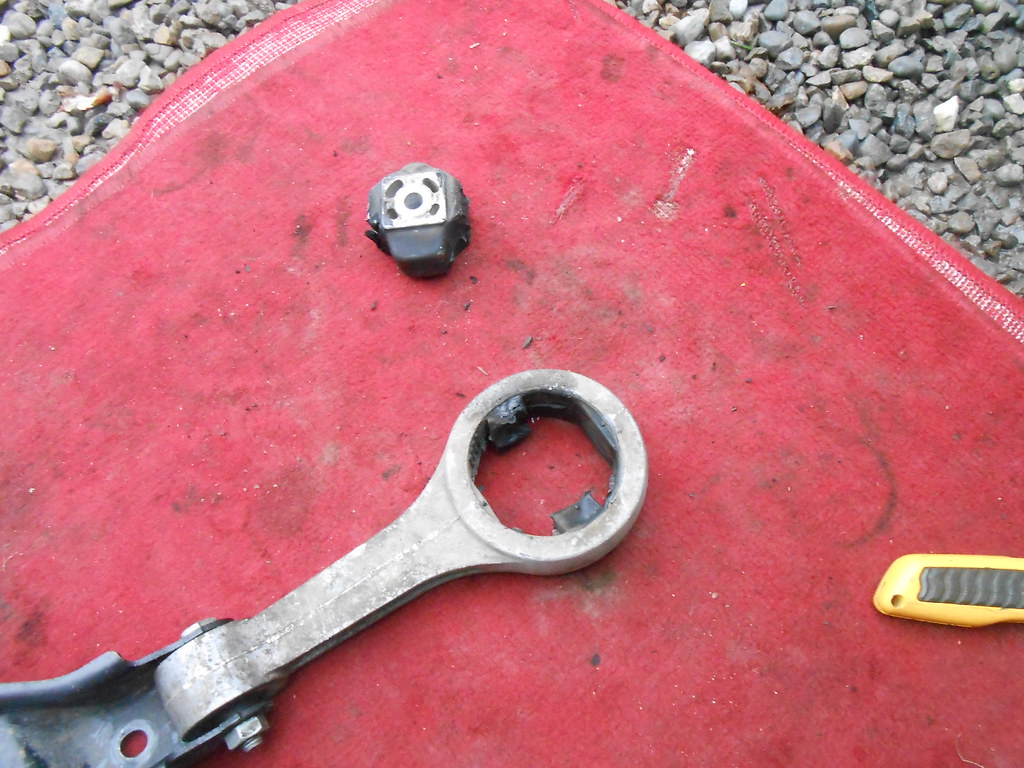
The old one has so many gaps in it no wonder the engine rocks so much when putting your foot down.
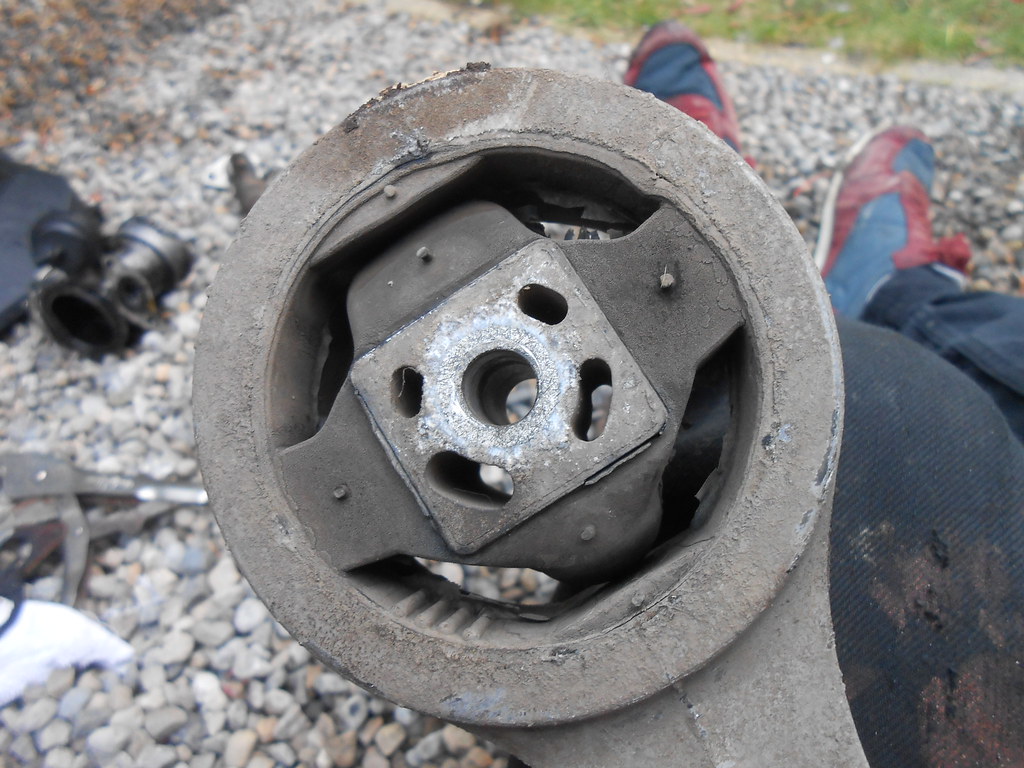
Little bit of wiggling and it was out. Removed the rest with a screwdriver and hammer
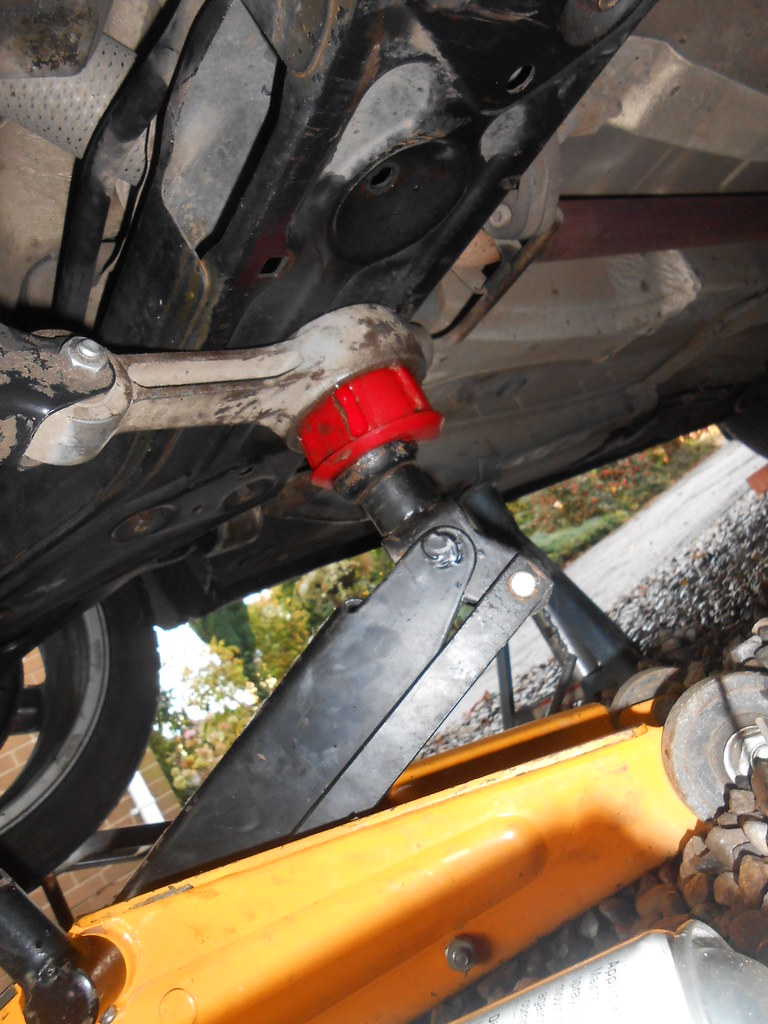
I didn't realise it would be so hard to press the new one in so I had to use some common sense / reach into my inner pikey and thought of doing this. It actually worked hahaha, pressed it in with the jack and using the weight of the car.
I used a small vice to finish it and pop it in properly.
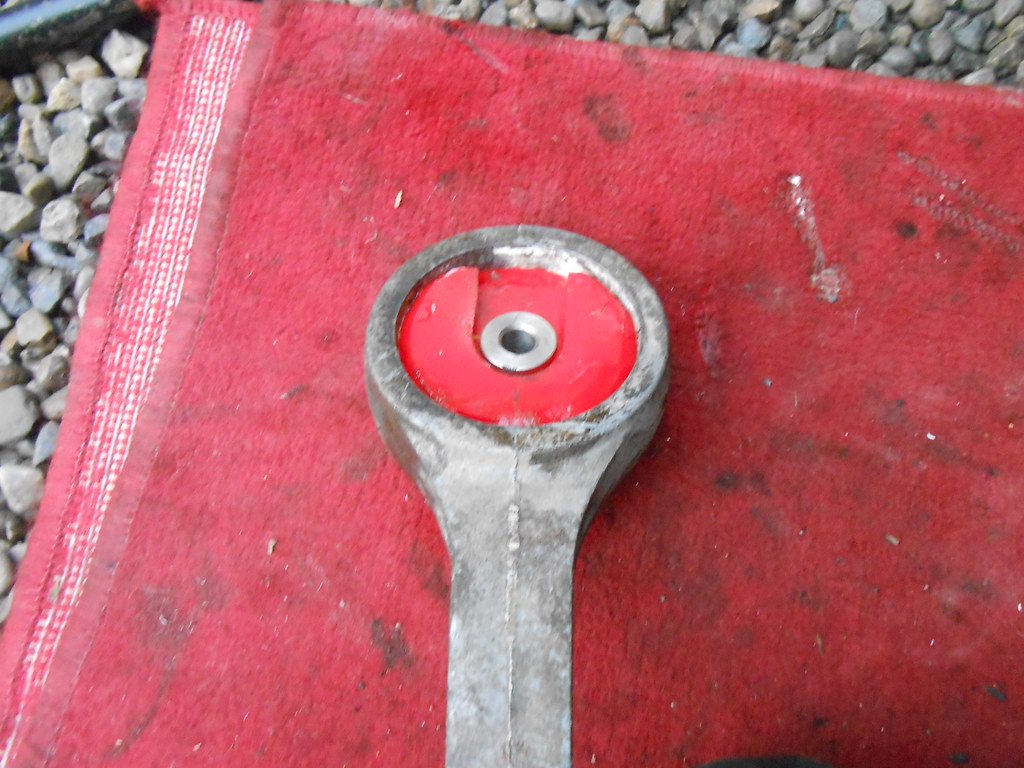
Will give my comments on it at the end
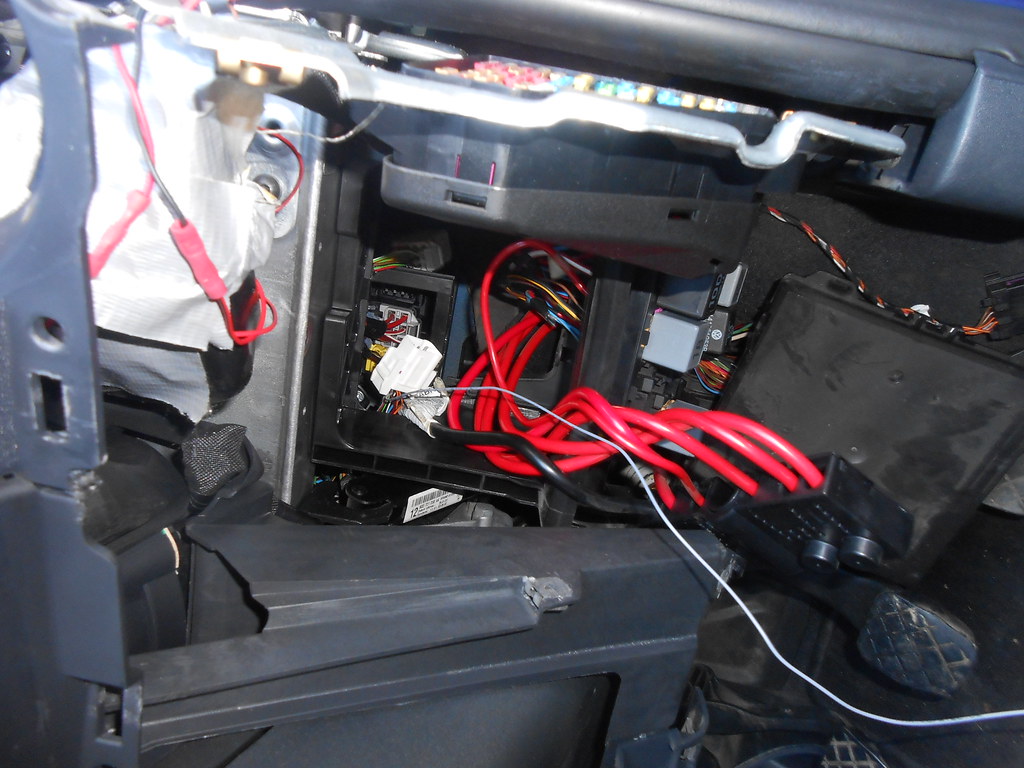
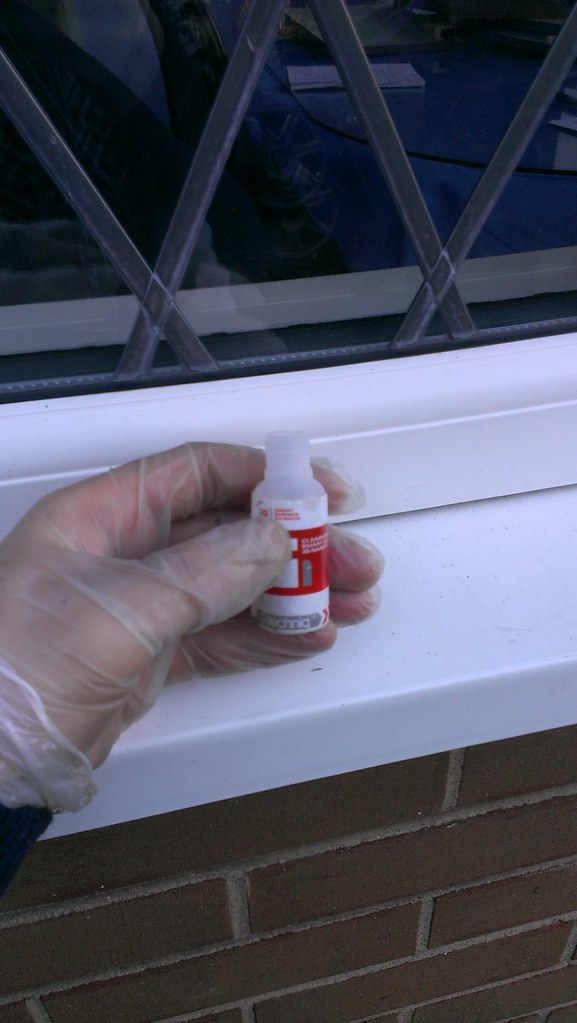
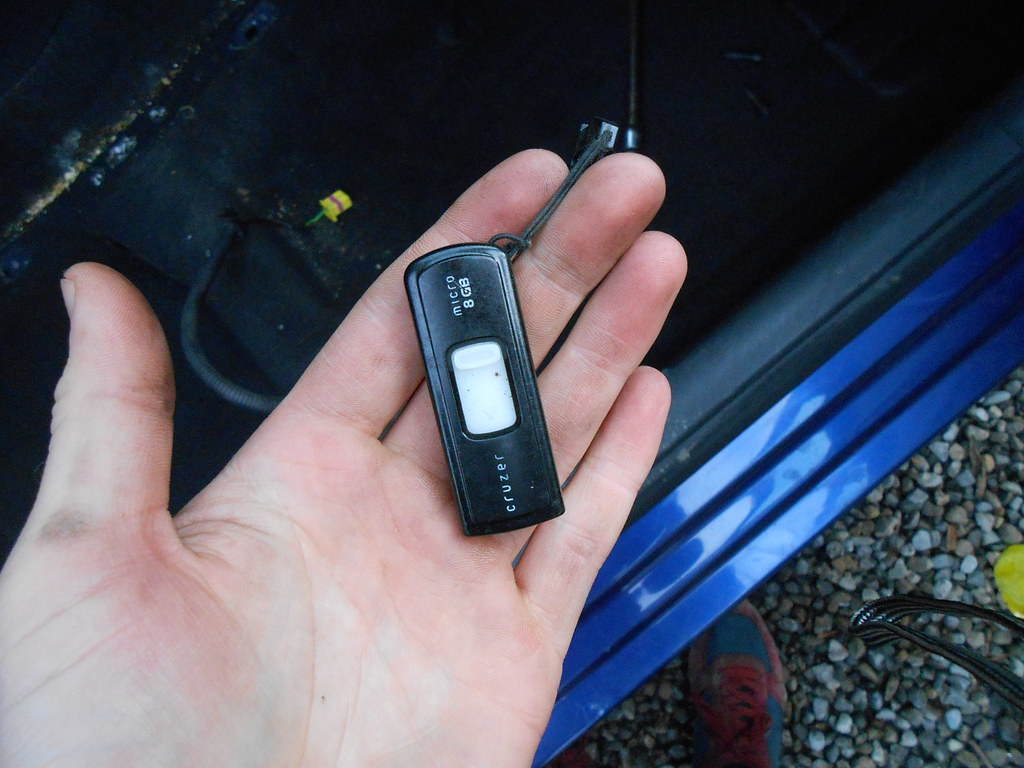
I then went and bought some more boost gauge piping, I used this stuff from pets at home. It's meant for fish tanks but fits absolutely perfect!

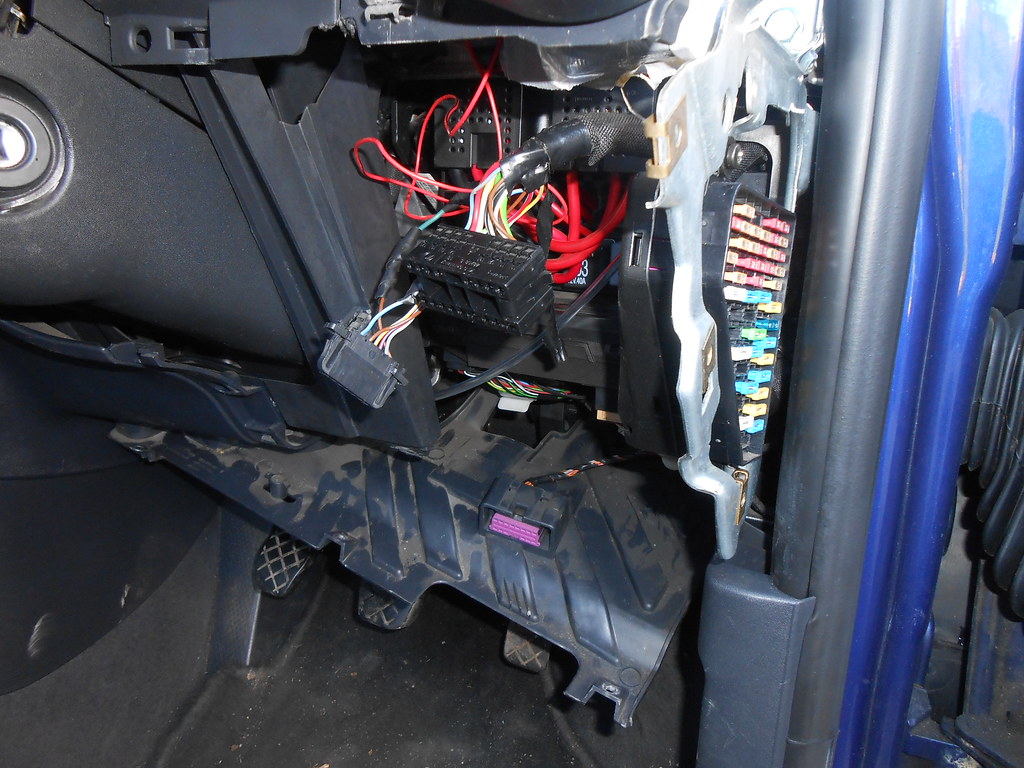
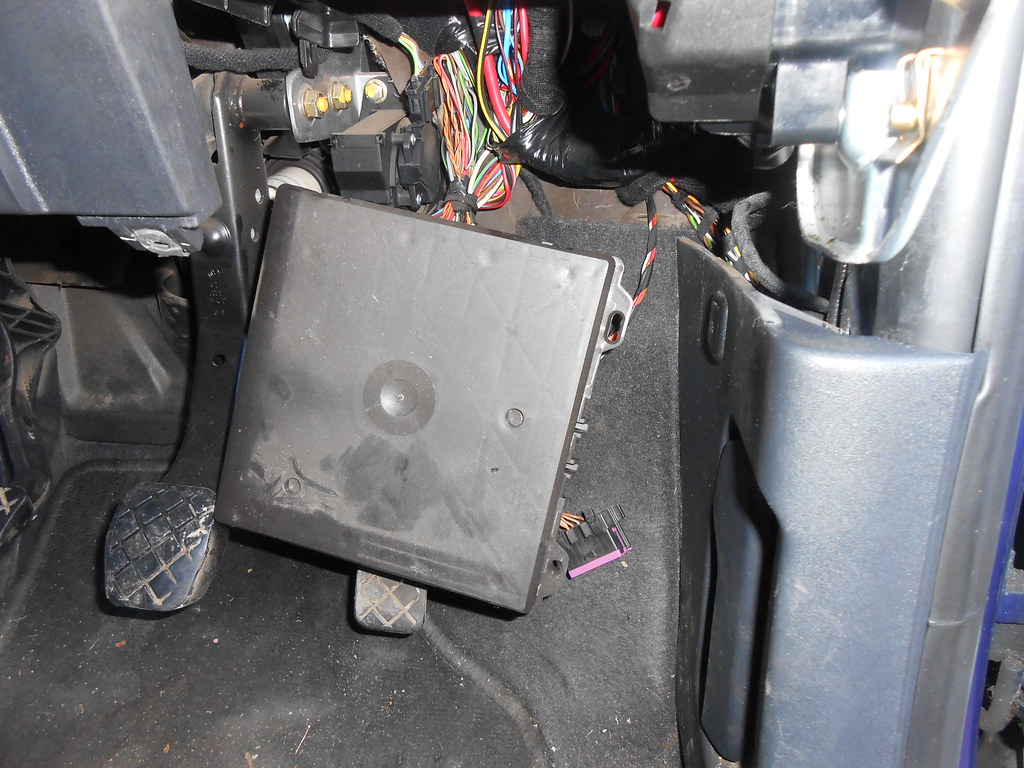
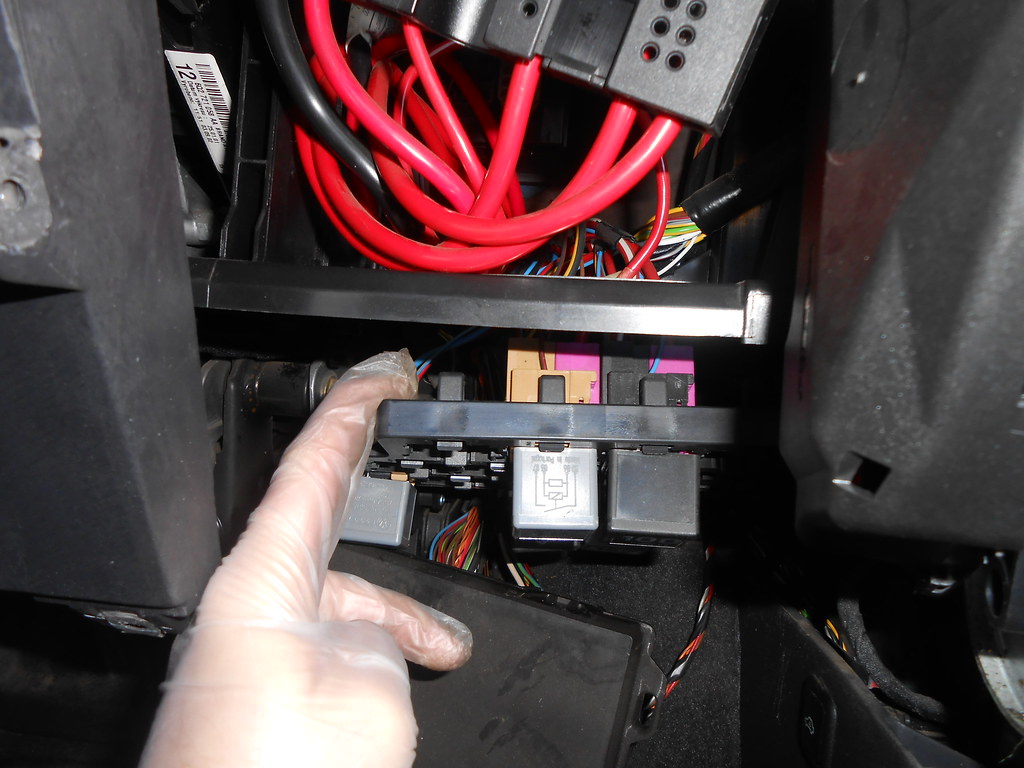
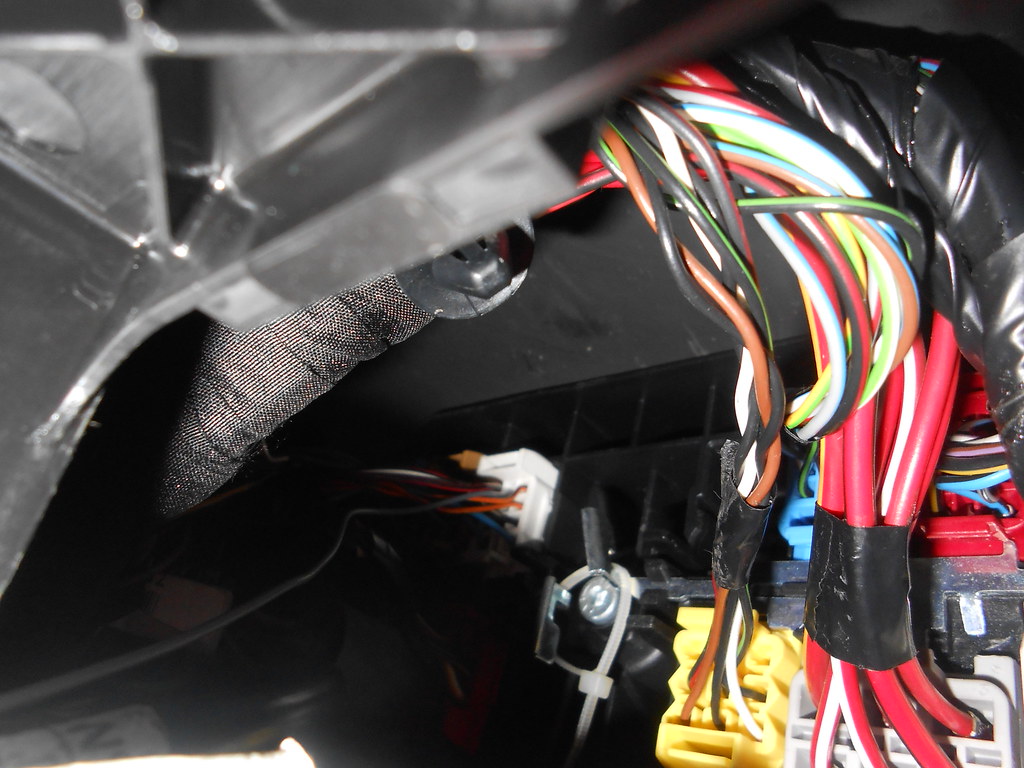
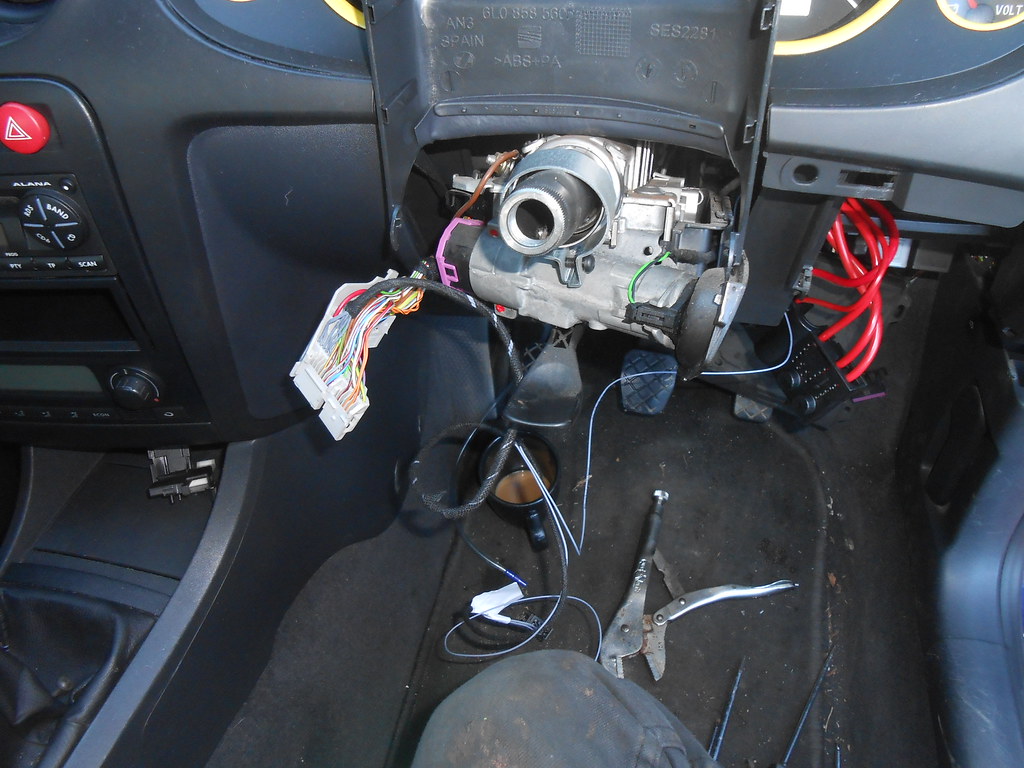
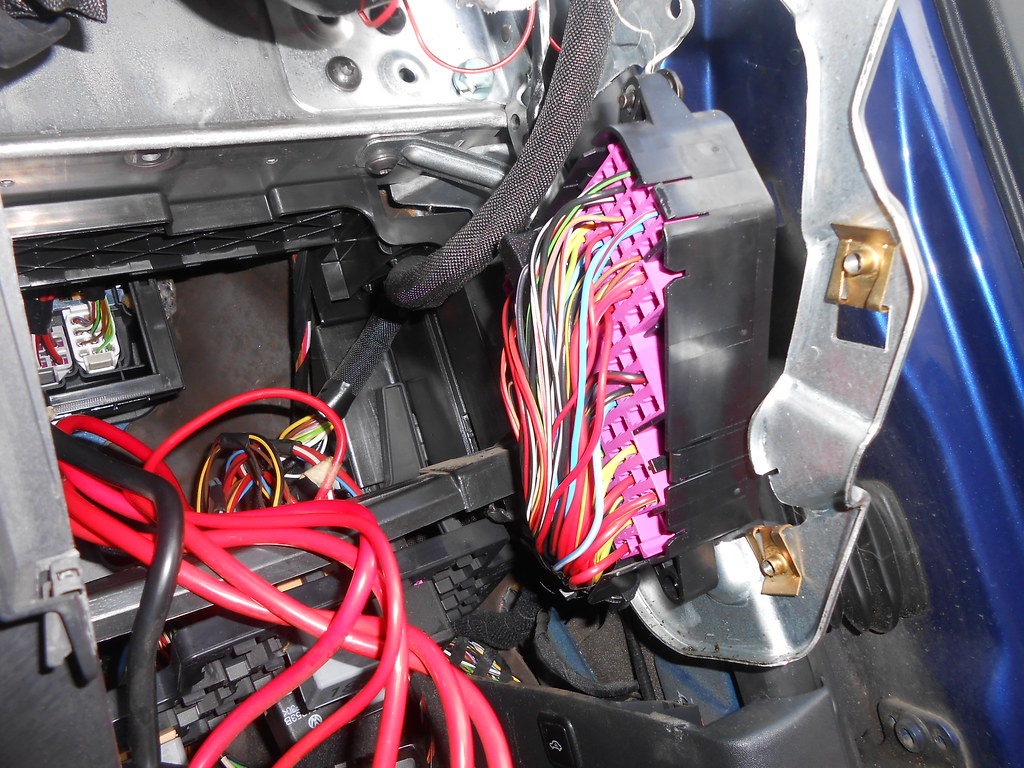
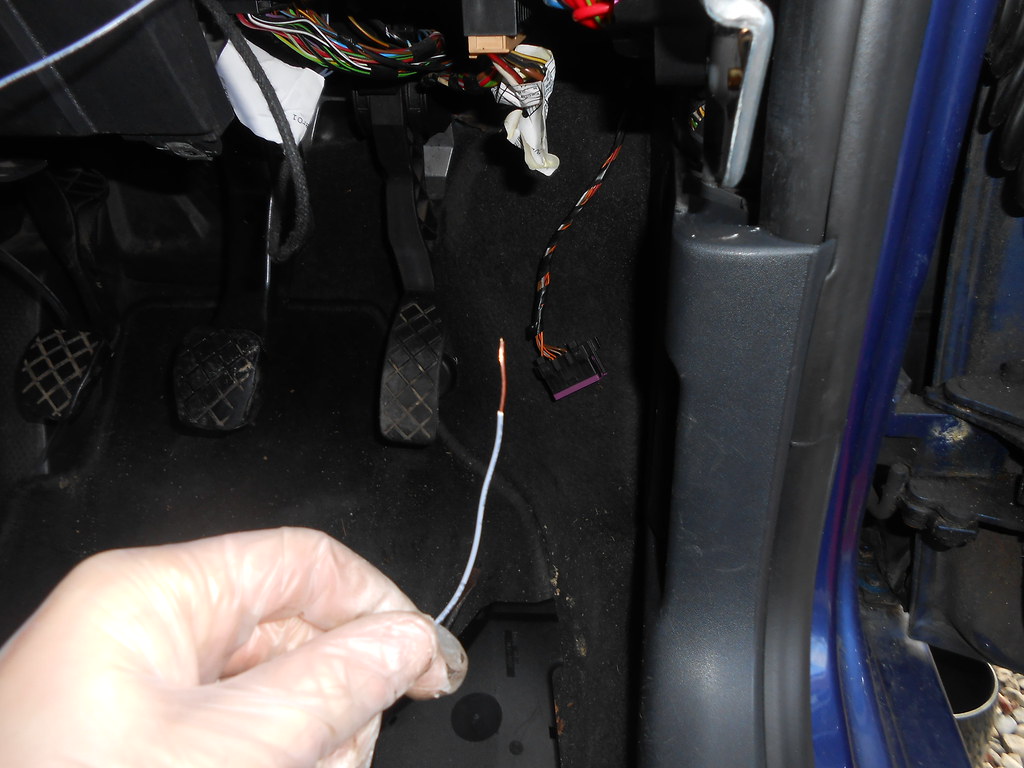
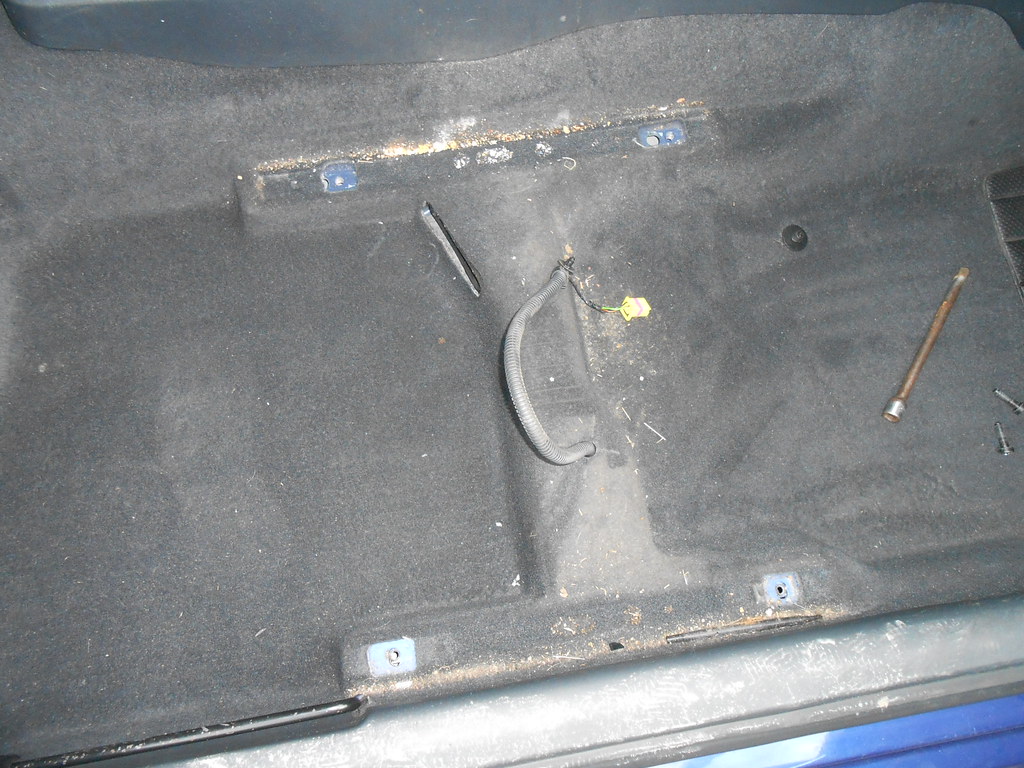
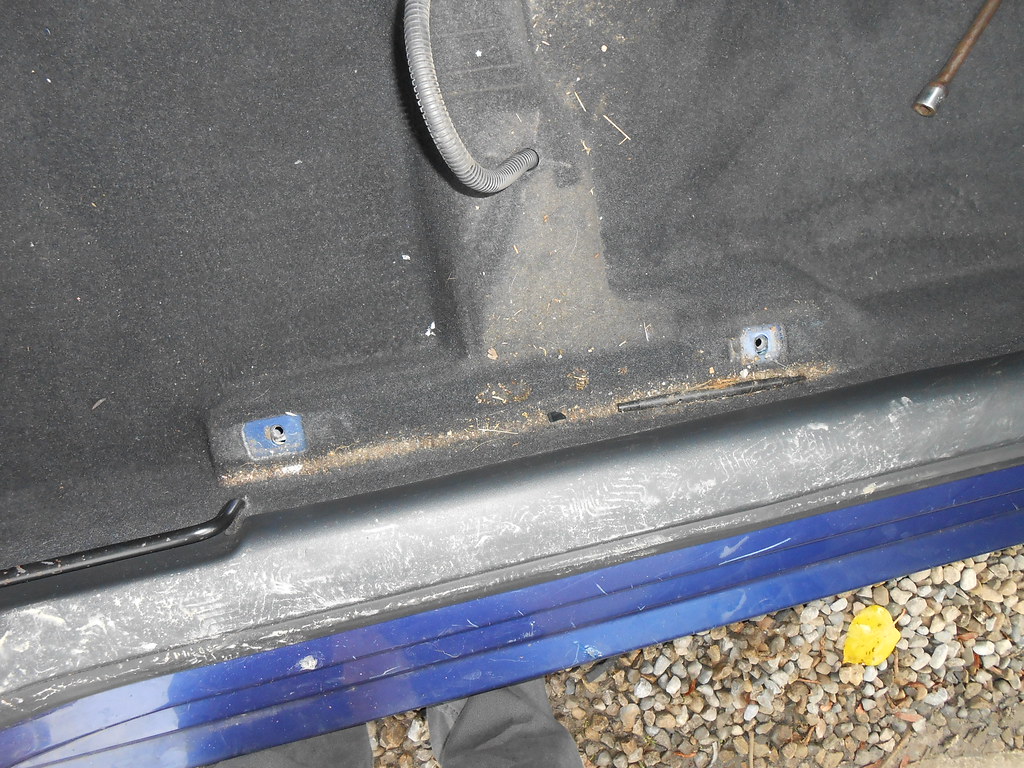
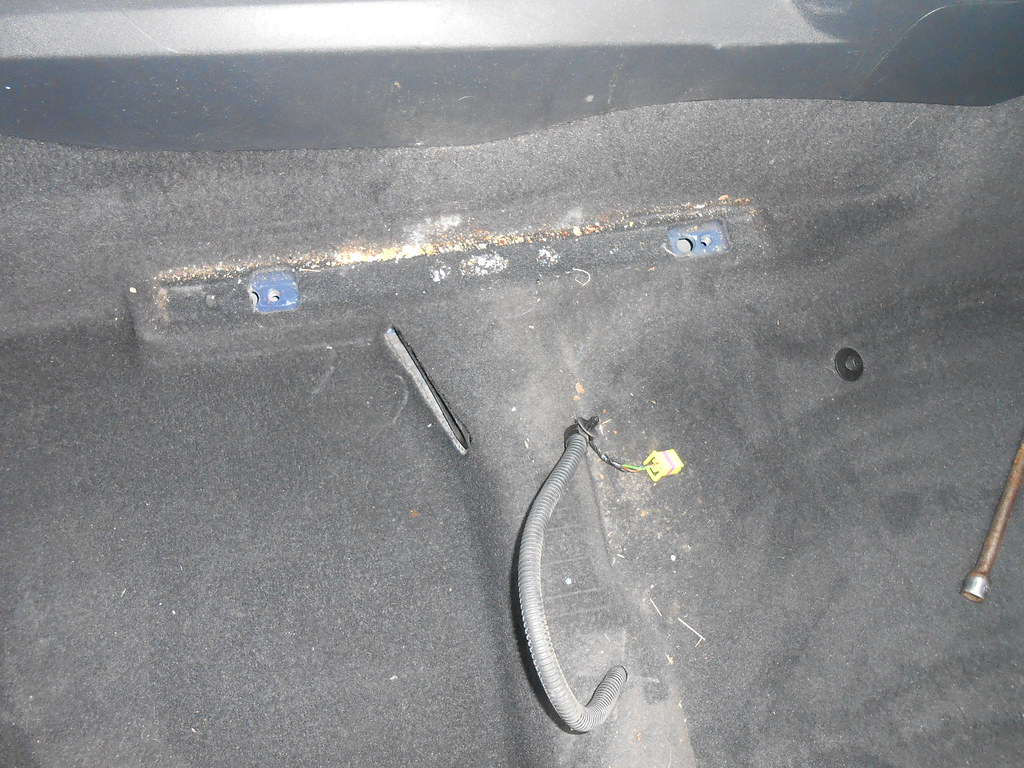
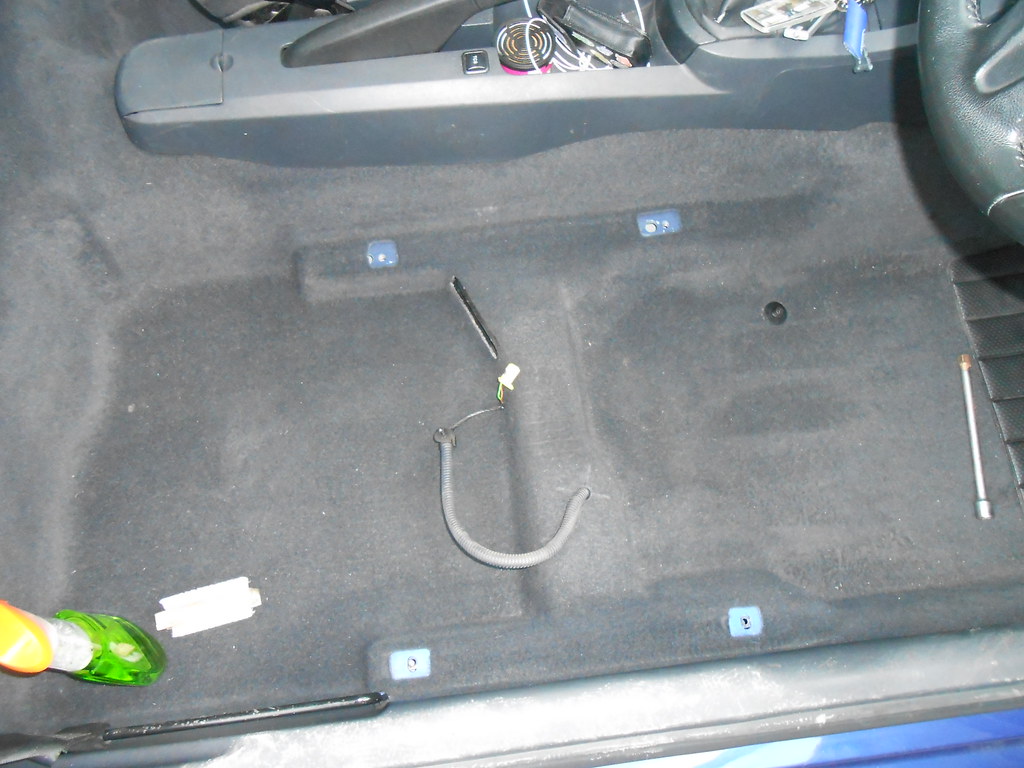
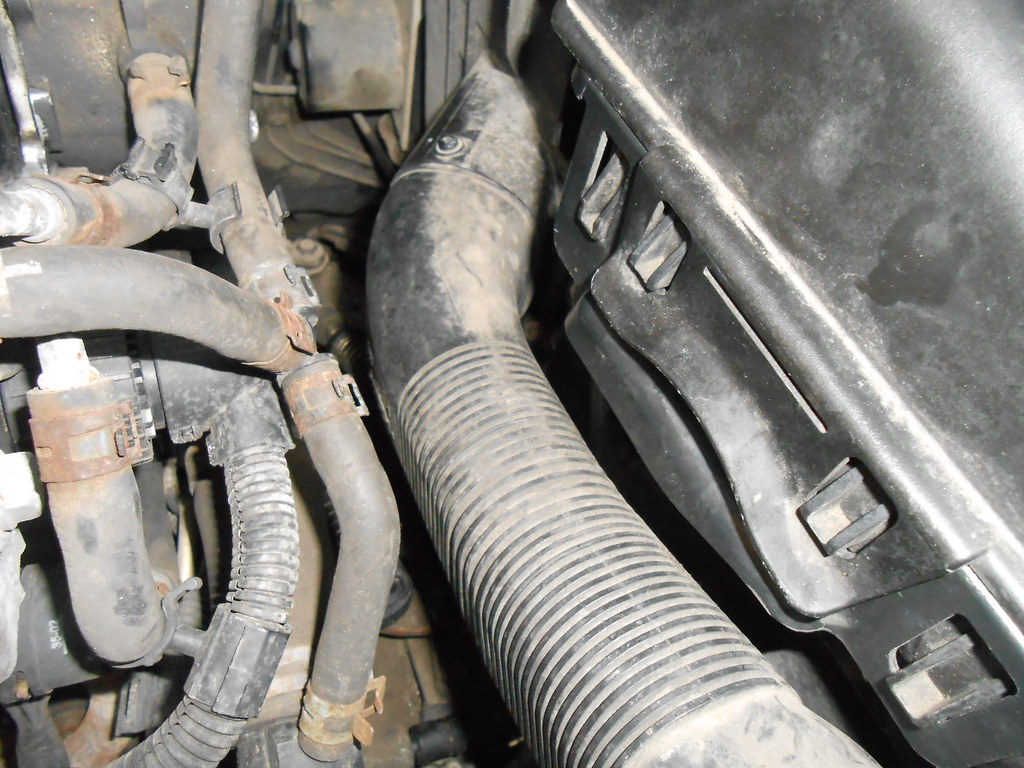
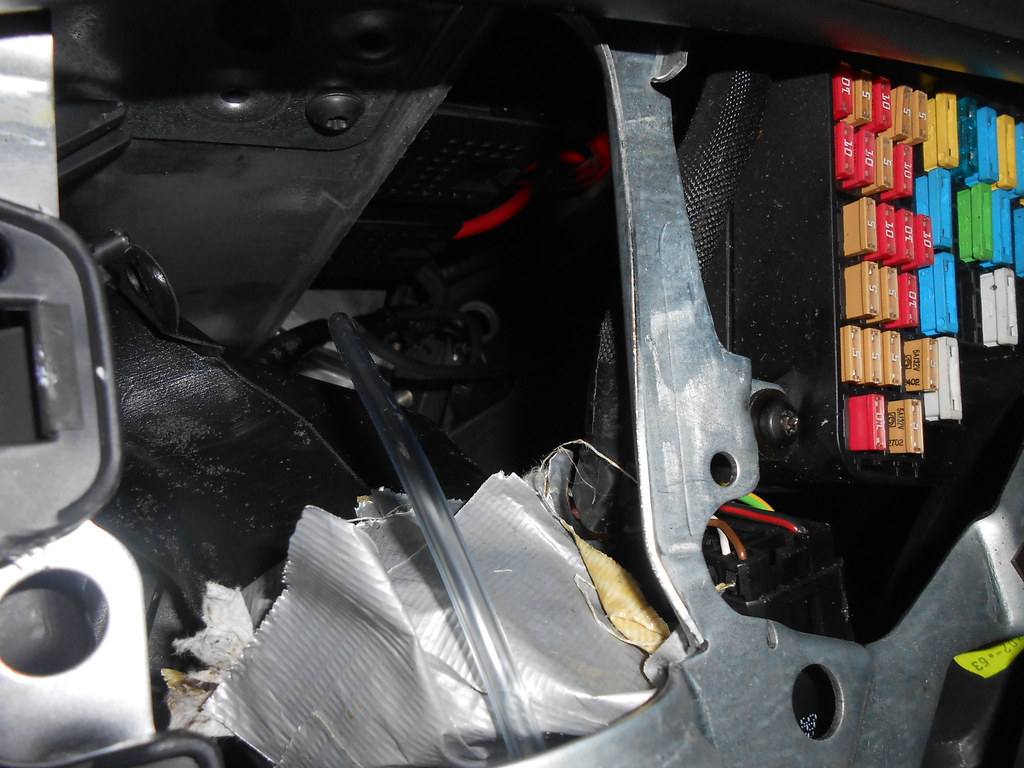
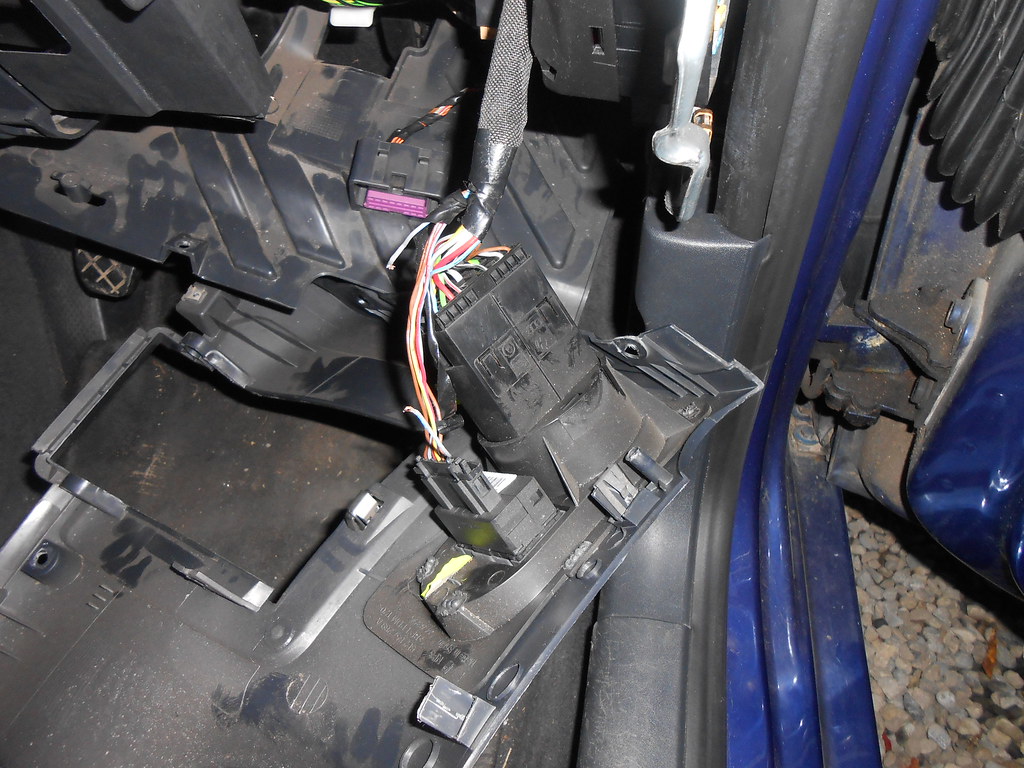
Started wiring it through the bulkhead. Also reallllly not sure what this black pipe is for? It did lead to teh engine bay but wasn't connected to anything and it had a little nipple connector on the end. The end is on the right of this pic?

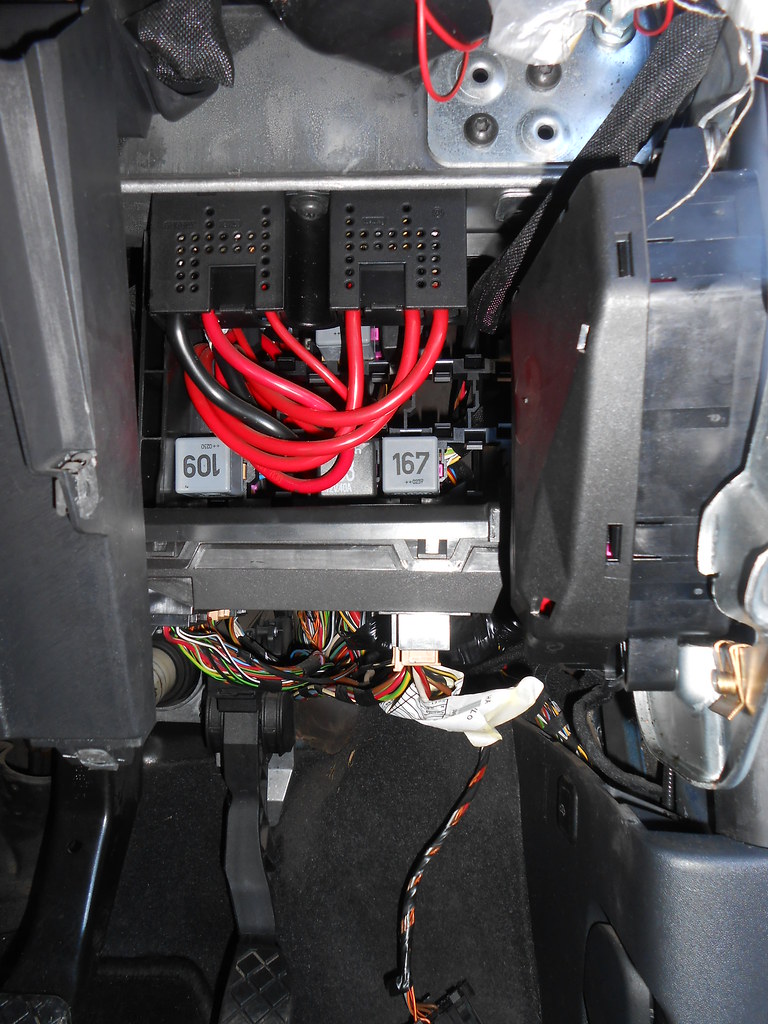
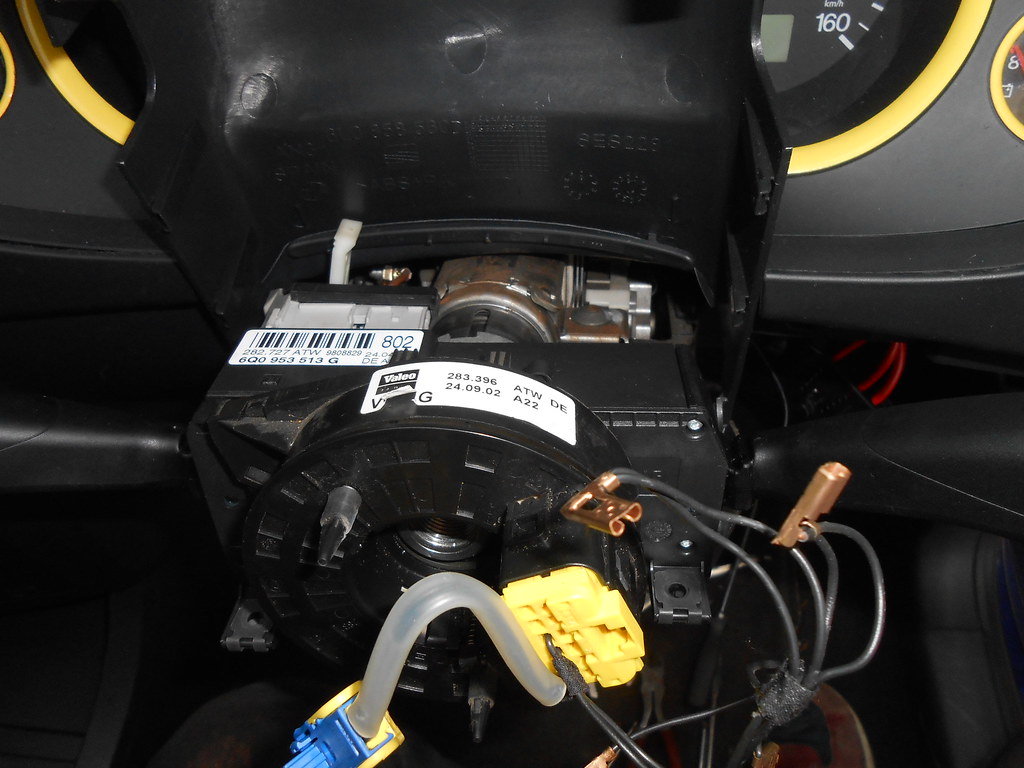
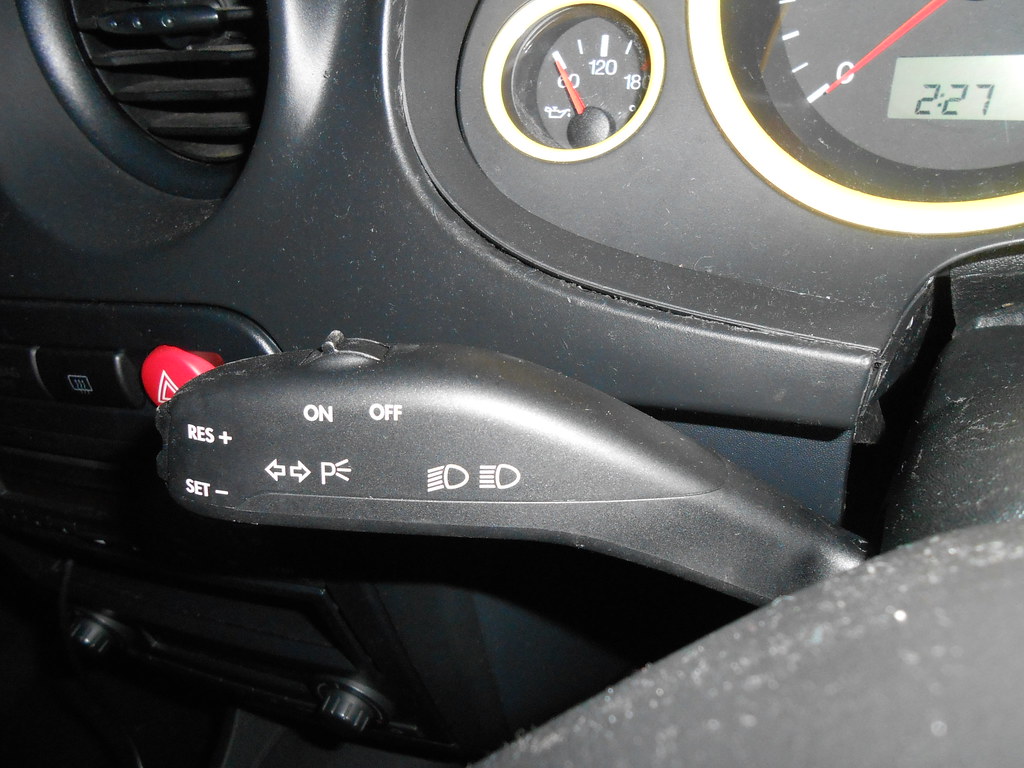
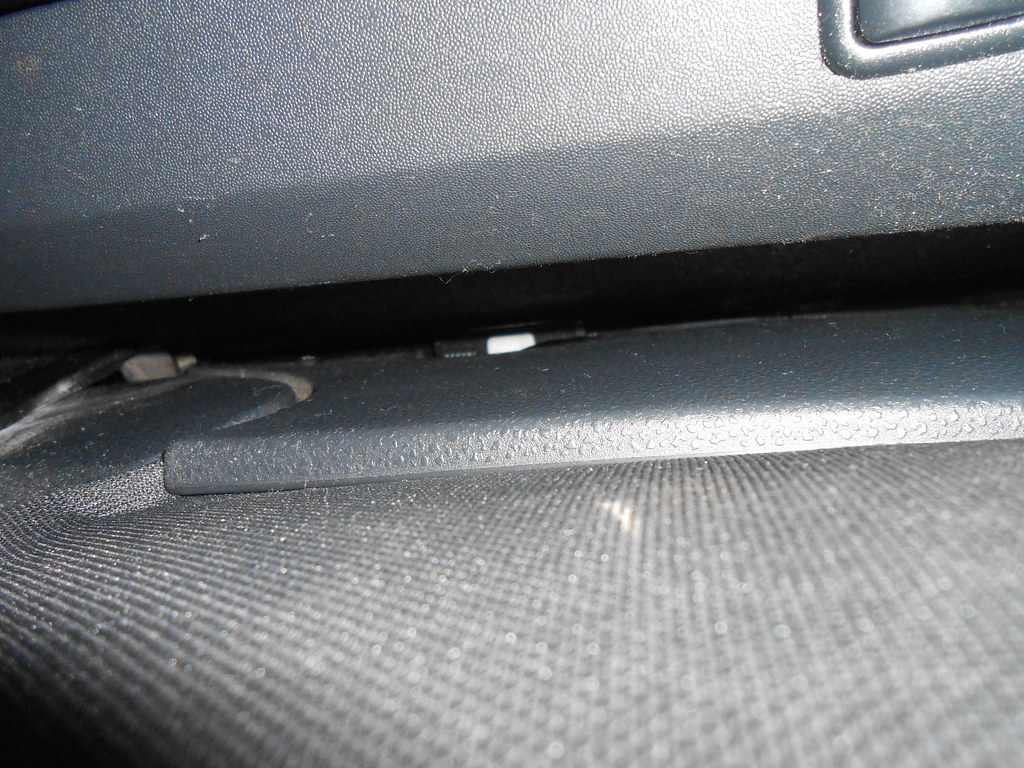
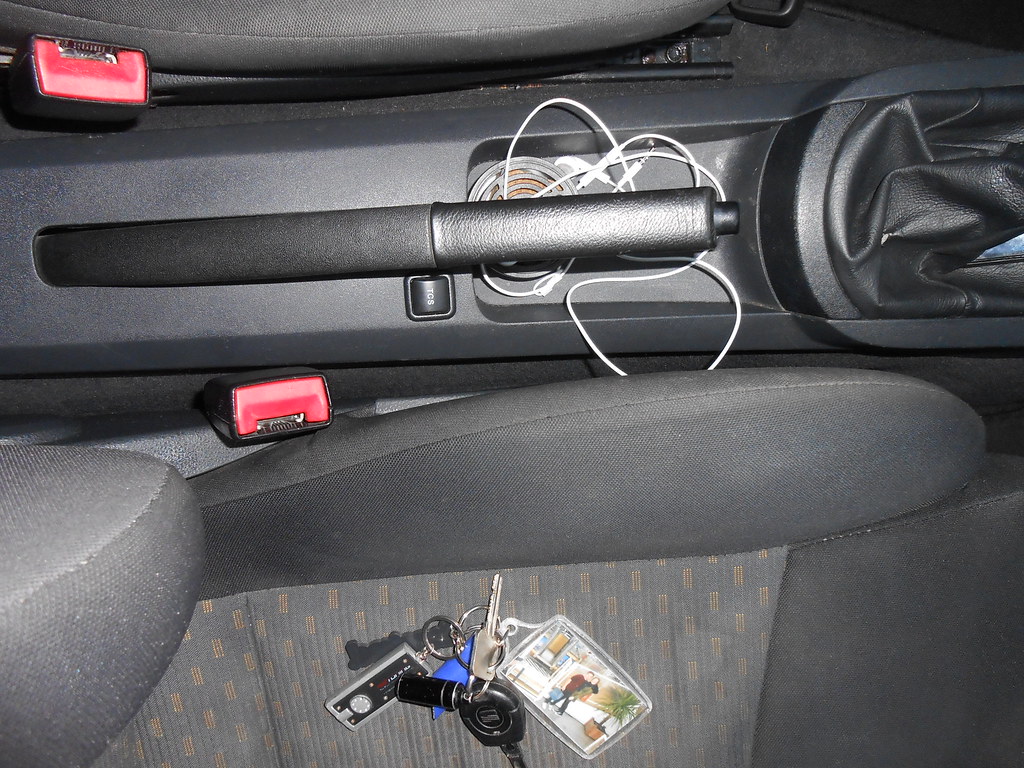
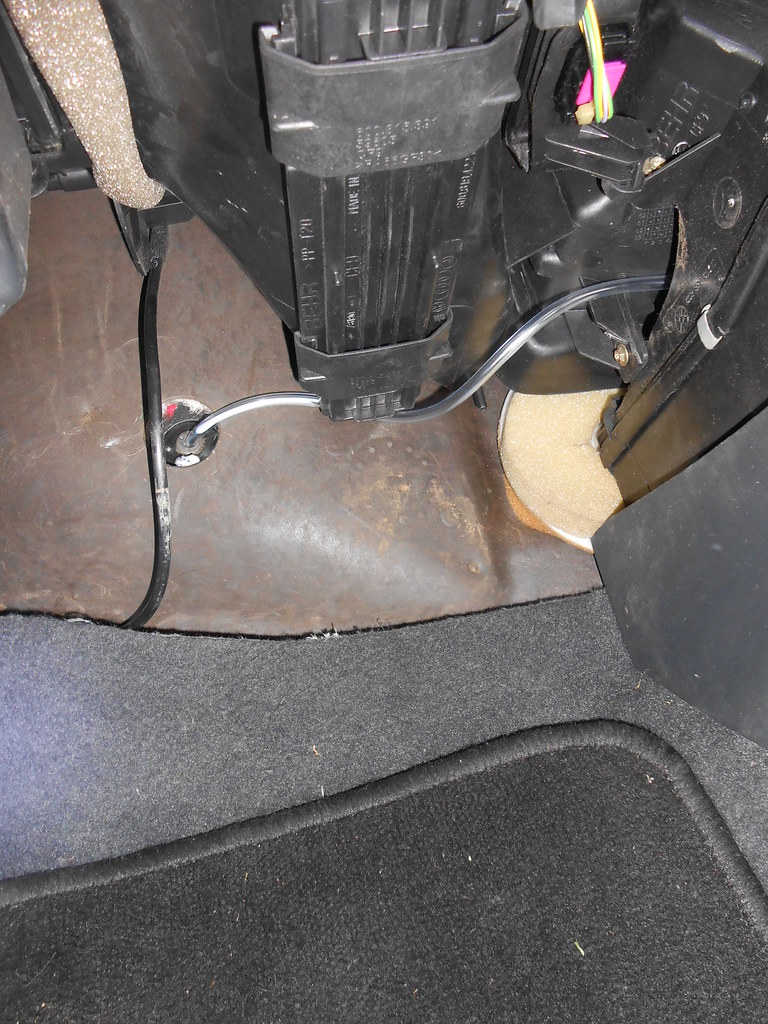
Fed underneath the heater controls

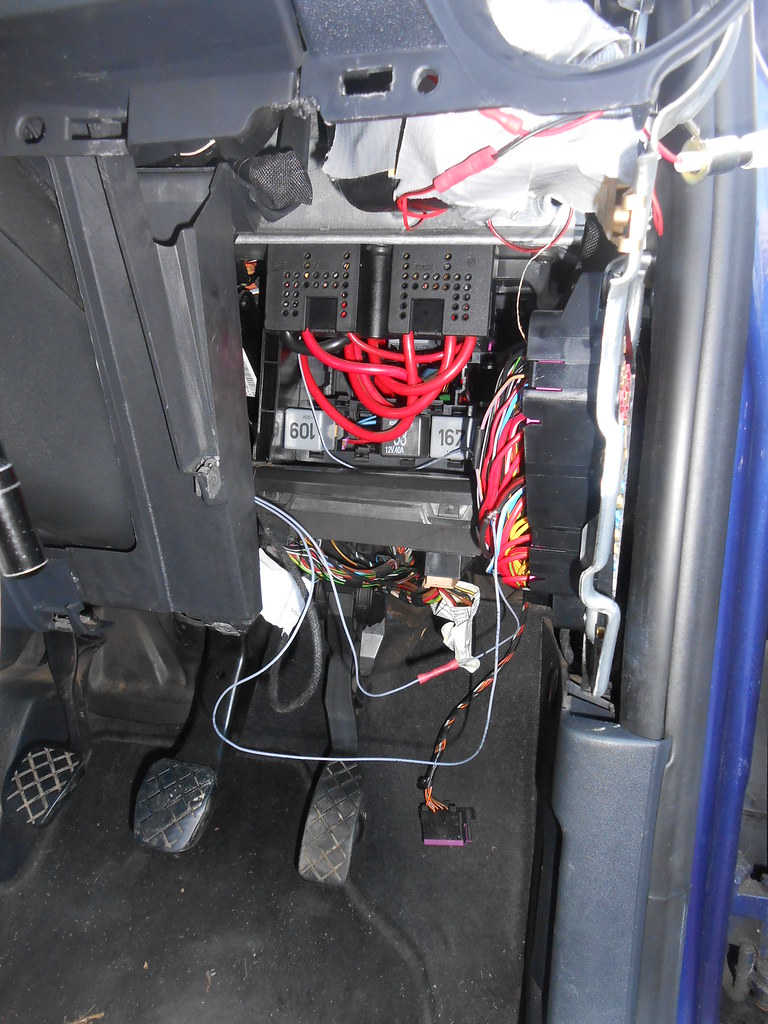
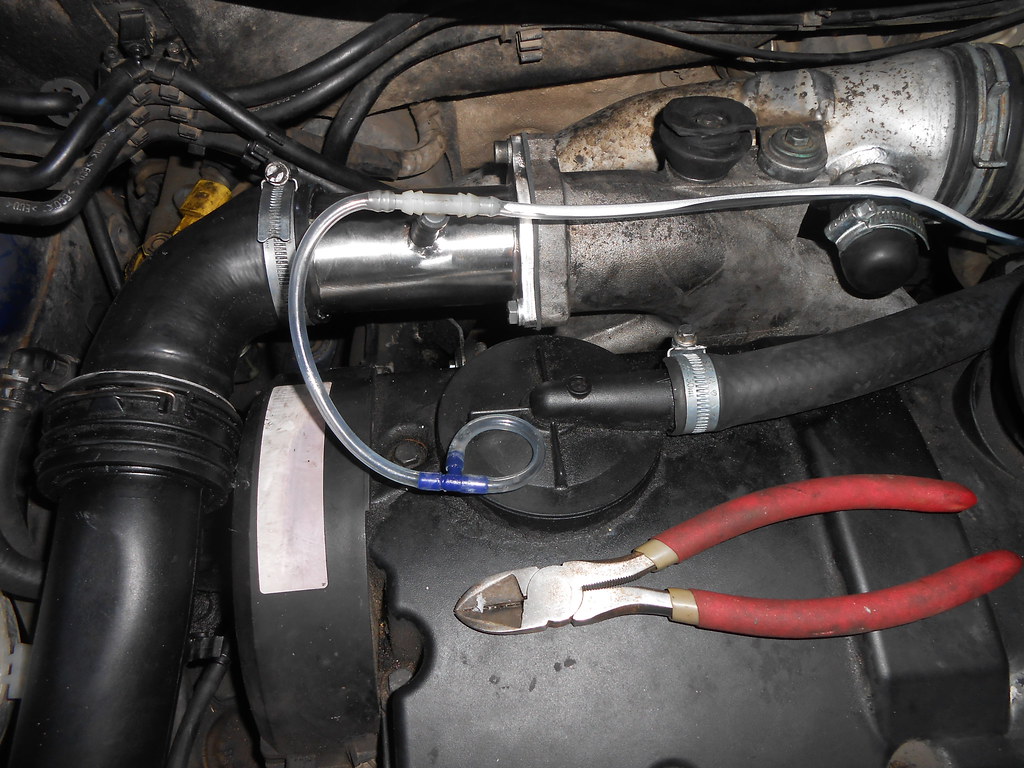
Also due to the T fitting I have I had to make something to block the other connector, I don't have a straight through connector with the antibuzz fitting inside only this T piece so i'm doing this, for now maybe until I find a proper connector but it works a treat.
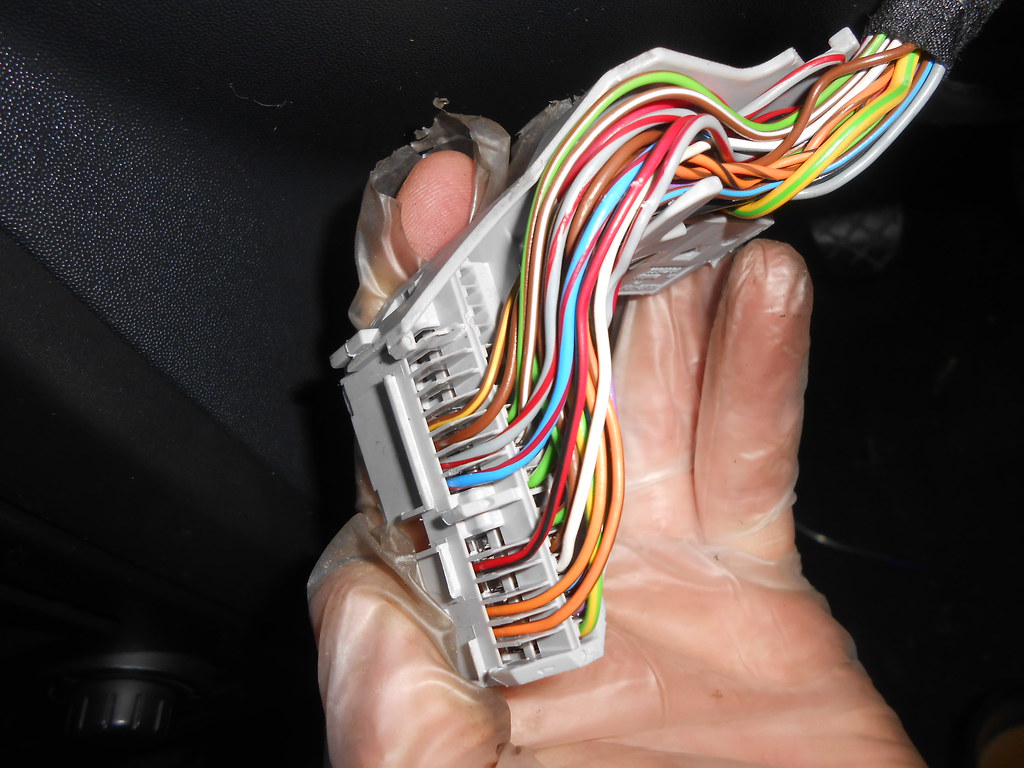
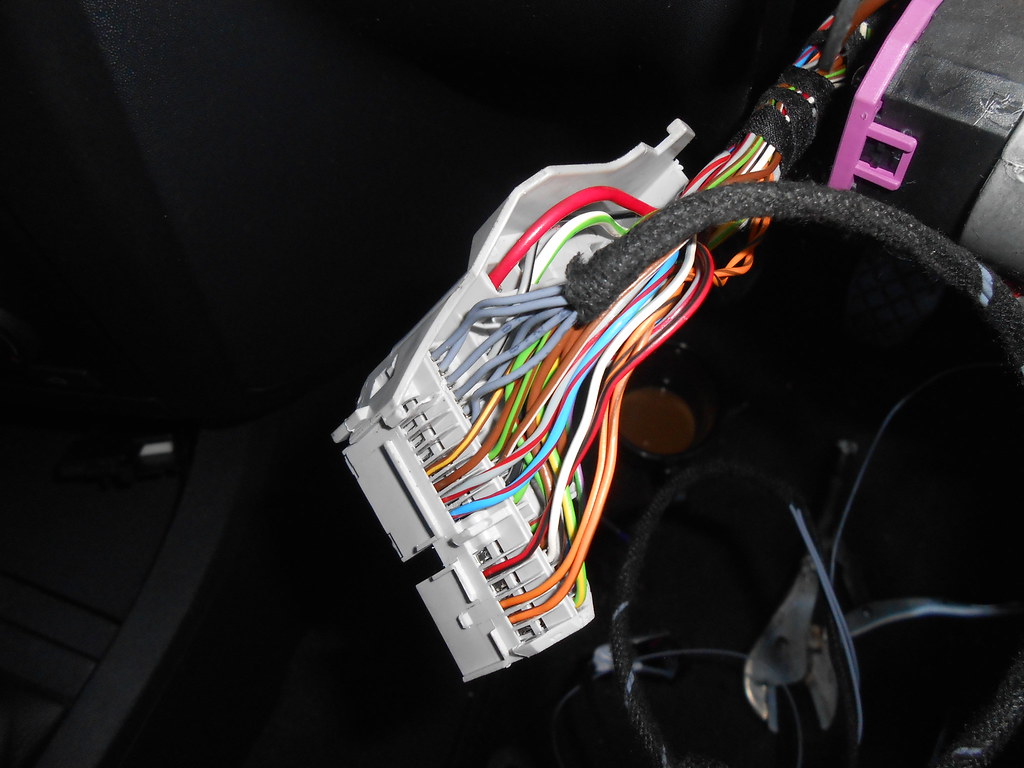
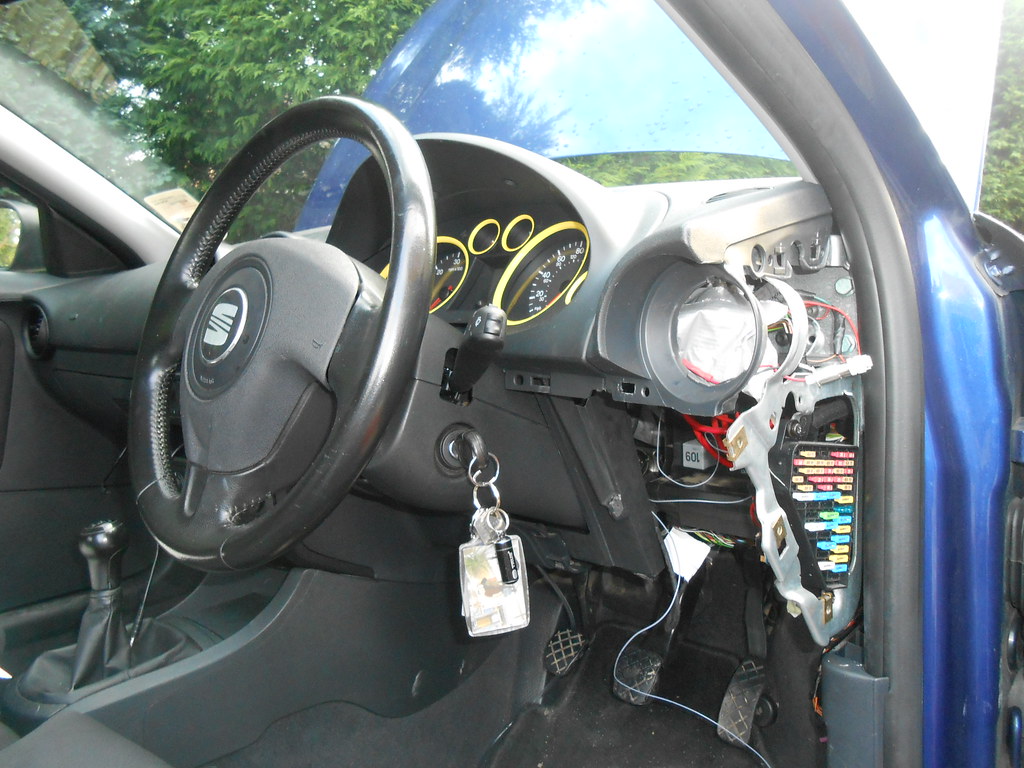
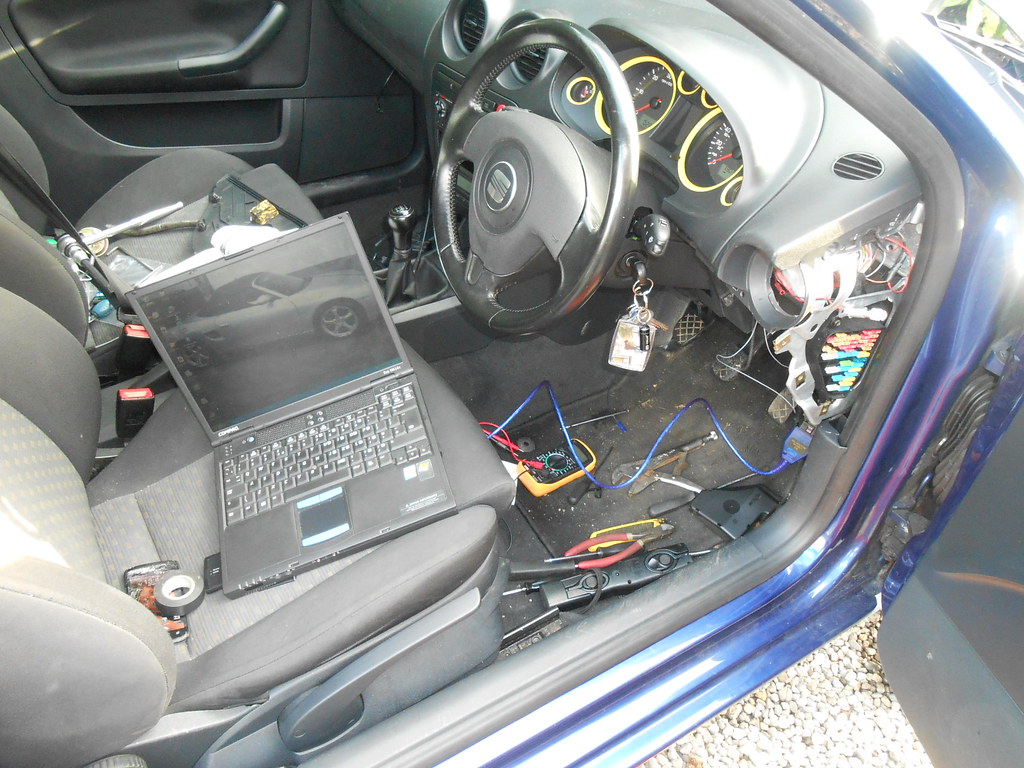
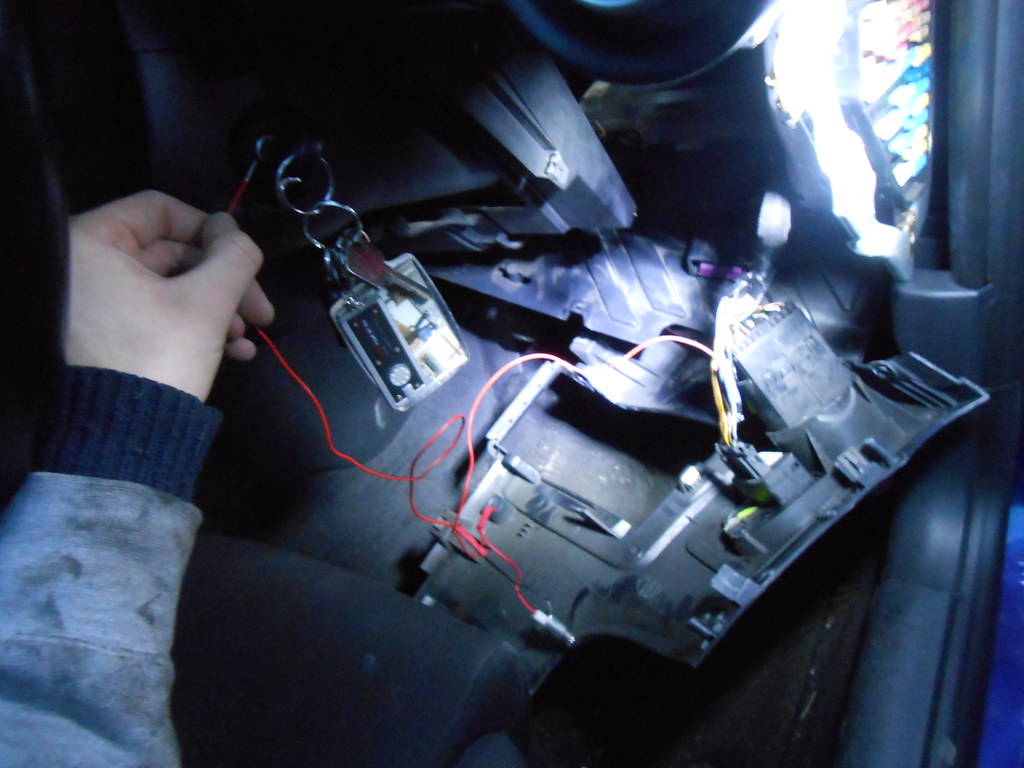
I then started to wire in the boost gauge so it comes on with the sidelights and the headlights, out with my best mate. The multimeter! Was just a case of prodding a few wires to find the one that showed just under 12 volts when turning the light switch.
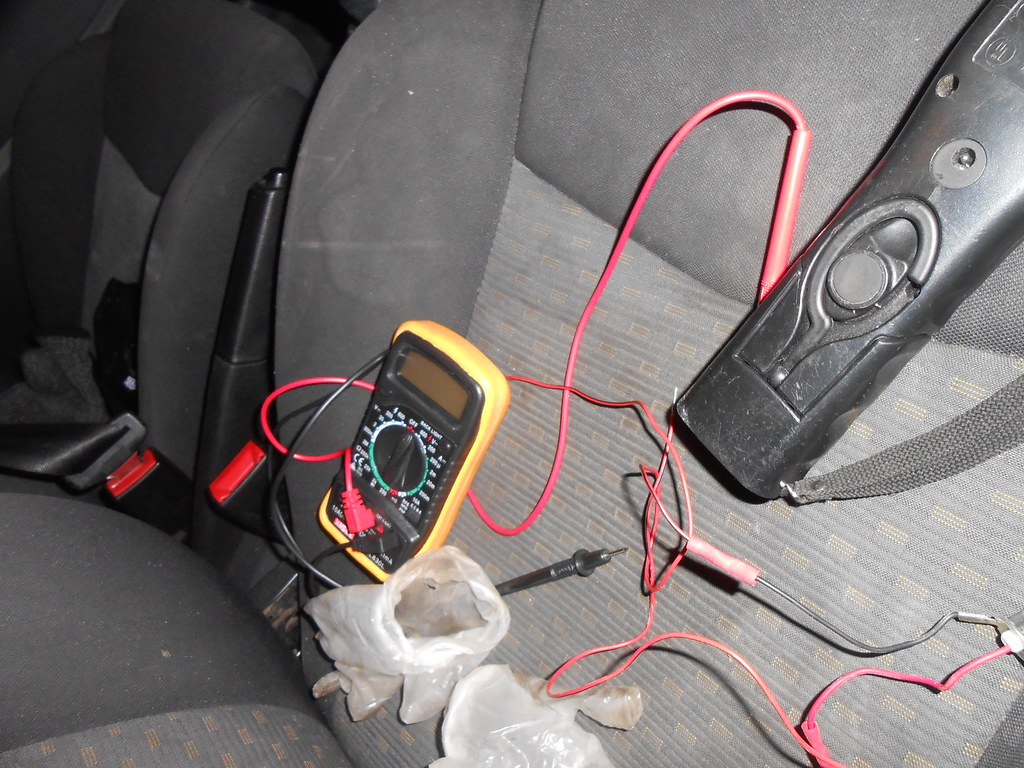
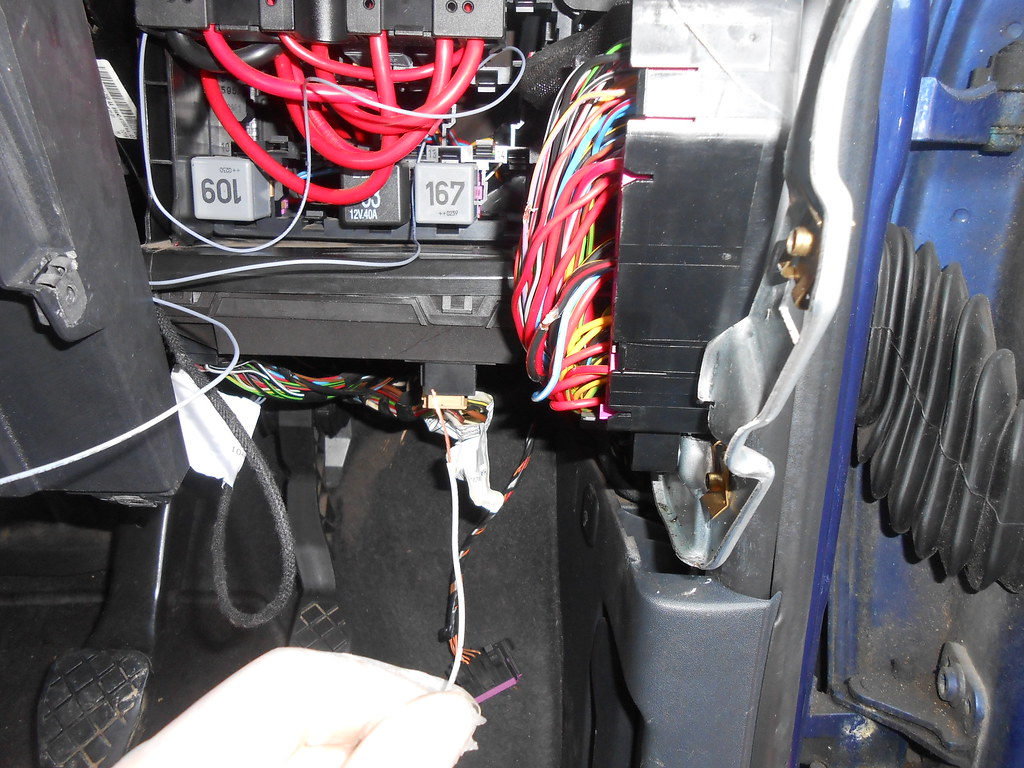
Found it!
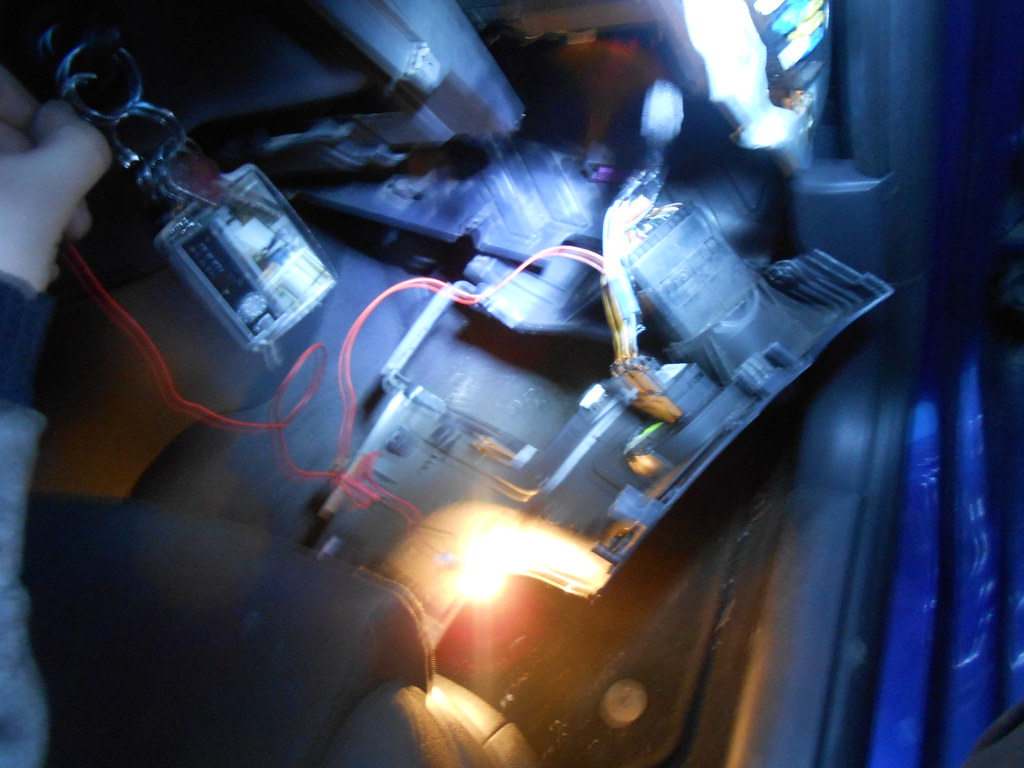
Then started testing it with the bulb that goes to the back of the boost gauge
Off....
On...
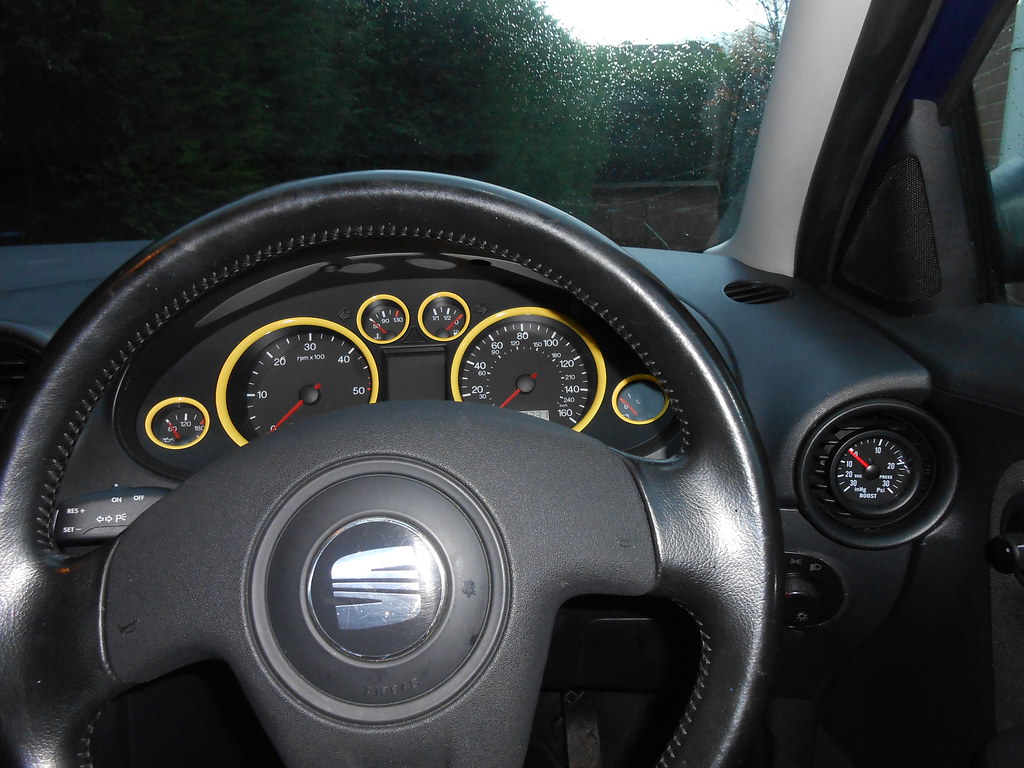
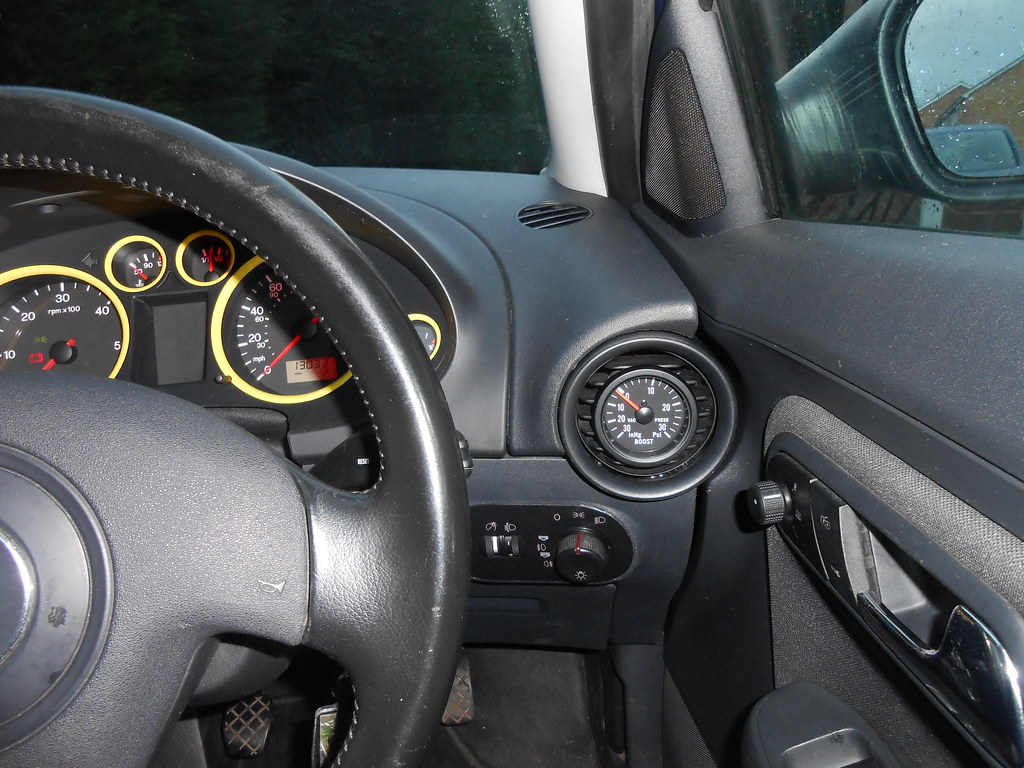
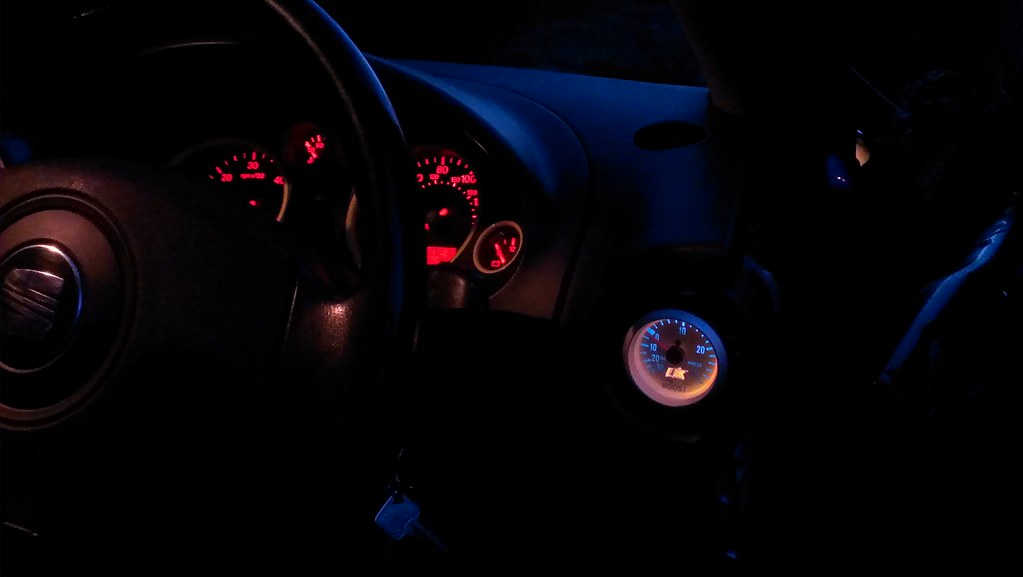
All done this is with the lights off

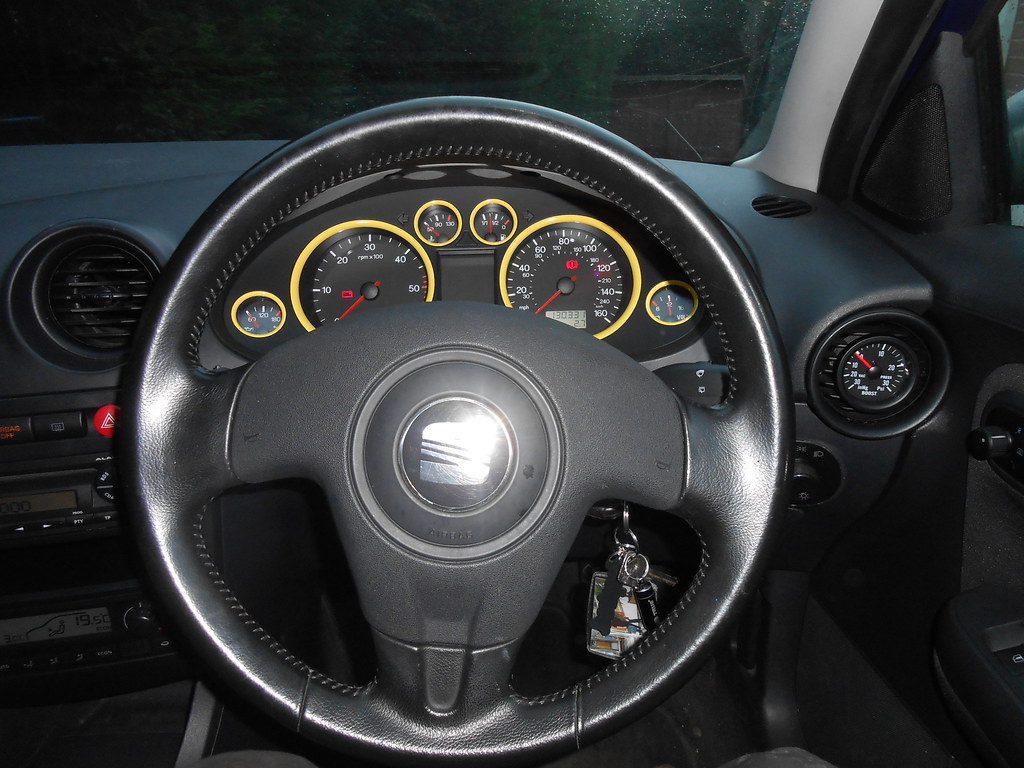
And the lights on Ive ordered an LED bulb instead of the filament style as its very yellowy and ruins the look of it imo
Anyway, little bit of feedback from installing everything:
The car now absolutely flies, i'm not sure which made the biggest difference but the car just feels so much more planted when hitting the loud pedal. The engine doesn't rock back and forth and changing gear is just seamless now with barely any hesitation. It just pulls and pulls and pulls. So much fun and I can't wait to jump in the car now.
It does have a slight vibration on idle and when setting off but it's not an obtrusive rattle at all, it's more of a meaningful rattle like the car means business if that even makes sense? Just feels right.
It picks up so much better now and tapping the throttle is instant power now whereas before it used to hesitate ever so slightly. Would recommend the bush to anyone, for £30 I'm going to say it's the best price:difference mod i've done this car so far.
Quite a few updates from the past few days. I've fitted a powerflex dogbone mount bush, EGr delete kit and finally plumbed in my boost gauge!
I fitted the EGR delete pipe first. I did block my EGR vac pipe off originally however the restriction within the egr is still there, mines also leaking like mad everywhere so probably losing me boost there! Also gets rid of another horrible VAG boost connector clip and replaced with a jubilee clip
Here they are!
My original EGR in the top left
This is the EGR delete compared to the normal EGR pipe. The thing sticking out is the nipple for the boost gauge!
EGR valve
Then removed the EGR pipe to the EGR and blanked it off with the plate provided in the kit.
And after!
I didn't have anything to simply block the nipple off and didn't have enough time / supplies to fit the boost gauge yesterday as I needed some more piping. IMPROVISSSSEEE! haha Worked a treat
I then set out to fit the dogbone mount bush. So easy to remove. 4 bolts and it was off. Absolutely no need to support the engine whilst doing this
The old one has so many gaps in it no wonder the engine rocks so much when putting your foot down.
Little bit of wiggling and it was out. Removed the rest with a screwdriver and hammer
I didn't realise it would be so hard to press the new one in so I had to use some common sense / reach into my inner pikey and thought of doing this. It actually worked hahaha, pressed it in with the jack and using the weight of the car.
I used a small vice to finish it and pop it in properly.
Will give my comments on it at the end
I then went and bought some more boost gauge piping, I used this stuff from pets at home. It's meant for fish tanks but fits absolutely perfect!
Started wiring it through the bulkhead. Also reallllly not sure what this black pipe is for? It did lead to teh engine bay but wasn't connected to anything and it had a little nipple connector on the end. The end is on the right of this pic?
Fed underneath the heater controls
Also due to the T fitting I have I had to make something to block the other connector, I don't have a straight through connector with the antibuzz fitting inside only this T piece so i'm doing this, for now maybe until I find a proper connector but it works a treat.
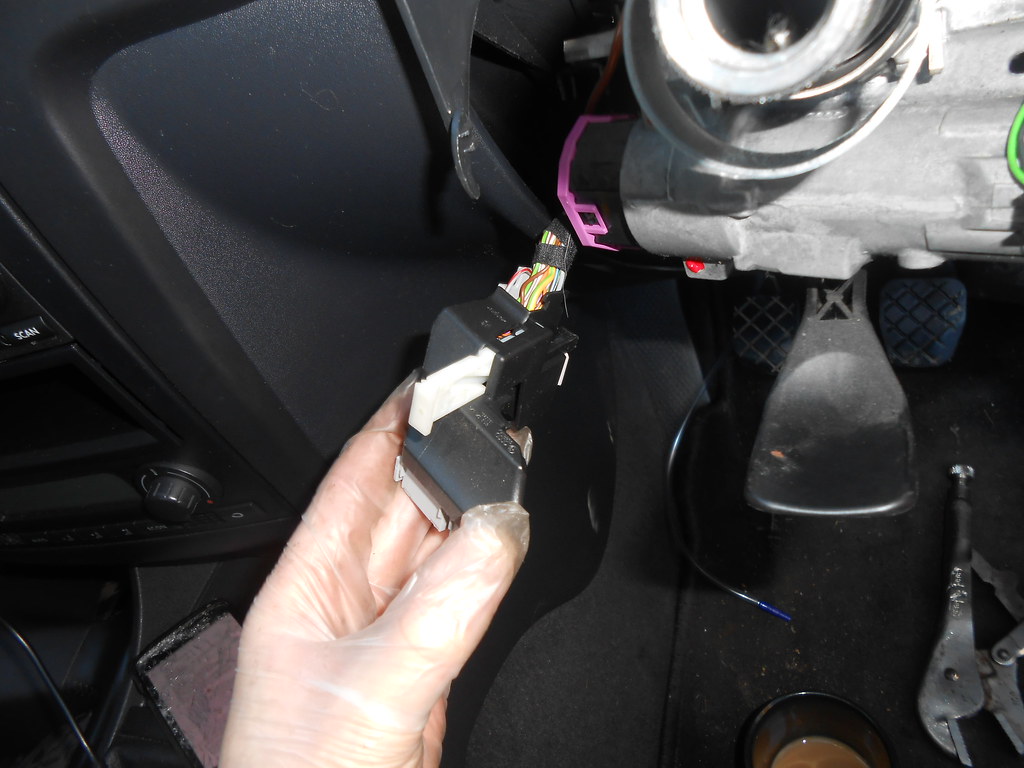
I then started to wire in the boost gauge so it comes on with the sidelights and the headlights, out with my best mate. The multimeter! Was just a case of prodding a few wires to find the one that showed just under 12 volts when turning the light switch.
Found it!
Then started testing it with the bulb that goes to the back of the boost gauge
Off....
On...
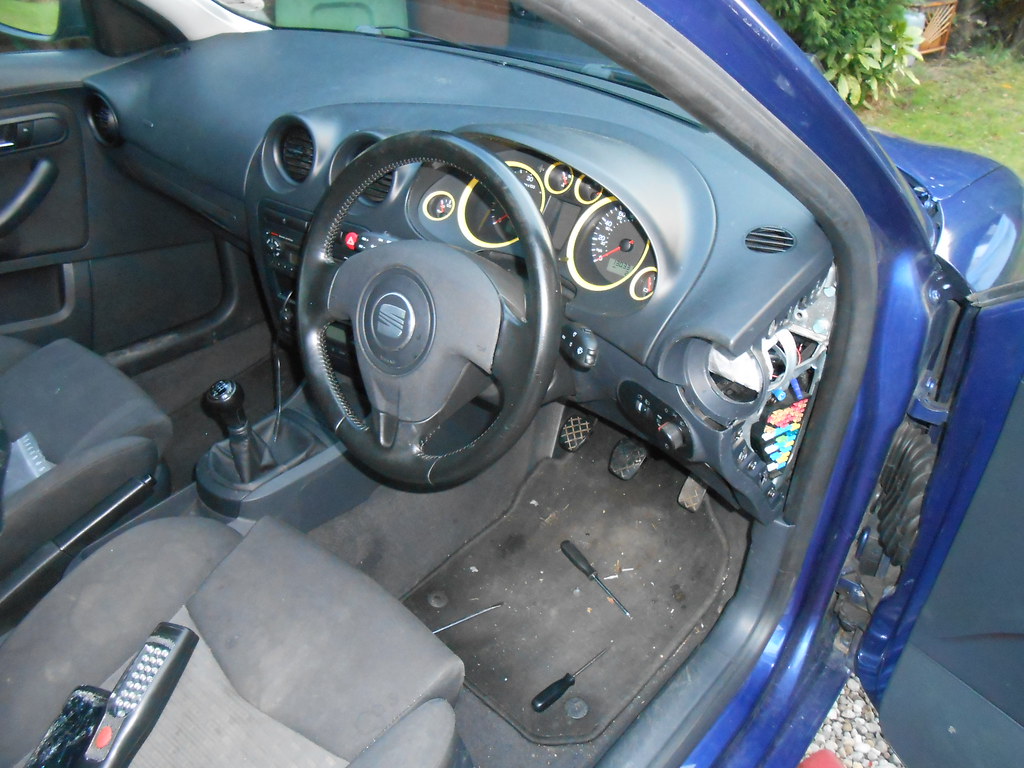
All done
this is with the lights off
And the lights on
Ive ordered an LED bulb instead of the filament style as its very yellowy and ruins the look of it imo
Anyway, little bit of feedback from installing everything:
The car now absolutely flies, i'm not sure which made the biggest difference but the car just feels so much more planted when hitting the loud pedal. The engine doesn't rock back and forth and changing gear is just seamless now with barely any hesitation. It just pulls and pulls and pulls. So much fun and I can't wait to jump in the car now.
It does have a slight vibration on idle and when setting off but it's not an obtrusive rattle at all, it's more of a meaningful rattle like the car means business if that even makes sense? Just feels right.
It picks up so much better now and tapping the throttle is instant power now whereas before it used to hesitate ever so slightly. Would recommend the bush to anyone, for £30 I'm going to say it's the best price:difference mod i've done this car so far.