New ICE build in my Toledo...

Crazyoll

Active Member
Feb 2, 2010
82
0
Worcestershire
Hello all,
I thought I'd share my build progress of my Amp box, and install of my sub and components.
I can tell you alread that it wont be as impressive as AndreasA's build here:
http://www.talkaudio.co.uk/ipb/inde...40319__hl__toledo__fromsearch__1#entry3640319

I have been gathering parts to complete my own build in my Toledo and after finding few photo's of various parts relating to upgrading the speakers, head unit ect i've decided to share mine with you as I go allong.

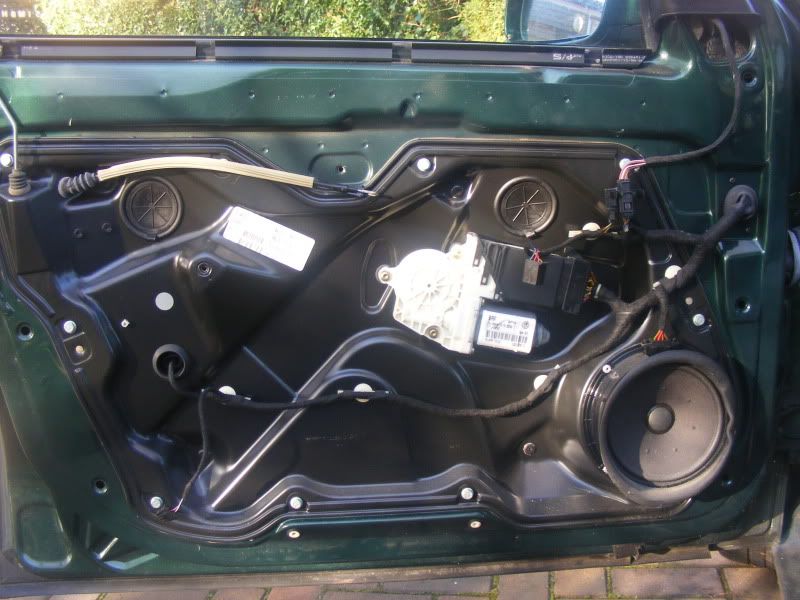
I have had the sub for a while and have been inpressed my its performance, but i've been saving up to upgrade my speakers in the front of the car.

My set up is/will be as follows:
Clarion CZ209ER

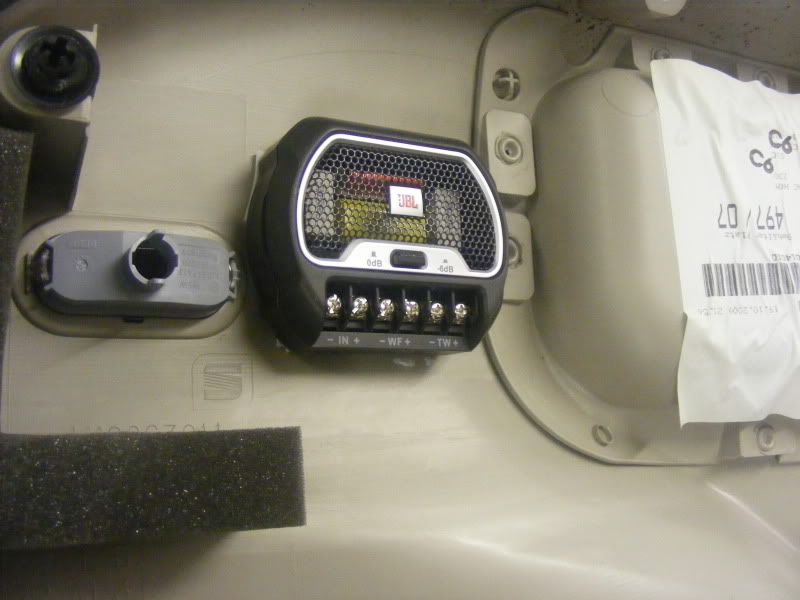
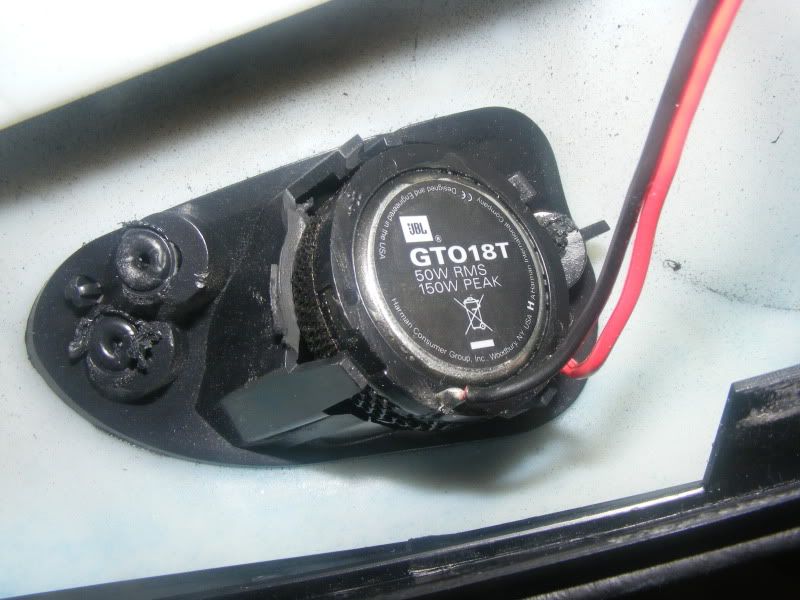
JBL GTO6508C Component set
Kenwood KAC-6203

Kenwood Sub (unknown) in ported box
Kenwood KAC-6203


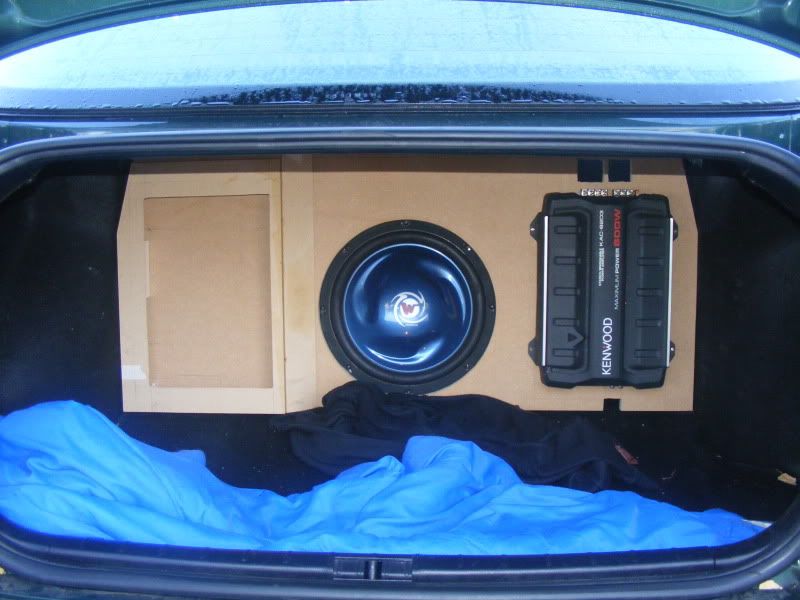
I'm going to have the sub in the boot where i had it before at the very rear of the boot (space is not an issue in the Toledo's cavernous boot)
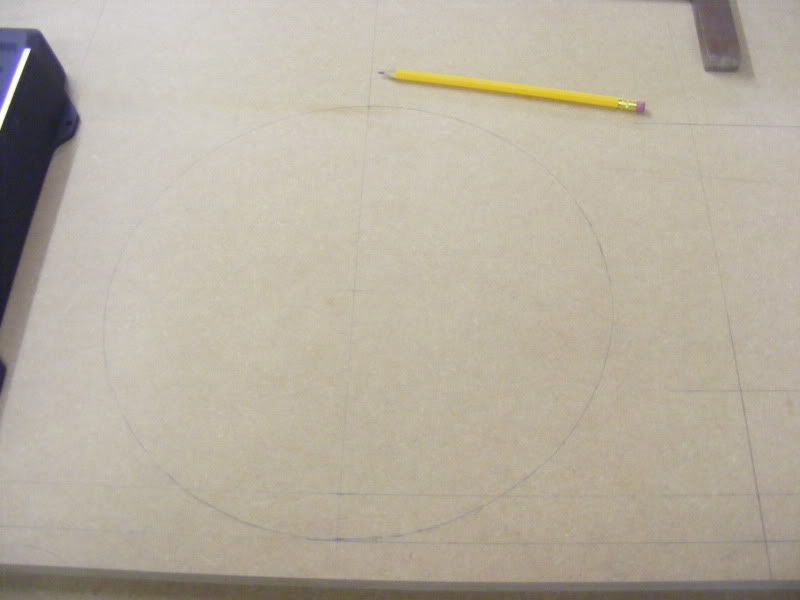
I will then have a piece of MDF mounted onto the sub-box to fill in the space between the boot floor and ceiling.
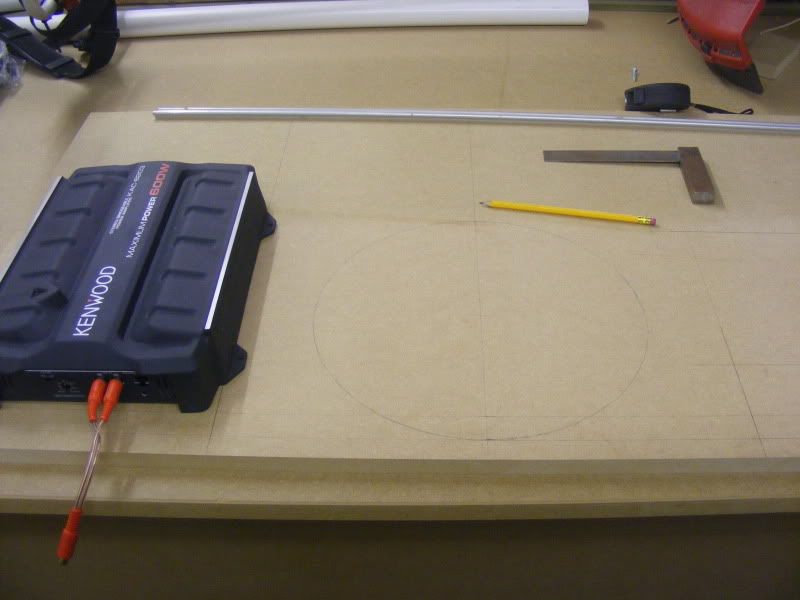
To this I'll mount the two amps and on the rear of the box, mount a panel to secure all my wirring and power distribution to.

IMG00137-20101108-1958.jpg

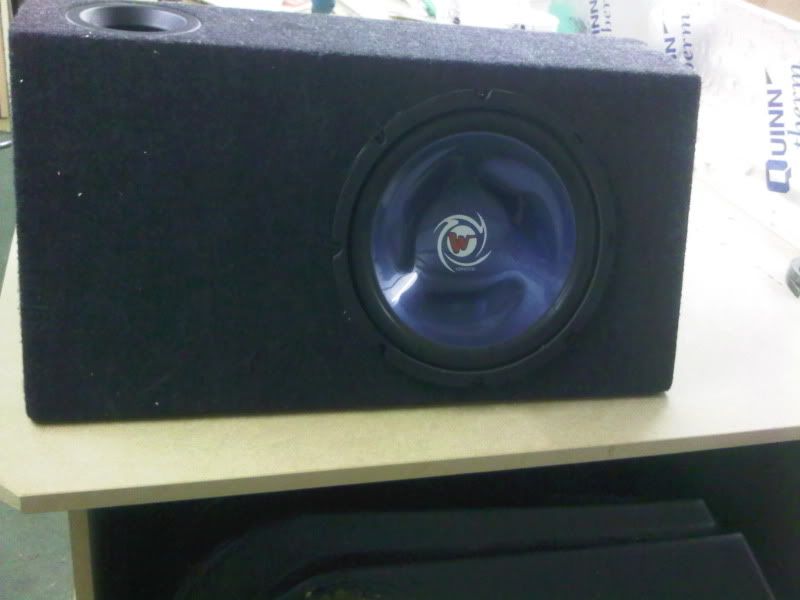
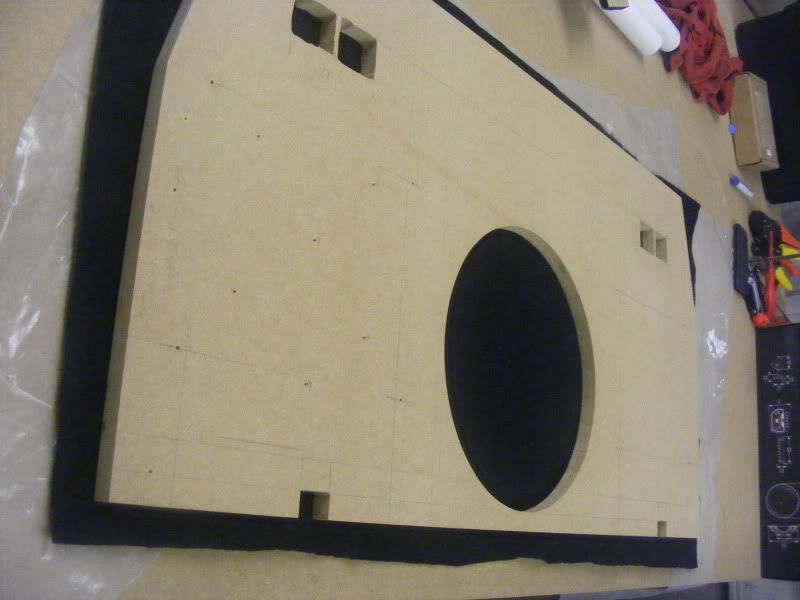
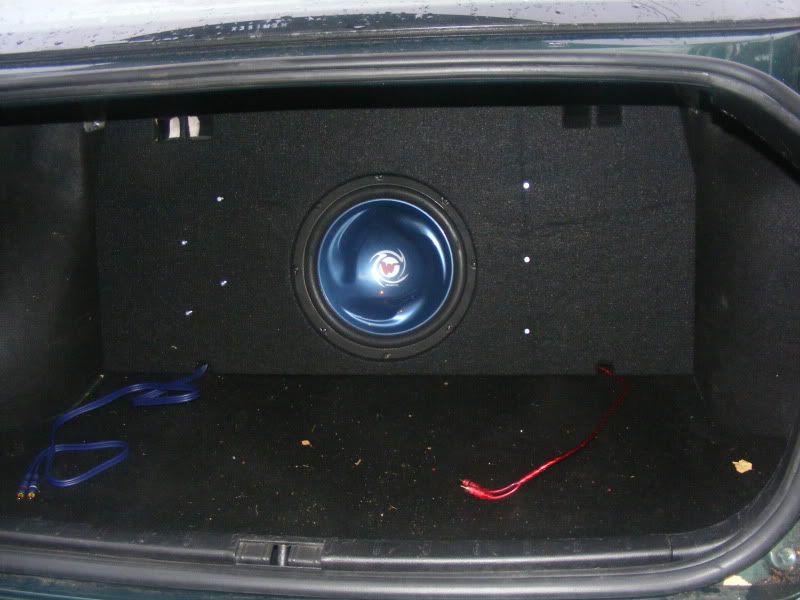
This is the sub box in question.

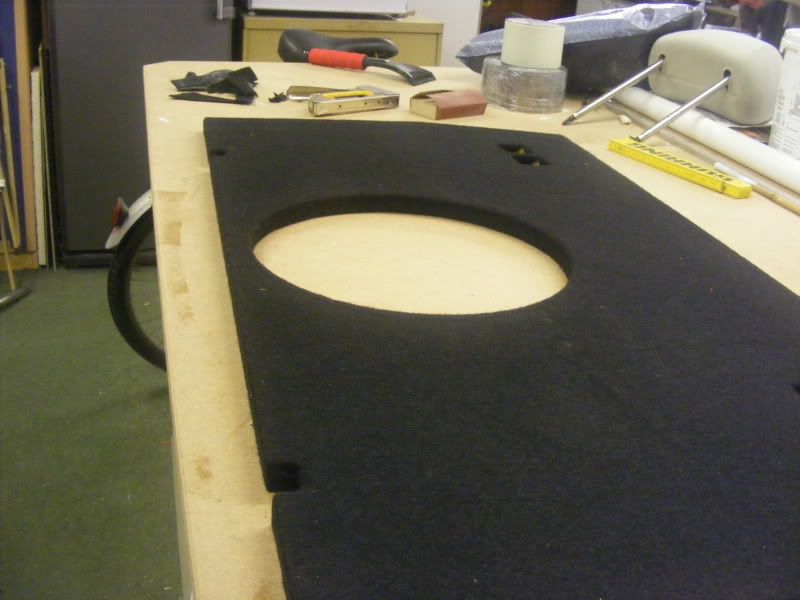
I've drawn on the main mounting board where i am going to mount everything and where i need to cut holes ect:
DSCF3628.jpg

DSCF3627.jpg


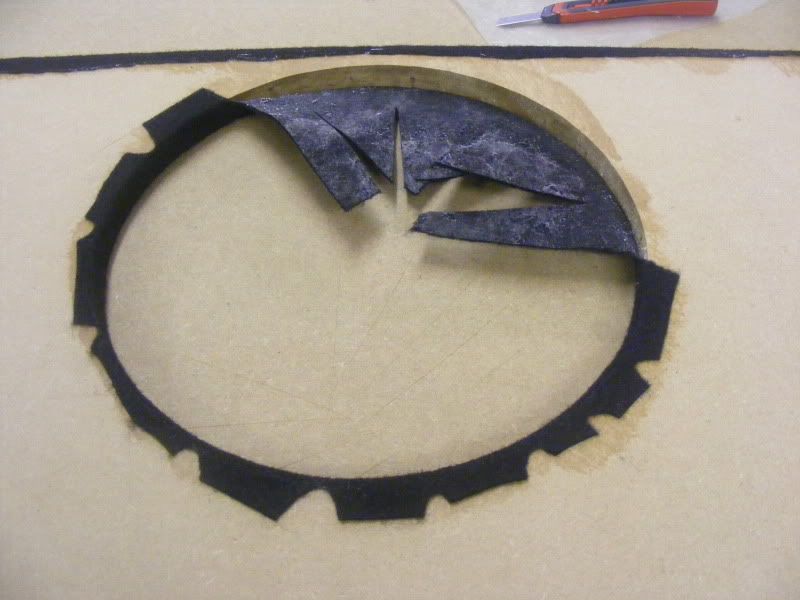
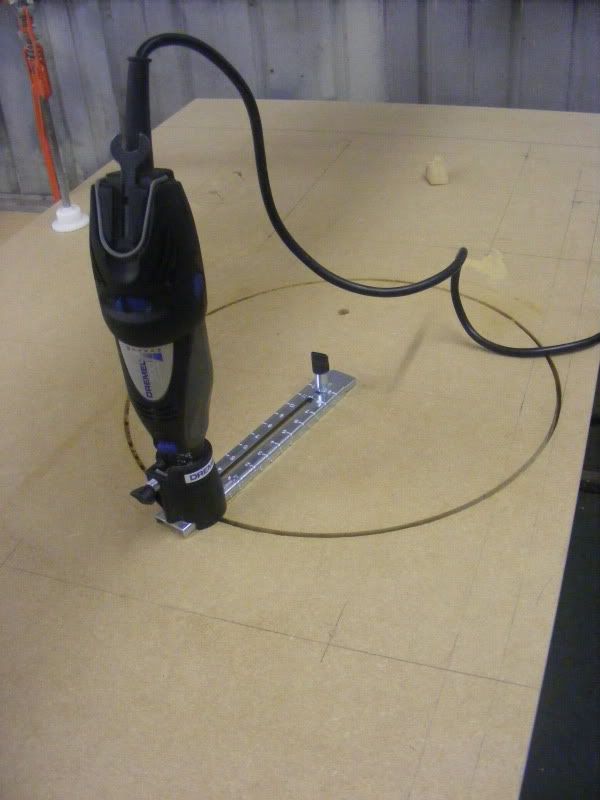
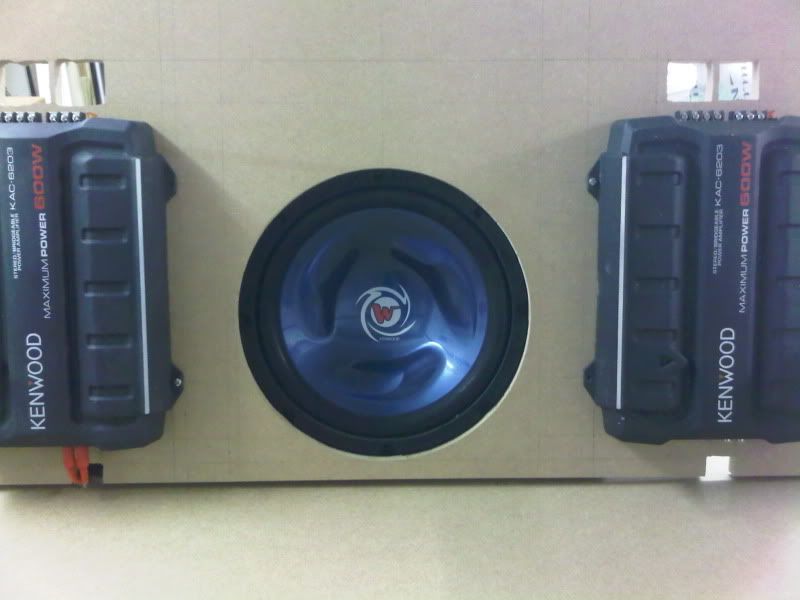
I cut the hole for the sub to protrude through out using a dremel and a circle cutting attachment:
DSCF3631.jpg


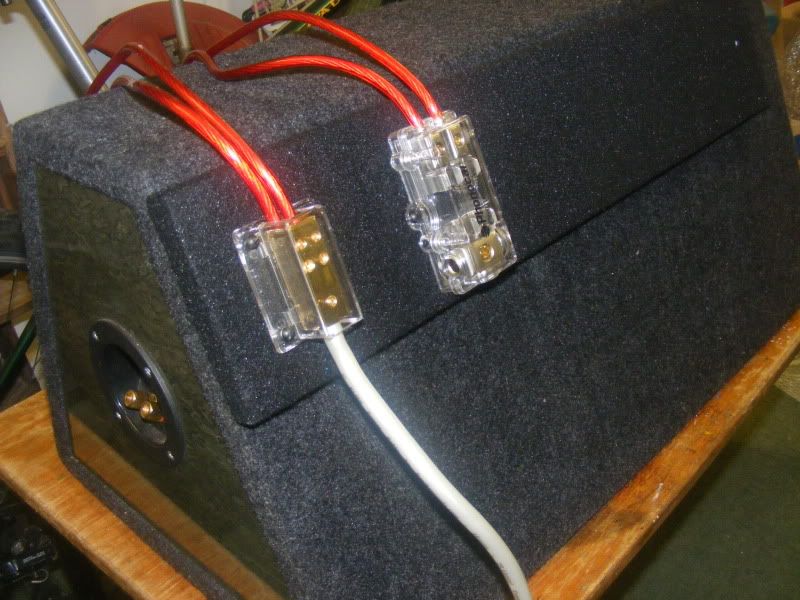
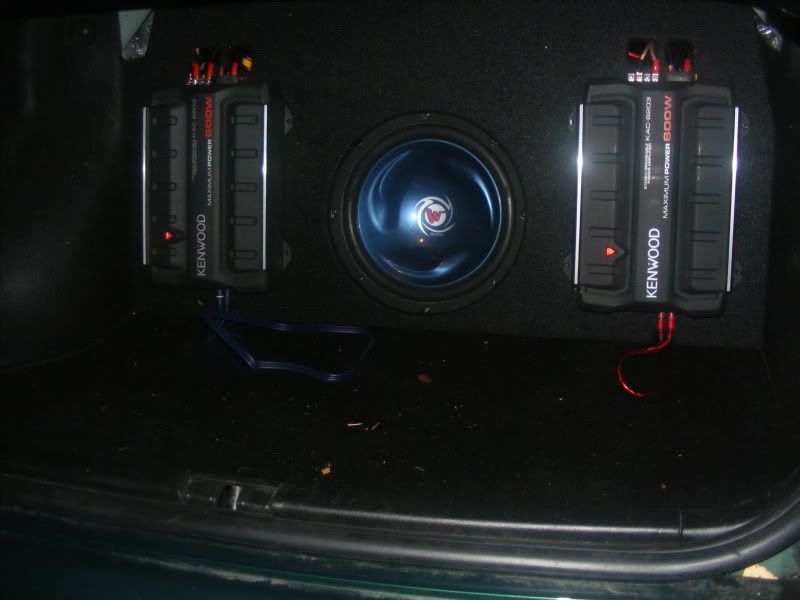
And with two amps in place you can start to see how it's going to look.
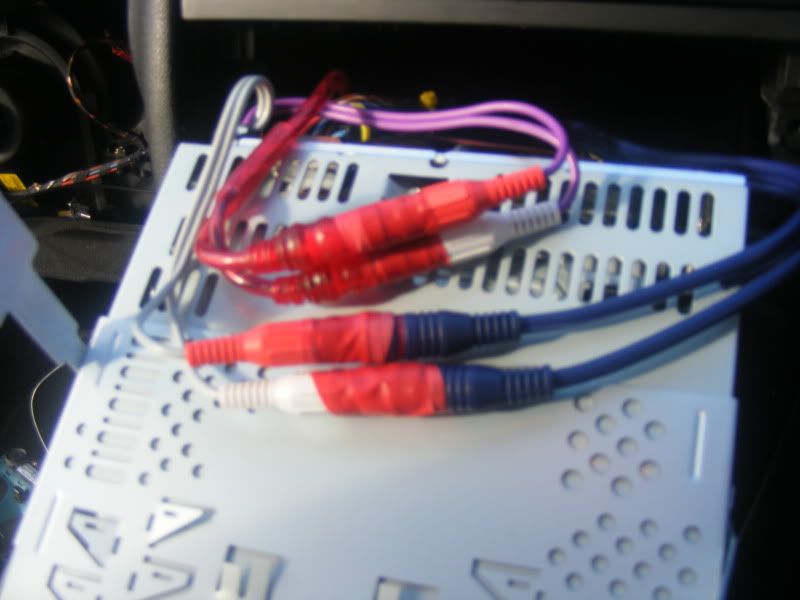
The holes are cut to allow wires to pass through. They only needed to be rough because they will be covered soon.
IMG00139-20101108-1959.jpg


I will continue to update this thread as I do more. Hopefully finish this weekend. :)
 

Crazyoll

Active Member
Feb 2, 2010
82
0
Worcestershire
Some more progress:
I gave the maind board a test fit int he boot which was a success...
On the left you can see one of the boxes i've made to cover the amp and its wires.
DSCF3632.jpg


Next I have begun removing some of the trim to get to the wirring.
Two torx screws in the top edge of the glovebox.
DSCF3634.jpg

One at the bottom right next to the footwell,
DSCF3638.jpg

and a few at the side
DSCF3636.jpg


Glovebox out and old wires exposed. Also note the missing fascia. This will be replaced soon.
DSCF3639.jpg

I can now attach the RCA's and feed them through the dash and into the void behind the glovebox.
DSCF3659.jpg

I then run the wires down the rear of the footwell and under the centre plastic trim.
DSCF3658-1.jpg
 

Crazyoll

Active Member
Feb 2, 2010
82
0
Worcestershire
I can now start on removing the door card.
Two torx screws at the bottom to remove.
DSCF3650.jpg

Next job is to prise off the door handle and unscrew the two screws hidden underneath.
DSCF3651.jpg

then carefully pull the door card up and away a little. you can now reach behind and unclip all the wiring. Sorry theres no pictures here, I couldnt take a photo and do the job on my own.

The door exposed. Notice the rivetes around the speaker. the next job is to drill these out and get the speaker out.
DSCF3652.jpg

In my case the speaker mounting plastic was cracked by three of the four rivets so i just prized it out and snapped the final one.

Next, undo the bolts around the inner door skin.
I couldnt find any 'How to's' of how to remove the glass from the electric carrier so i simply lowered the window slightly so that the rubber viewing windows showed me the two botls gripping the glass.

I seccured the glass to the car with some tape and undid the botls to detach the glass.
DSCF3656.jpg

This gave me enough room to stick sound deadening to the inner metalwork of the door.
(Sorry for no pics, I'll take some when I do the drivers door.)

I chose to install the crossover for my speakers next to the door open light inside the door card. I attached it with a few strips of double sided sticky foam.
DSCF3661.jpg

The Tweeter seemed to fit pretty well in the original location and after cutting away a bit of the original mountings it fitted like a glove.
DSCF3665.jpg

I secured the tweeter in with a bit of my sound deadening strip and secured the wire to the door card wiht some further strips of sound deadening. (makes a great tape!)
DSCF3670.jpg

The whole thing can be put back together now.
You can see the new speaker, the wire from the woofer (blue) and the wire from the amp (copper) I've cable tied these to the other wirring loom inside the door. You can also see where i've threaded the in wire through the rubber grommet in the door.
DSCF3670.jpg

DSCF3667.jpg
 

Crazyoll

Active Member
Feb 2, 2010
82
0
Worcestershire
Some more progress.
When doing the drivers door, I took some photo's of the sounddeadening material on the inside skin of the door.
DSCF3675.jpg

DSCF3674.jpg


I then needed to install the new speaker and adaptor bracket as before and then feed the wire through into the car.
This was a very tricky task as there is a lot less space to poke wire throuhg the rubber grommet due to the fuse box and controlls being in the way.
I removed the torx screws holding the trim below the steering column on and moved that out of the way.
DSCF3677.jpg


With a piece of wire i was able to pull the wire throuhg into the footwell. I could find a small gap underneath the fusebox which lead into the grommet between the car body and the door.
I then threaded the wire over the pedals and underneath the plastic centre console so that i could run to the rear of the car.
DSCF3684.jpg


The next fiddley job was to feed the two RCA and two speaker cables under the carpet in the back of the car, under the rear seats and into the boot.
Fist step was rmoving the centre arm rest. This is done by removing a 5mm hex screw, this allows you to pull a lever towards you and then pull the whole arm rest upwards.
DSCF3686.jpg

Next remove two torx screws holding the plastic trim to the bodywork.

This allows just enough room to squirm the wires underneath the floor carpet and into the carpet that ends under the rear seats.
DSCF3682.jpg
 

Crazyoll

Active Member
Feb 2, 2010
82
0
Worcestershire
I then sound deadened the rear doors (pict to follow)

To complete my install I now needed to finish the amp mounting board and wire mounting board in order to have somewhere to attach all of the wires and equipment to without screwing intot he sub box like a rookie.
I first cut the carpet, using the board as a template:
DSCF3679.jpg

DSCF3680.jpg

I attached the carpet with spray contact adheisive
DSCF3681.jpg


I carpeted the wire mounting board and attached my distribution blocks.
DSCF3691.jpg


I now needed to add my Power wire to the fused distribution block.
I've connected the wire to the battery and I've chosen to run the cable throuhg the bulkhead and out into the car via the space around the pollon filter.
DSCF3676.jpg

I've used a grommet to stop the wire shredding on the bare metal.

Next i've run the wire allong witht he remote wire from my head unit down the plastic trim on the left hand side of the car so as to keep it away from the RCA's to avid signal interfearence.
DSCF3687.jpg

This was then fed under the rear seat and into the boot.

Next I needed to connect my ground wire. I chose to do this by drilling a hole in the bottom of the car, hidden by the spare wheel. I grinded off what paint was left there to ensure a good connection.
DSCF3692.jpg


I have crimped the ends onto all of my wires to avoide making the ends brittle by soldering.
DSCF3645.jpg

DSCF3649.jpg


I could then install my mounting board on top of my sub box in the boot of the car. It is secured with a few small screws and a lot of velcro on the reverse. The sub box itself is held down by a ratched strap.
DSCF3695.jpg
 

Crazyoll

Active Member
Feb 2, 2010
82
0
Worcestershire
Here it is witht he amps installed and wirred up. I will add some further photo's when i have finished the boxes which will cover the amps. - Oh yeah and how does it sound?
10,000times better, the amp powering the sub is using a low pass filter to play only frequencies sub 80Hz and the tweeters are producing some very clear high notes. The JBL cones are giving a good midrange and heavy punch in the front too.
The sound deadening was definatly worth while (cant wait to do the wheel arches and the boot) as road noise is reduced - sounds very hush and solid on the motorway.
DSCF3698.jpg
 

RLyons

Active Member
Sep 20, 2010
310
0
Nice work!

I'm nearly done with my Leon, hopefully I'll finish it this weekend and can post some pics up!

By the way, you don't need to drill a hole in the bulkhead, the black plastic thing to the right of your cable comes off and already houses loads of wires, I fed mine through it to underneath the battery.
 

Crazyoll

Active Member
Feb 2, 2010
82
0
Worcestershire
Thanks mate. I am aware of the hole already in the bulkhead but couldnt work out how to remove the cover in the dark. Also, i quite like the look of the power wire in the engine bay.
Maybe i'm just making excuses now...
Lookforward to seeing what you've done.
 

RLyons

Active Member
Sep 20, 2010
310
0
Nearly there now! Got my amp wall donw, just needs carpeting.

I took the passenger door card off yesterday, I then undid the bolts holding the inner door panel on (the silver bit) so I could put my insulation on the outer door skin. How do you remove this silver panel completely? It seems attached near the external door handle?? I have never done this before so may be missing something...?

You say you have to remove the window from the carrier....?

If you could give me noobie instructions I would be really grateful!
 

Crazyoll

Active Member
Feb 2, 2010
82
0
Worcestershire
Sorry for the late reply;
I didnt remove the inner pannel compleatly, i was able to pulll it forward enough to reach behind and do the work i needed to do. I'd not done it before either but was just gentle with everything.
check the forum for some guides.
The doors on the leon may be slightly different depending on year...
I found a removal guide somewhere so give google a try.

What i did was to lower the windo slightly, using the electric window button then pull out the large rubber grommets in the door pannel so that i could undo the bolts holding the glass to the rising/lowering mechanism.
They are like clamps lined with rubber. I could then use a hand either side of the glass to pull it upto the closed position and hold it with some ductape (making sure to clean off the glue well so as not to damage your paint.)

Hope that helps.
Look forward to seeing some pics
 

RLyons

Active Member
Sep 20, 2010
310
0
Thanks for the reply! Managed to find a guide lastnight and undid the window, like you say it was enough to get your hands up the outside of the door. Going to do the drivers side tonight then can hook it all up! FINALLY!!!!

One question, how do you get pictures on your post? Can you do it through the forum or do you have to use an external hosting site?
 

Crazyoll

Active Member
Feb 2, 2010
82
0
Worcestershire
hi
when changing speakers do you really need adapters for new ones??

Hi, sorry about the late reply. You do need adaptors as the OEM speakers are mounted into the old ones and they are riveted into the door skin. They are less than 10quid for a pair off ebay.
they allow you to fit anything upto a 17cm woofer.
 

Crazyoll

Active Member
Feb 2, 2010
82
0
Worcestershire
Sorry for the late reply, couldnt find this thread after the ICE section of the forum was removed... WHY???

for the sound deadening material, i used some stuff called soundX from ebay. its just a roofing style product but i have found it effective.

Nice whip!