Audi S3 GT3582R stroker Build (previously GT3071r)

ibizacupra

Jack-RIP my little Friend
Jul 25, 2001
31,333
19
glos.uk
Just got a confirmation from Tapp who writes Eurodyne that ME7 ECU only regulates below 22psi. I'll show him this thread :)

he's technically correct, whilst also producing stage 3 tunes which run way more... so he';s being a tad "canny" with what he says vs what he knows..

he knows this.... nothing new to him. he's a clever sod :)

aside from the gear based applications which I have had written for me... and as such are currently a unique application to Badger 5

(also x5 switch maps for boost control version.... )
 

tufftybloke

Badger 5 Edition
Feb 28, 2009
657
0
Gloucestershire, UK
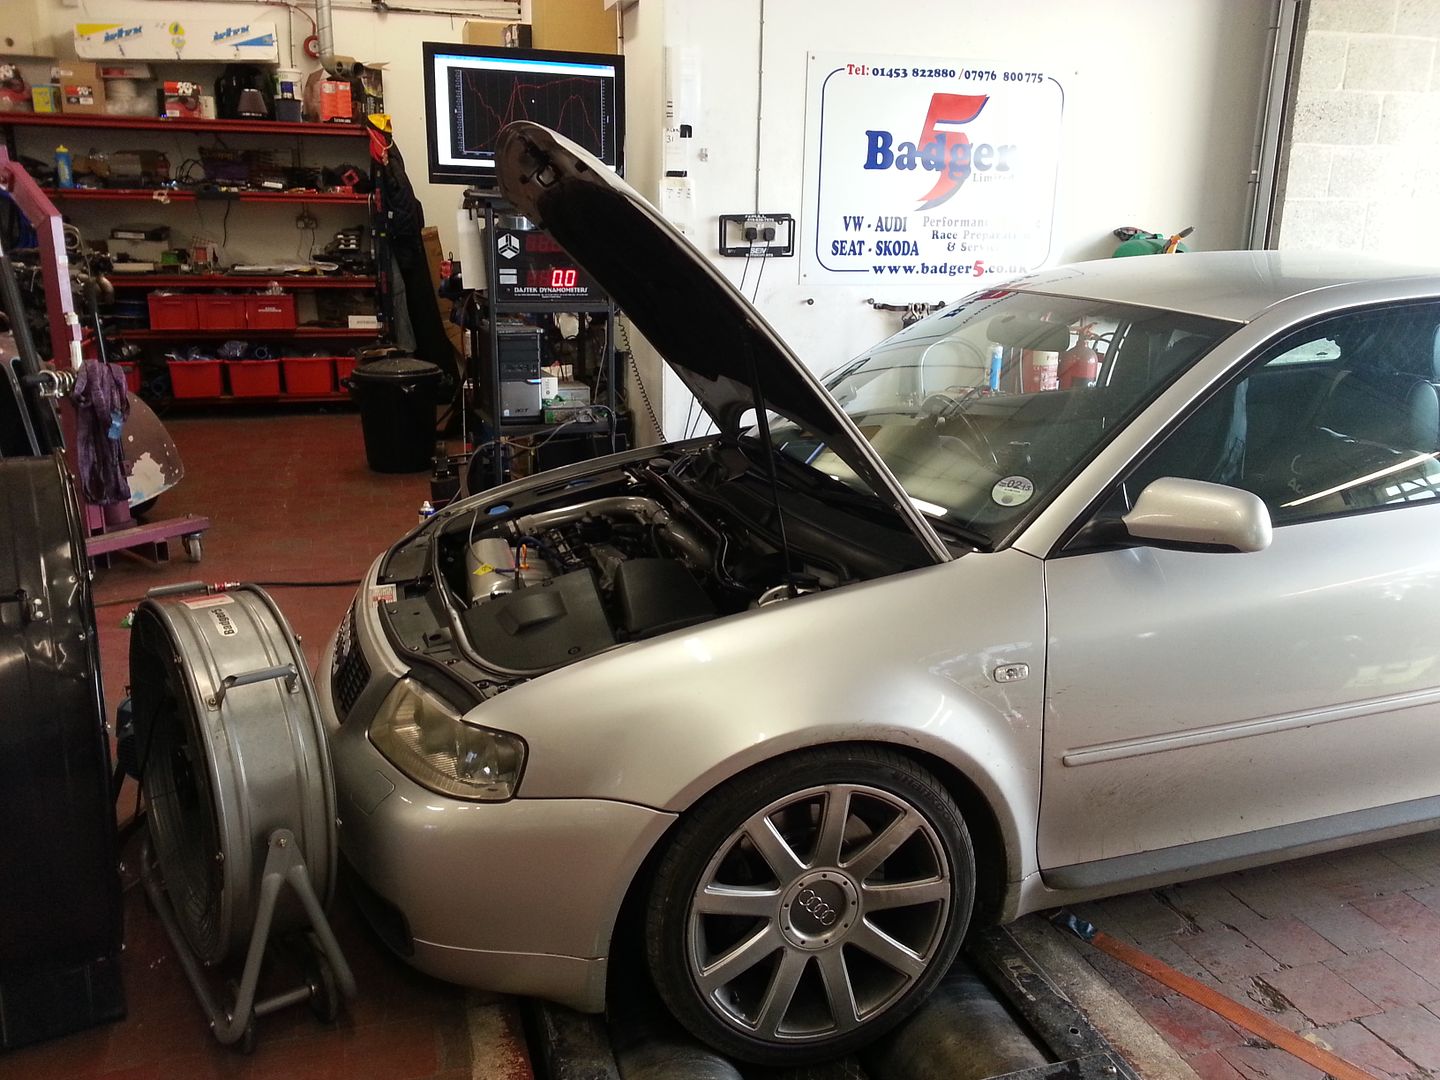
Not much to report really... not had time to do much other than drive the car during the snowy weather (winter tyres + AWD rocks)...

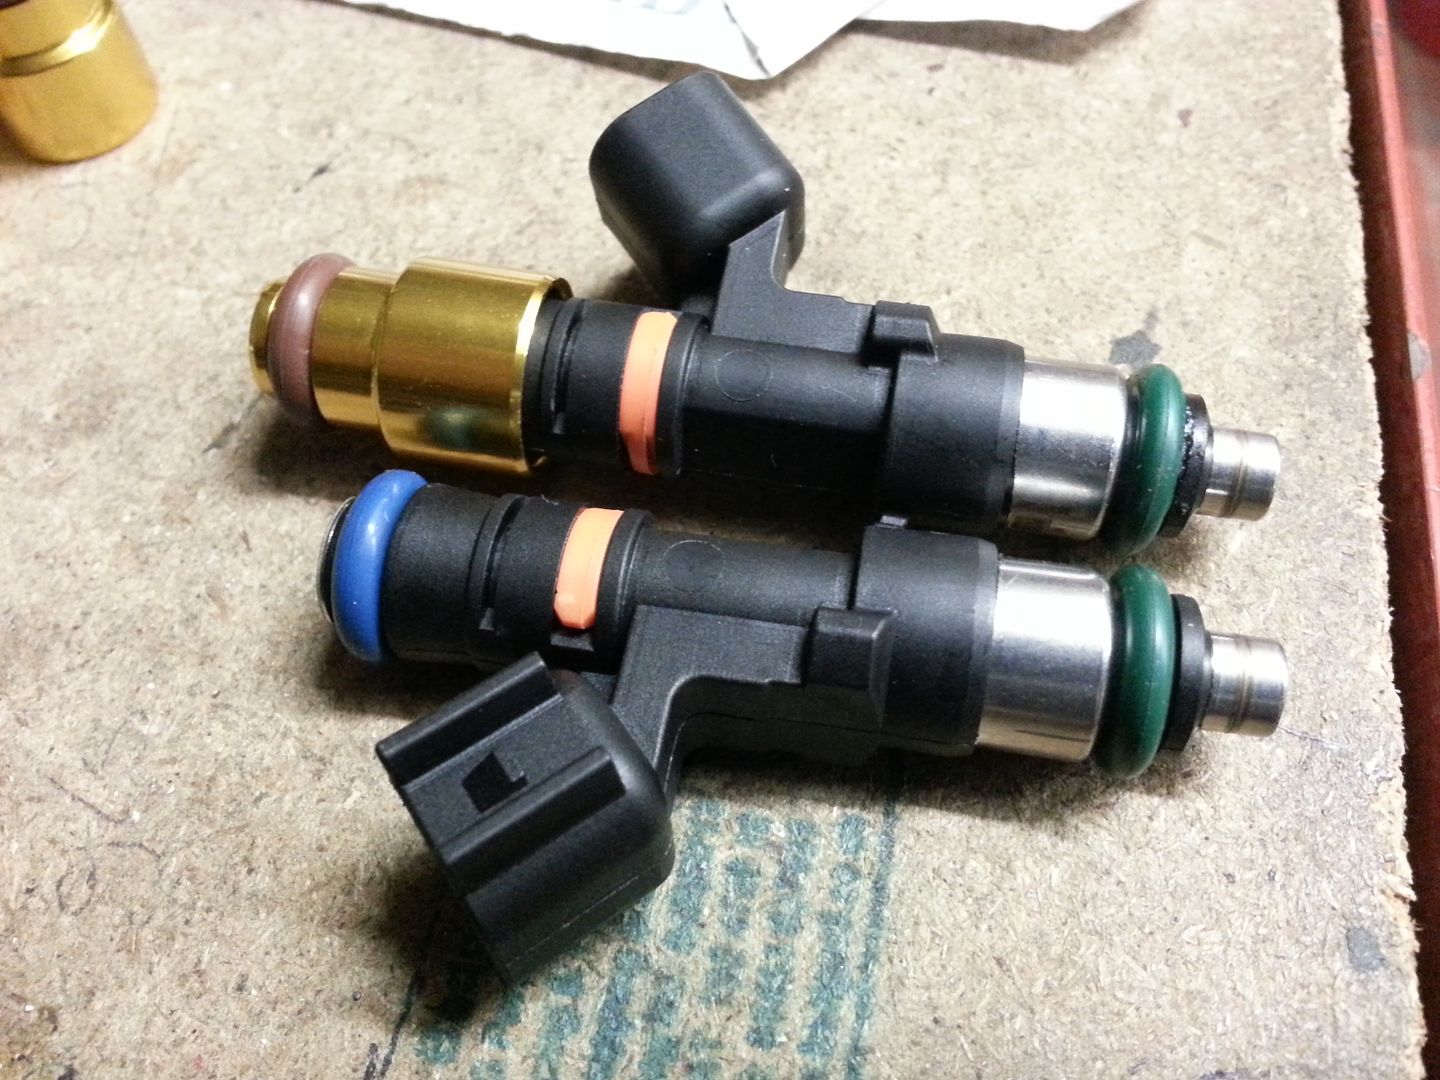
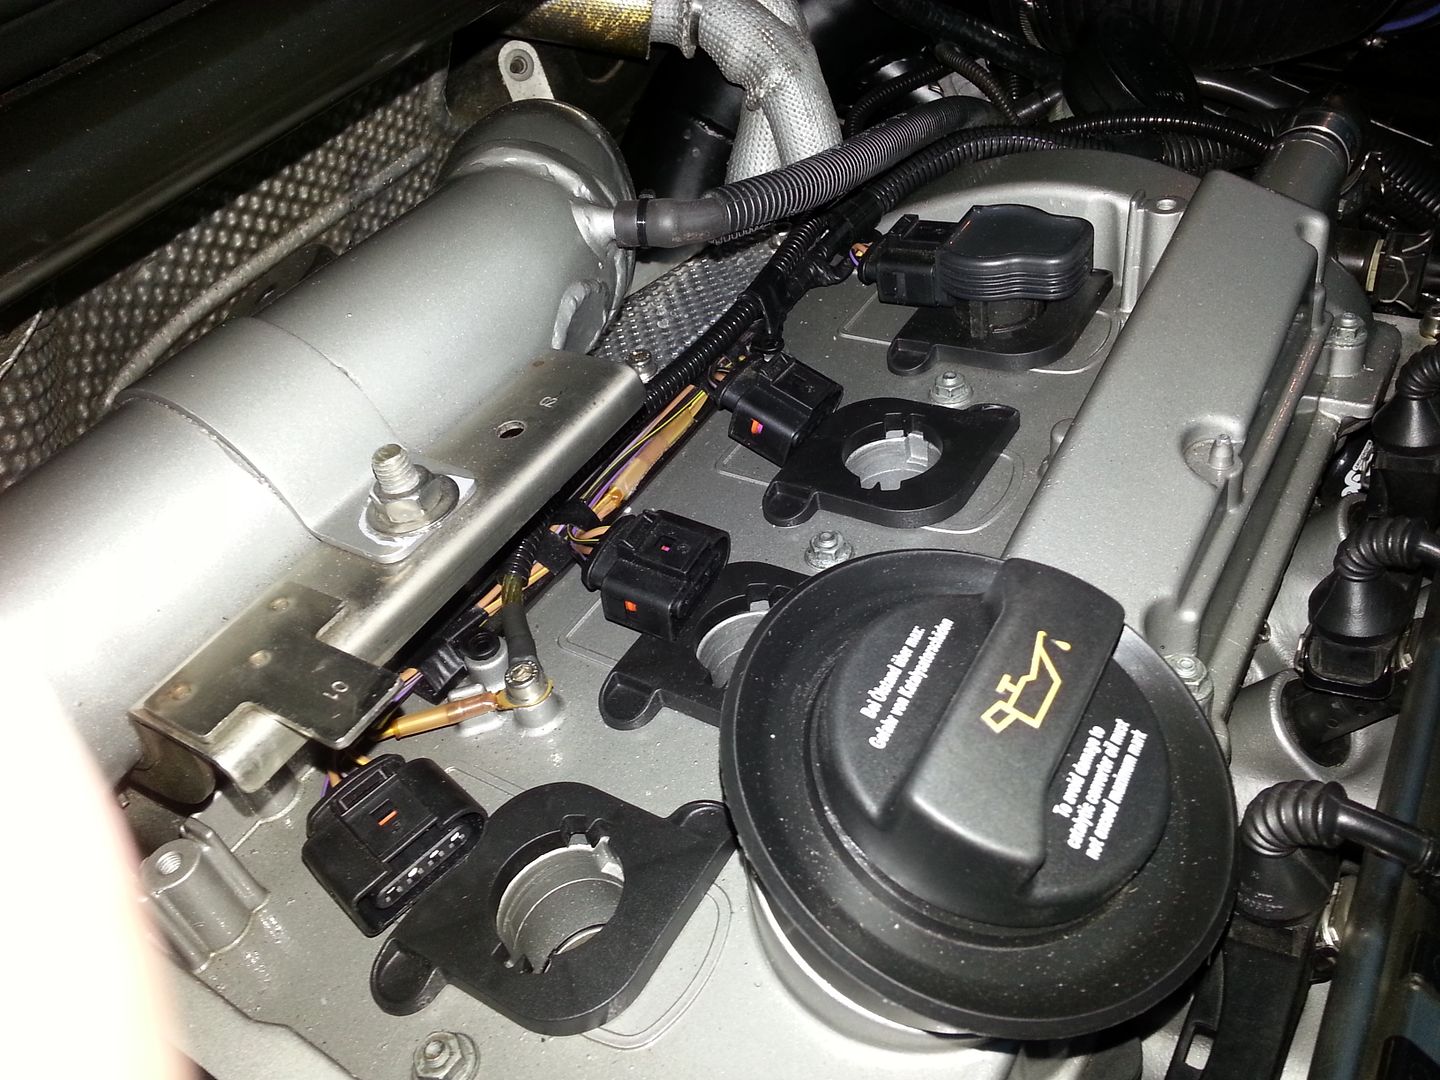
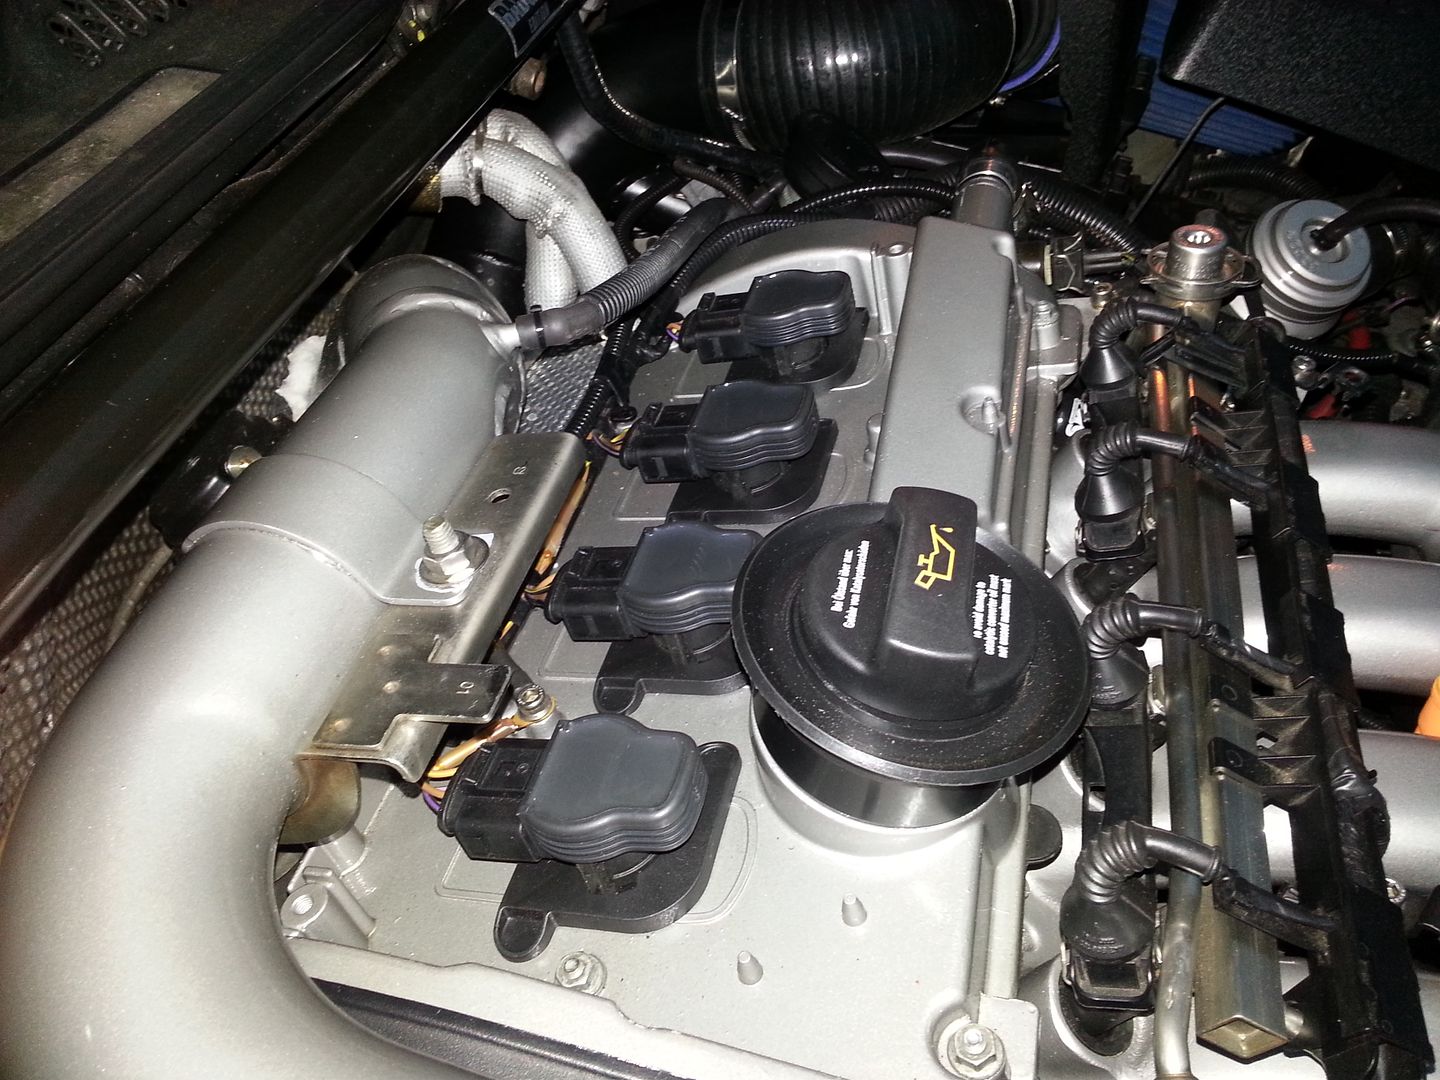
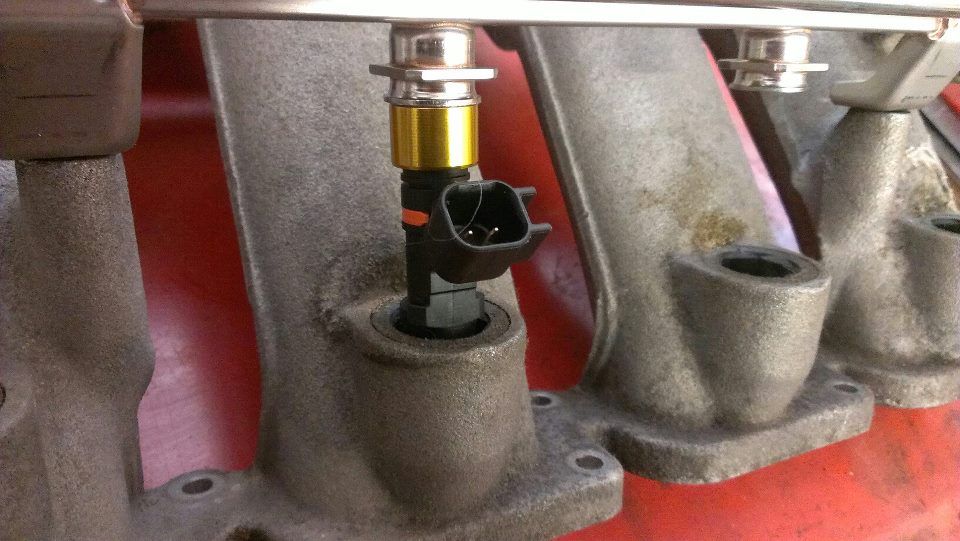
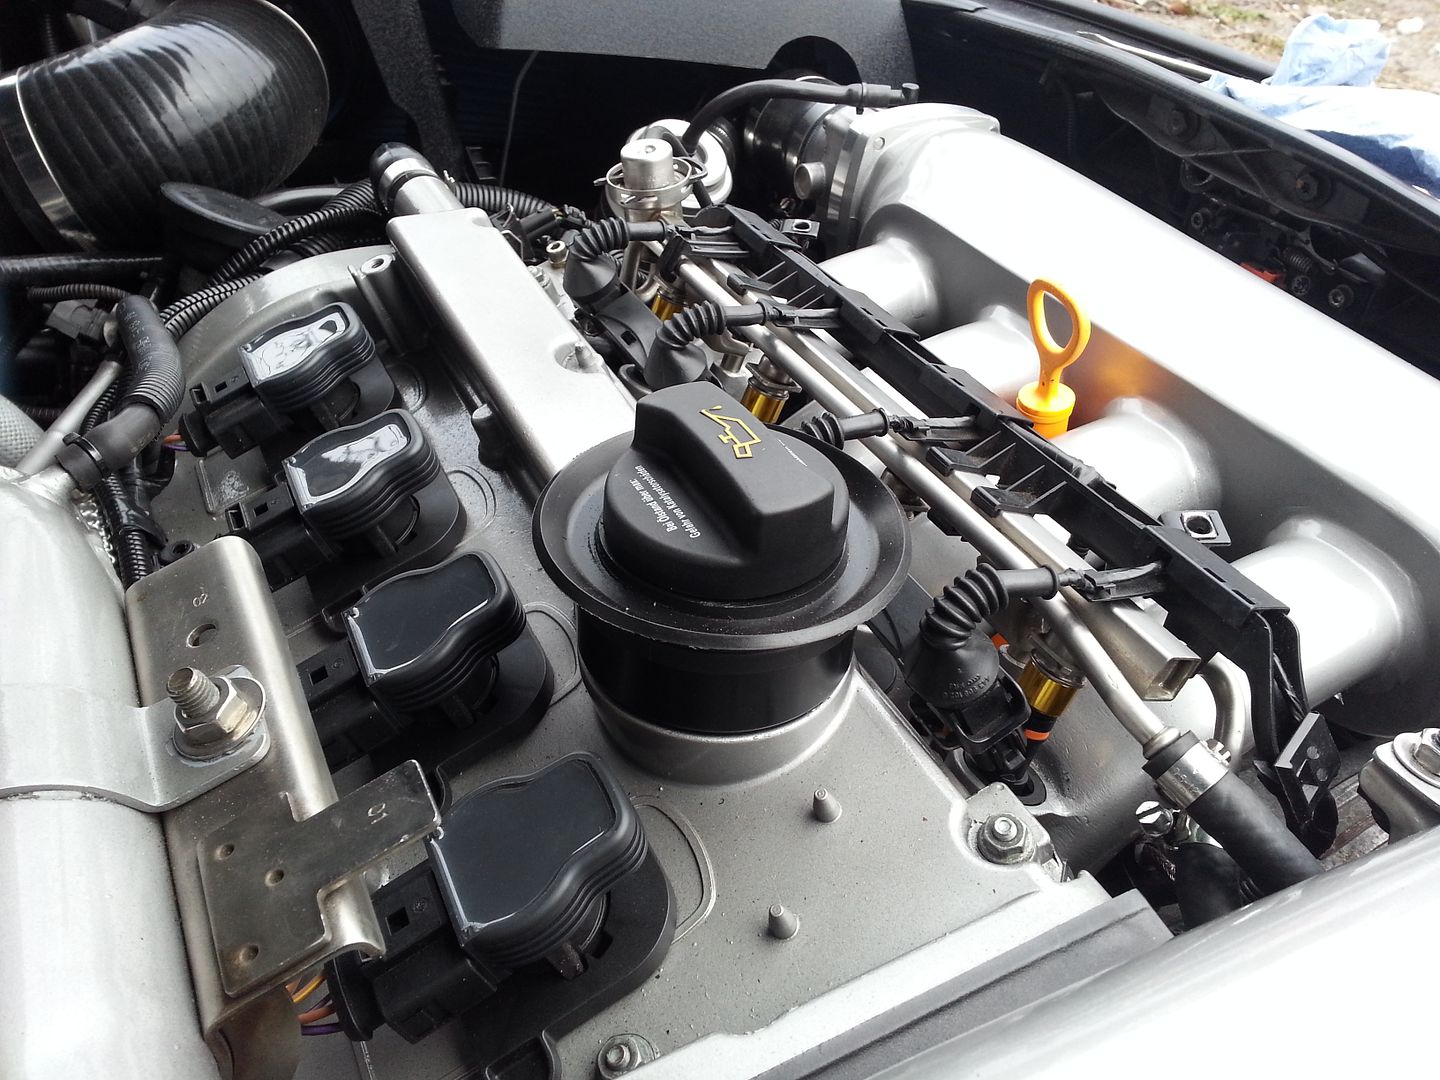
The car behaved impeccably for the whole week until the Friday when after leaving the works car park STFT's were taking over 25% fuel out... brilliant... pulled over and shut the engine off... restarted and all was good again... jeez... getting tiring now but I do believe I have sticking injectors... with that in mind I have a set of Bosch 550's ready to try complete with some slightly non OEM looking unspacers :)

20130202_171915.jpg


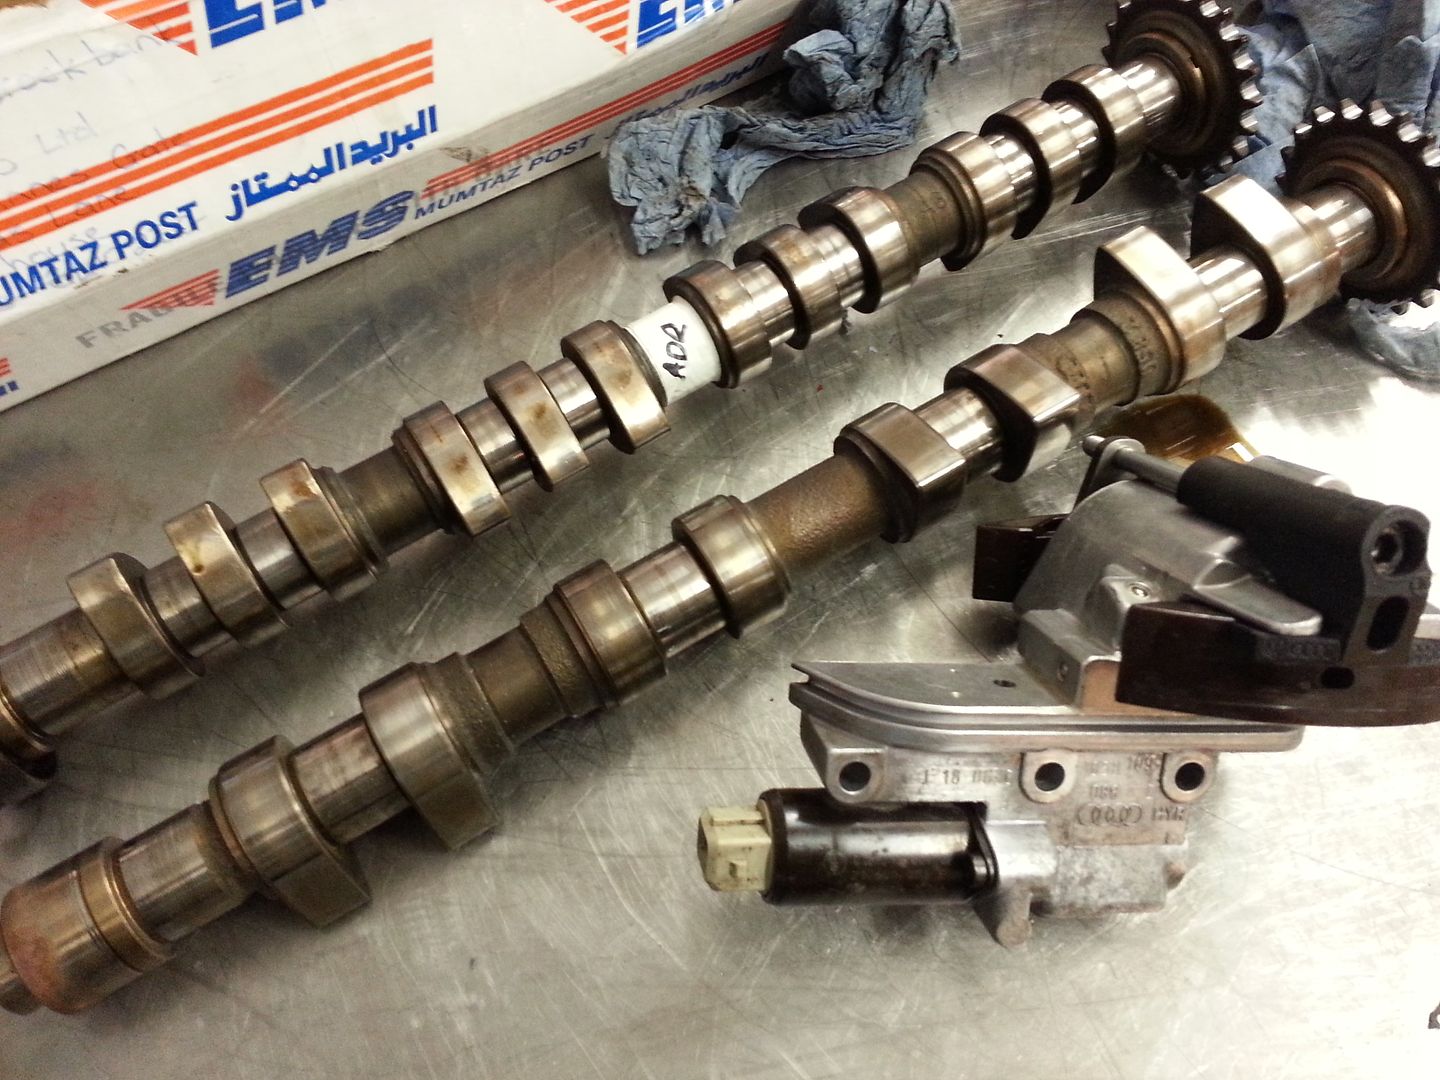
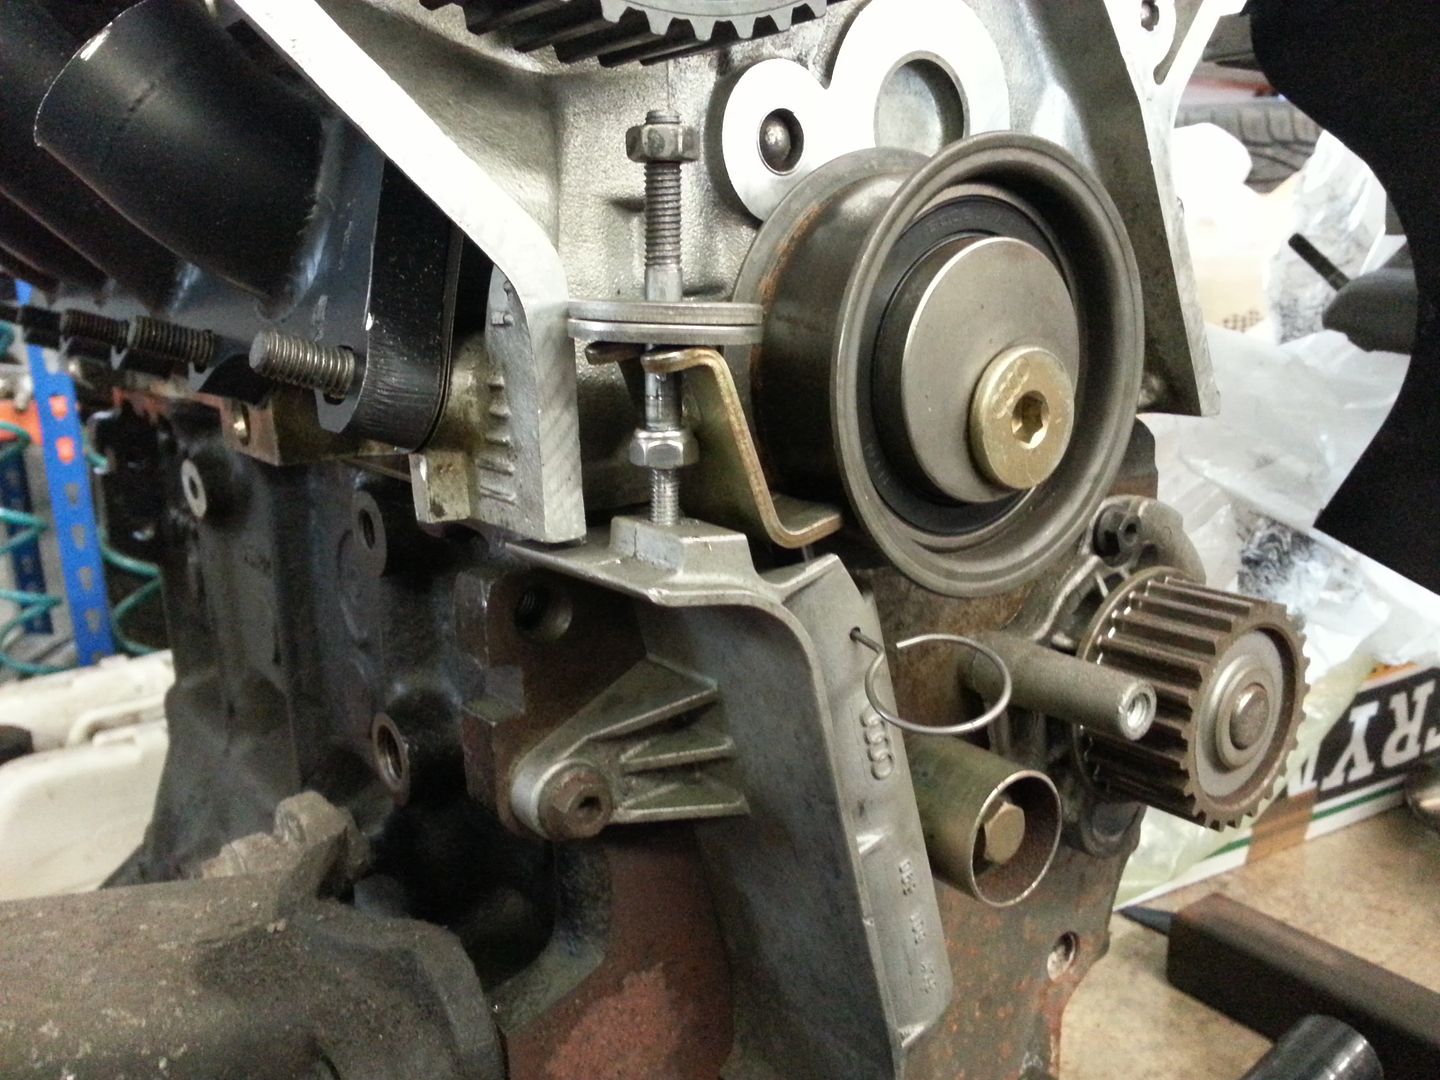
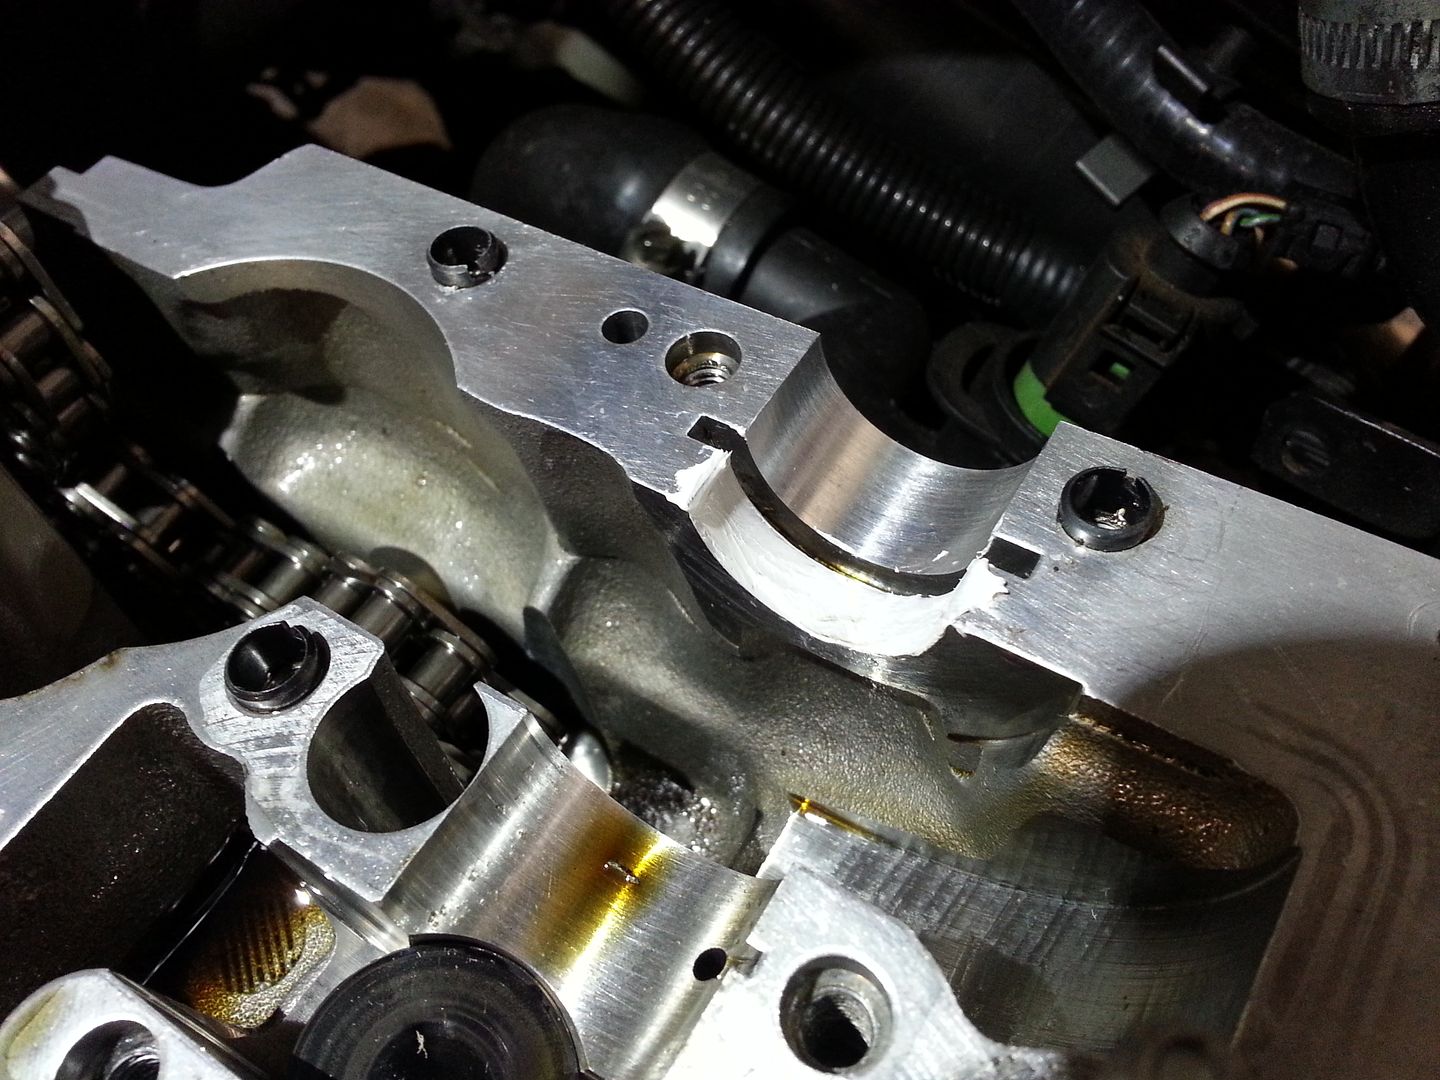
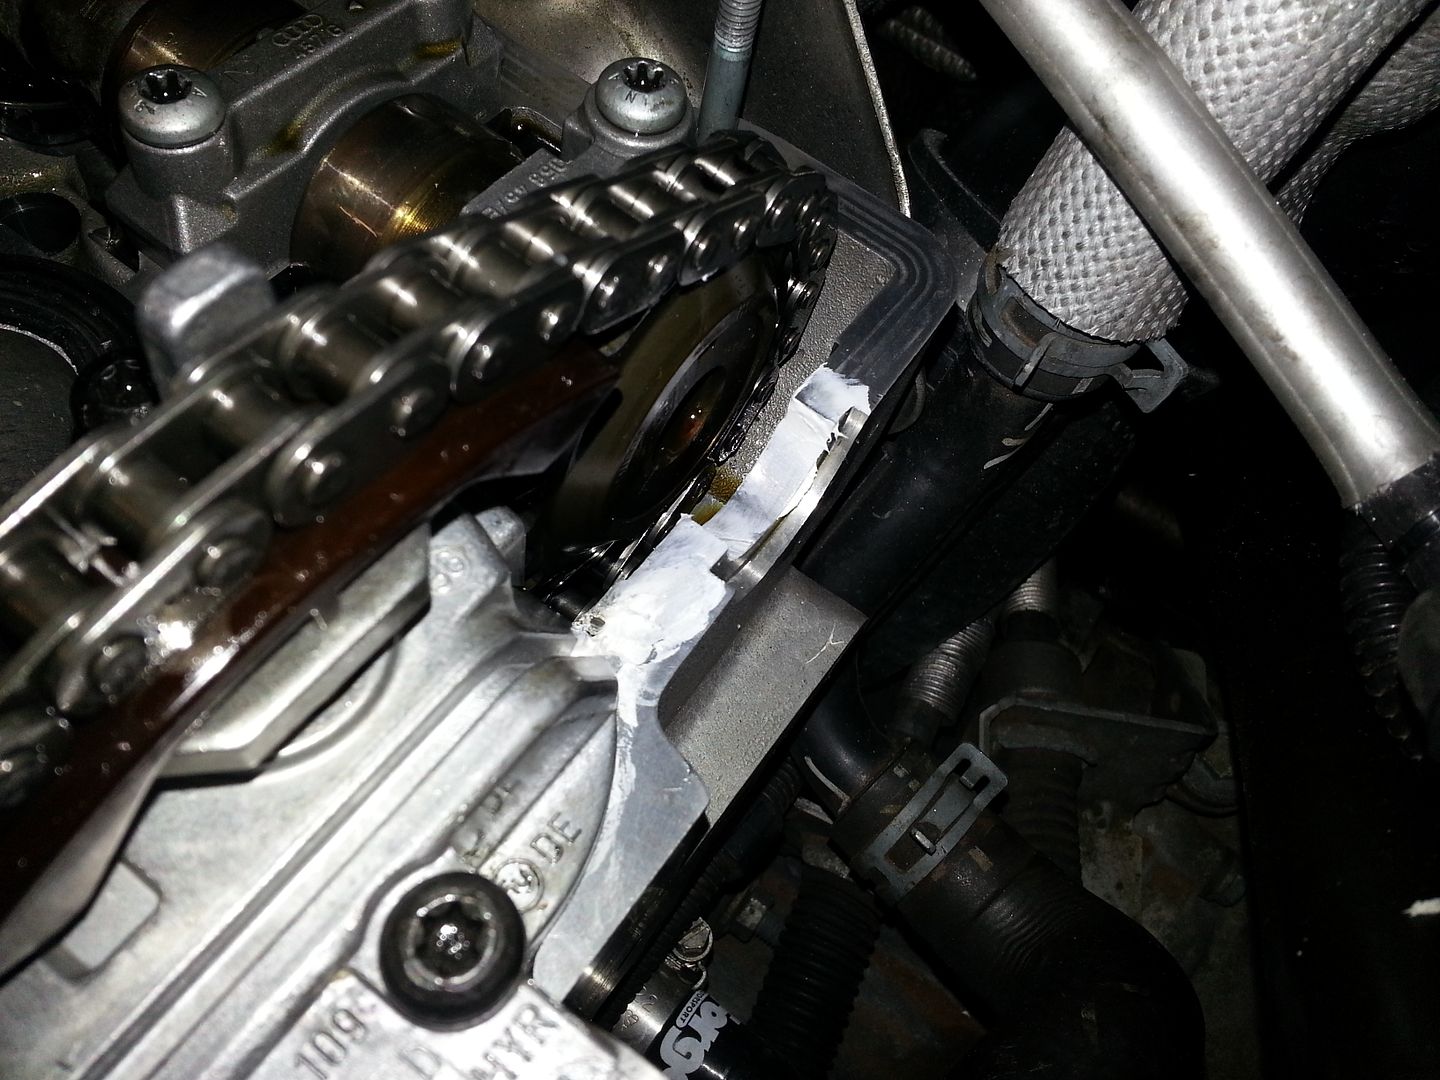
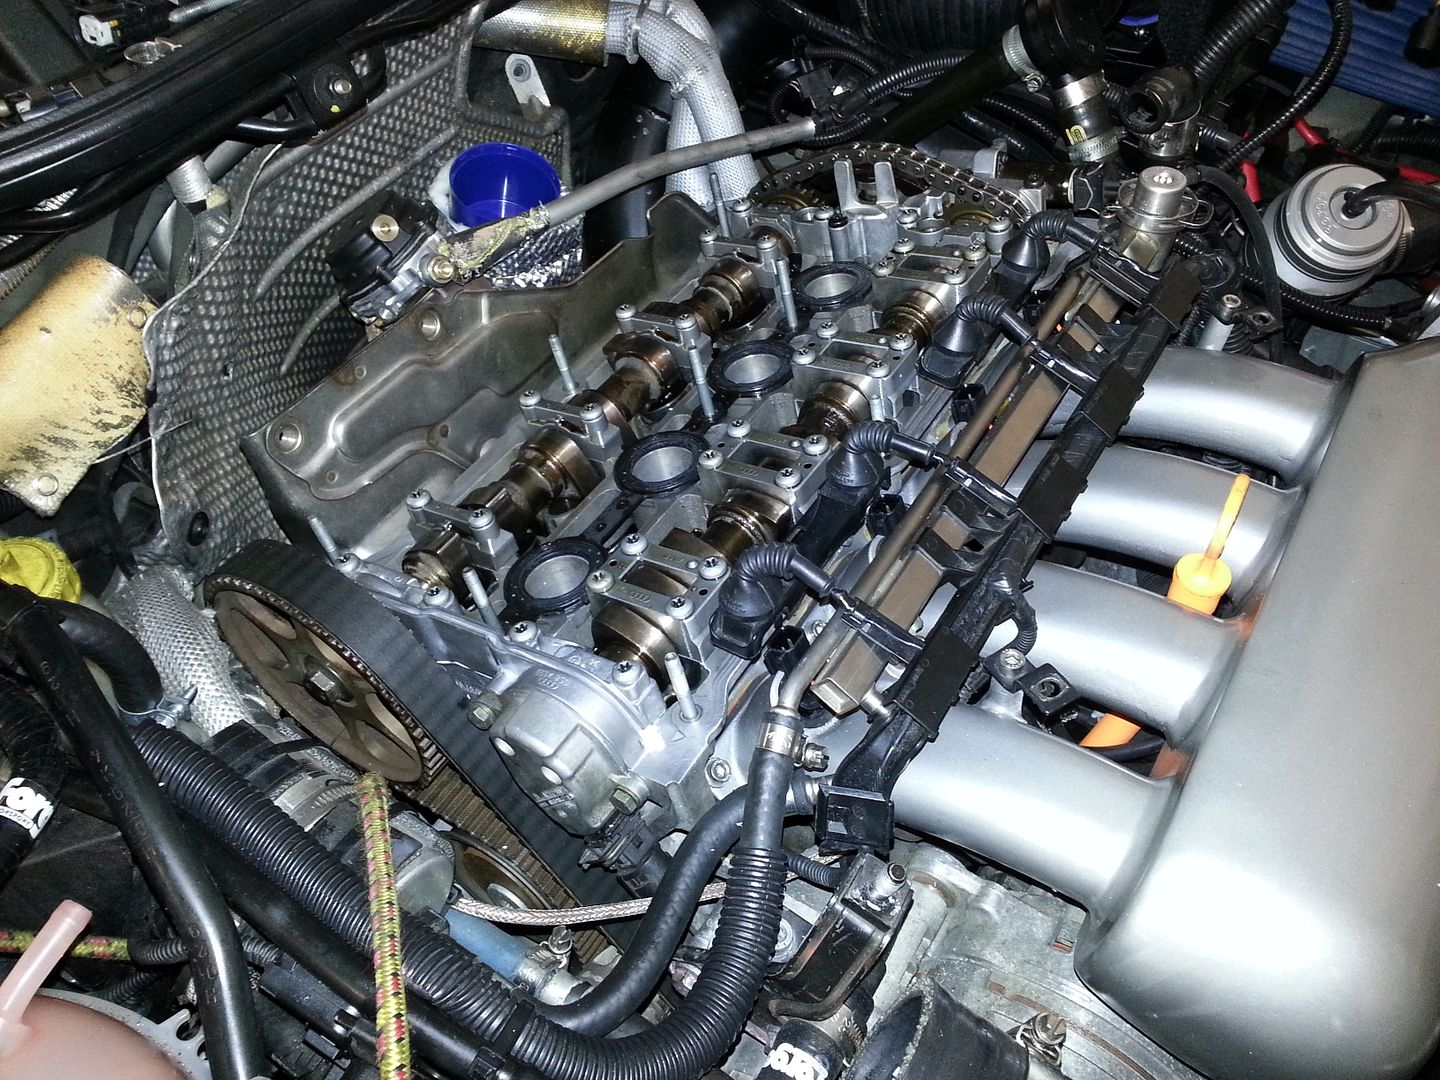
I also believe my VVT tensioner to be on its last legs... I get a rattle on cold start from time to time and occasionally under low speeds the part throttle repsonse feels a bit jerky... this could be due to a number of reasons but considering the VVT is the only thing I haven't replaced in the head I thought I may as well do this too...

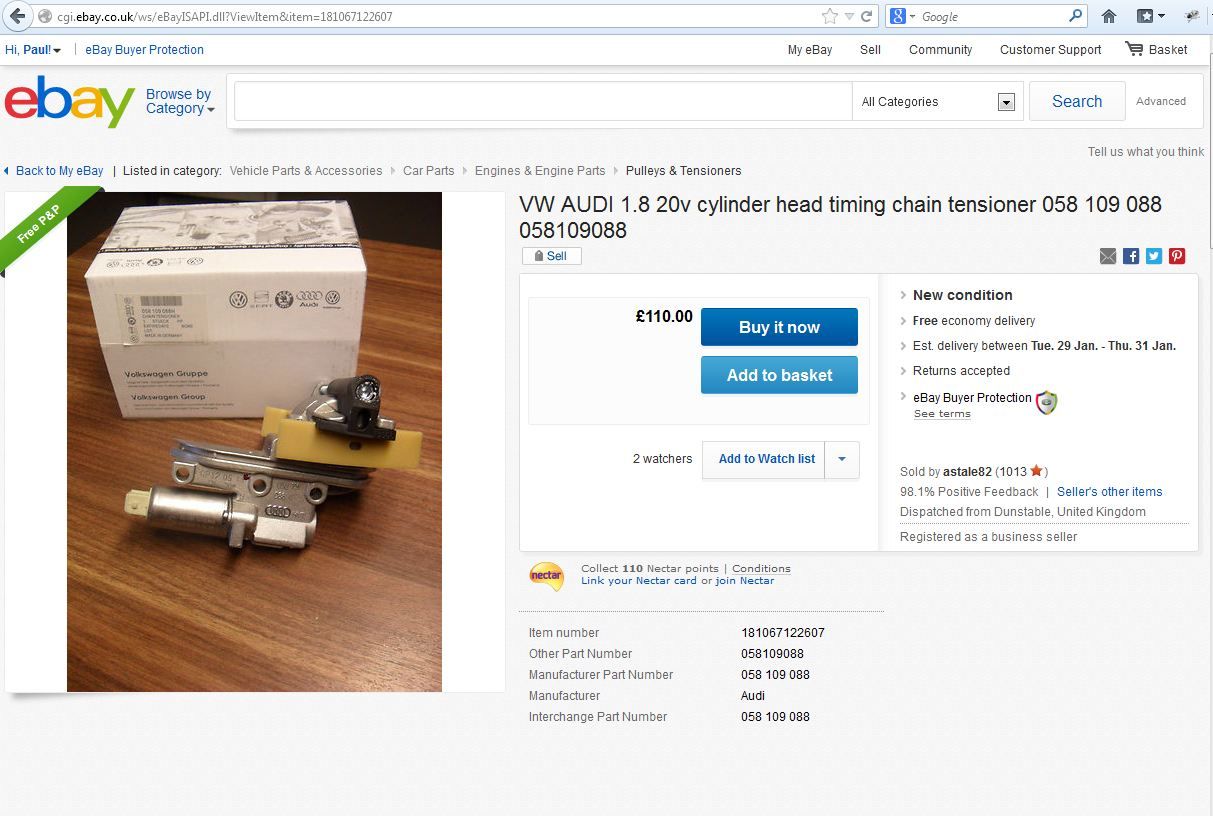
Genuine VVT units are around £350+vat trade... not a cheap part... I have had a copy unit in the past but that was just rubbish so I have been running my original unit ever since... found what looked to be bargain of the century on eBay...

ebay_vvt_zpse14f7871.jpg


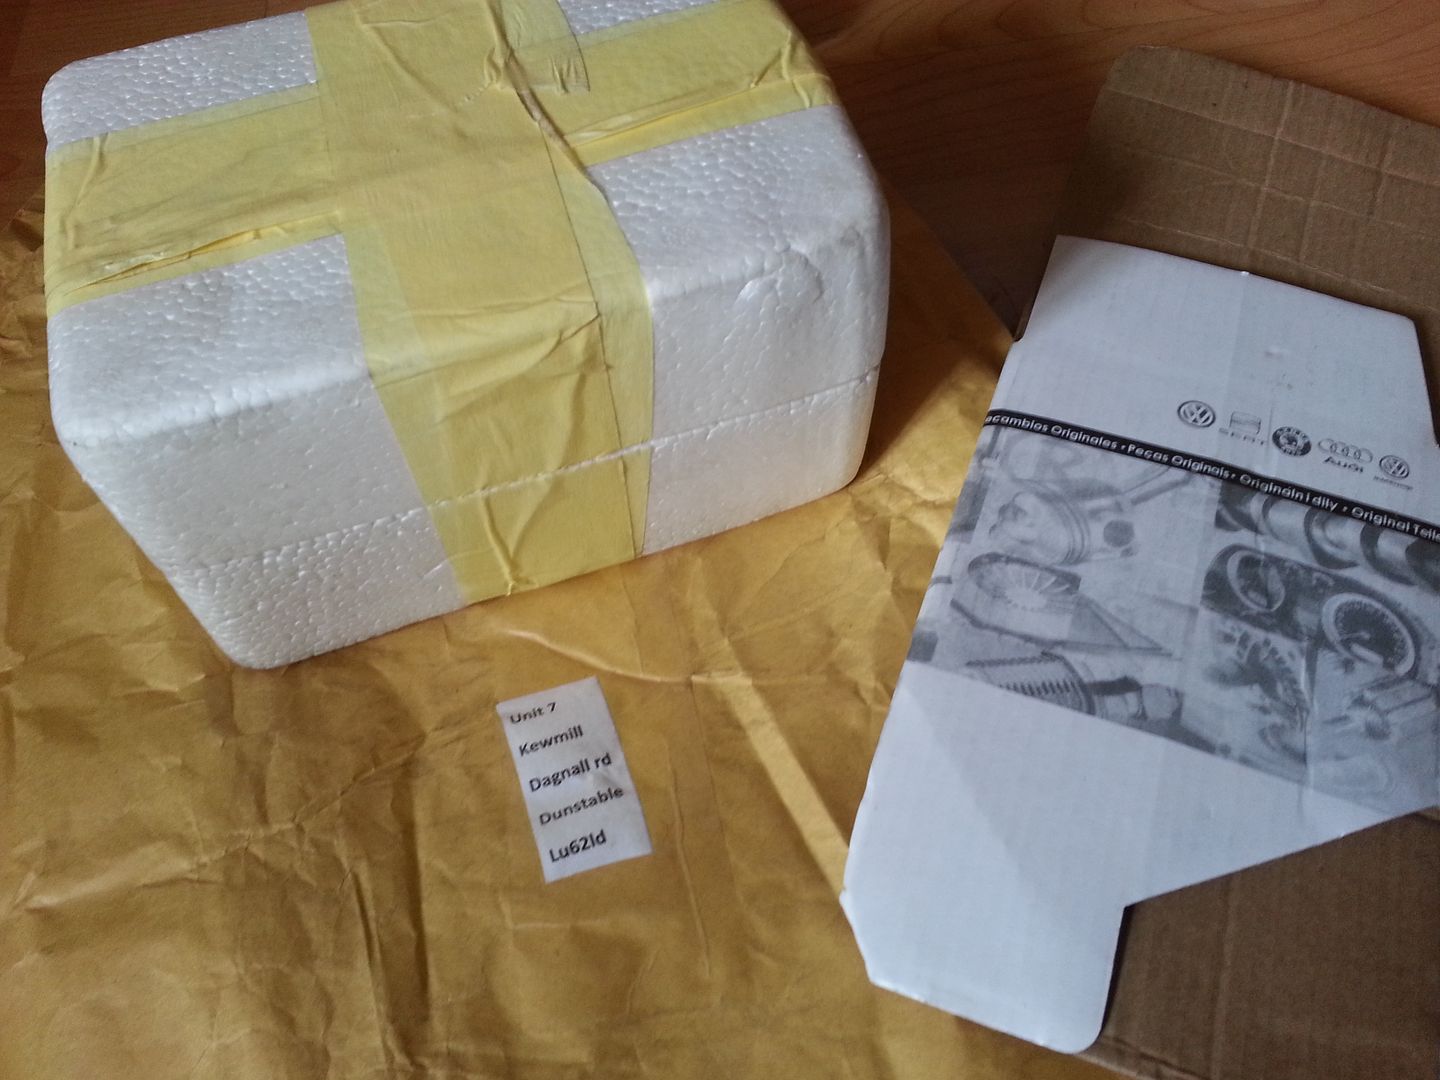
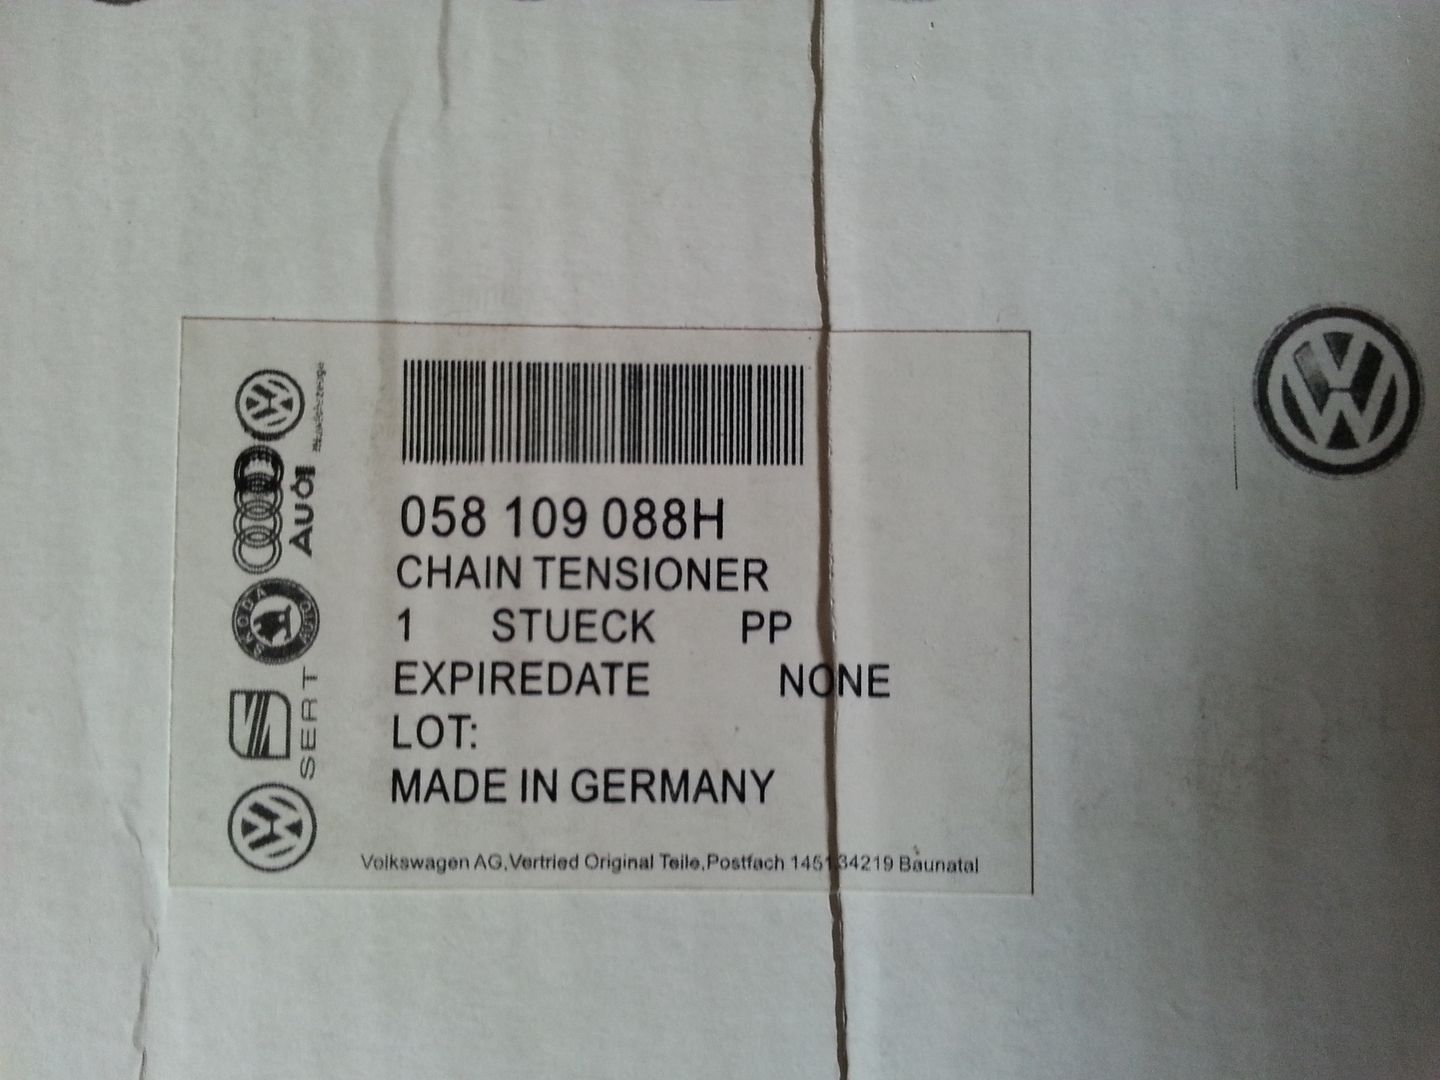
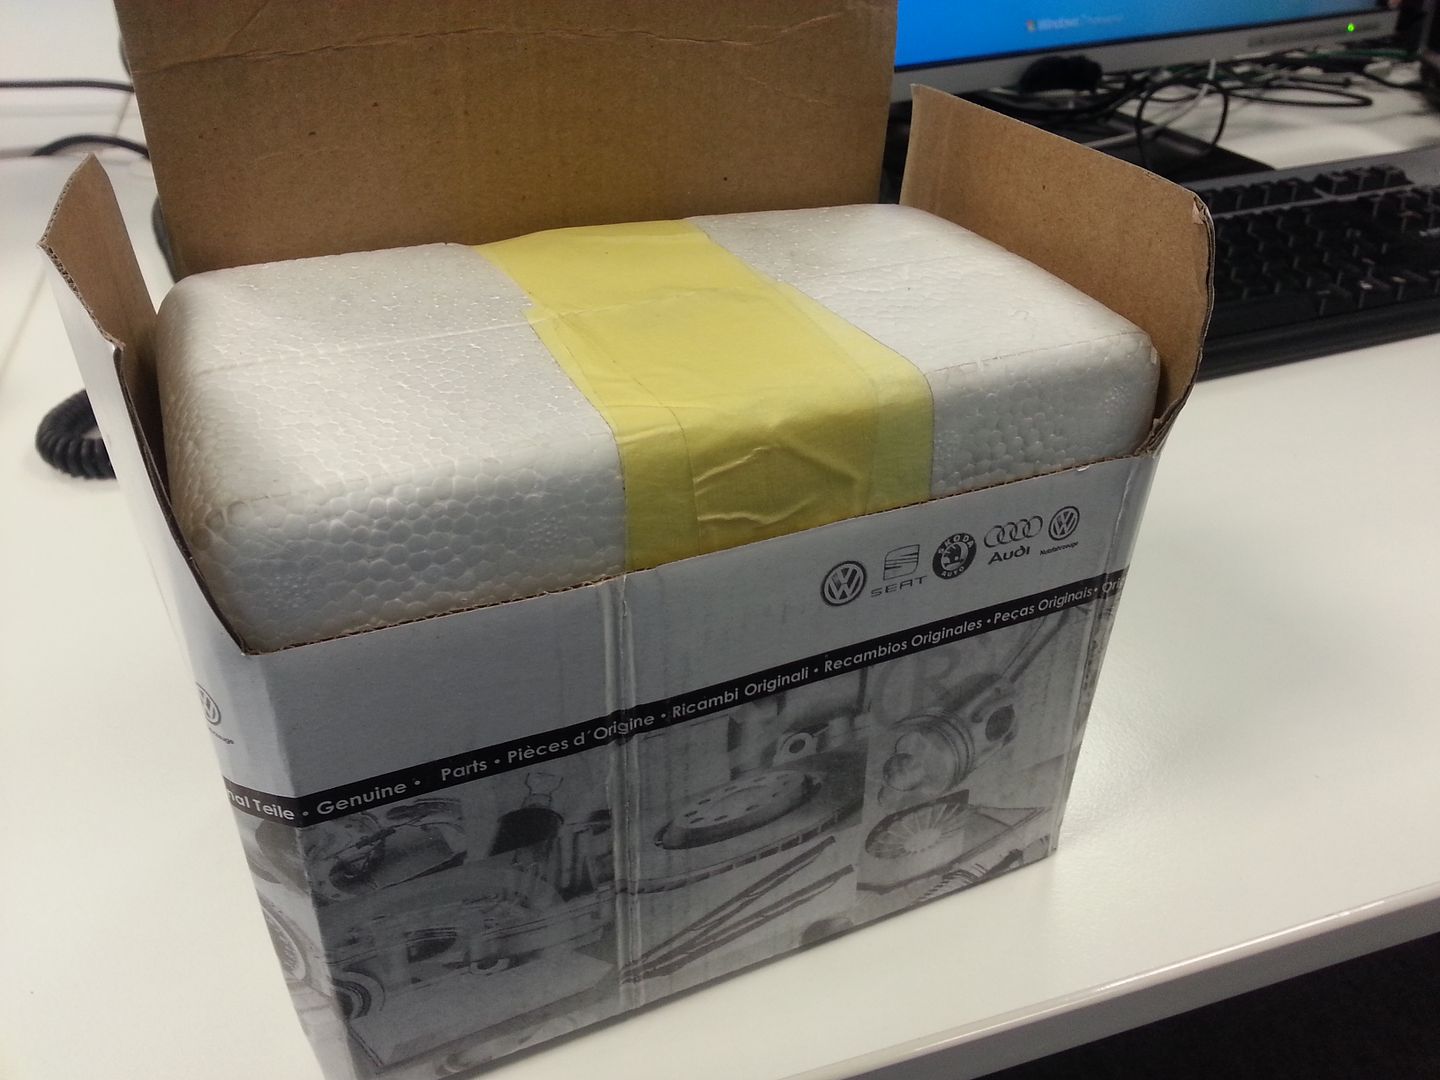
£110 for a VAG unit... seemed too good to be true... sadly it turned out to be a forgery... in the listing its pictured next to a VAG box and had 4 rings cast onto the unit... however the unit turned up in a polystyrene container with a 'vag box' flat packed in the jiffy bag with it...

20130123_120805_zps6e604e65.jpg


20130123_120818_zps6bcdfbfe.jpg


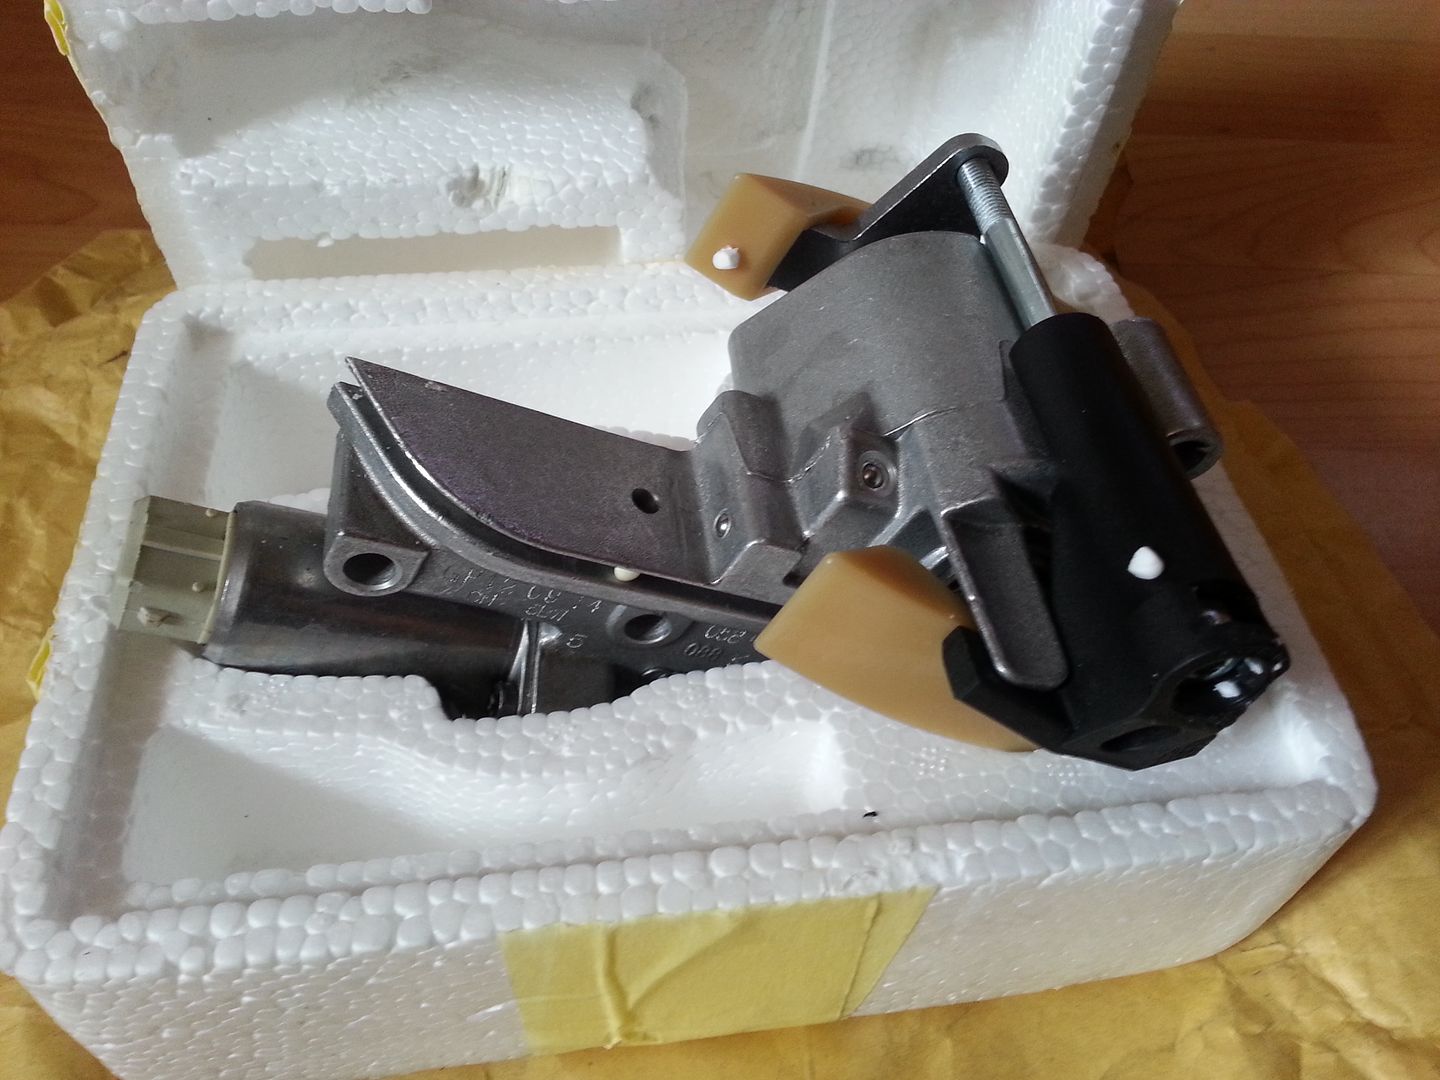
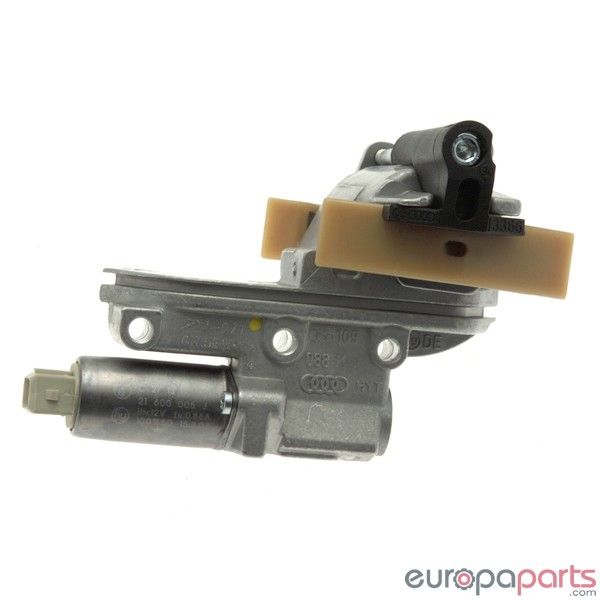
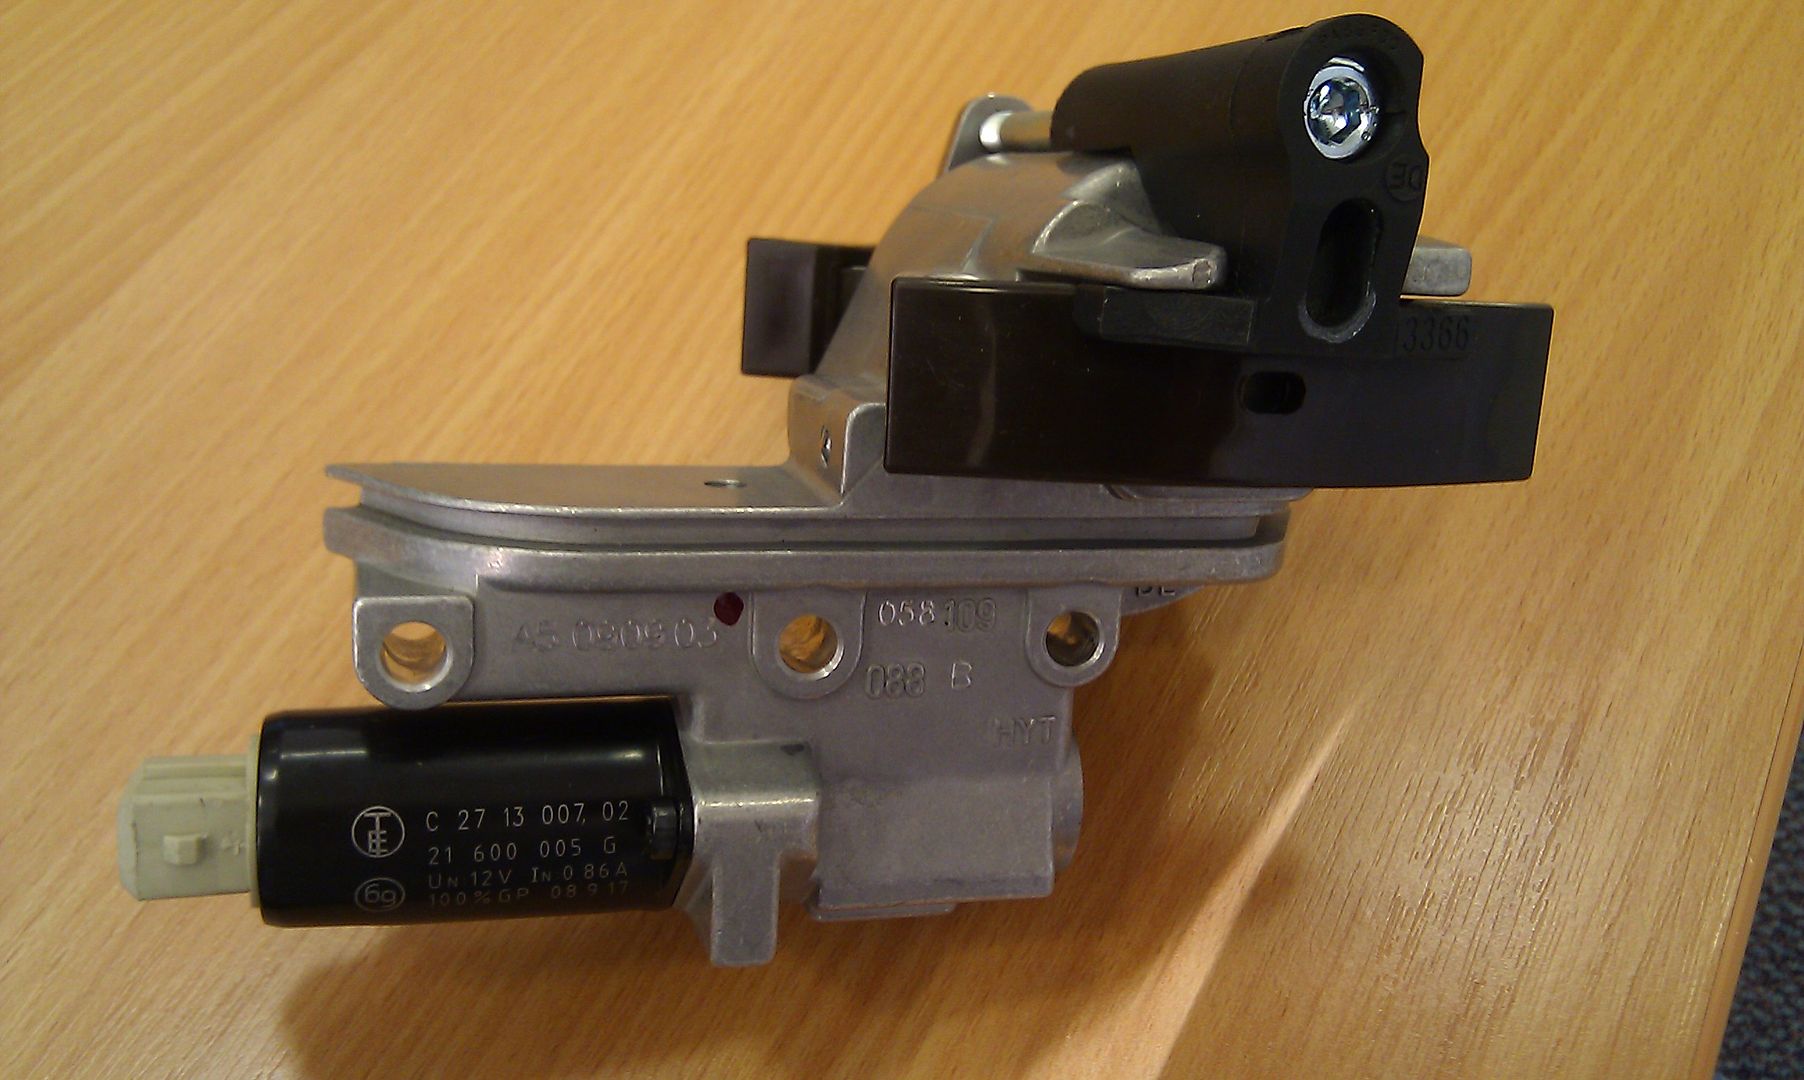
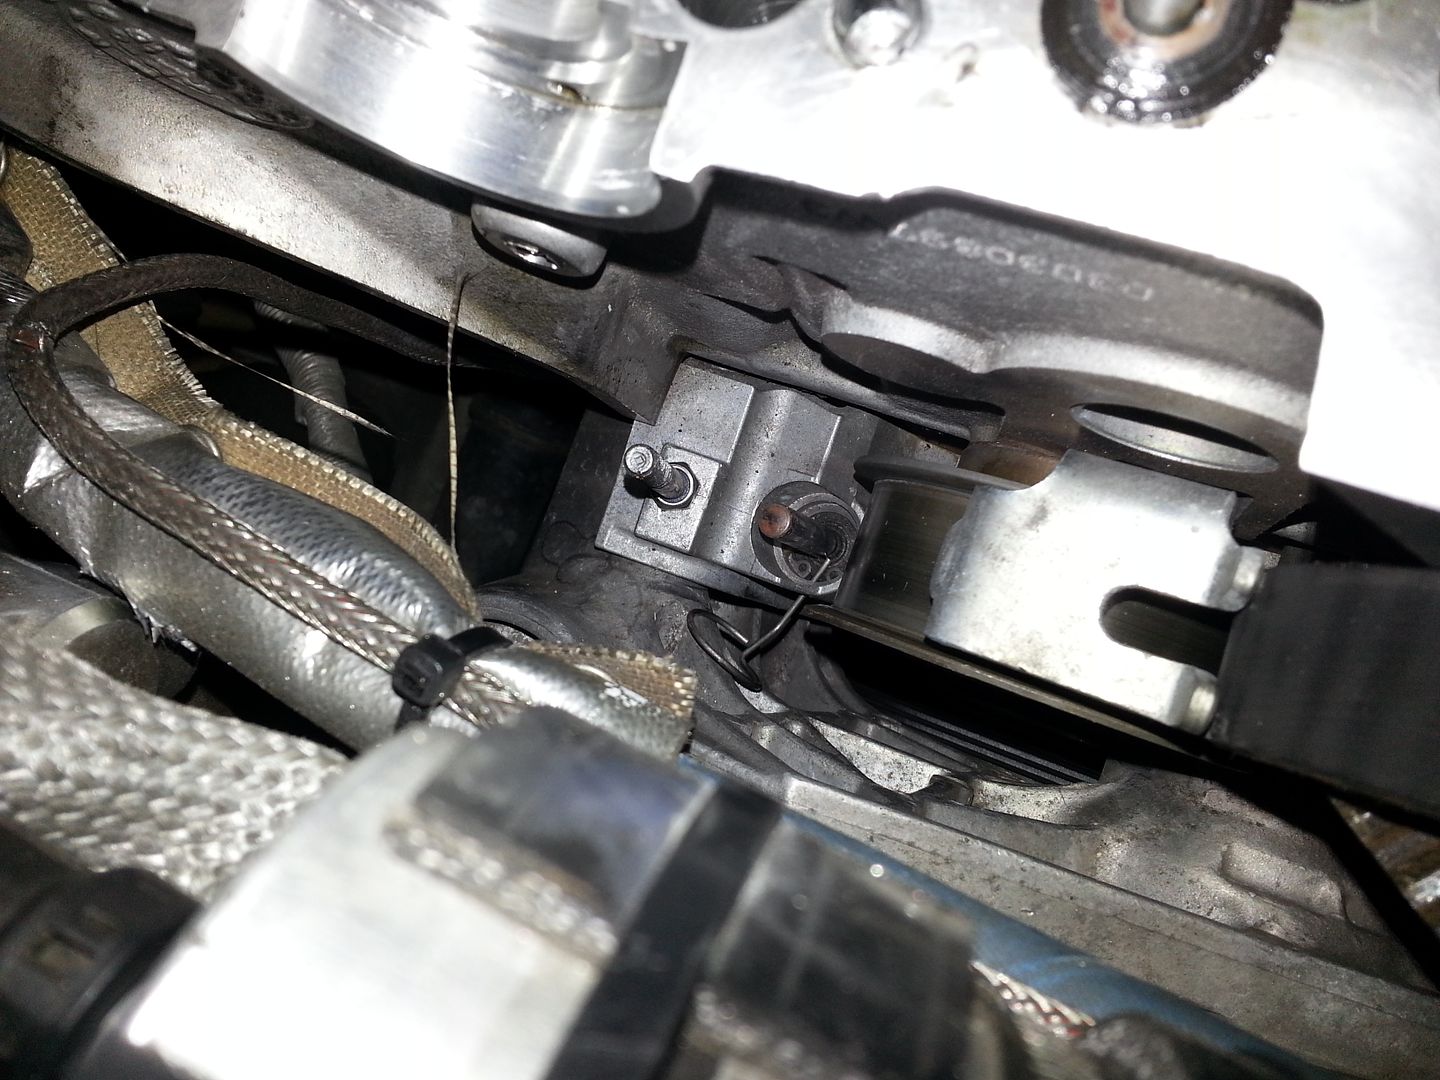
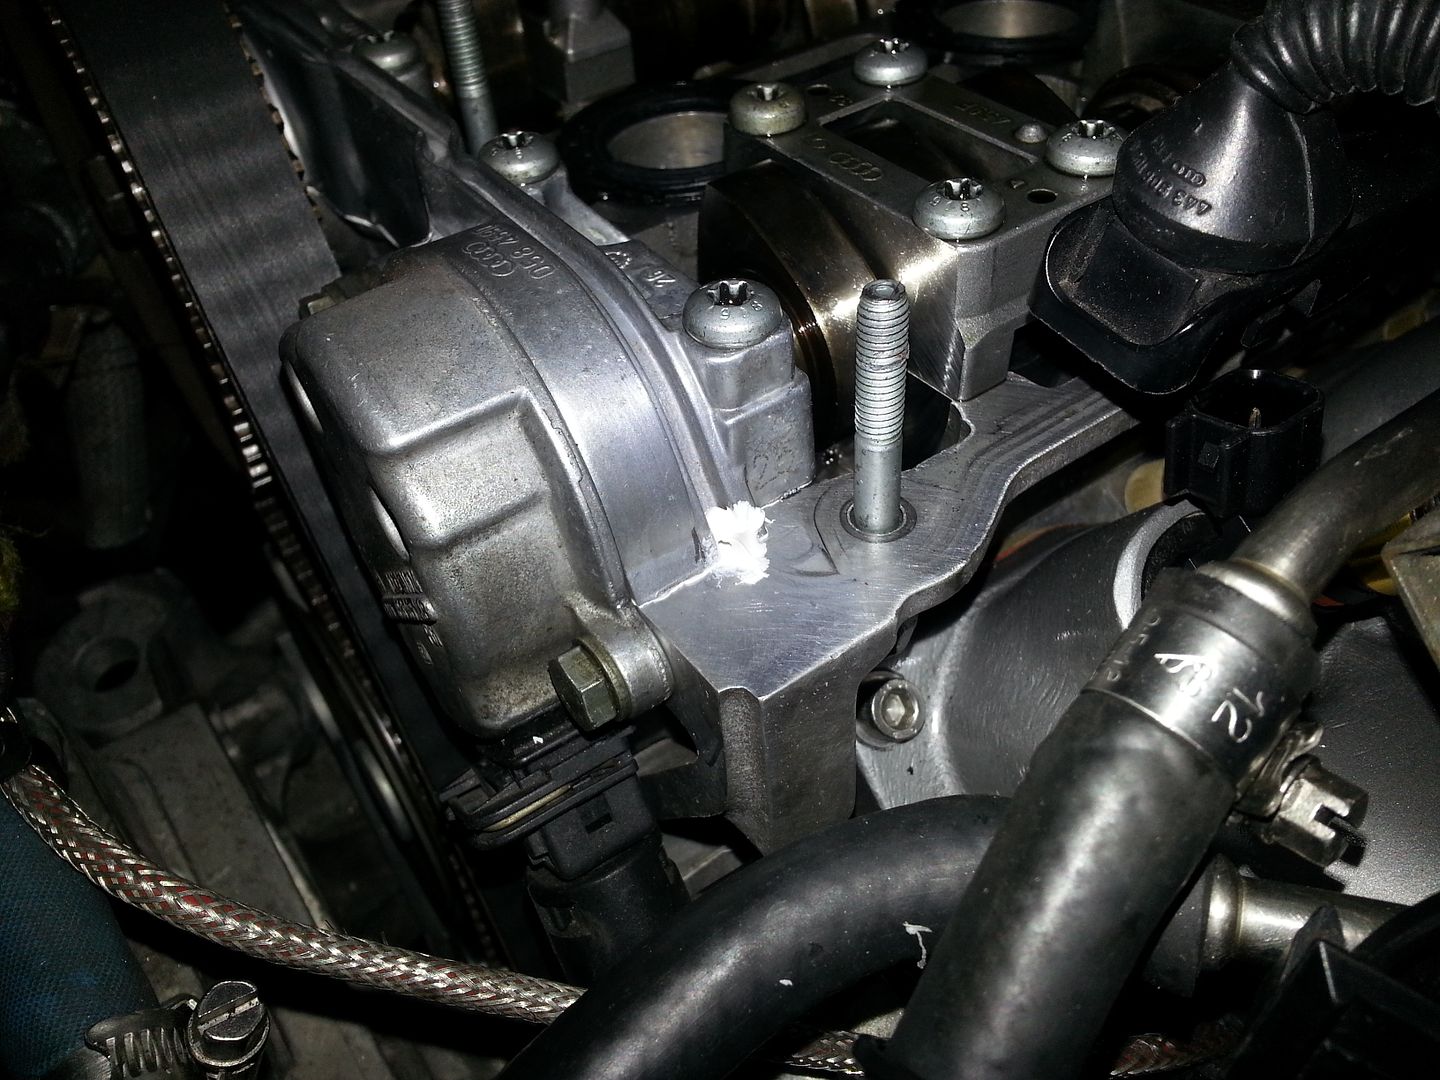
Here is a genuine unit...
058109088k-genuine_zpsb0fdabb1.jpg


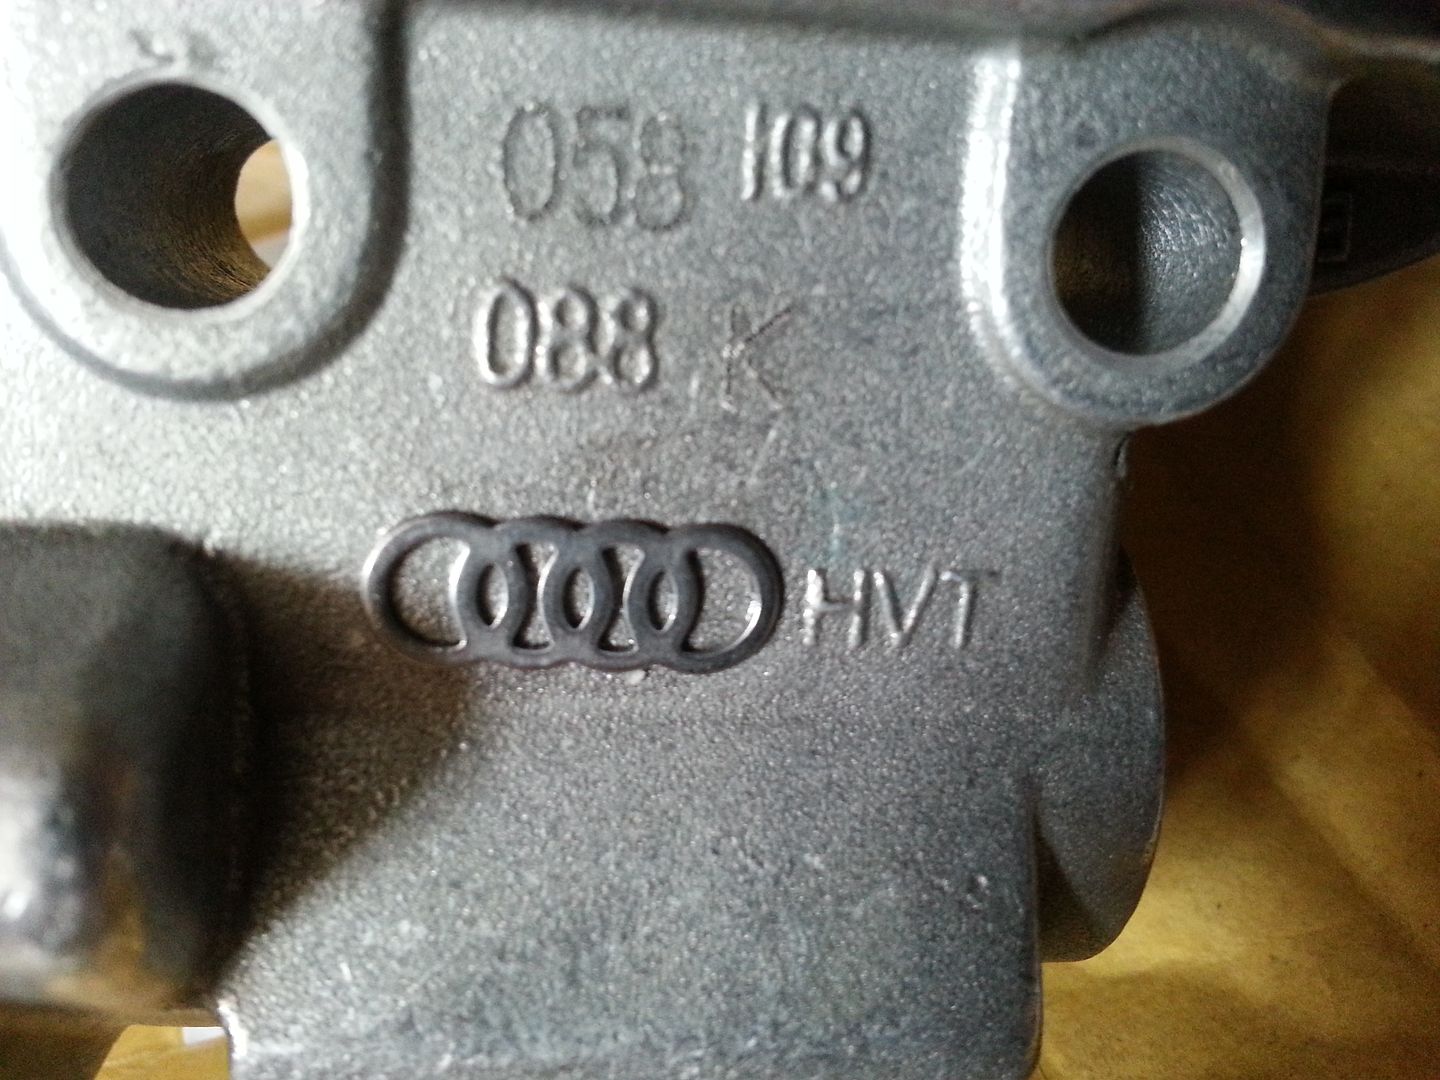
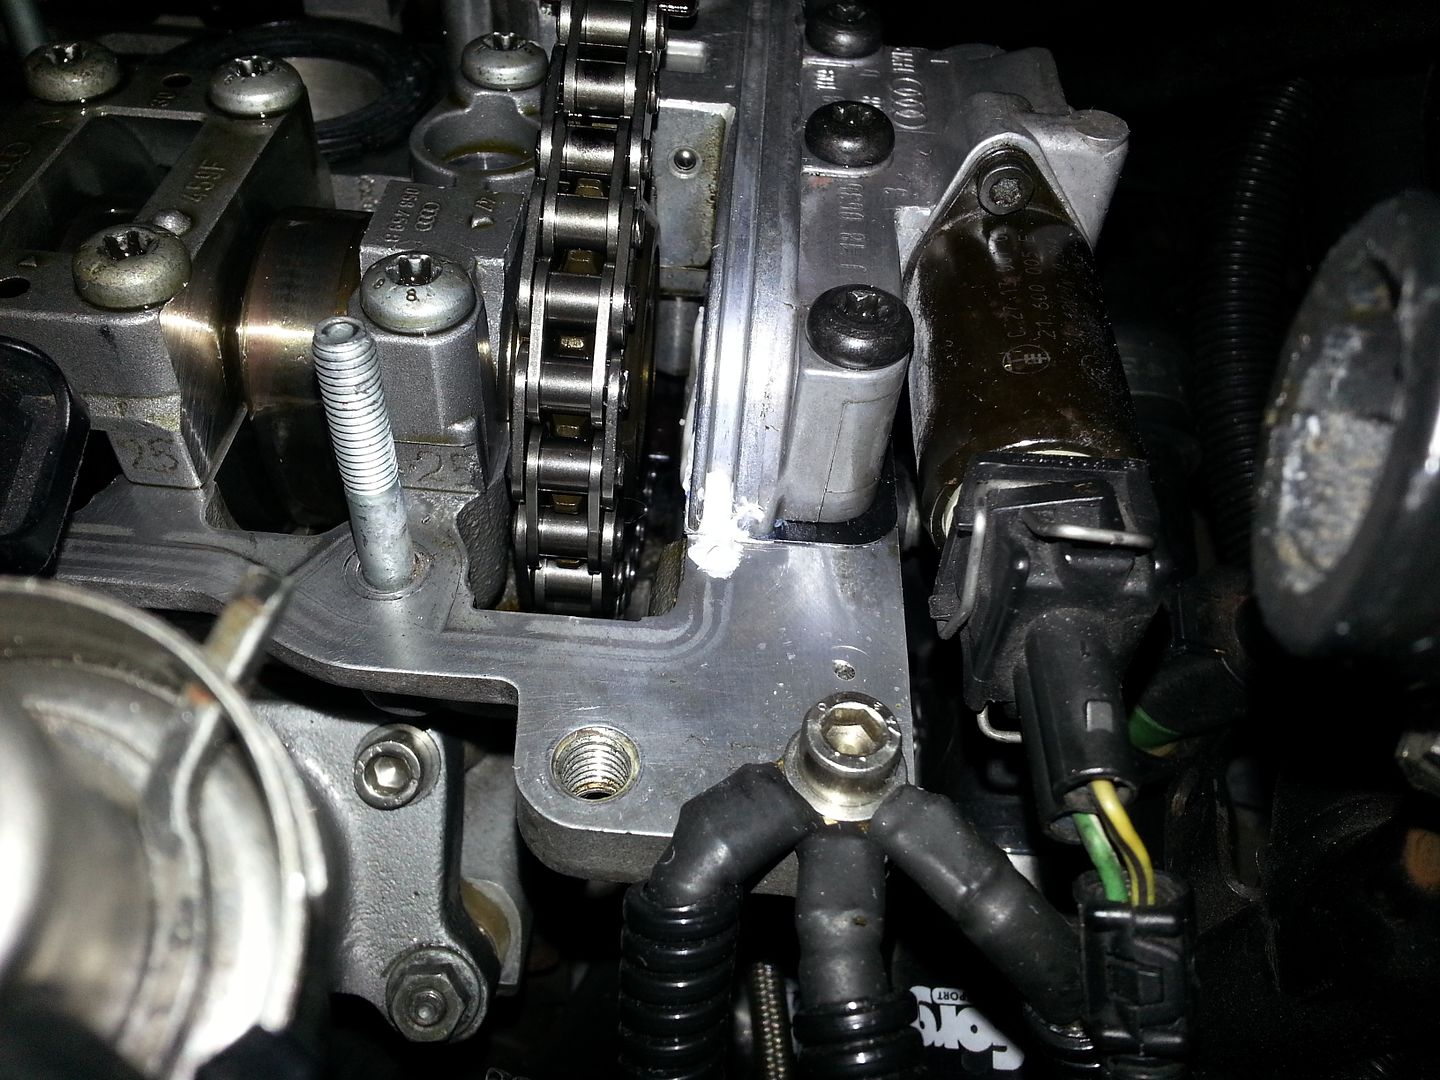
Signs that the unit I had was a fake...

4 rings logo looks like it was cast on afterwards to an existing copy unit as there is a 'tide' mark visible...
20130123_123857_zps161c2d73.jpg


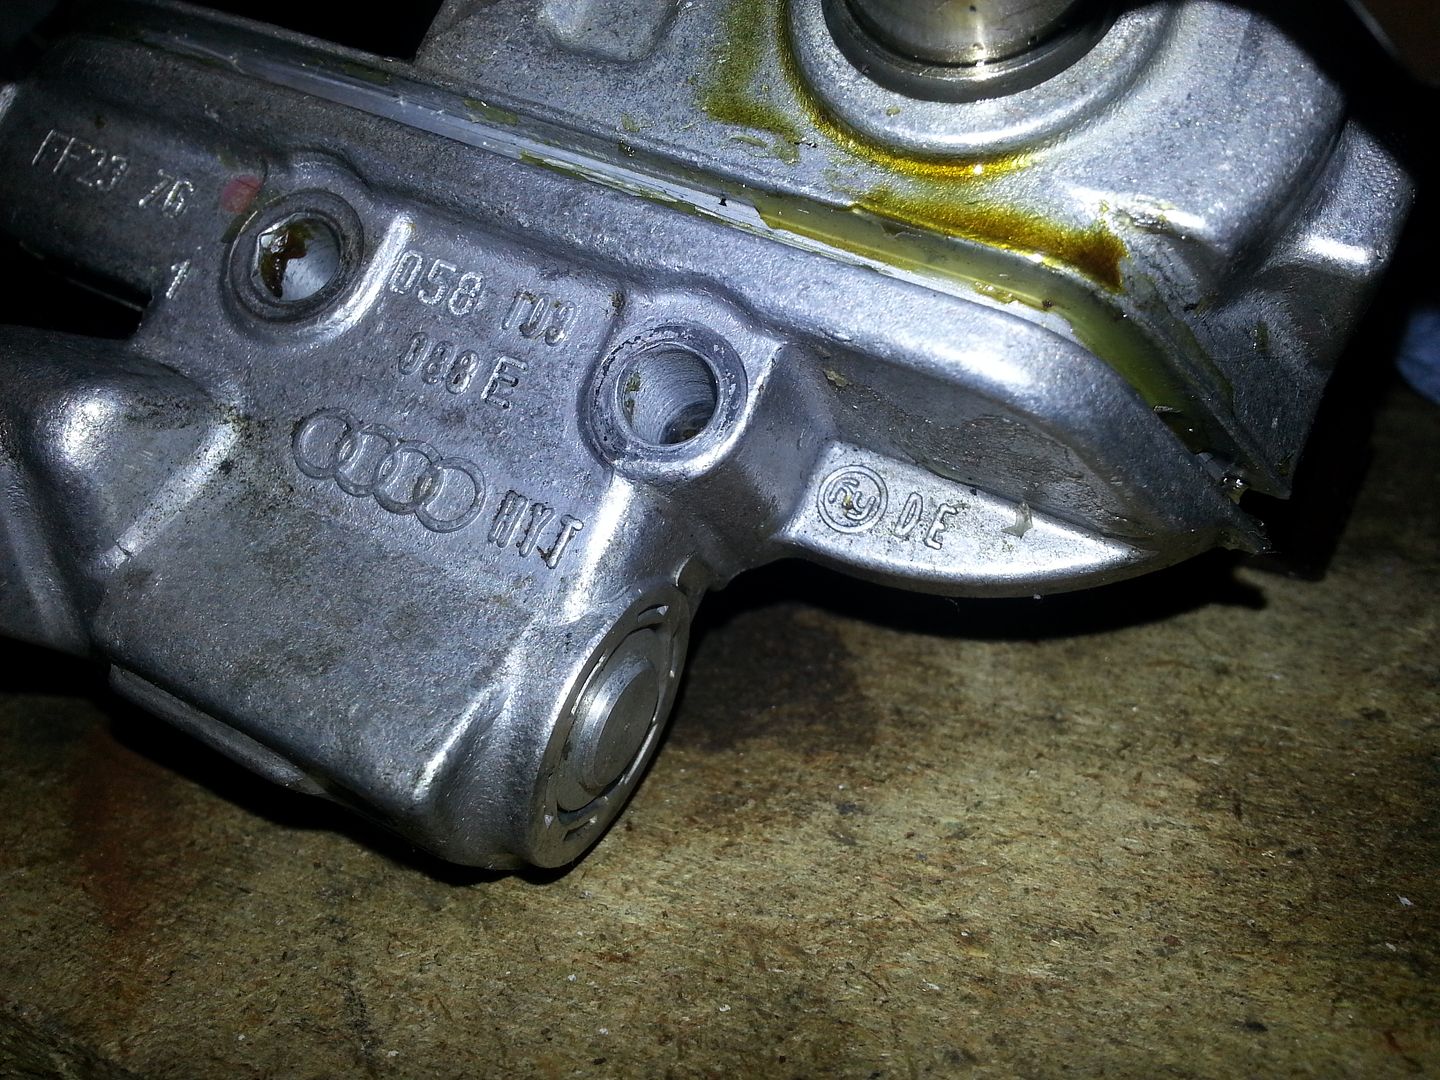
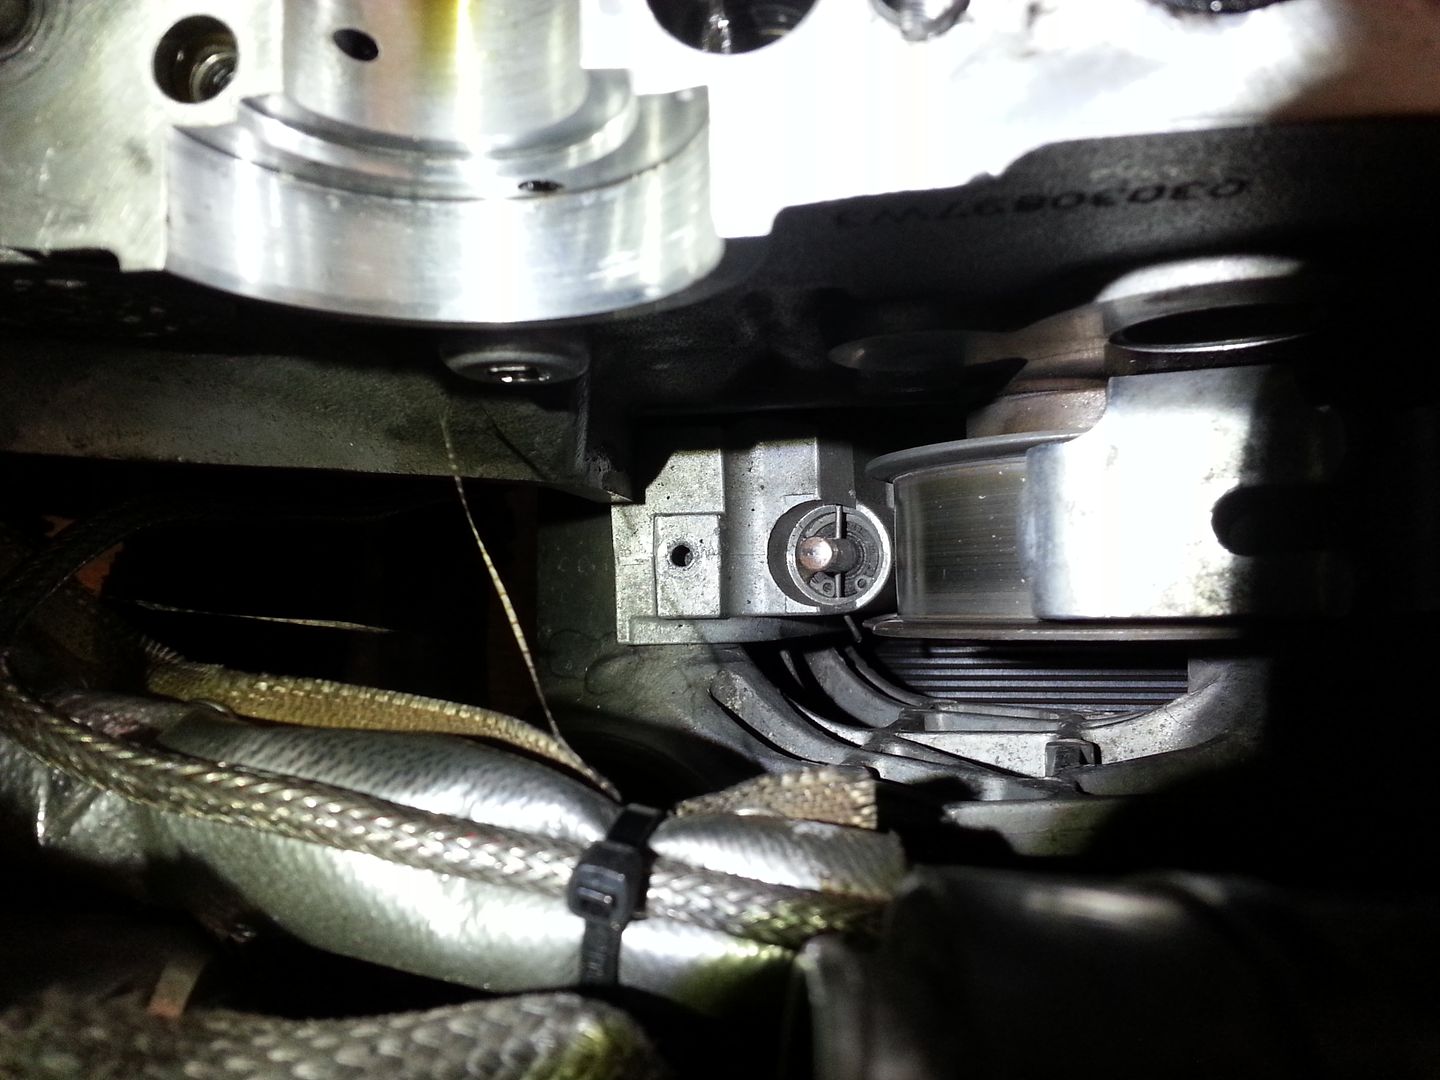
'DE' logo had the 'E' the wrong way round... it also had HVT cast on the unit rather than HYT...
20130126_094126.jpg


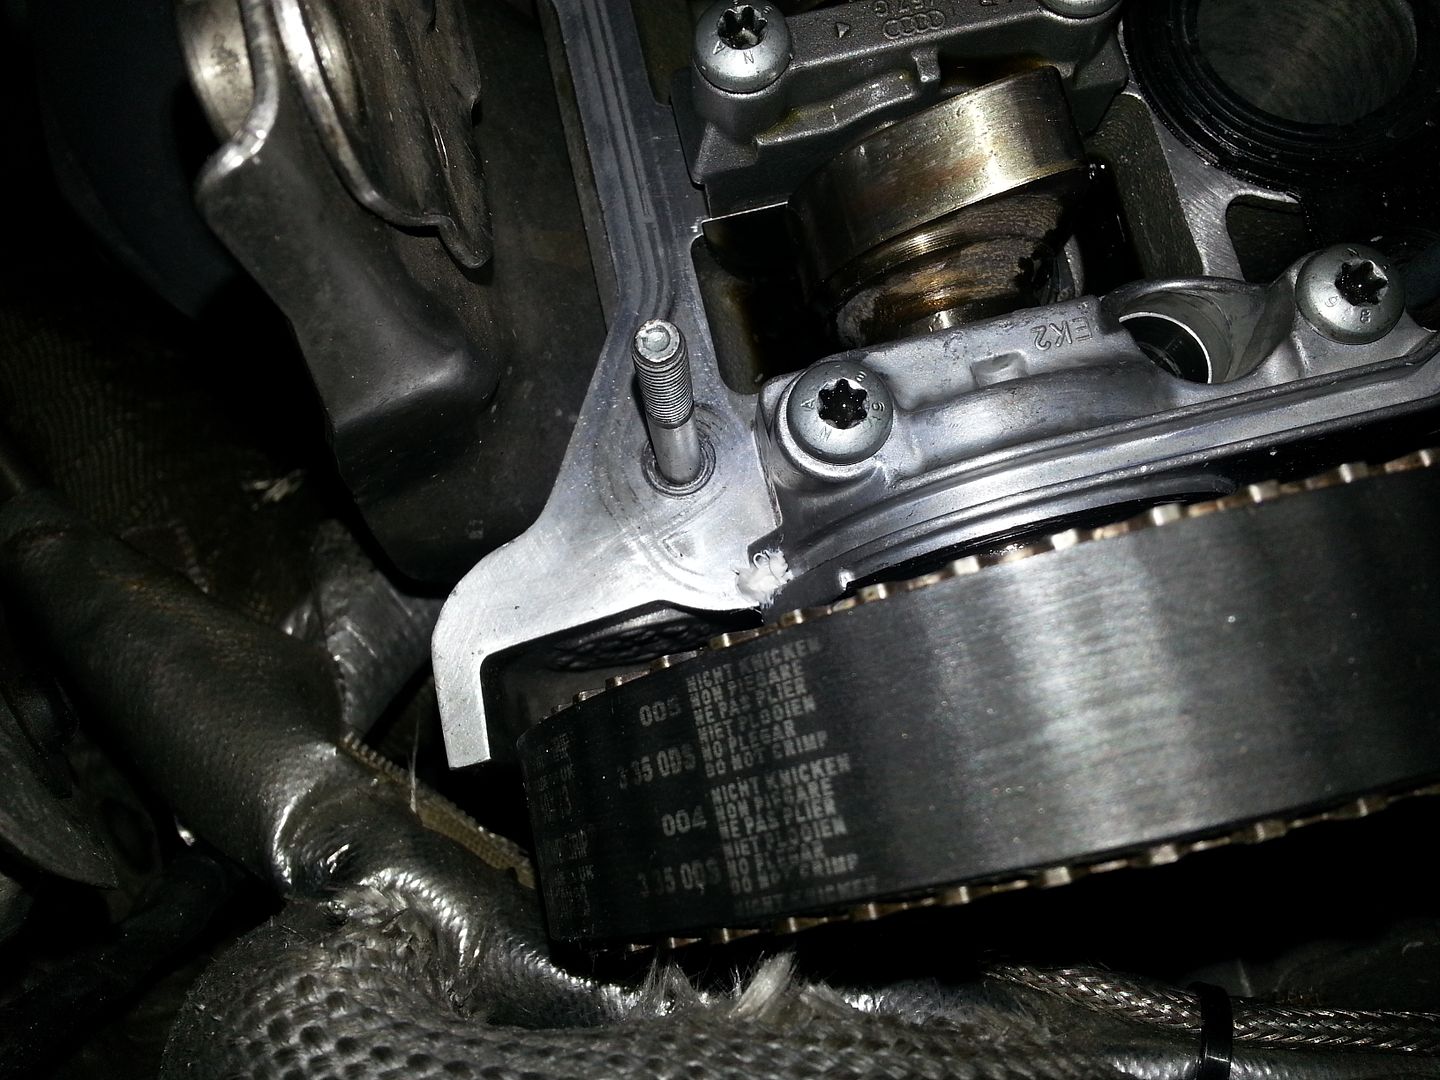
..compared to a genuine unit...
20130126_094106.jpg


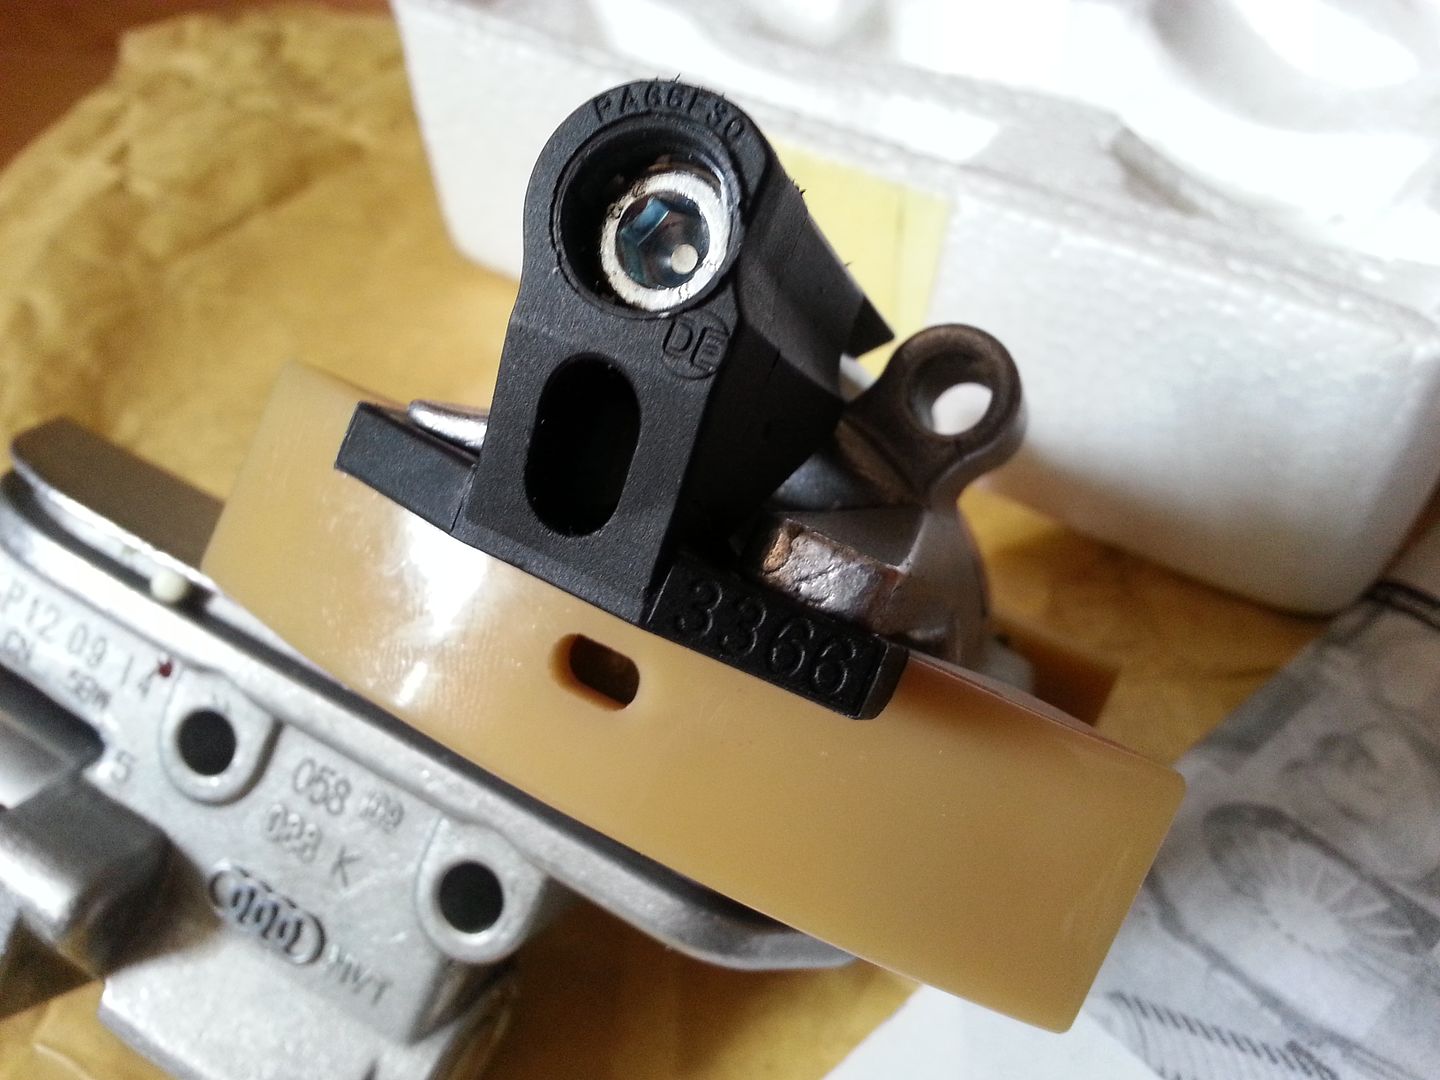
The tensioner tool supplied with genuine units carry a 4 rings logo, this doesn't have any...
20130123_123828_zpsd3060178.jpg


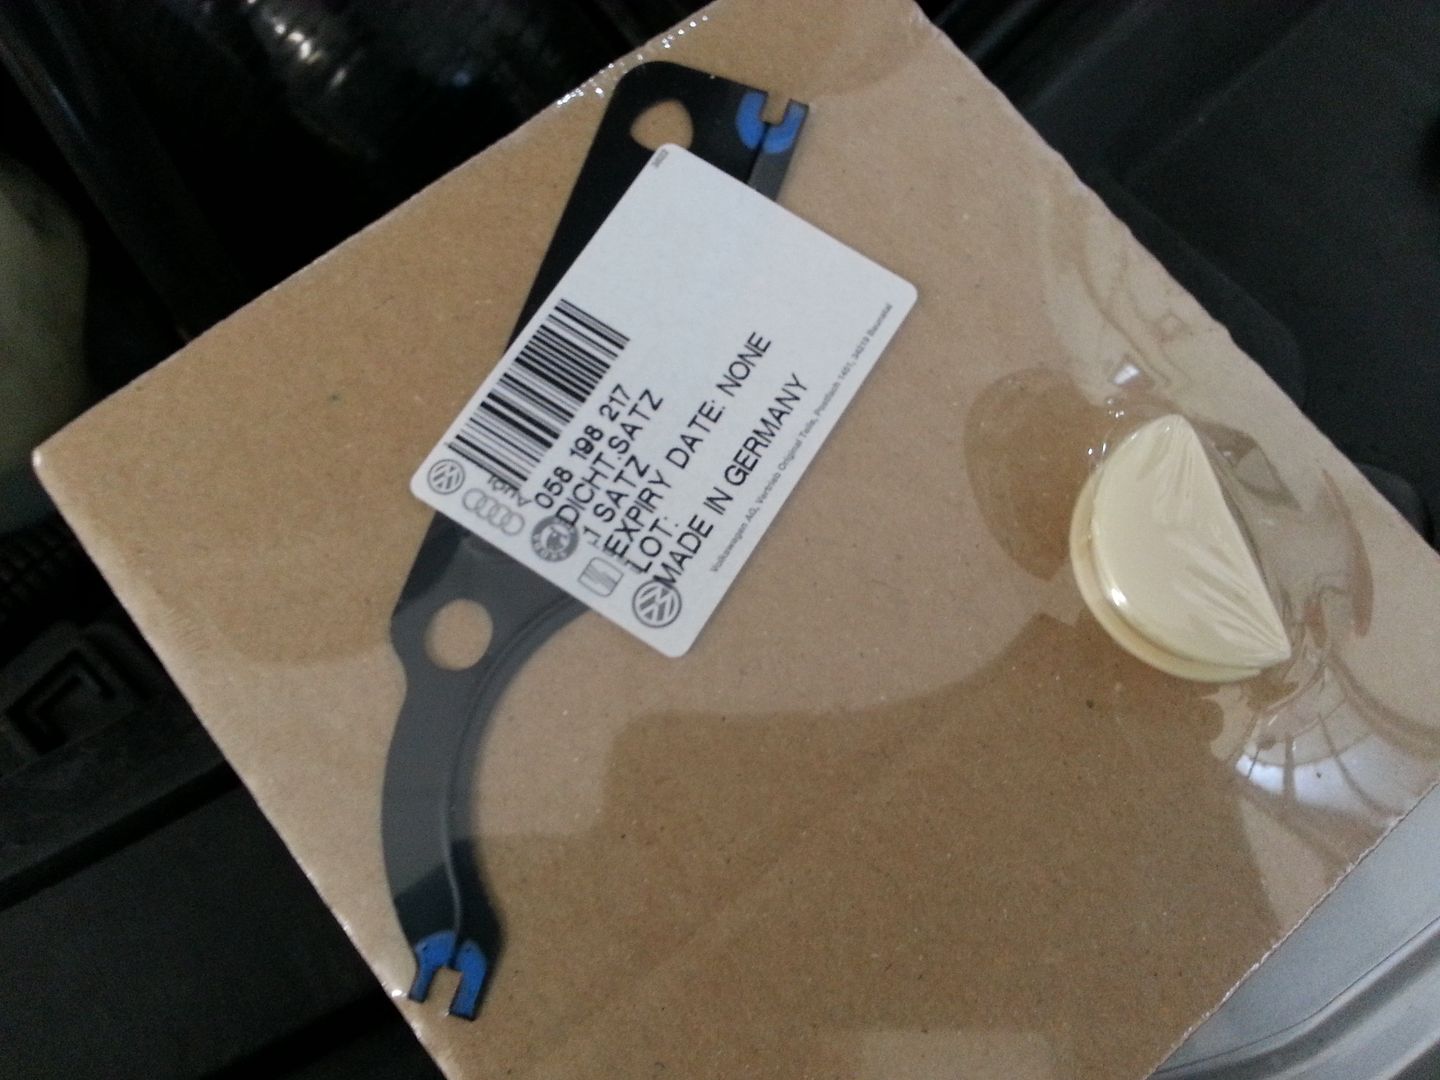
The barcode on the box wasn't an actual barcode... I work with barcodes and nothing I had available could read it...
20130123_120710_zps2c2a36c4.jpg


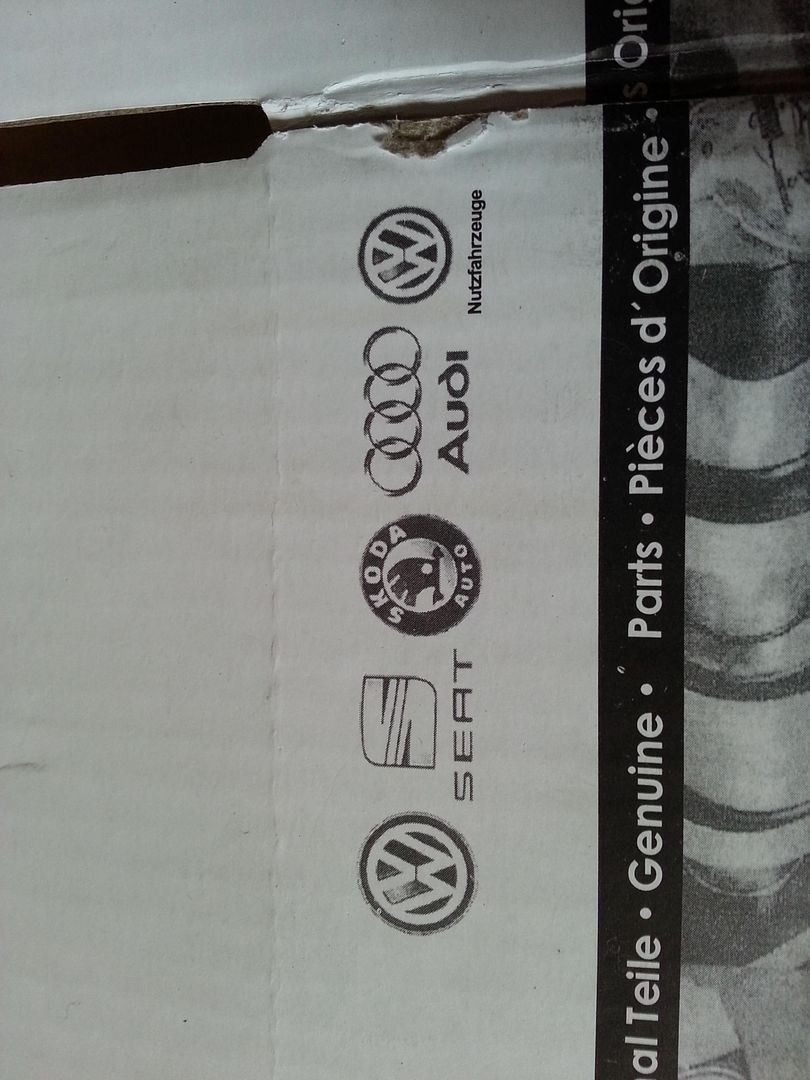
The box itself has a shiny finish where all the VAG boxes I have ever handled are a matt finish... the VAG logos looked almost photocopied onto the box..
20130123_120737_zps0632dfff.jpg


When I came to return the unit I tried to fit it into the box...
20130124_080603_zps1dfa9f9c.jpg


That kinda seals it really...

Be careful people... if it looks too good to be true, it probably is...

For reference here is a pic of the copy unit I bought... I bought this knowing it was a cheap copy unit but all it did was cause a 'setpoint not reached' fault code...
IMAG0482.jpg


I need to new tensioner of some description so next on the list will be a unit from GSF as I have seen these come in VAG boxes which suggests they are genuine... failing that its bite the bullet and buy a genuine one from TPS

<tuffty/>
 

Rgm racer

Active Member
Sep 22, 2009
317
0
So whats the plan with this unit, return for money back, give negative feedback and surely got to be worth reporting this to somebody [who though?] to try and prevent many more people getting ripped off in the future.
 

tufftybloke

Badger 5 Edition
Feb 28, 2009
657
0
Gloucestershire, UK
So whats the plan with this unit, return for money back, give negative feedback and surely got to be worth reporting this to somebody [who though?] to try and prevent many more people getting ripped off in the future.

I reported it as a counterfeit through eBay and the raised a case to get a full refund... not much more I can do really... I gave all the facts in the case... I sent the item back, got my money back so who knows what happens from here...

There is a report item link on the bottom of any listing so hoping others that read this and come across these can at least avoid them... he has relisted one by the looks too...
http://www.ebay.co.uk/itm/VW-AUDI-1...ensioner-058-109-088-058109088-/181068386336?

Not sure if eBay are going to take any further action... I escalated the case as the paypal refund was in limbo for some reason and eBay sorted it in less than 15mins...

<tuffty/>
 

tufftybloke

Badger 5 Edition
Feb 28, 2009
657
0
Gloucestershire, UK
Yay!... have a week off work to play with the car... plans are...

Change battery cable to a straight run as I have a join in it and was never that happy with it tbh...

Fit WMI kit...

Change injectors to 550cc's Bosch to see if anything improves

Get on the dyno for a switchable map... 1bar, 1.5bar and 1.8bar... its a 5 map file so might slot one in between the first two depending on how hot things get and potentially add a 2bar map on the end for dyno days and the like

Plan is to have an actuator map, everyday non WMI map, WMI power map and a banzai map for special occasions :)

Made a start today... I had been sent an interesting link to one of the yank sites... interesting in particular as it was totally down my OEM street...

20130223_092433.jpg


20130223_092537.jpg


...yes... thats right... actual OEM (from VAG) coil pack adaptors suitable for TFSI coils... they need trimming for use on cam covers with push down coils though as you can see they protrude out the bottom... the engines these come from (VAG V8's typically) used the bolt down type of coil originally... guess VAG decided this would be an easier way to migrate over to push downs rather than retool for new cam covers...

This how they sit pre-modding...
20130223_092815.jpg


20130223_092823.jpg


Time to get the dremel out...
20130223_100300.jpg


...note that you need to be sure you have trimmed it right as due to the nature of the fixings they won't take too kindly to being removed and refitted too many times...

So, final fit...
20130223_100631.jpg


With the TFSI coil pack in...
20130223_100658.jpg


...and comparison to a coil not using an adaptor....
20130223_100754.jpg


All in all a great result... while they may not look as 'bling' as the aluminium ones kicking about they work out at about £2 each from a dealer (part number in the pic below)
20130223_092512.jpg


For bolt down cam covers they look a bit like this....
20130223_101303.jpg


More news in the week as the next bunch of work commences...

<tuffty/>
 
Last edited:
Mar 20, 2009
1,707
0
Largs Scotland
They look a good addition and for £2 you really can't complain. Also look OEM.

I like the fact your excited to have a week off work, only to work on the car :lol:
 

tufftybloke

Badger 5 Edition
Feb 28, 2009
657
0
Gloucestershire, UK
They look a good addition and for £2 you really can't complain. Also look OEM.

I like the fact your excited to have a week off work, only to work on the car :lol:

Thanks dude... I live for this sh*t :D

What are the injector spacers for? I cant see why they are needed

The are used to space up shorter injectors than the ones you are replaccing... this is normally more for the OE large port stuff like AEB inline and AGU transverse 20s for example... fitting 550cc injectors into those manifolds causes fitting issues with the fuel rail... the unspacers sort that out... as per the pic below :)
14829_336562089795216_1458250519_n.jpg


<tuffty/>
 

tufftybloke

Badger 5 Edition
Feb 28, 2009
657
0
Gloucestershire, UK
Changed the injectors over to Bosch 550's to see if they run better than the 630 deka's I currently have... idle STFT's can be a bit wobbly on the deka's but work fine when rolling... lambda adjust has always sat +/-4% on cruise but idle seems to swing a bit wildly... while this is no biggy on an ME7 ecu being the perfectionist I am and also I like to faff with stuff (its how you learn things) I decided to try the 550's with a 4bar FPR as my inline pump is more than man enough for the job and Bill had a set of 550's I could use...

Had to use a set of unspacers (Bill had these on the shelf too... good man :D) and my fuel rail spacers too... it was odd as without the unspacers the rail would not sit the 550's in enough... with the unspacers I still had to space the rail back off!!.. ah well... they are in and they work...

Flashed in a revised file with the calibrations for the 550's and will spend the next day or so logging to see where the scaling sits... plenty of known data for a 3bar calibration but the 4bar calibrations seem to vary a bit so did some calcs and punched some numbers in... see where it sits...

20130224_142346.jpg


The unspacers are gold... but don't look to bad as they are hidden and the dip stick is orange so they don't stand out that bad... if all goes well with the 550's then the unspacers will most likely get a coat of satin black ;P

Also removed the rear seats this morning ready for re-running the battery cable tomorrow...

<tuffty/>
 

tufftybloke

Badger 5 Edition
Feb 28, 2009
657
0
Gloucestershire, UK
What a 'fun' day... I had already removed some of the interior trim but had forgotten how much I actually had to remove to get to the cable!... fun, fun, fun!...
20130225_123624.jpg


20130225_123559.jpg


Anyhoo... got the old cable out...
20130225_115403.jpg


As I am using a slightly thicker cable I opened the hole out a little and painted it to prevent corrosion...
20130225_123608.jpg


Had a rethink on the amplifier wiring too... I had it spliced in midway (hence wanting to replace with a single run) and was going to run the amp cable back to the battery but... decided to run it to the front instead... this was because the battery is realistically redundant once the engine is running... power for the electrics comes from the alternator... the amp cable would be better off closer to the alternator wiring rather that at the end of yet another long bit of cable... less voltage drop and more current potential..

This lead to a problem... how to get the cable through the bulkhead... as the pollen filter assembly was removed for ease of access I spotted another grommet...
20130225_130532.jpg


...which looks like this from the inside...
20130225_130014.jpg


Result!...
20130225_152049.jpg


...good job as there is no room once the 60mm cable is in...
20130225_152044.jpg


All connected up and will have a tidy up later when I have removed the charge pipes for the next part of this weeks work...
20130225_152421.jpg


All sorted for the amps too...
20130225_155904.jpg


I did make a minor boob though... underestimated how much cable I needed and had to get creative at the battery end
20130225_162848.jpg


Job done... as it gets asked a few times, here is a pic of the tools I used to terminate the cable..
20130225_171740.jpg


Interior is now back together and I am ready for tomorrows fun and games...
20130225_172824.jpg


20130225_172424.jpg


I have the choice of a progressive controller or pressure switch... I suspect I will just use the pressure switch tbh as the controllers are no more reliable than any of the others on the market...

More tomorrow...

<tuffty/>
 

Mick288

Active Member
Aug 3, 2009
434
1
Lisburn NI
Just read this from the beginning up to now, and WOW! What a fantastic build! I love the way everything is done to the highest possible standard and also how you've managed to change so much, but make it look like its factory standard!
Kudos to everyone involved with this build! Makes me want to sell my LCR and buy an S3!
 

tufftybloke

Badger 5 Edition
Feb 28, 2009
657
0
Gloucestershire, UK
Just read this from the beginning up to now, and WOW! What a fantastic build! I love the way everything is done to the highest possible standard and also how you've managed to change so much, but make it look like its factory standard!
Kudos to everyone involved with this build! Makes me want to sell my LCR and buy an S3!

Thanks mate, appreciated :)

<tuffty/>
 

tufftybloke

Badger 5 Edition
Feb 28, 2009
657
0
Gloucestershire, UK
Bit of an anti climax today... started off changing the oil and filter... then removed the bumper to start work on the WMI fitting... thats where it all went a bit pear shaped...

I had the idea that the pump would sit in the cavity in the bumper on the passenger side and the tank would sit in the gap under the battery cover...

problem....
20130226_133156.jpg


I would need to relocate the horns and ambient air temp sensor... this 'would' have been fine but I really didn't want them back behind the grille (as they are as std) as I don't want anything blocking the air flow to the radiator and at some point I want to fit an oil cooler so would rather leave my options open...

I did think about fitting it the other side but that would mean running tubing backwards and forwards and I wasn't happy with it... I also remembered that a customer had fitted his DO pump in a simialr position and it ended up failing due to corrosion...

I tried various positions and tried to work out mounting methods for the tank too but tbh the only way it was going to sit was at a funky angle...
20130225_172424.jpg


I just wasn't happy with the way it sat or with any of the mounting methods... I don't need WMI that bad that I am just gonna throw it in... I did a quick test fit in the boot and I suspect thats where it will end up going when the warmer weather kicks in and I can spend a few hours in the evening doing outside the house...
20130226_130815.jpg


So I just went over the underneath of the car to do the usual checks and noticed a few cracks on the miltek back box... apparently its quite common...
20130226_160715.jpg


20130226_161447.jpg


...it was then I noticed that the box had deformed...

20130226_160738.jpg


20130226_161529.jpg


Guessing antilag launch/NLS is trying to find another way out of the box lol...

Anyhoo... Bill welded up the cracks and all is good in the world again so I went and removed some ADR cams from head Bill had on the shelf (maybe more on that another day) and a potential VVT unit from an AUM head that looked in good condition so will look at bunging that in as mine has started to rattle as I let off the throttle when revving the engine...

Few odds and sods to sort out but hoping Bill will be able to bung the car on the dyno at some point this week to at least see where things are and to see if the injectors are going to be up to the job or max out...

<tuffty/>
 

tufftybloke

Badger 5 Edition
Feb 28, 2009
657
0
Gloucestershire, UK
Started the day helping out Bill with fabricating an inlet manifold for the Mk2 Golf track we built a year or so ago... then the S3 went on the dyno :D

20130227_154259.jpg


As we weren't sure if the 550's @4bar were going to cut it Bill did an actuator run initially... this netted 306hp/7.5krpm @15psi... injectors were ticking along at 14ms so plenty left... plugged in the N75 and did a run... the map that was in at the time was pretty much the one I had stopped on when the Tial wastegate decided to undo itself... that netted 365hp... boost as steady as you like and repeatable so phew... the Tial issue was fixed...

It was clear that fuelling needed tweaking as AFR dropped dutifully to 12.5 but climbed briefly on the onset of boost and also climbed to mid 13's at 6k before dropping back down to 12's... bit of tweaking later and...

http://youtu.be/dwogTWWxa2k

Cool but there was a bit of a boost spike so Bill smoothed that out a tad and we settled on the final figure for today of 389hp and 324ftlbs...

...however... all is not rosey... the car didn't make the 400hp we expected... looking at the curves the torques drops off dramatically just after 6k which is a little unusual and no matter how much more boost we added it did not want to lift the power...

There was no timing pull up until nearly 6krpm (not loads but some) and I have a suspicion that the log exhaust mani is fighting us now... it seems very sensitive as to what power it will produce over a certain level... all the logs showed that the engine should be producing power.. had 344gs of airflow, 750deg EGT's (measured at the DP just off the turbine), the mani and Tial didn't glow any other colour than a nice red so I believe the issue is the inefficiency of the log manifold at high flow/rpm... its not got much of a collector ramp on it so exhaust gasses will be firing into other ports which at higher RPM is more of an issue...
PAGmanifold1.jpg


Only way I can proceed here is to use a tubular mani... this means either going top mount in which case I could consider the TSR mani like the one Stacey is using or potentially make my own so that I can retain my underslung OEM++ look... watch this space....

Anyhoo... my VVT was rattling like a trooper during the session so maybe that not helping as when the VVT is 'deflated' you will loose top end power... tomorrows mission will hopefully involve the following parts...

20130227_171329.jpg


Yep, a second hand VVT unit that looks on the face of it ok (worth a punt) and ADR NA cams :D... breaking out the verniers for a quick and dirty lift difference test I measured from the base of an exhaust and inlet lobe zeroing the verniers in between each test to work out the difference in lift...

Exhaust difference... (remember, turbo cam was measured, verniers zero's and then measured the ADR lobe)
20130227_171543.jpg


Inlet difference...
20130227_171713.jpg


Regardless of the figures the car drives fantastically... third gear is just awesome and off boost response is sooooooooo much better now Bill's dialled it all in... the best news of course and the main reason for getting on the dyno in the first place was that the duty on the injectors doesn't appear to be maxed out... I don't know the latest figures but with the later runs I believe we had somewhere in the region of 16 or 17ms... will confirm of course later...

Not sure if Bill will have time to get the car back on the dyno tomorrow once the cams are in but it will happen..

<tuffty/>
 
Last edited:

james.l

GT3071r LCR
Mar 18, 2008
2,802
4
My House
www.vagforum.co.uk
Make sure you check the wastegate feedpipe on the TSR mani's are the correct size. Mine is too small, coupled with a 2008cc motor producing more exhaust gas mean's it creeps like a biach.

Just a pointer
 

tufftybloke

Badger 5 Edition
Feb 28, 2009
657
0
Gloucestershire, UK
So... got the car on the ramp and cracked on with the next job... replacement (secondhand) VVT tensioner and ADR cams...

After removing (what seemed loads) of stuff I got to the cams and turned this...
20130228_122246.jpg


...into this...
20130228_140450.jpg


...by removing this lot...
20130228_140457.jpg


Then my favourite job... sorting the belt tensioner damper... inserted the pin ready for when the damper has been reset using a special tool (aren't they all...)
20130228_142851.jpg


...prepped the tool... (loads of space... NOT!...)
20130228_142100.jpg


...after a bit of winding the pin popped in...
20130228_142826.jpg


Coated the cams in build lube, set the cams to the normal 16 rollers on the chain and fitted them in with the replacement VVT... I used a new tensioner gasket set...
20130228_150322.jpg


...and I use a little VAG sump sealant to help the half moon seal... this helps to prevent potential future leaks...
20130228_150717.jpg


Before fitting the cam cover gasket you also need to add a little sealant into the transition from the flat part of the head to the grooved parts of the front cam cap and chain tensioner
20130228_162631.jpg


20130228_162646.jpg


20130228_162712.jpg


...I also add a little sealant to the half moon recess for the cam cover gasket
20130228_162653.jpg


I reused the belt as its only done 5000 miles and after a fun 5 mins getting that back on I was more or less done...
20130228_162724.jpg


I did take my time doing this job and gave the followers a chance to settle as they can jack up from removing the cams but simply leaving them a little while and they settle back down nicely... not really an issue when doing the head on the bench (as has been the case for mine in the past) but worth noting...

Started the engine and all was good... idle was fine, no fault codes (correlation fault code being the typical one if you manage to get the belt a tooth out which is easy to do...)...

Went the drive the car out of the workshop and noticed a little rattle coming on/off load as I reversed out... arse!!!.... my fears were realised after I had left the car outside while clearing up and cold started her... BRRRRAAAAT!!!!... the noise of a VVT in its death throes... bugger... not having much luck with VVT tensioners :(

So, TPS will get a call in the morning and a new one will be fitted... do it once, do it right... *sigh*

Hopefully get that on tomorrow if TPS has one in stock and hopefully get the car on the dyno for a couple of runs to see if the ADR cams have made any difference..

<tuffty/>