I had ferdodo ds2500 pads with 288mm ate power groove discs on the front on the mk1 tdi leon with only 160 bhp and found they faded quite easily on a track day. Good job on the new ones.

-
Hey Guest👍👎 We're looking for reviews of your local CUPRA or SEAT Dealership - it's quick and easy to do: Leave a review now
Audi S3 GT3582R stroker Build (previously GT3071r)
- Thread starter tufftybloke
- Start date
You are using an out of date browser. It may not display this or other websites correctly.
You should upgrade or use an alternative browser.
You should upgrade or use an alternative browser.
Quick report on the brakes....
They are pretty aggressive... takes a bit of getting used to especially as the NS-2r's need a little heat in them and the ABS gets a little tetchy...
I have been looking to replace the rears for a while too... I did discs and pads not long after I bought the car but I think they will rust away before they wear out and am not use how affective they are so I have been looking at putting together a 300mm two piece disc setup and upsize the fronts to 350mm to even it all out...
Thats a little way off as I am saving for cams currently but will update when it happens...
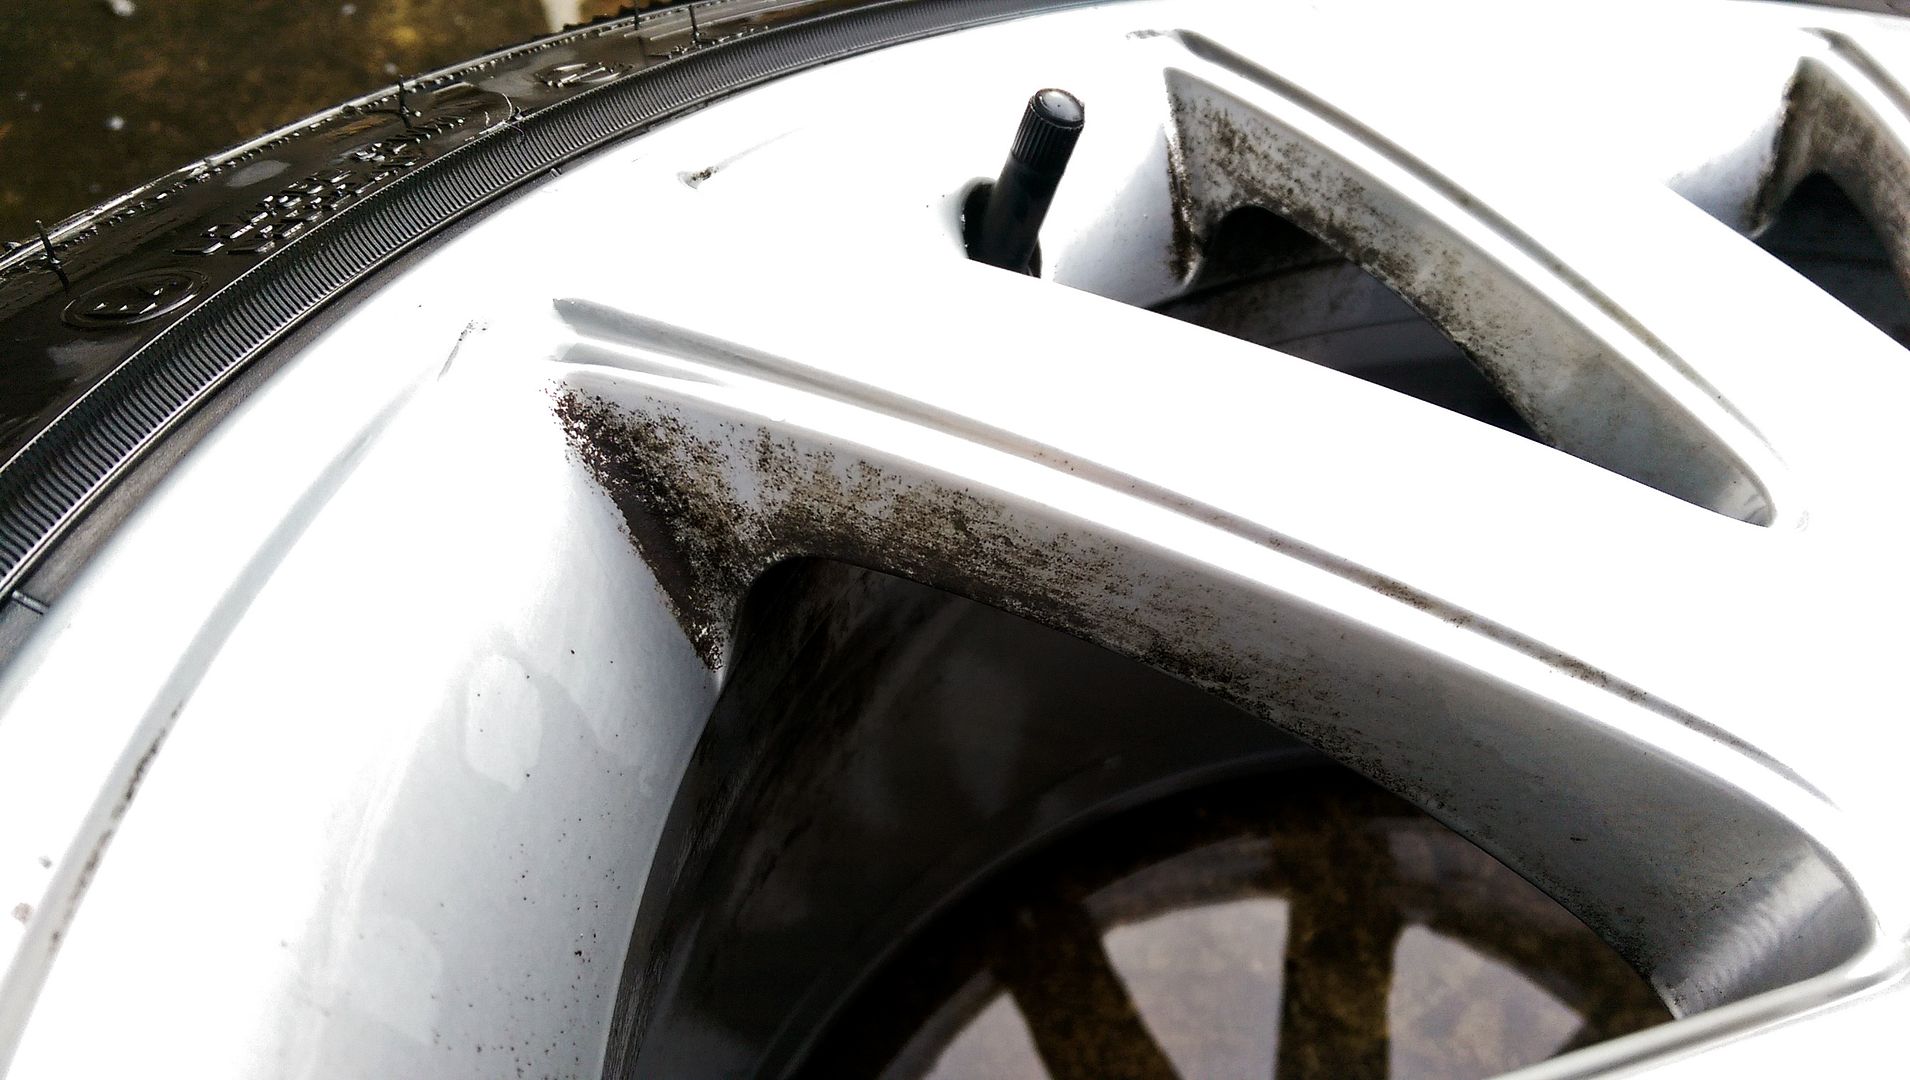
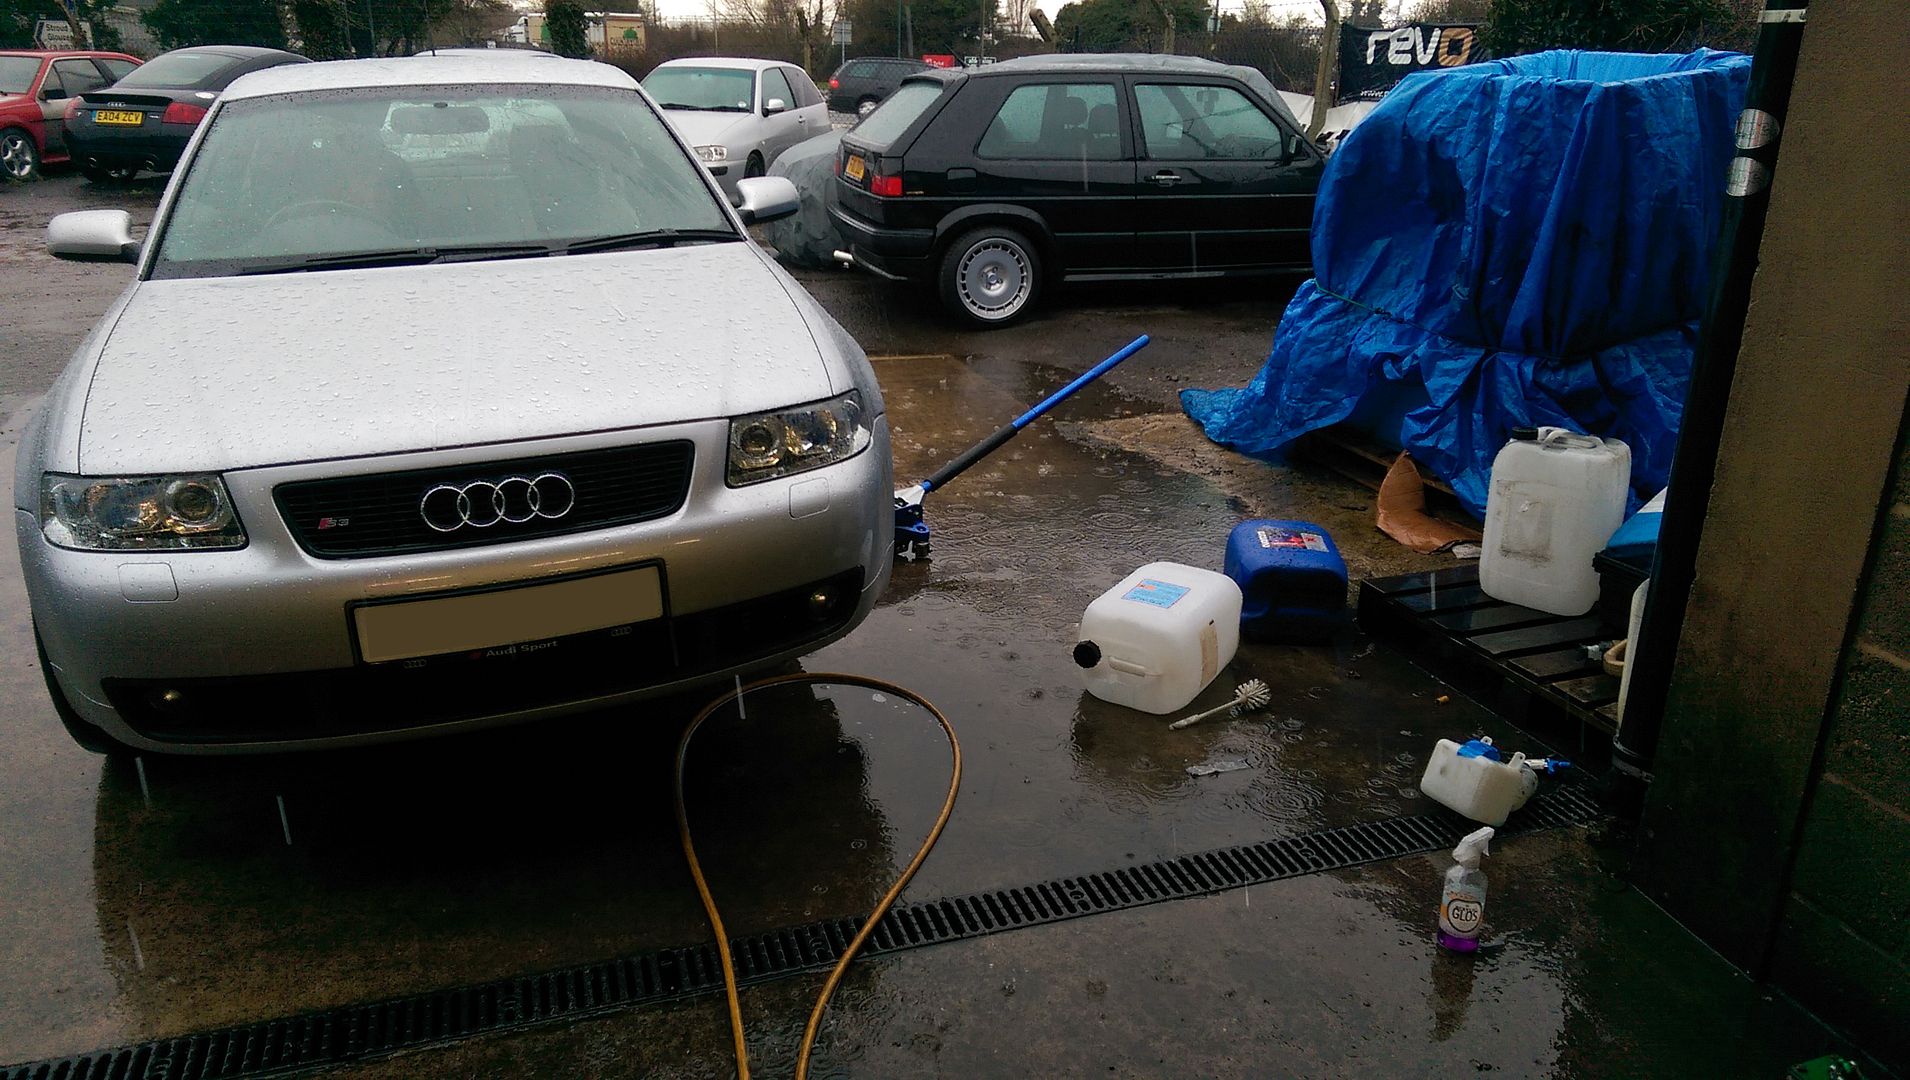
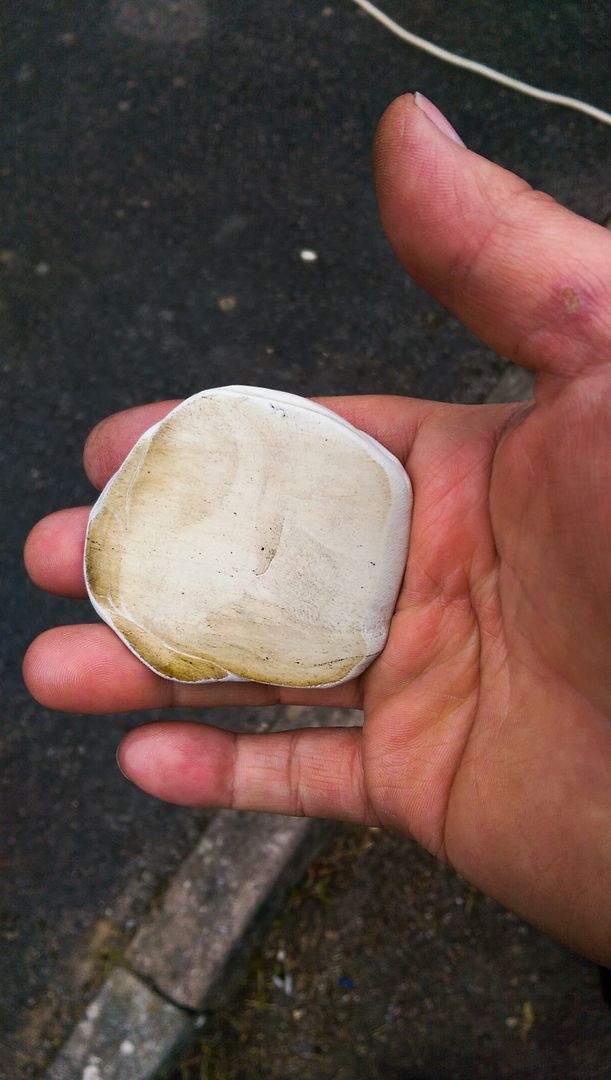
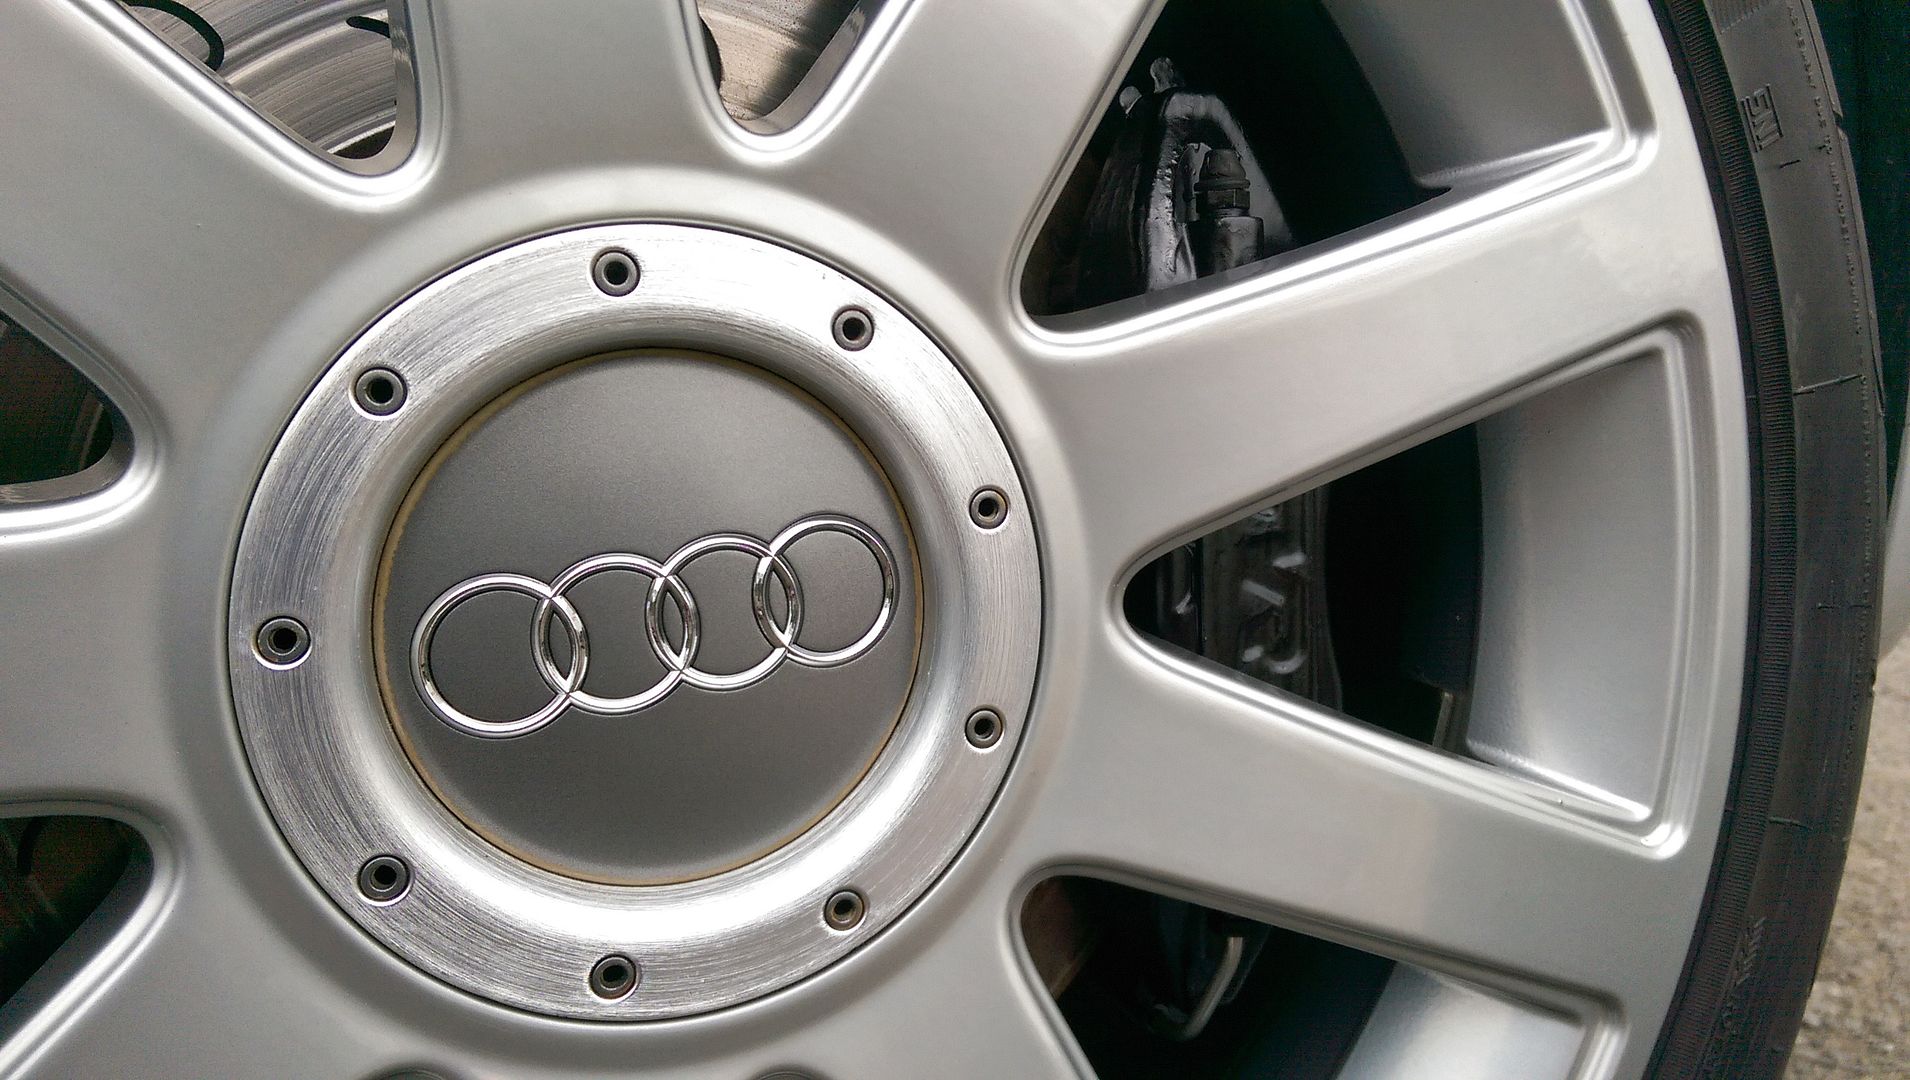
On the subject of the pads... they are dirty little buggers...
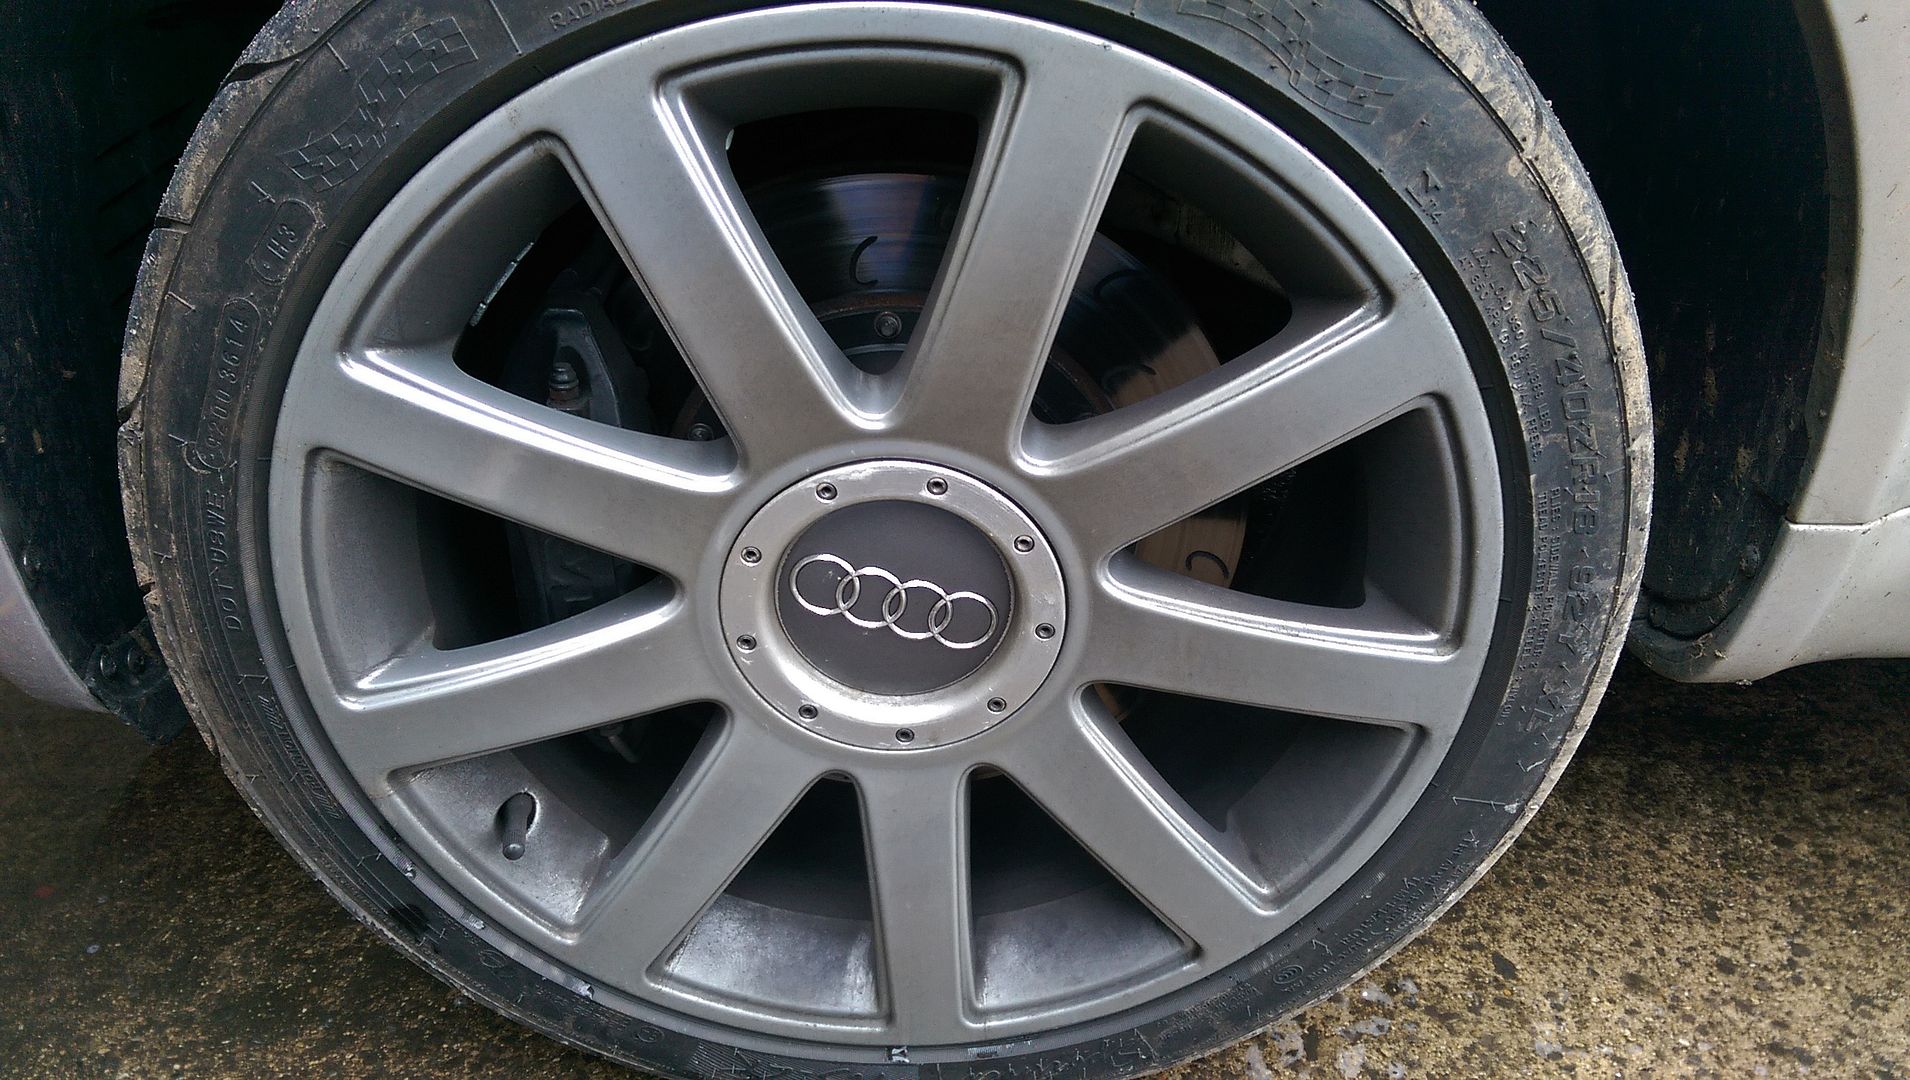
So off they came for a clean and seal...
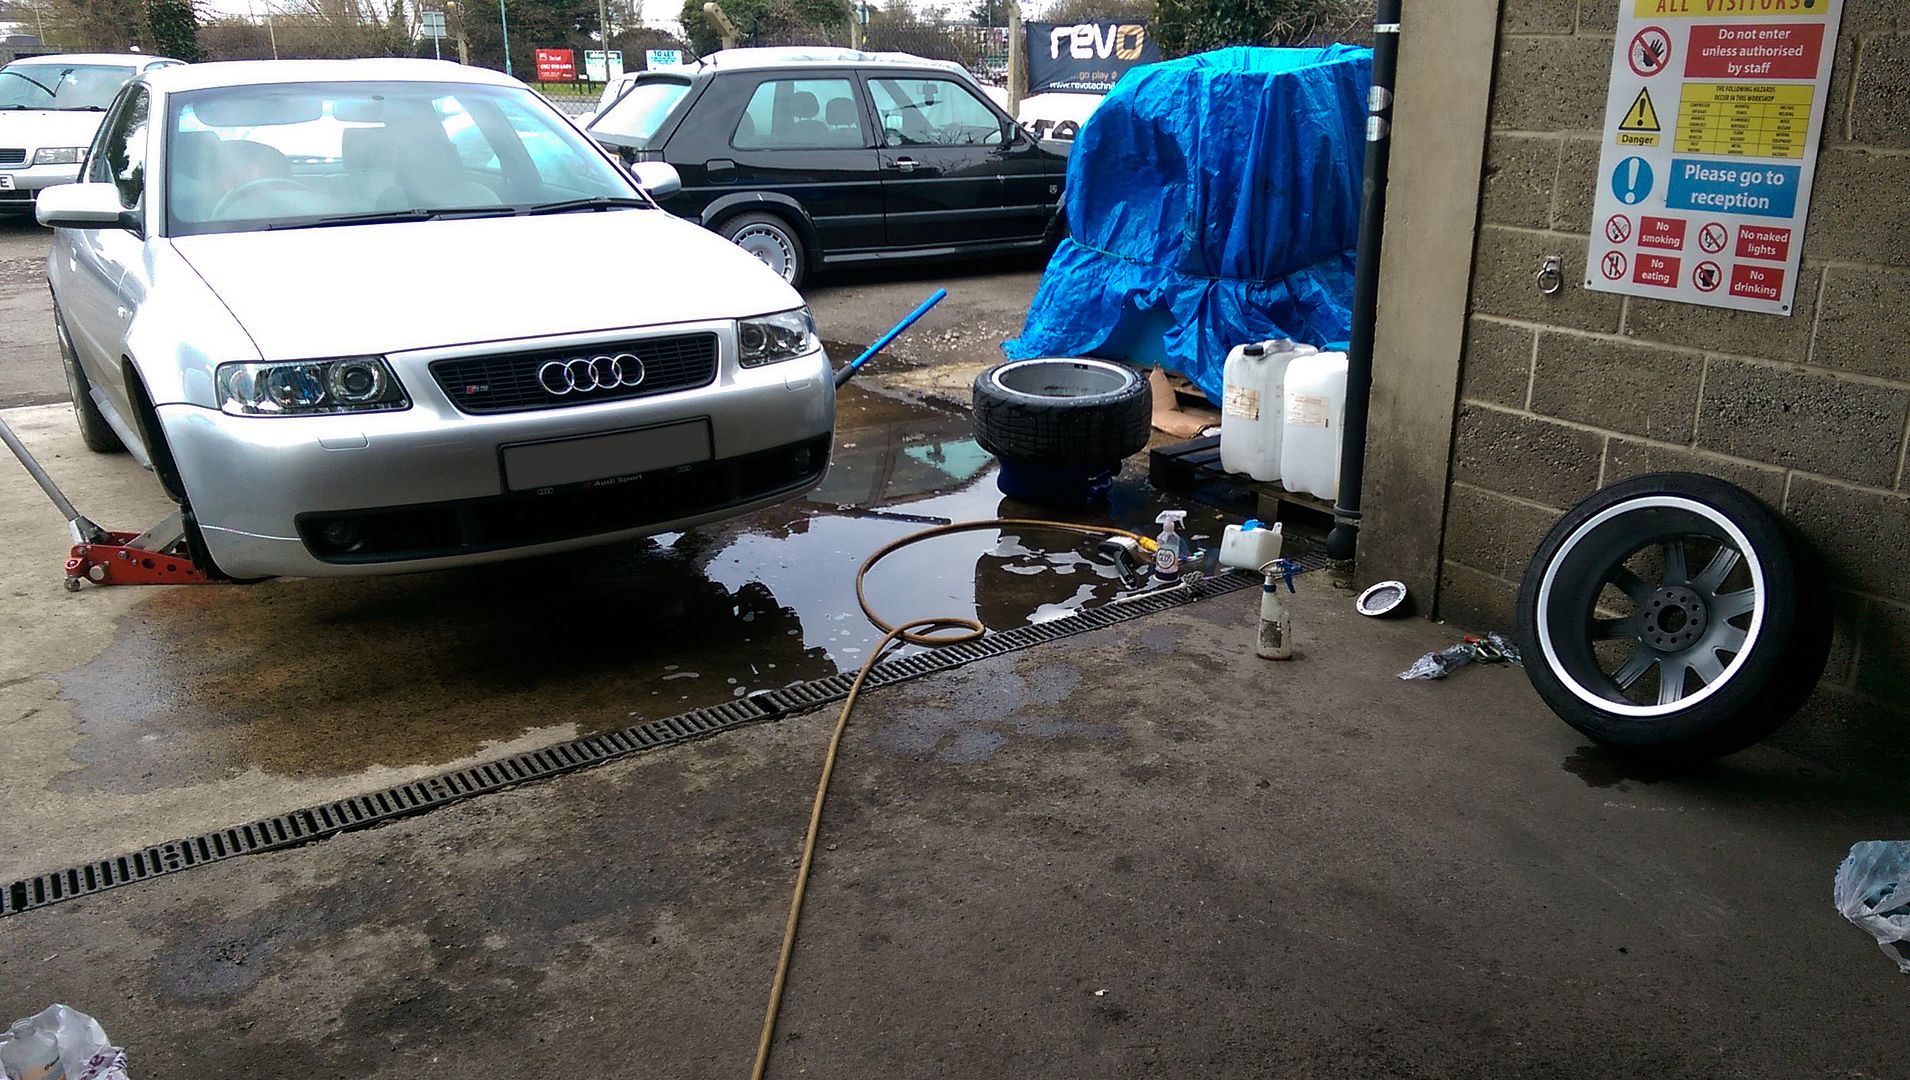
...look pretty caked...
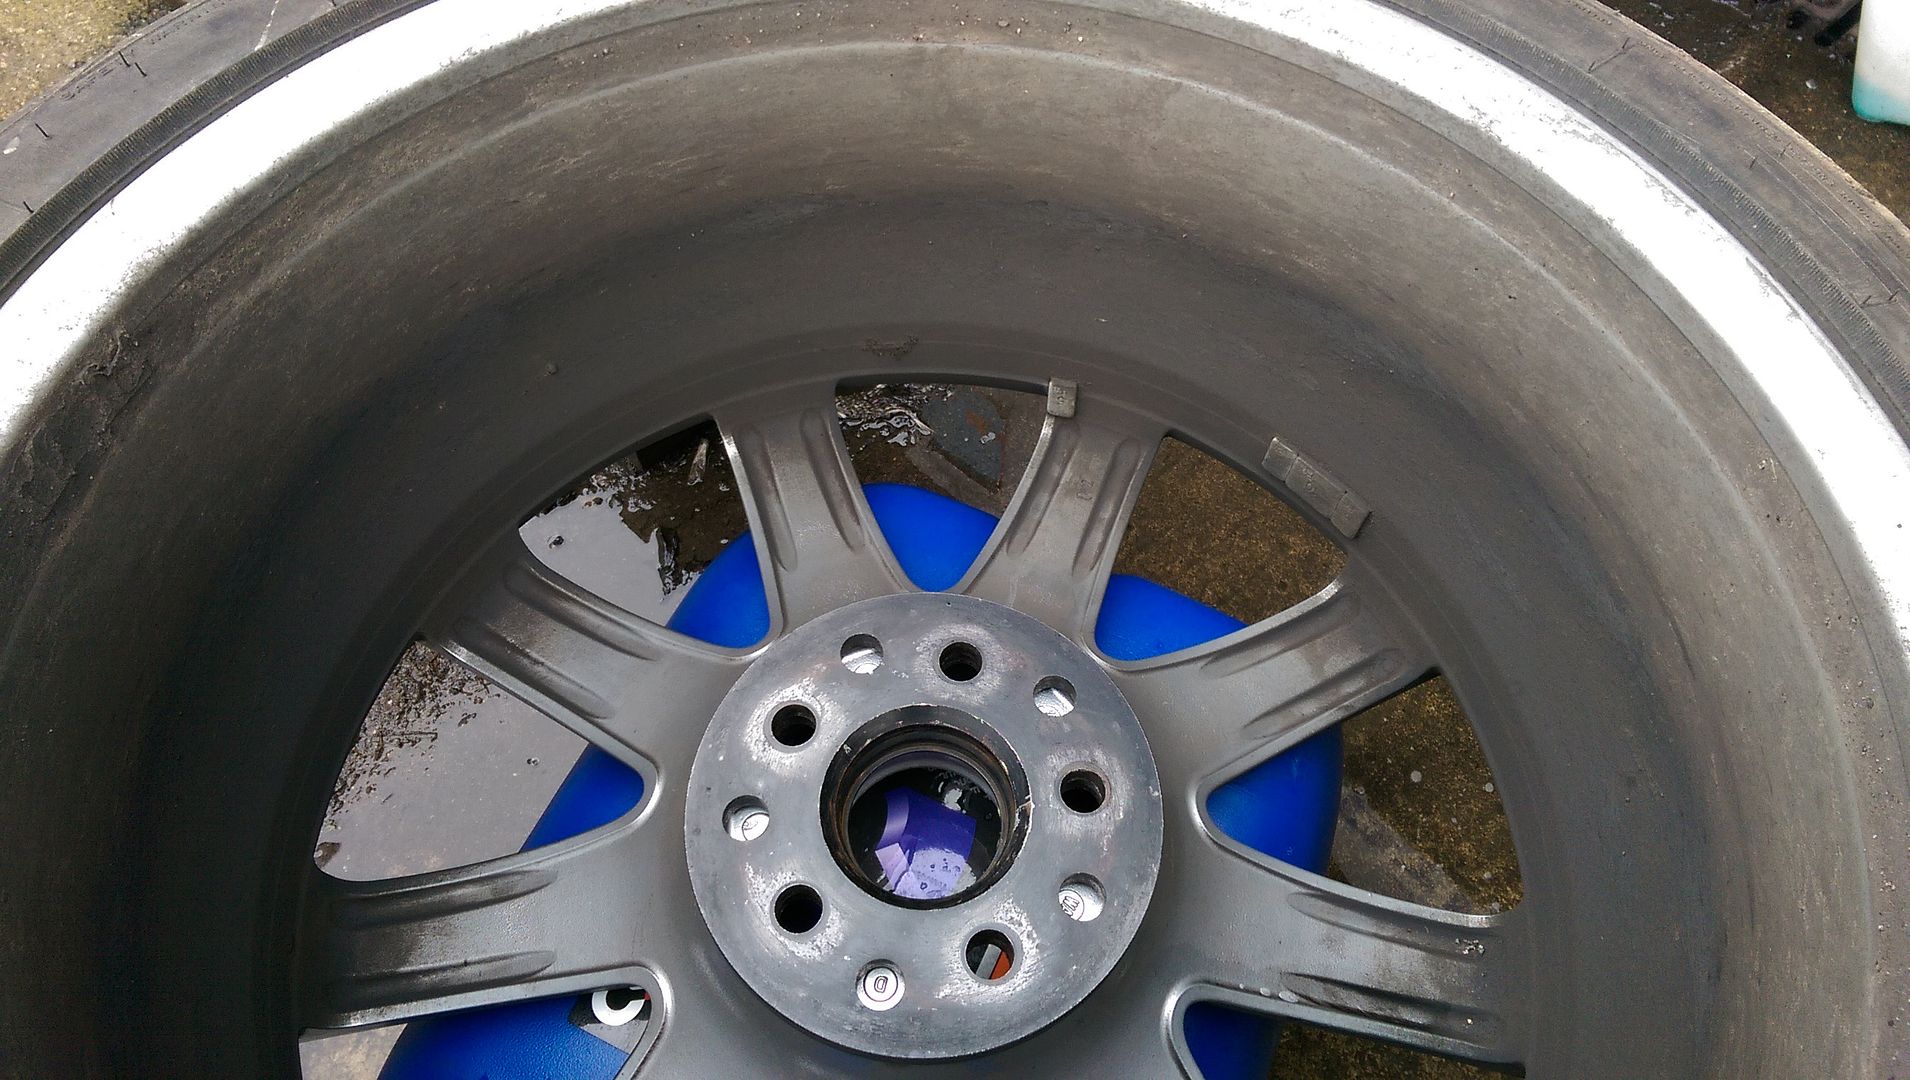
..after an initial clean with megs wheel brightner it was obvious these pads give off some sticky crap as I have never had to put this much effort in to clean my wheels before
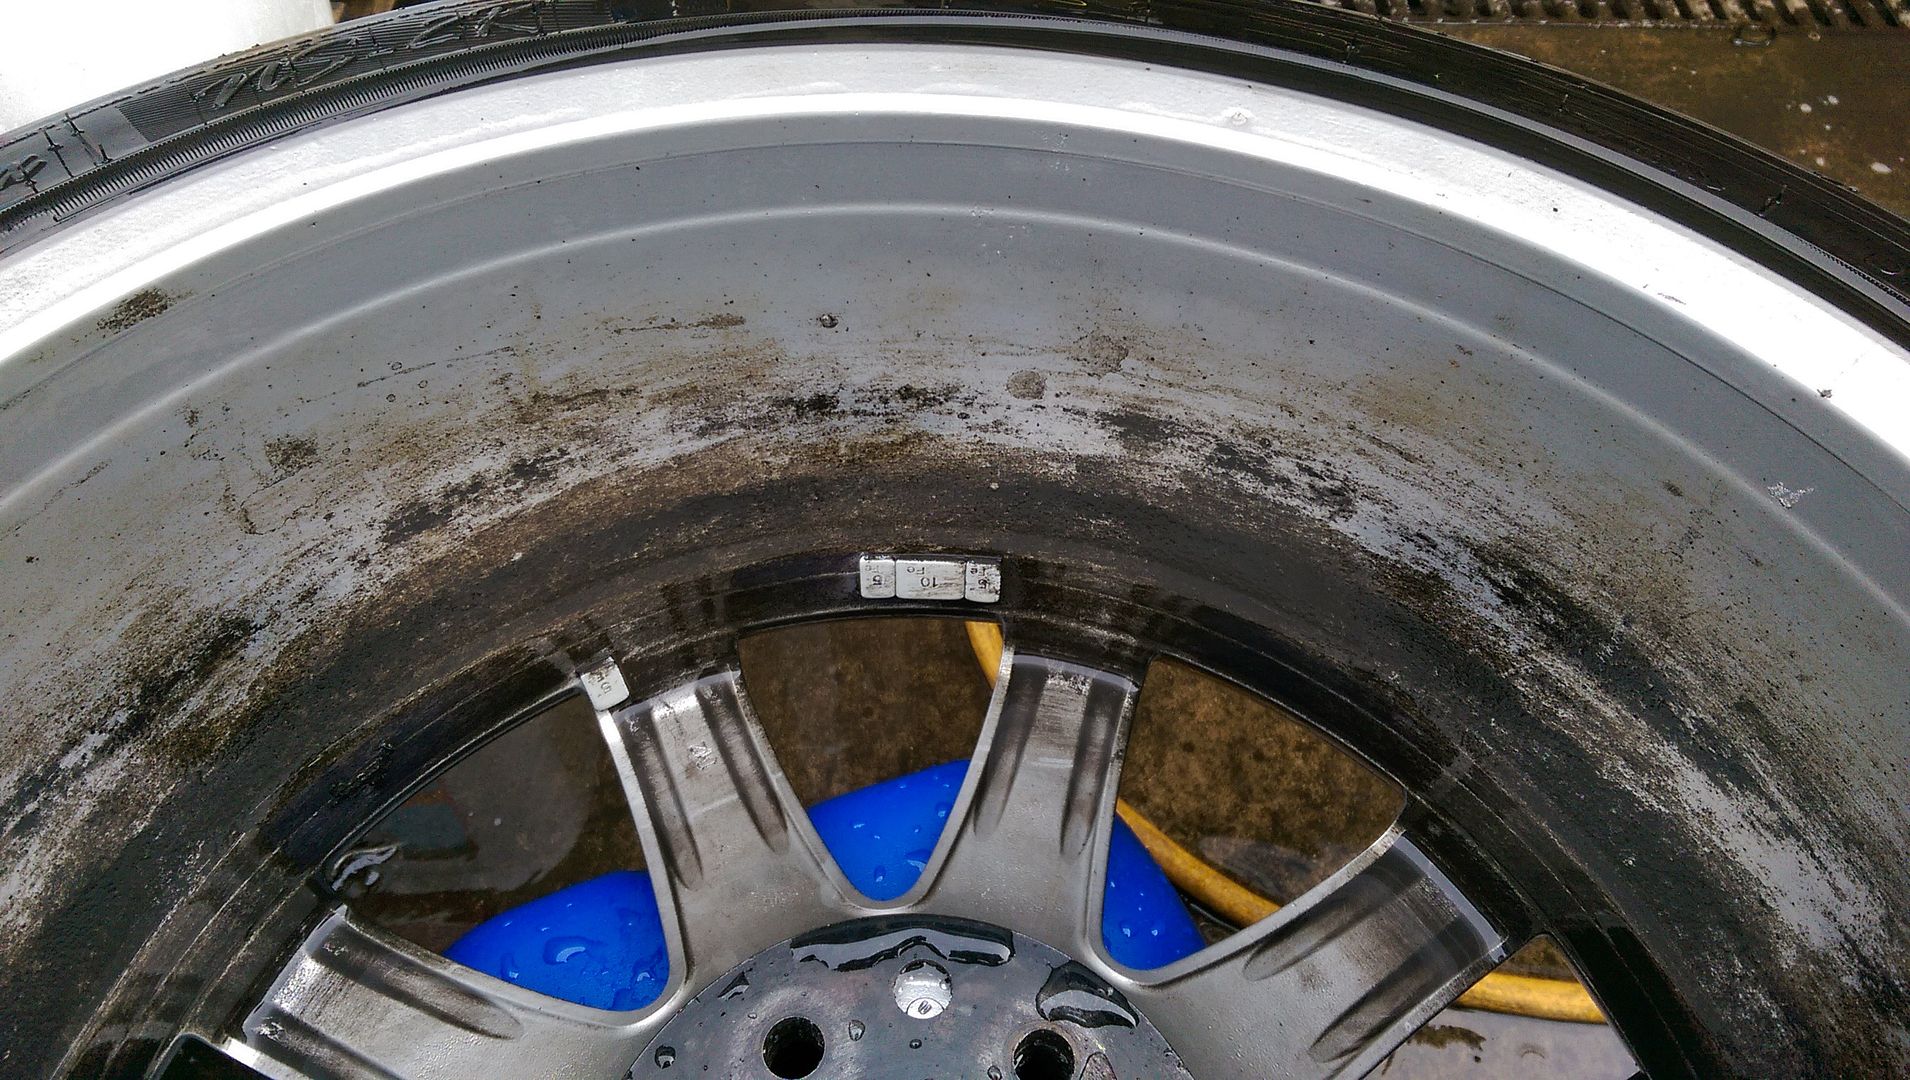
..was bad on the leading edge of the spokes too... right bugger to remove...
After a lot of perseverance (and patience!)...
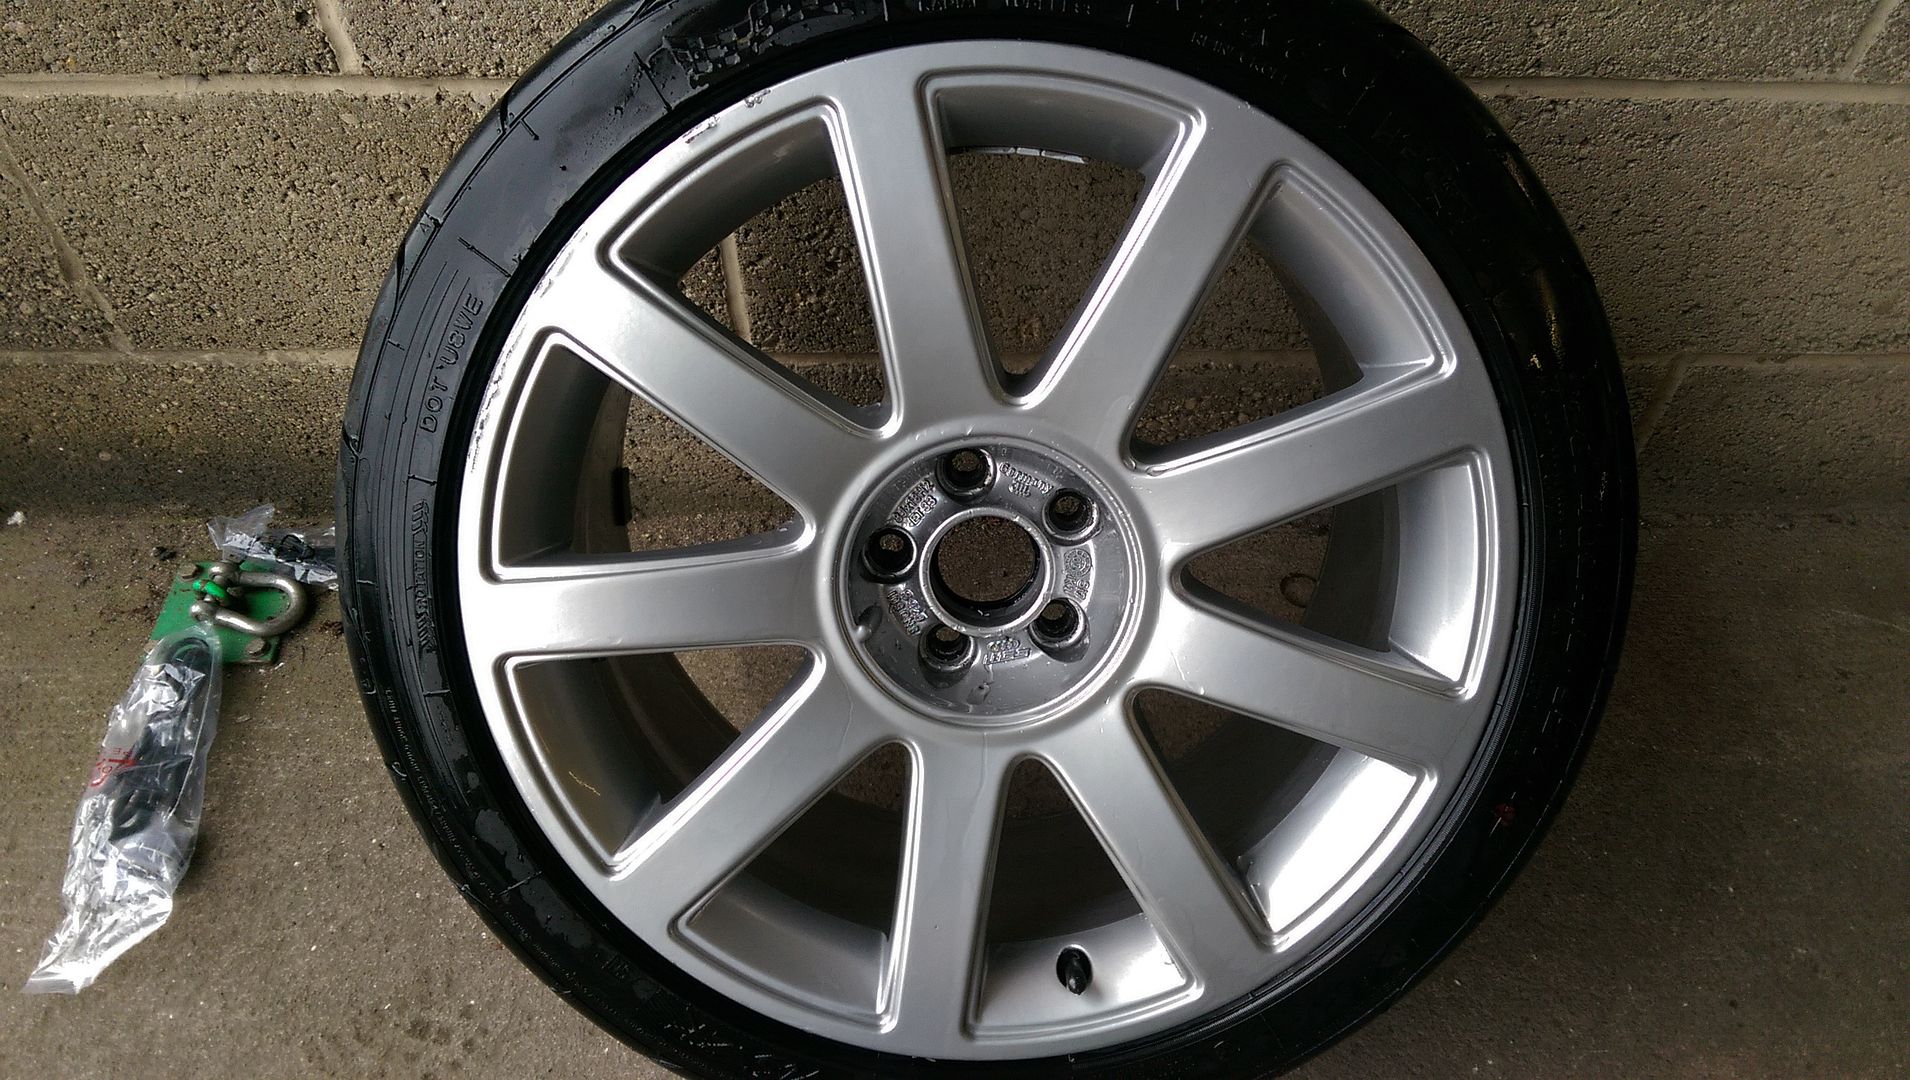
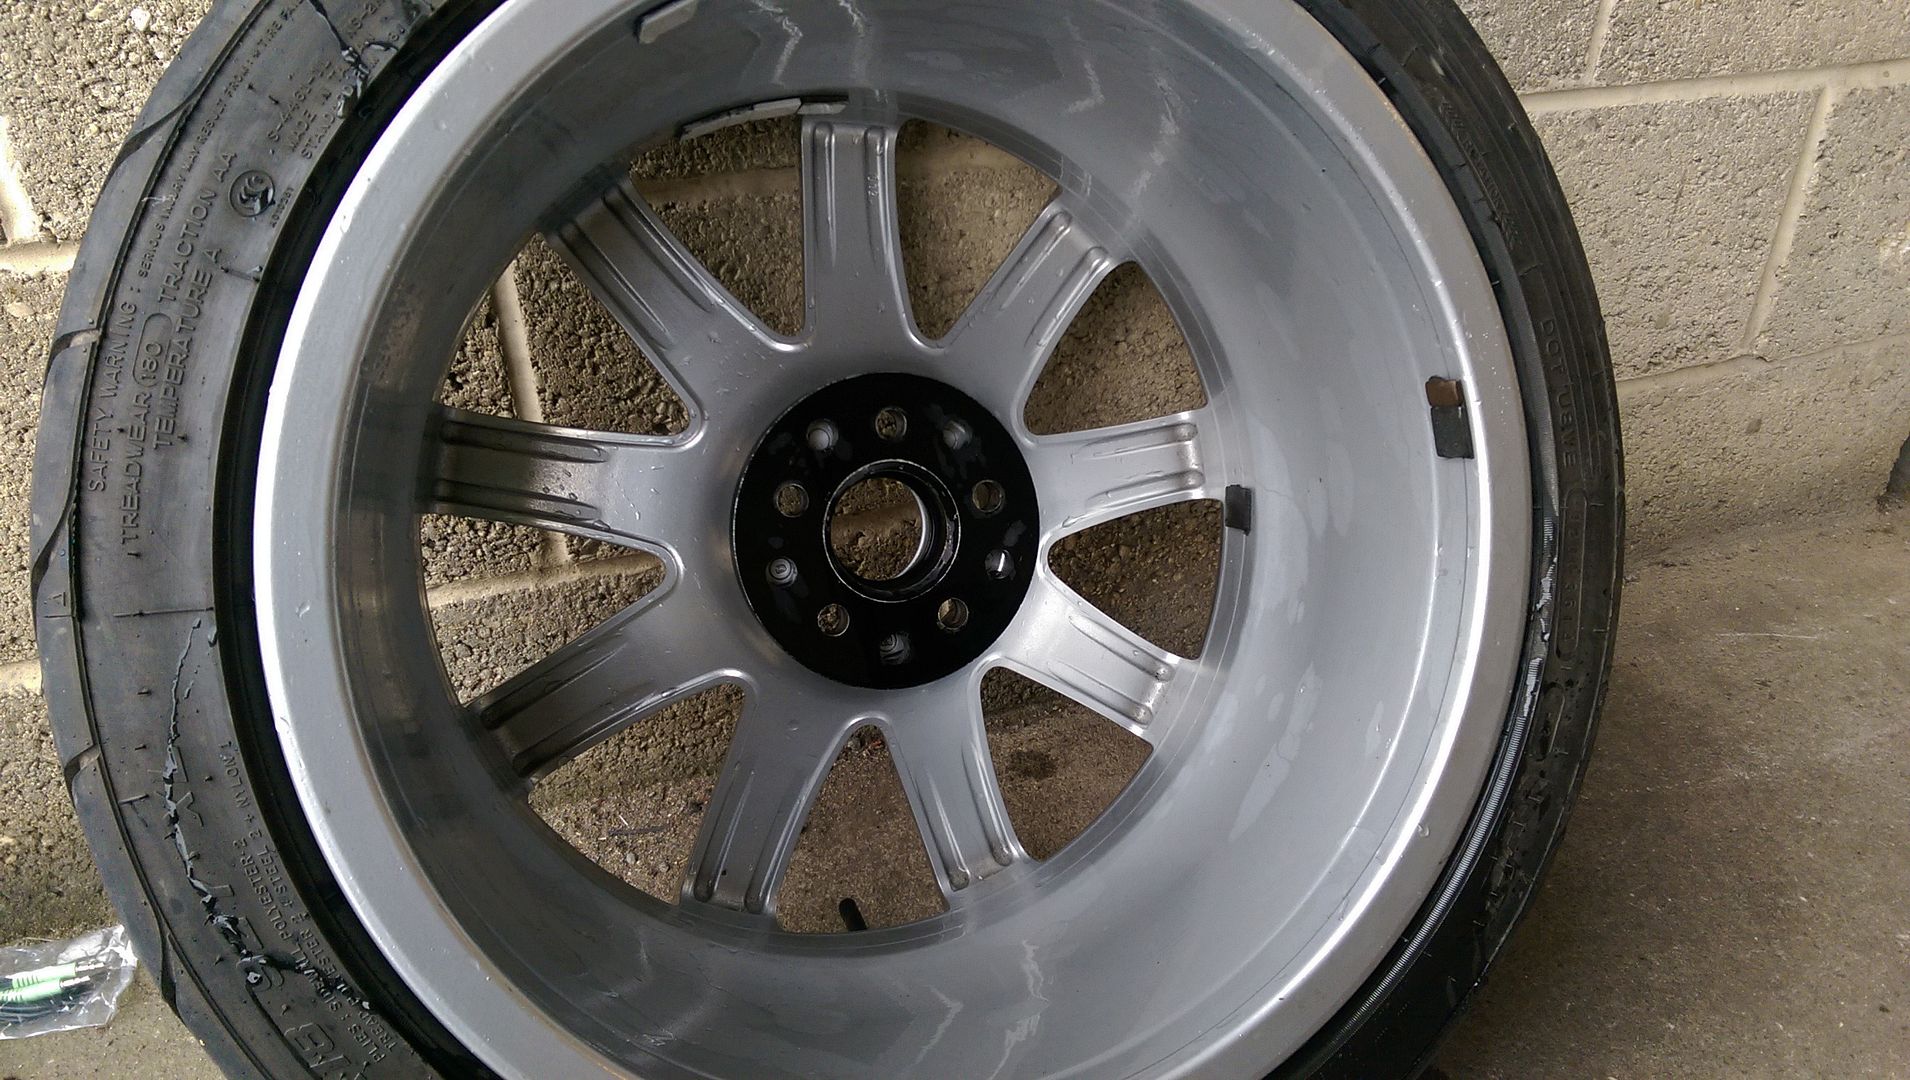
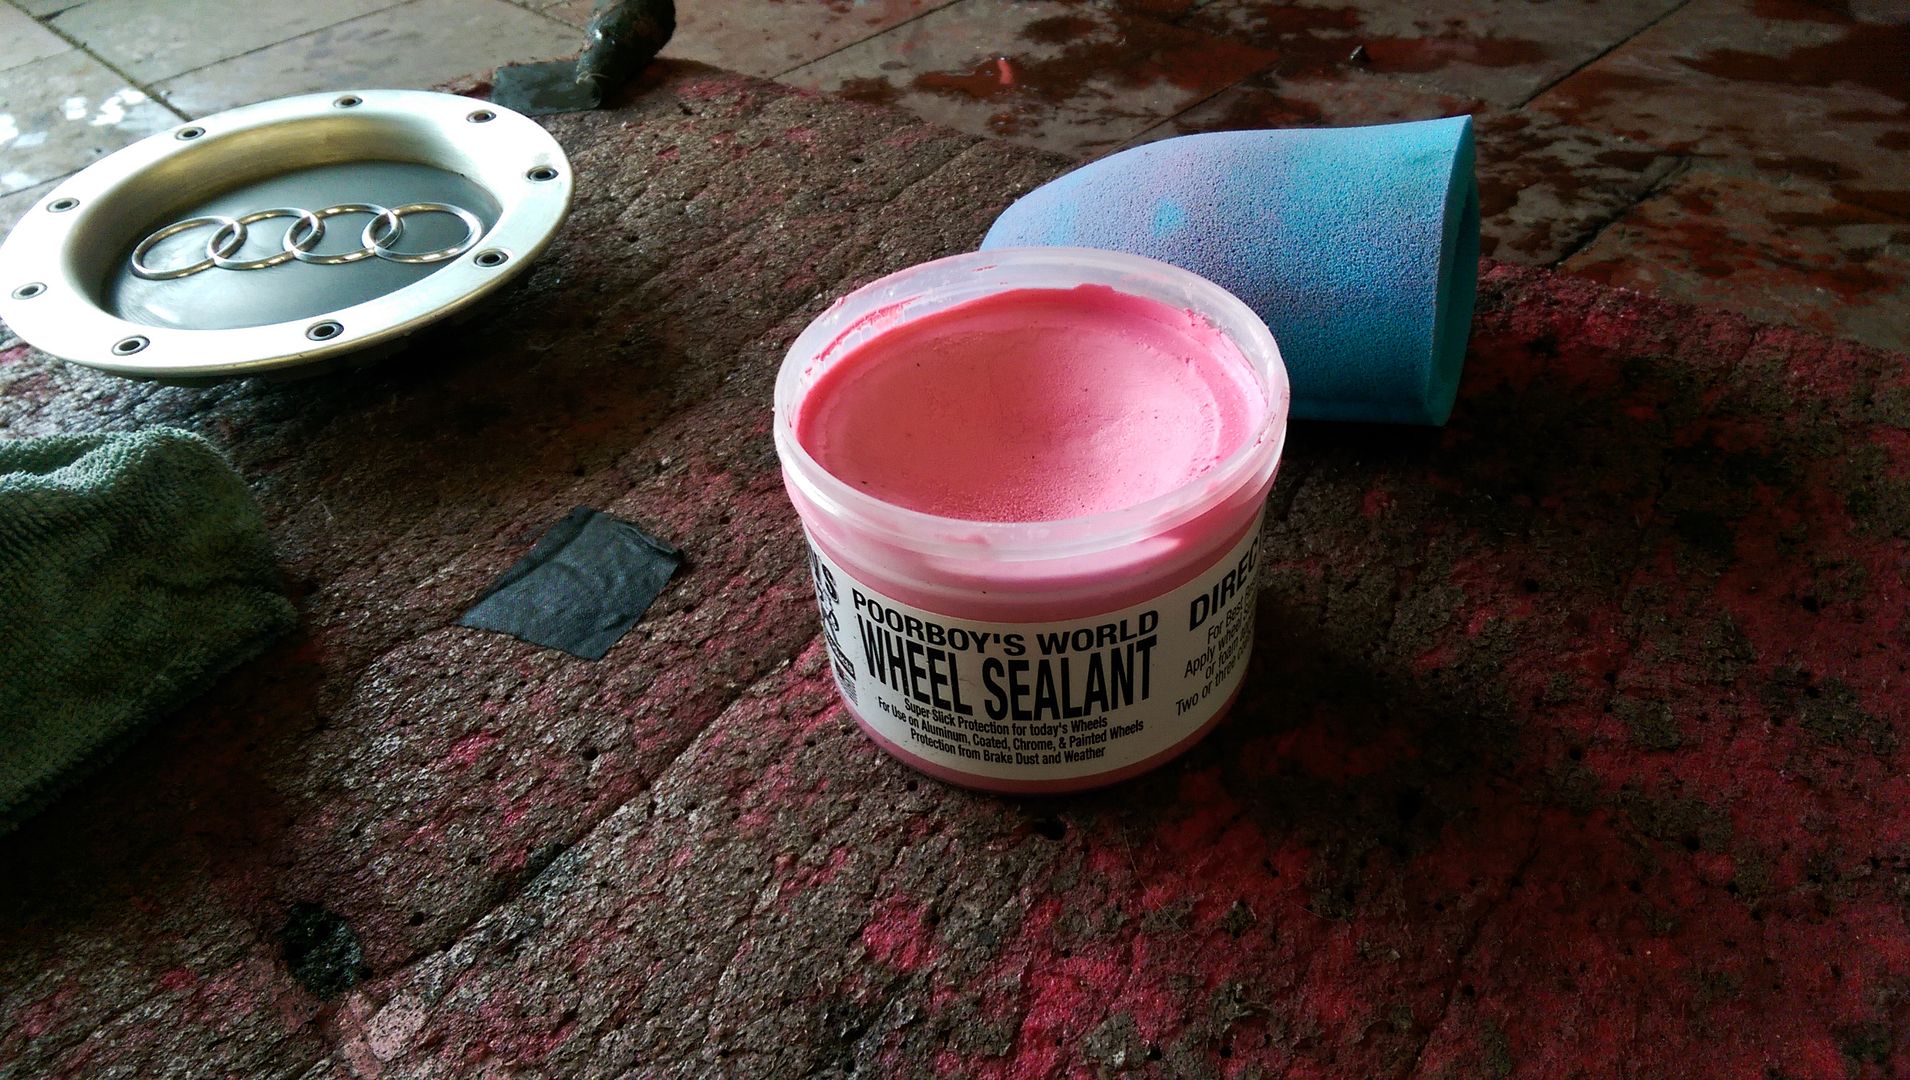
Applied three coats of poor boys... will see if this works (as I have a new tub of the stuff) and if not try one of the ceramic sealants...
The heavens opened inevitably...
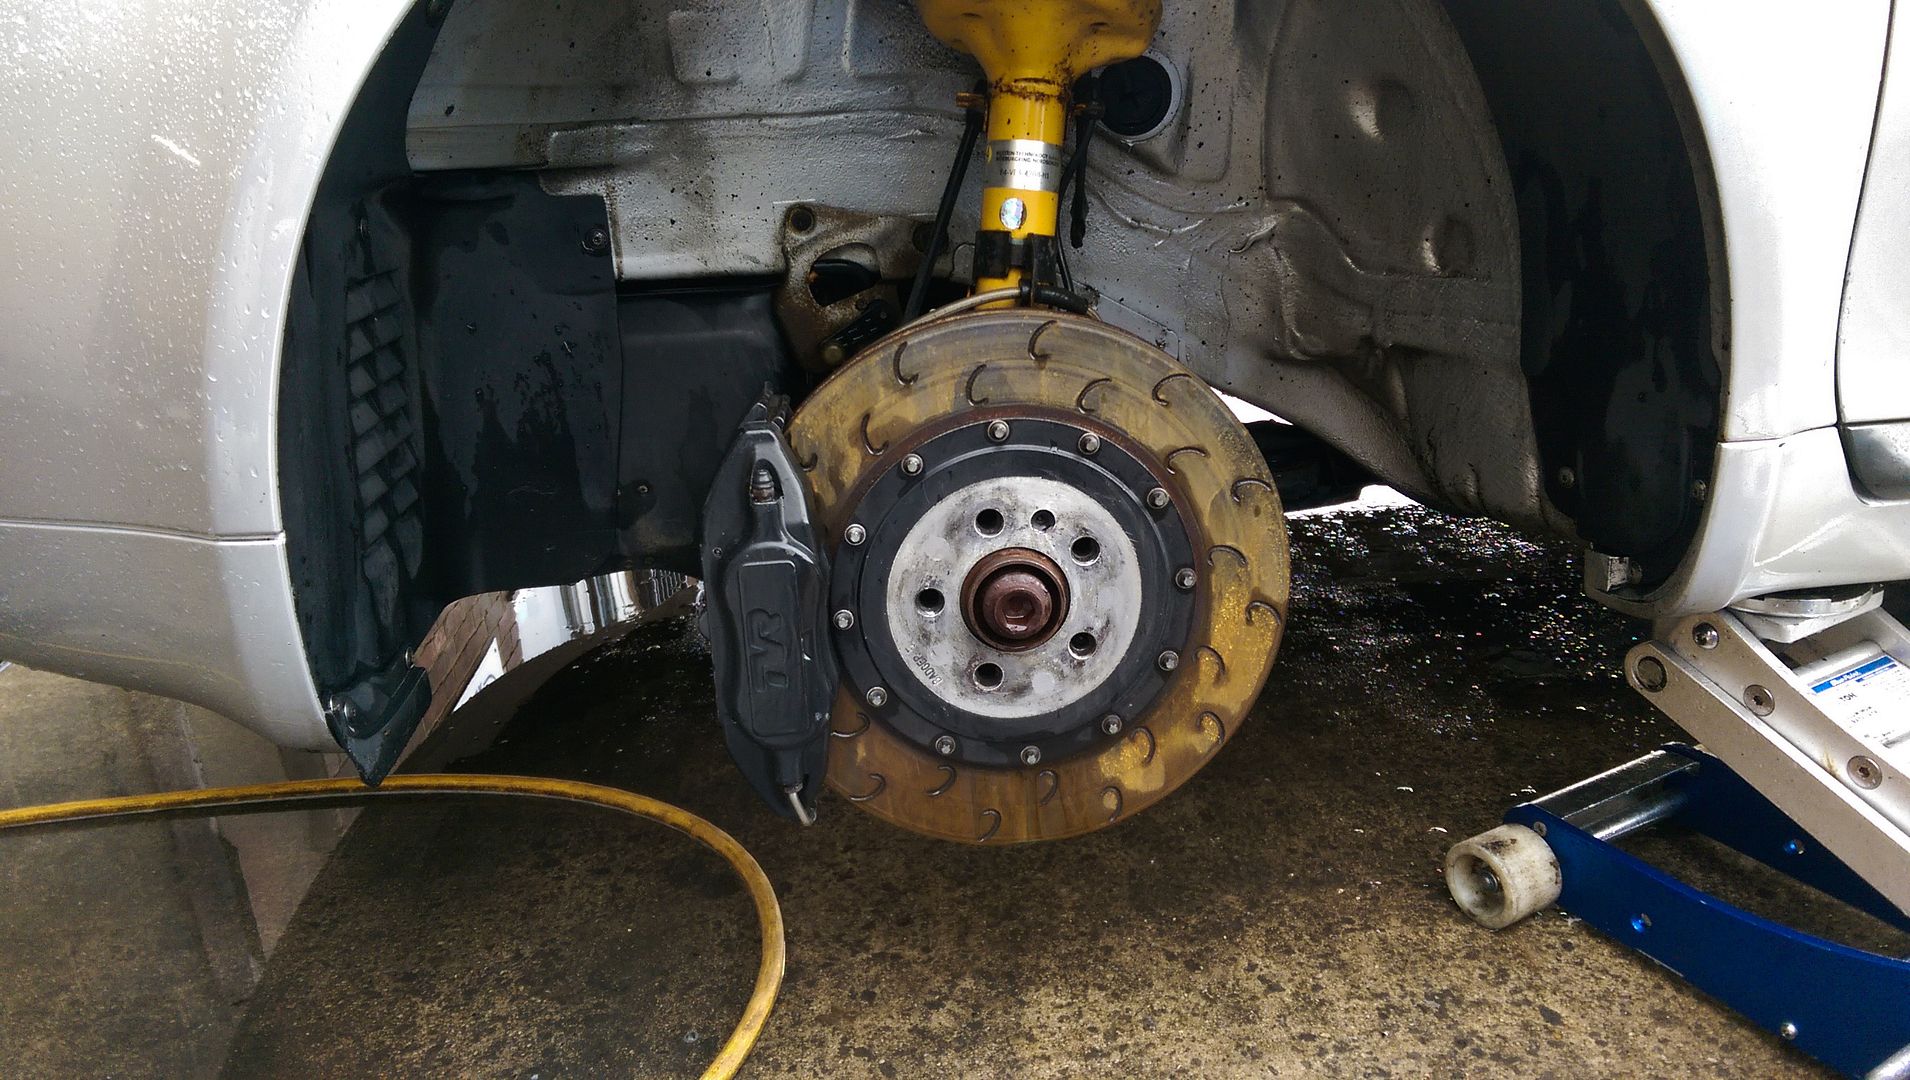
.... managed to clean under the arches...
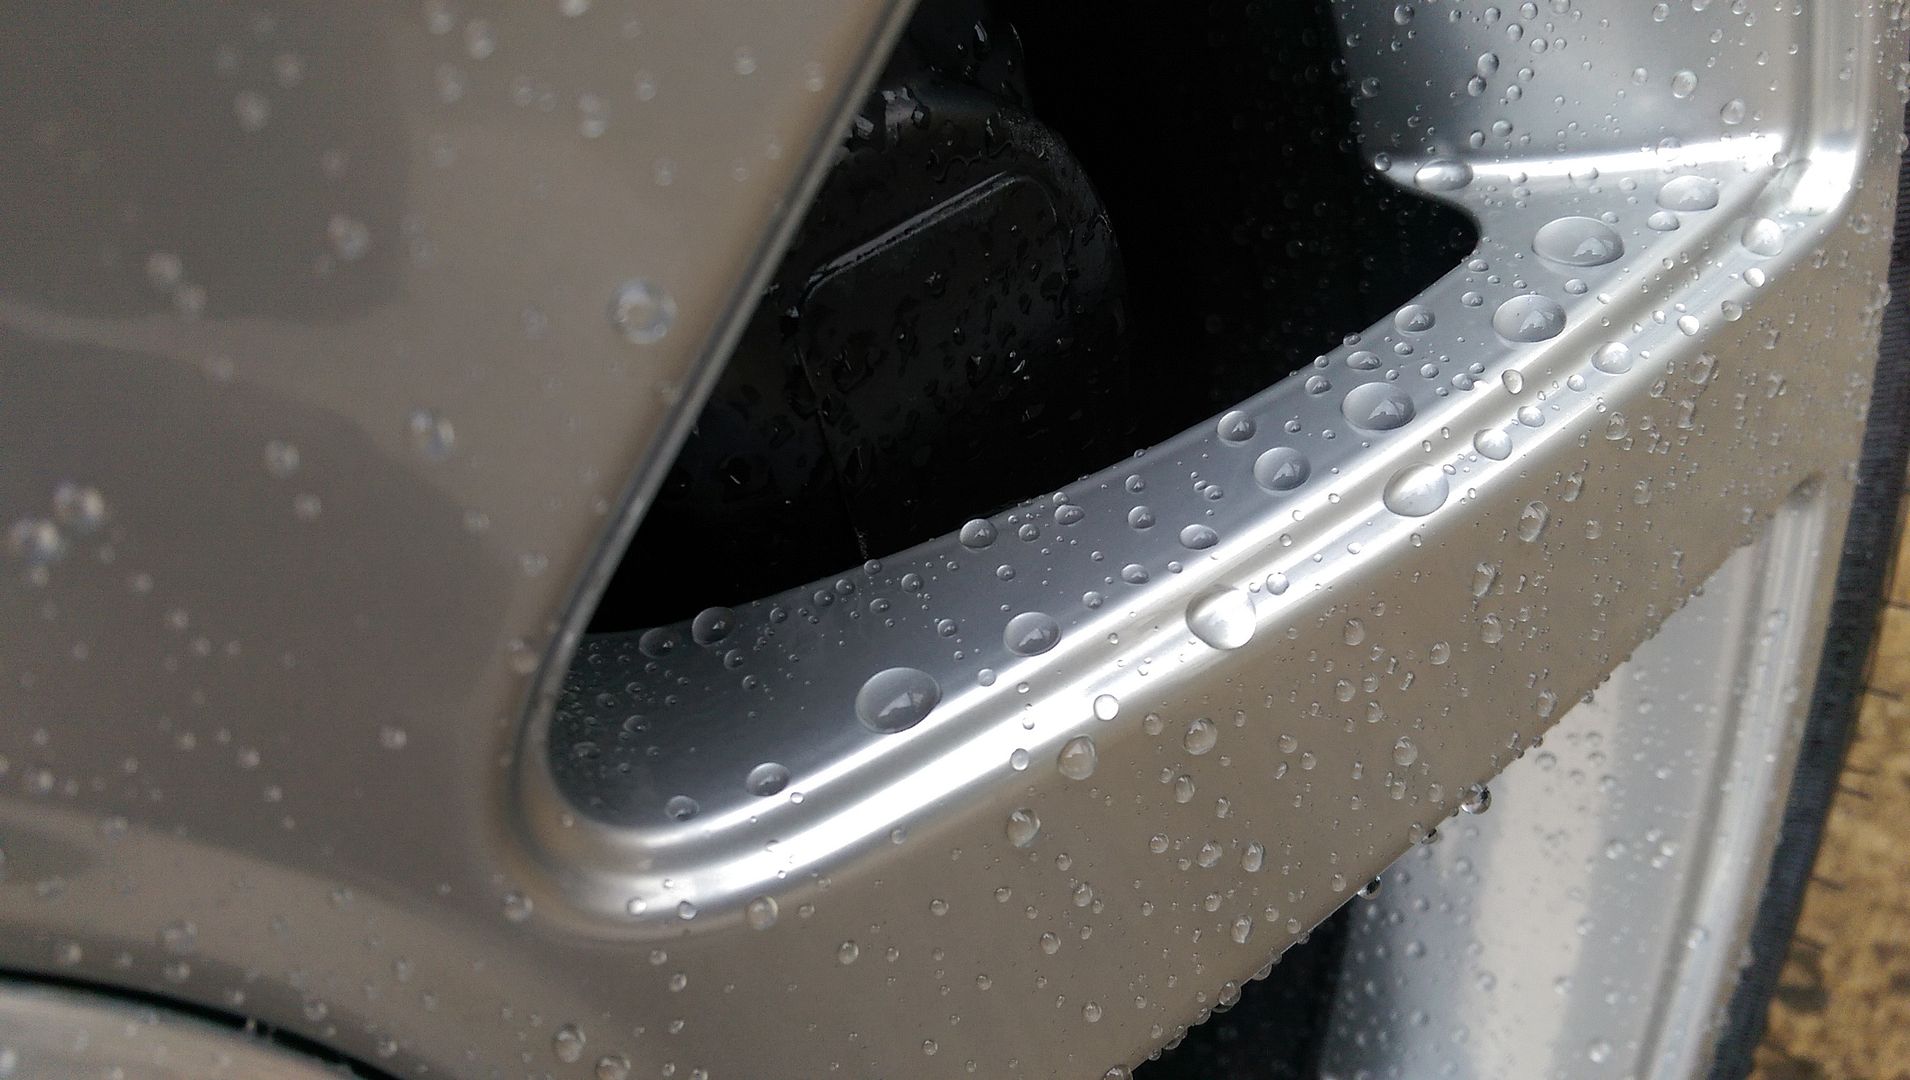
...and of course a beading shot...
Hopefully this should prevent the stuff from caking up the wheels... I will be changing my wheel cleaner too as Megs is an acid based cleaner... will try something more gentle
<tuffty/>
They are pretty aggressive... takes a bit of getting used to especially as the NS-2r's need a little heat in them and the ABS gets a little tetchy...
I have been looking to replace the rears for a while too... I did discs and pads not long after I bought the car but I think they will rust away before they wear out and am not use how affective they are so I have been looking at putting together a 300mm two piece disc setup and upsize the fronts to 350mm to even it all out...
Thats a little way off as I am saving for cams currently but will update when it happens...
On the subject of the pads... they are dirty little buggers...
So off they came for a clean and seal...
...look pretty caked...
..after an initial clean with megs wheel brightner it was obvious these pads give off some sticky crap as I have never had to put this much effort in to clean my wheels before
..was bad on the leading edge of the spokes too... right bugger to remove...
After a lot of perseverance (and patience!)...
Applied three coats of poor boys... will see if this works (as I have a new tub of the stuff) and if not try one of the ceramic sealants...
The heavens opened inevitably...
.... managed to clean under the arches...
...and of course a beading shot...
Hopefully this should prevent the stuff from caking up the wheels... I will be changing my wheel cleaner too as Megs is an acid based cleaner... will try something more gentle
<tuffty/>
Tuffty weight 1475.5kg distribution 58.3%Front 41.7% Rear
Bill's leon weight 1433.5kg distribution 62.9% Front 37.1% Rear
Bills Lupo weight 1047.5kg distribution 64.4% Front 35.6% Rear
My C5 audi A6 1.8t FWD with autogas weighs 1465 kg and cordoba weights 1226 kg. I wonder what my weight distributions are.
Mk4 platform cars have similar weight distributions F/R.
S3 as proven is 58.3 / 41.7
Leon Mk1 Cupra / FR with 1.8T and FWD roughly 59 / 41
Leon Mk1 Cupra V6 with 4WD roughly 57 / 43
Leon Mk2 same as official figure for Golf Mk5, 63 / 37
Weight distributions are calculated by factory to approach 50 / 50 with full load (4 passengers, full tank of fuel), this is the curse of family-car based chassis.
Weight distribution can be changed in a (FWD) Mk1 Cupra / FR to approach 57 / 43 (light battery up front, heavy ARB down rear, heavy tool box in the boot and so on).
For some reason, the Leon Mk1 with Koni FSD and plenty other suspension mods seems to have best rear grip and best shock absorption rear when there is only driver in car and fuel tank is 1/2 to 3/4 full. If the tank is full to the brim, there is a hint of sluggishness in tight curves. But weight difference from 3/4 tank to full is just 20 lbs or so.
Few issues manifested over the week... f*cking potholes are doing my head in, roads are an absolute joke... ironically my car tax renewals came through yesterday for both cars... typical... good job the A2 is only 30 quid a year lol... will do the direct debit monthly thing on the S3... still works out cheaper than the usual 6 month renewal I typically do...
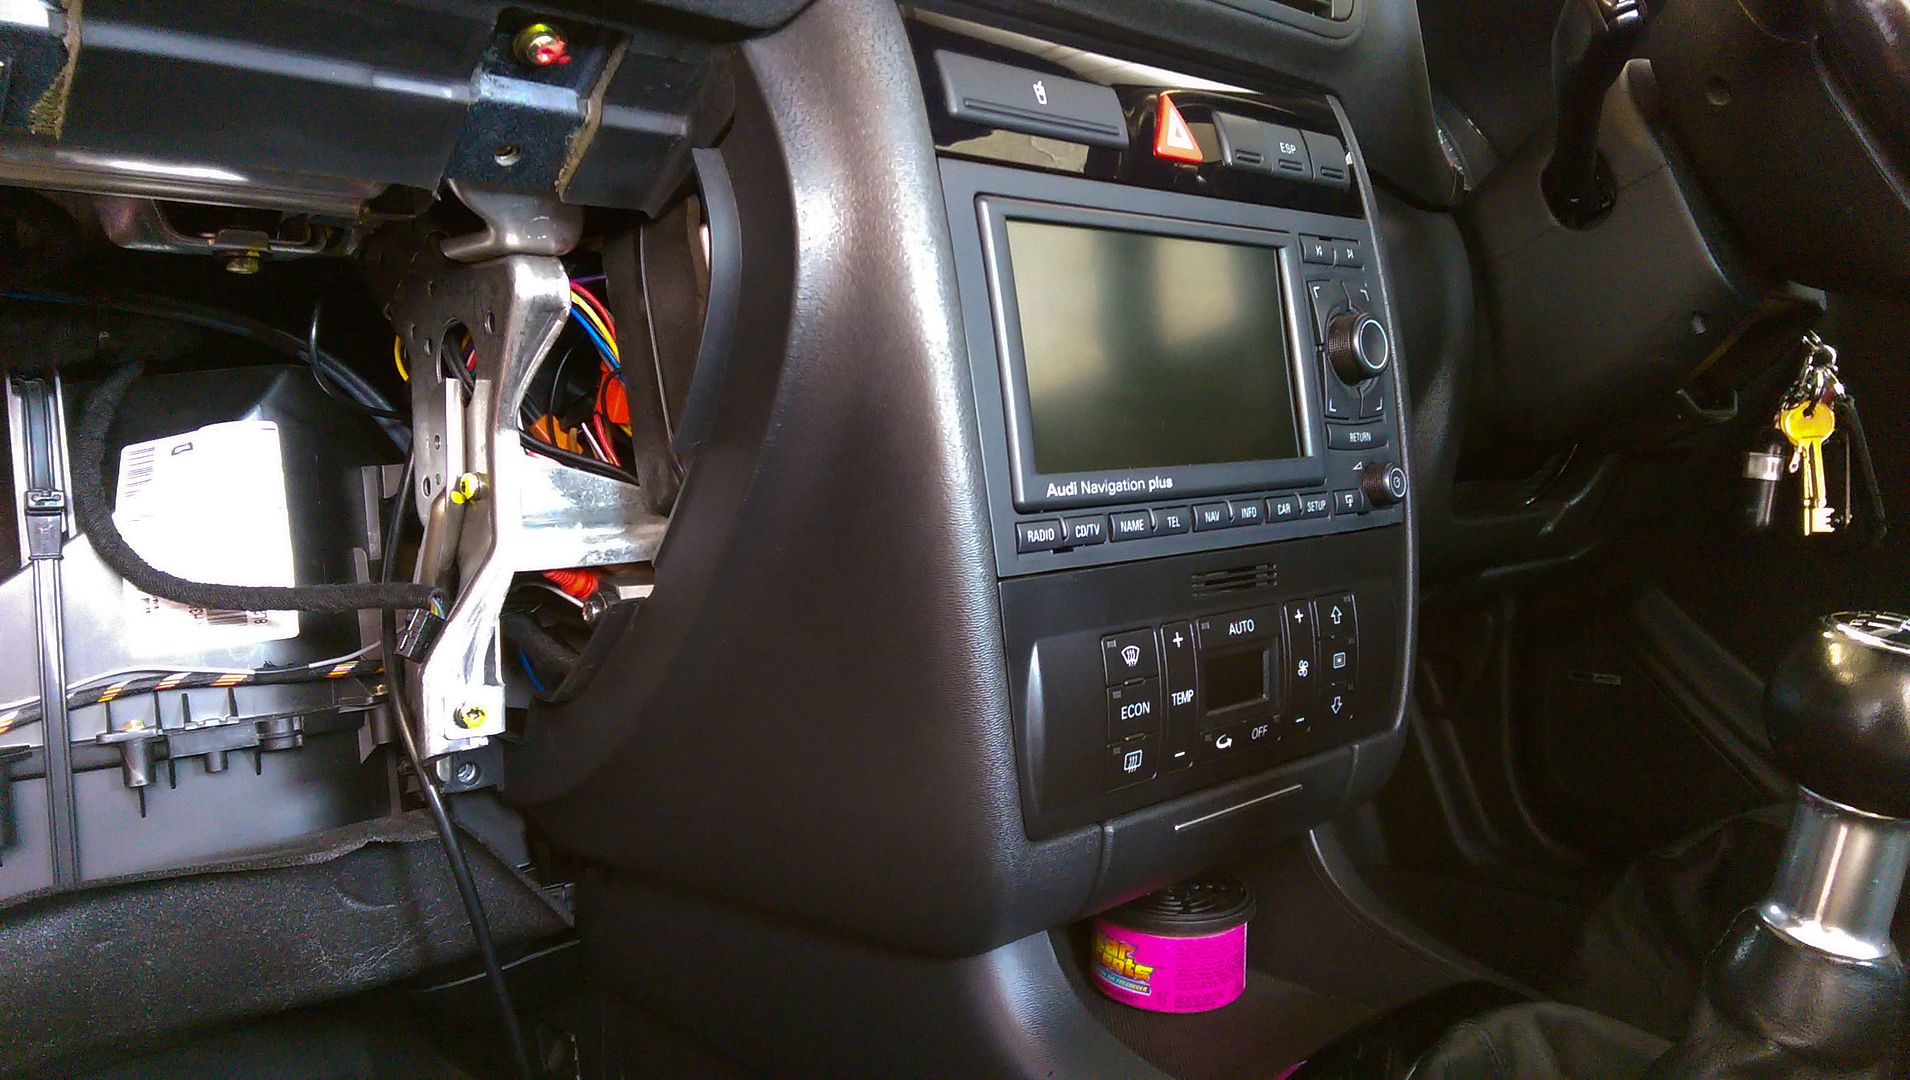
As a result of said potholes my iPod stopped working with the RNS-E and the nearside headlight beam hit the deck... thankfully my iPod is ok but after removing the glove box to see what had happened and turns out the cable had popped out of the connects2 box from the jolt... the cable doesn't appear to have a latch to hold it in which is a real design flaw so I used the next best thing to gaffer tape... hot glue
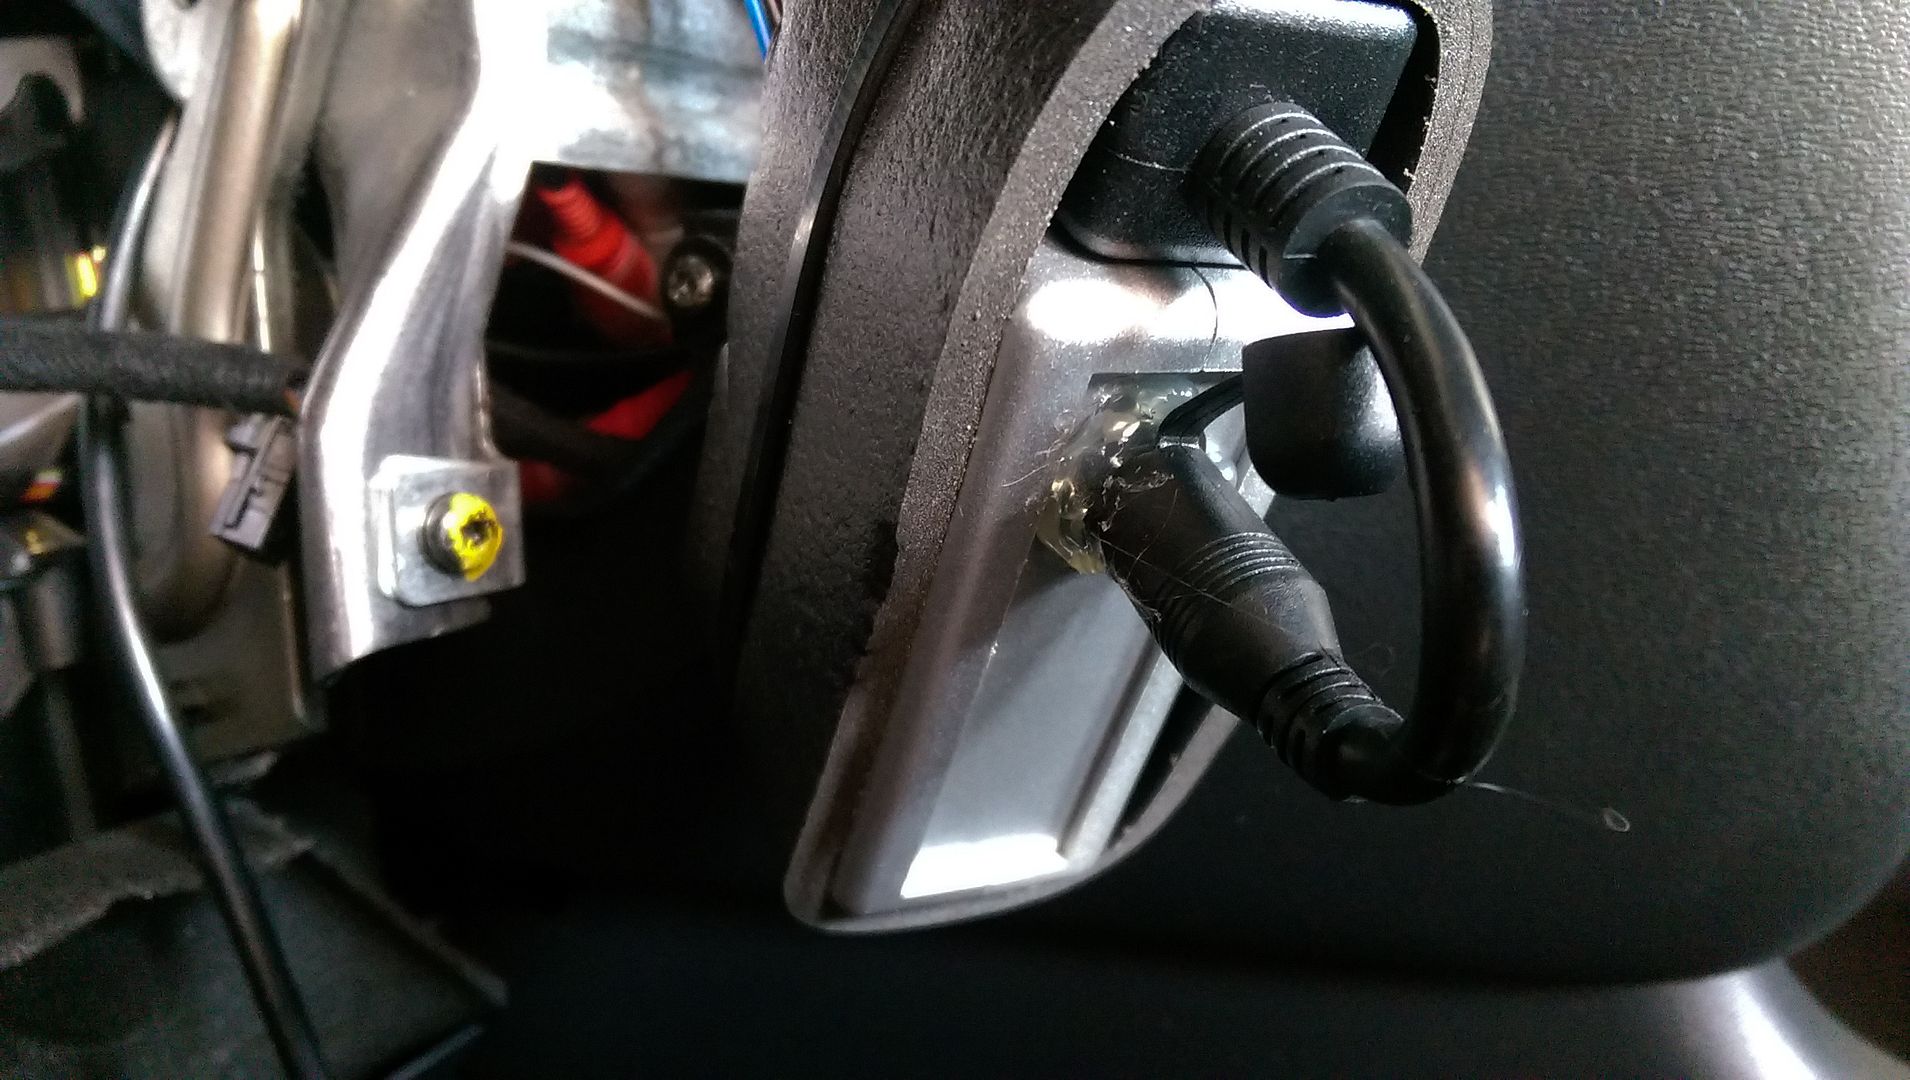
...was a little more tricky to stuff into its 'space' but its in and hopefully there to stay for now lol
On to the lights.... removed the bumper and removed the head light... couldn't see what the issue was tbh... thought the adjusters were damaged much like the issue Prawn had with his but no, they appeared ok and the light moved about when they were turned... so looks like I had undressed the bay for nowt
...plan B was to replace the electric adjuster motor with a modded version of the fixed pivot the lights came with but I thought its worth doing a reset in VCDS to check if the motors actually worked... ironocally the only motor that seemed to work was the nearside but... as it turns out the reset was all that was needed... the light picked itself up and while poiting a little high due to my faffing it was back in the room!!.. tweaked the height and bingo... all back to the right height... turned the lights off and on again and both lights auto adjusted... result!.. phew!
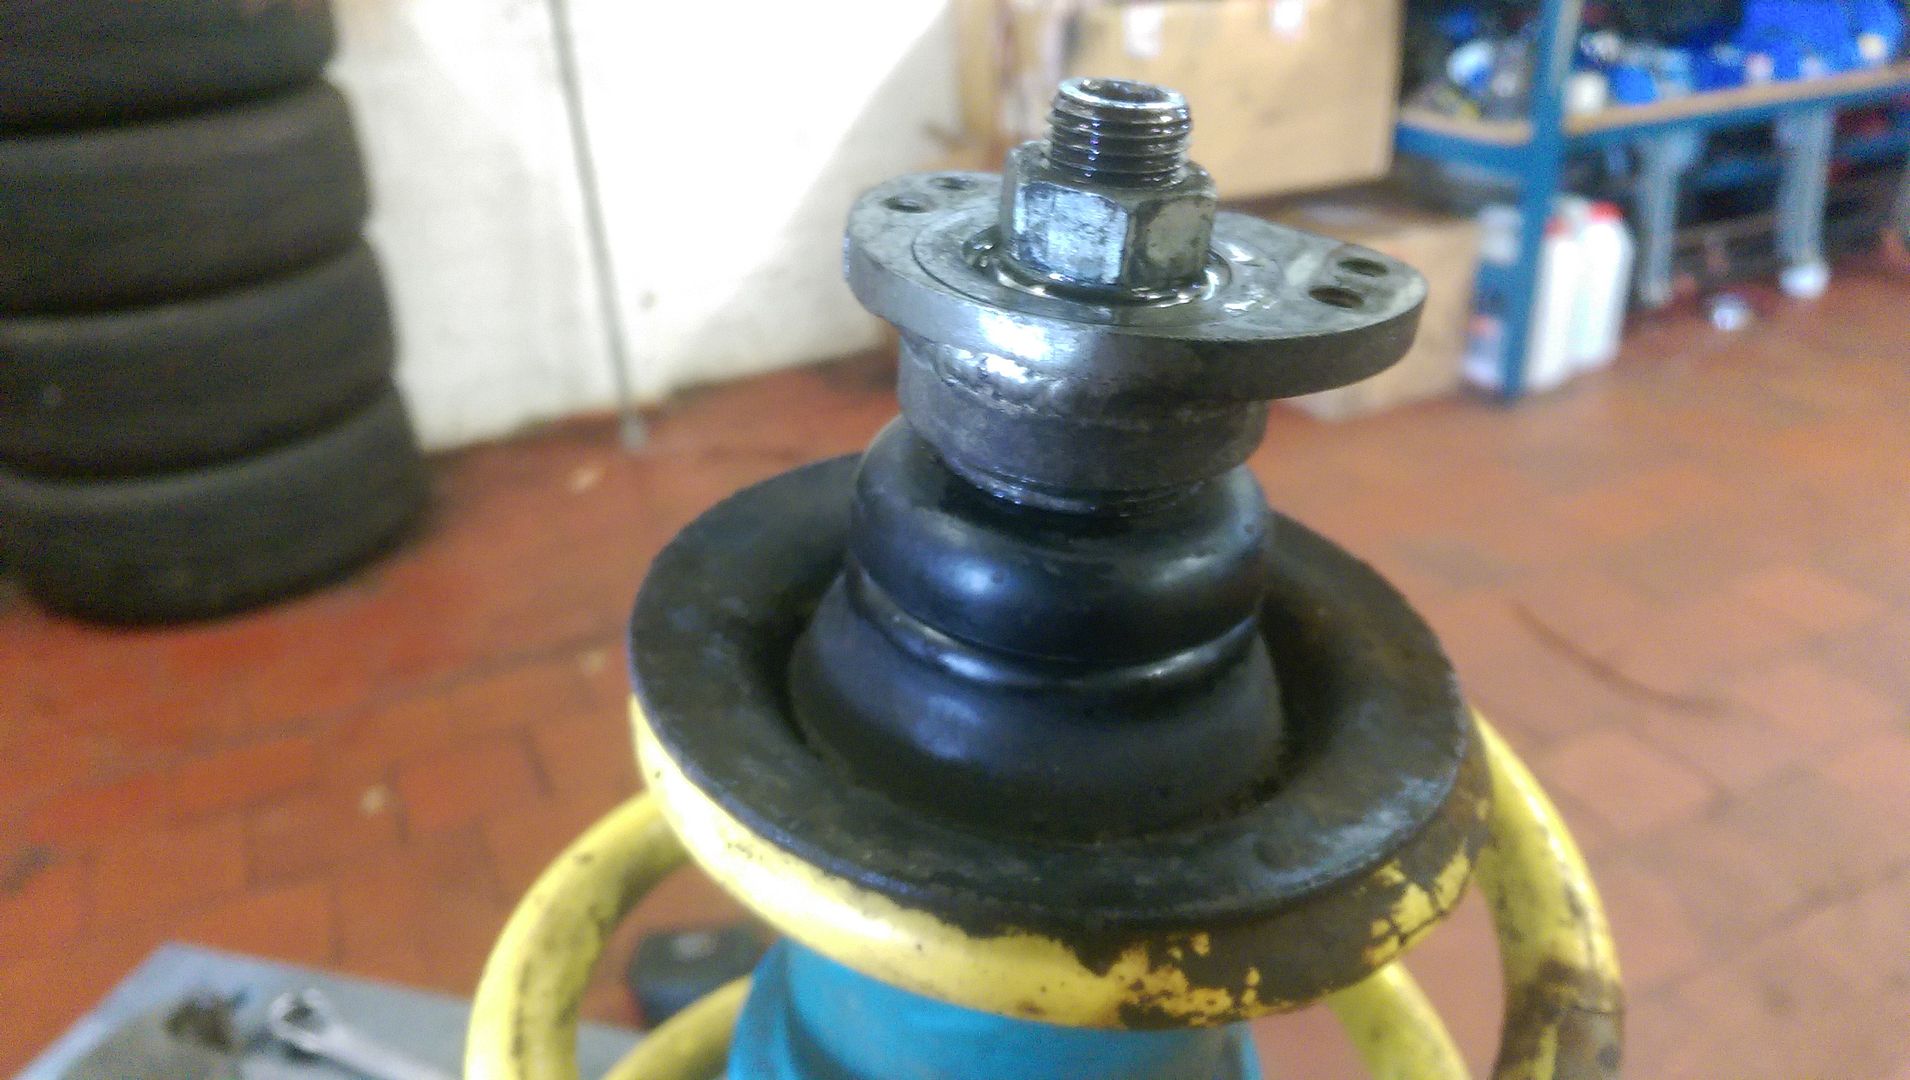
Whilst under the bonnet I noticed the offside strut was poking up a little more than the nearside...
Nearside...

Offside...
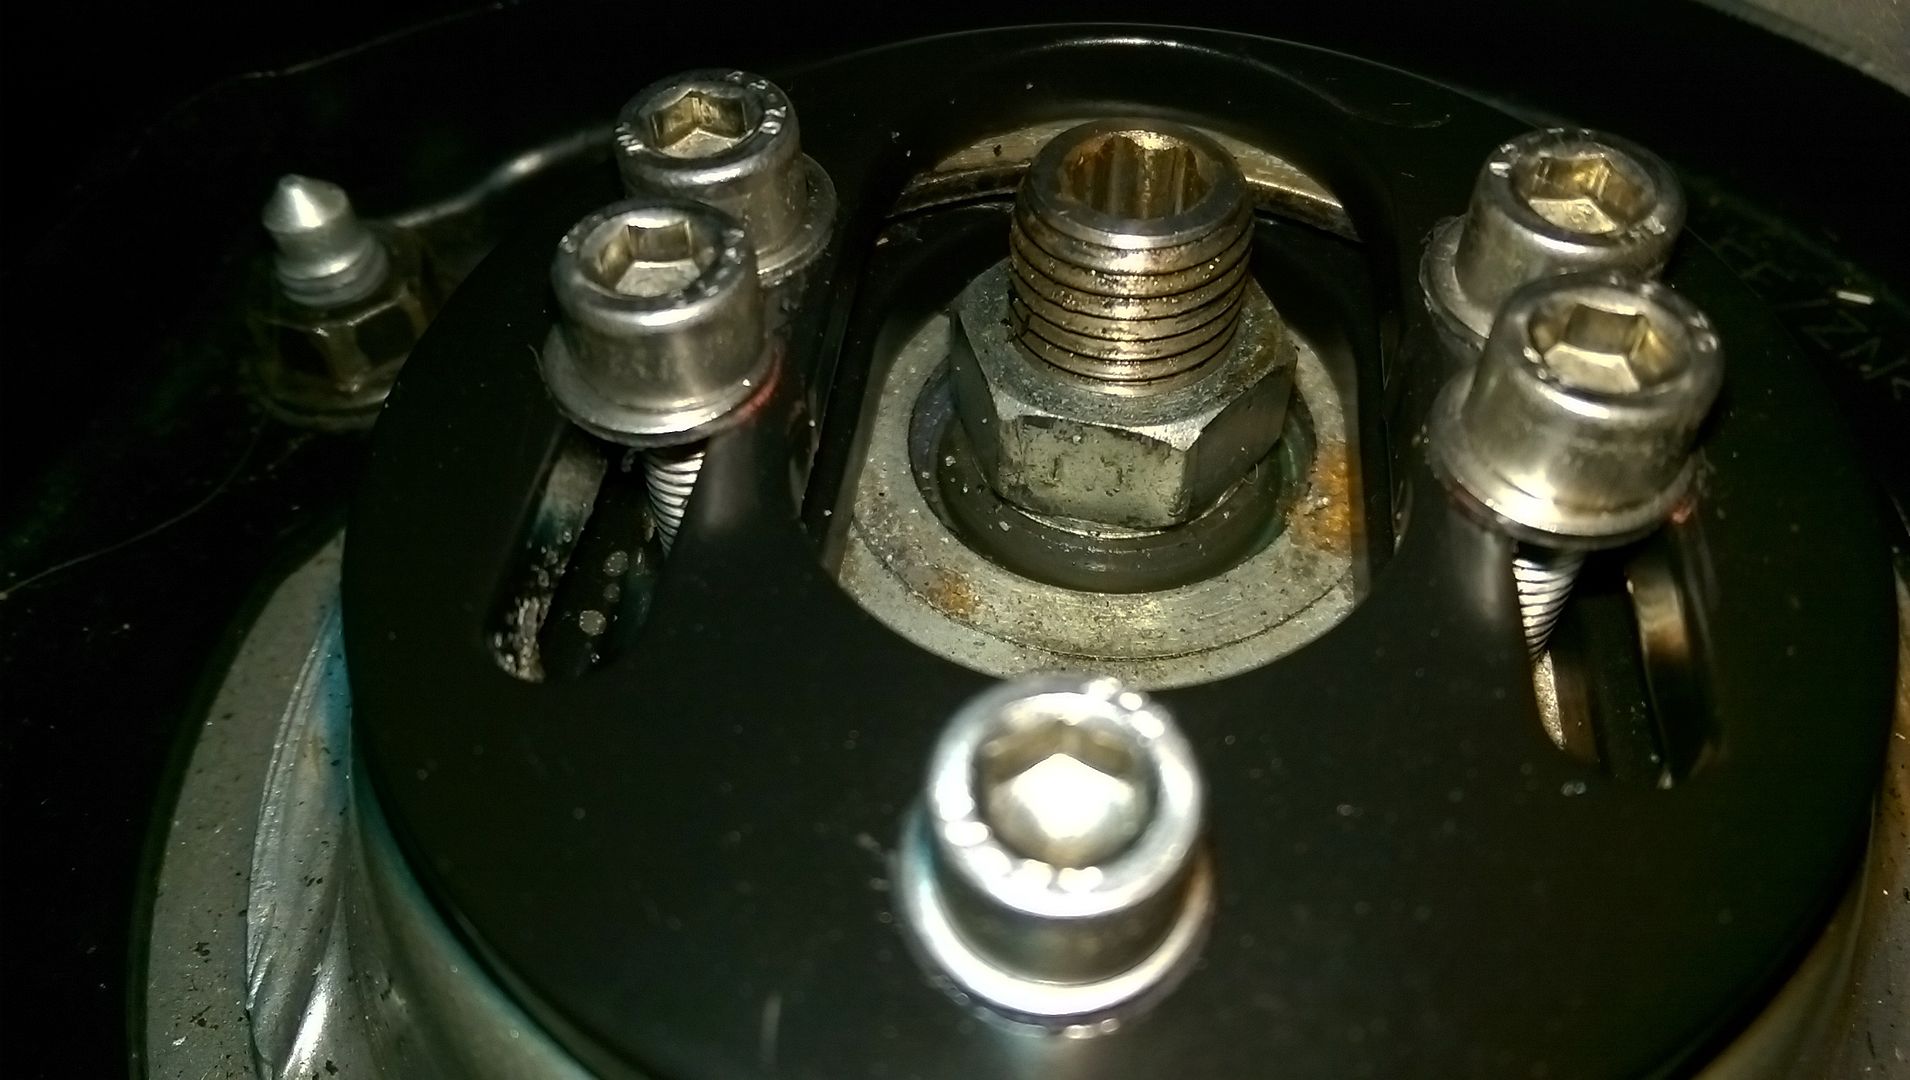
Seems the spherical bearing has worn
I have emailed Silver Project for the specs and I will try and source a high quality replacement as soon as I can...
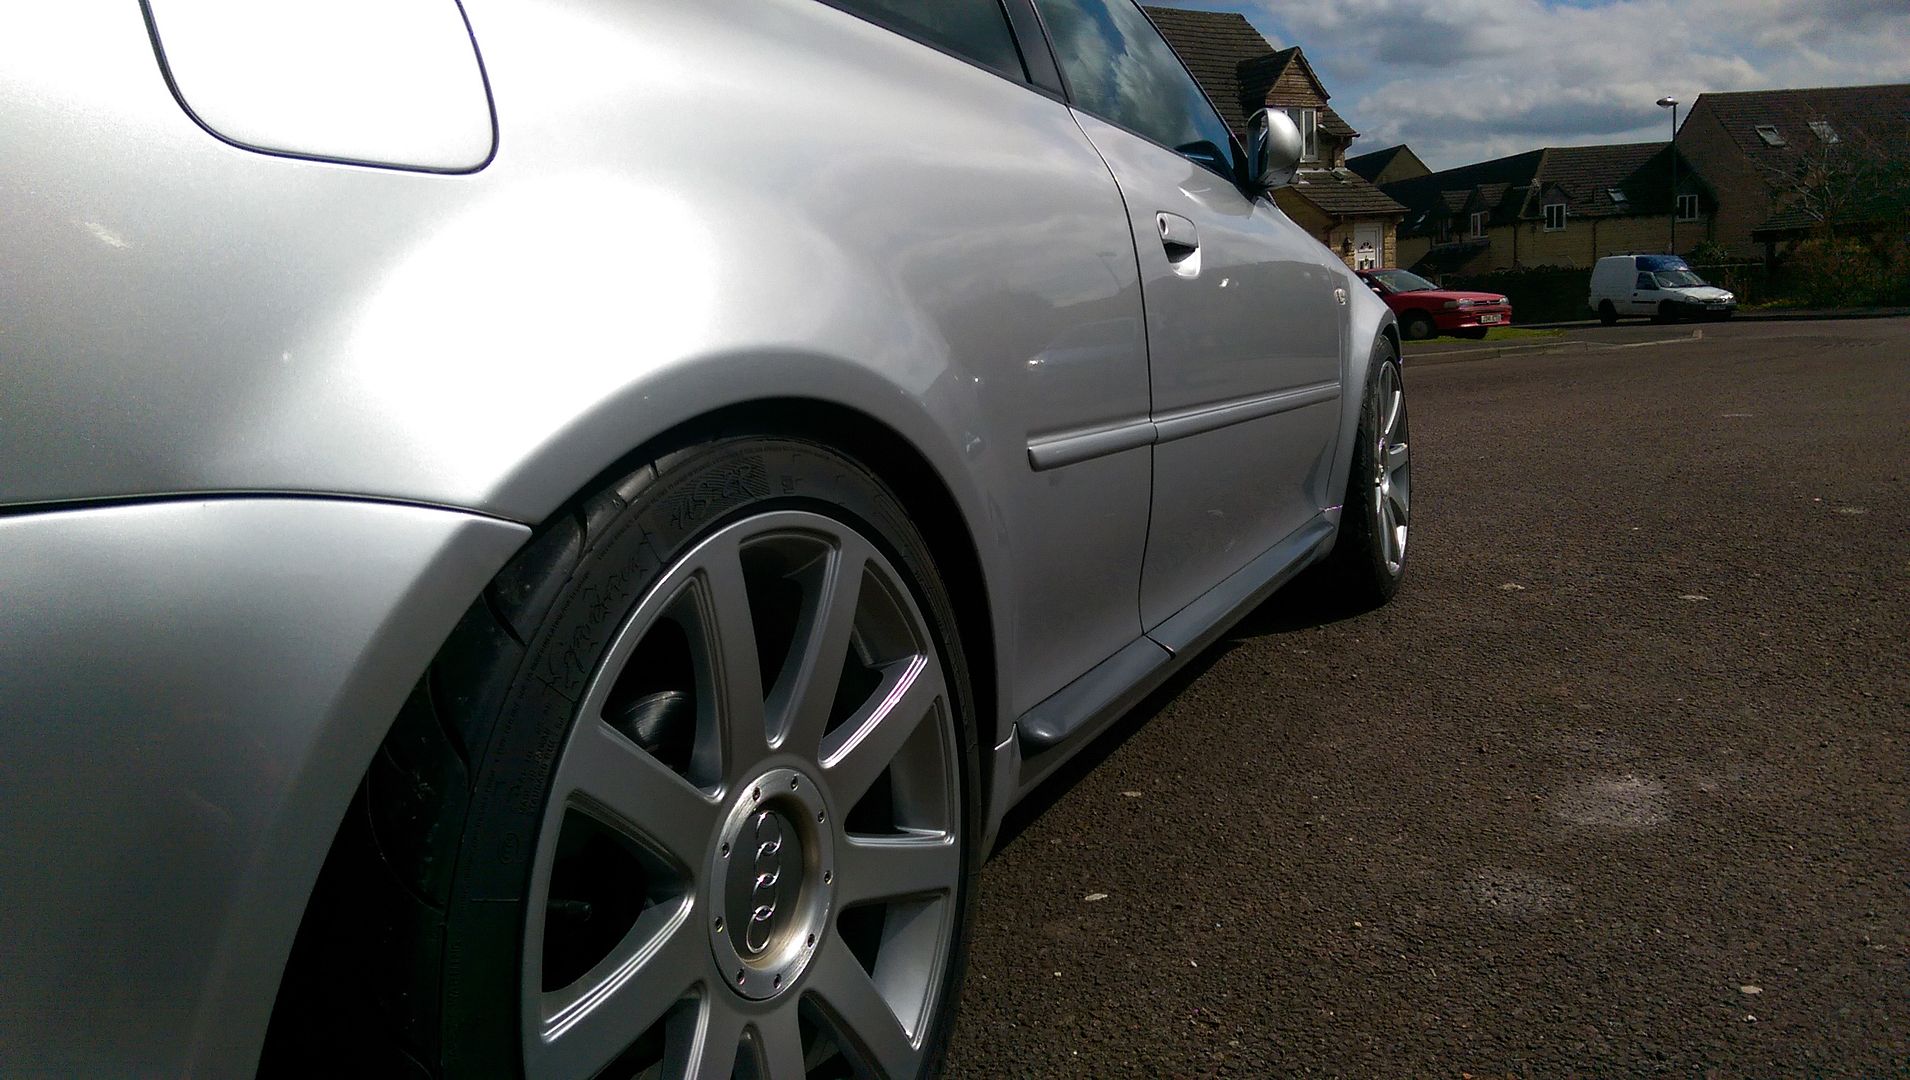
Last thing I did was wash the front wheels... I did cheat a little and remove them first but seems the effort putting the poor boys sealant on paid off as the dust and crud fell off with a little help from some very diluted megs wheel brightener... will keep this up for now and get some G5 next
<tuffty/>
As a result of said potholes my iPod stopped working with the RNS-E and the nearside headlight beam hit the deck... thankfully my iPod is ok but after removing the glove box to see what had happened and turns out the cable had popped out of the connects2 box from the jolt... the cable doesn't appear to have a latch to hold it in which is a real design flaw so I used the next best thing to gaffer tape... hot glue
...was a little more tricky to stuff into its 'space' but its in and hopefully there to stay for now lol
On to the lights.... removed the bumper and removed the head light... couldn't see what the issue was tbh... thought the adjusters were damaged much like the issue Prawn had with his but no, they appeared ok and the light moved about when they were turned... so looks like I had undressed the bay for nowt
...plan B was to replace the electric adjuster motor with a modded version of the fixed pivot the lights came with but I thought its worth doing a reset in VCDS to check if the motors actually worked... ironocally the only motor that seemed to work was the nearside but... as it turns out the reset was all that was needed... the light picked itself up and while poiting a little high due to my faffing it was back in the room!!.. tweaked the height and bingo... all back to the right height... turned the lights off and on again and both lights auto adjusted... result!.. phew!
Whilst under the bonnet I noticed the offside strut was poking up a little more than the nearside...
Nearside...
Offside...
Seems the spherical bearing has worn
I have emailed Silver Project for the specs and I will try and source a high quality replacement as soon as I can...
Last thing I did was wash the front wheels... I did cheat a little and remove them first but seems the effort putting the poor boys sealant on paid off as the dust and crud fell off with a little help from some very diluted megs wheel brightener... will keep this up for now and get some G5 next
<tuffty/>
Potholes are a right nuisance. I hit one about 3 weeks ago which I thought near pulled the wheel off and now I've got a knocking coming from that side of the car.
Last edited:
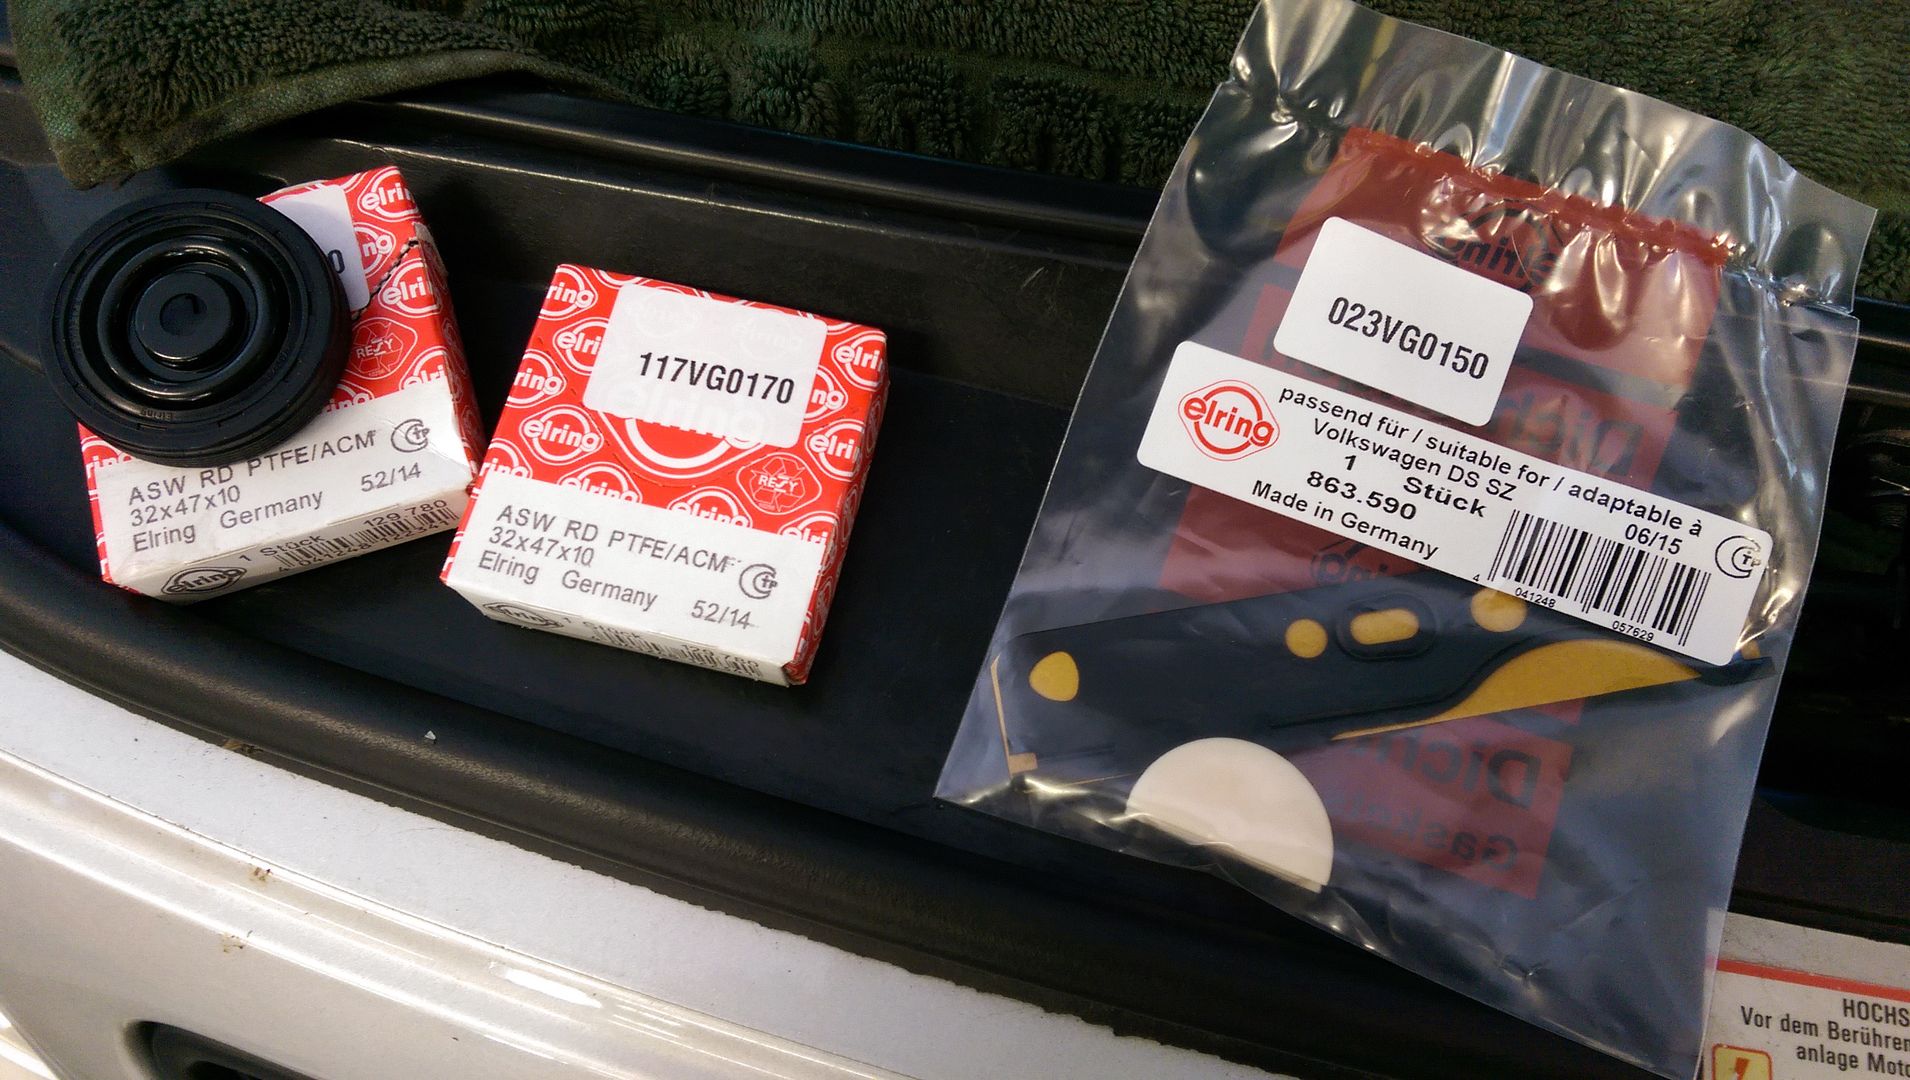
So a few things turned up this week....
Camber plate spherical bearings...
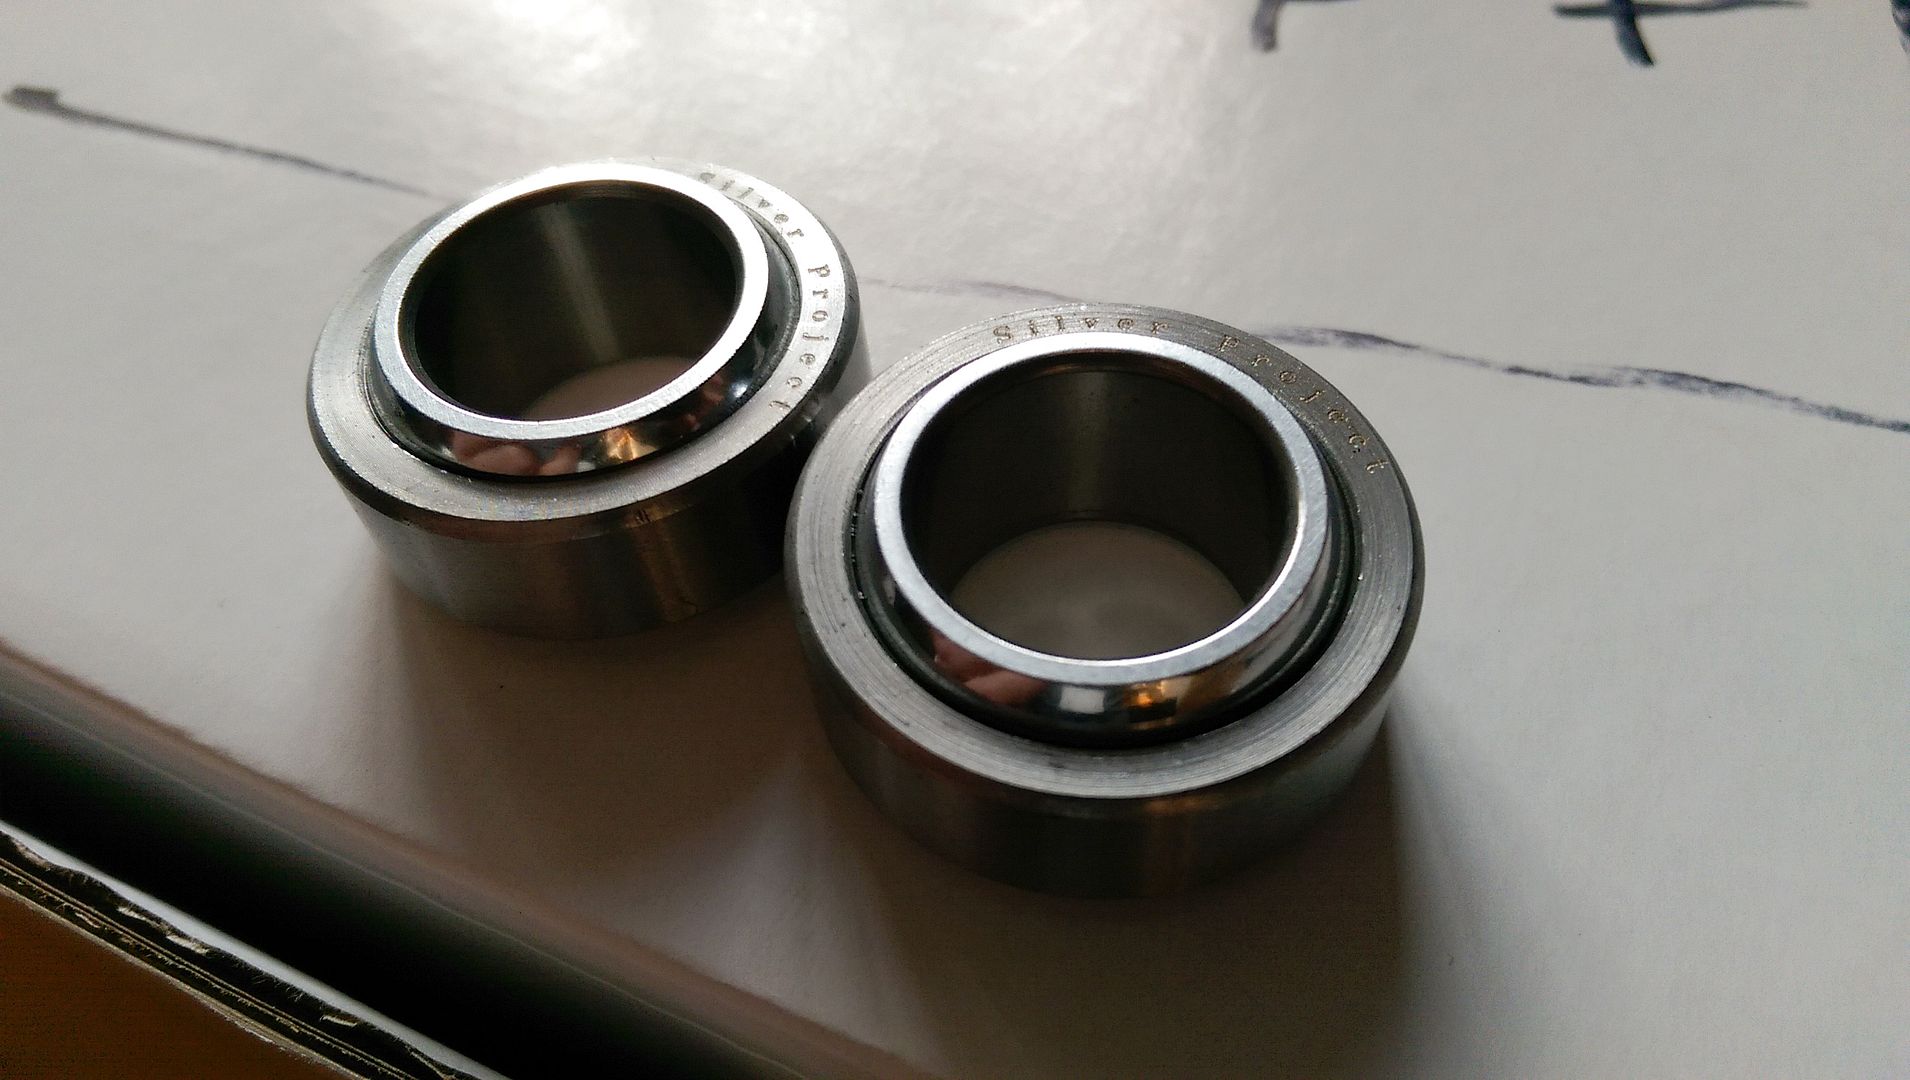
...and a box....
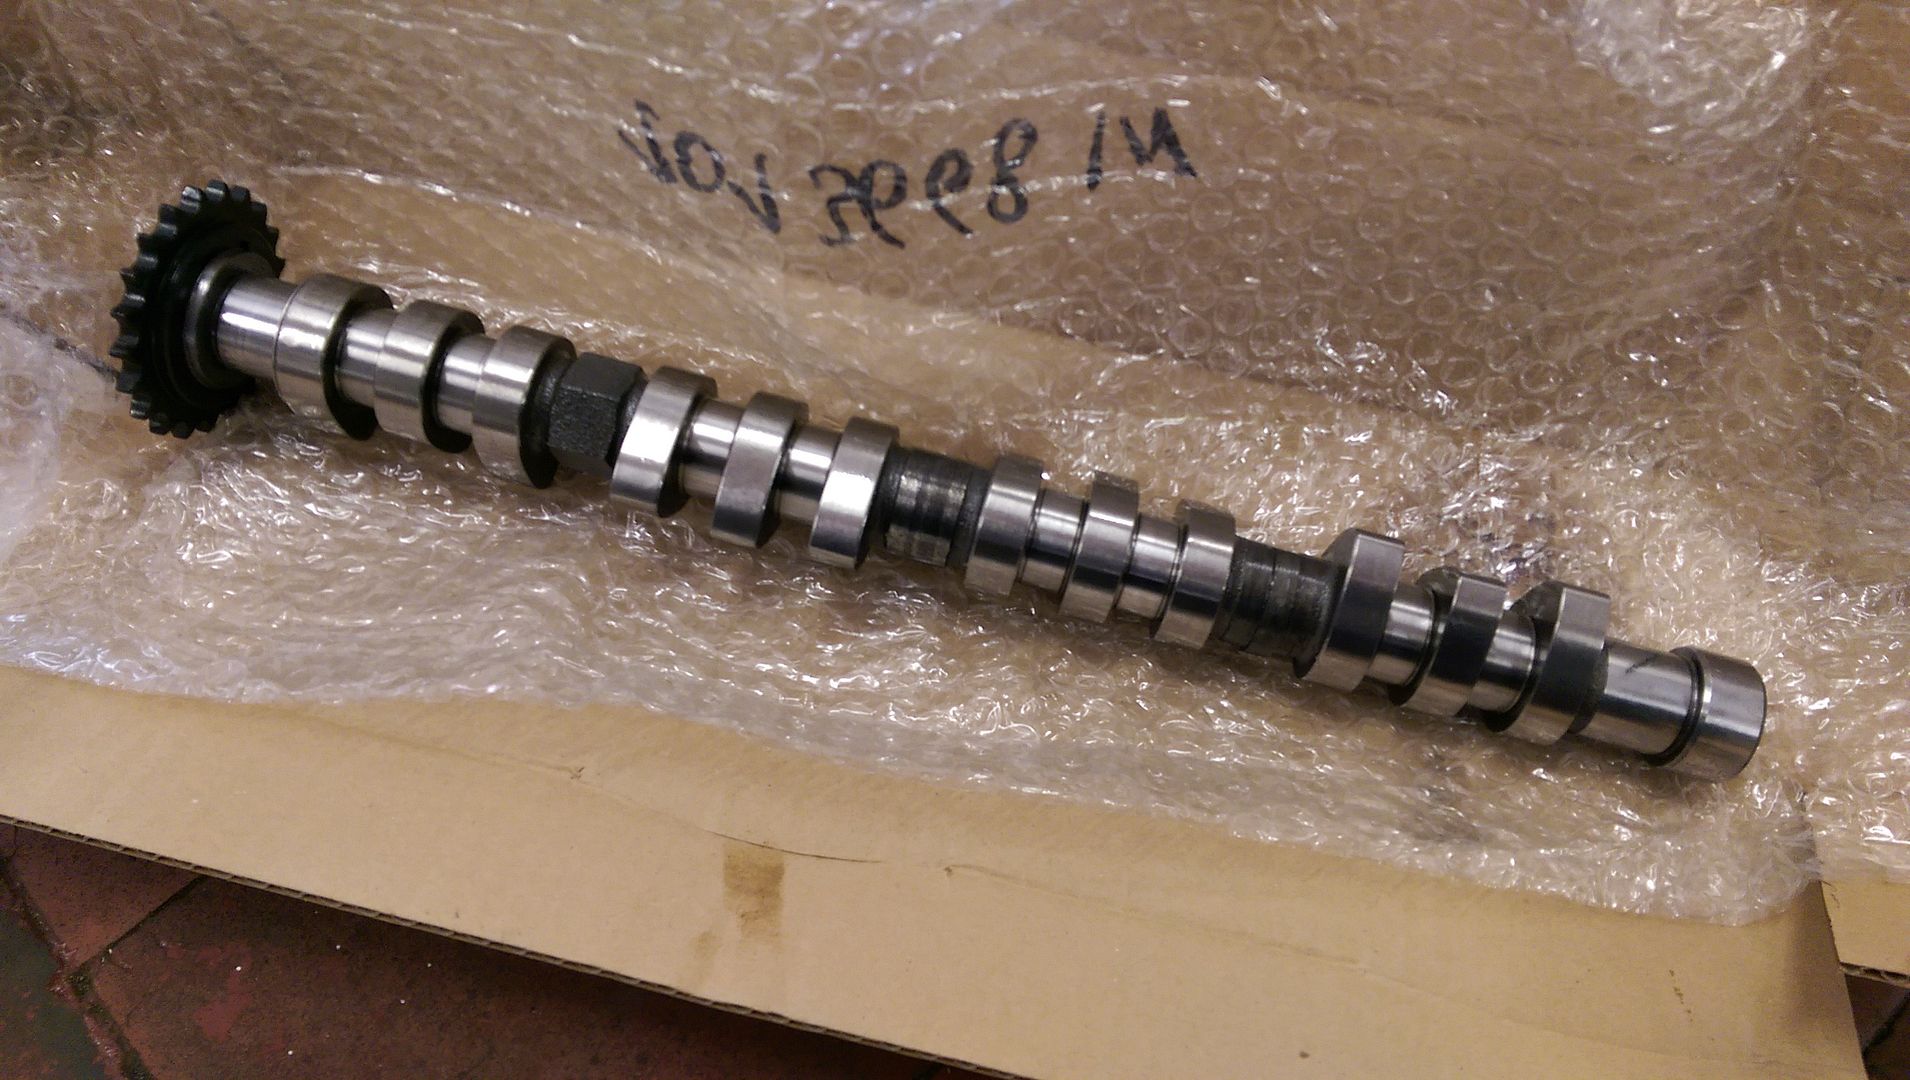
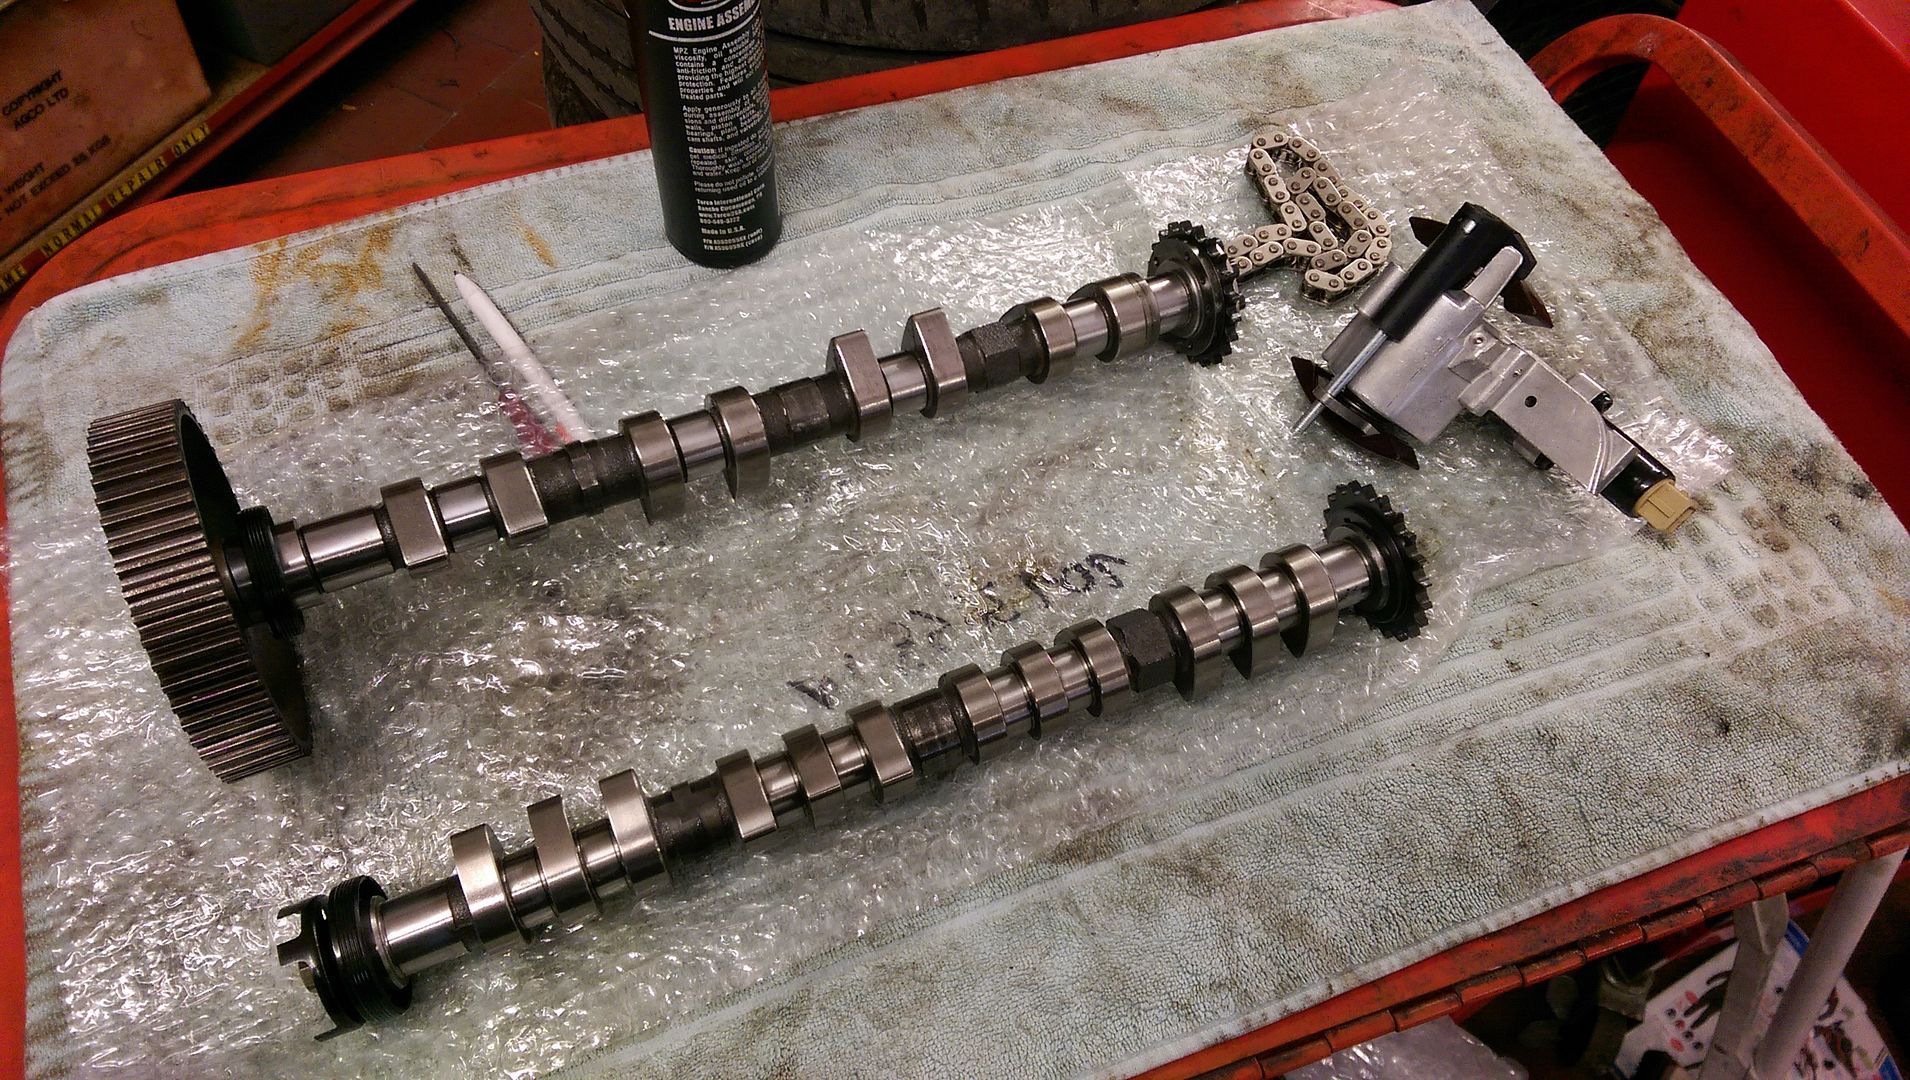
...containing some lumpy looking metal things...
<tuffty/>
Camber plate spherical bearings...
...and a box....
...containing some lumpy looking metal things...
<tuffty/>
Hi there. I have the same silver project camber plates for my LCR. Are the replacement bearings much different from the original ones that came with the plates?
I also contemplate running longer bolts and have a self locking nut on the lowerside. Don't feel those plates are very strong.
I also contemplate running longer bolts and have a self locking nut on the lowerside. Don't feel those plates are very strong.
Last edited:
Hi there. I have the same silver project camber plates for my LCR. Are the replacement bearings much different from the original ones that came with the plates?
I also contemplate running longer bolts and have a self locking nut on the lowerside. Don't feel those plates are very strong.
These came from Silver Project so can only assume they are meant to be the same... I won't know if they are different until I take the old ones out...
I replaced my bolts with slightly longer stainless ones but see your point... tacking a set nuts on the underside of the plate to give more thread area is a good idea... I did use a little thread lock though and have marked the plate position on the turrets to be able to see if they move
<tuffty/>
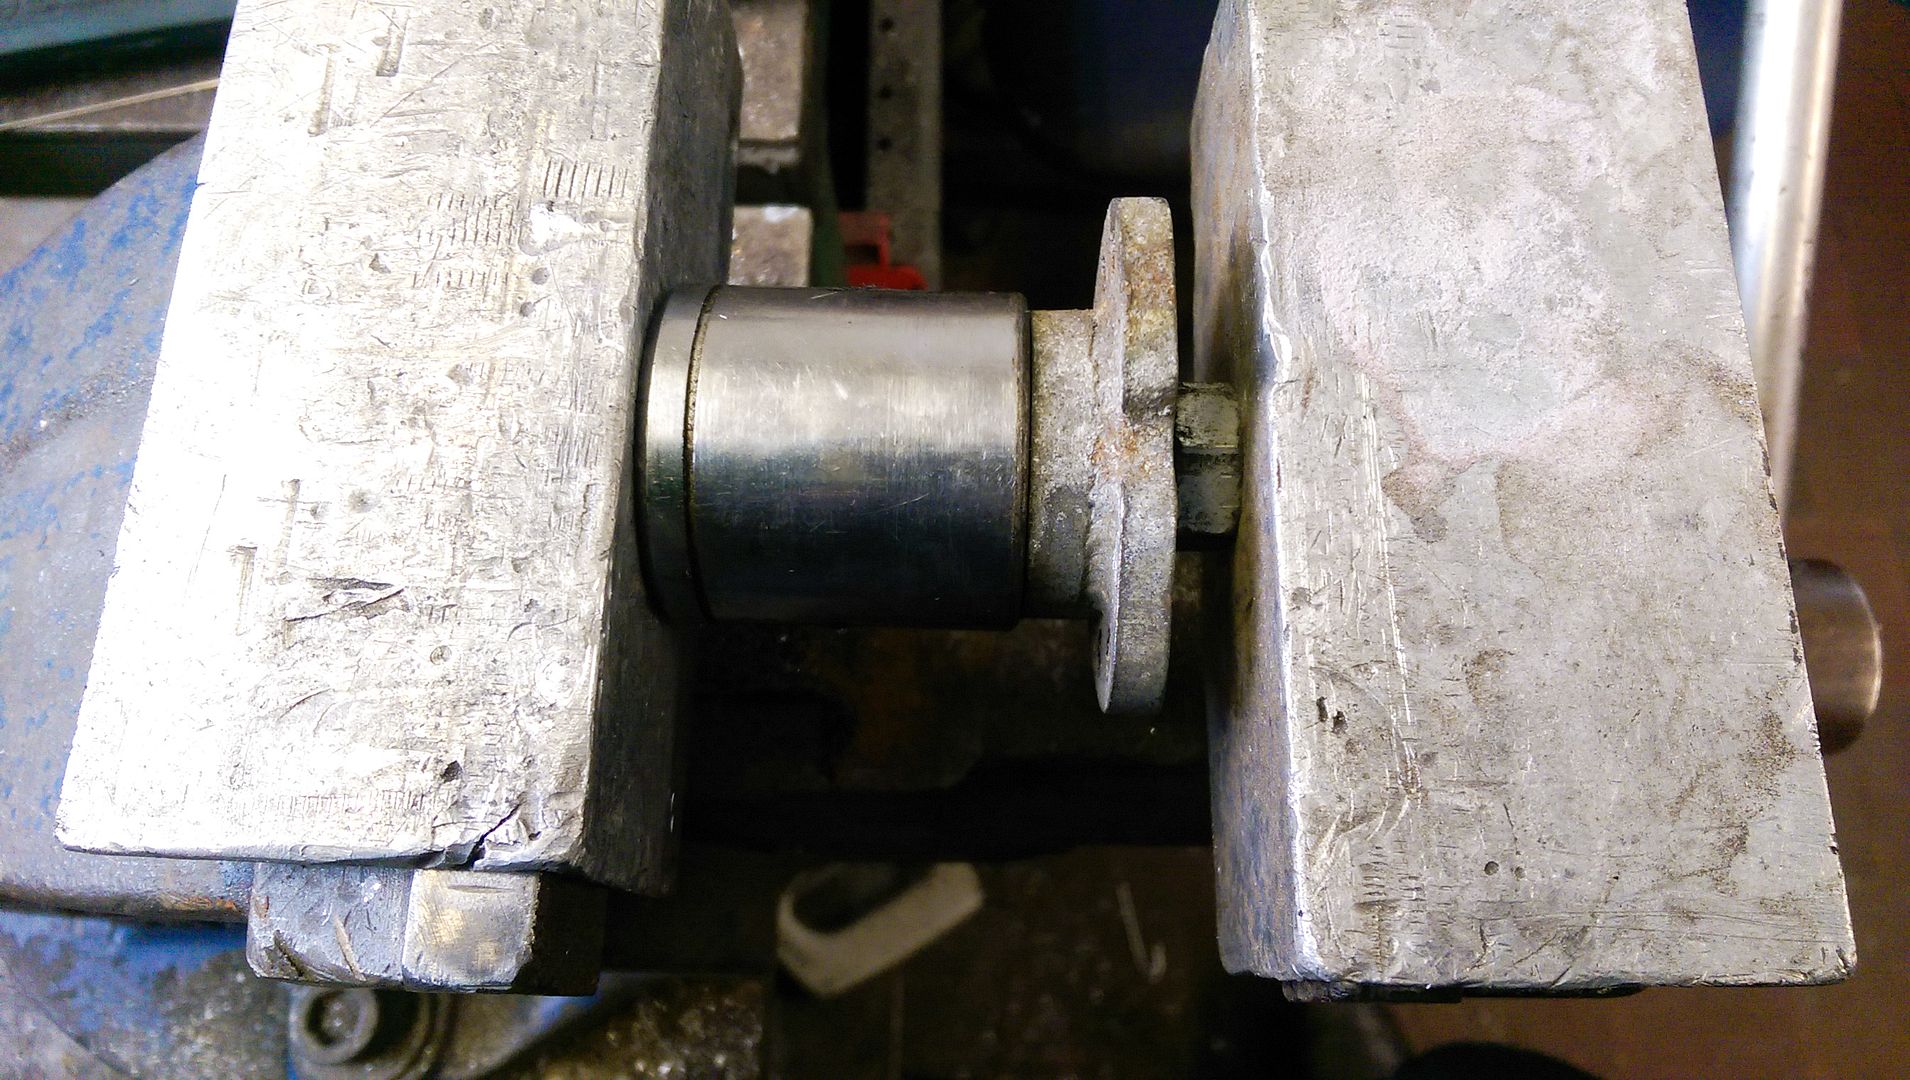
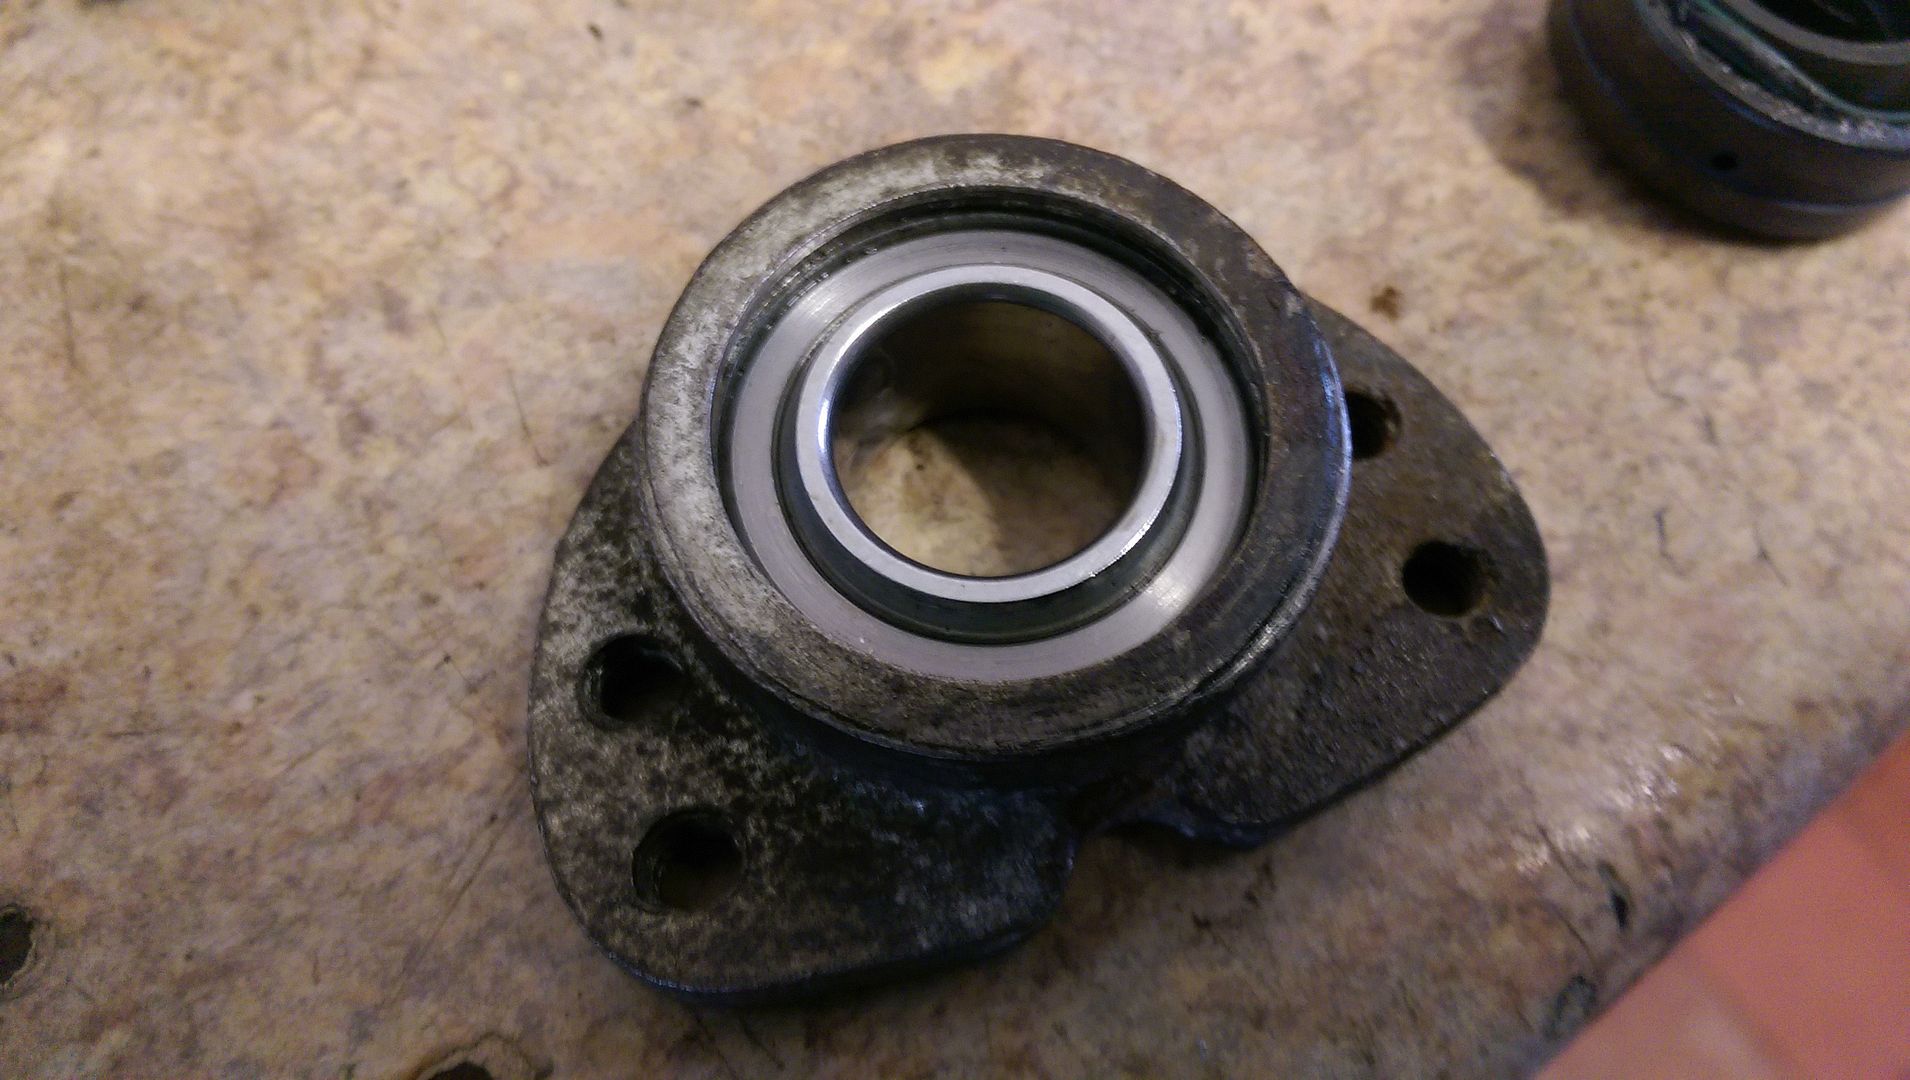
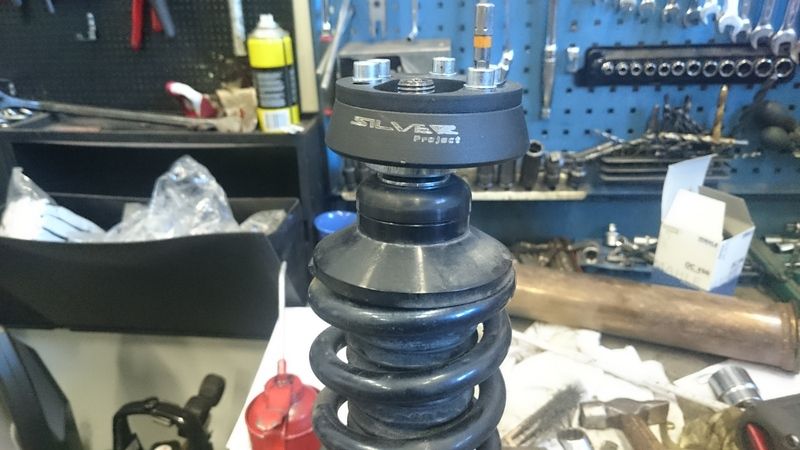
Removed the front struts today to replace the spherical bearings in the camber plates...
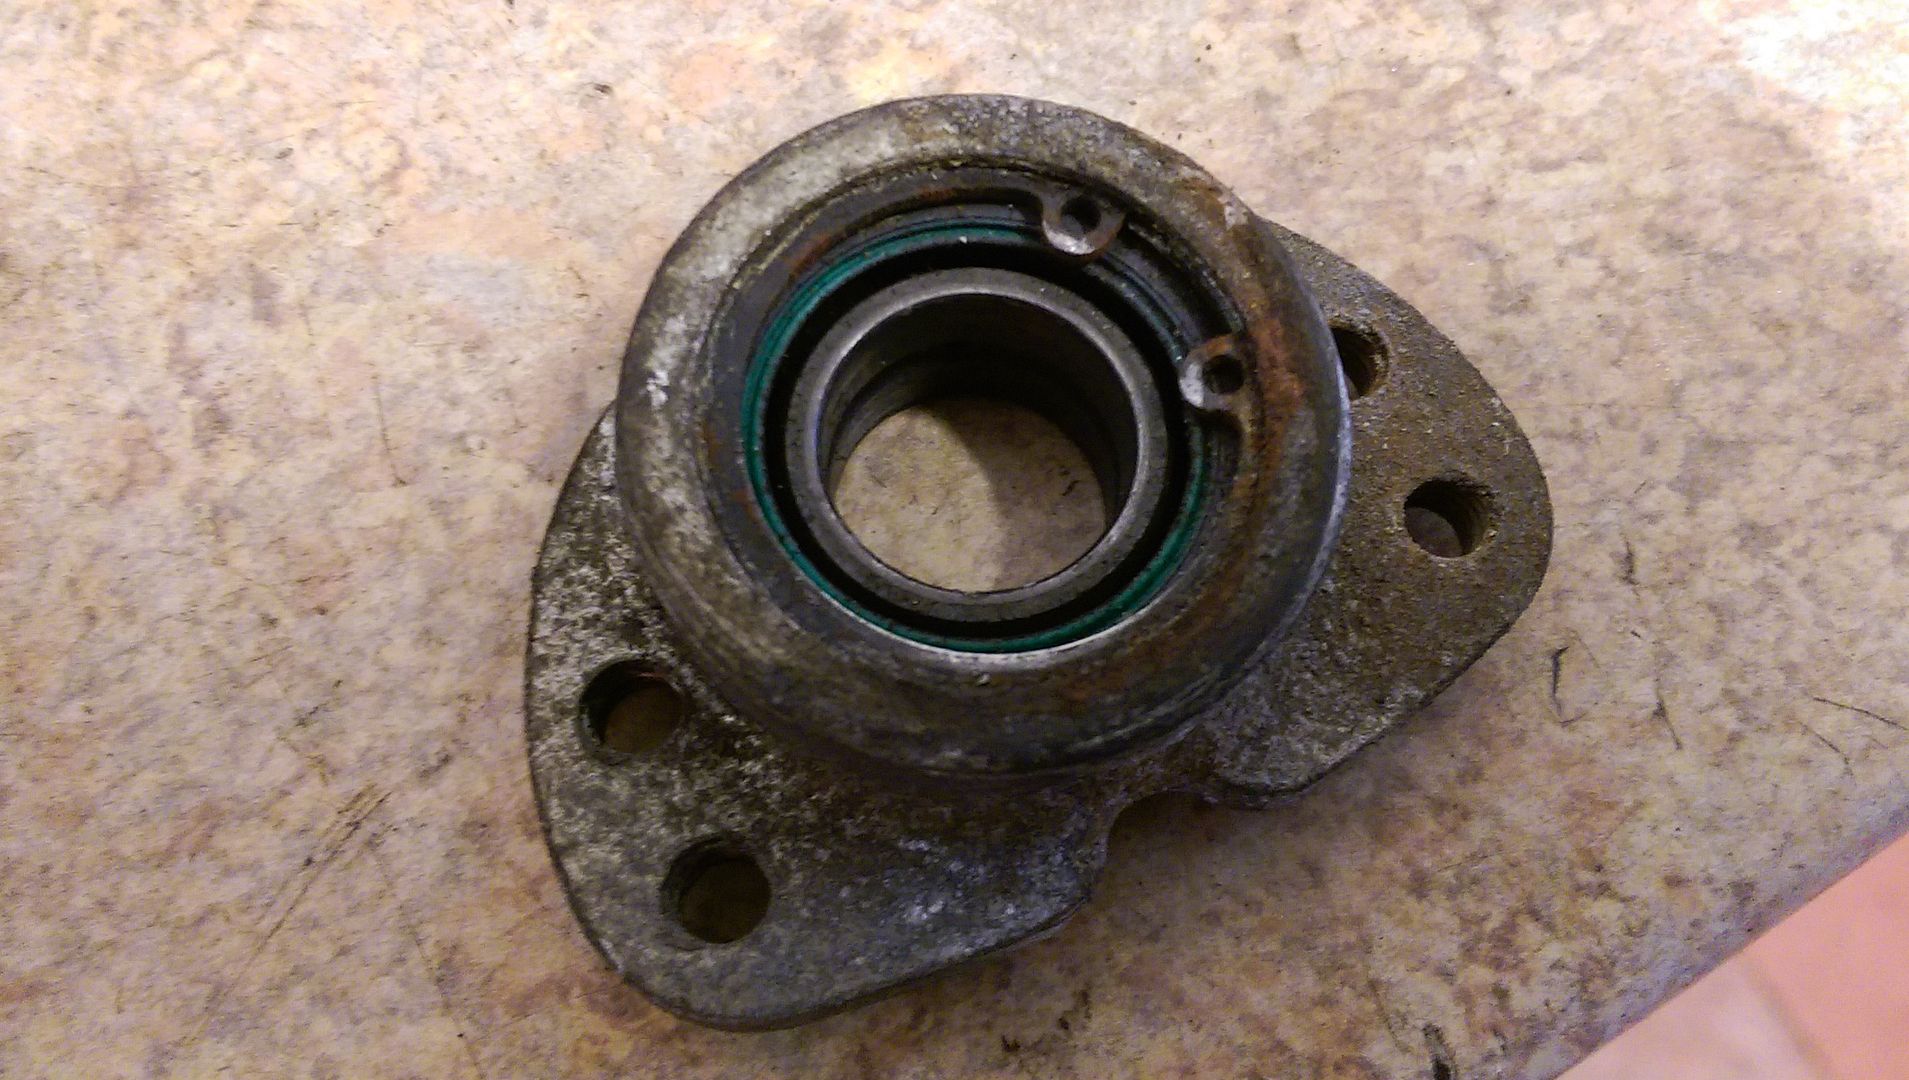
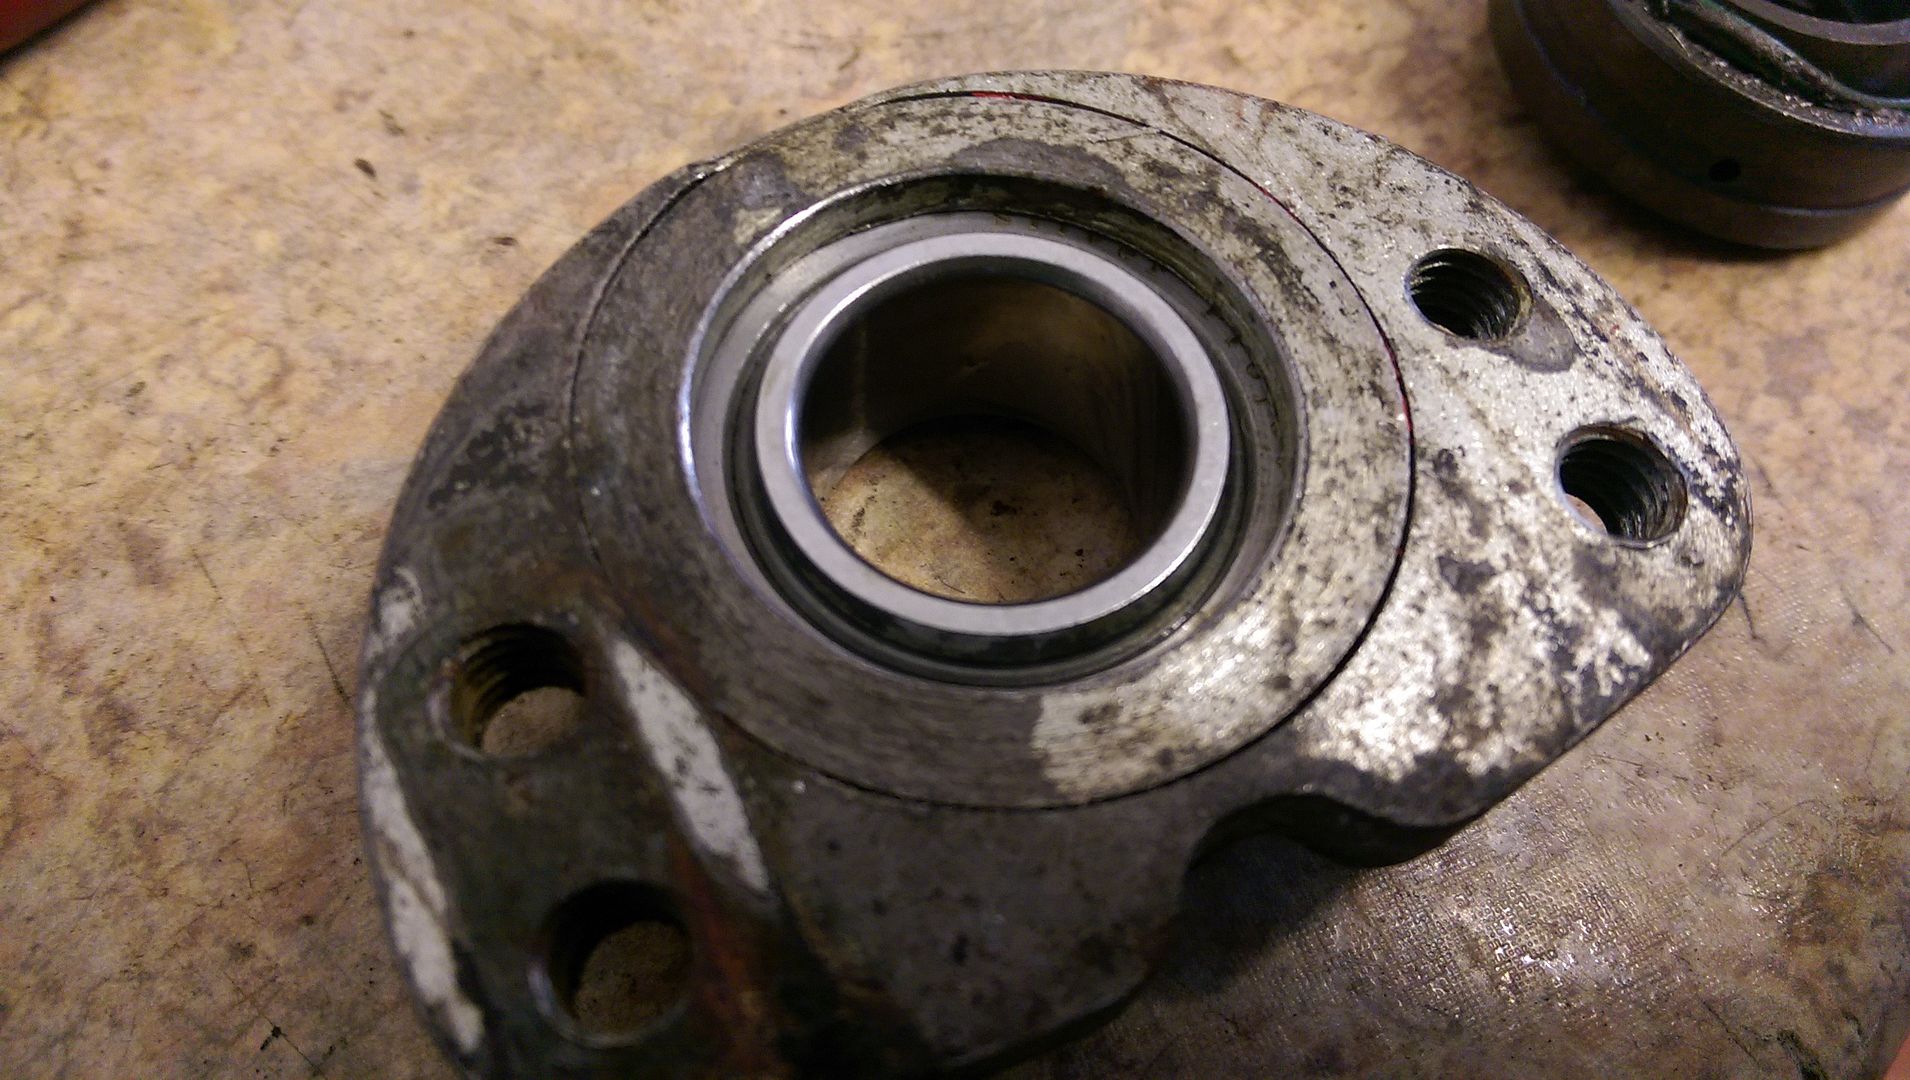
Pressed them out...
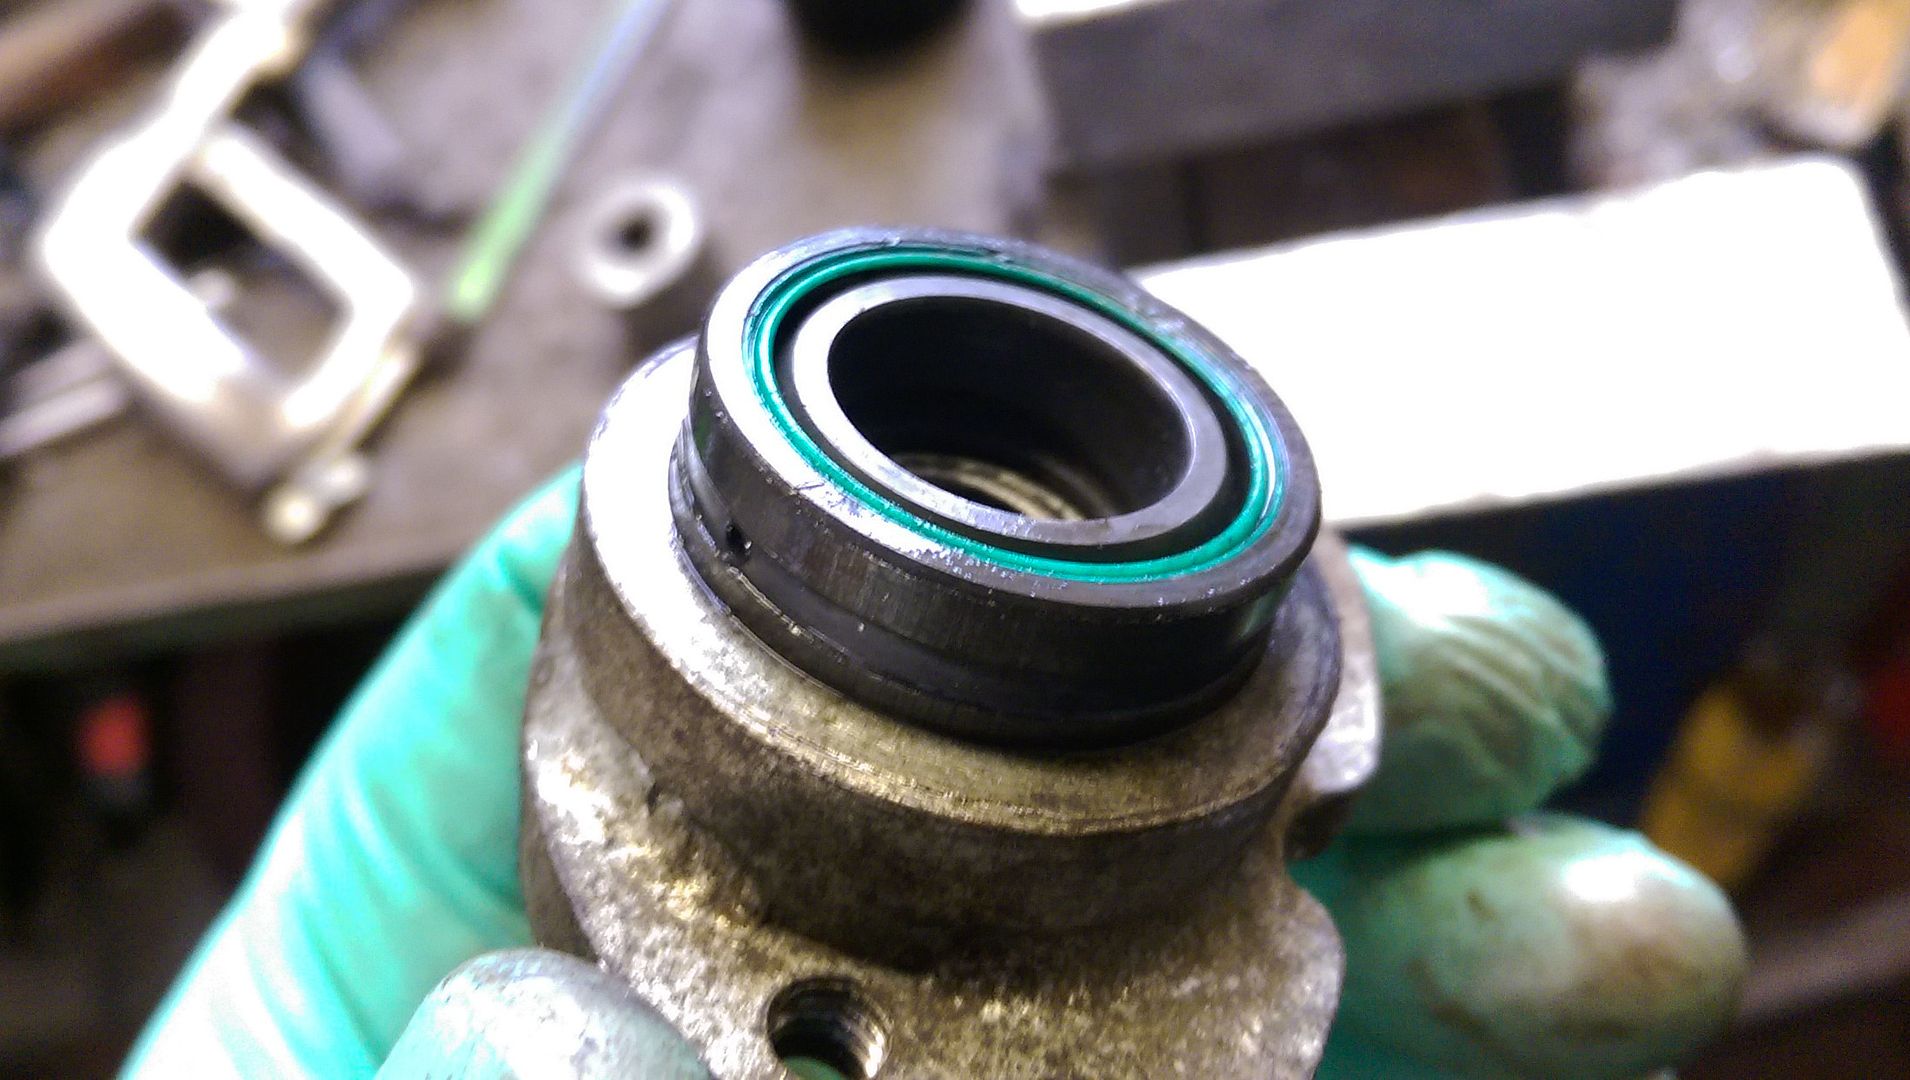
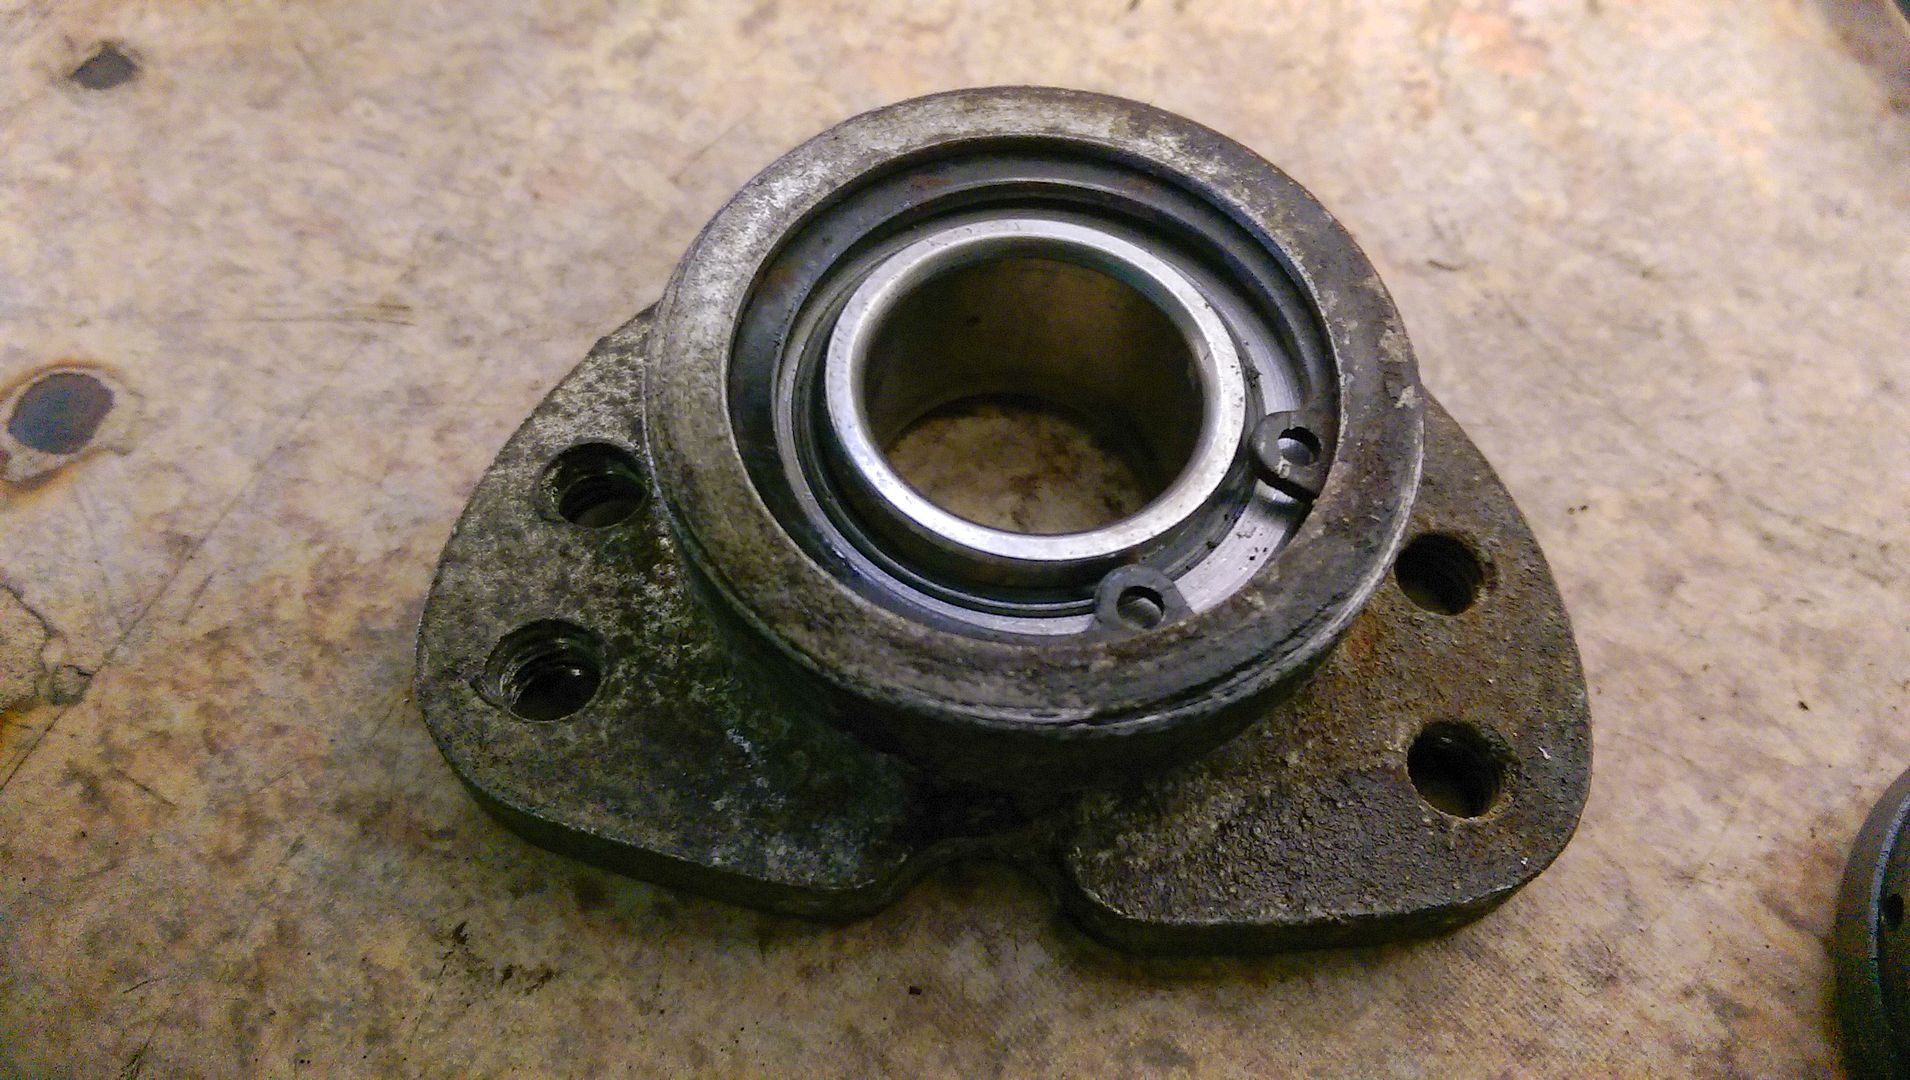
Old bearing is a different design with oil grooves and seals... was pretty worn...
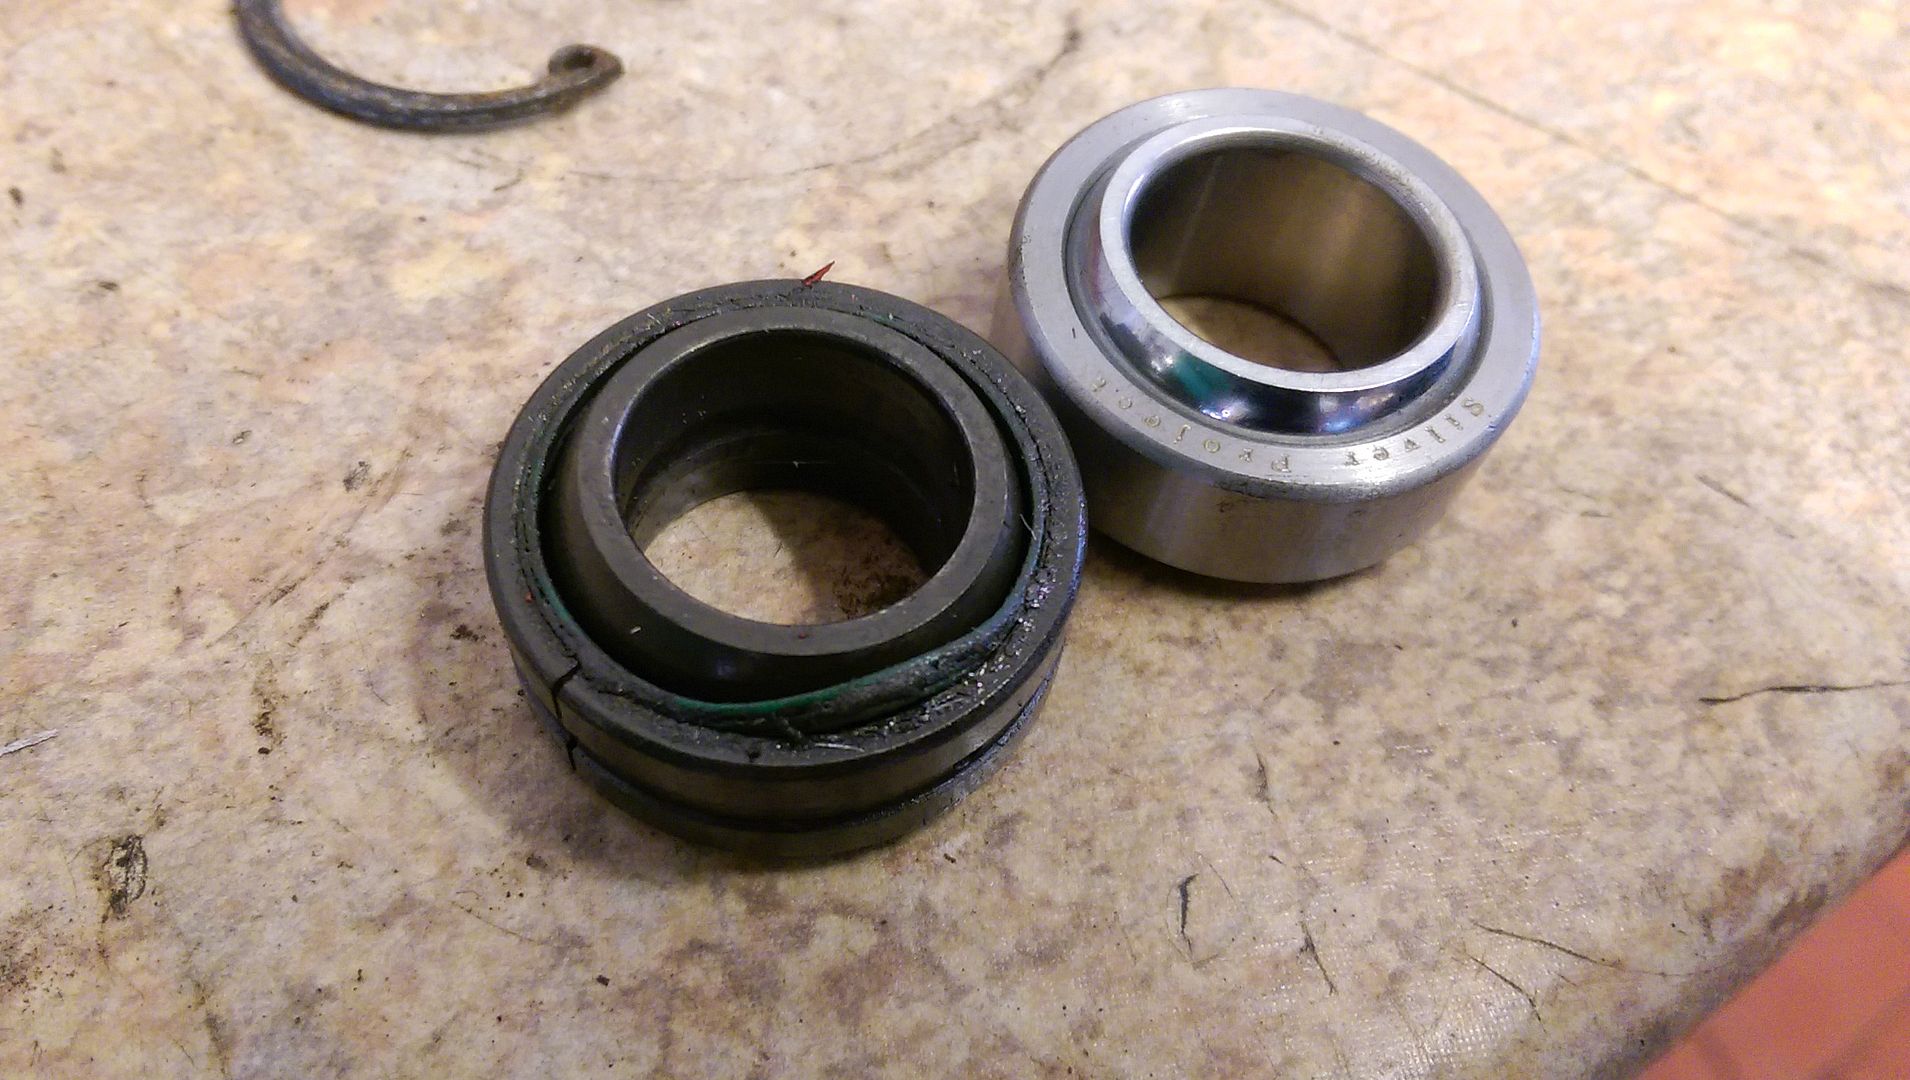
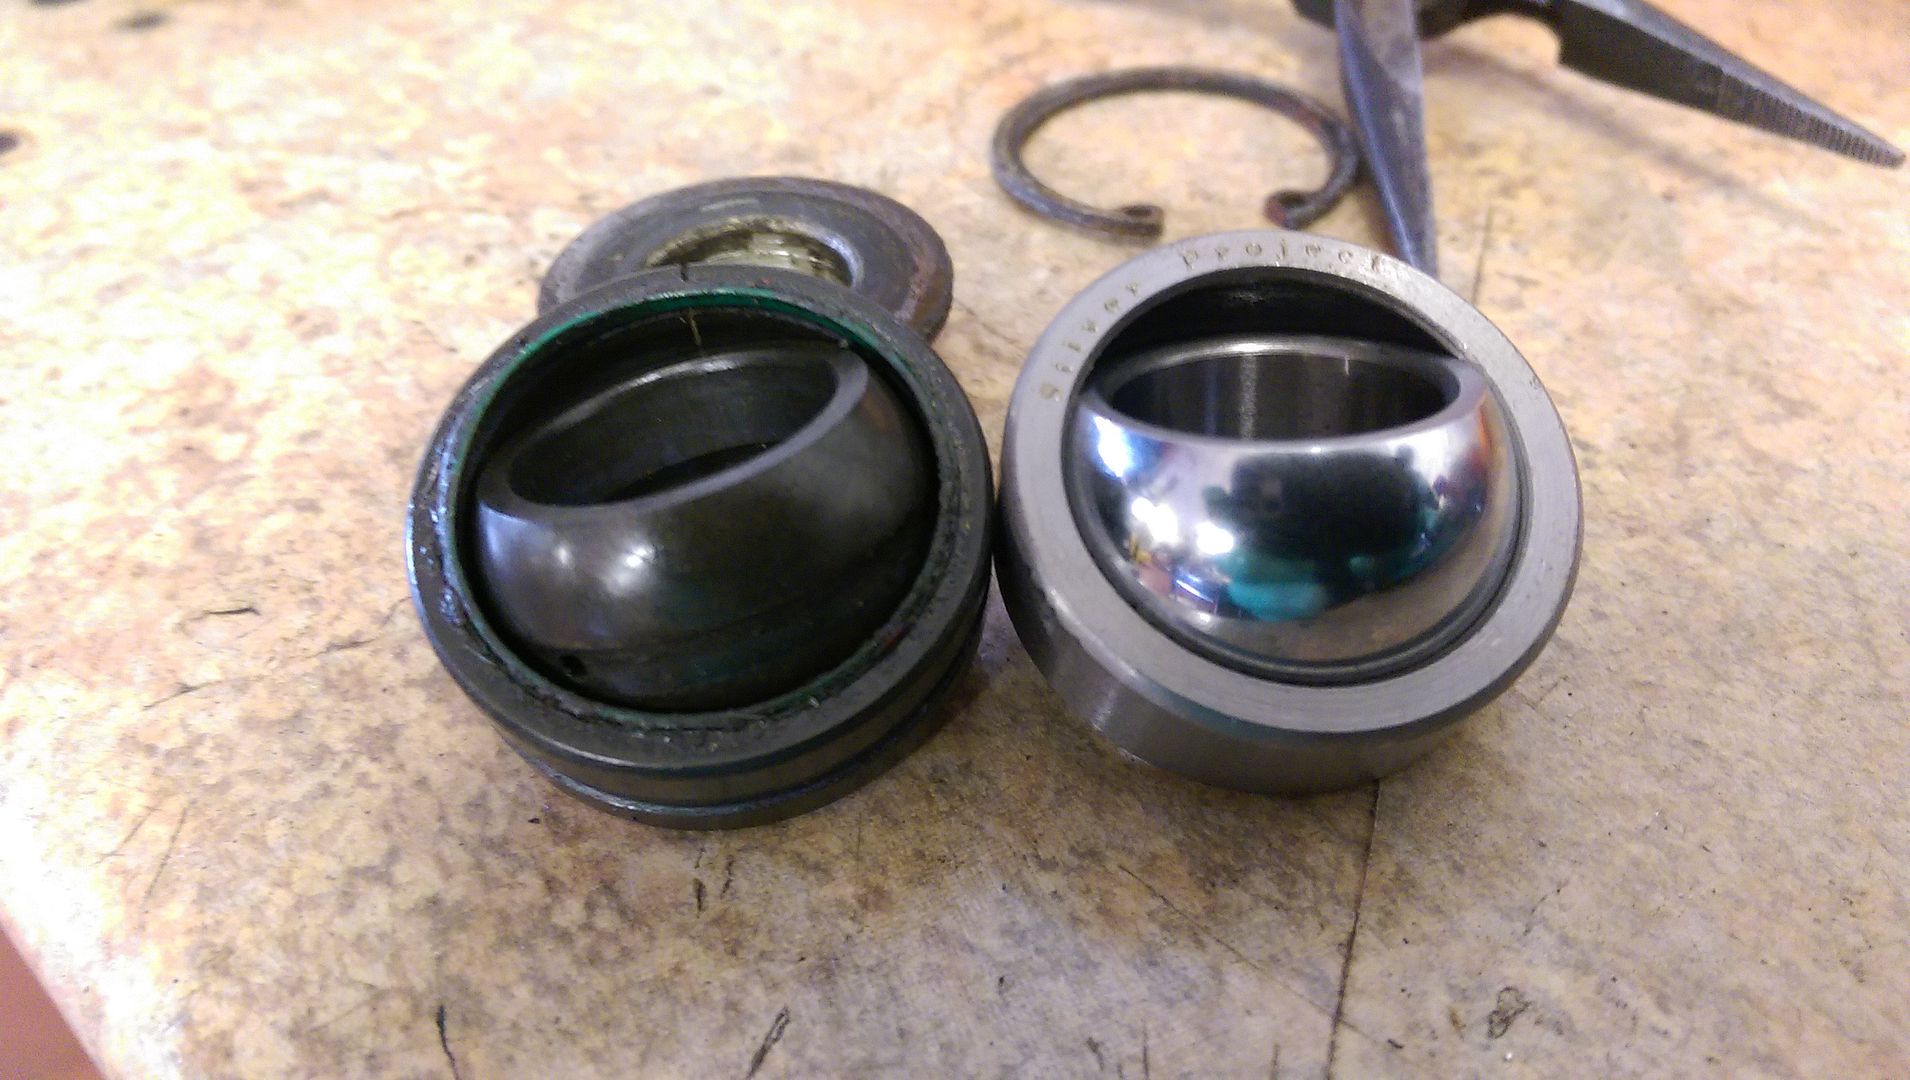
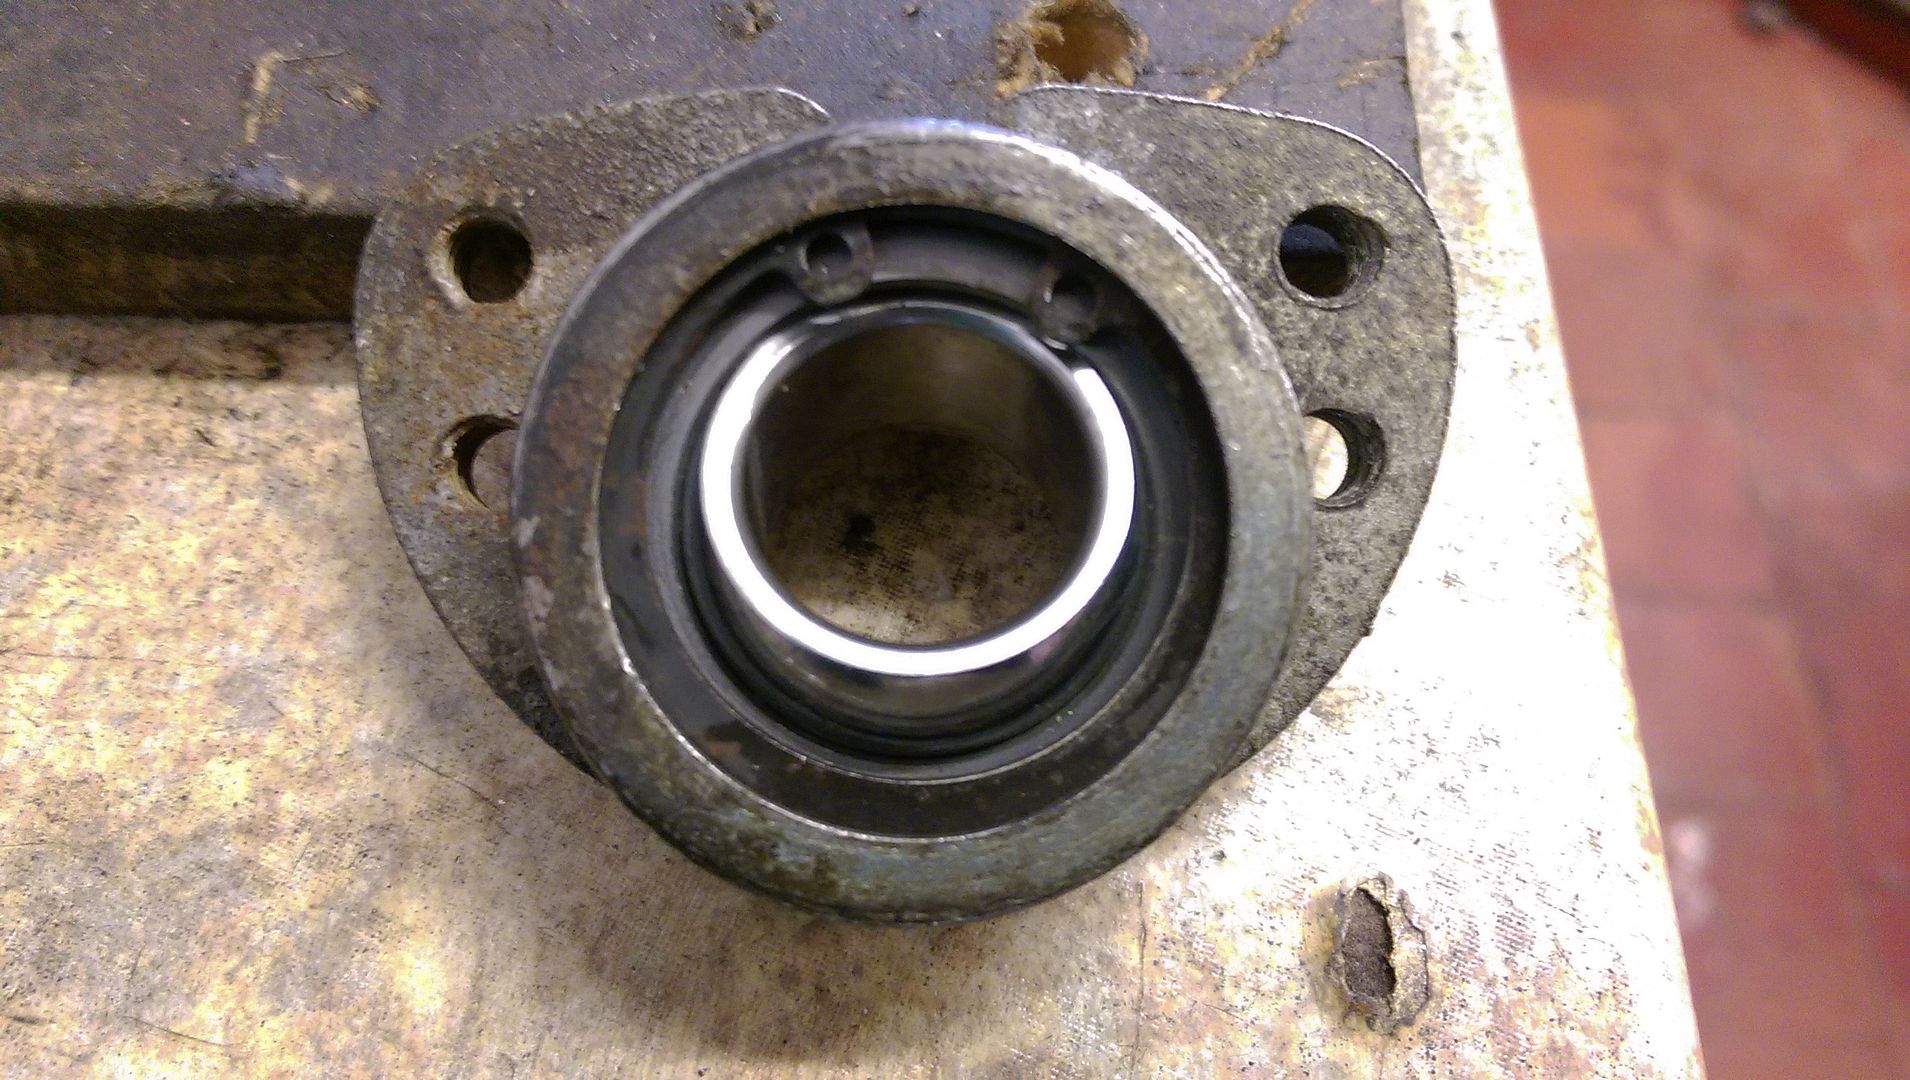
Pressed in the new bearings...
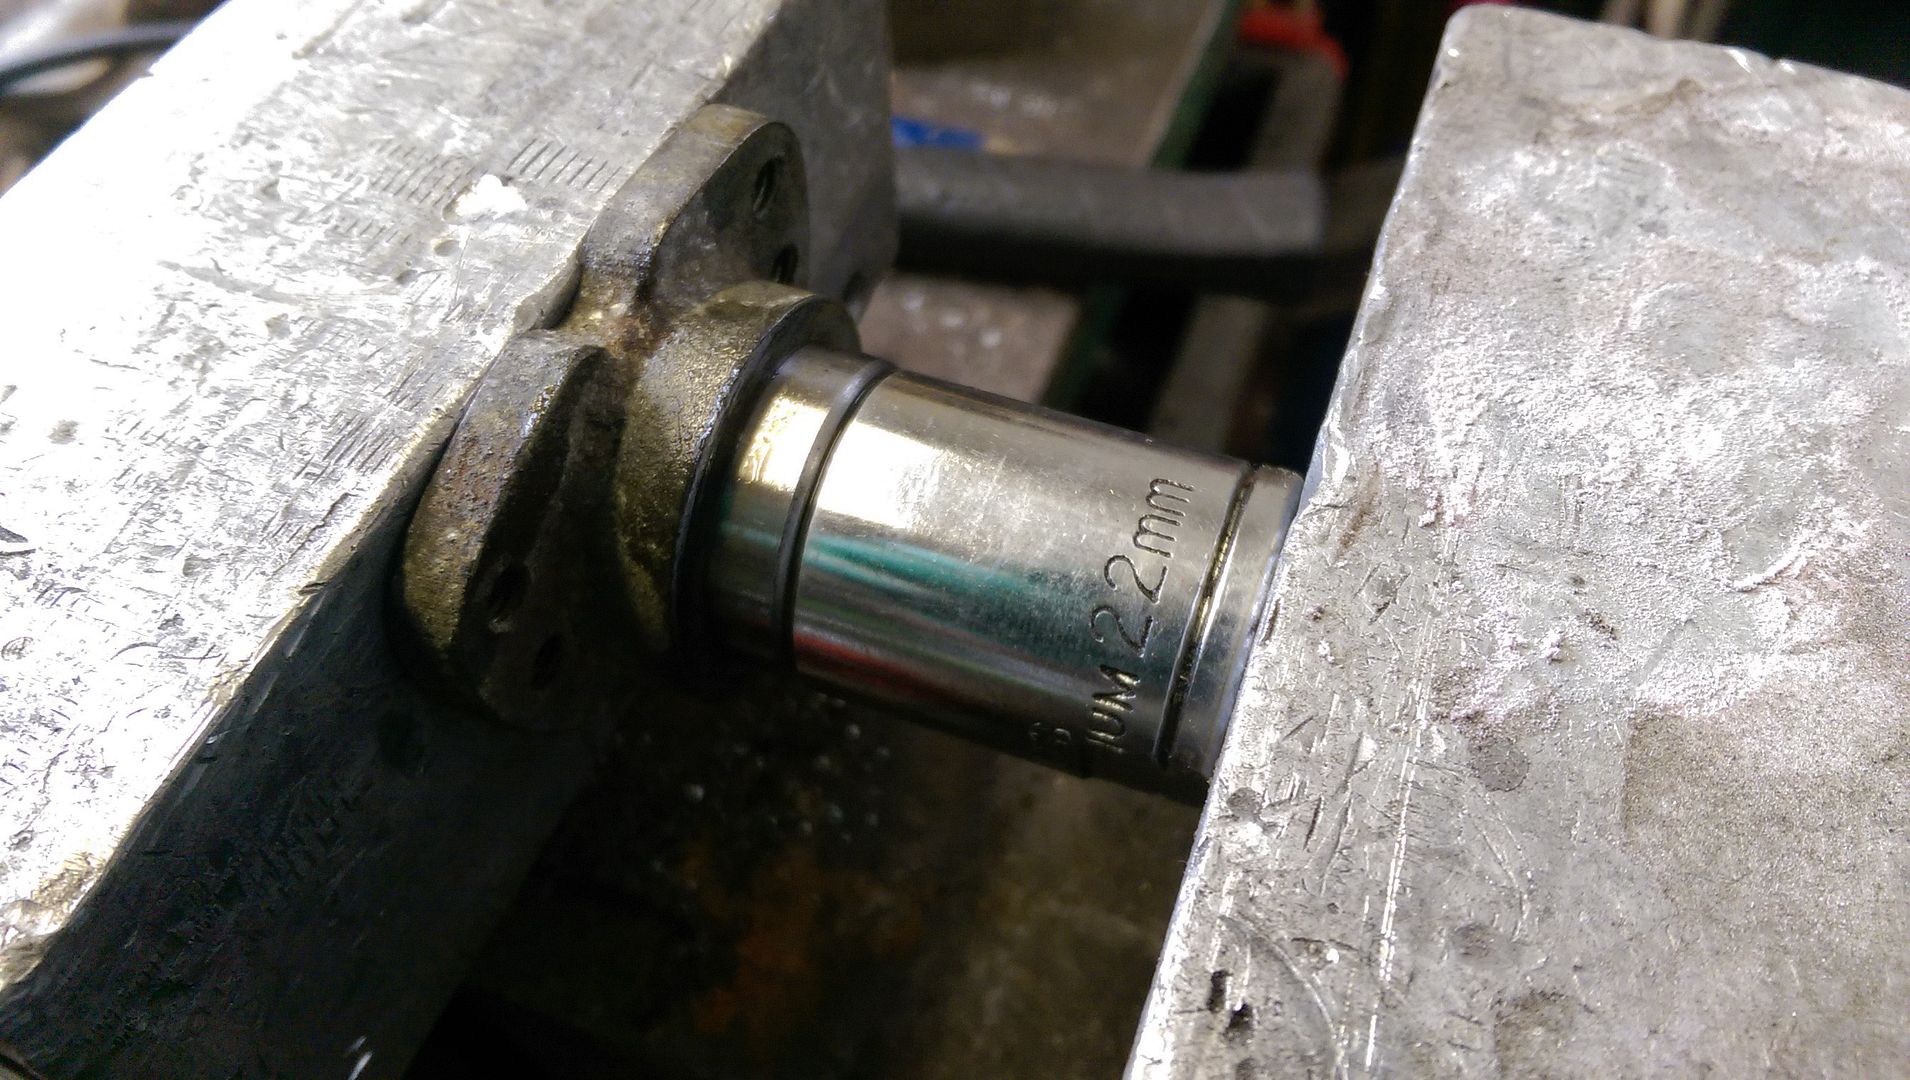
Circlip was a little close on one of the fittings so will take this up with Silver Project
I also refitted the OE bearings... had a chat with Prawn about this when I first fitted them and he said he used the OE bearings to prevent the springs from winding up... this manifests as a twanging noise when you turn the steering wheel...
Refitted the struts back on the car and checked the alignment... can say the steering feels smoother and a little lighter to turn...
One job less to do...
In other news... cams were paid for today so will be fitting them as soon as I can find a bit of time
<tuffty/>
Pressed them out...
Old bearing is a different design with oil grooves and seals... was pretty worn...
Pressed in the new bearings...
Circlip was a little close on one of the fittings so will take this up with Silver Project
I also refitted the OE bearings... had a chat with Prawn about this when I first fitted them and he said he used the OE bearings to prevent the springs from winding up... this manifests as a twanging noise when you turn the steering wheel...
Refitted the struts back on the car and checked the alignment... can say the steering feels smoother and a little lighter to turn...
One job less to do...
In other news... cams were paid for today so will be fitting them as soon as I can find a bit of time
<tuffty/>
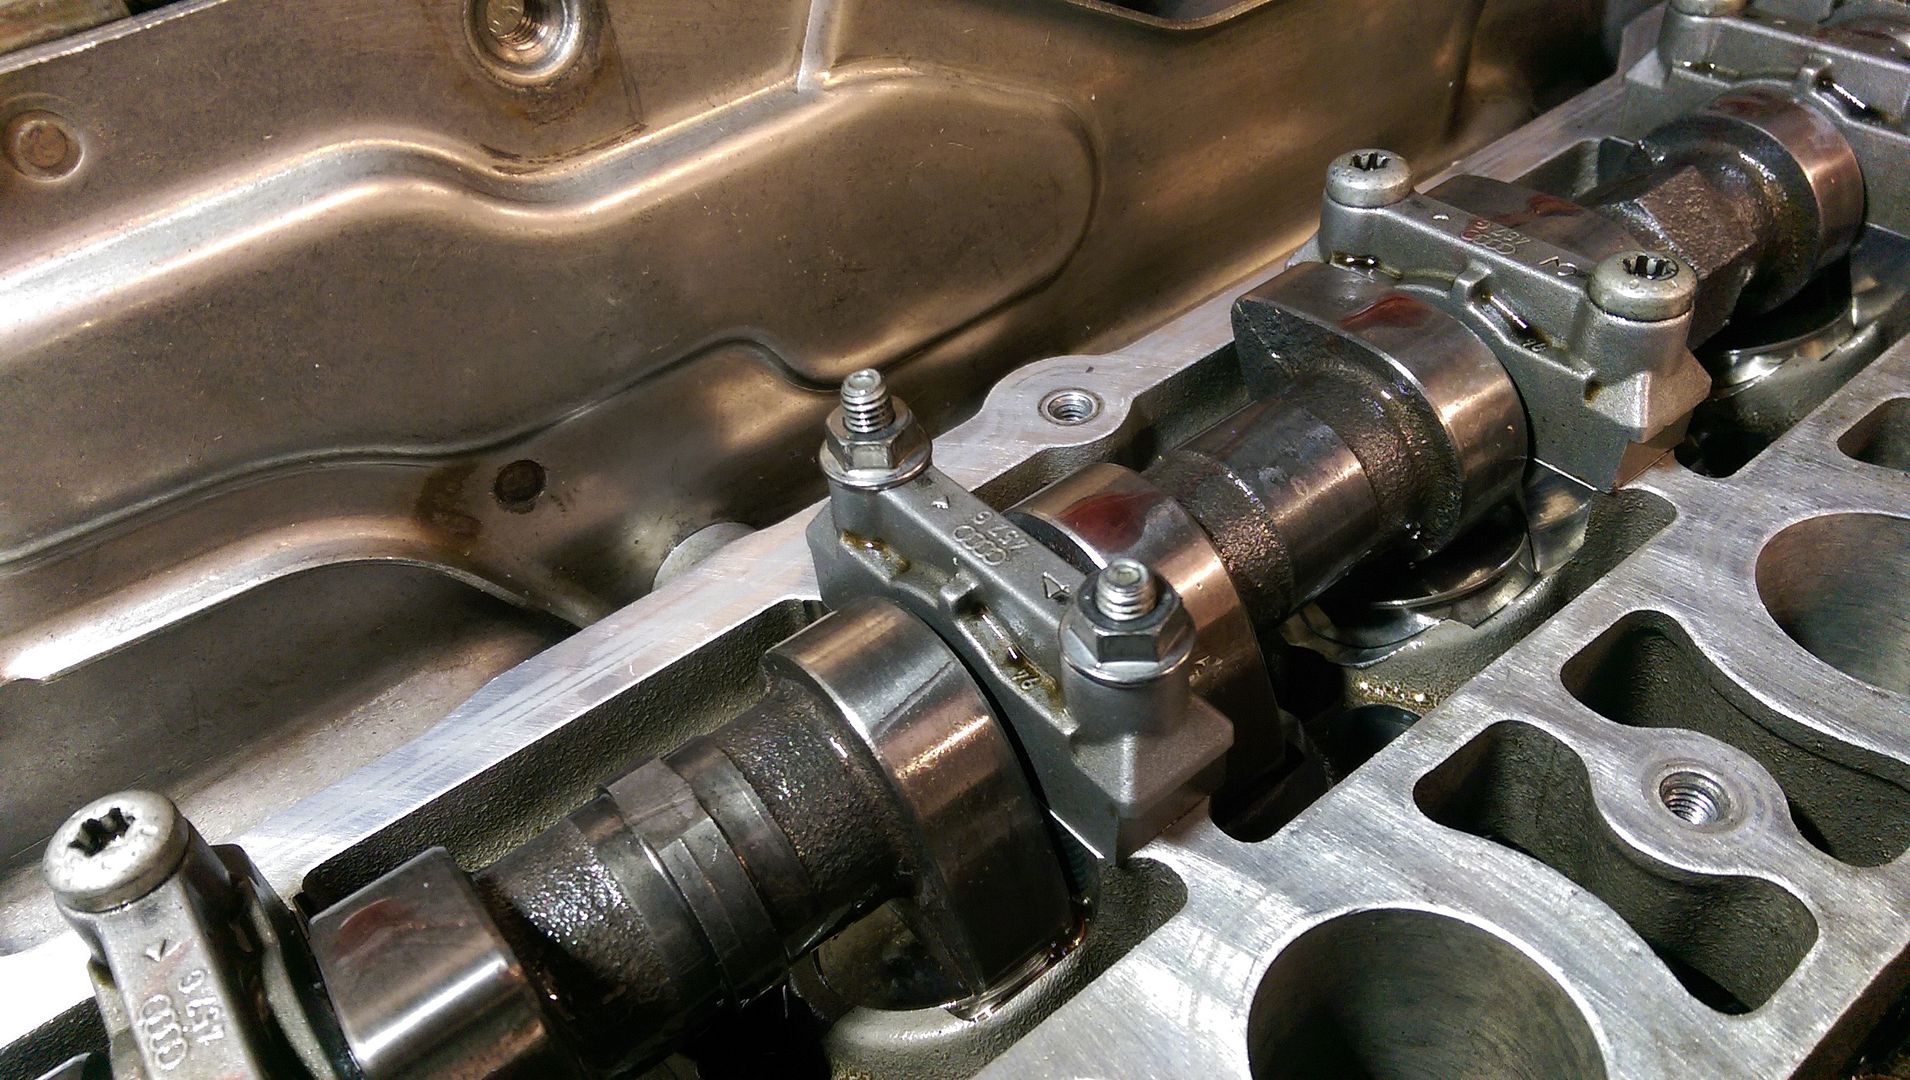
So today started like this....
....then this happened...
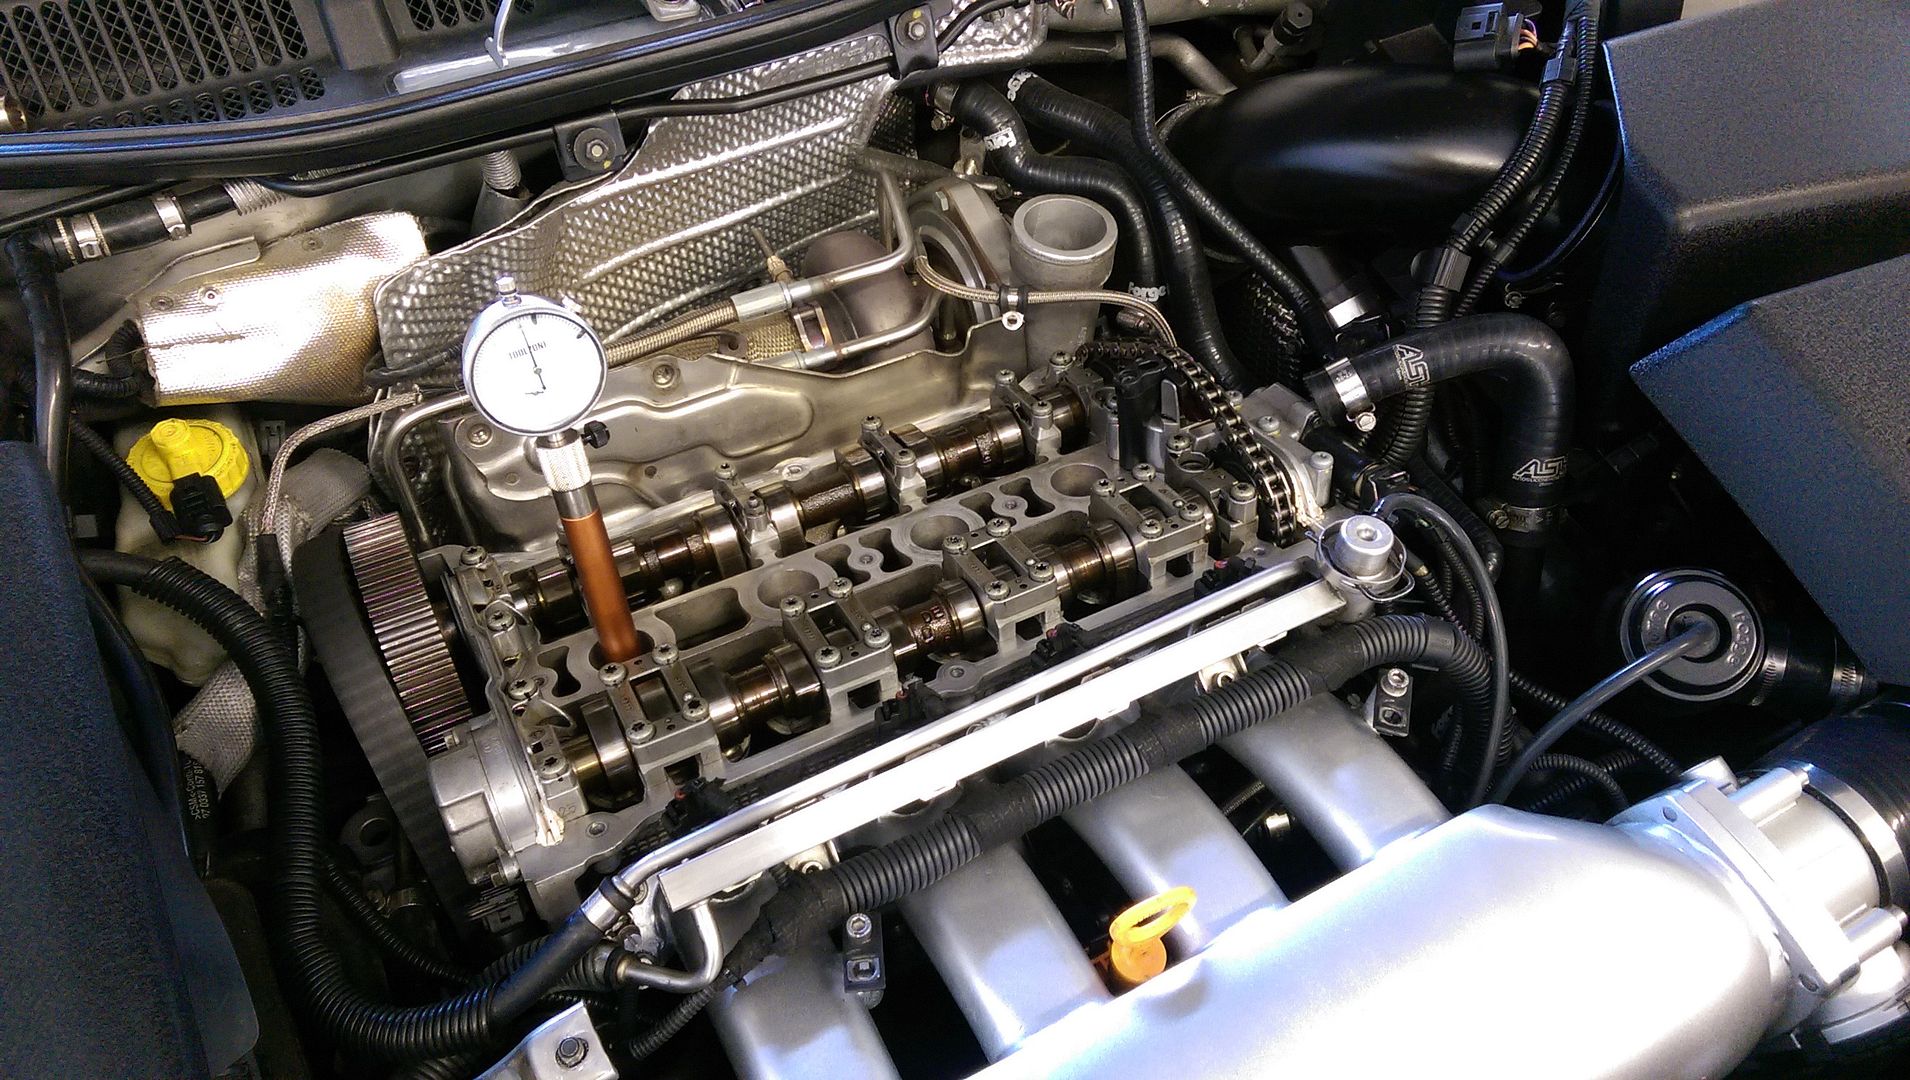
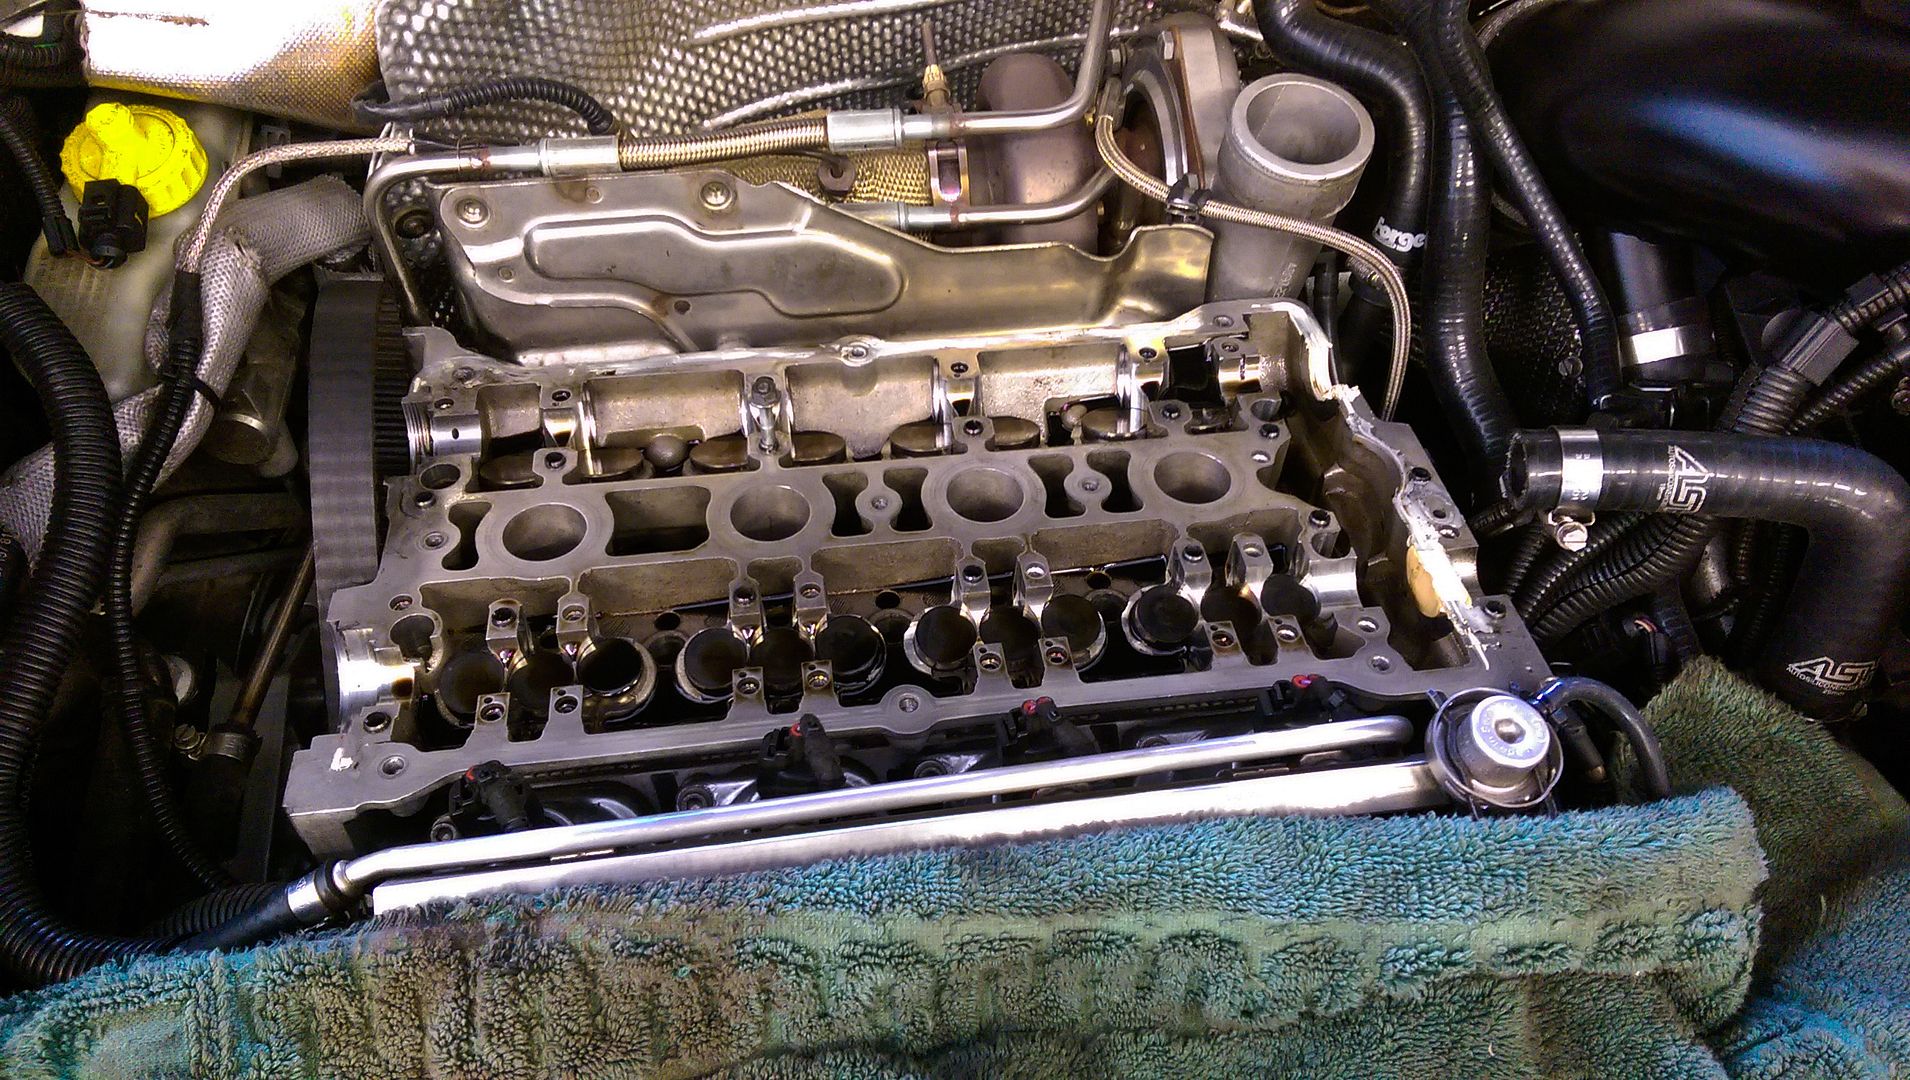
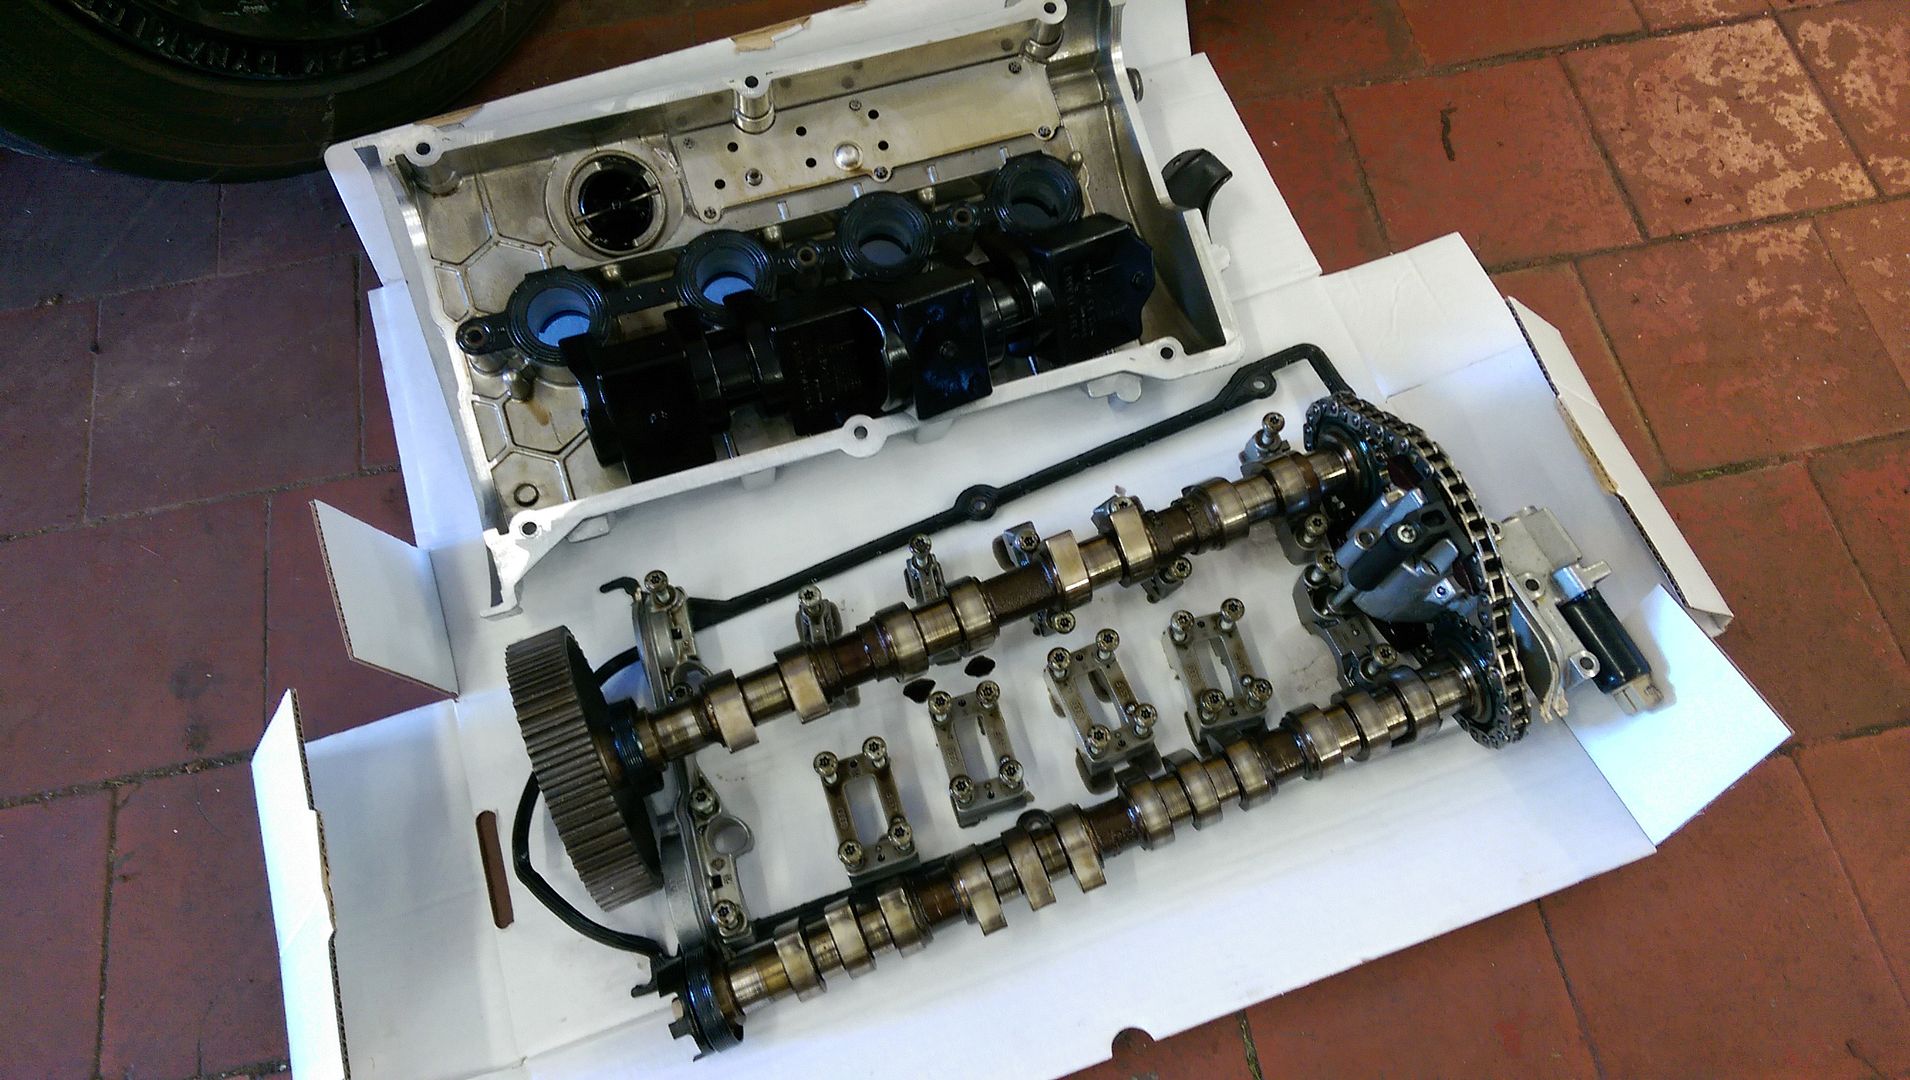
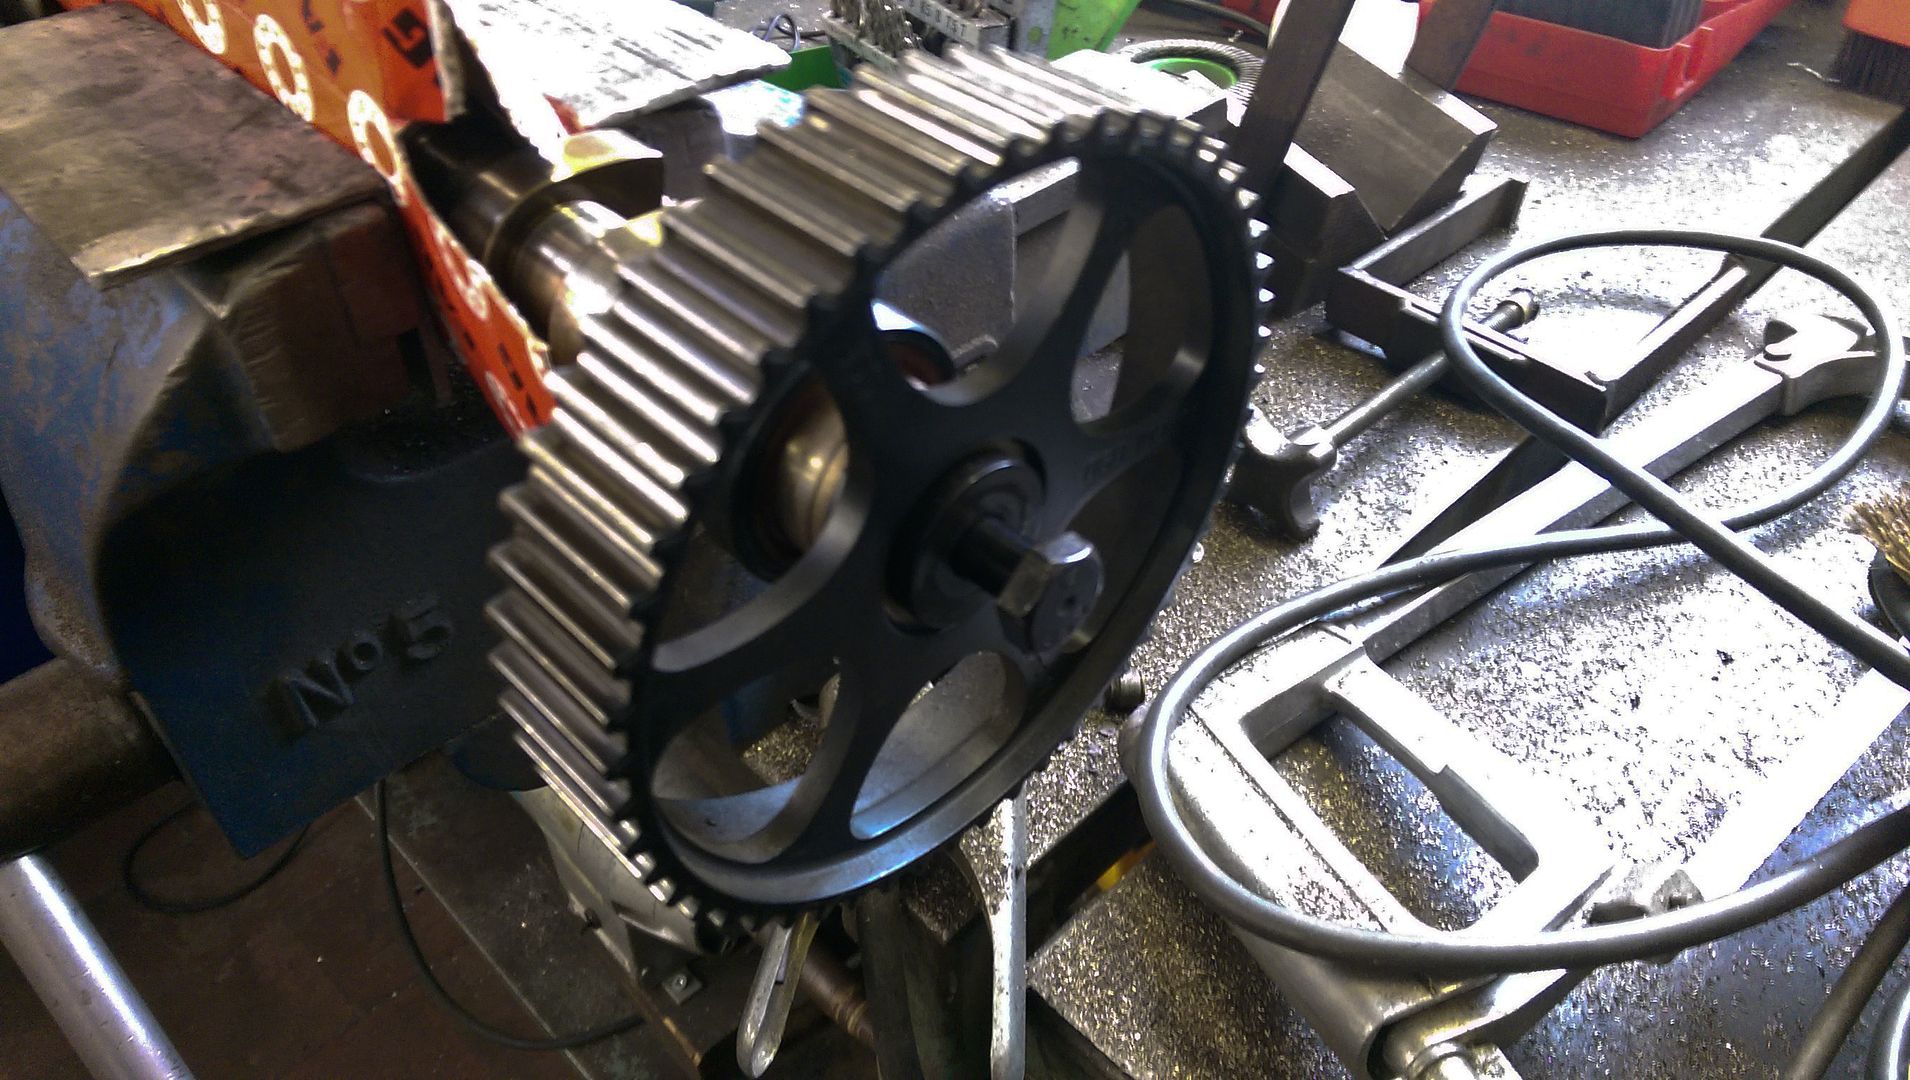
Swapped the cam position sensor wheel and cam pulley over... I have an ARP bolt so can reuse it but OE bolts need replacing...
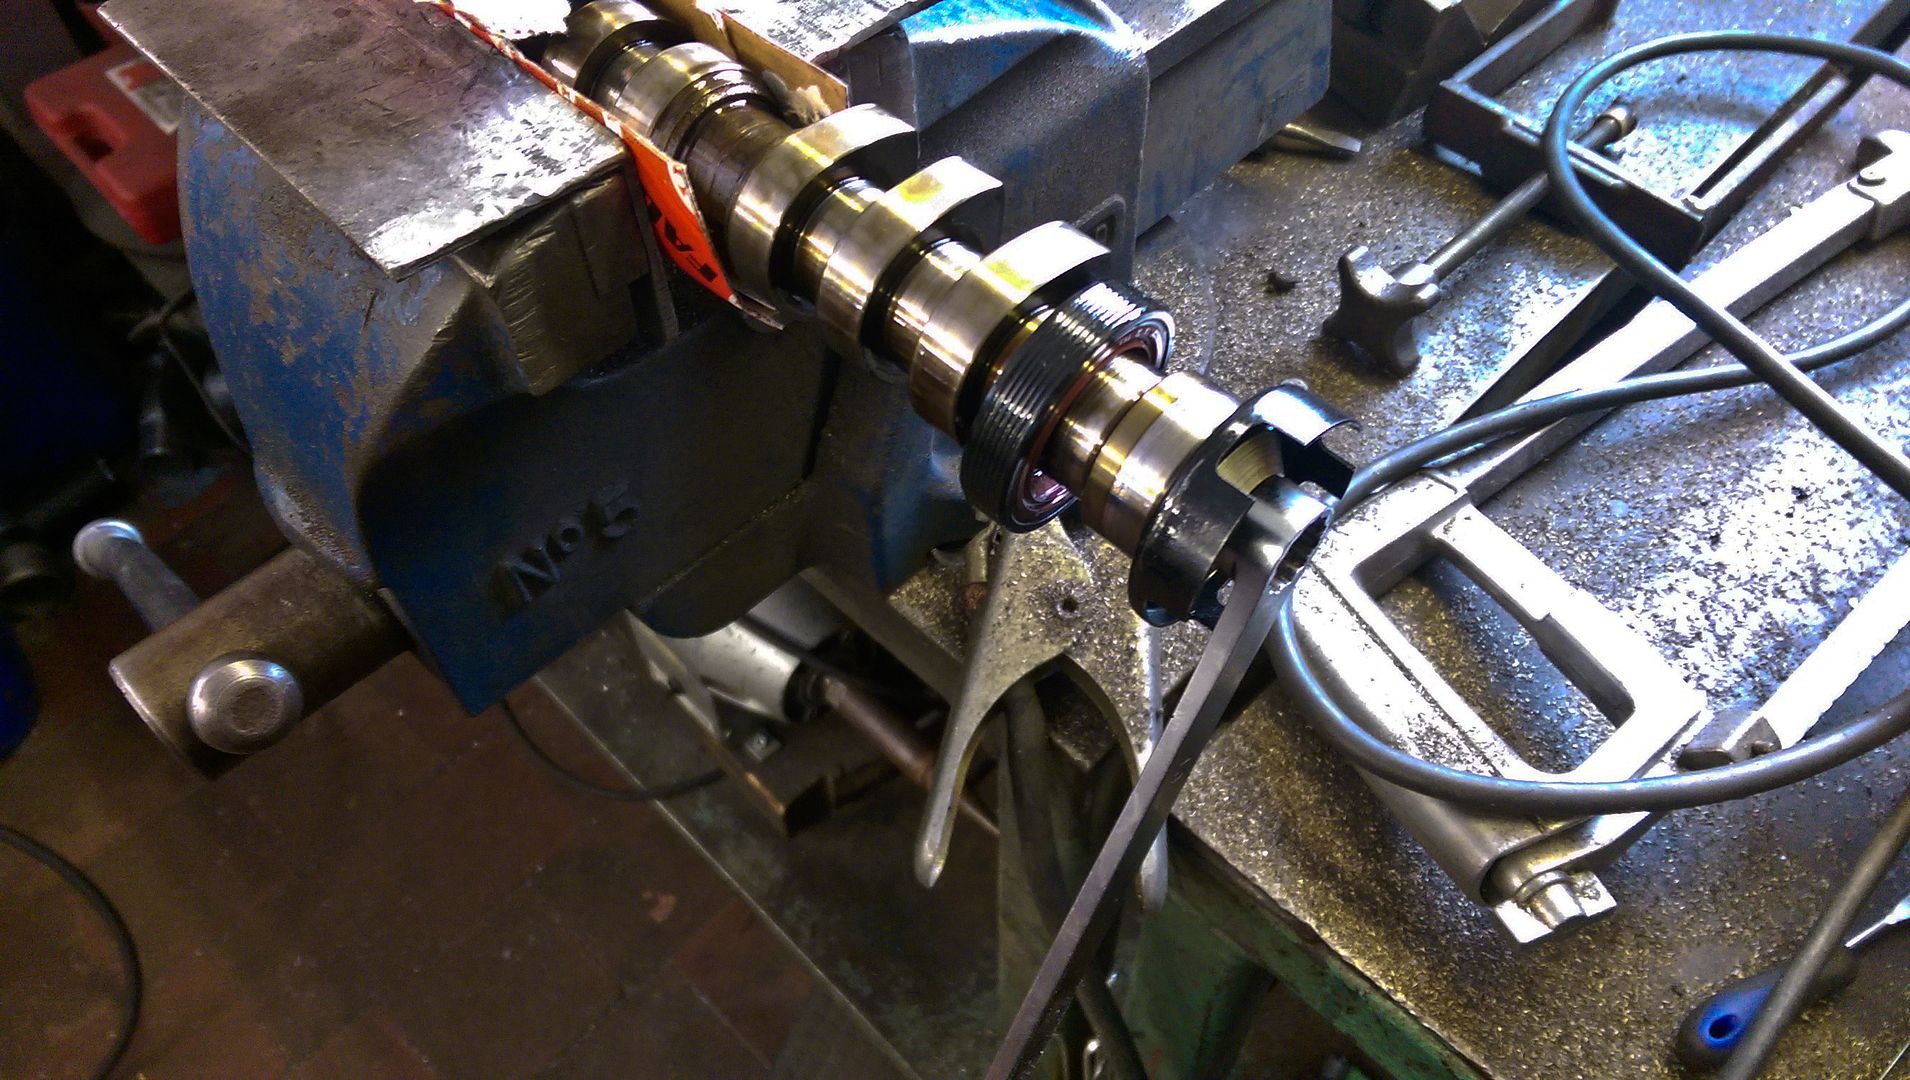
Used new seals and VVT gasket...
Cleaned up the chain and VVT unit ready to put back in the head...
...then as things appeared to be going sooooo well she fought me again lol...

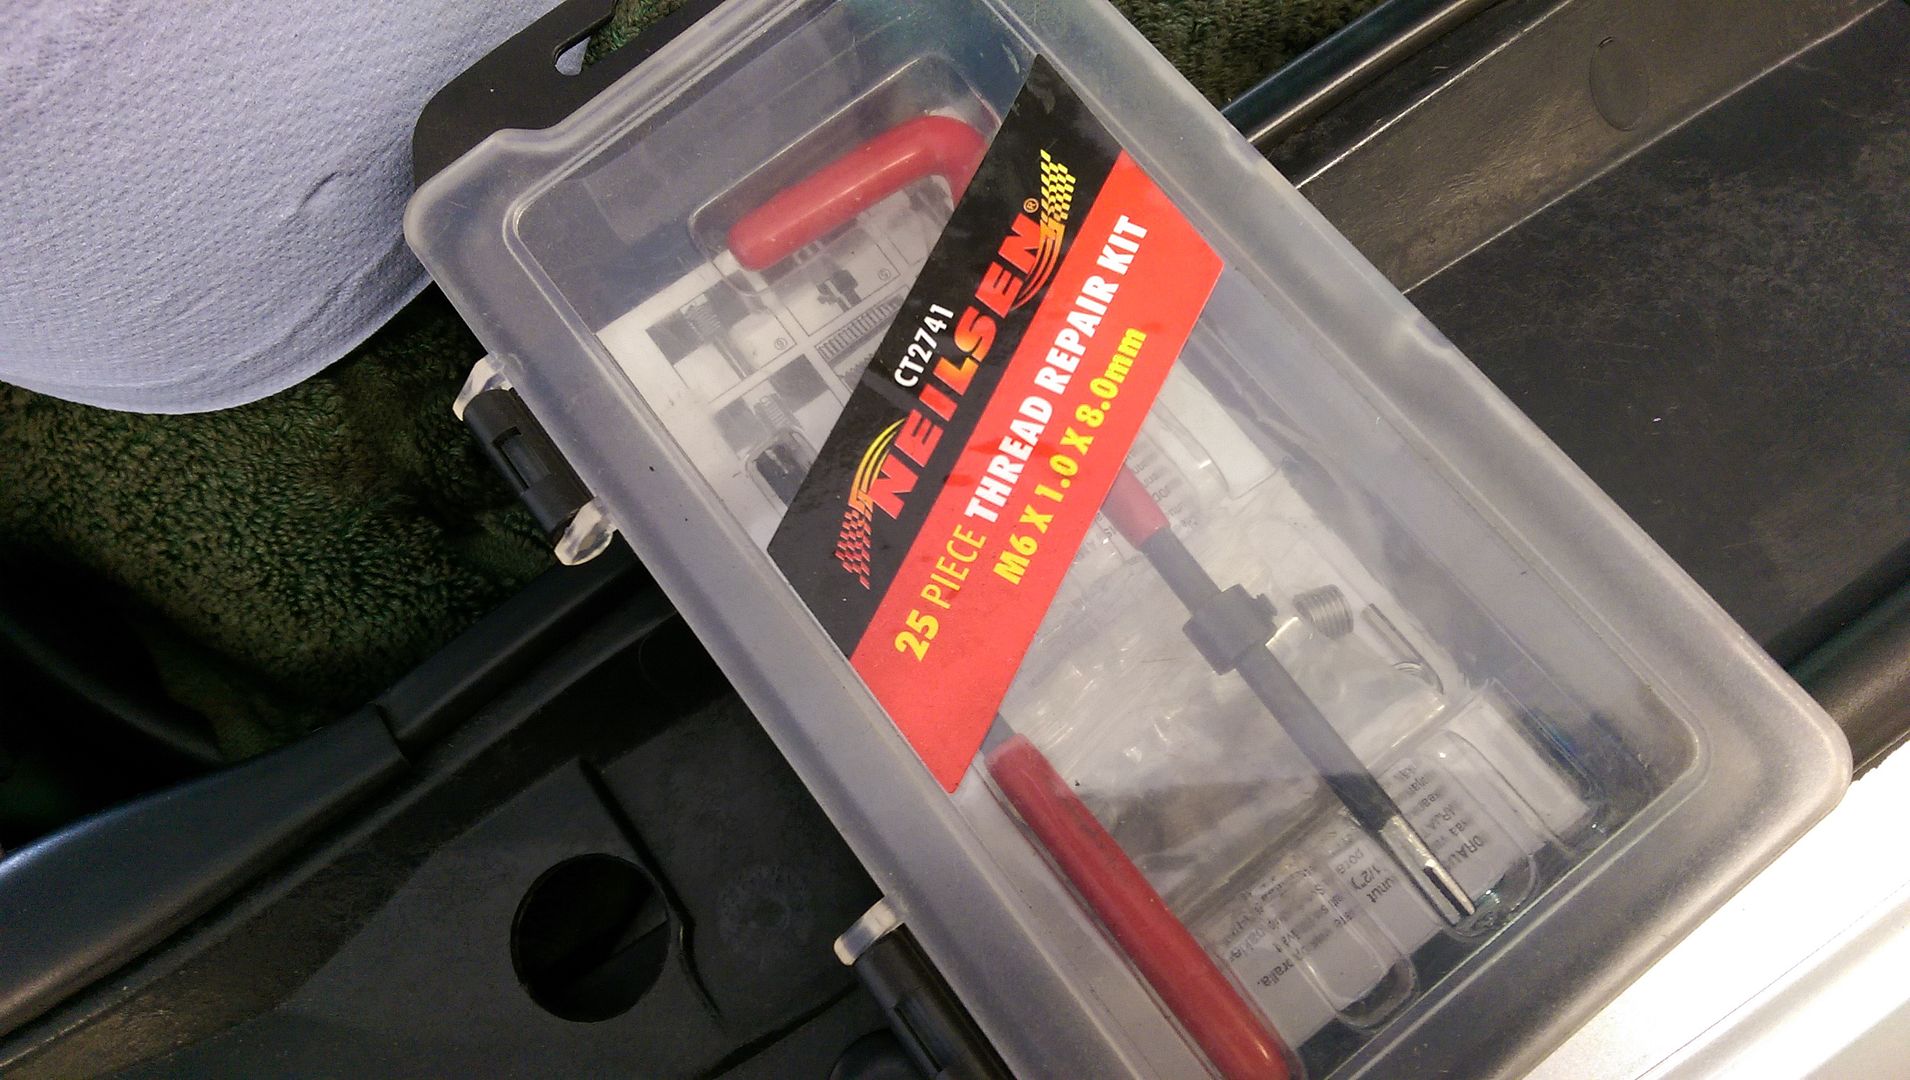
...so out came the life saving kit again...
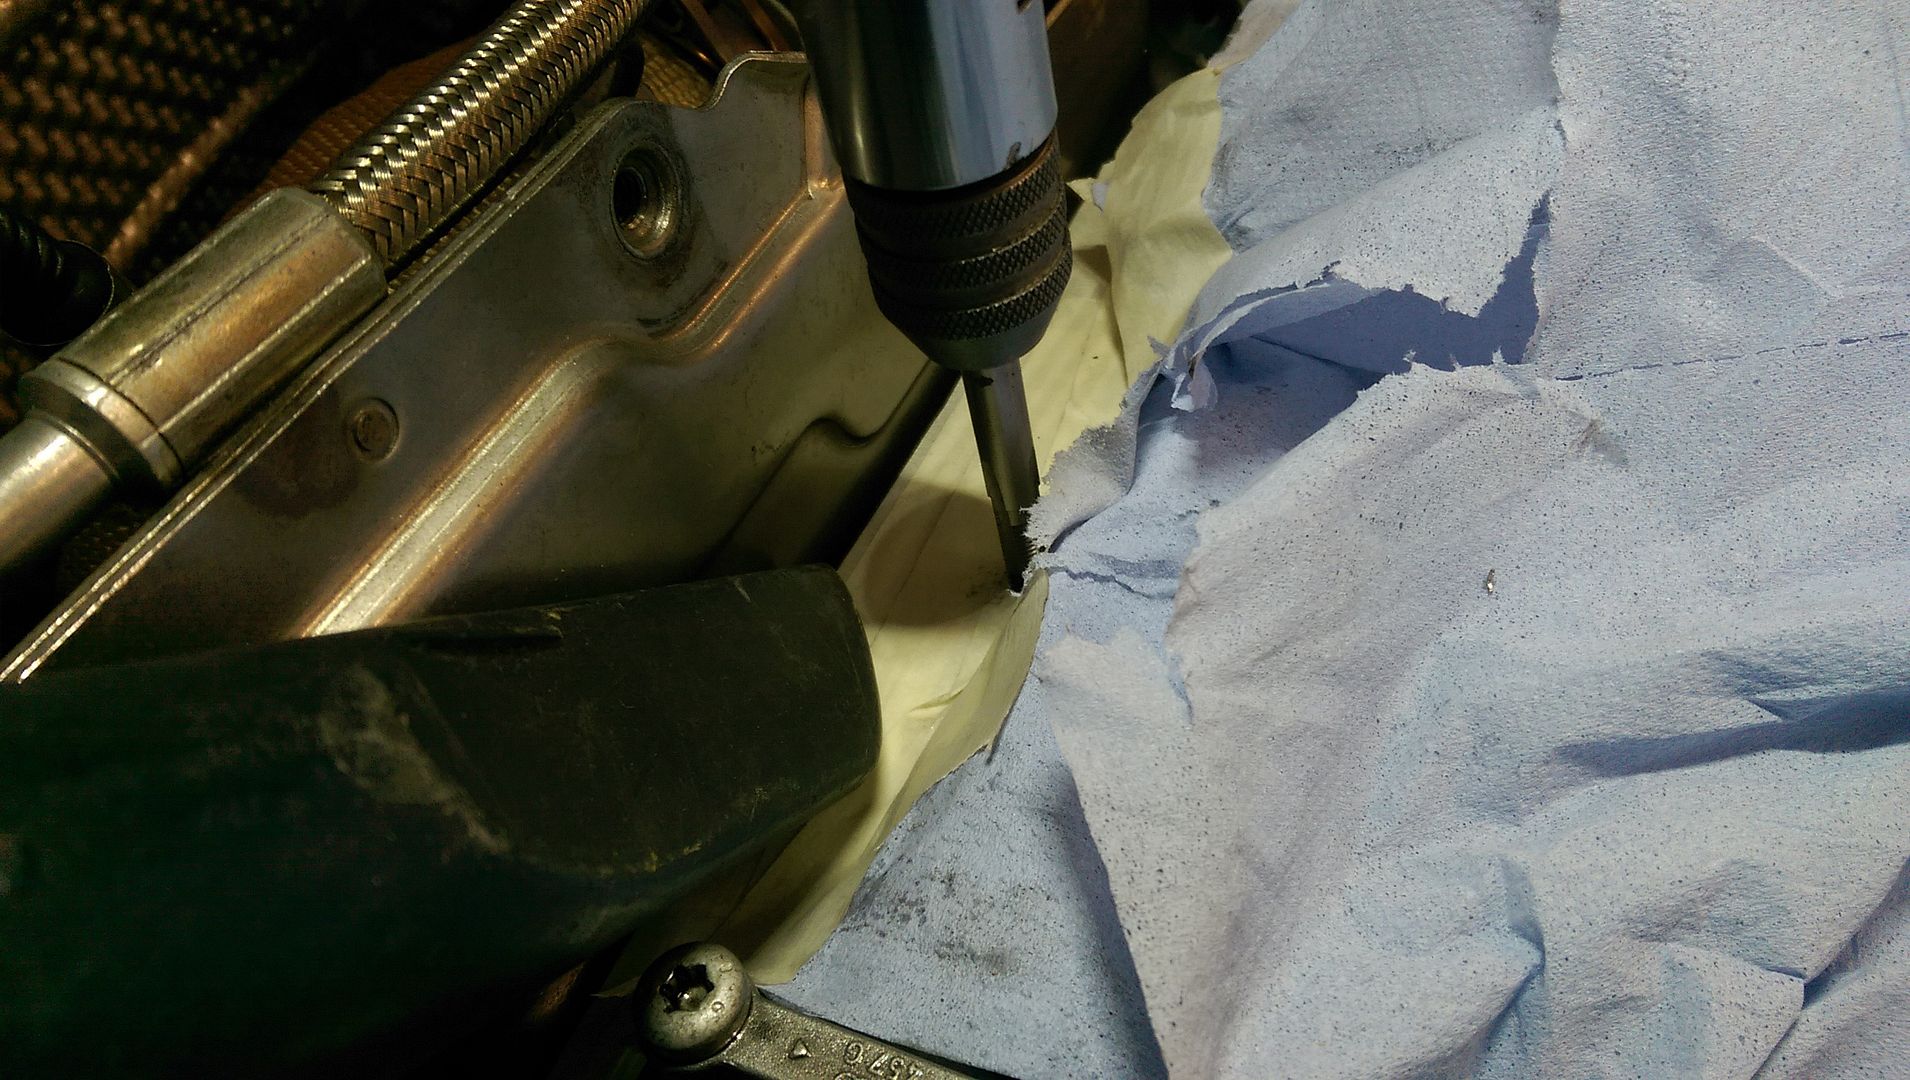
Locktight and a stud like the other one and we are done...
Timed up...
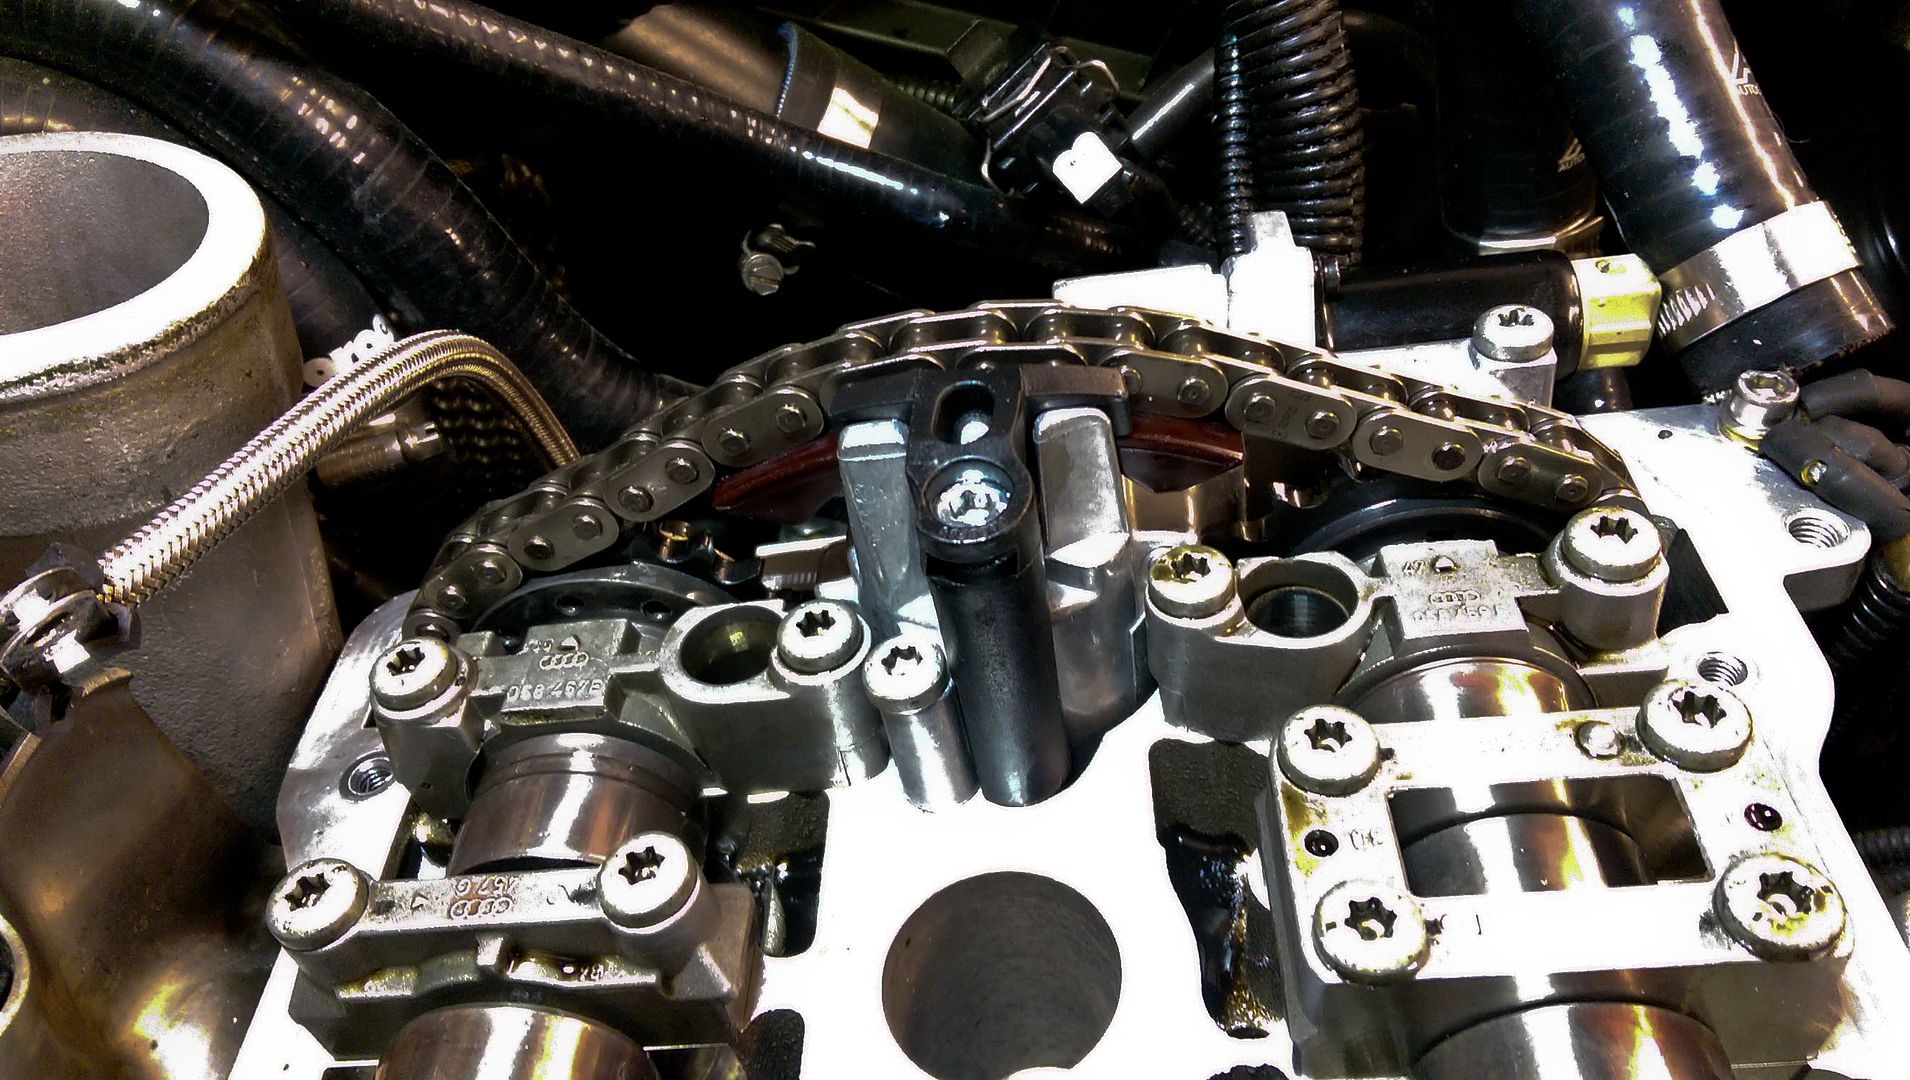
...and all done..
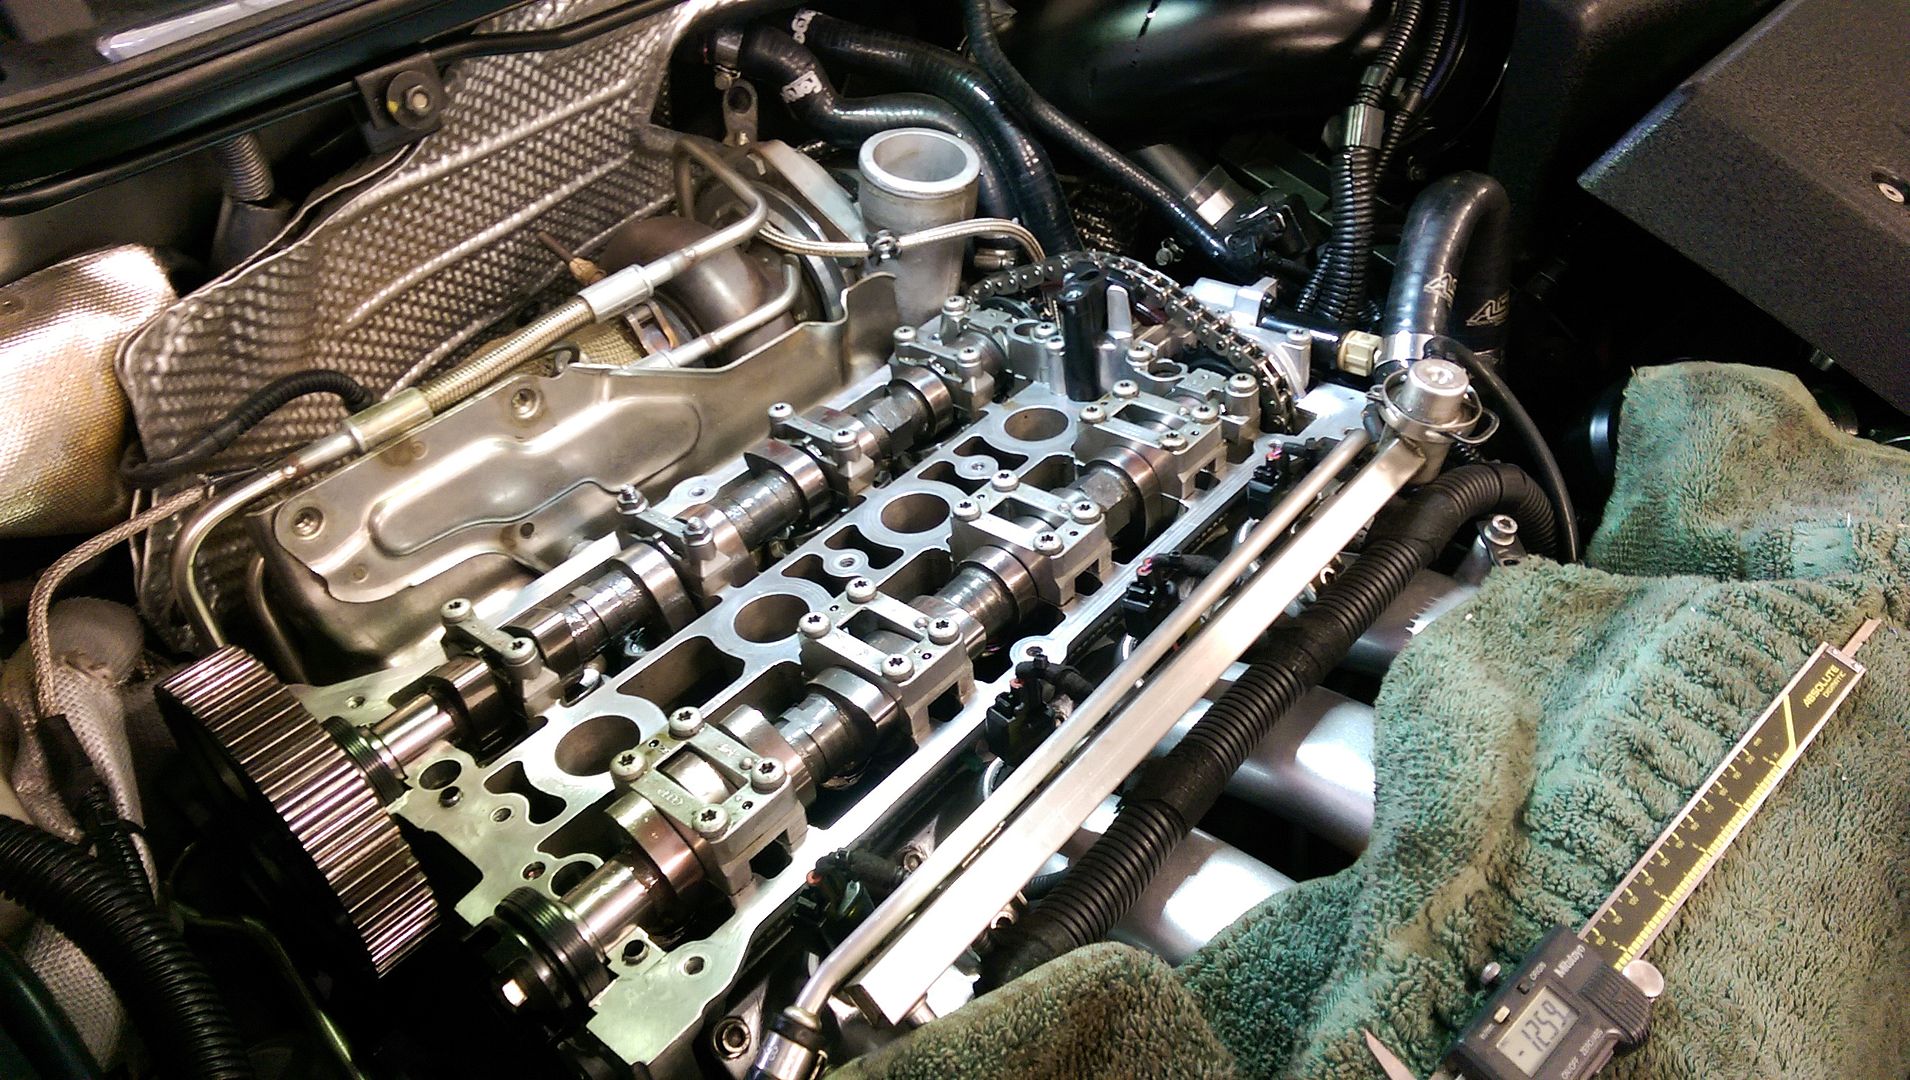
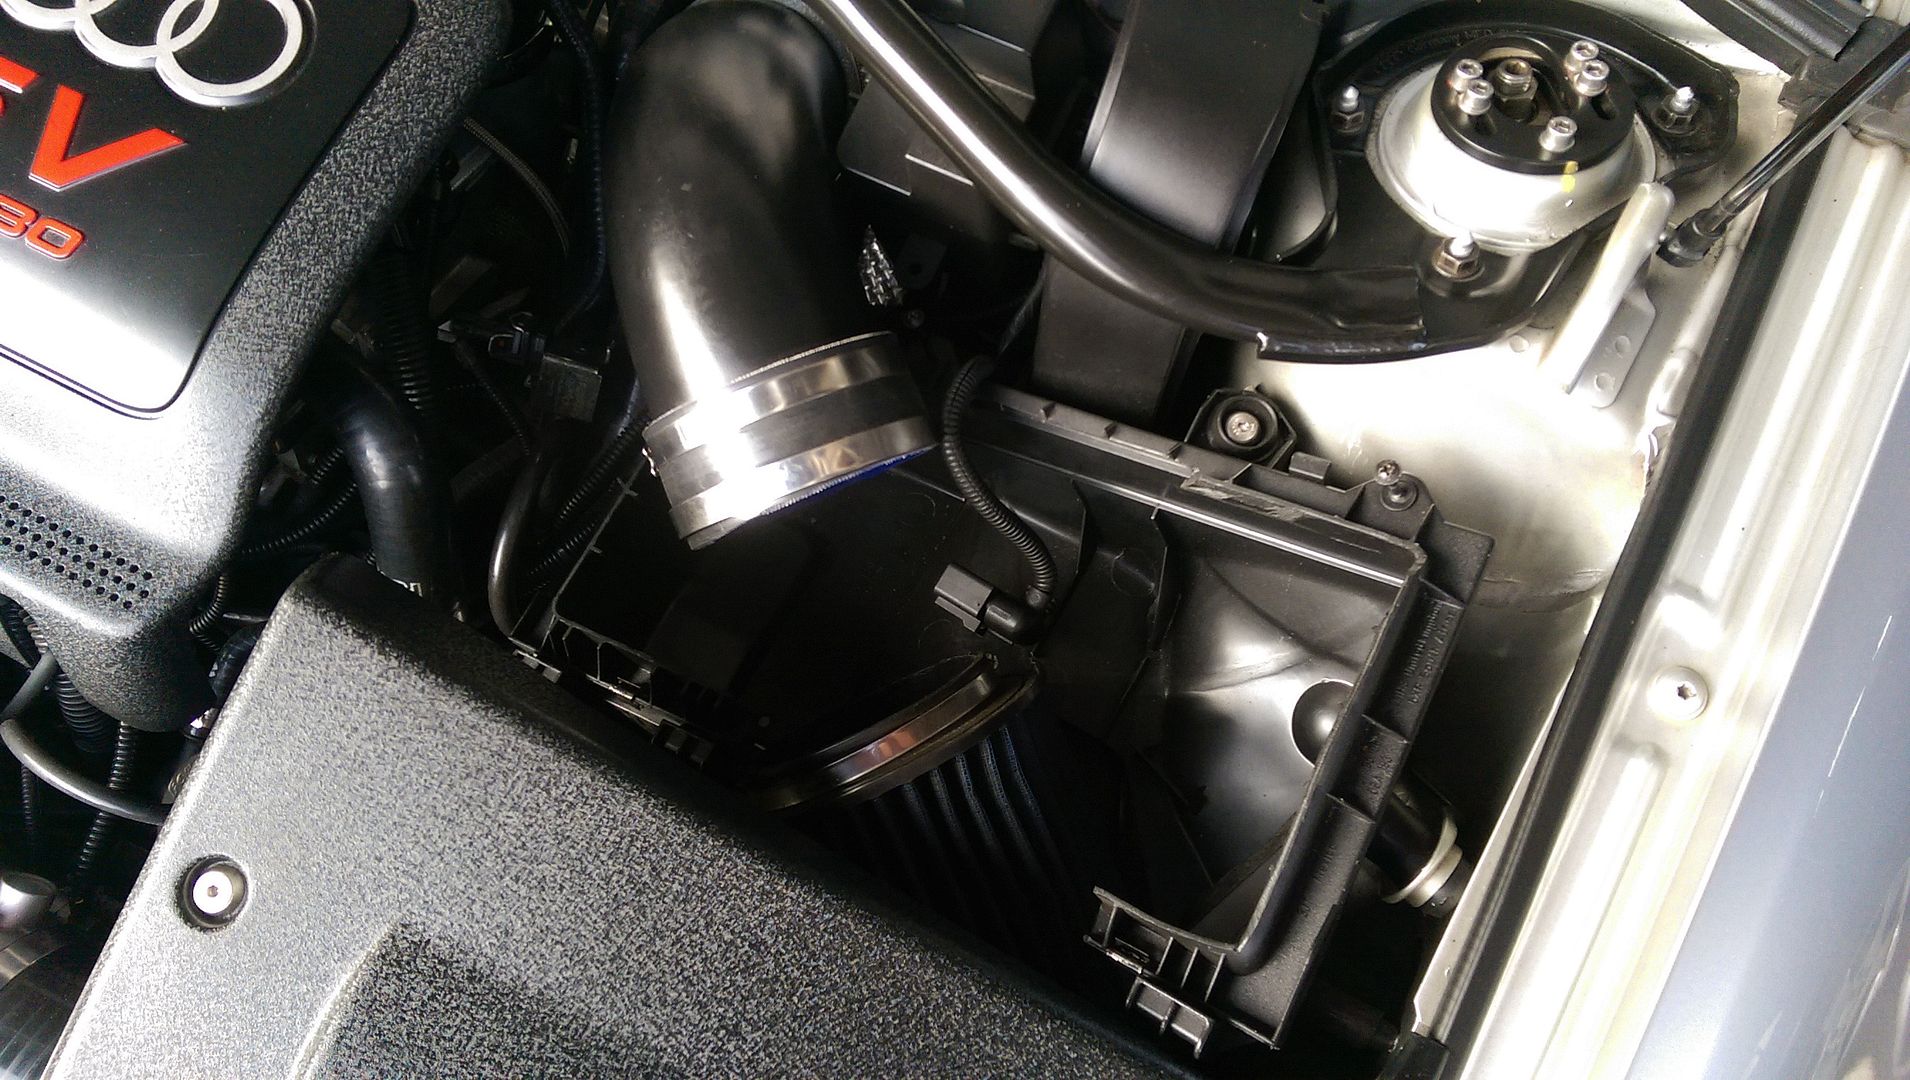
Ran the engine up with the MAF unplugged and charge pipe off to make sure there were no issues or codes... then put her all back together again...
The drive home was interesting... Idle is no different... Boost has dropped as expected (open loop boost control)... Feels no less powerful despite running less than 1.5 bar... seems no less drivable than before...
If anything she feels more 'eager'... a third gear overtake felt smooth and relentless... should be interesting when she is knocking on the door of 2bar again
<tuffty/>
....then this happened...
Swapped the cam position sensor wheel and cam pulley over... I have an ARP bolt so can reuse it but OE bolts need replacing...
Used new seals and VVT gasket...
Cleaned up the chain and VVT unit ready to put back in the head...
...then as things appeared to be going sooooo well she fought me again lol...
...so out came the life saving kit again...
Locktight and a stud like the other one and we are done...
Timed up...
...and all done..
Ran the engine up with the MAF unplugged and charge pipe off to make sure there were no issues or codes... then put her all back together again...
The drive home was interesting... Idle is no different... Boost has dropped as expected (open loop boost control)... Feels no less powerful despite running less than 1.5 bar... seems no less drivable than before...
If anything she feels more 'eager'... a third gear overtake felt smooth and relentless... should be interesting when she is knocking on the door of 2bar again
<tuffty/>
I have the week off work as I have 15 days to use up before the end of June
Been lovely so far and have been doing a spring detail on the car...
Not sure if its because I have been using the car to go to work on the motorway or not but there was a layer of aweful yellow shizzle over the bottoms of the doors which took some shifting...
But after a bit of elbow grease and a lick over with ultrafina I banged on a few layers of (the now discontinued ) Jeffs Werstat Acrylic
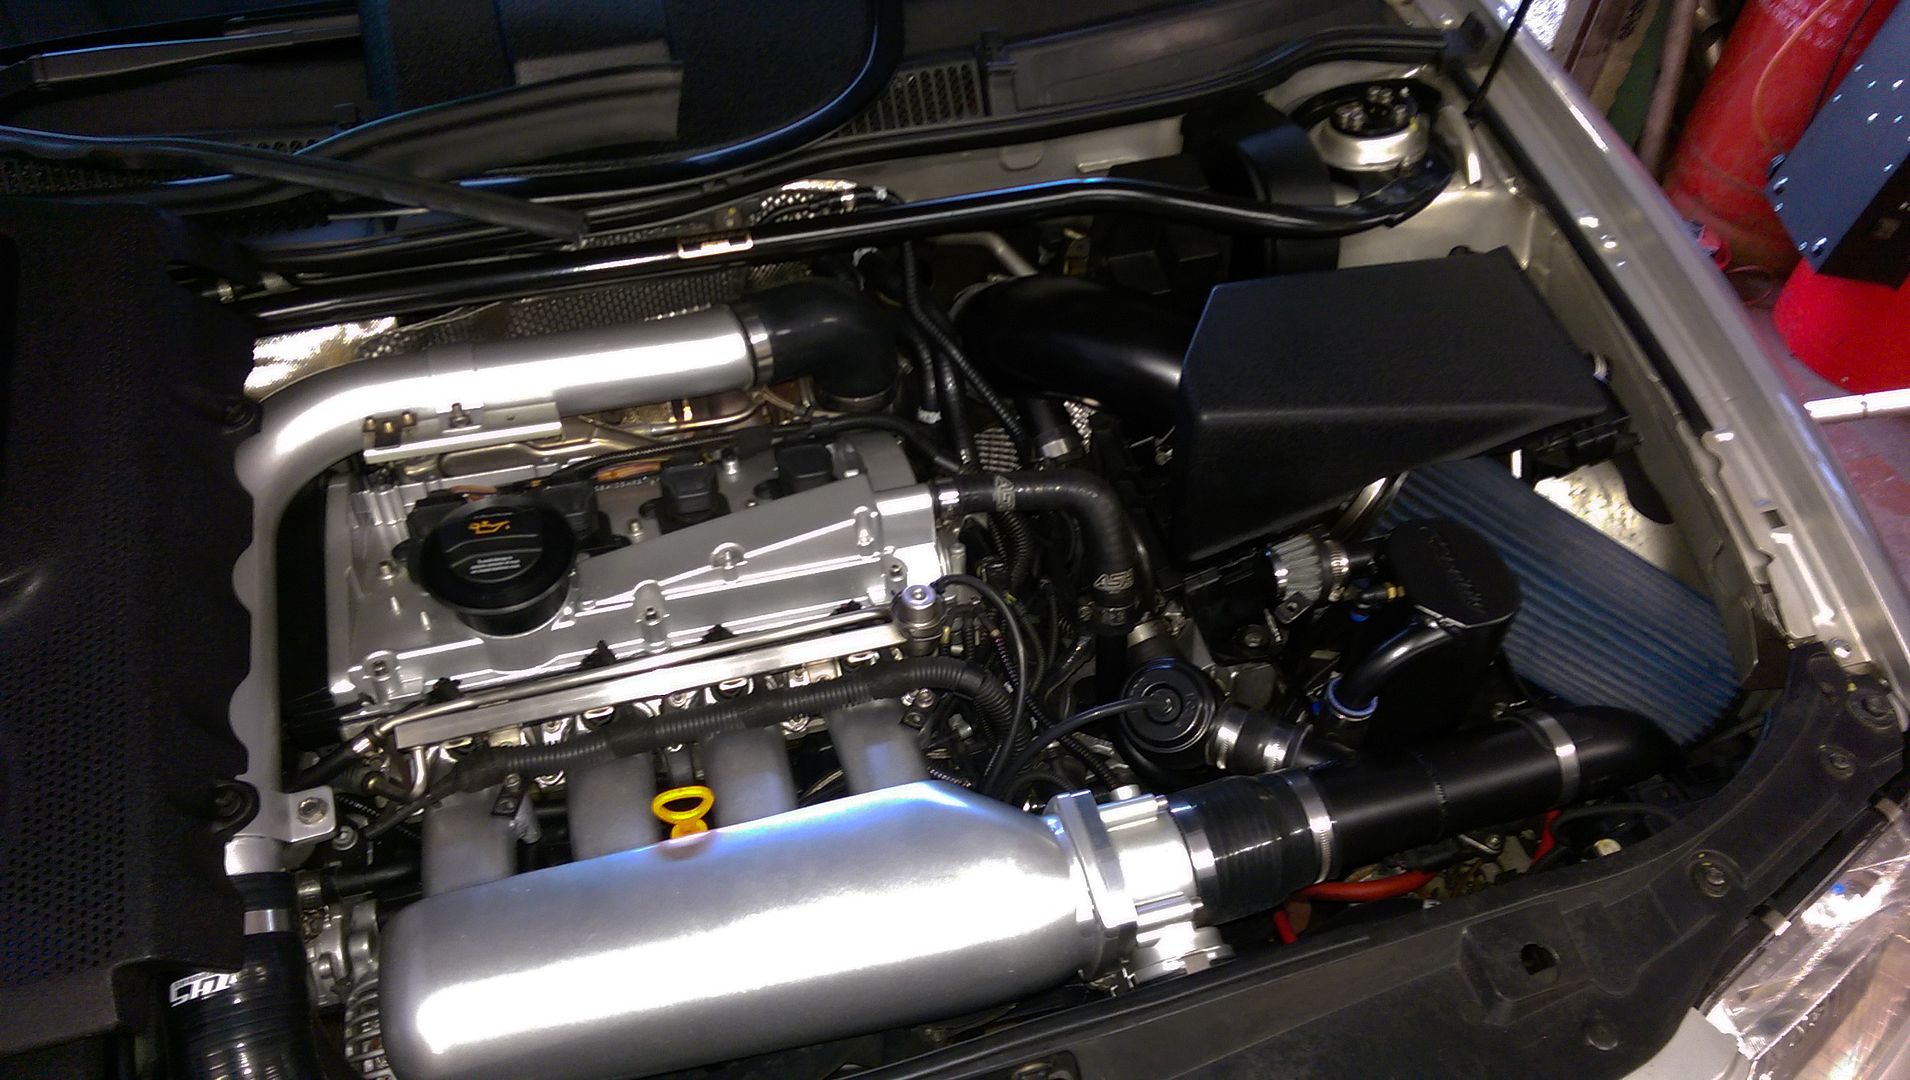
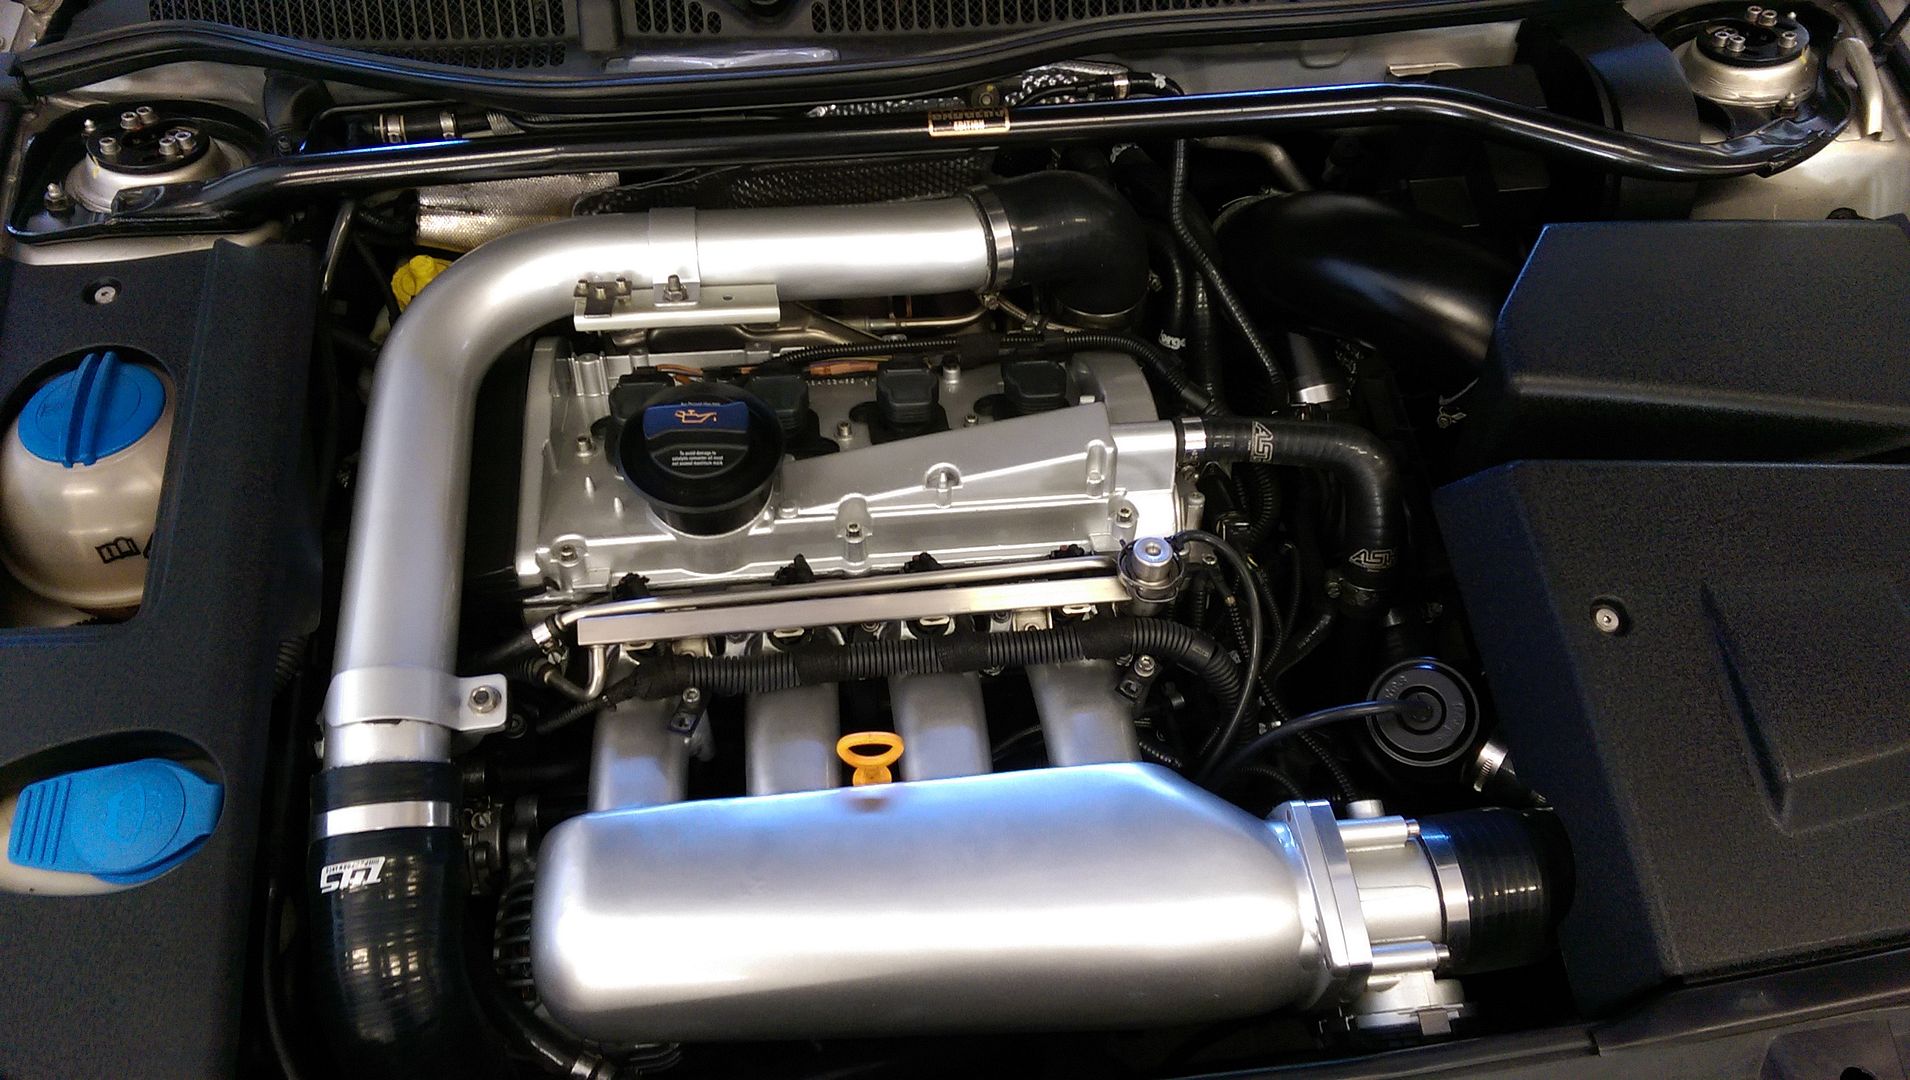
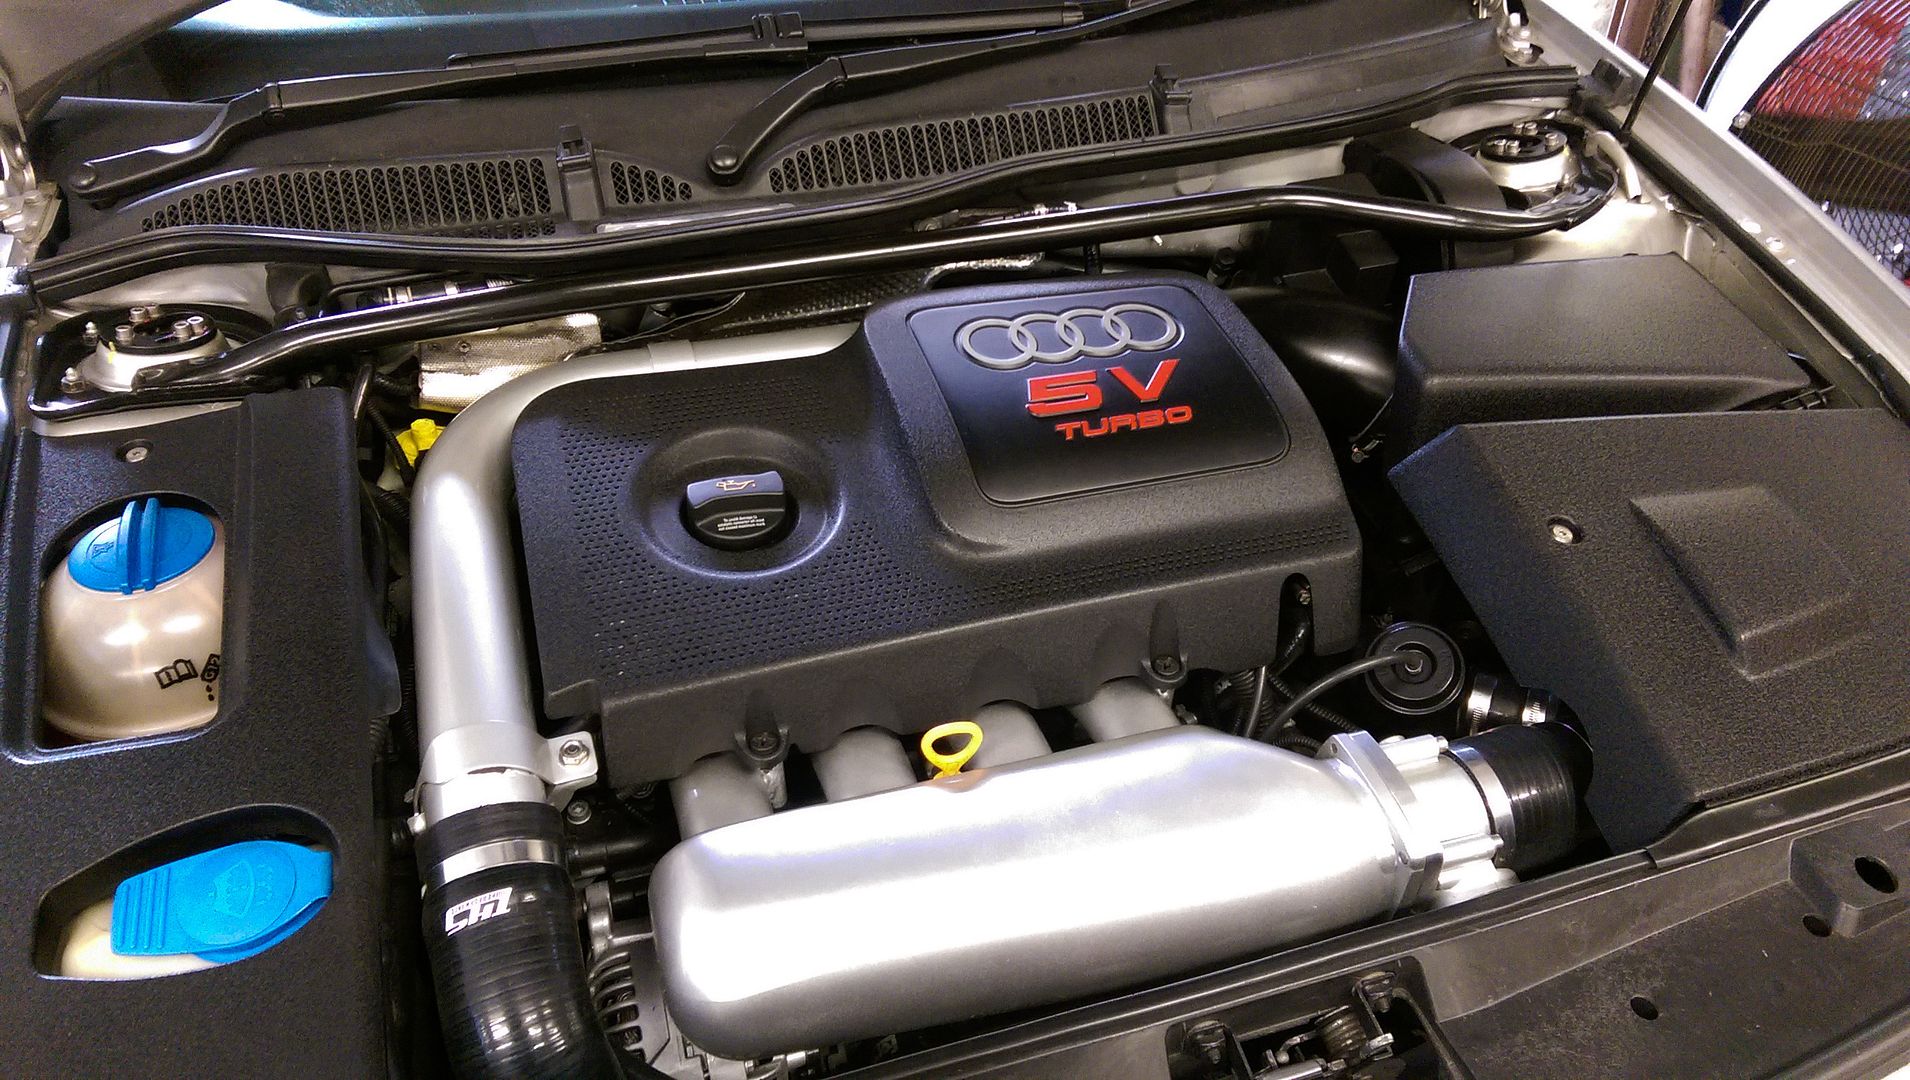
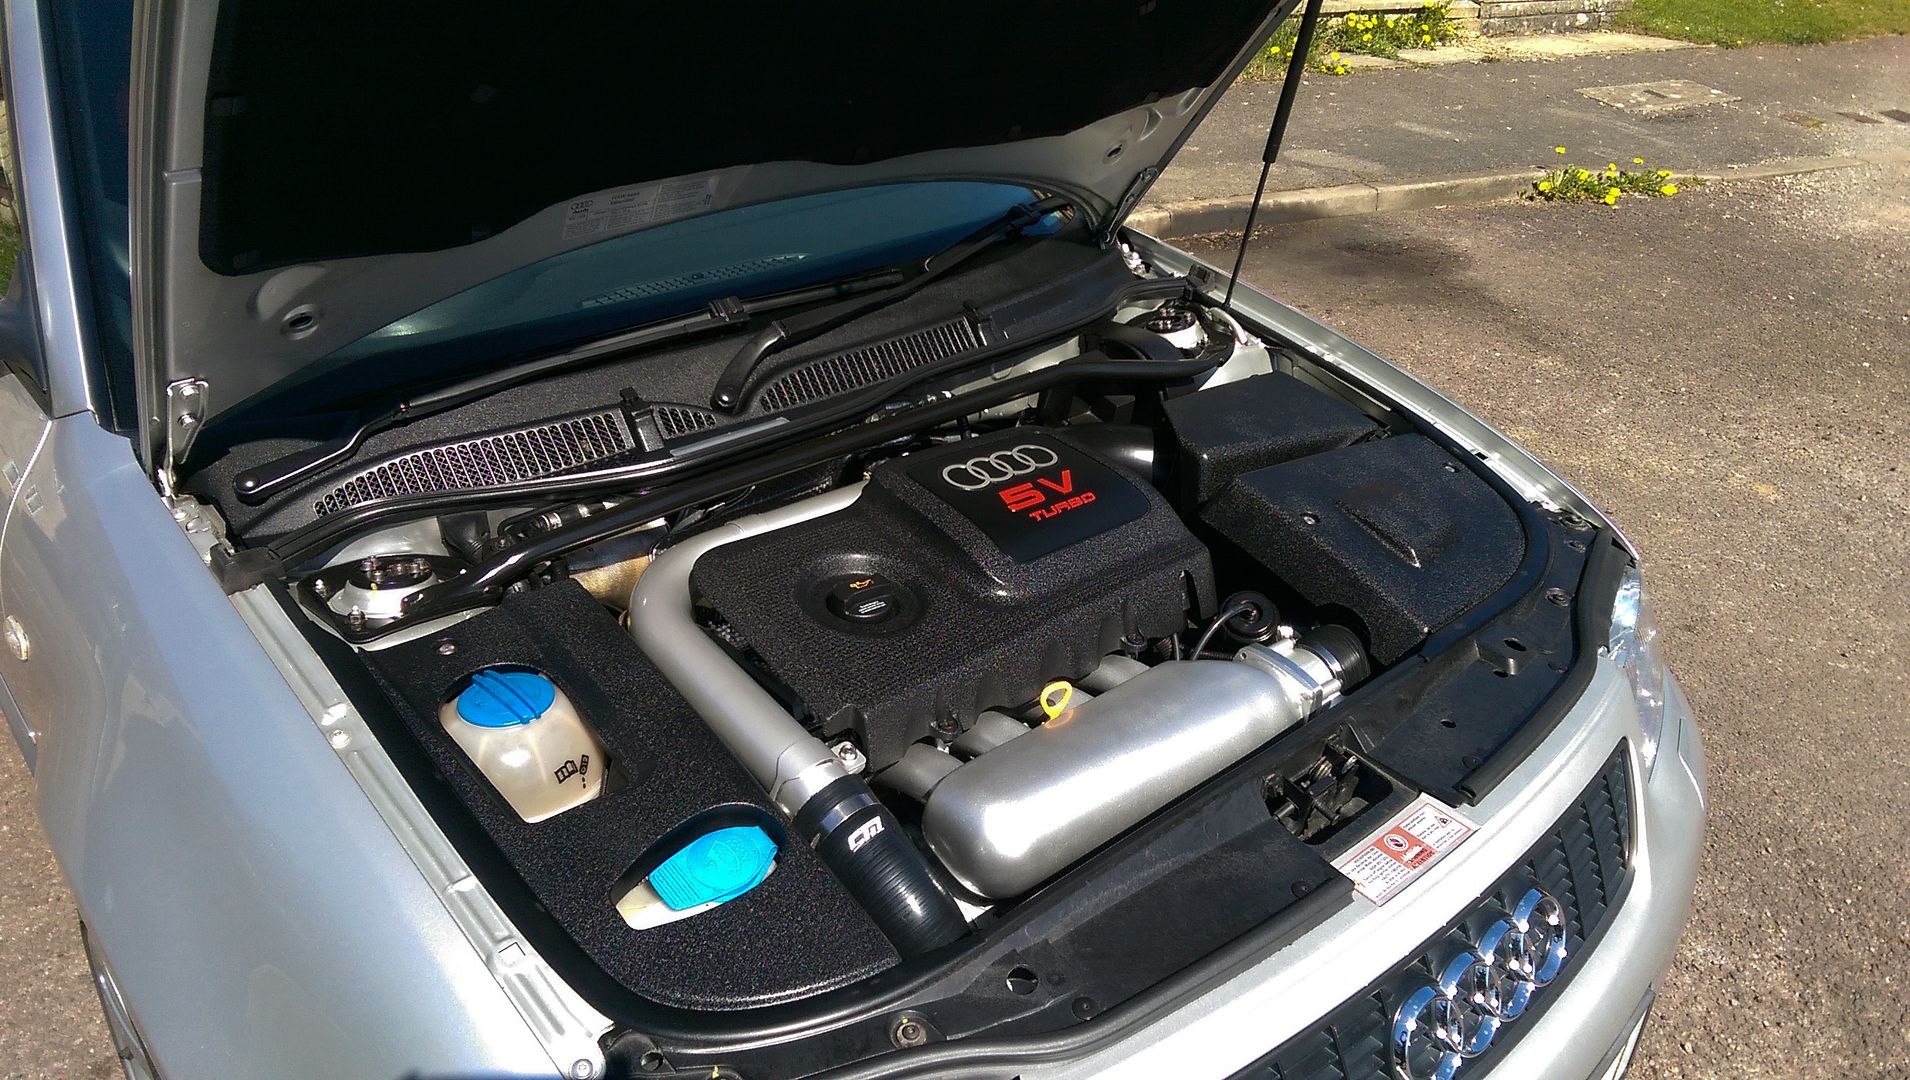
...and done a bit of cleaning in the engine bay
Just got the interior to do which will include refeeding the leather etc and a good clean of the wheels and sealing with some C5
Took a 'day off' to pop over to Bills to lend a hand as my back was killing me (getting too old lol) so have been cleaning parts from Gops S3
Then this happened!!!
...resulting in this
<tuffty/>
Been lovely so far and have been doing a spring detail on the car...
Not sure if its because I have been using the car to go to work on the motorway or not but there was a layer of aweful yellow shizzle over the bottoms of the doors which took some shifting...
But after a bit of elbow grease and a lick over with ultrafina I banged on a few layers of (the now discontinued
) Jeffs Werstat Acrylic
...and done a bit of cleaning in the engine bay
Just got the interior to do which will include refeeding the leather etc and a good clean of the wheels and sealing with some C5
Took a 'day off' to pop over to Bills to lend a hand as my back was killing me (getting too old lol) so have been cleaning parts from Gops S3
Then this happened!!!
...resulting in this
<tuffty/>
![[B)]](/forums/styles/seatcupra/oldforumsmileys/shades.gif "Cool [B)]")
Love this car.
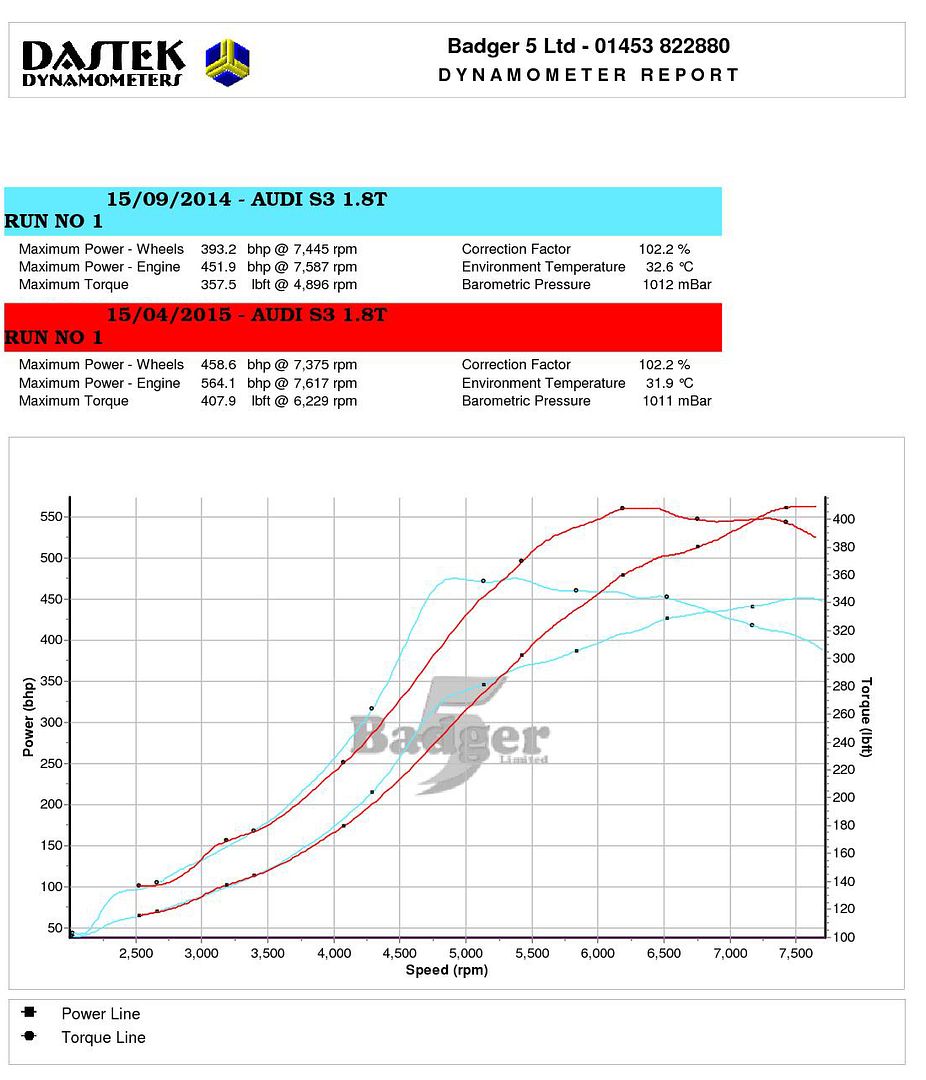
Impressive figures, it must put a big smile on your face every time you drive it!
Impressive figures, it must put a big smile on your face every time you drive it!
"If you could just wind it up another 100bhp I suppose that'll do..."
Amazing stuff tufty and Bill!
Amazing stuff tufty and Bill!
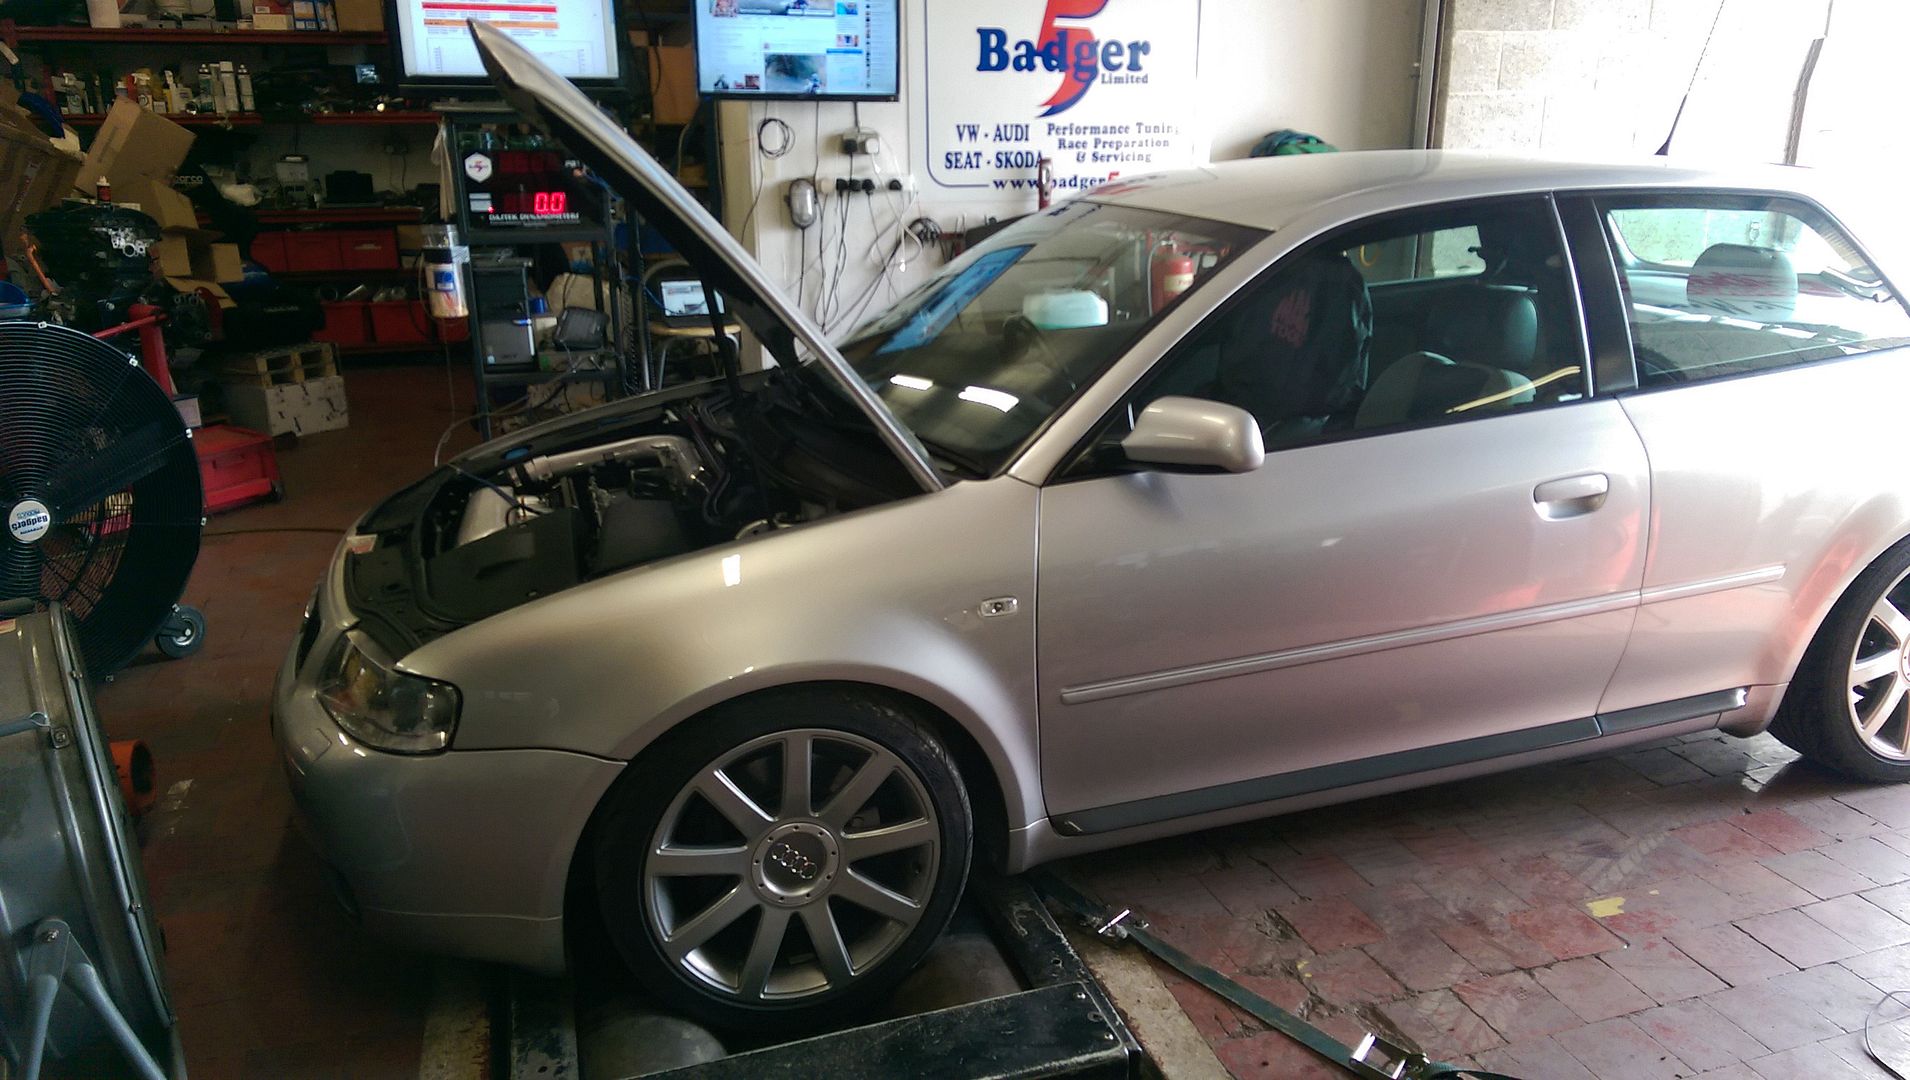
Sunday was a mixed bag...
Great day dynoing race cars...
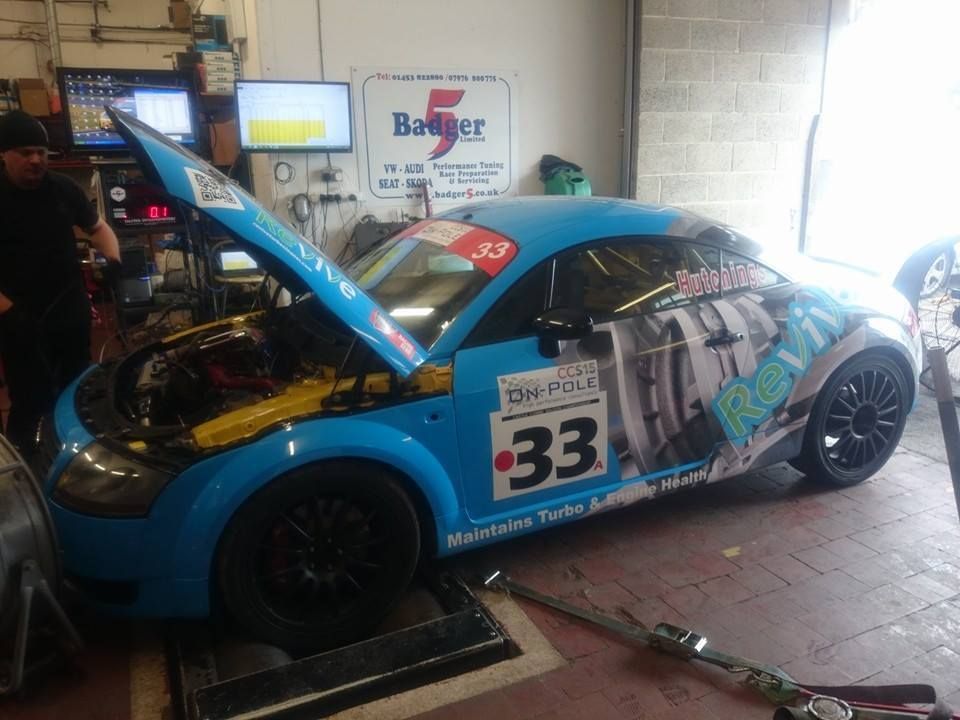
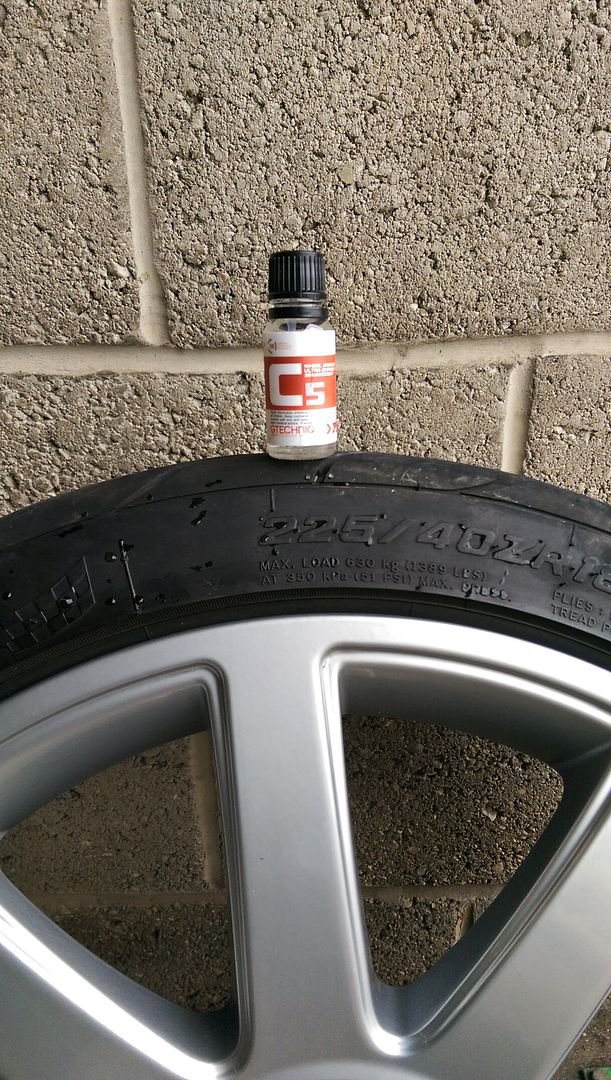
...and in between times I set about cleaning the front wheels of all the nasty brake shizzle my uber pads seem to give off and used the rather pricey Gtechniq C5 Wheel Armour...
I gave the calipers a couple of coats of paint too...
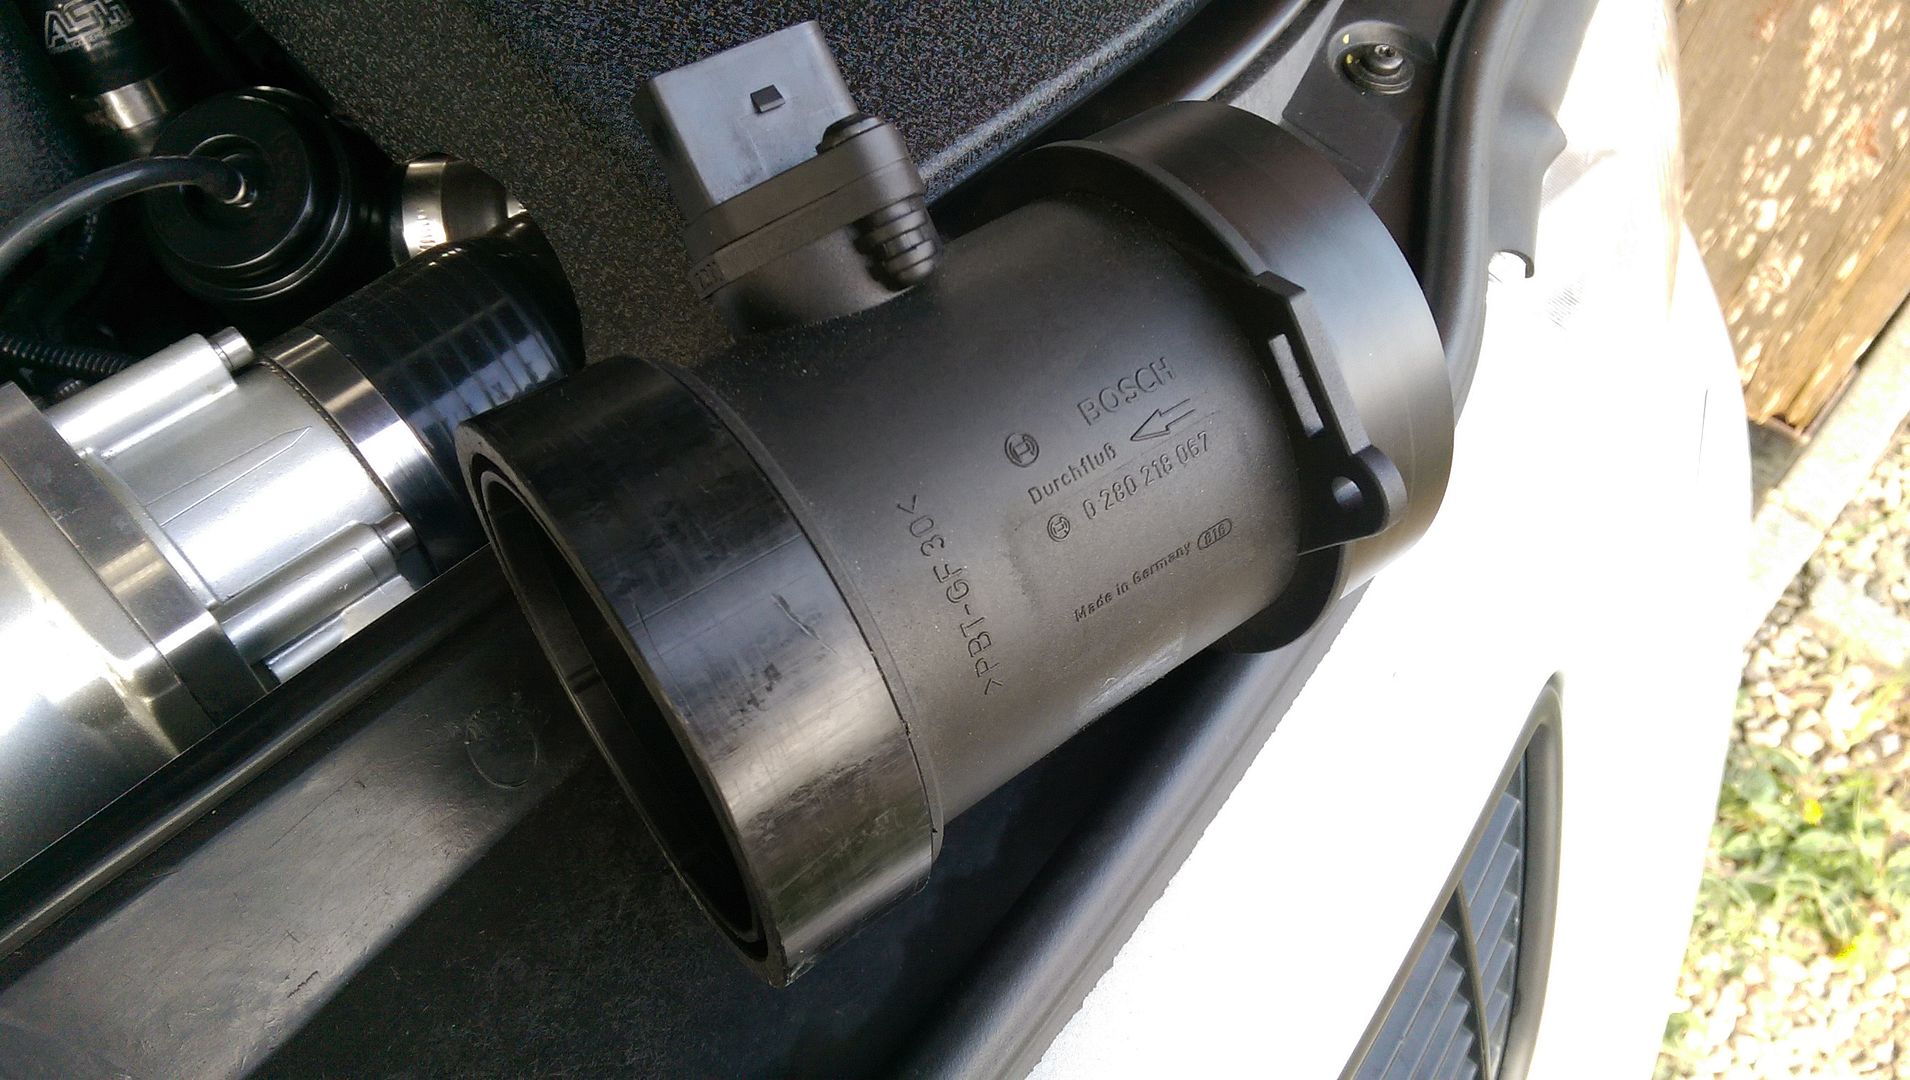
Happy days hopefully... well thats what I thought then the MAF popped as I was flat out in second gear overtaking a rather large horse truck that had been backing traffic up for a while... the throttle cut was a bit of a shock
FIS Control is awesome.. read the DTC and sure enough it was 16486 MAF signal too low... switched to block 003 and MAF was reading 0.44gs on cruise... not a good sign... switched to block 001 and lambda correction was chucking 25% fuel in... careful drive home then lol
So out it came :/
Disappointing... still... this arrived today
<tuffty/>
Great day dynoing race cars...
...and in between times I set about cleaning the front wheels of all the nasty brake shizzle my uber pads seem to give off and used the rather pricey Gtechniq C5 Wheel Armour...
I gave the calipers a couple of coats of paint too...
Happy days hopefully... well thats what I thought then the MAF popped as I was flat out in second gear overtaking a rather large horse truck that had been backing traffic up for a while... the throttle cut was a bit of a shock
FIS Control is awesome.. read the DTC and sure enough it was 16486 MAF signal too low... switched to block 003 and MAF was reading 0.44gs on cruise... not a good sign... switched to block 001 and lambda correction was chucking 25% fuel in... careful drive home then lol
So out it came :/
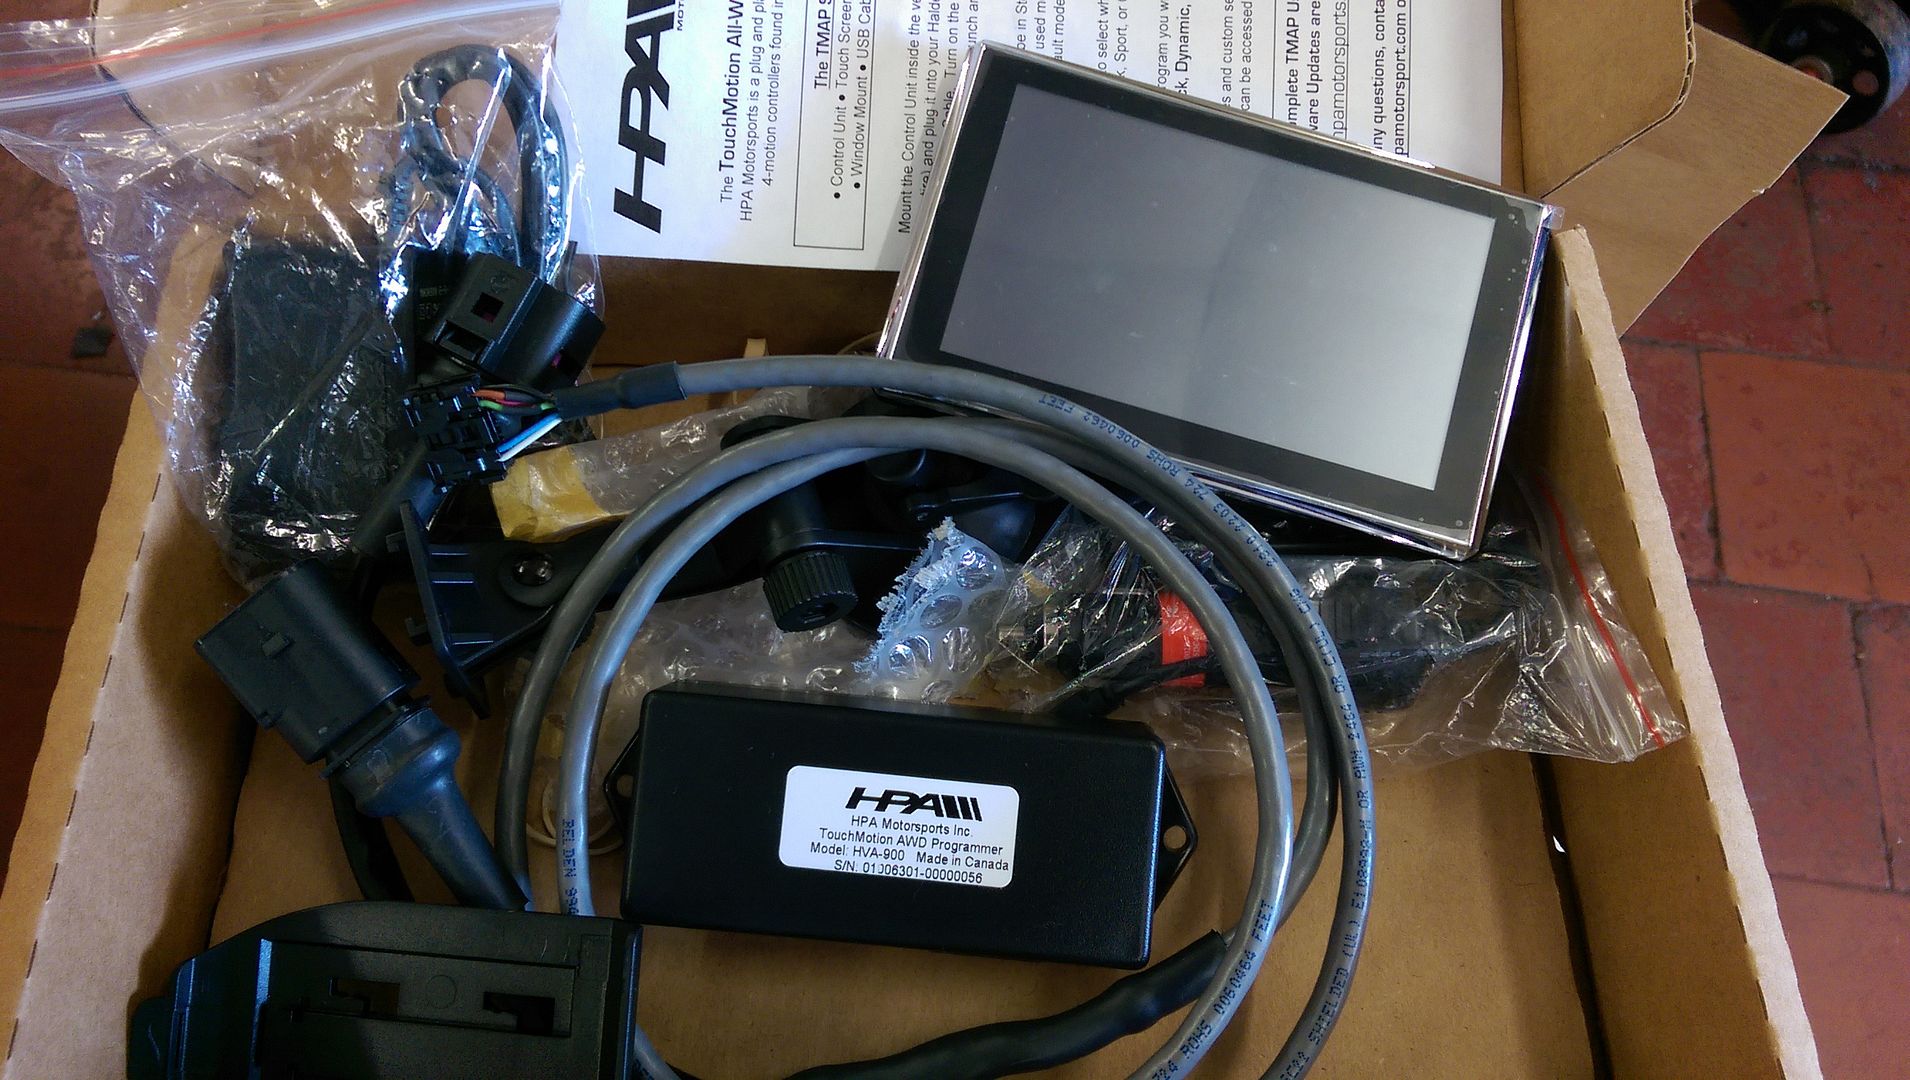
Disappointing... still... this arrived today
<tuffty/>
So... got home from work... nobody home soooooooo...

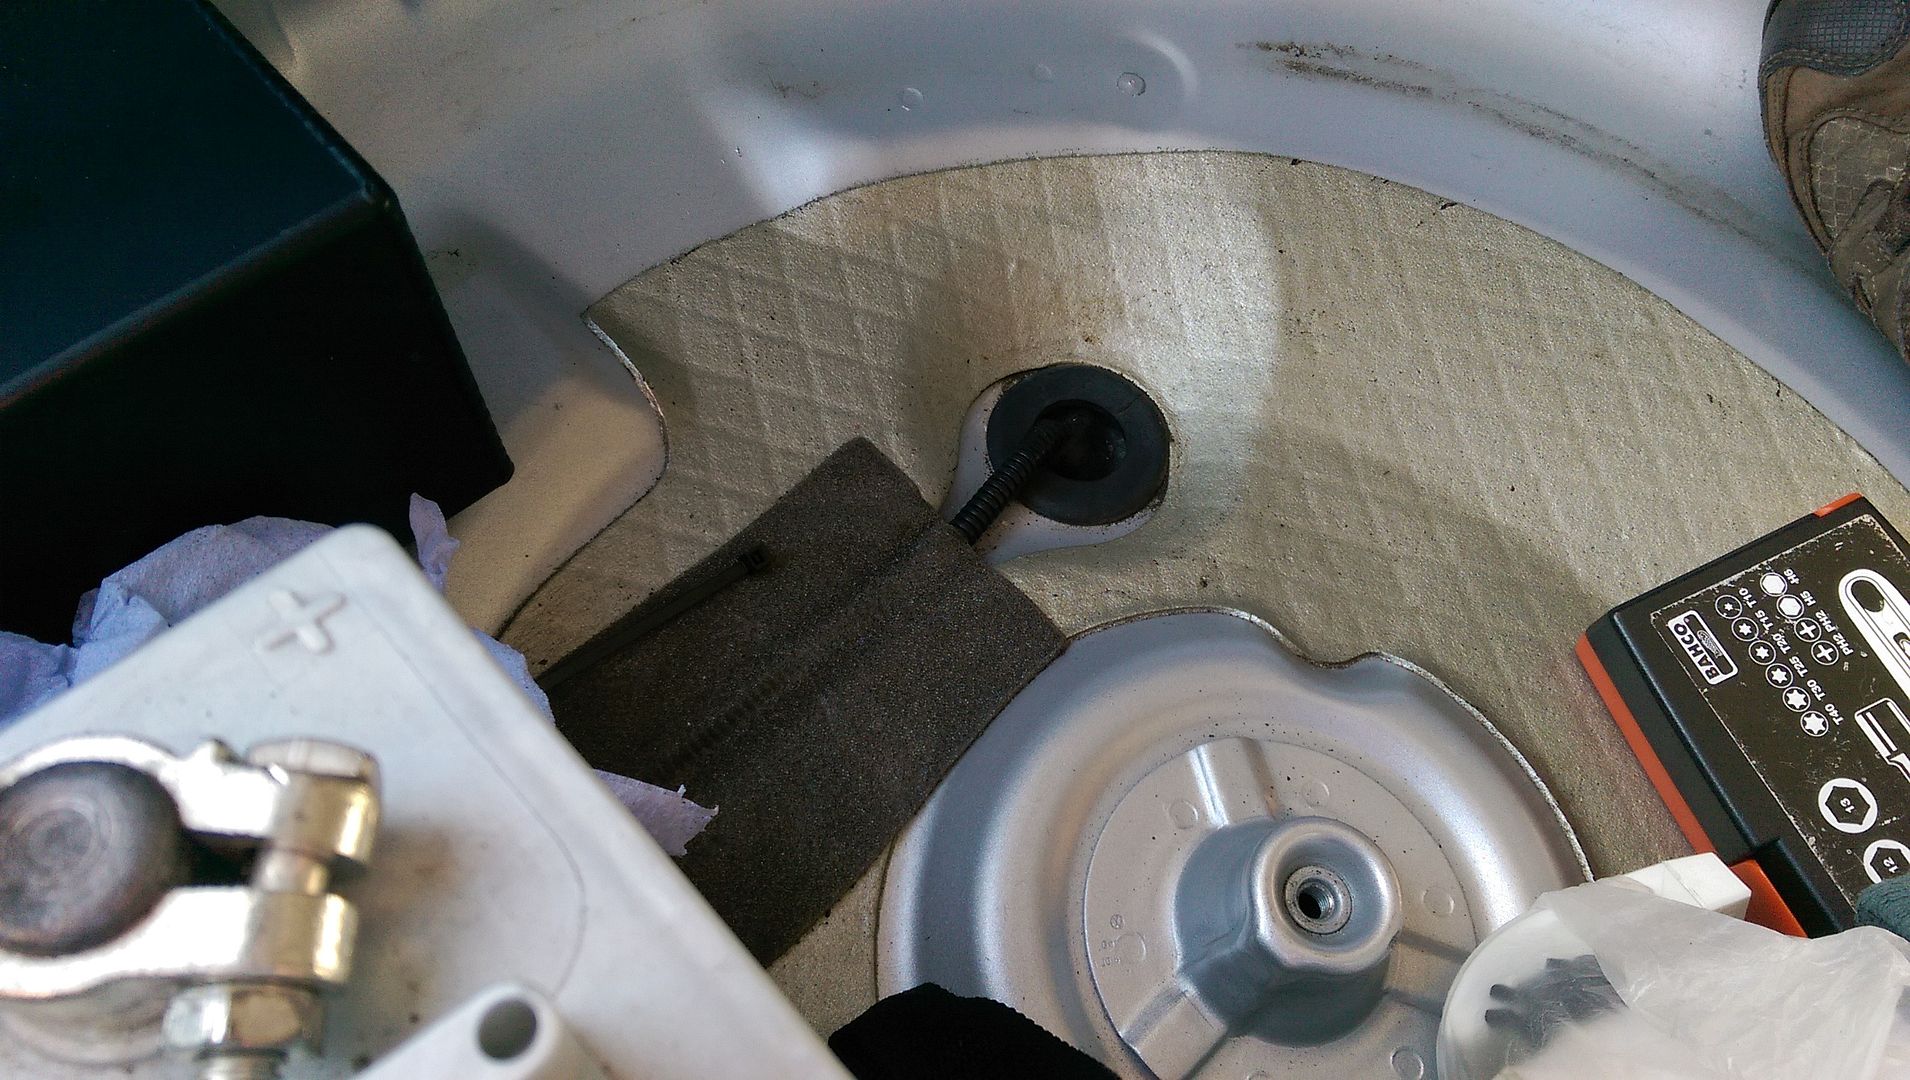
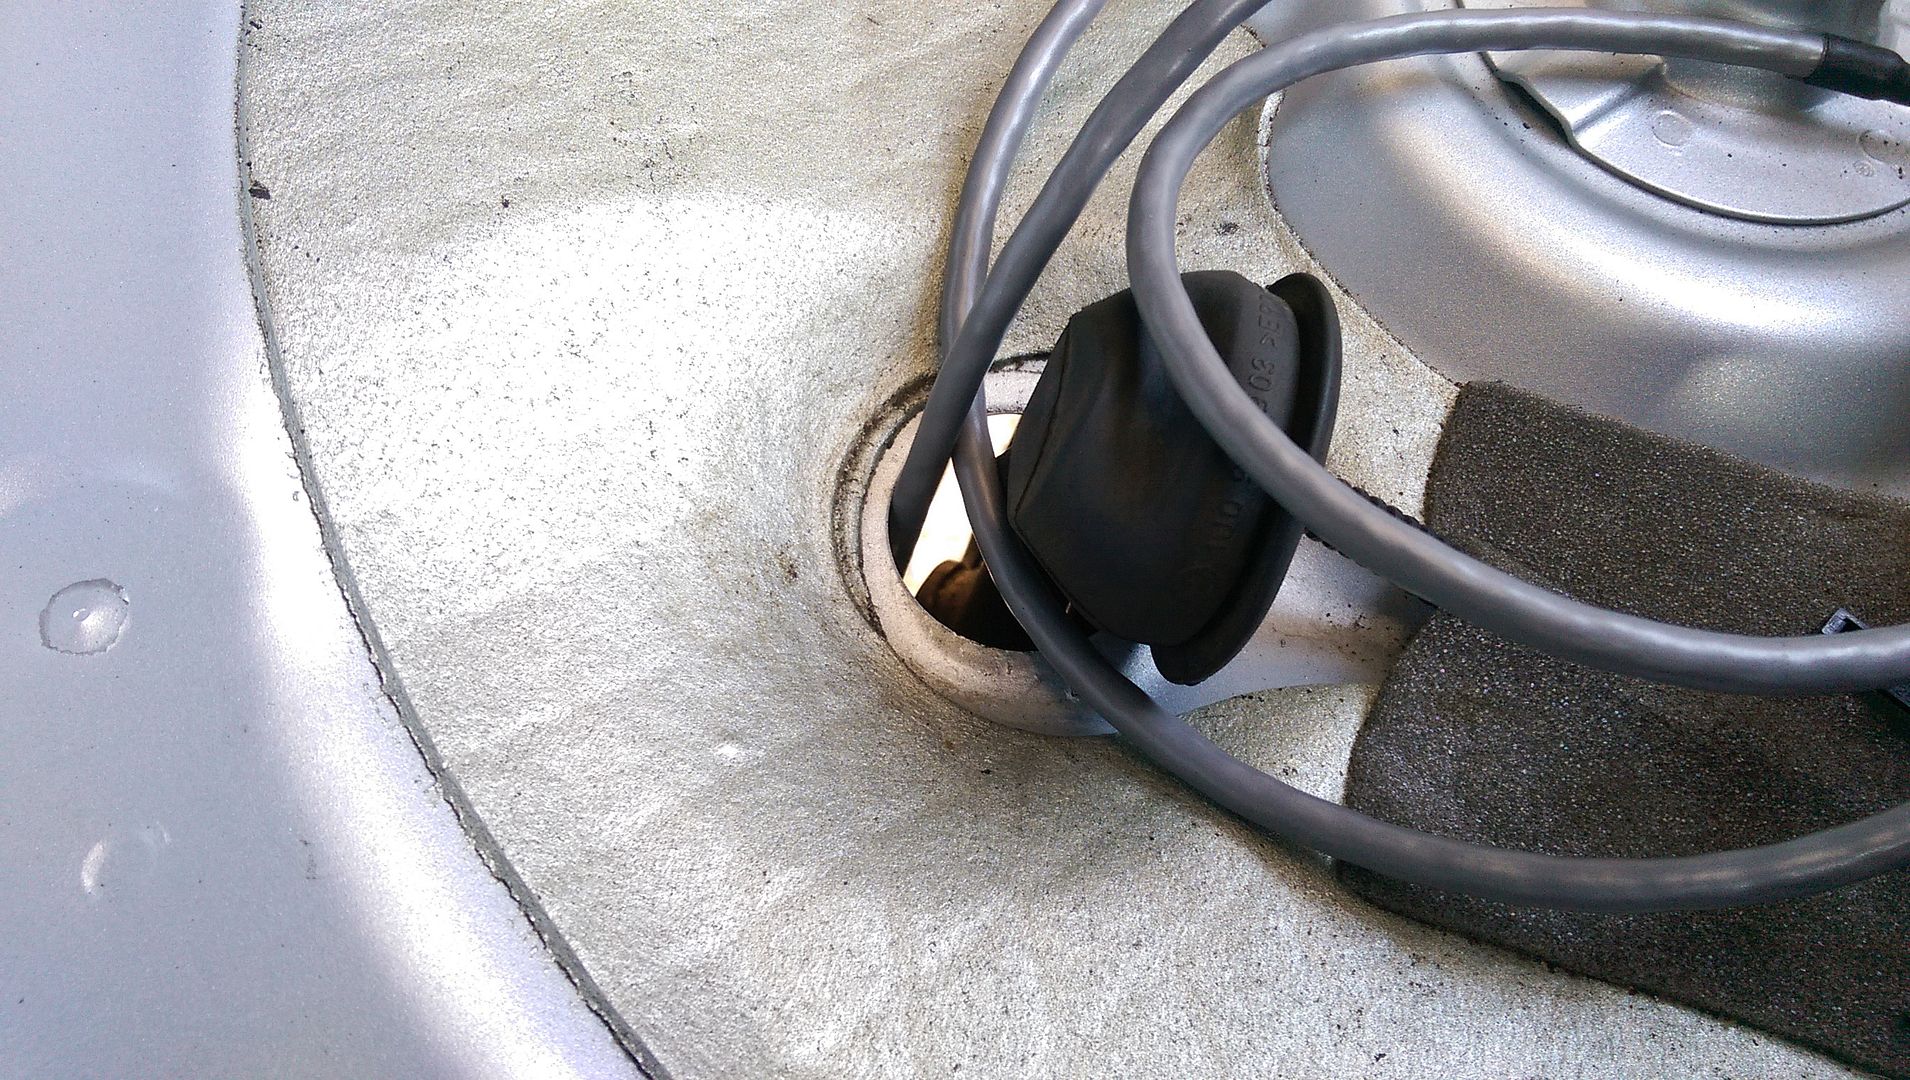
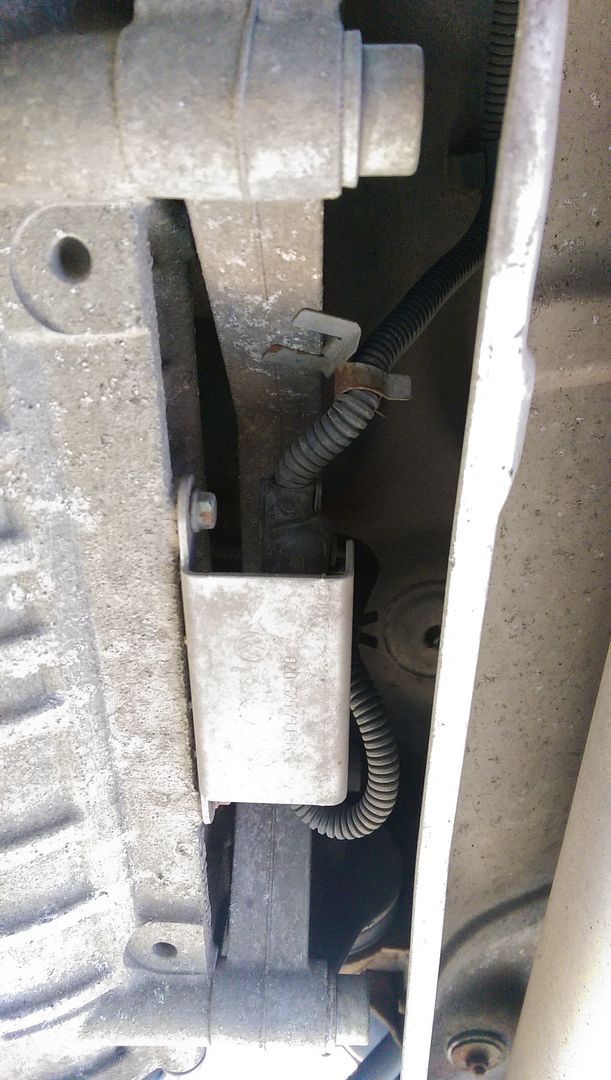
To fit the HPA controller you need to feed the cable though here...
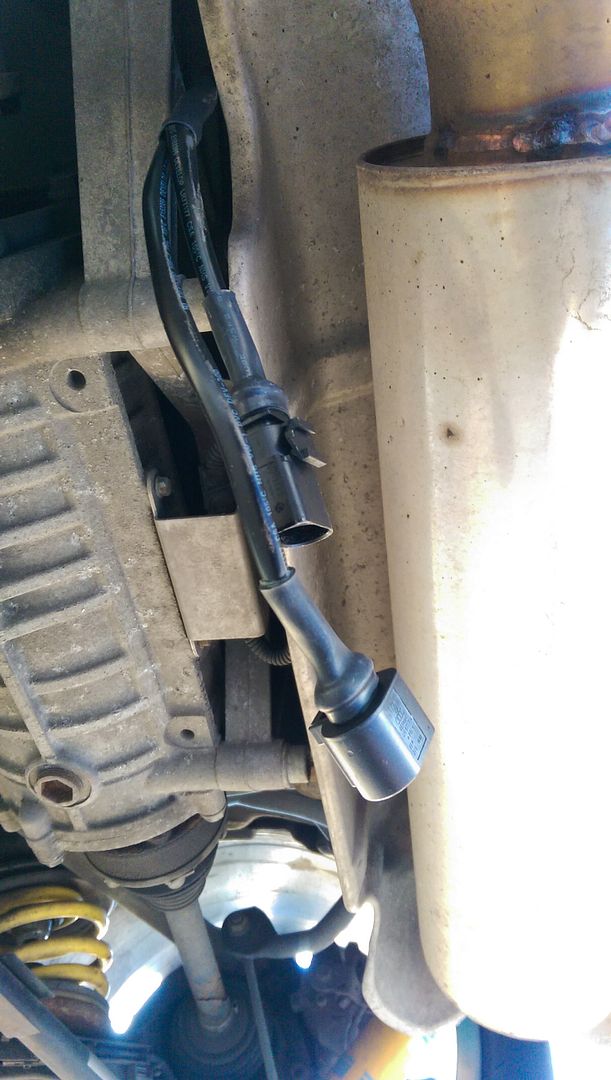
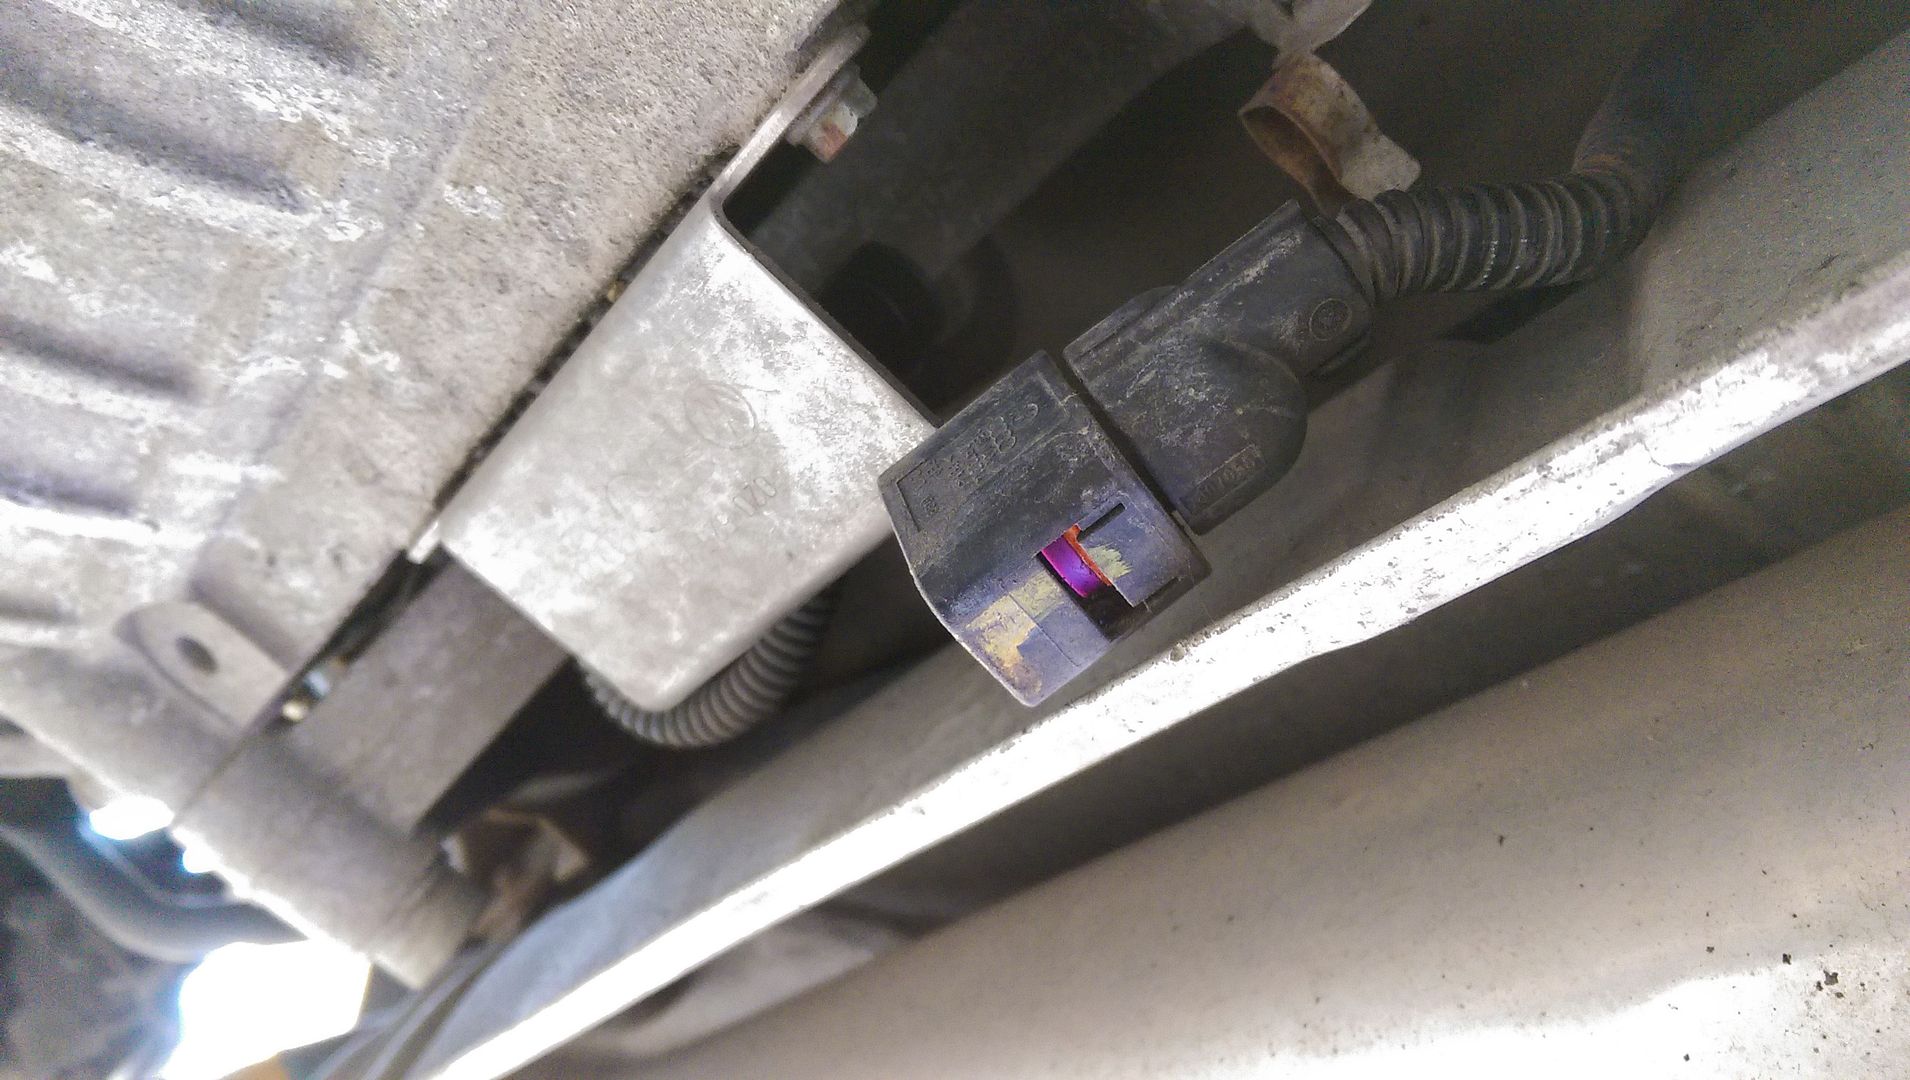
Then unplug the haldex cable at the back of the diff
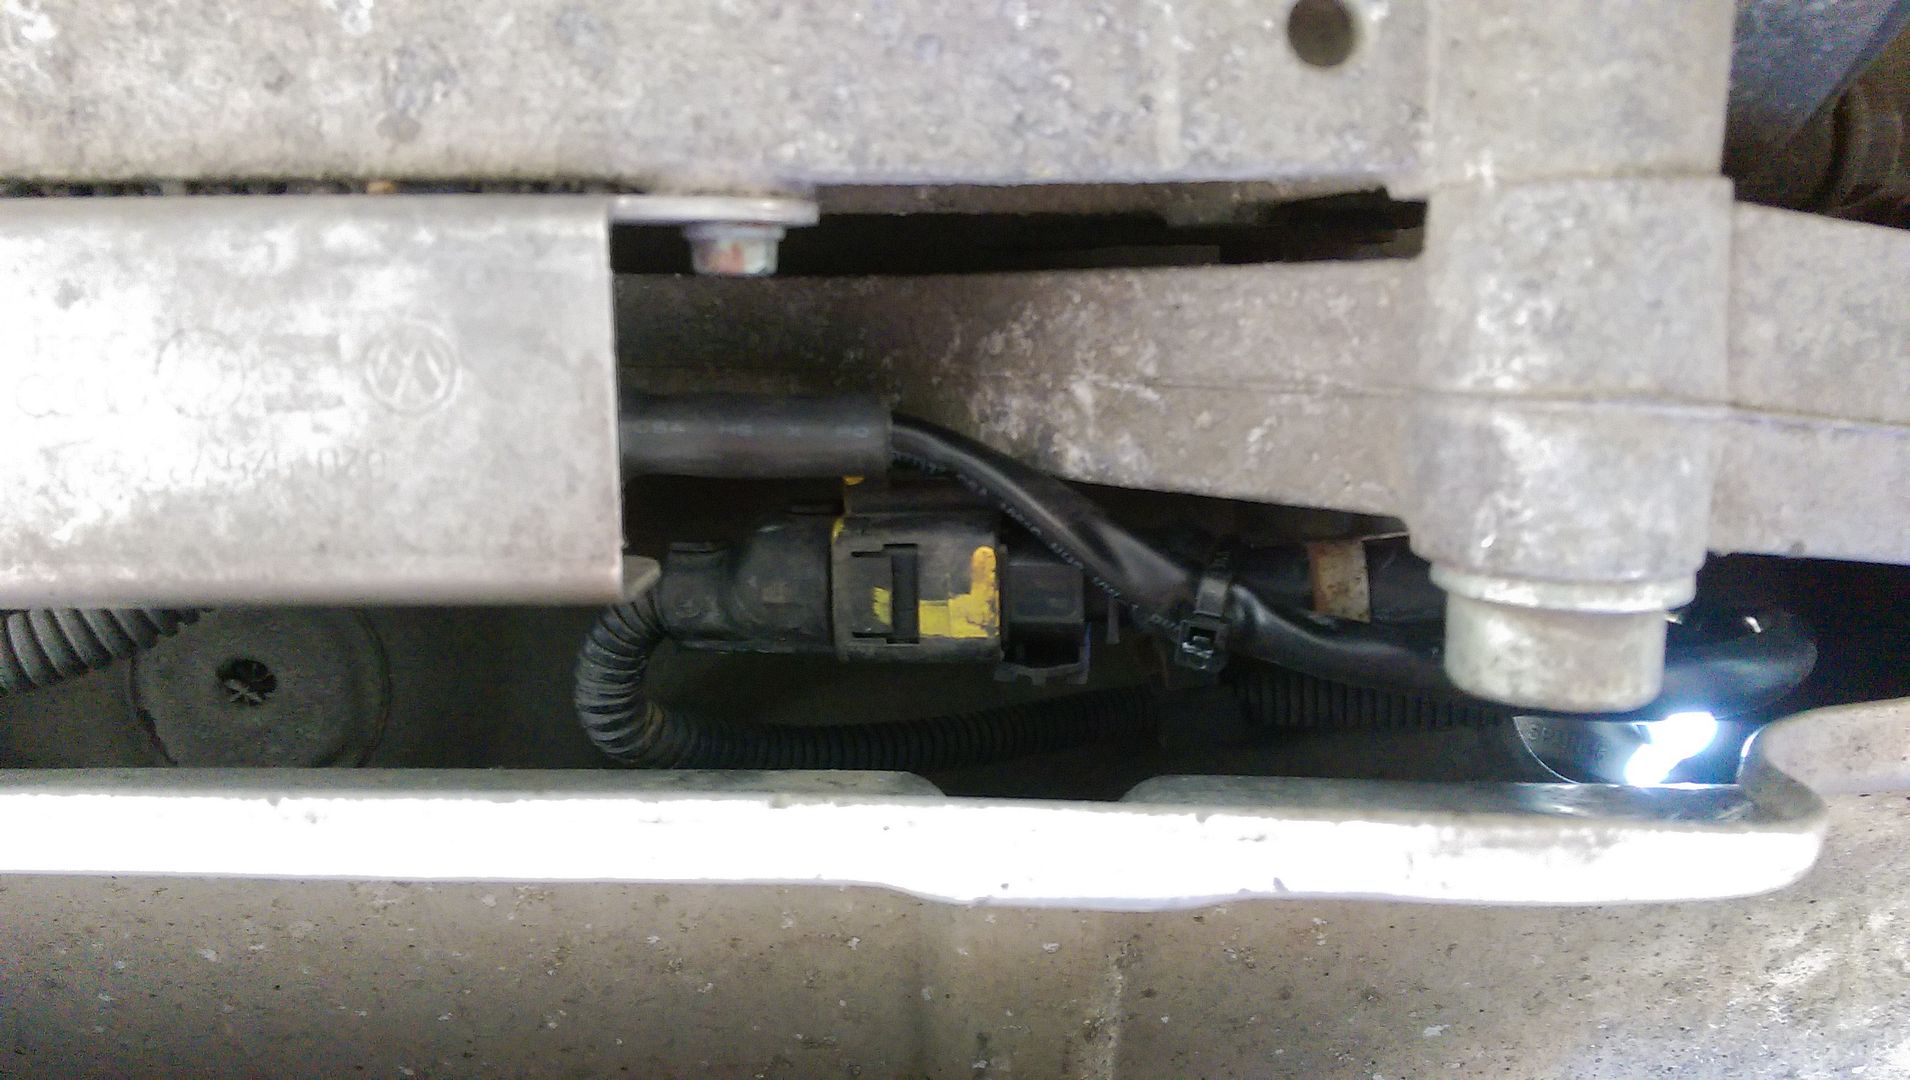
Plugged the HPA lead in and cable tied up out the way...
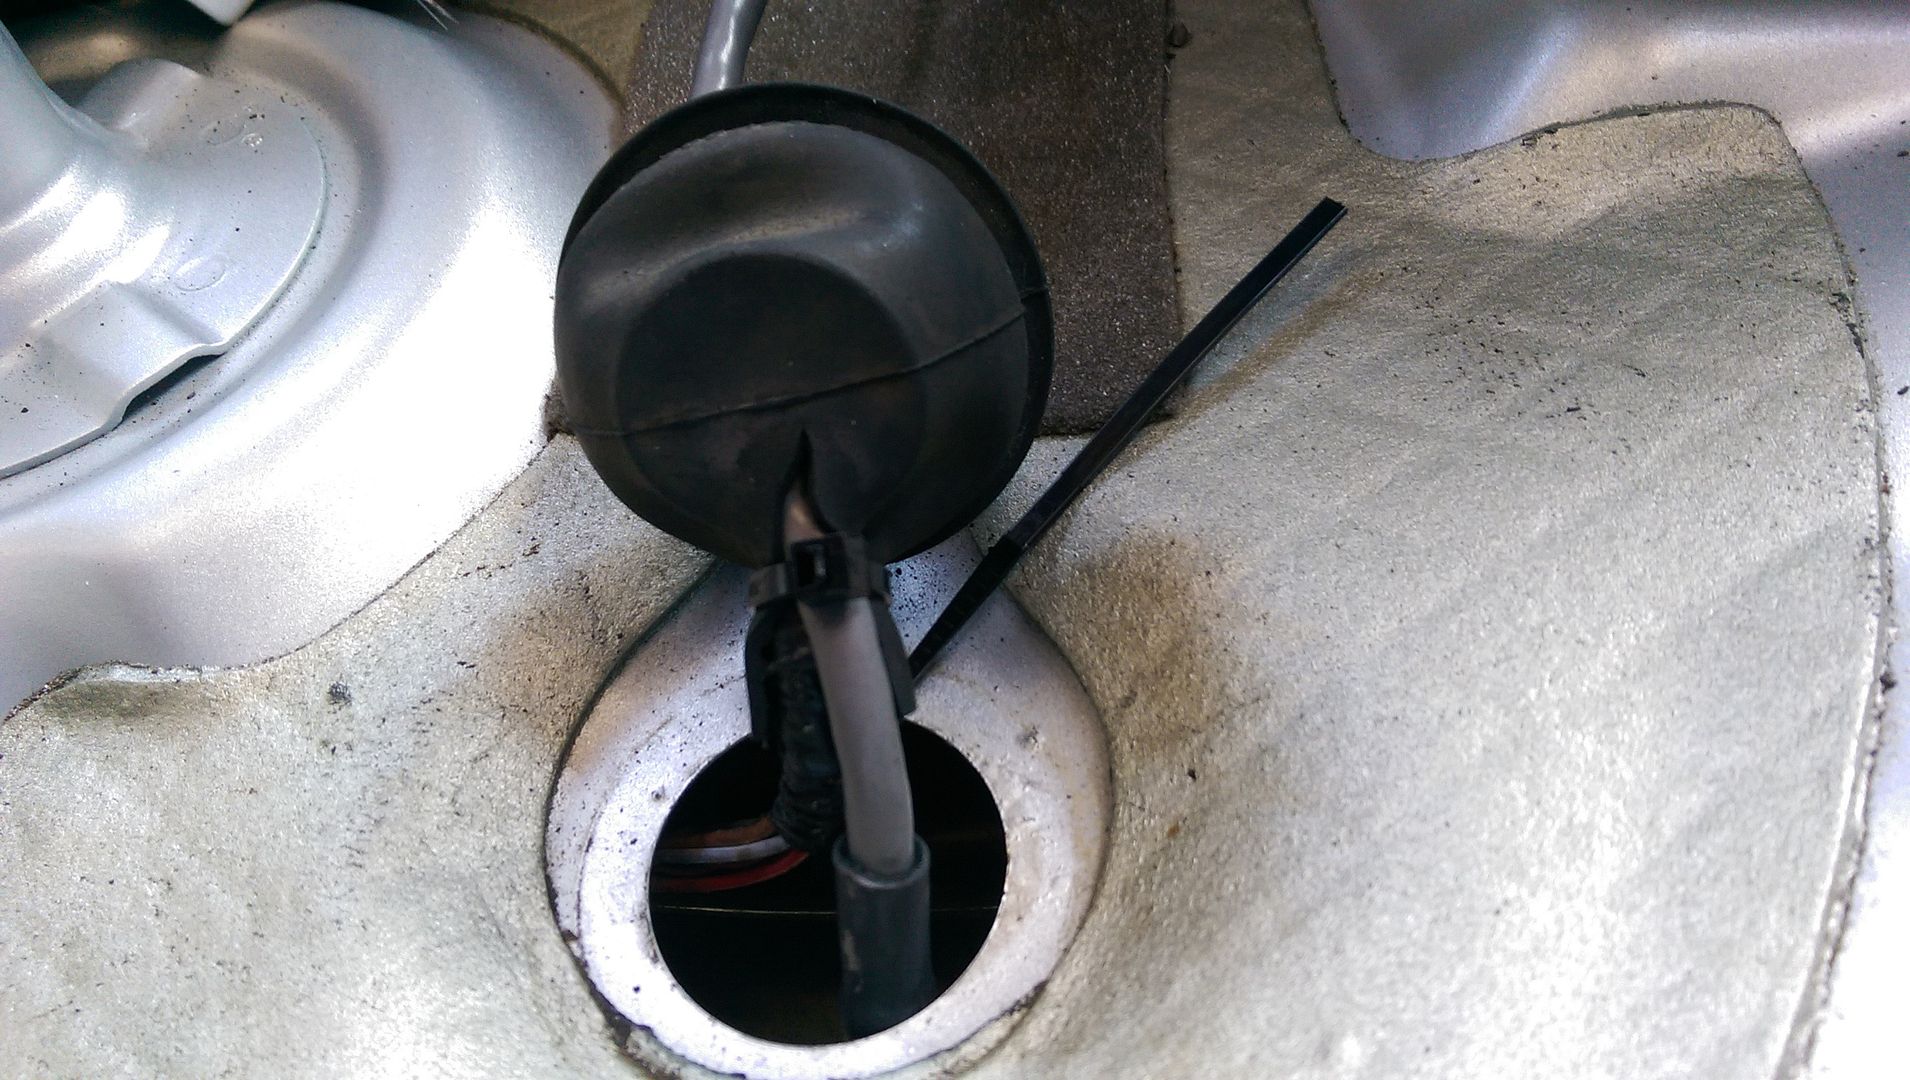
Cut the grommet to feed the cable through... cable tie again...
...and tape...
Plugged in the controller box and turned on the ignition... bingo...
...and connected...
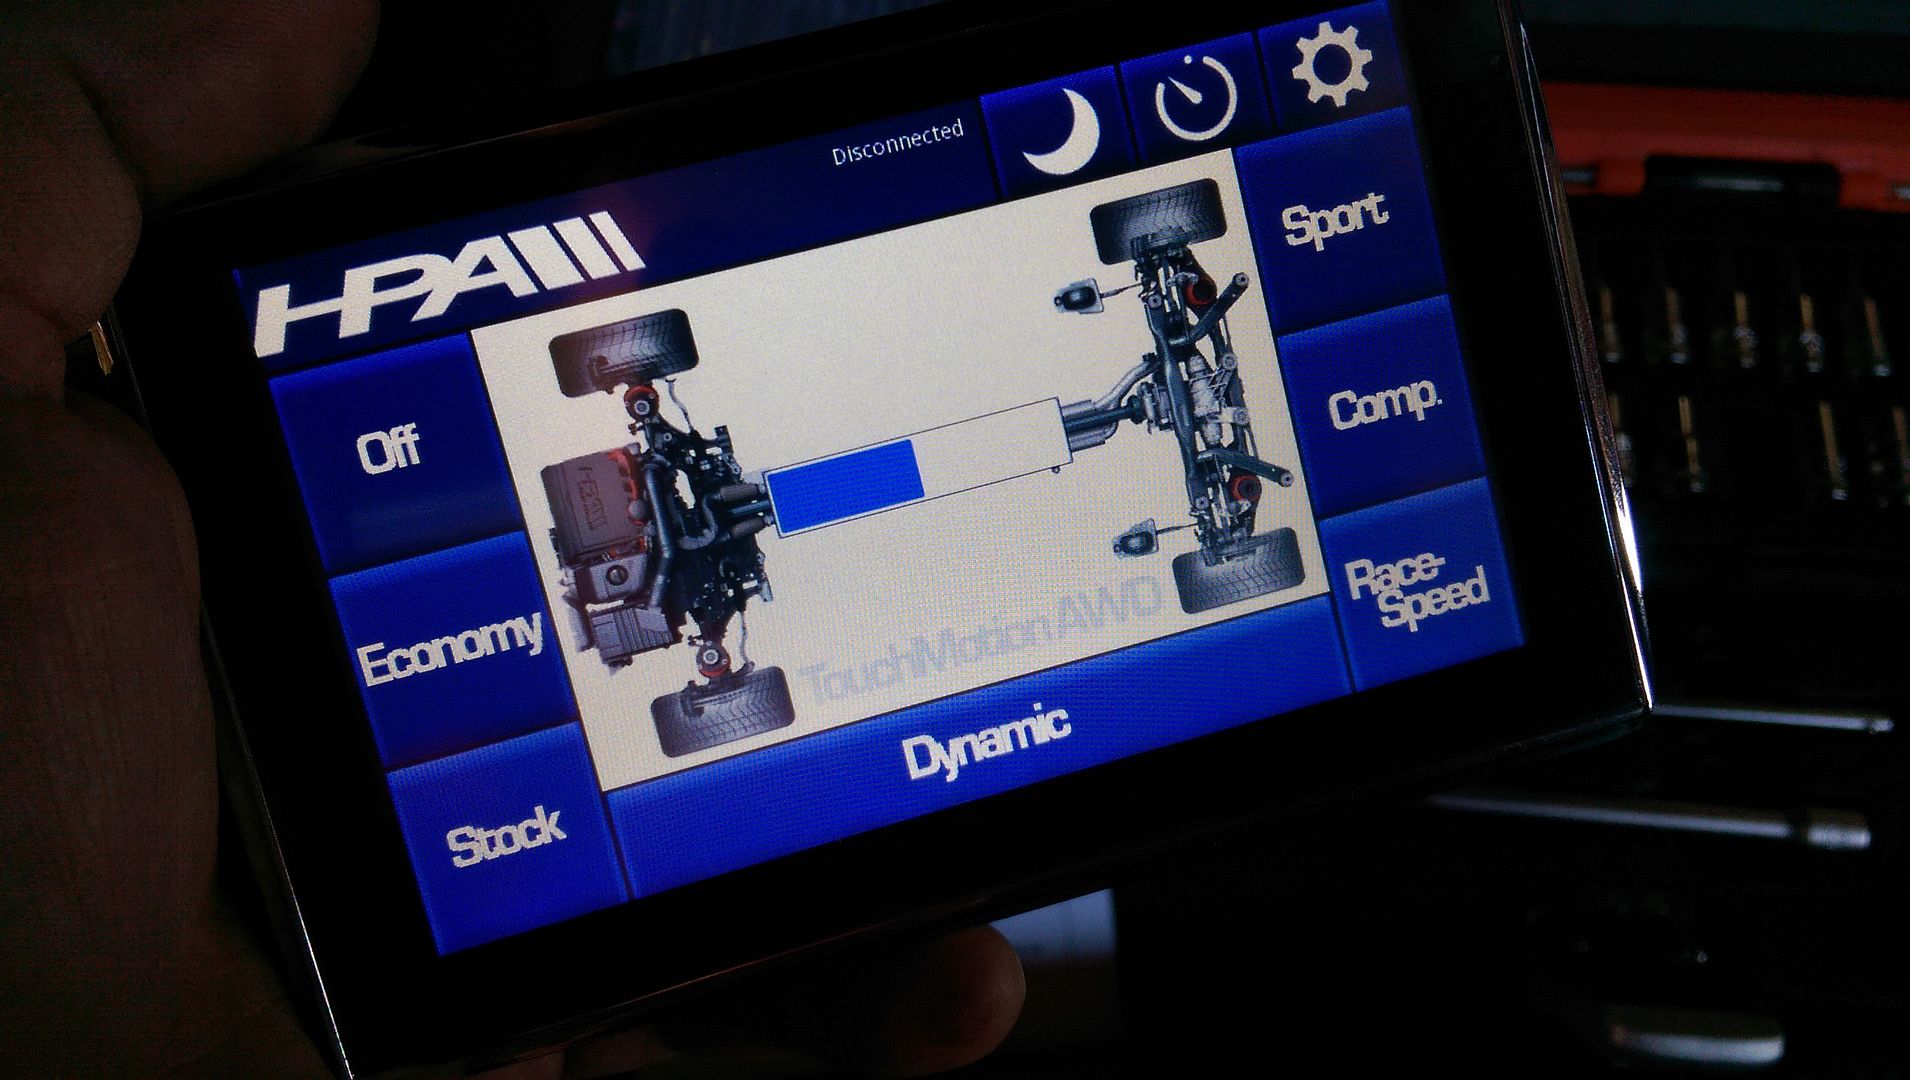
So... took the car up the road... not too far as I didn't have the time for a full on faff.... left it in 'Stock' mode and it drove as normal really... put it into 'Comp' mode and turned up the wick a bit... now... its too early to say as I literally went up the road (little B road) and back but there is a corner that I know can catch the haldex out a little wit it coming in noticeably... turned in doing 'some' speed and accelerated out the corner... soooo smooooth!... no 'step' as the haldex wakes up realising it has to do something... feels rather nice...
Need to play a bit more and work out exactly what the different modes do... I used the supplied window mount to stick the touch screen onto the windscreen for the quick drive... you can see the blue bar moving indicating distribution of 'power' which was interesting...
There was a small issue though... as I didn't have the screen plugged into any power it went off after a short while... which is ok,... but... it was struggling to get comms back with the unit... I think this was more because of where I had the controller in the boot than anything so I will rearrange things to make sure there is no issue over the signal etc...
I also have a cup holder mount coming so I can mount the screen in the cup holder if I need to...
Feels good so far but still need to play properly...
<tuffty/>
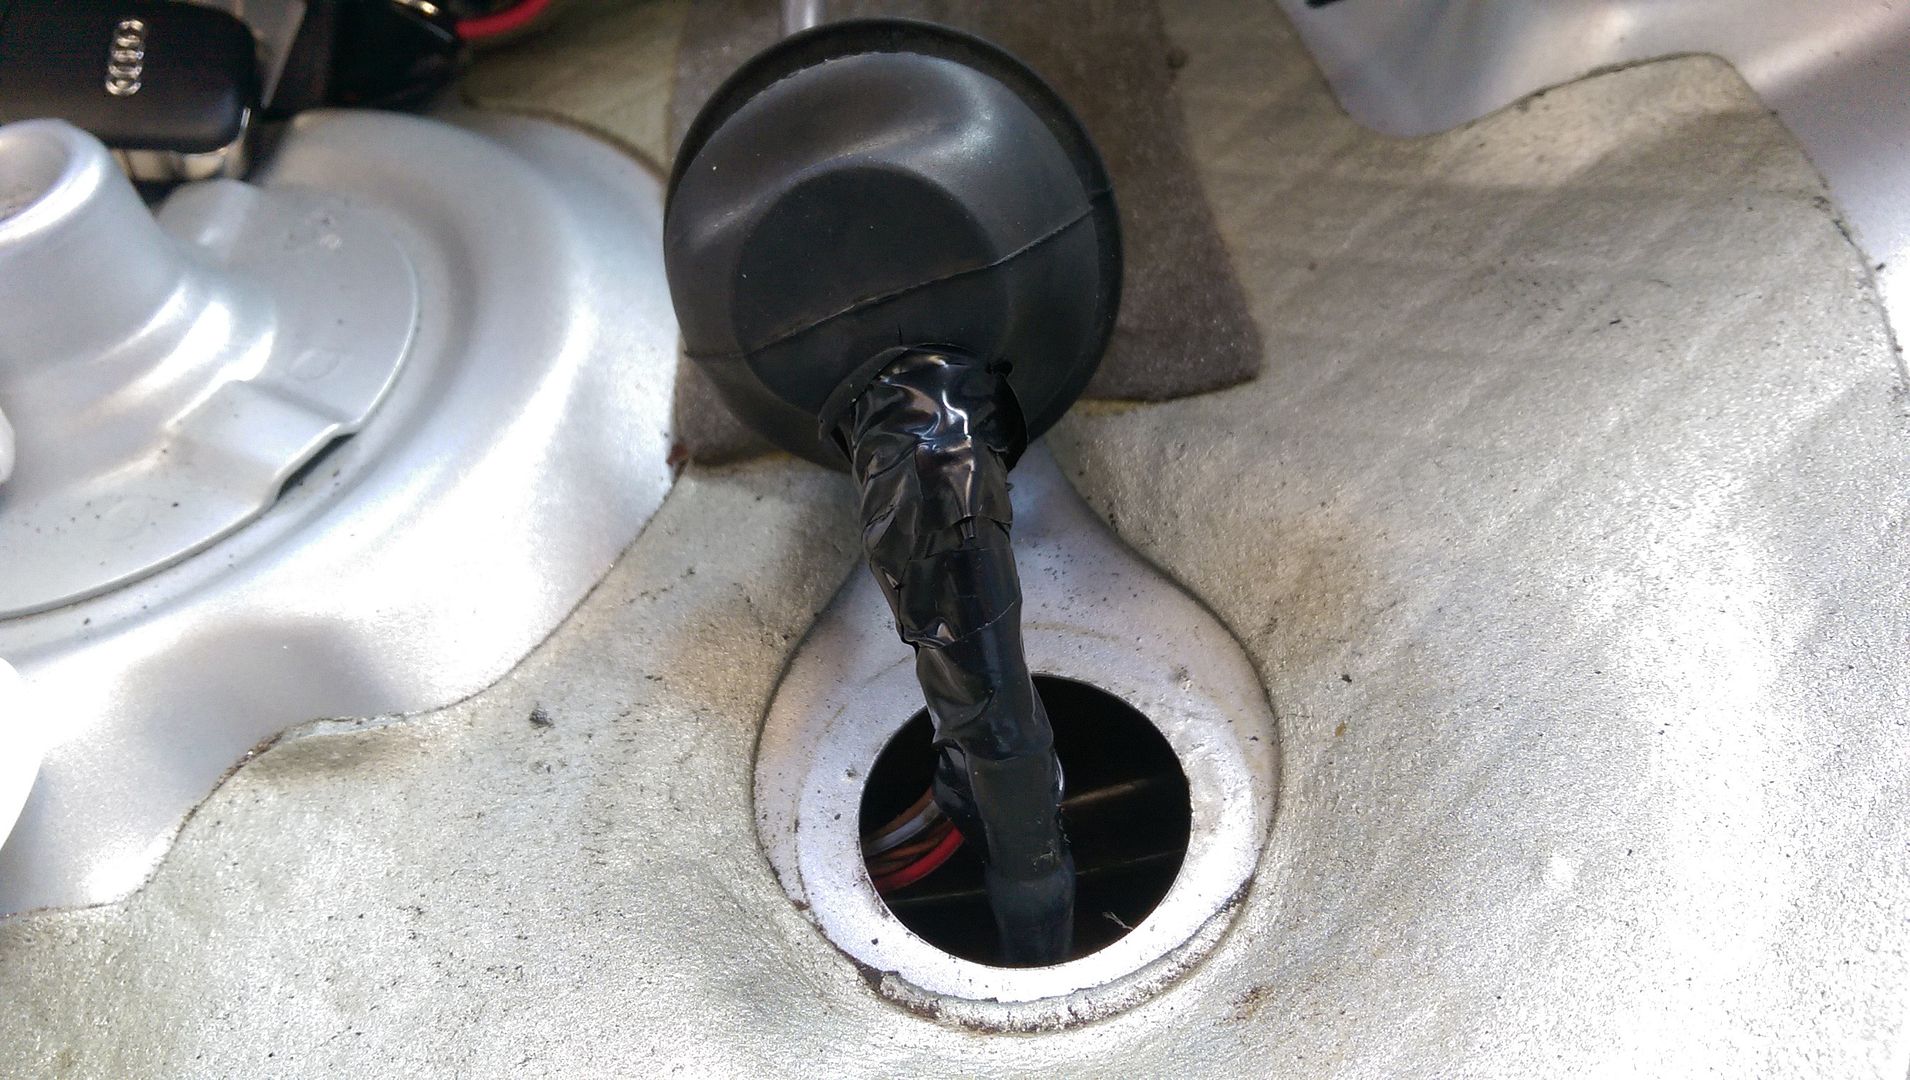
To fit the HPA controller you need to feed the cable though here...
Then unplug the haldex cable at the back of the diff
Plugged the HPA lead in and cable tied up out the way...
Cut the grommet to feed the cable through... cable tie again...
...and tape...
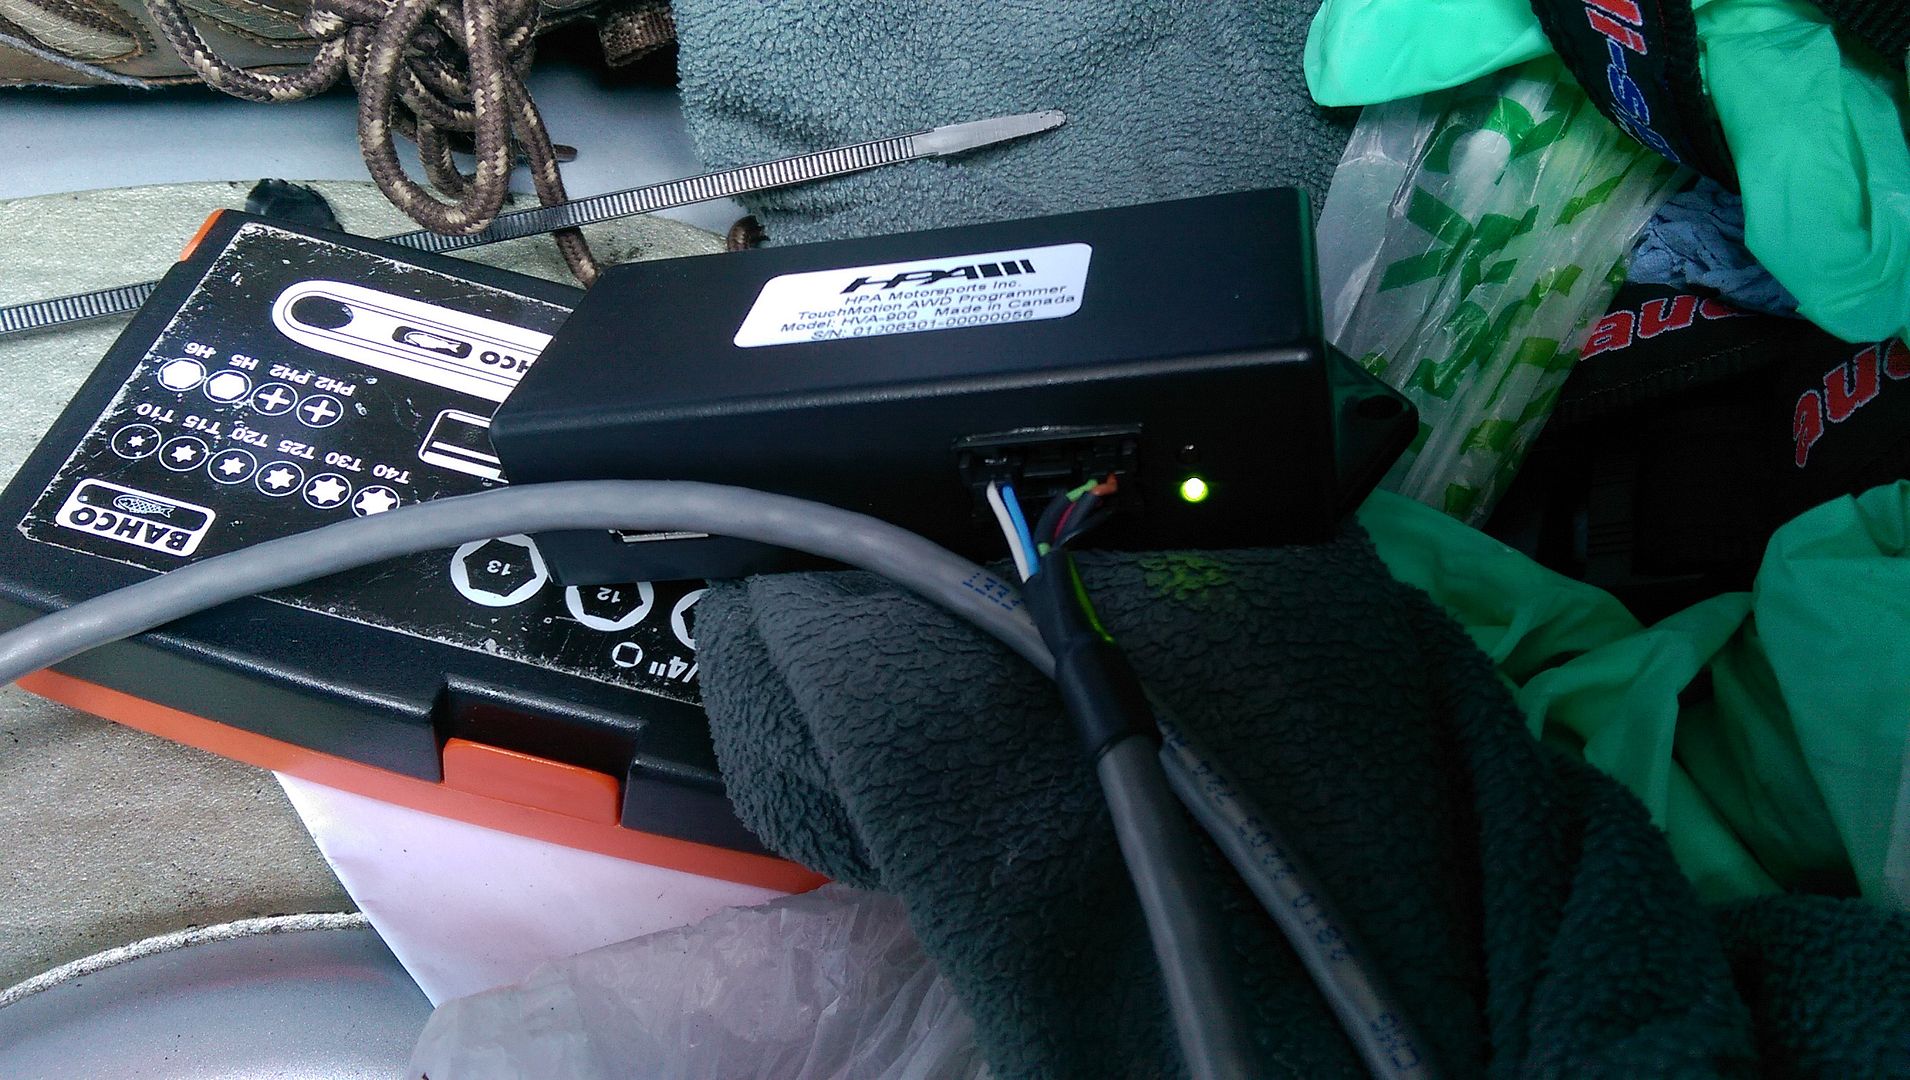
Plugged in the controller box and turned on the ignition... bingo...
...and connected...
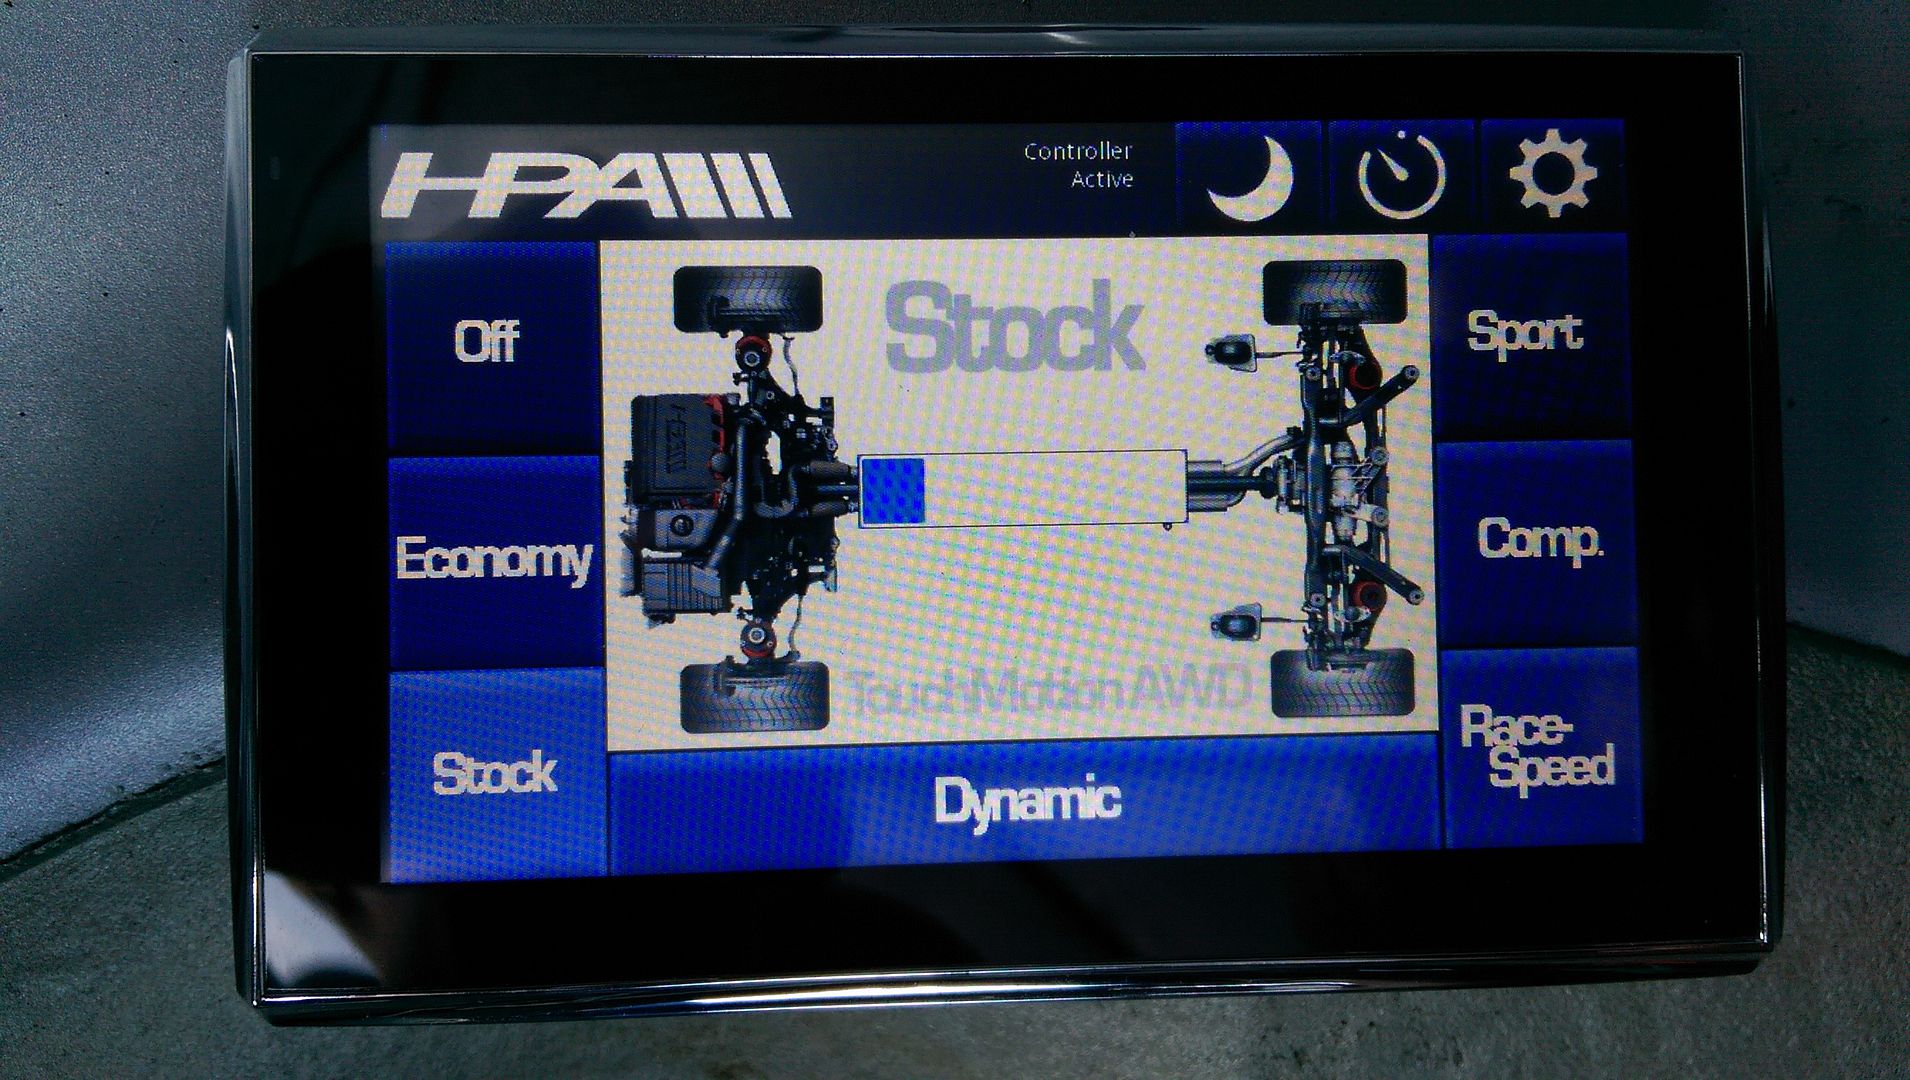
So... took the car up the road... not too far as I didn't have the time for a full on faff.... left it in 'Stock' mode and it drove as normal really... put it into 'Comp' mode and turned up the wick a bit... now... its too early to say as I literally went up the road (little B road) and back but there is a corner that I know can catch the haldex out a little wit it coming in noticeably... turned in doing 'some' speed and accelerated out the corner... soooo smooooth!... no 'step' as the haldex wakes up realising it has to do something... feels rather nice...
Need to play a bit more and work out exactly what the different modes do... I used the supplied window mount to stick the touch screen onto the windscreen for the quick drive... you can see the blue bar moving indicating distribution of 'power' which was interesting...
There was a small issue though... as I didn't have the screen plugged into any power it went off after a short while... which is ok,... but... it was struggling to get comms back with the unit... I think this was more because of where I had the controller in the boot than anything so I will rearrange things to make sure there is no issue over the signal etc...
I also have a cup holder mount coming so I can mount the screen in the cup holder if I need to...
Feels good so far but still need to play properly...
<tuffty/>
Sweet! Does it same as my CRC and engage the rear axle upon boost? Before slip occur.
I had signal problems as well and turned out to be the spark plugs. I can't run non-resistor plugs as they create alot of electrostatic interference which reboots my Haldex controller. Now I run resistored plugs and happy days. Lost only 10ish whp in the dyno between non vs resistored plugs.
I had signal problems as well and turned out to be the spark plugs. I can't run non-resistor plugs as they create alot of electrostatic interference which reboots my Haldex controller. Now I run resistored plugs and happy days. Lost only 10ish whp in the dyno between non vs resistored plugs.
I believe it takes the same signals from the various sensors/inputs the normal haldex uses then spoofs the haldex into reacting according to the selected mode...
It will also remain engaged under braking so adds drag like a torsion system aiding braking effort
Need to drive the car about really to get a feel for it..
<tuffty/>
It will also remain engaged under braking so adds drag like a torsion system aiding braking effort
Need to drive the car about really to get a feel for it..
<tuffty/>
Similar threads
- Replies
- 38
- Views
- 6K
