
Having sold my first sound setup I had intended to immediately replace it with this (2 years later its finally finished).
I saw this type of setup on a Mk1 Leon which was my inspiration. The rear left arch lining would be the removed to make way for the moulded box.
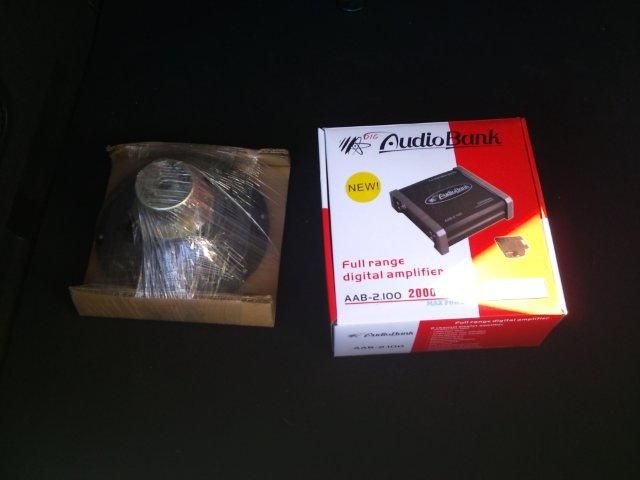
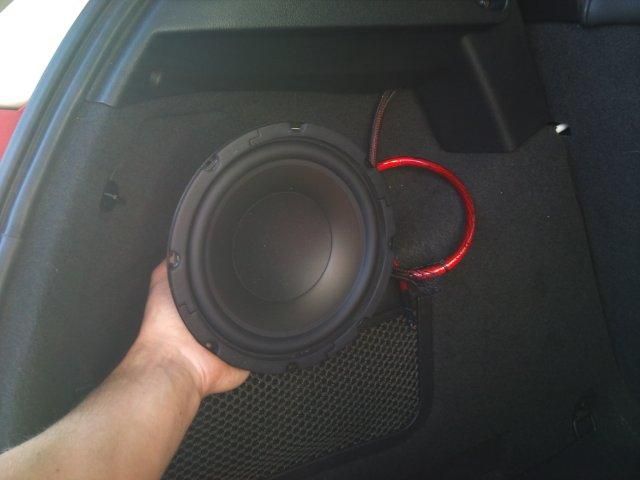
I haven’t been into the “big” sound systems for a long time so chose an 8” sub and compact digital amp.
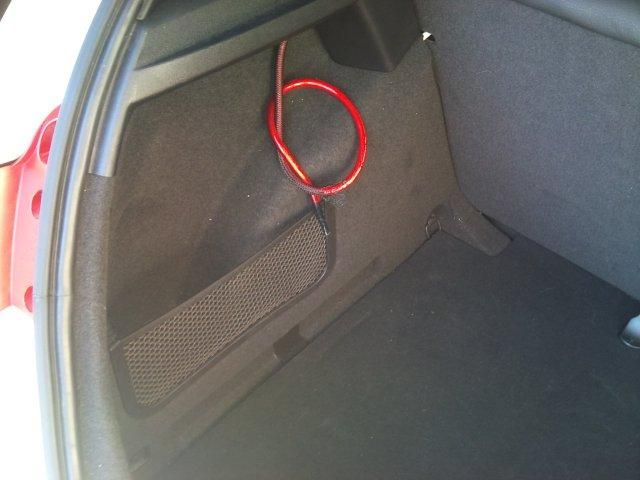
The sub would sit somewhere here.
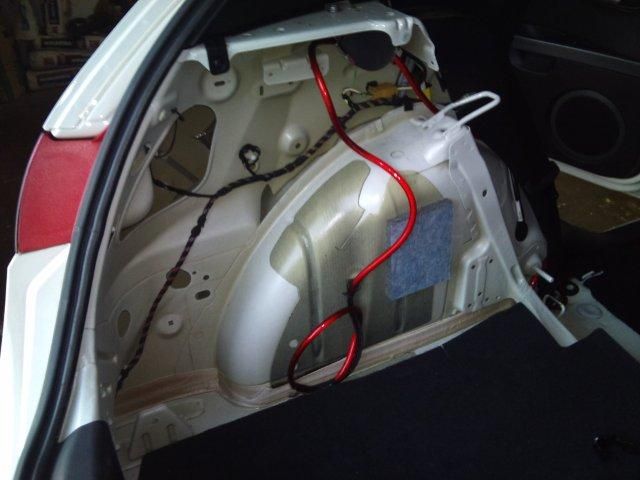
Carpet lining removed from the wheel arch.
Masking off the area ready for fibreglassing.
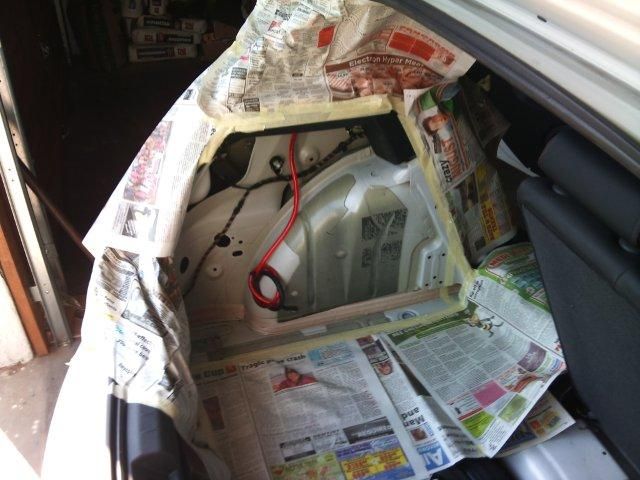
Masking tape covering the area to be fibreglassed.
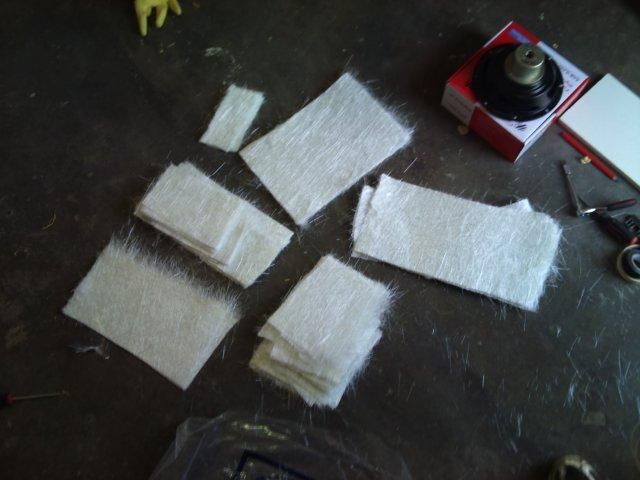
Cut the fibreglass mat into various sizes beforehand.
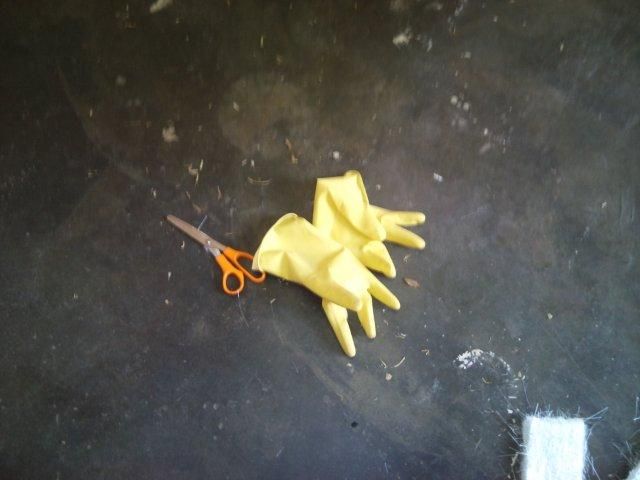
Important to wear gloves while working with the fibreglass resin.
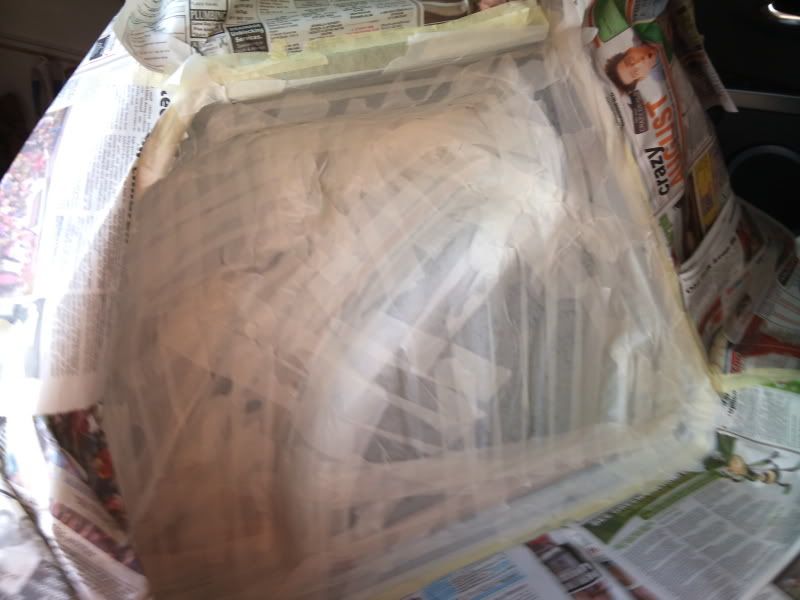
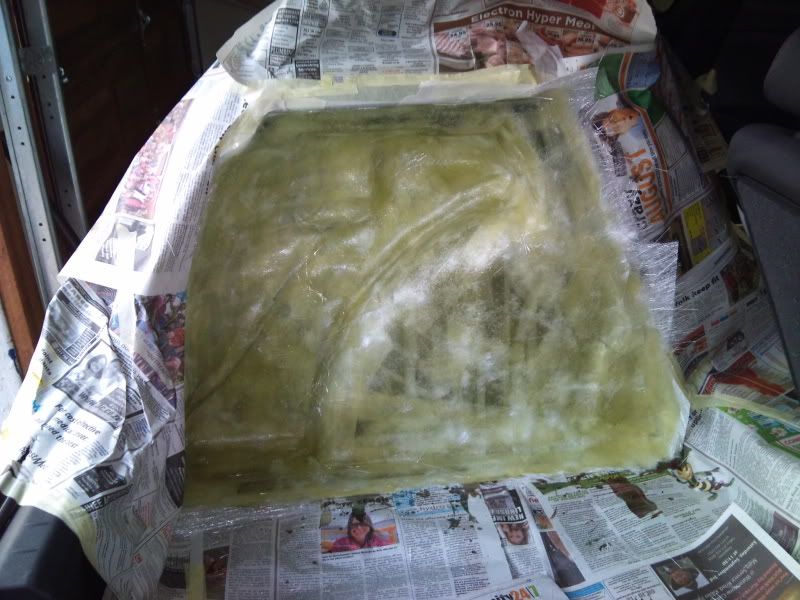
Area fibreglassed, allowing it to cure overnight.
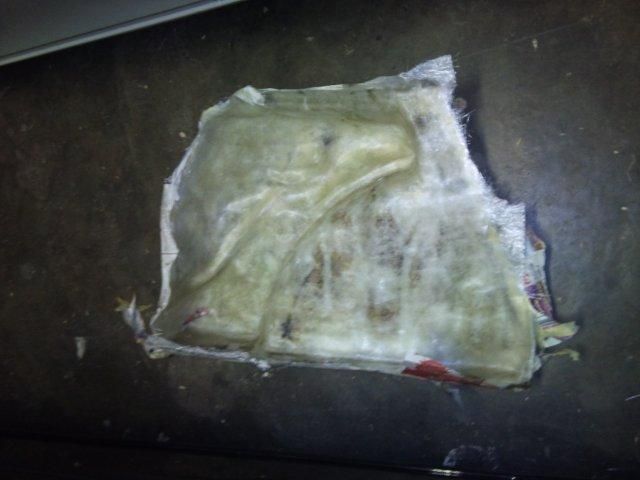
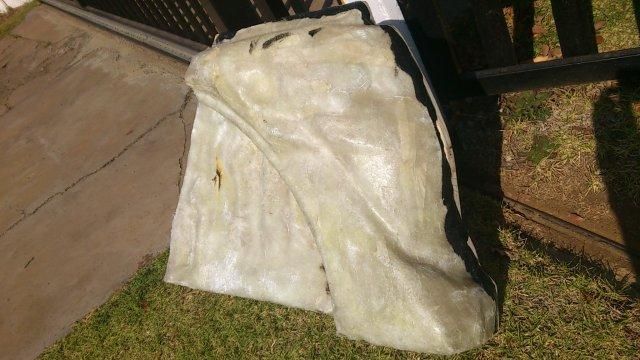
The mould stripped from the wheel arech, edges needing trimming.
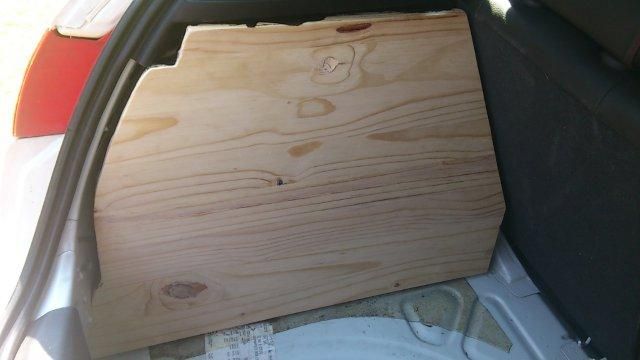
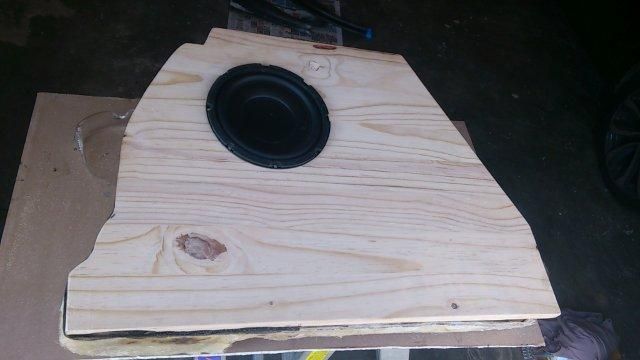
Once trimmed I traced the profile onto a board of pine and profiled that out.
Stuck the fibreglass to the board using silicone glue. I then used more fibreglass mat and resin to seal the two halves together all the way around.
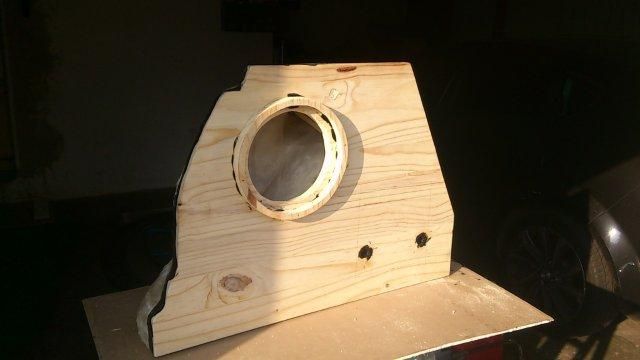
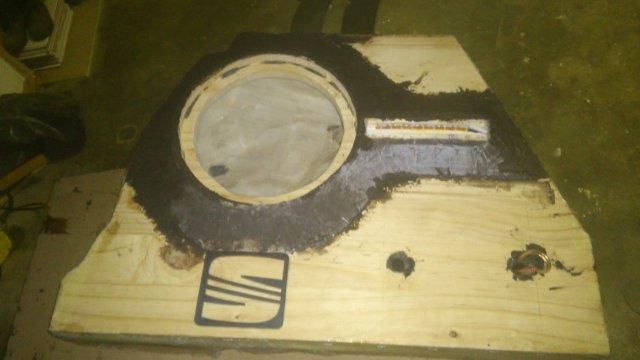
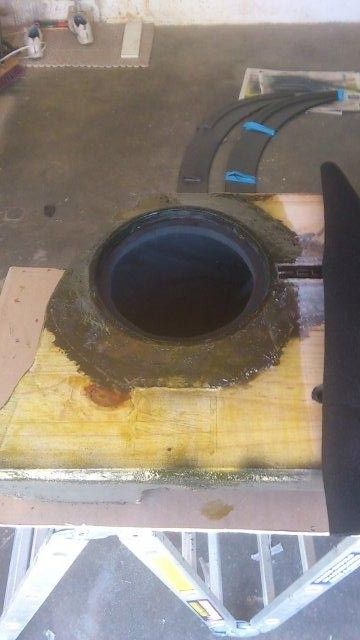
Cut the hole for the 8” and added a ring to size. I allowed two ports for my wiring to the amp.
This 10” Kenwood slimline speaker came available which I opted to use. I had to cut the opening bigger and remake the ring.

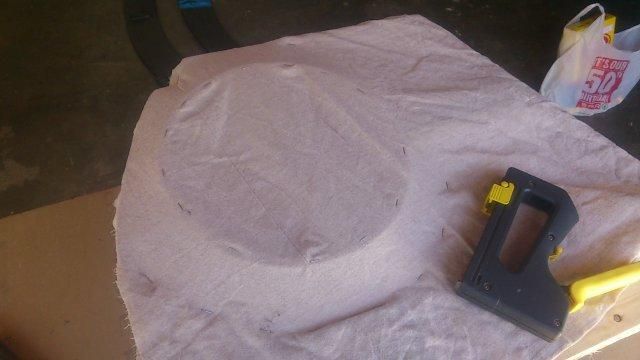
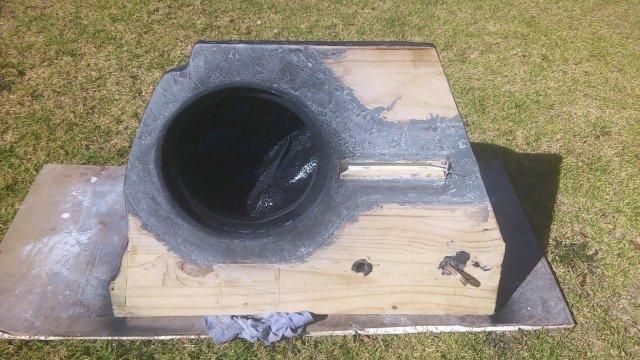
Using a piece of material I stapled it around the ring and the board to give my front face some dimension.
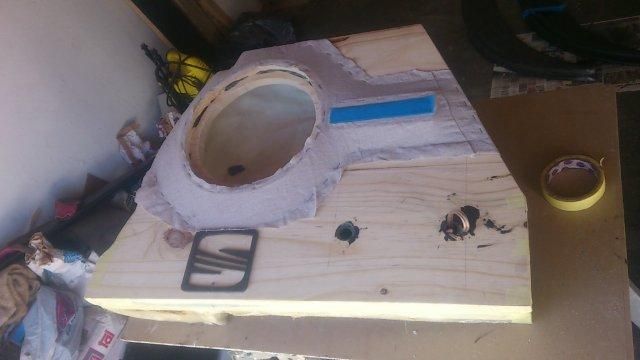
That was then trimmed and fibreglass resin soaked, and left over night to cure.

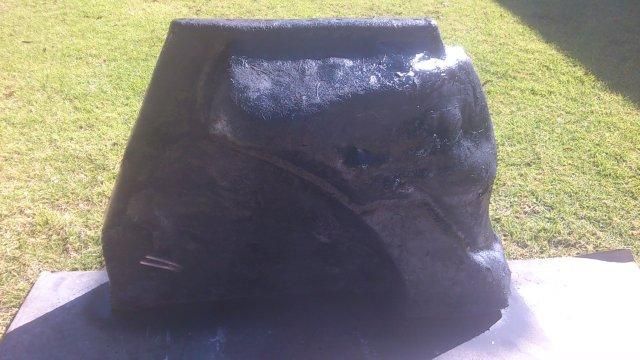
Flexible body filler was coated onto the cured shape, then sanded down to a smooth finish.
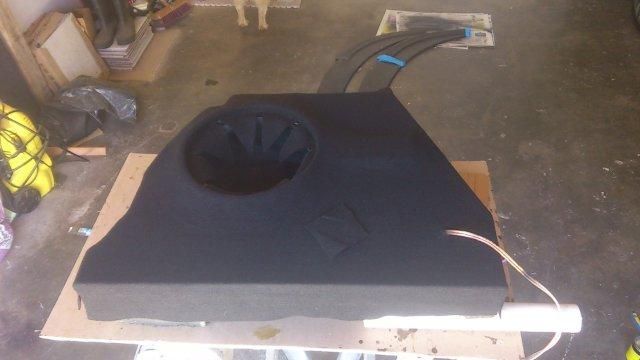
Sprayed the back side with a rubberised paint to neaten the look.
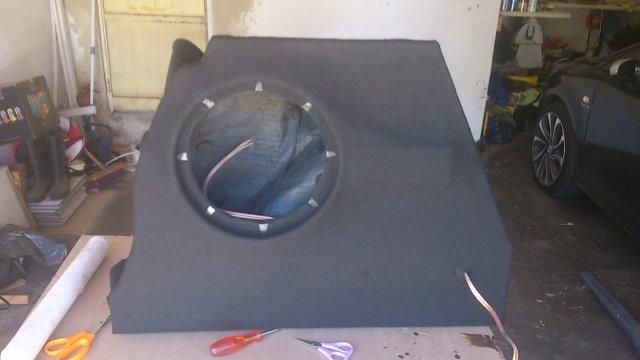
Finishing off the box with a black carpet material. I used contact adhesive, coated the box one half at a time.
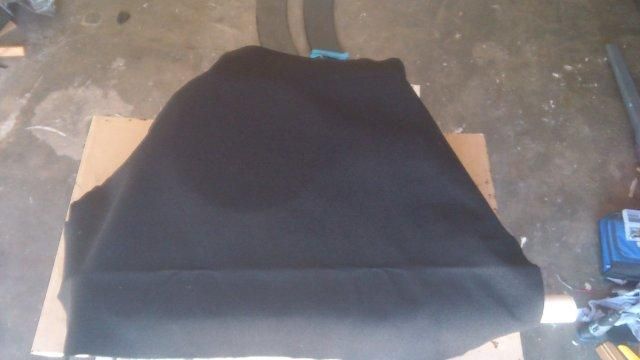
Sticking the carpet down and trimming the necessary areas.
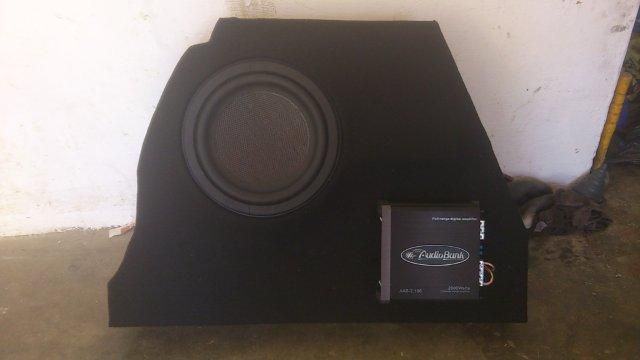
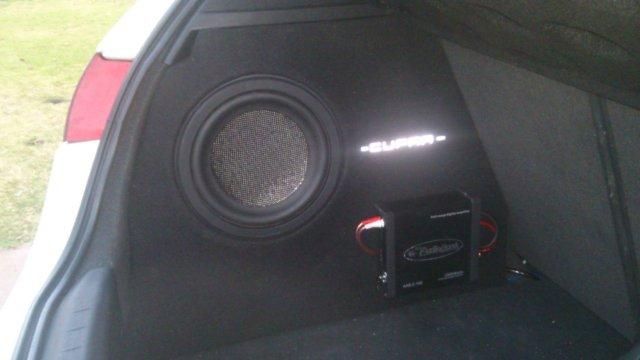
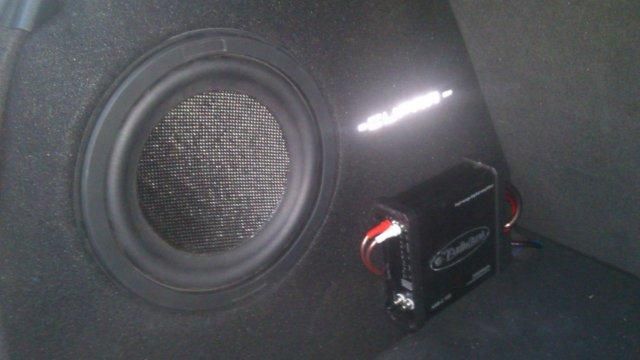
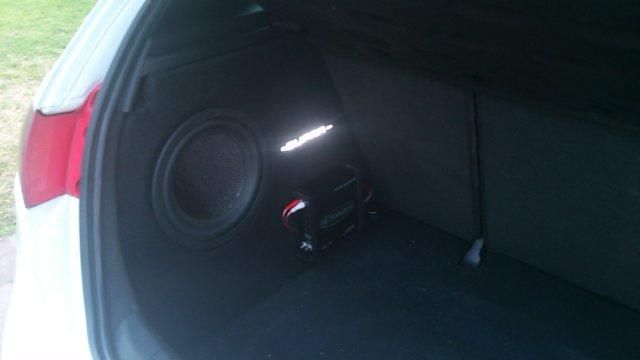
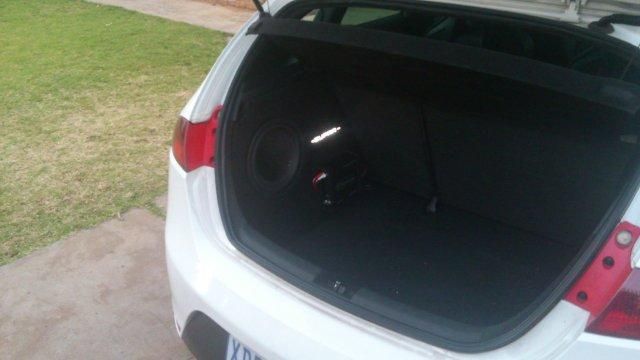
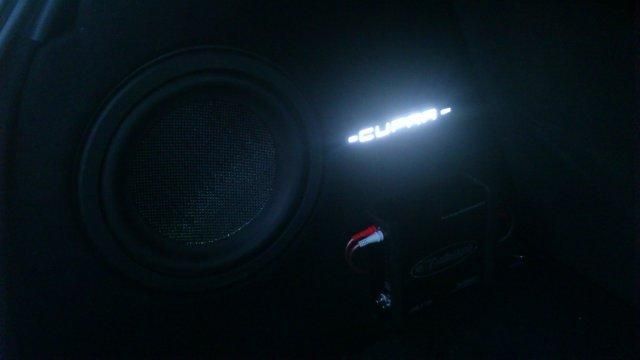
The amp and subwoofer fitted in place.
The fitted and finished product with a little something extra.


I saw this type of setup on a Mk1 Leon which was my inspiration. The rear left arch lining would be the removed to make way for the moulded box.
I haven’t been into the “big” sound systems for a long time so chose an 8” sub and compact digital amp.
The sub would sit somewhere here.
Carpet lining removed from the wheel arch.
Masking off the area ready for fibreglassing.
Masking tape covering the area to be fibreglassed.
Cut the fibreglass mat into various sizes beforehand.
Important to wear gloves while working with the fibreglass resin.
Area fibreglassed, allowing it to cure overnight.
The mould stripped from the wheel arech, edges needing trimming.
Once trimmed I traced the profile onto a board of pine and profiled that out.
Stuck the fibreglass to the board using silicone glue. I then used more fibreglass mat and resin to seal the two halves together all the way around.
Cut the hole for the 8” and added a ring to size. I allowed two ports for my wiring to the amp.
This 10” Kenwood slimline speaker came available which I opted to use. I had to cut the opening bigger and remake the ring.
Using a piece of material I stapled it around the ring and the board to give my front face some dimension.
That was then trimmed and fibreglass resin soaked, and left over night to cure.
Flexible body filler was coated onto the cured shape, then sanded down to a smooth finish.
Sprayed the back side with a rubberised paint to neaten the look.
Finishing off the box with a black carpet material. I used contact adhesive, coated the box one half at a time.
Sticking the carpet down and trimming the necessary areas.
The amp and subwoofer fitted in place.
The fitted and finished product with a little something extra.
 what would it be worth? what would you be willing to pay for the box?