Jim@WD

Active Member
Hi all, been a while since I've posted here. Recently caught Maz's latest work so thought I'd list a few of my recent VAG jobs. Enjoy! :)


Volkswagen Golf mkiv - ‘Ultimate Dubs’ 2011 show prep

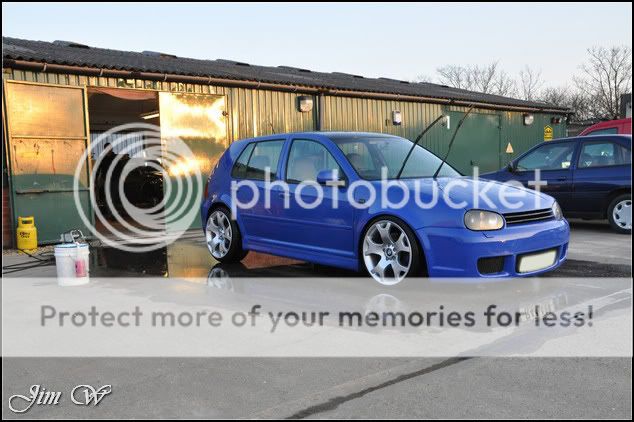
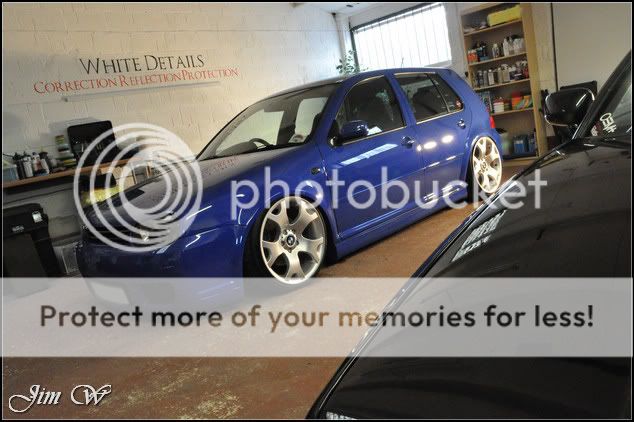
The Golf was dropped off on the Tuesday afternoon and collected Friday in readiness for Sundays Ultimate Dubs show in Telford.

My plan? A wheels-off & Major Paint Correction Detail.
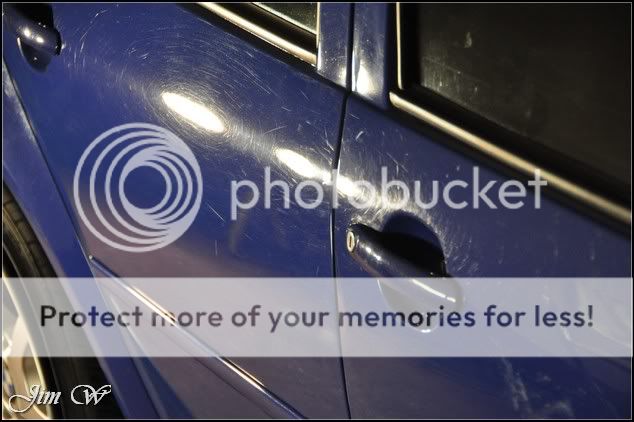
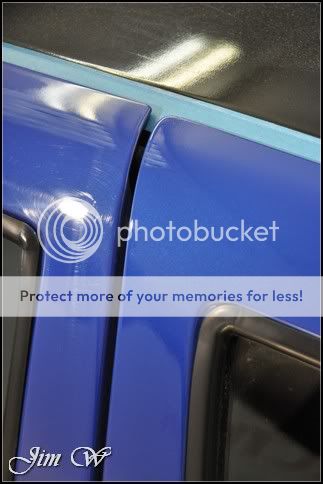
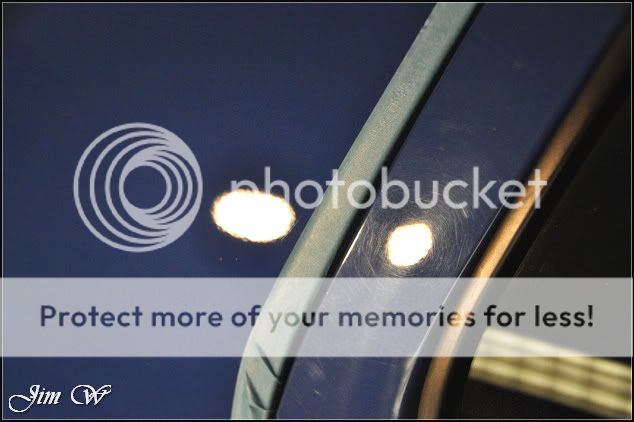
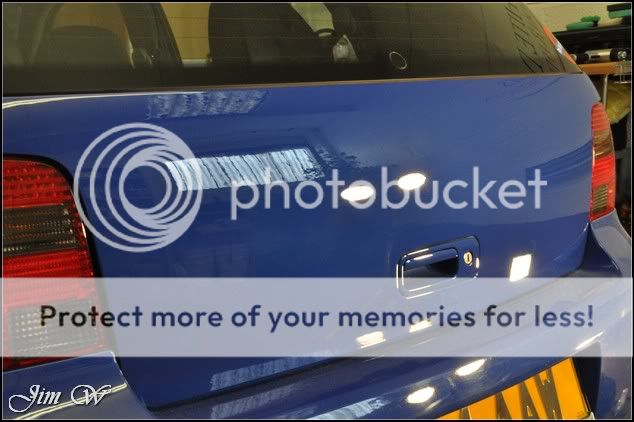
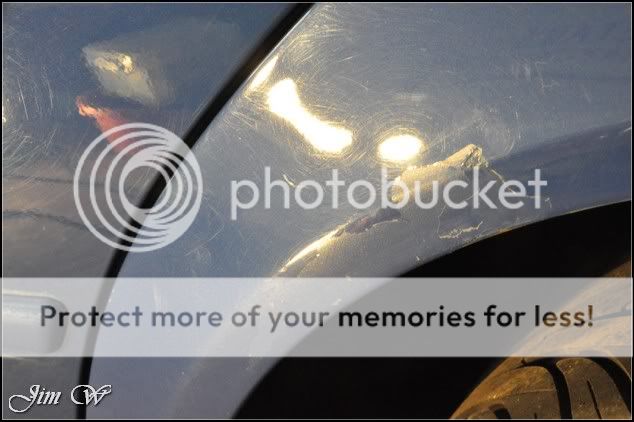
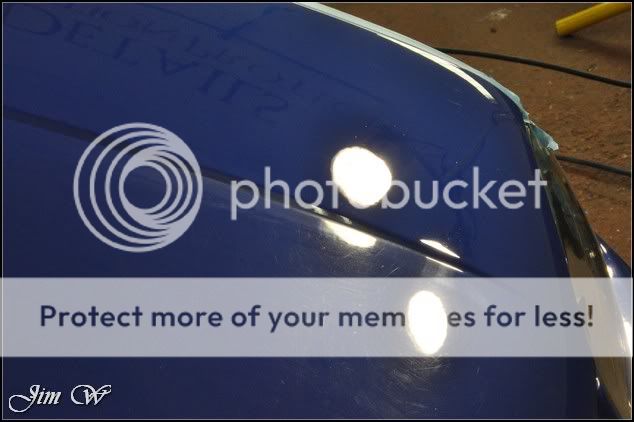
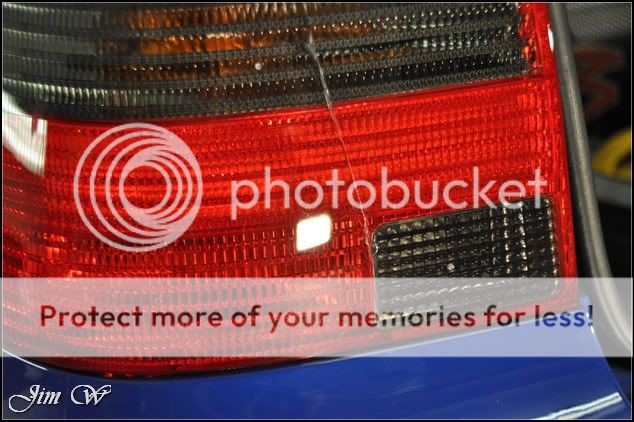
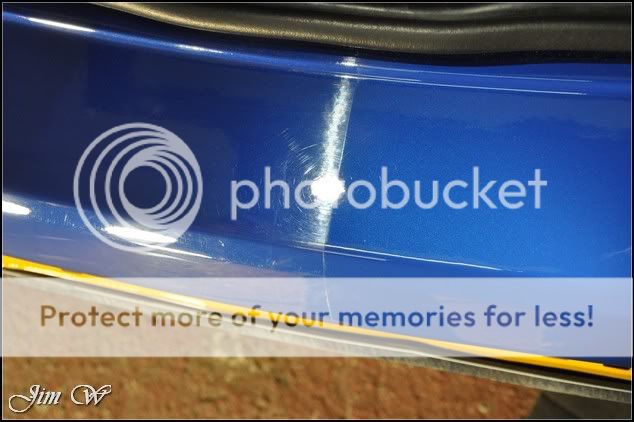
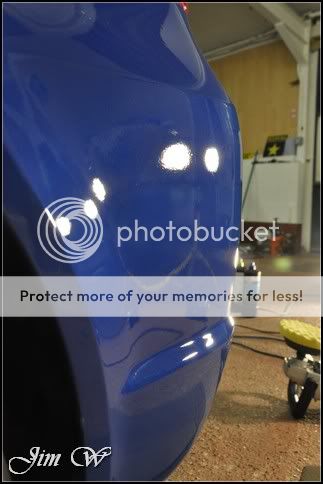
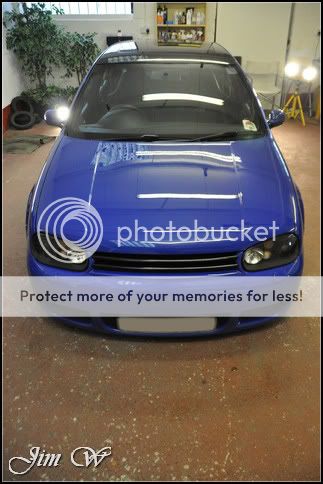
Inspection:

DSC_1191.jpg


DSC_1193.jpg


DSC_1194.jpg


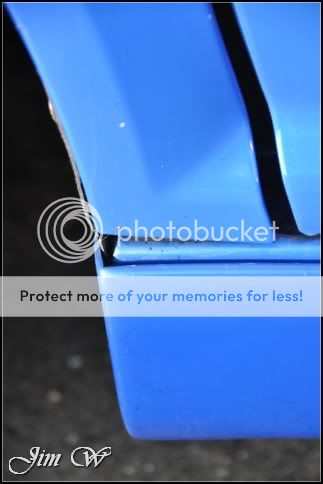
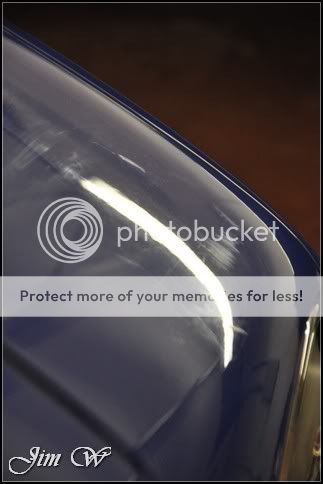
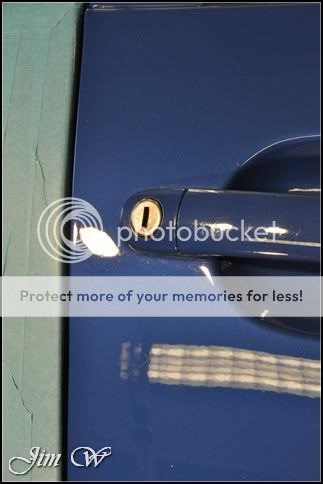
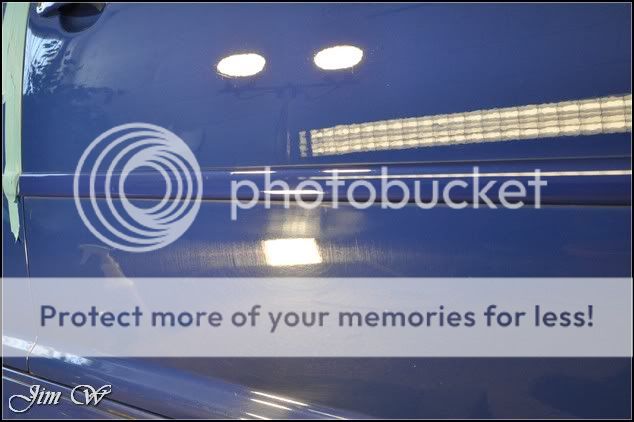
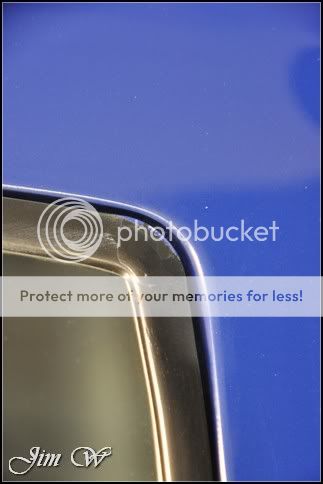
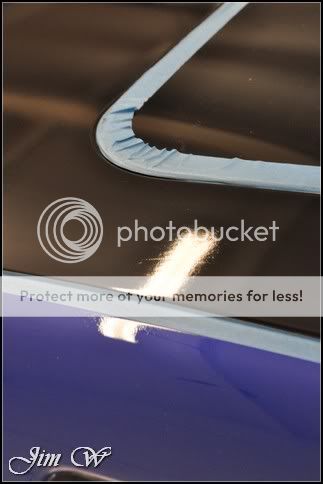
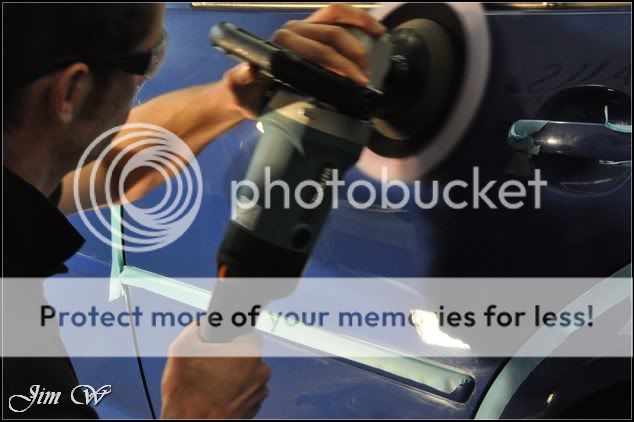
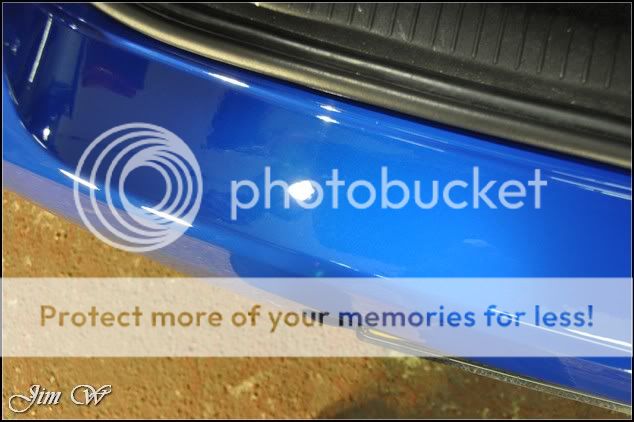
Buffertrials on freshly painted panels:

DSC_1195.jpg
DSC_1196.jpg


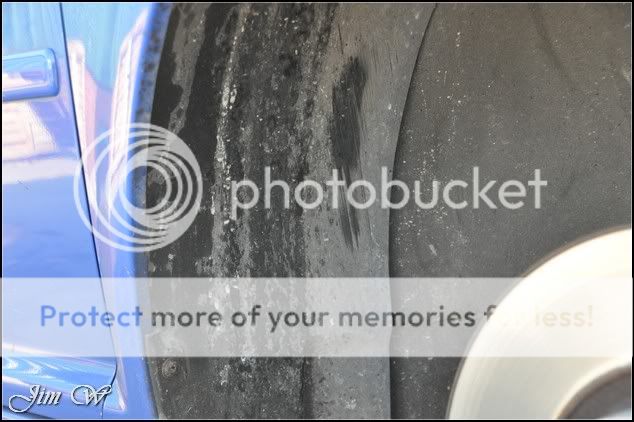
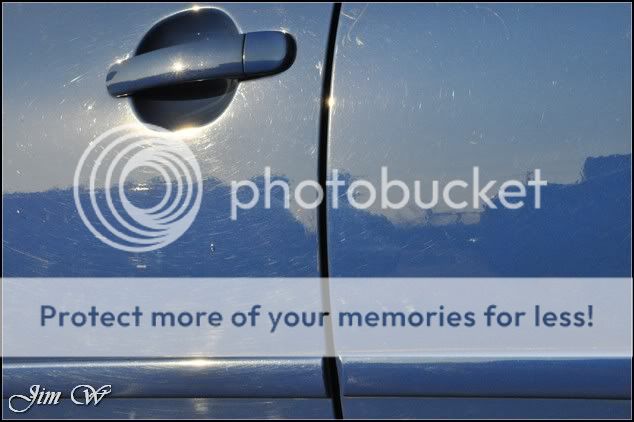
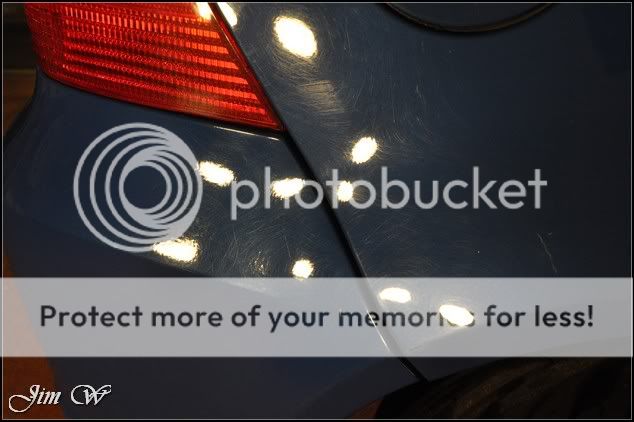
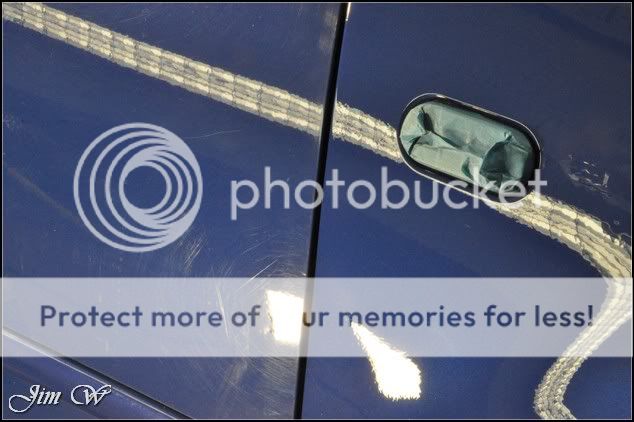
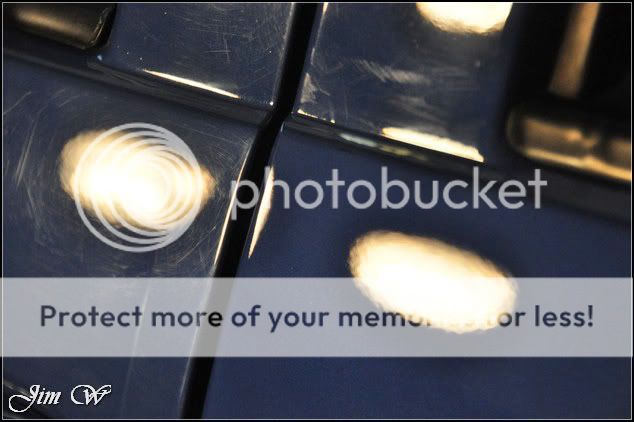
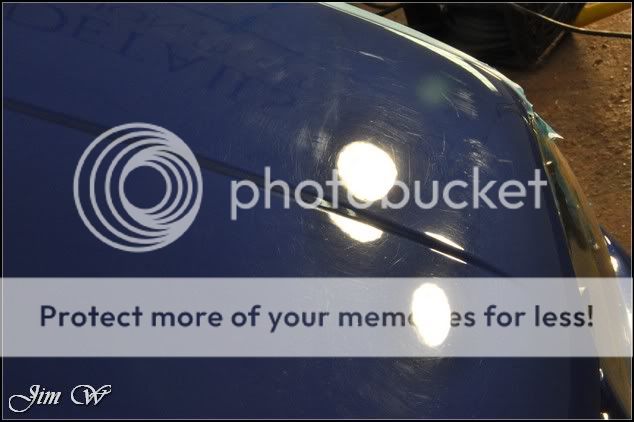
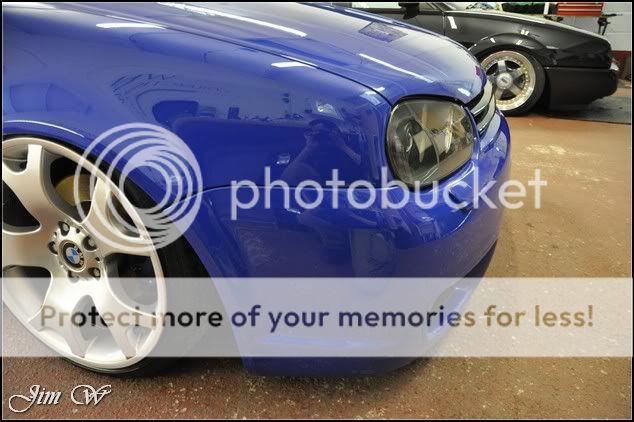
Car was ridded in deep scratches and swirls. It’s going to be a tough one…

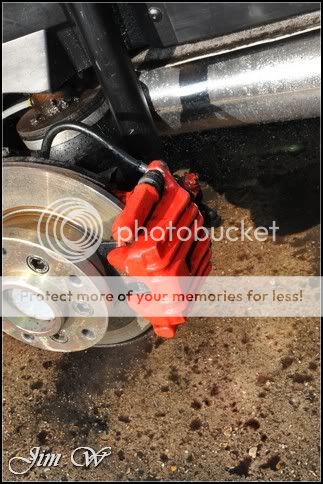
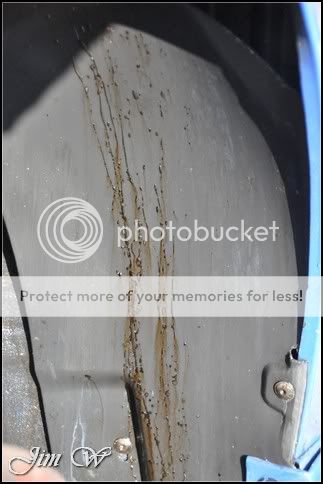
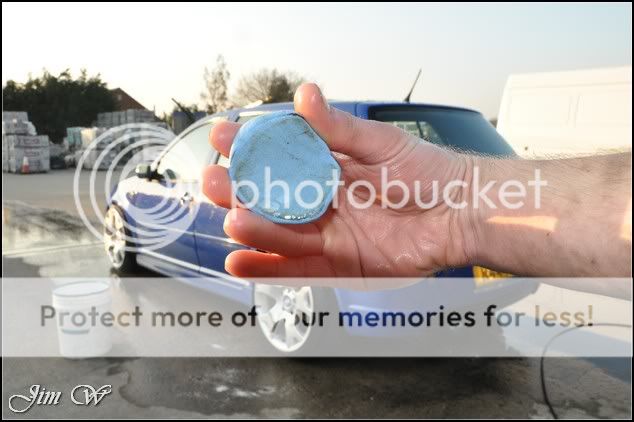
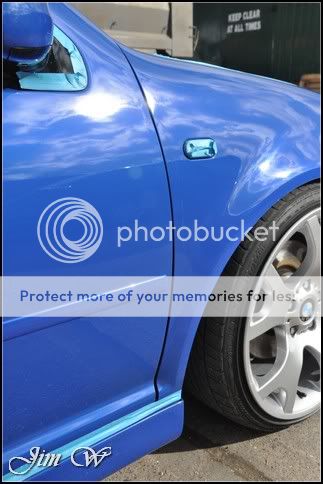
First up, wheels off, arches scrubbed , brake assembly cleaned and rims protected.
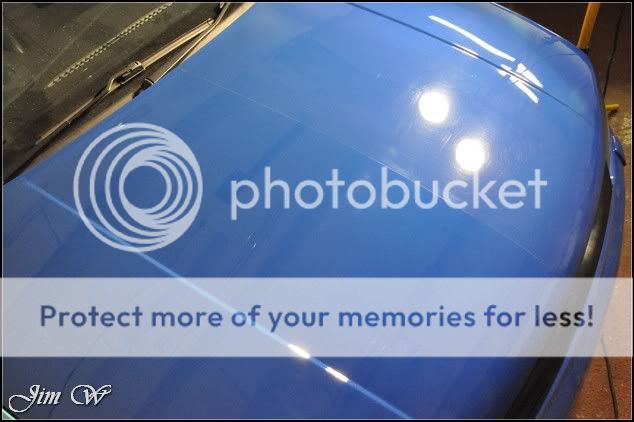
DSC_1215.jpg
DSC_1218.jpg


Before/after:

DSC_1200.jpg


DSC_1208.jpg
 
DSC_1227.jpg


DSC_1228.jpg


Washed via the two-bucket system and Dodo’s Born To Be Mild pH neutral shampoo.

Again, AS Tardis used to remove tar deposits.

DSC_1233.jpg
DSC_1234.jpg


Clayed with AMDetails’ mild clay bar and Megs Last Touch as lube.

DSC_0010.jpg


DSC_0002.jpg


DSC_0012.jpg


Contaminant free and ready to go inside for drying.

DSC_0014.jpg


DSC_0015.jpg


Resprayed areas: both bumpers, B-pillar and the boot lid.. The rest of the car is original VW paint and has suffered quite badly recently from regular trips to the local handwash station.

DSC_0016.jpg
 
After messing around with various polish/pad combinations, it was clear this wasn’t going to be easy. As the defects were as bad as they were and with the paint being as hard as nails, I had to go aggressive. Settled with a Lake Country wool pad, FastCut+ and a blob of Ultrafina.

Most areas requiring 2-3 hits with wool to deliver the results I was after. Polished with Menz 85RD 3.02 on a yellow polishing pad and then later refined with 3M Ultrafina on a blue finishing pad.


DSC_0039.jpg
DSC_0045.jpg


DSC_0047.jpg


DSC_0051.jpg


DSC_0052.jpg


DSC_0053.jpg
DSC_0054.jpg


DSC_0055.jpg


Before/after:

DSC_0056.jpg


DSC_0058.jpg
 
DSC_0059.jpg


All four wheel arches suffered in one way or another – slightly scabby so had to take care when machining.

DSC_0066.jpg


DSC_0067.jpg
DSC_0068.jpg


DSC_0071.jpg


The finish around the arches wasn’t perfect; it was either this, or, risk catching the affected area with the machine pad and making things 10x worse.

O/S front wing complete.

DSC_0079.jpg


DSC_0072.jpg


50/50 against the driver’s door:

DSC_0073.jpg


DSC_0076.jpg


DSC_0080.jpg
 
DSC_0091.jpg
DSC_0110.jpg


Continuing to chase deeper defects out with wool:

DSC_0097.jpg


DSC_0103.jpg


50/50:

DSC_0104.jpg


Under the bumpstrips after:

DSC_0115.jpg
DSC_0116.jpg


So far, we’re pushing for 95% defect correction. I was lucky that the original paint had healthy thickness readings. However, some marks were just too deep and had to remain behind.


B-pillars 50/50:

DSC_0120.jpg
DSC_0127.jpg


DSC_0123.jpg
 
DSC_0125.jpg


DSC_0126.jpg


High up on the O/S rear quarter, some nasty scratches:

DSC_0130.jpg


Checking thickness levels:

DSC_0131.jpg


After two more passes with wool and FastCut+:

DSC_0132.jpg


Still not perfect; under normal lighting conditions however they would be barely noticeable.


Reflection before/after:

DSC_0133.jpg


DSC_0134.jpg


O/S rear quarter complete:

DSC_0135.jpg
DSC_0138.jpg


DSC_0136.jpg
 
Again, compromise coming into play here – not perfect but still much improved.

DSC_0156.jpg


50/50 between the two O/S doors:

DSC_0157.jpg


Vinyl roof lightly polished to lift oxidation:

DSC_0164.jpg
DSC_0165.jpg


Bringing day 2 to an end, the O/S was completed by finalising the sills.

DSC_0167.jpg


DSC_0169.jpg
DSC_0168.jpg


DSC_0171.jpg


Freshly painted bootlid, before:

DSC_0174.jpg