
-
Guest, 🎅🎄Looking for a stocking filler idea? Why not treat yourself or a loved one to our high quality CUPRA or SEAT valve caps. Order now from the merchandise store
Projector hid how to.
- Thread starter Phillc
- Start date
You are using an out of date browser. It may not display this or other websites correctly.
You should upgrade or use an alternative browser.
You should upgrade or use an alternative browser.
Well here's the last instalment they are finished, I decided to wire the bulbs and halo's into the OE connector do there are no wires coming out of the back of the light unit so it looks totally OE I will have to mod the wiring that plugs into the lights a bit though.

I bought some silicon wiring to match the bulbs wiring and some connectors that fit the OE wiring plug, to do this you need some tools to remove the small connectors in the plug, (I get all my wiring parts from Vehicle wiring products in Ilkeston in Derbyshire, they are top people and if ordered before 1pm they order will come next day)

You remove the OE wiring for the main and dipped beams, and wire in the live and earth wires for the bulbs and fit a connector on the end then cut the connector of the end of the wire going to the bulb and replace it with the other half of the new connector, this just makes it a lot easier to replace the bulb.
You also need to connect all the Earth’s together. You then connect the side light wire to the wiring for the halo starters, I connected the wires on the starters together to make it just one live and one earth, (like a daisy chain) (If you are only doing the dipped beam this is what you have anyway) When you have finished you should have something that looks like the picture below.

I then stuck the starters inside the light where that didn't obstruct the movement of the light housing with double sided foam tape, so now everything is inside the light.

Now all you need to do is screw the light unit back into the main light housing and connect all the wires together, you know when you have screwed the housing in far enough because you can get the levelling motor back in.
The last thing you need to do is seal the fronts back on, i used tiger seal, you will need to keep some pressure on the two halves to make sure the seal is good and water cant get in i used good old gaffer tape, i have put some paper between the lense and the tape as i have had a problem with the adhesive on the masking tape marking the lenses, so wasn't taking any chances.

When wiring the lights in you need to wire the side lights to each light but with the mains and dipped one side Dipped and the other main, so on one side you will have a unconnected live and the other an unconnected dipped. This means one wiring loom controls the main and the other the dipped, that's how i did it any way.
I have had a problem since fitting them as one of the halo starters failed, i am only running two halo's until the replacement starter arrives, but i found some that will run both halos from the one starter, which is alot better as space is a premium inside the light.
As it looks now.

I bought some silicon wiring to match the bulbs wiring and some connectors that fit the OE wiring plug, to do this you need some tools to remove the small connectors in the plug, (I get all my wiring parts from Vehicle wiring products in Ilkeston in Derbyshire, they are top people and if ordered before 1pm they order will come next day)
You remove the OE wiring for the main and dipped beams, and wire in the live and earth wires for the bulbs and fit a connector on the end then cut the connector of the end of the wire going to the bulb and replace it with the other half of the new connector, this just makes it a lot easier to replace the bulb.
You also need to connect all the Earth’s together. You then connect the side light wire to the wiring for the halo starters, I connected the wires on the starters together to make it just one live and one earth, (like a daisy chain) (If you are only doing the dipped beam this is what you have anyway) When you have finished you should have something that looks like the picture below.
I then stuck the starters inside the light where that didn't obstruct the movement of the light housing with double sided foam tape, so now everything is inside the light.
Now all you need to do is screw the light unit back into the main light housing and connect all the wires together, you know when you have screwed the housing in far enough because you can get the levelling motor back in.
The last thing you need to do is seal the fronts back on, i used tiger seal, you will need to keep some pressure on the two halves to make sure the seal is good and water cant get in i used good old gaffer tape, i have put some paper between the lense and the tape as i have had a problem with the adhesive on the masking tape marking the lenses, so wasn't taking any chances.
When wiring the lights in you need to wire the side lights to each light but with the mains and dipped one side Dipped and the other main, so on one side you will have a unconnected live and the other an unconnected dipped. This means one wiring loom controls the main and the other the dipped, that's how i did it any way.
I have had a problem since fitting them as one of the halo starters failed, i am only running two halo's until the replacement starter arrives, but i found some that will run both halos from the one starter, which is alot better as space is a premium inside the light.
As it looks now.
As it looks now.
 epic car mate, great wright up.
 Where did you get the washers from?
are they just wired up to the windscreen washer?
Cheers mate,The washers are from a porsche 944 and they are run from the washer bottle with a separate pump from a Golf Mk4 and a custom loom from kufatec.
Well ive had a go at this there still not finished , I need to dress up the lights a bit put there getting there
")
heres some pics , sorry about the quality of the pics my workspace was a mess
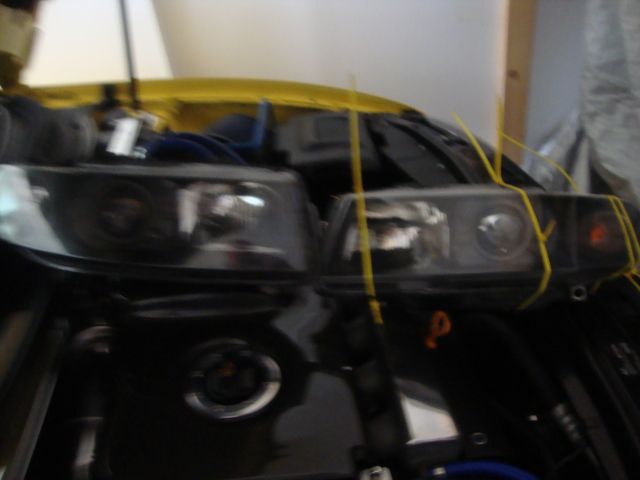


As for the wiring im stumped to were these wires connect to
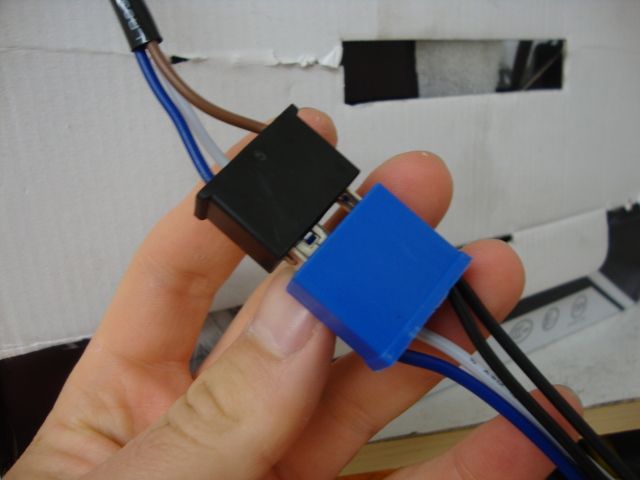
to work the bi xenons do you need to just wire these to one light on the control box on the loom ?
cheers for looking
heres some pics , sorry about the quality of the pics my workspace was a mess
As for the wiring im stumped to were these wires connect to
to work the bi xenons do you need to just wire these to one light on the control box on the loom ?
cheers for looking
to work the bi xenons do you need to just wire these to one light on the control box on the loom ?
cheers for looking
You neeed to wire them into the loom.
You neeed to wire them into the loom.
cheers Phill ,so do i need to just wire these into the passenger side headlight , tbh the instructions are confusing me alittle
sorry to bug you but the 2 black wires and the white and blue do the black go to earth and blue and white go to the main beam
I Will pm you a link Arron regarding the projectors
cheers again
Similar threads
