Gav's LCR 225 (Darth Vader)

dreago 1

Gav
Oct 21, 2011
767
0
East Sussex
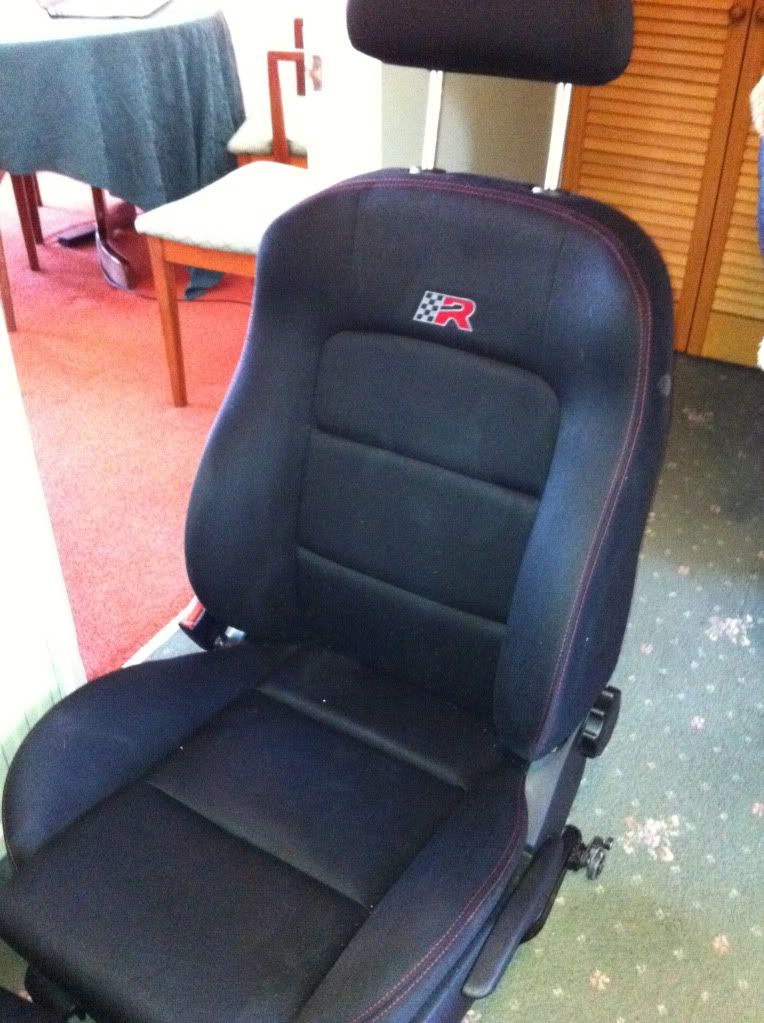
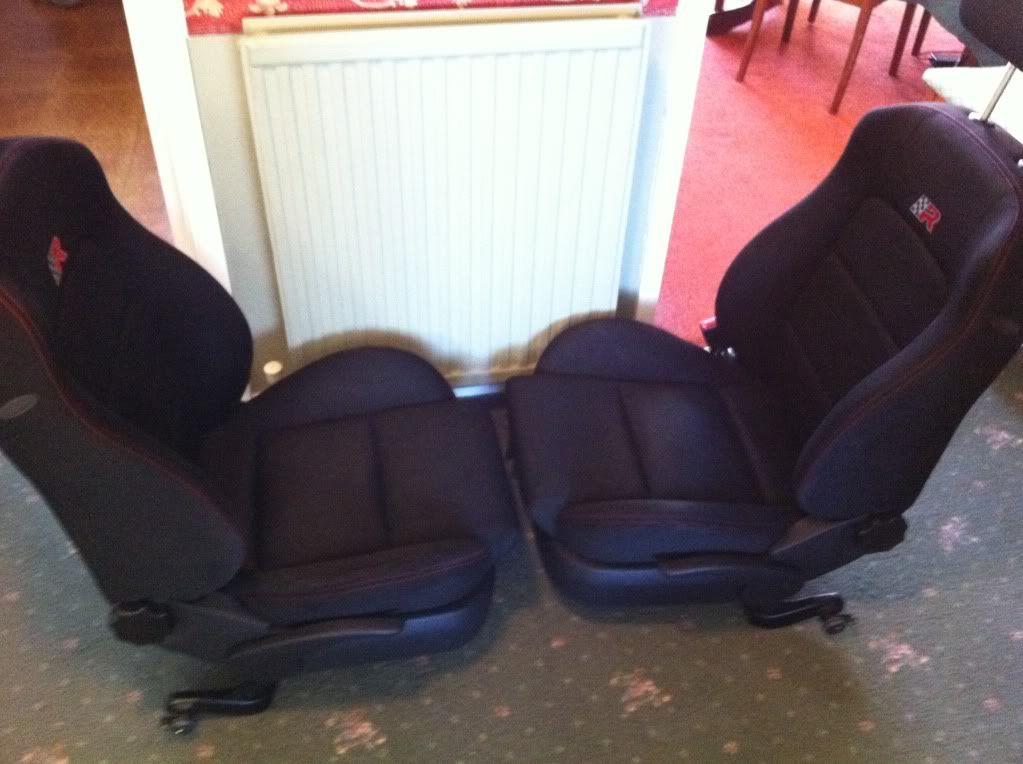
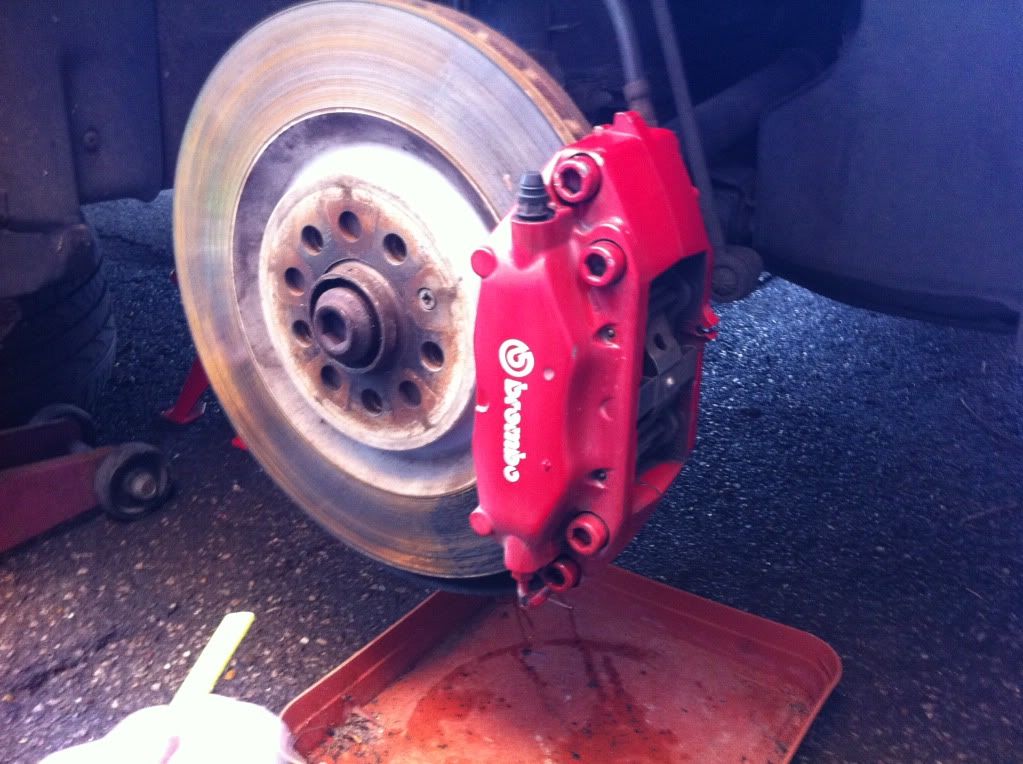
Thought I would start my own thread as I've started to modify now. Had the car for about two years, when I first took her for a test drive the salesman made me pull a manoeuvre which I would not of done before I realised the power. I did not think it was possible the sheer acceleration was amazing (compared to my Accord) after that I was hooked and have loved driving it ever since.

GavsLCR.jpg


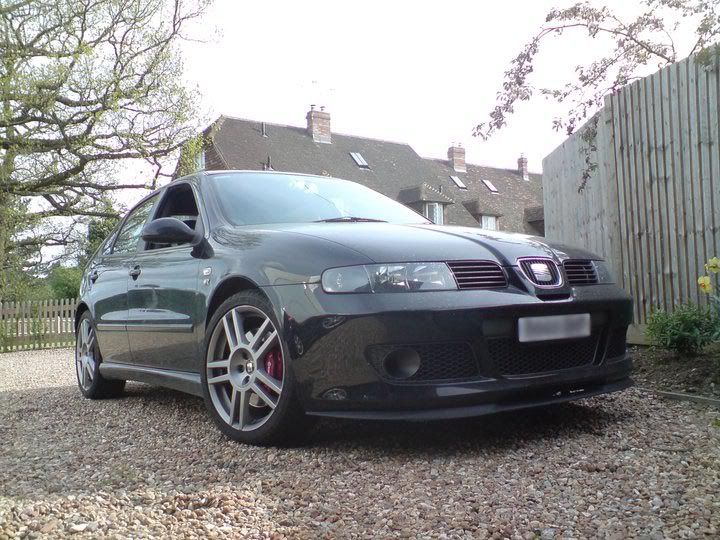
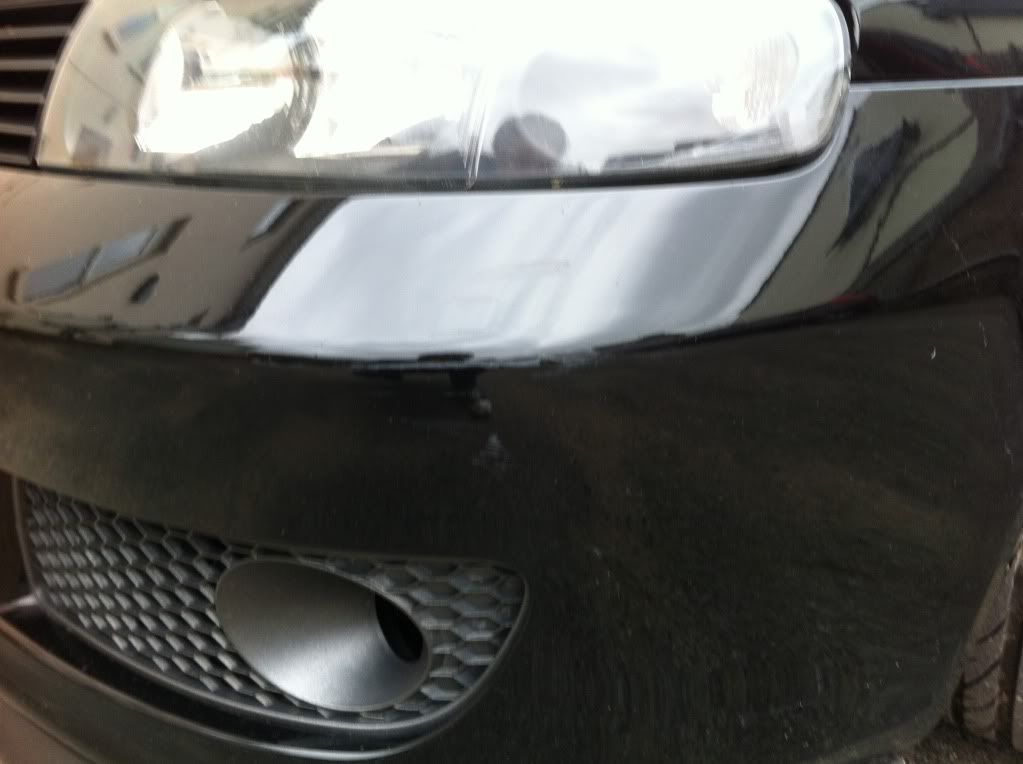
Heres the car when I first bought it. Already had the fog lights removed and a slight scratch on the front bumper (soon to be getting re-sprayed). I found out later on that she has a Blueflame system and a B&M quick shift stick.

IMG_0269.jpg


First thing I did was to fit a Kenwood KDC BT61U stereo which my woman bought me for my birthday.

IMG_0271.jpg


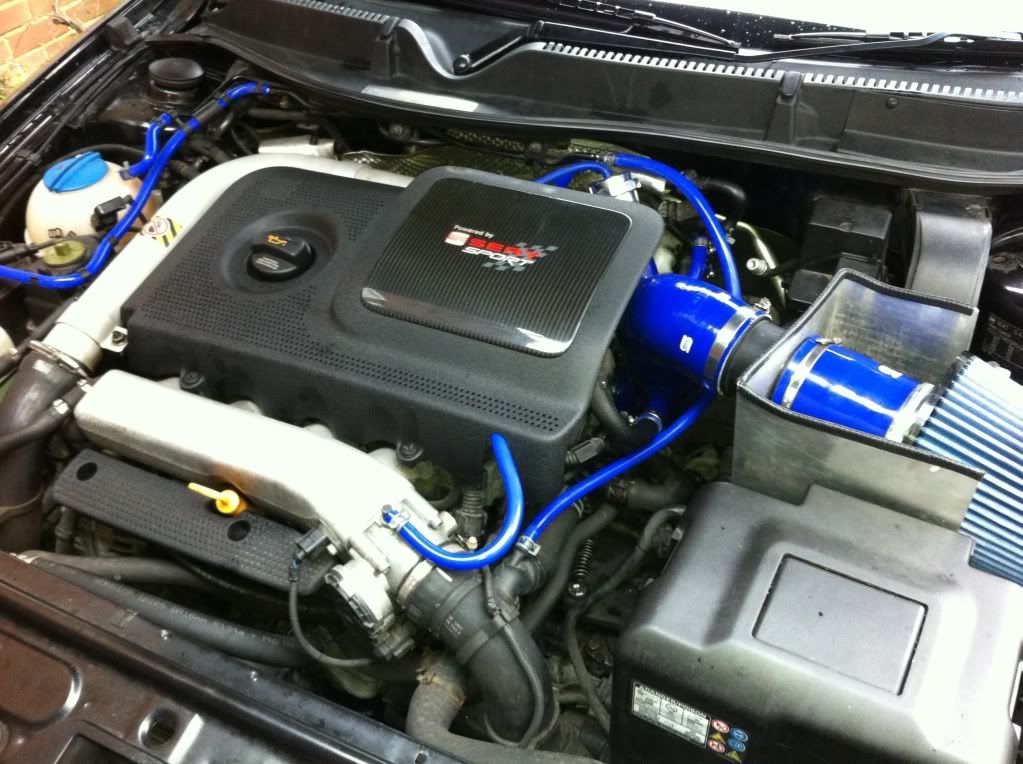
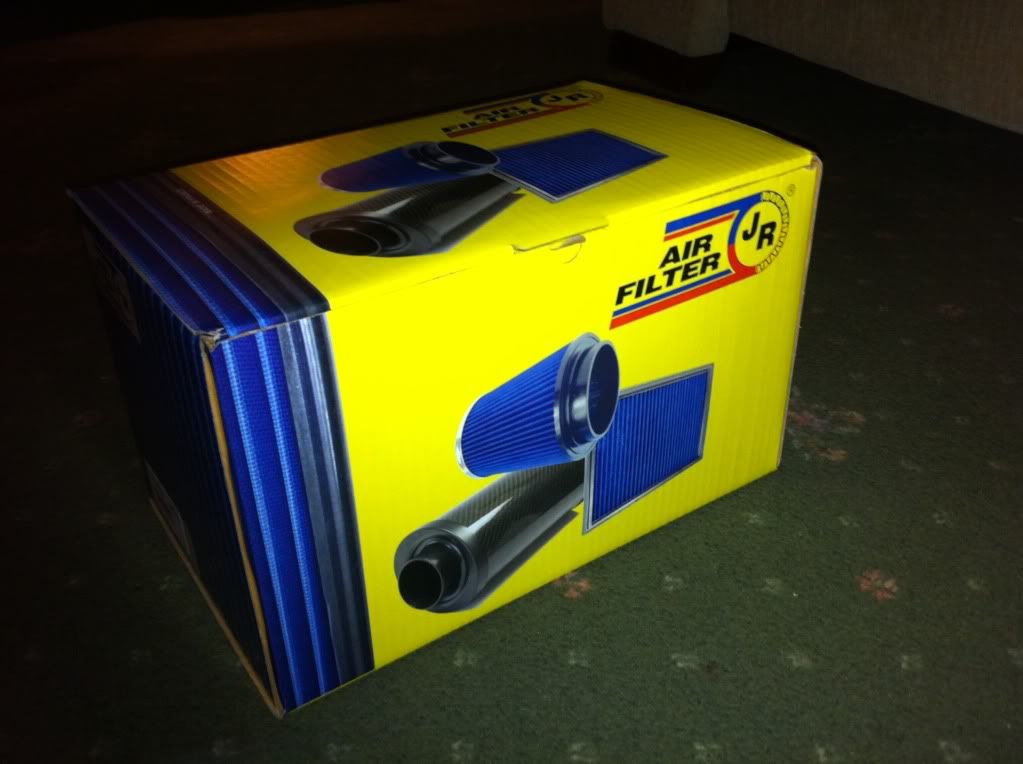
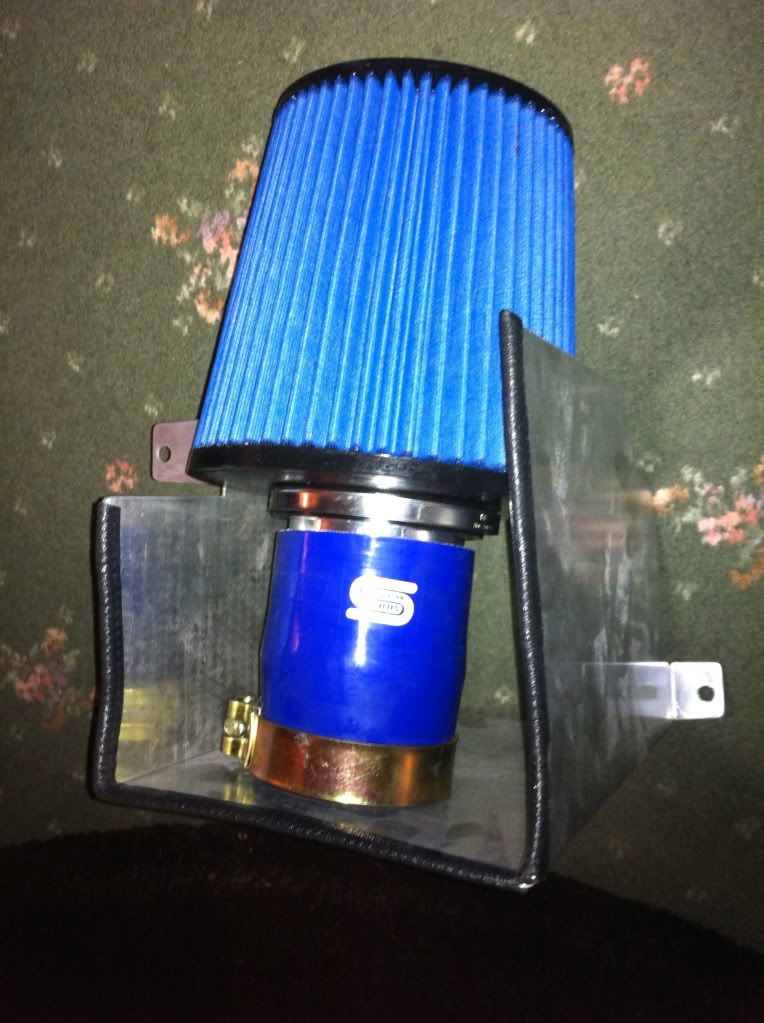
The next modification was to fit a JR open cone filter extended to the wing and custom heat shield. Was easy to fit, looks great and sounds even better! The car feels more responsive.

IMG_0202.jpg


IMG_0203.jpg


IMG_0205.jpg


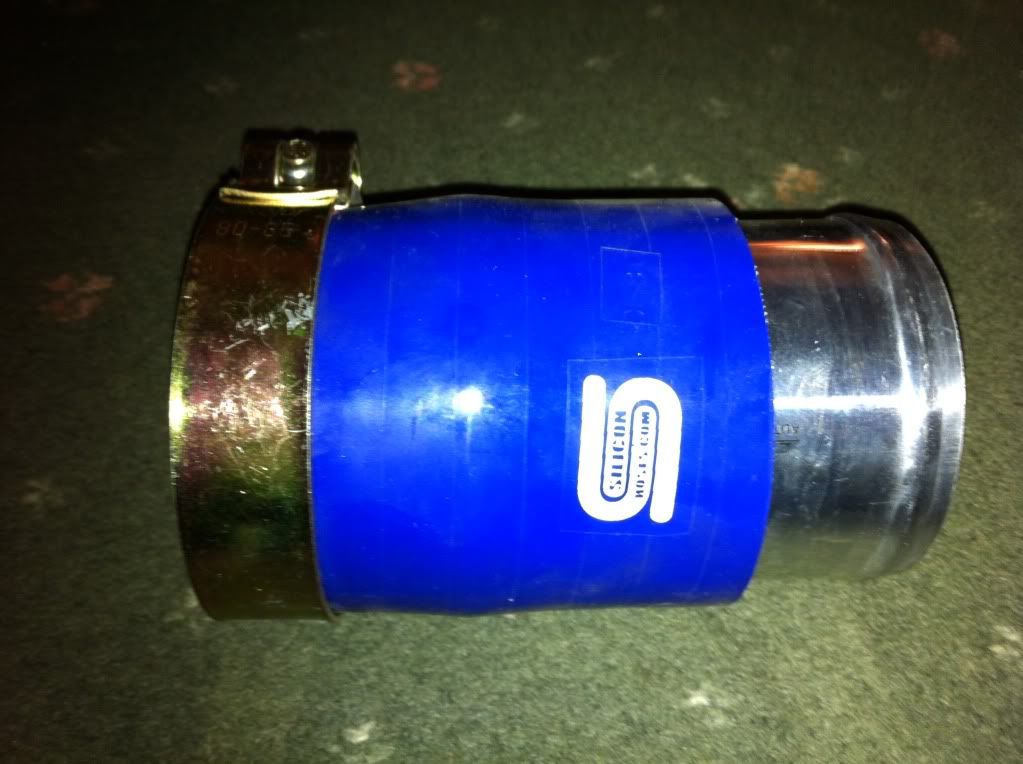
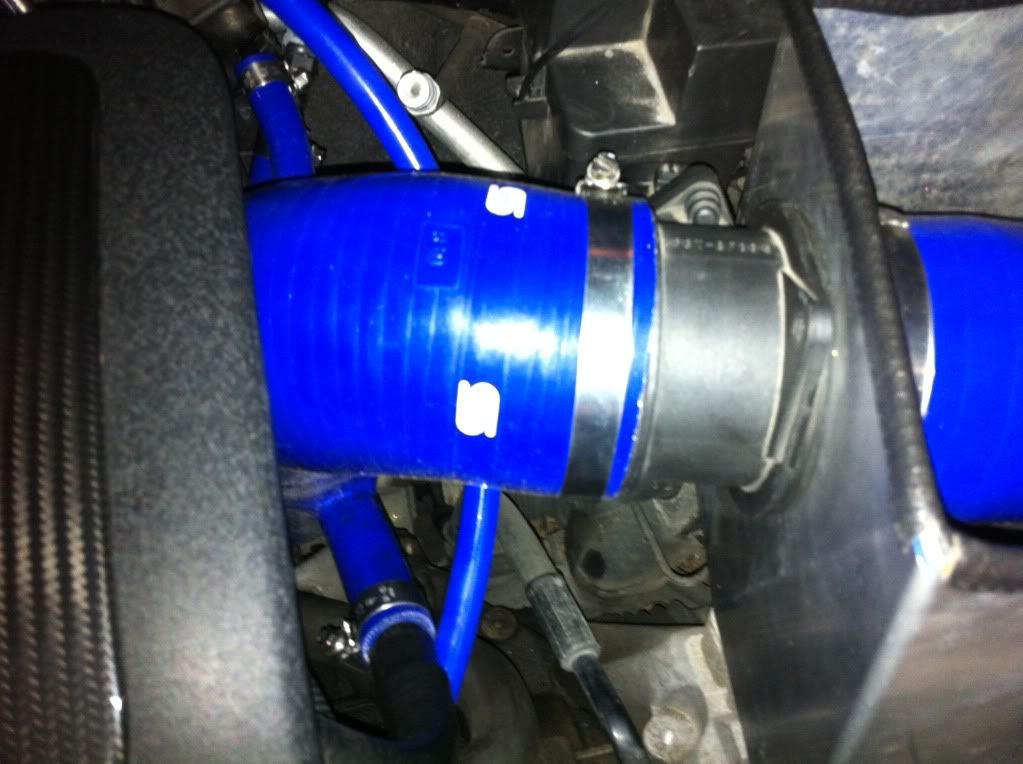
While fitting this I replaced some of the silicon hoses, which were a right pig to remove.

IMG_0226.jpg


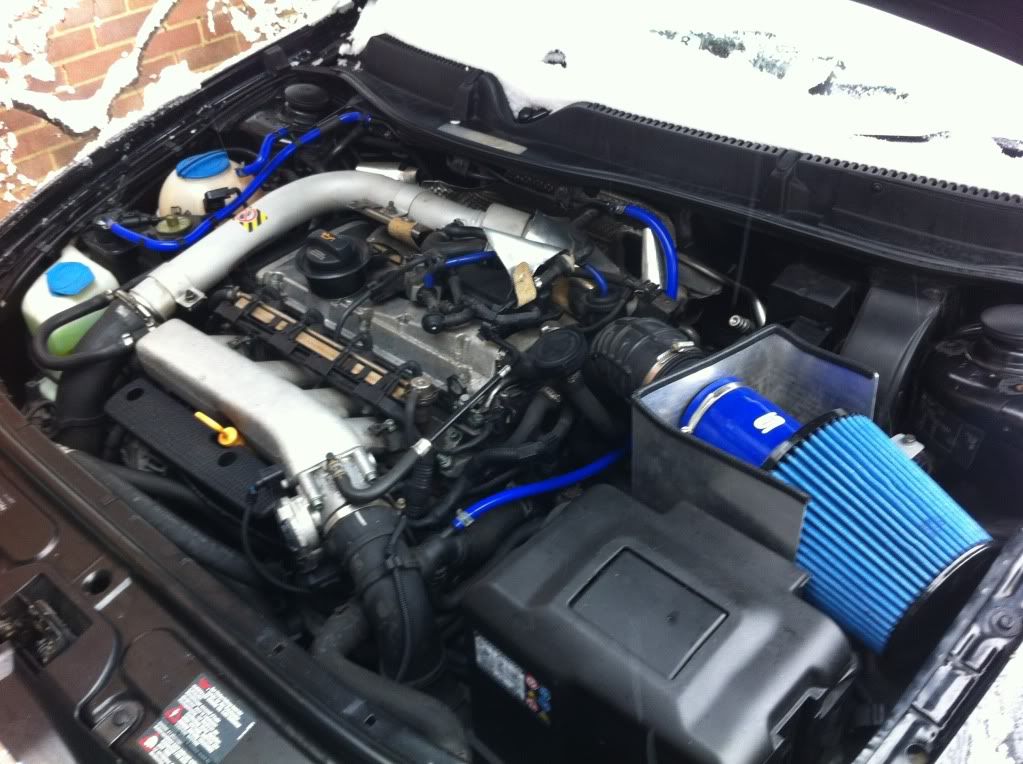
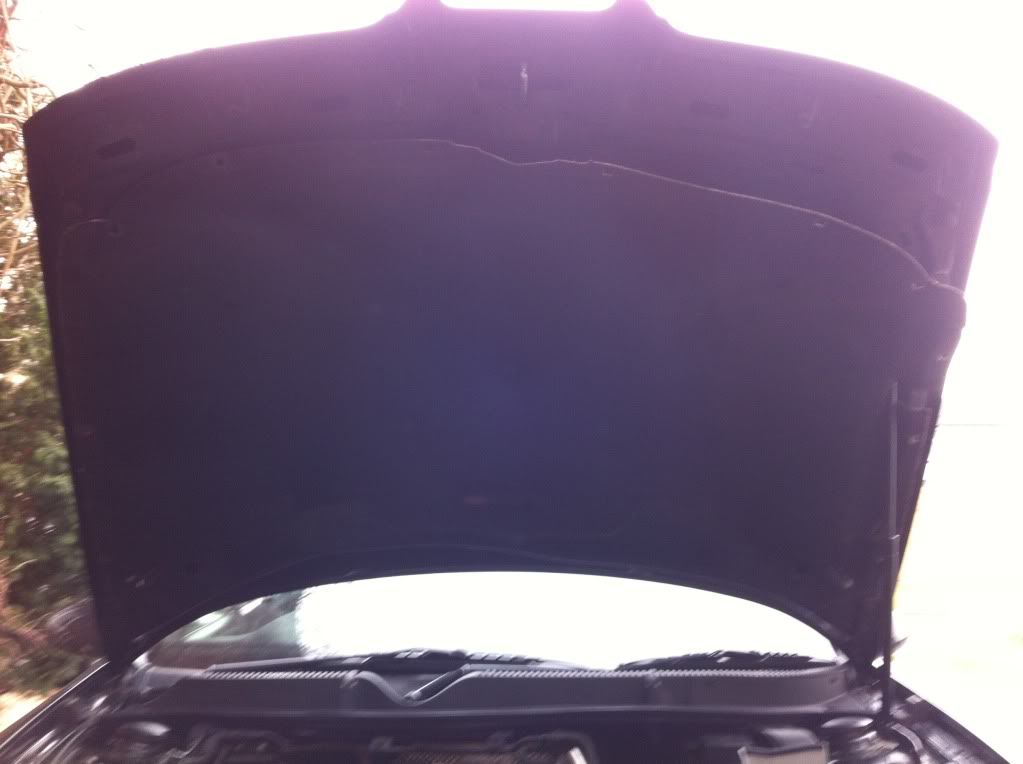
I also removed the sound deadening from underneath the bonnet to reduce heat soak.

IMG_0223.jpg
 
Last edited:

dreago 1

Gav
Oct 21, 2011
767
0
East Sussex
The next job, had some very shifty looking stains on the seats. I like to think it was sandwich, but others say otherwise.

I removed the seats which was easier than I thought, two screws from the covers on the runners, and two screws from the front of the seat. Not forgetting the airbag cable underneath and then they just slid out.

I then used Autoglym interior shampoo and a borrowed Vax cleaner.

Before:
IMG_0255.jpg


After:
IMG_0254.jpg
 

dreago 1

Gav
Oct 21, 2011
767
0
East Sussex
Thinking the Callipers needed some tlc I had a search on the forum and found refurb for the Bembos. A very kind chap on here, send me some Bembo logos which in the end I didn't use until I do a proper refurb with a colour change.
This time I took off flaky lacquer and re-coated them with lacquer three times.

Before:
IMG_0257.jpg


After:
IMG_0259.jpg
 

dreago 1

Gav
Oct 21, 2011
767
0
East Sussex
Extra little problems that popped up:
In cold weather, the coolant warning light came on. I found out (with help from on here) that the prongs into the coolant tank can build up with a coating which is easily removed with a screwdriver or wire brush. I found my woman's Ugg Boot brush perfect for this!
I also replaced the thermostat which was a pain in the arse as it was in an awkward position. An extension bar was essential for this job.
 

Dan1720v

Active Member
Feb 28, 2010
1,928
2
Street, Somerset
Little thing here, you've removed the under bonnet lining, this will have the opposite affect to what you want as the heat shield is designed to press right up into it creating a seal.
 

tyrer

OEM
Jun 6, 2010
1,991
1
Great first bits mate - if I bought mine over a good seat clean and brembo's would of been done much earlier.
 

dreago 1

Gav
Oct 21, 2011
767
0
East Sussex
so! ...a little update. Went to AMD today for a service and a few other bits. Very helpful very knowledgeable. Turns out that I have a Blueflame system with sports cat already on the car. knew it was loud but thought it was just the rear box. Also had her on the RR and found out that she may of had a remap but not a very good one, she put out 245 BHP on the first run, 236 on the second and 240 on the third. I am finally pleased to find out what she is running and am happy, especially after they told me that after a stage 1 she could be about 270 BHP. So this evening I have ordered a badger 5 tip and a Forge 007p dump valve with the intention of having her mapped at AMD and having their new FMIC fitted at the same time. Really cant wait!!!!
 

dreago 1

Gav
Oct 21, 2011
767
0
East Sussex
Look what turned up, Just need the tip now which is on its way! A lot to do on Saturday. Lights, DV, tip. Cant wait.
4e90e60a-fdaa-e2e8.jpg


And a friend sent me this today, brilliant! Found it on Facebook mine and the sis's motor.
4e90e60a-fdd9-4c43.jpg
 
Last edited:

dreago 1

Gav
Oct 21, 2011
767
0
East Sussex
So attached my new upgrades today. started with the HID'S which were very easy and look wicked.
IMG_0284.jpg

IMG_0285.jpg

IMG_0296.jpg


After that i went about fitting the badger 5 TIP. It was very easy to remove the old one, bit messy tho.
IMG_0287.jpg


Had a bit of a problem fitting the new one. Needed a lot of trimming. The MAF end was too long with the heat shield i have and it caused a kink in the bottom curve and for it to pop off the billet at the turbo when i tightened it.
IMG_0295.jpg

It is on and looks good however i will be trimming it at some point to get a better fit.
IMG_0290.jpg
 
SWANSWAY CUPRA Dealership