Hi Everyone!
Thought i would start a new thread in this section as a progress thread as i will be updating quite alot")
Im new here, but got the car i wanted!
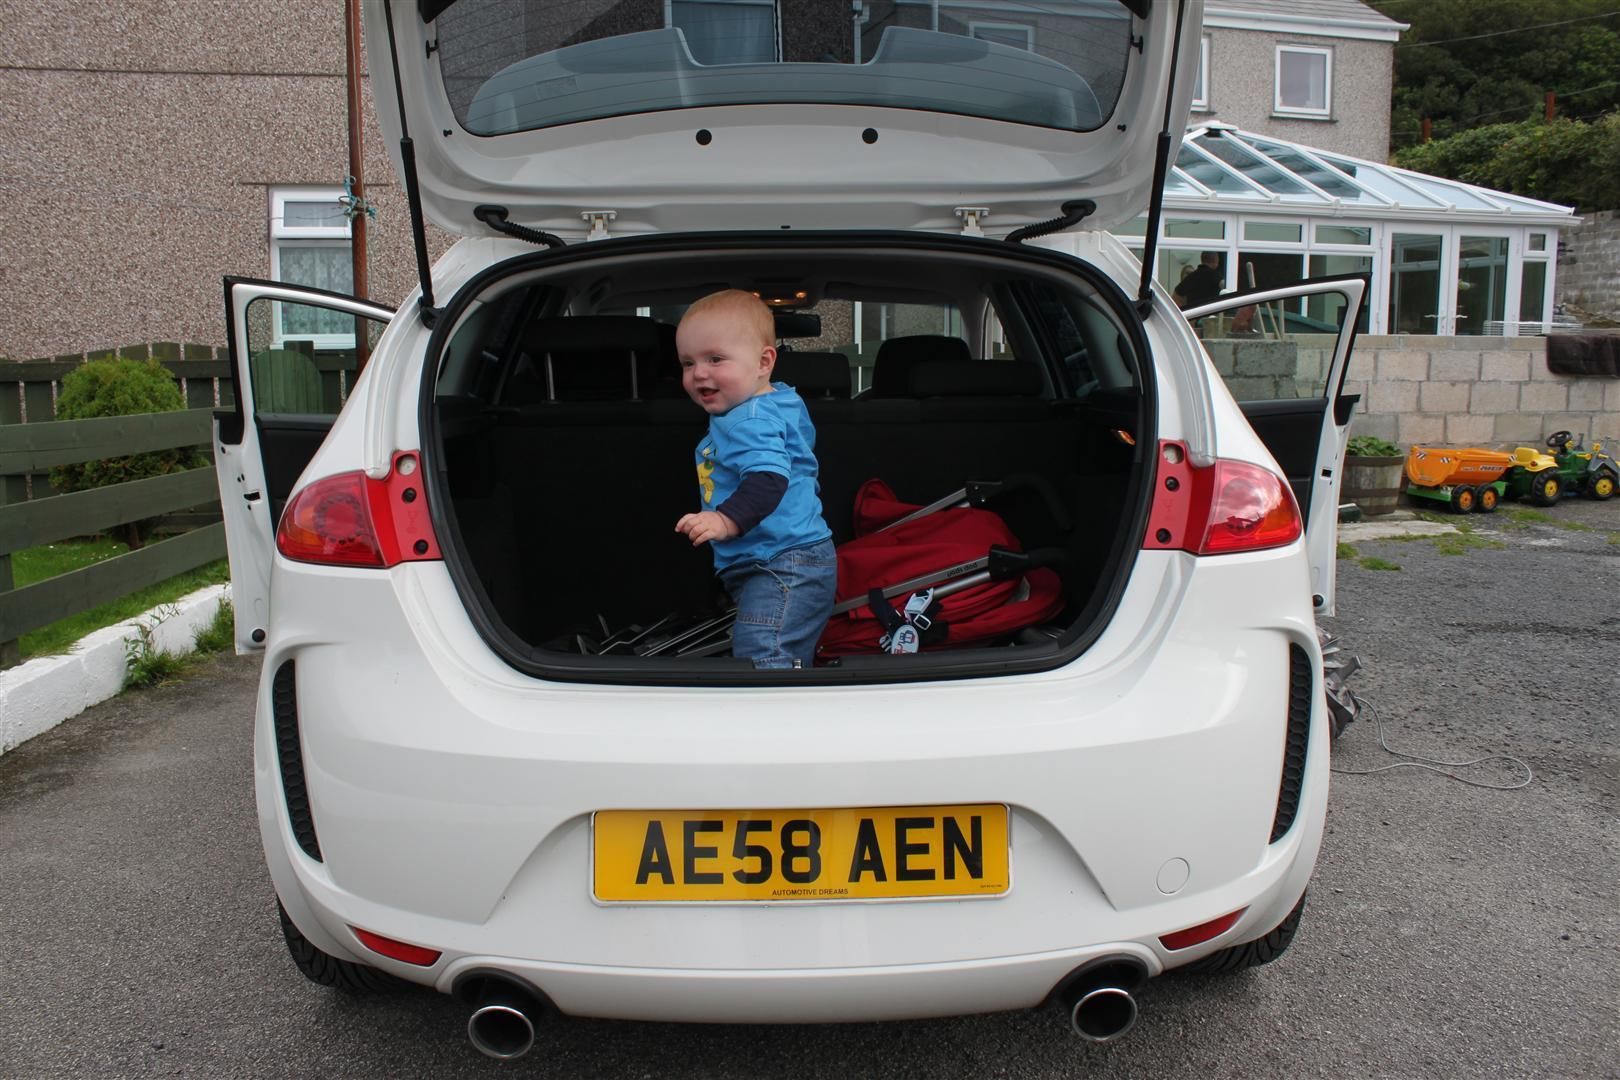
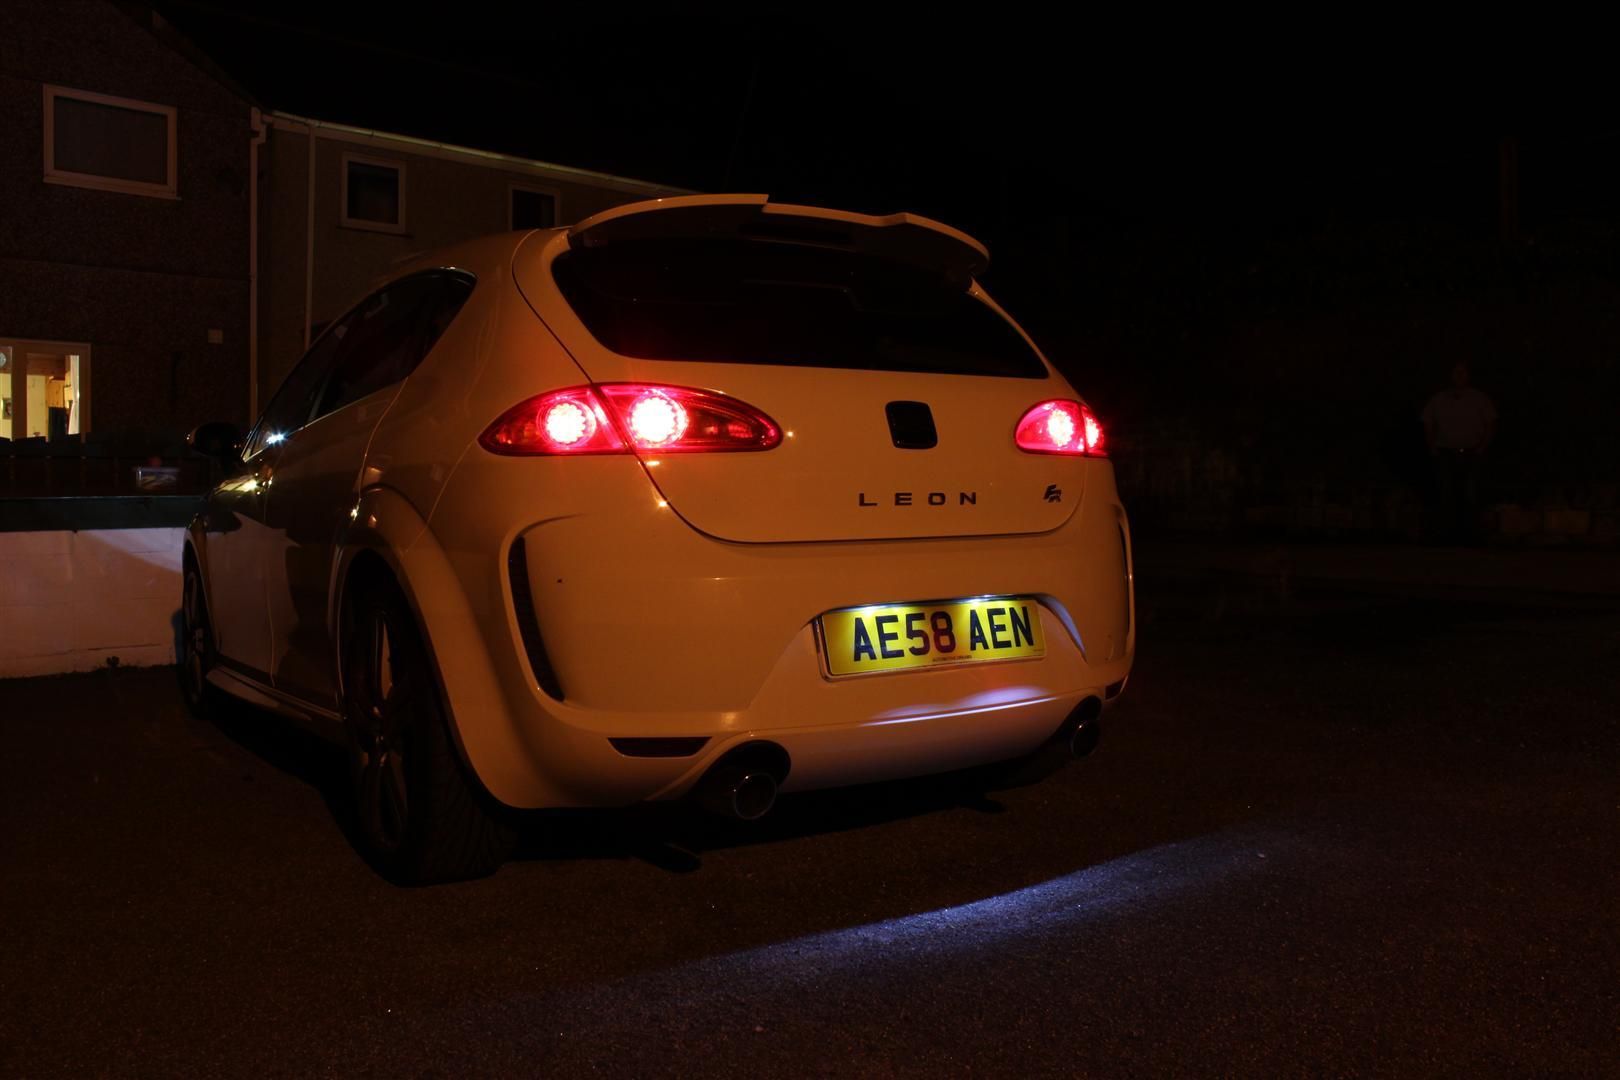
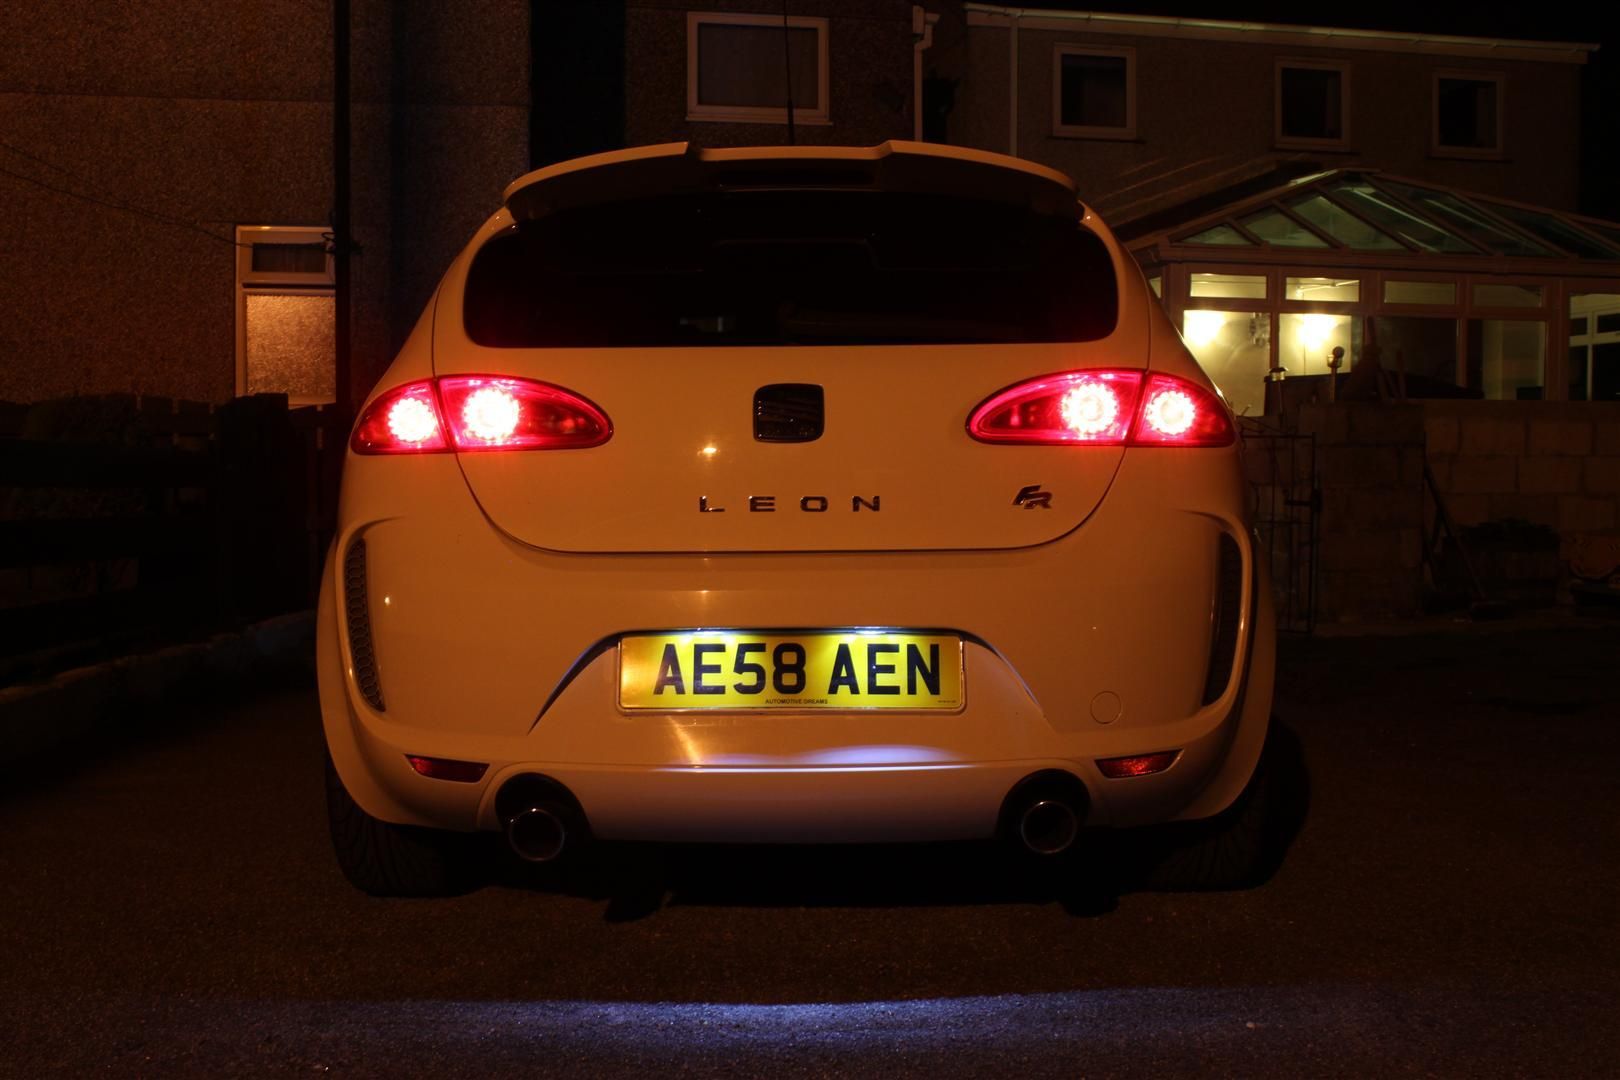
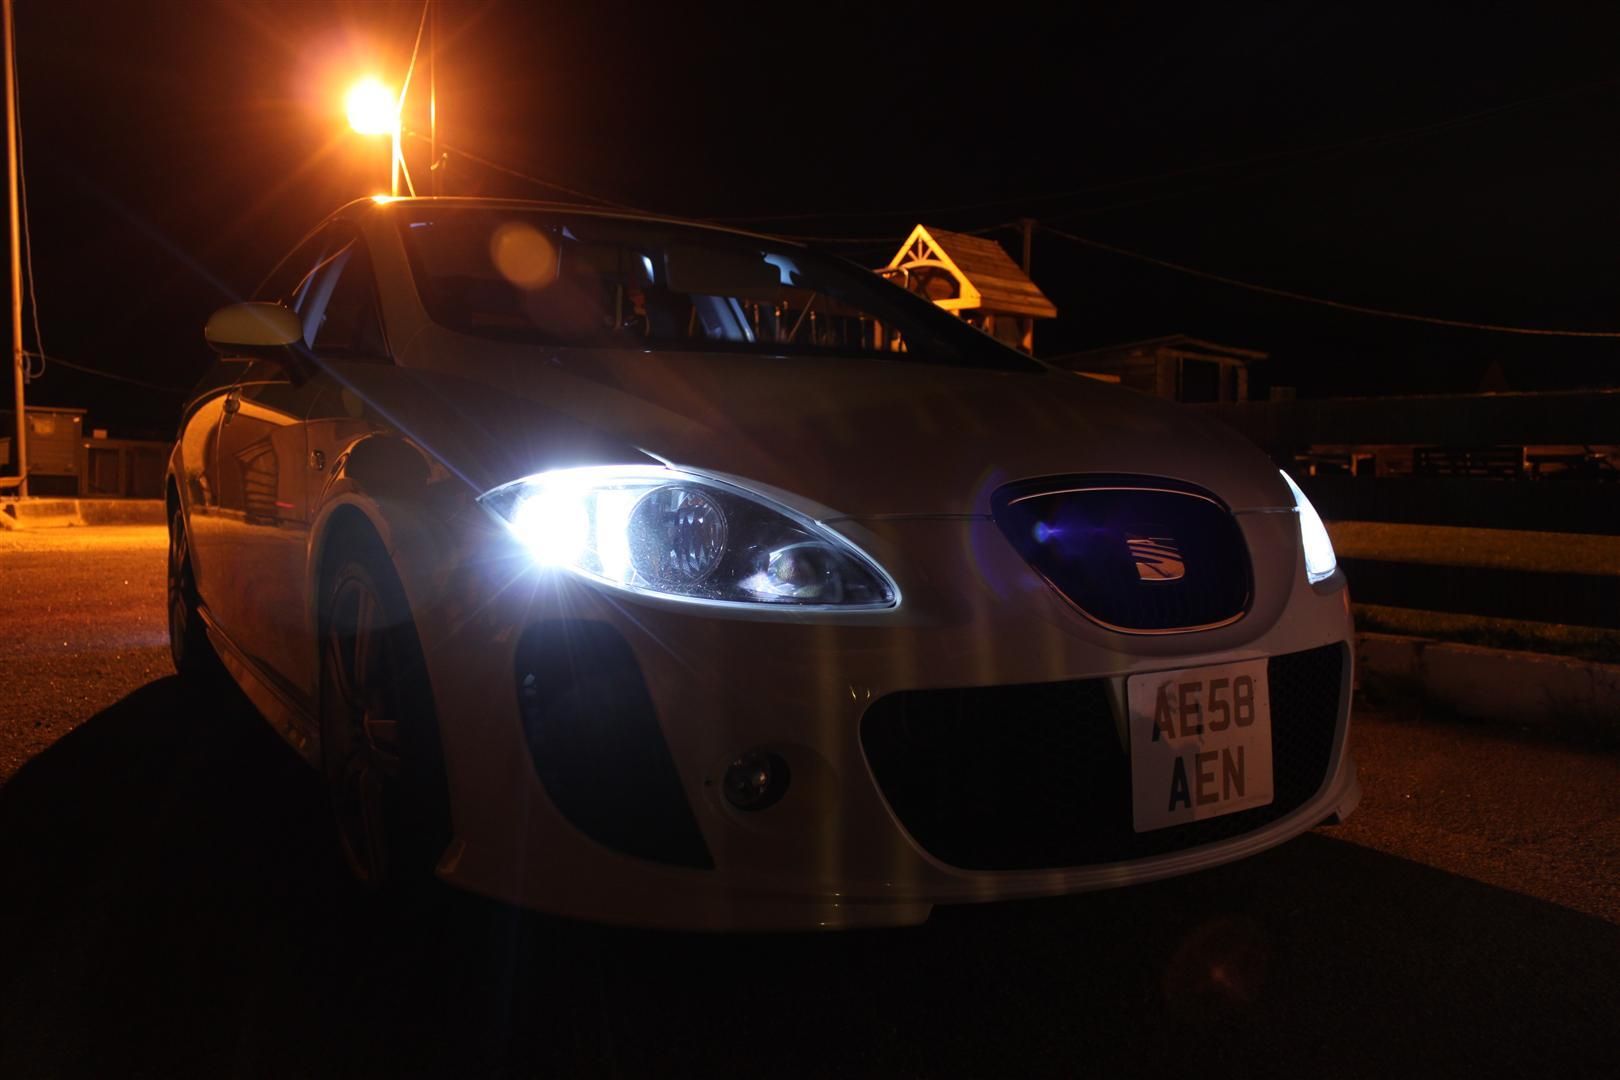
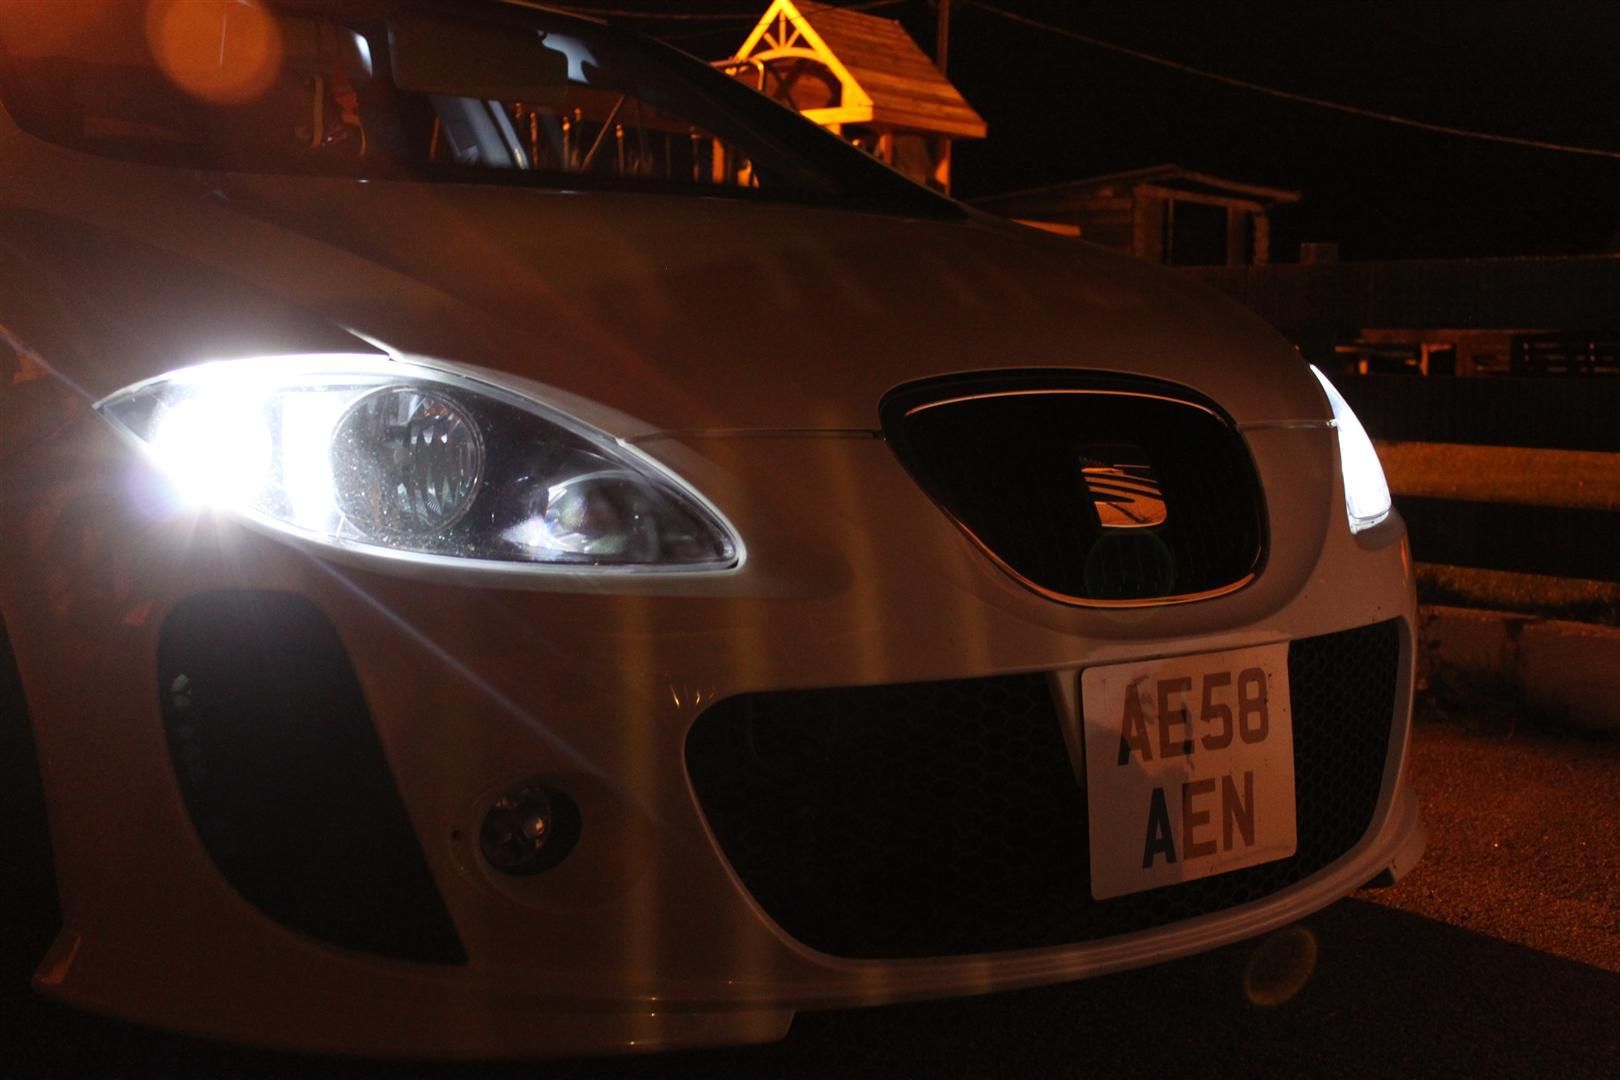
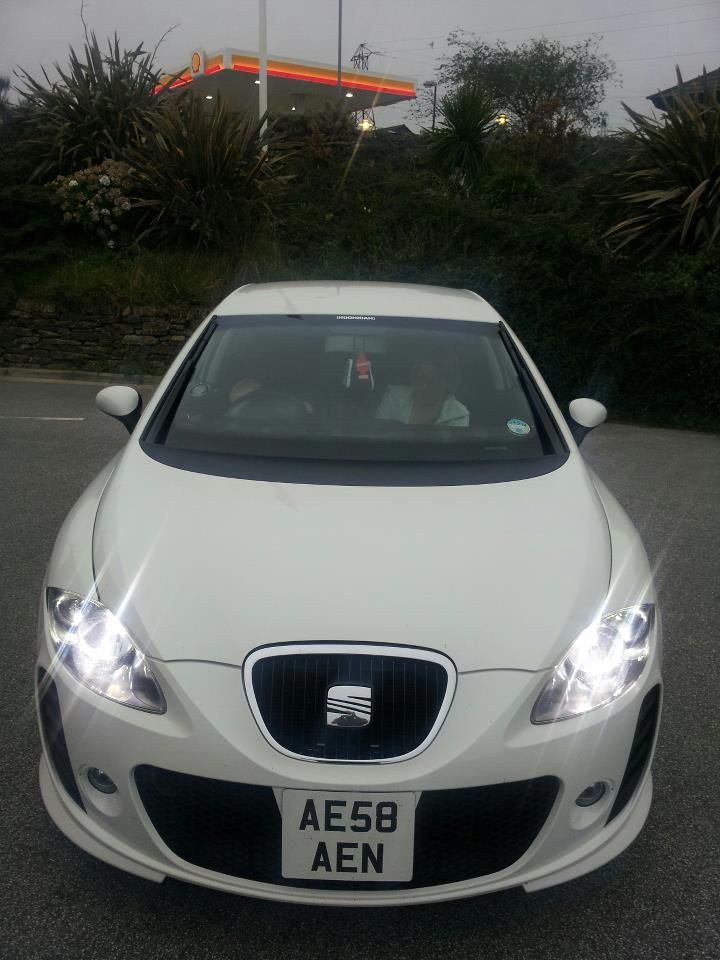
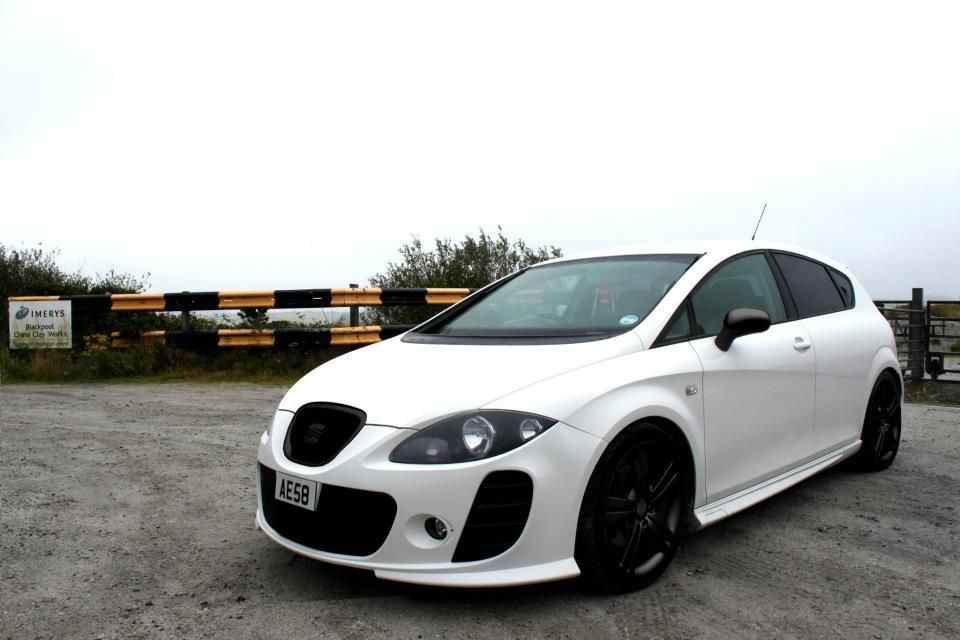
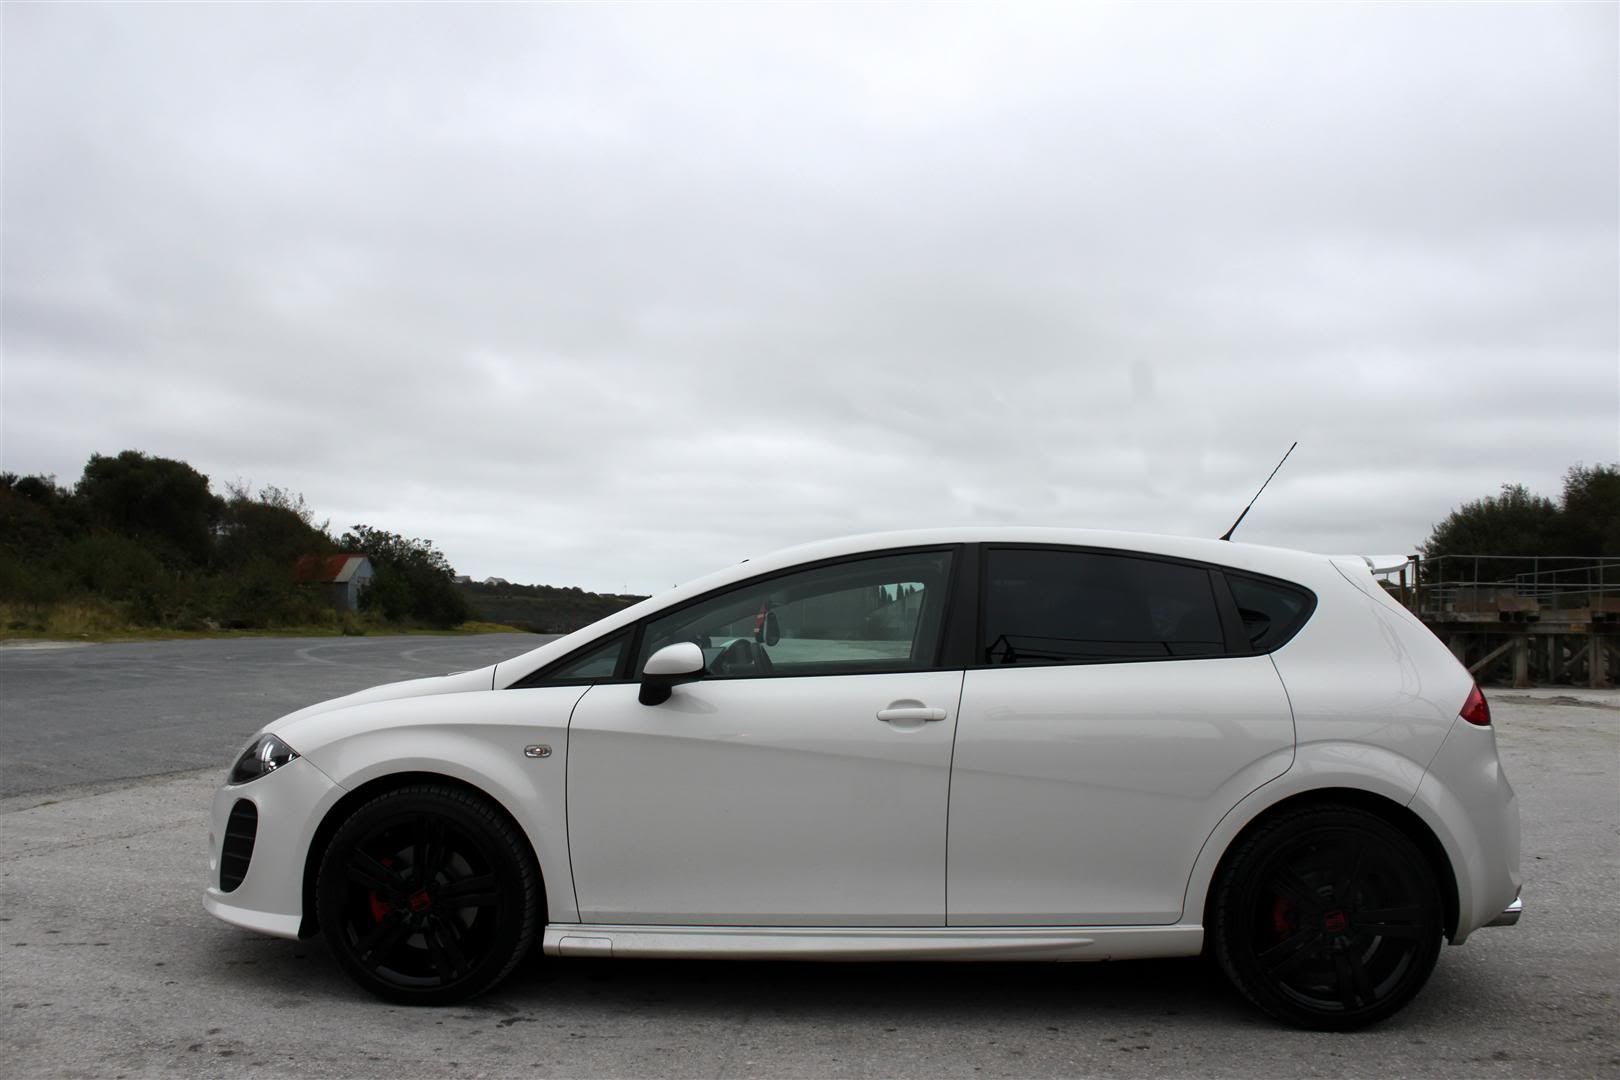
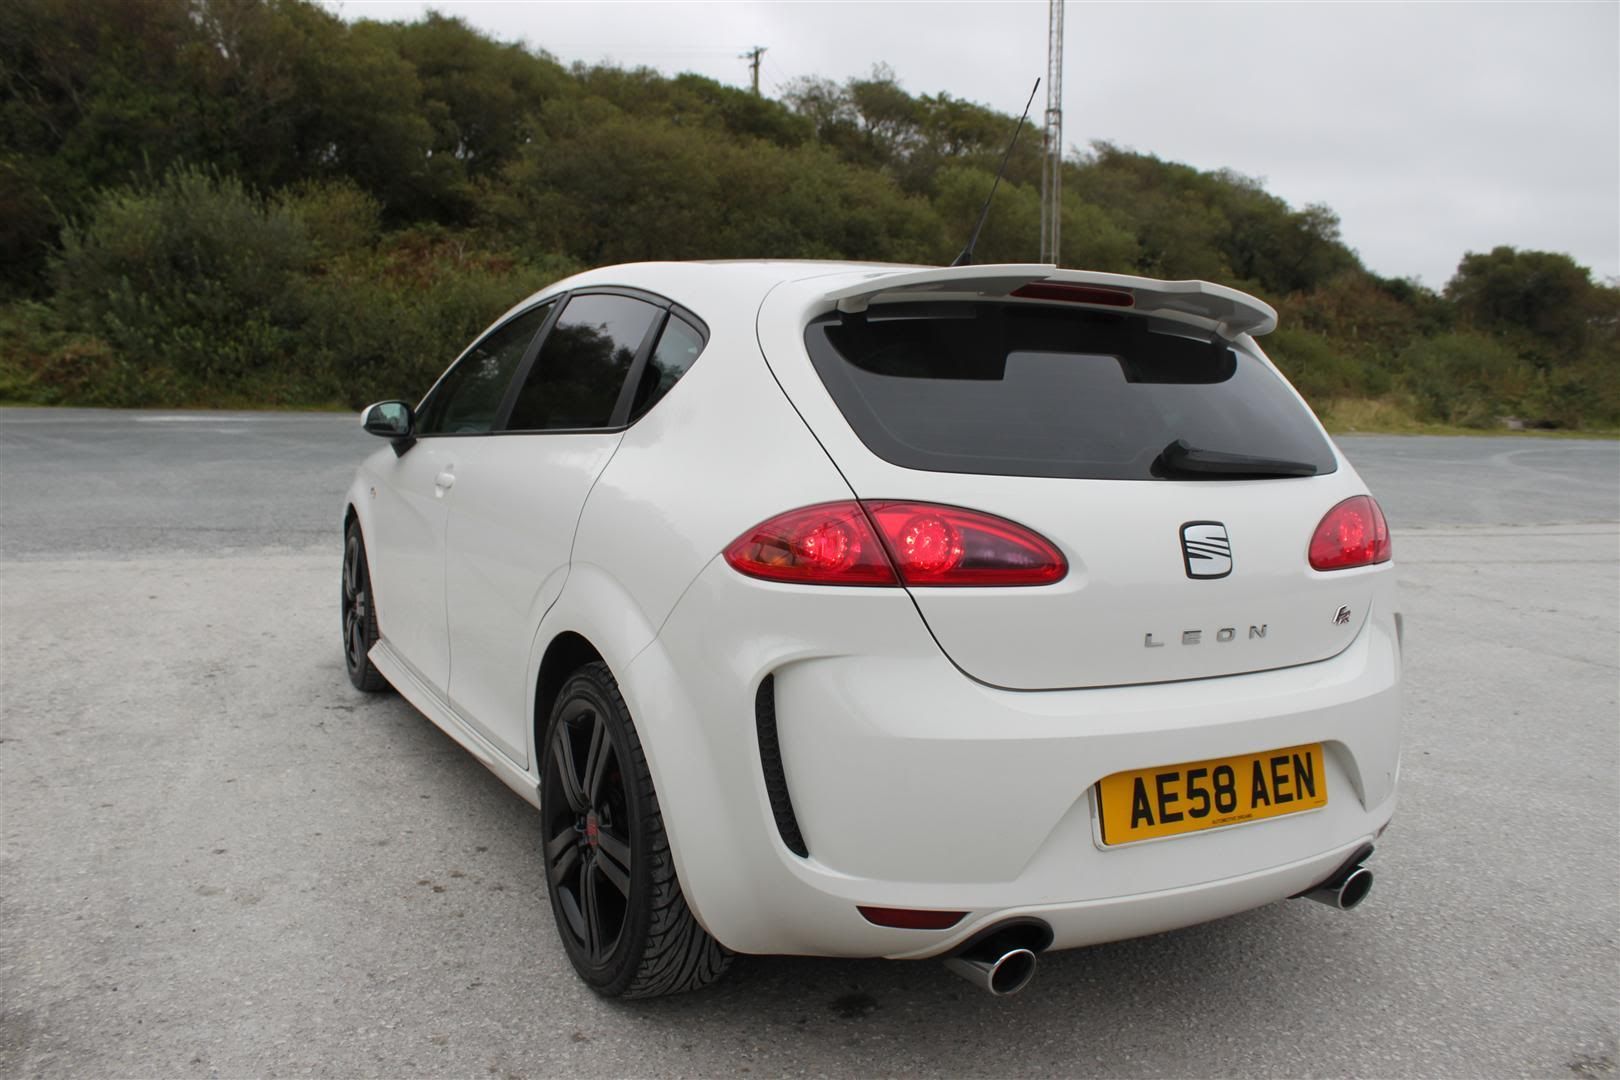
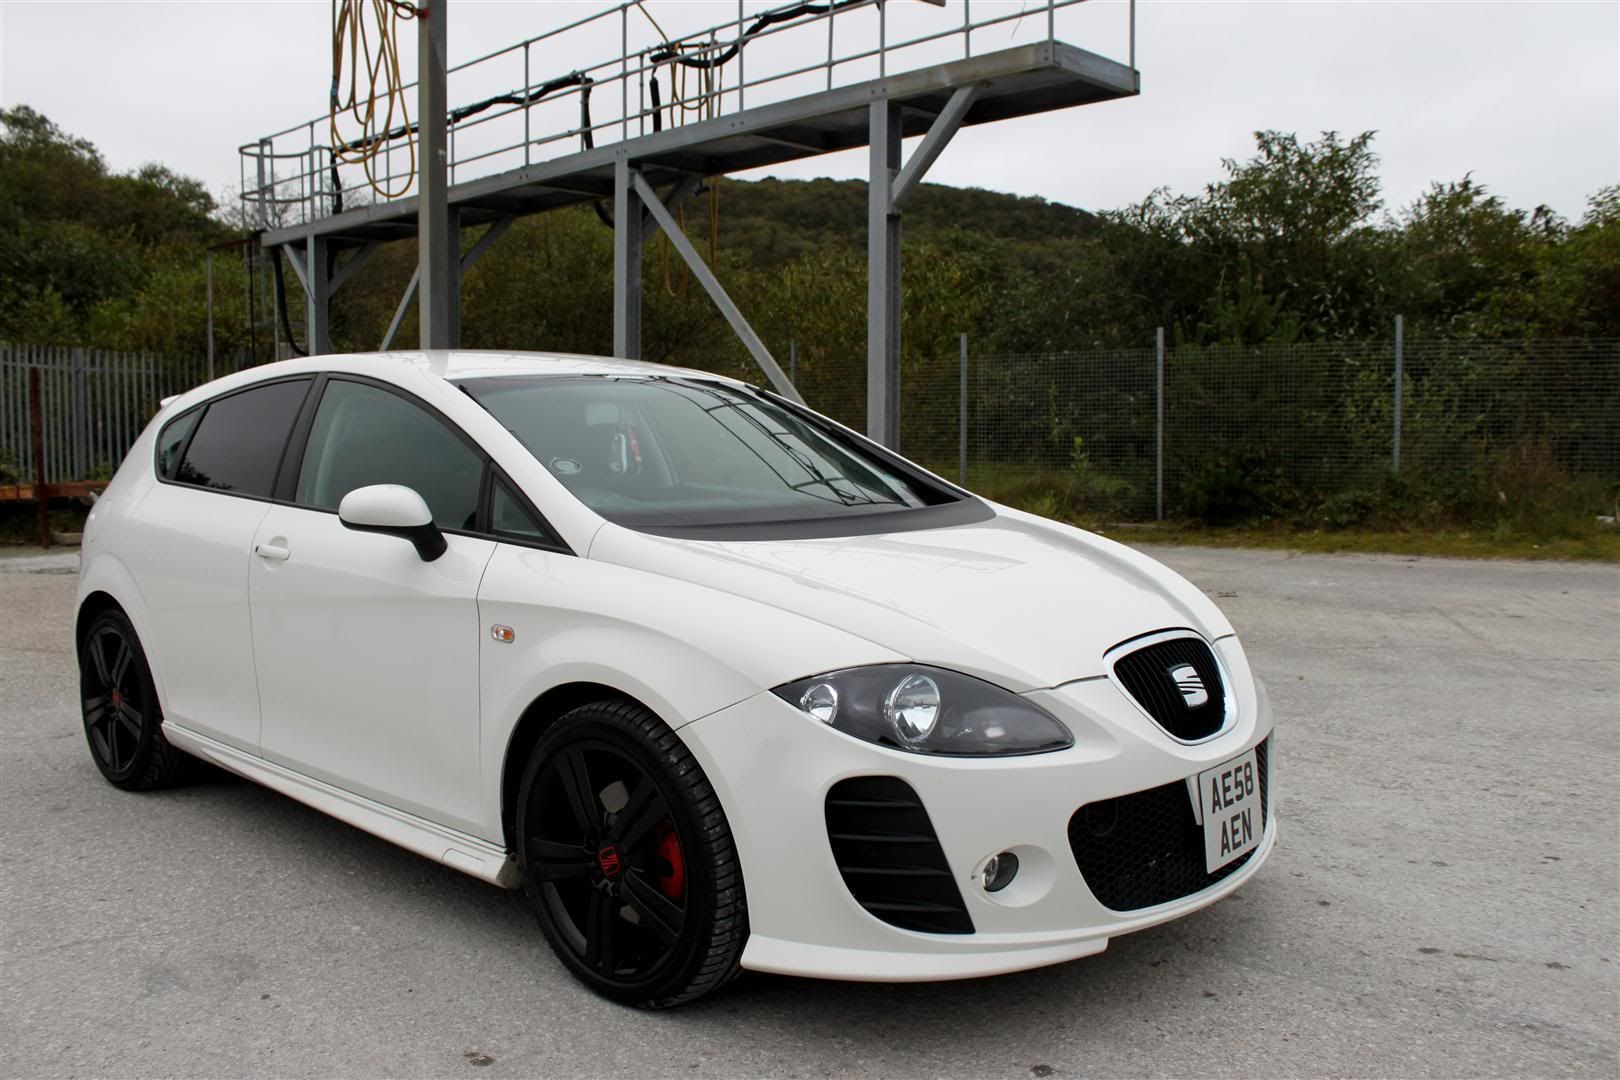
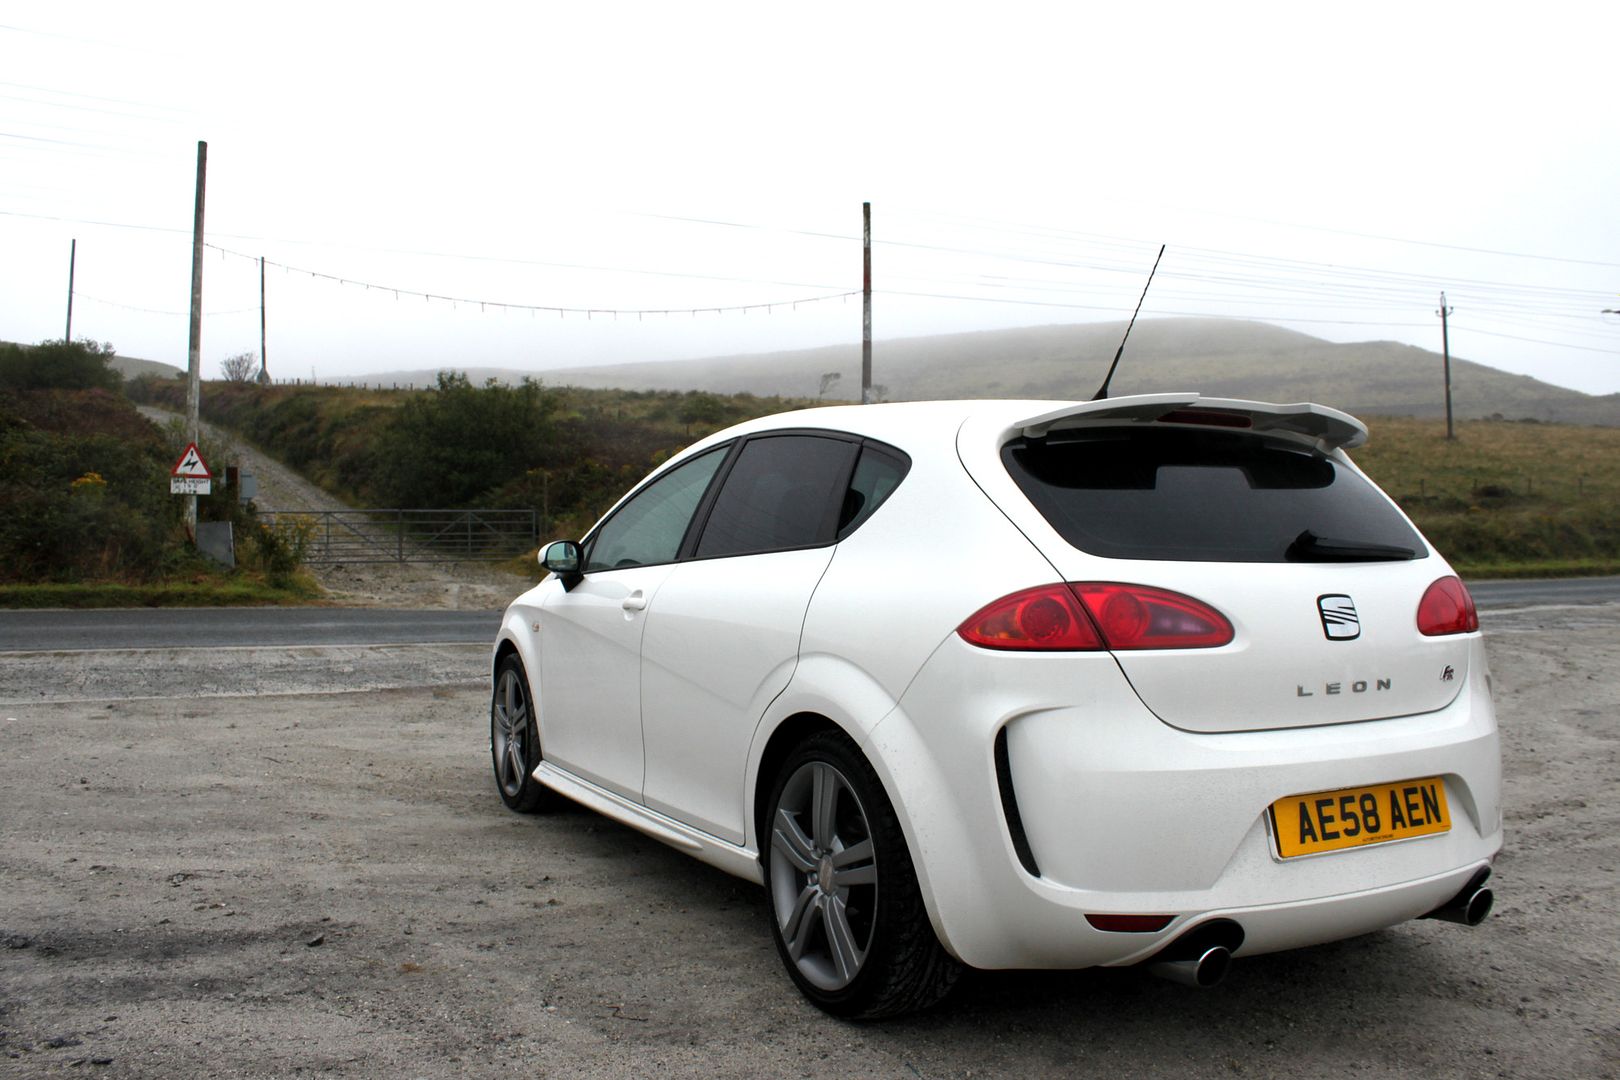
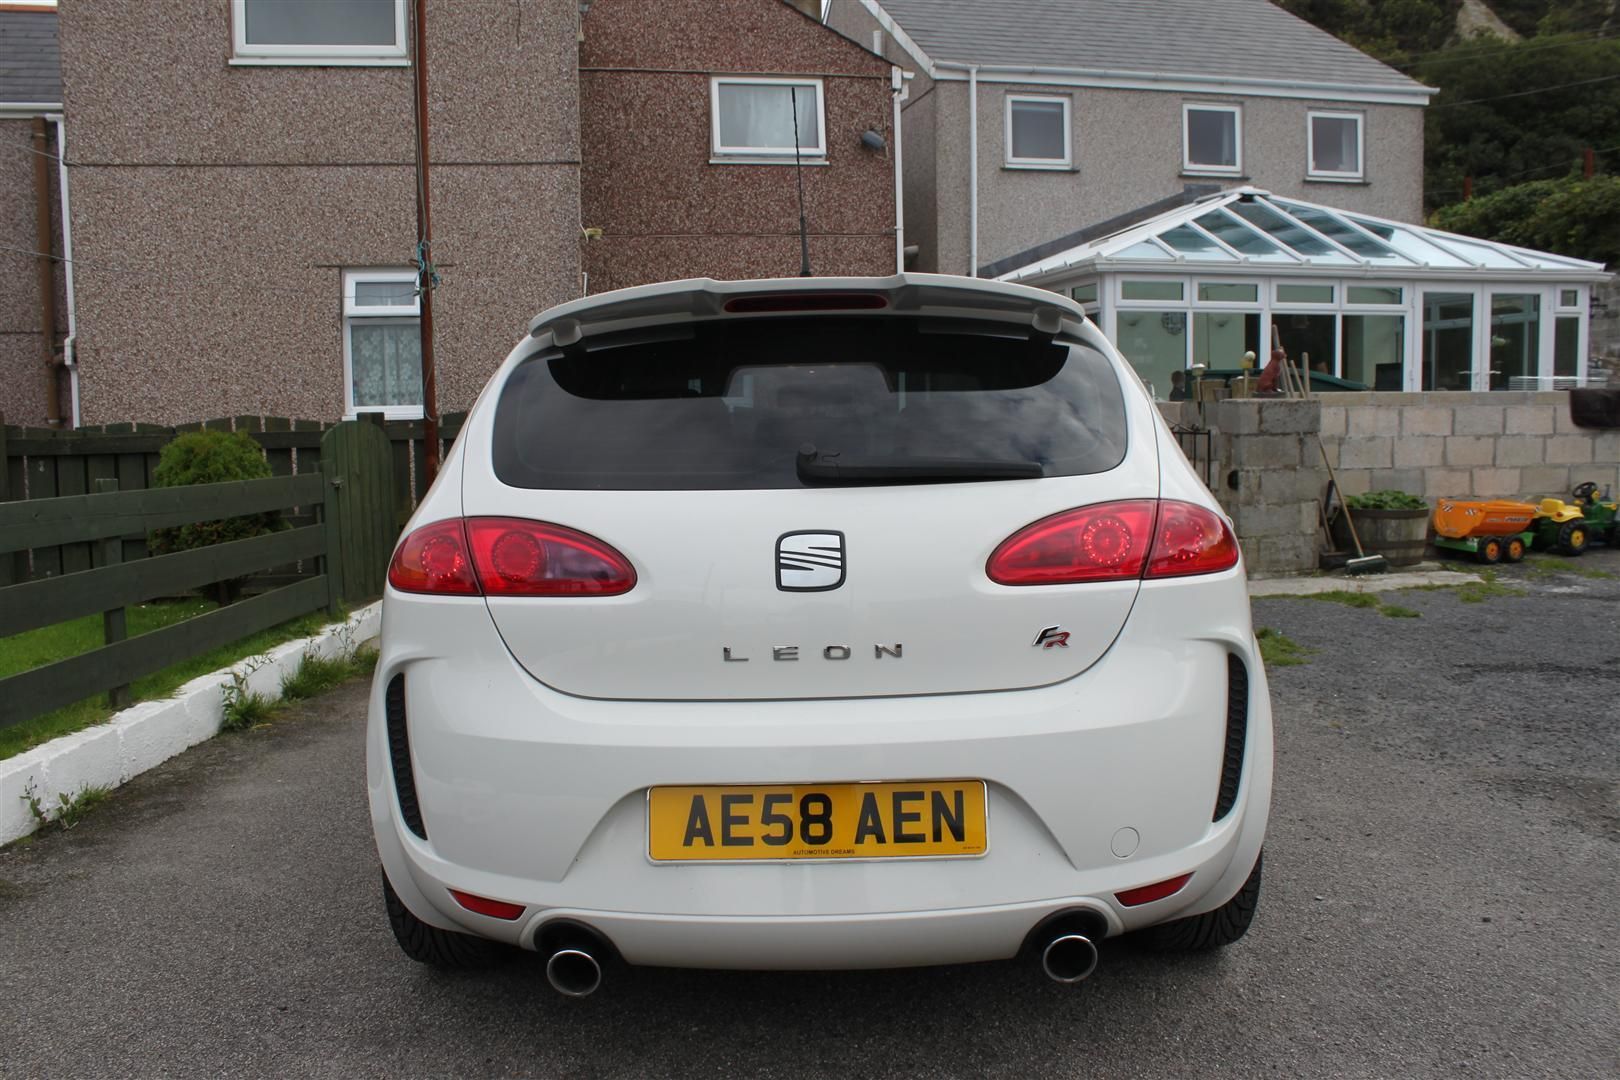
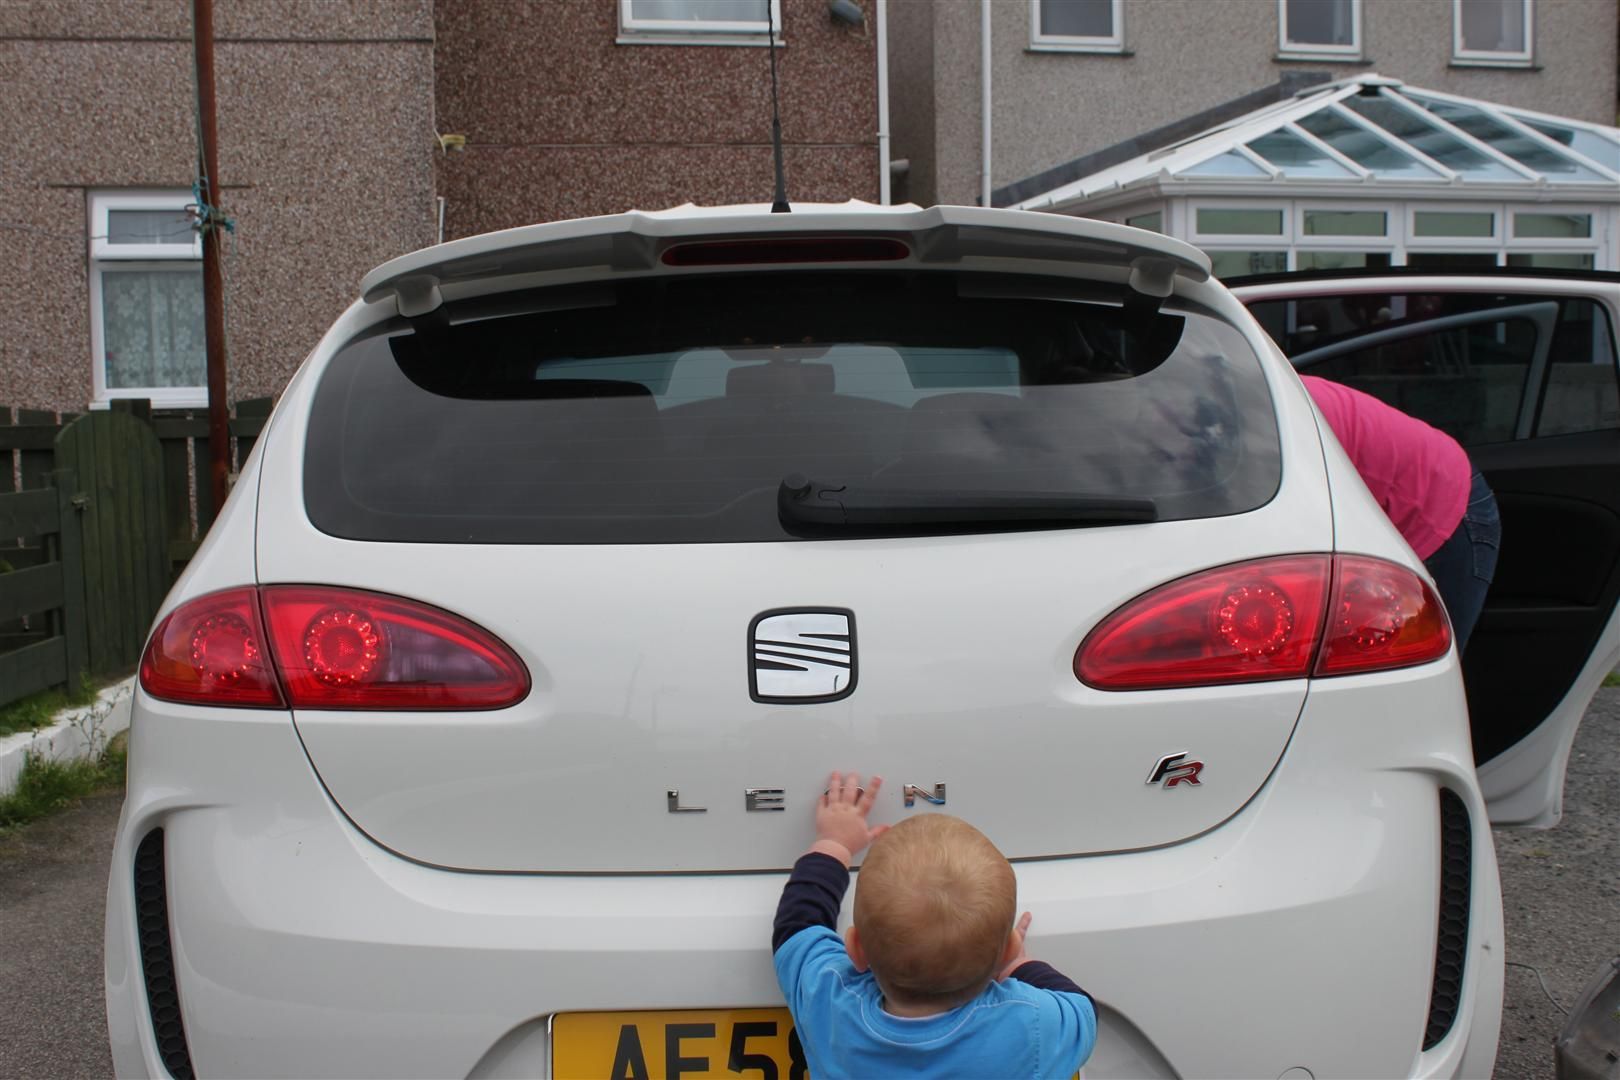
So the car I went for is a 2008 (58) Seat Leon FR. I have always liked them since coming out and with the bodykits on even more! So I went out of budget a little to make sure I got a nice, newish, low mileage, white Leon with all the options.
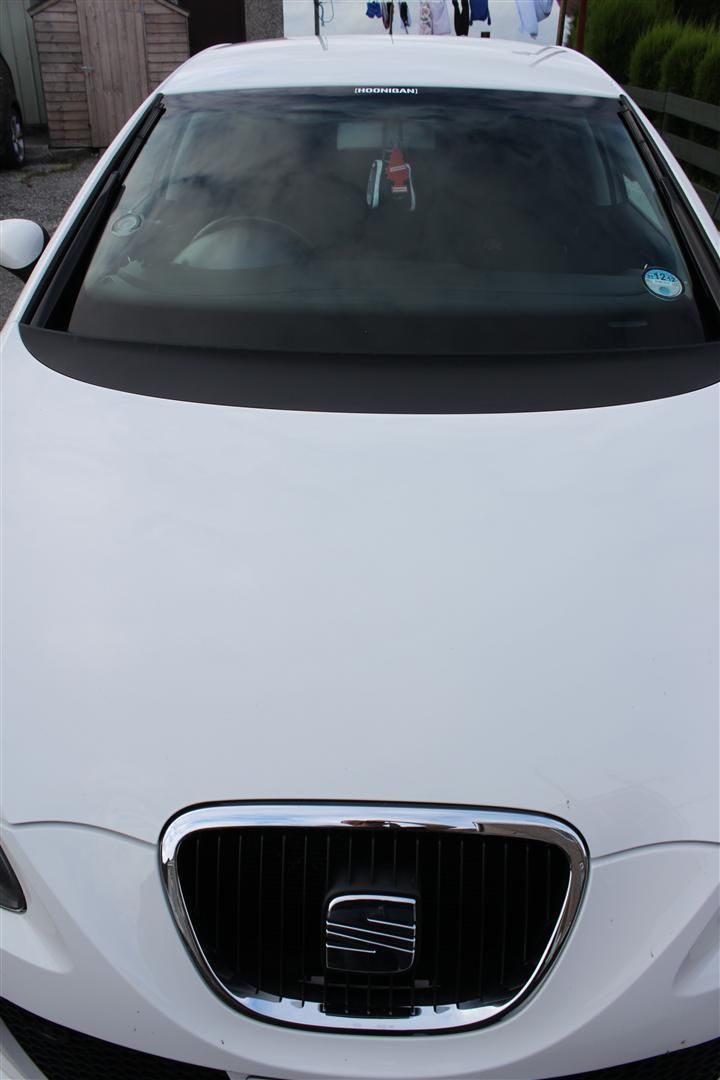
The car has the BTCC bodykit fitted finished in White. It has all the usual spec, Bluetooth headunit with steering wheel phone controls, ipod connectivity, cruise control and so on which is lovely to have.
The comfort and feel of the car is lovely, drives so well and the handling is unreal. It really holds on in the corners and does not fail to dissapoint!
The engine is 170bhp as standard which is plenty for now, returning 45mpg easily, or about 41mpg after having a bit of a spirited drive
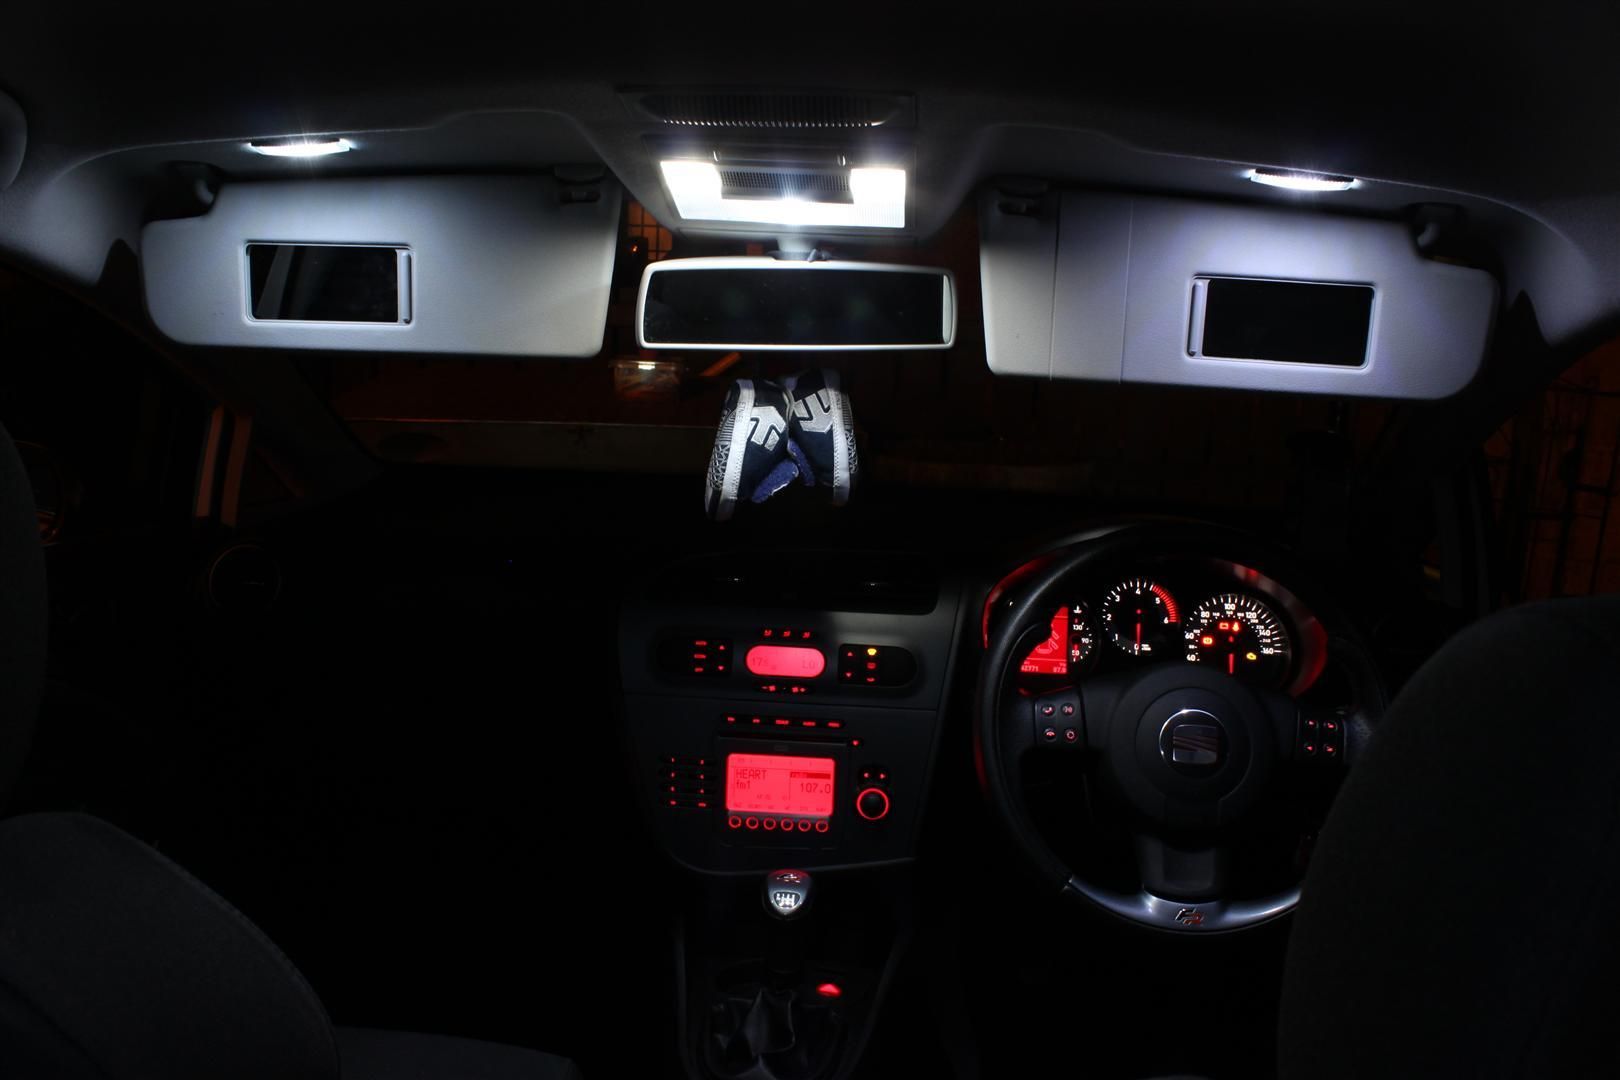
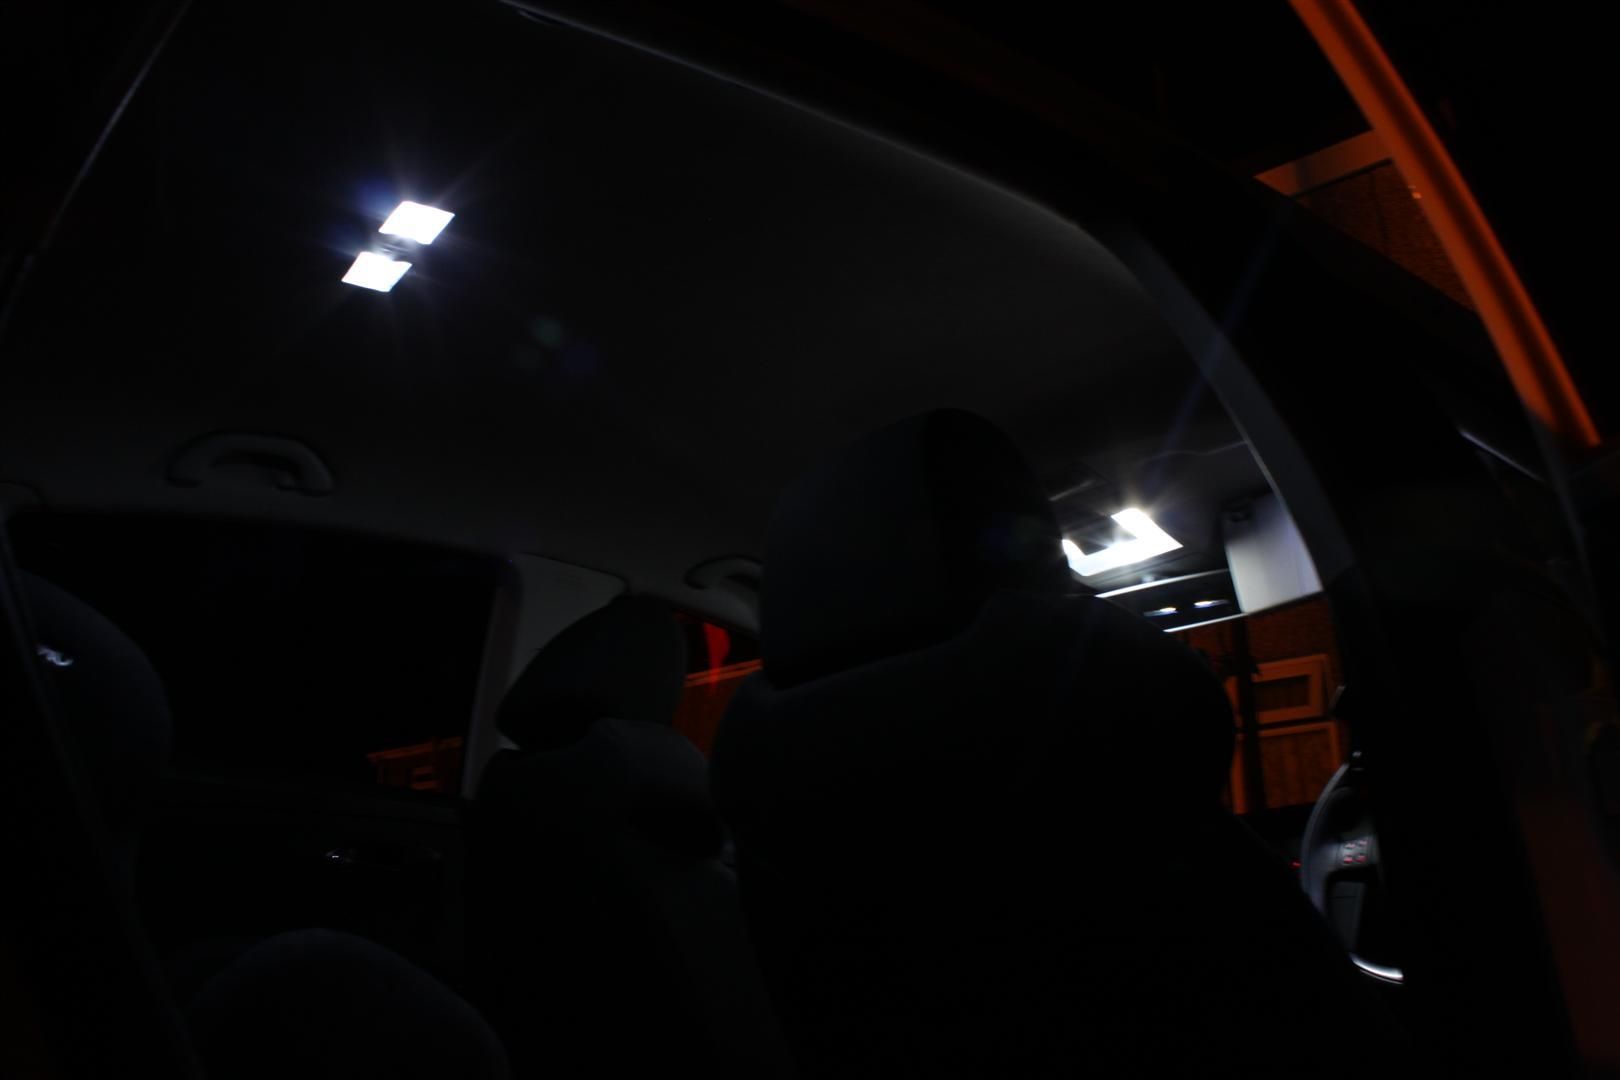
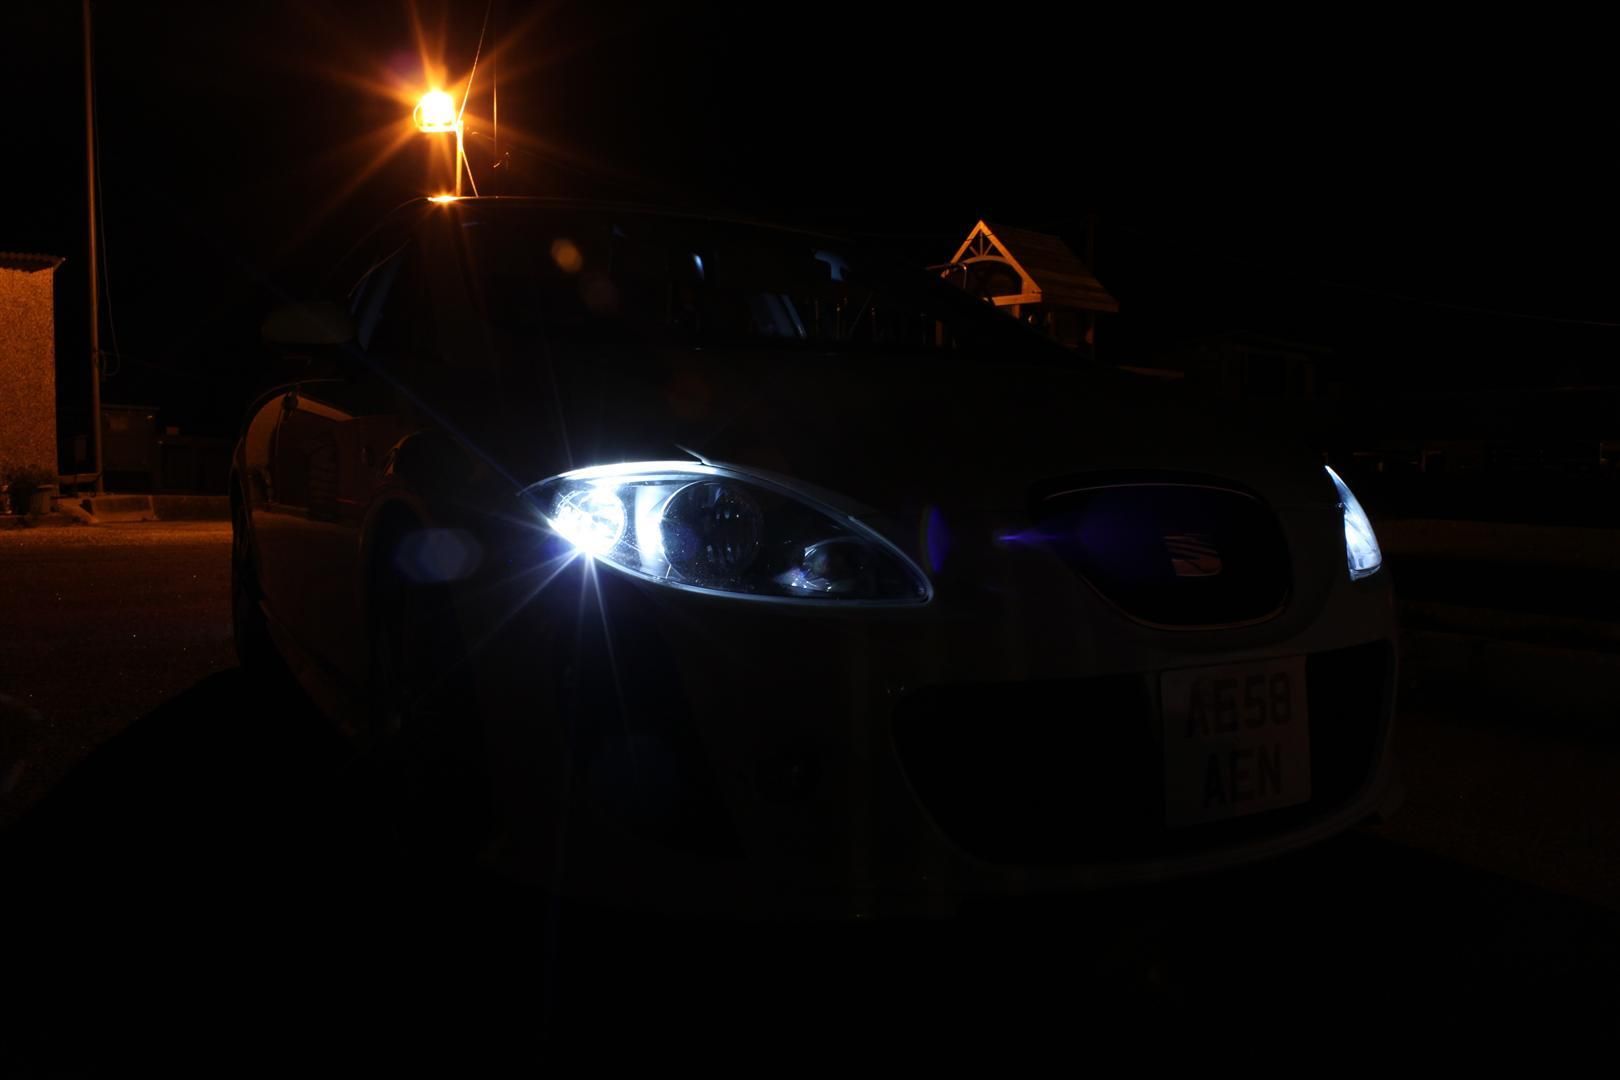
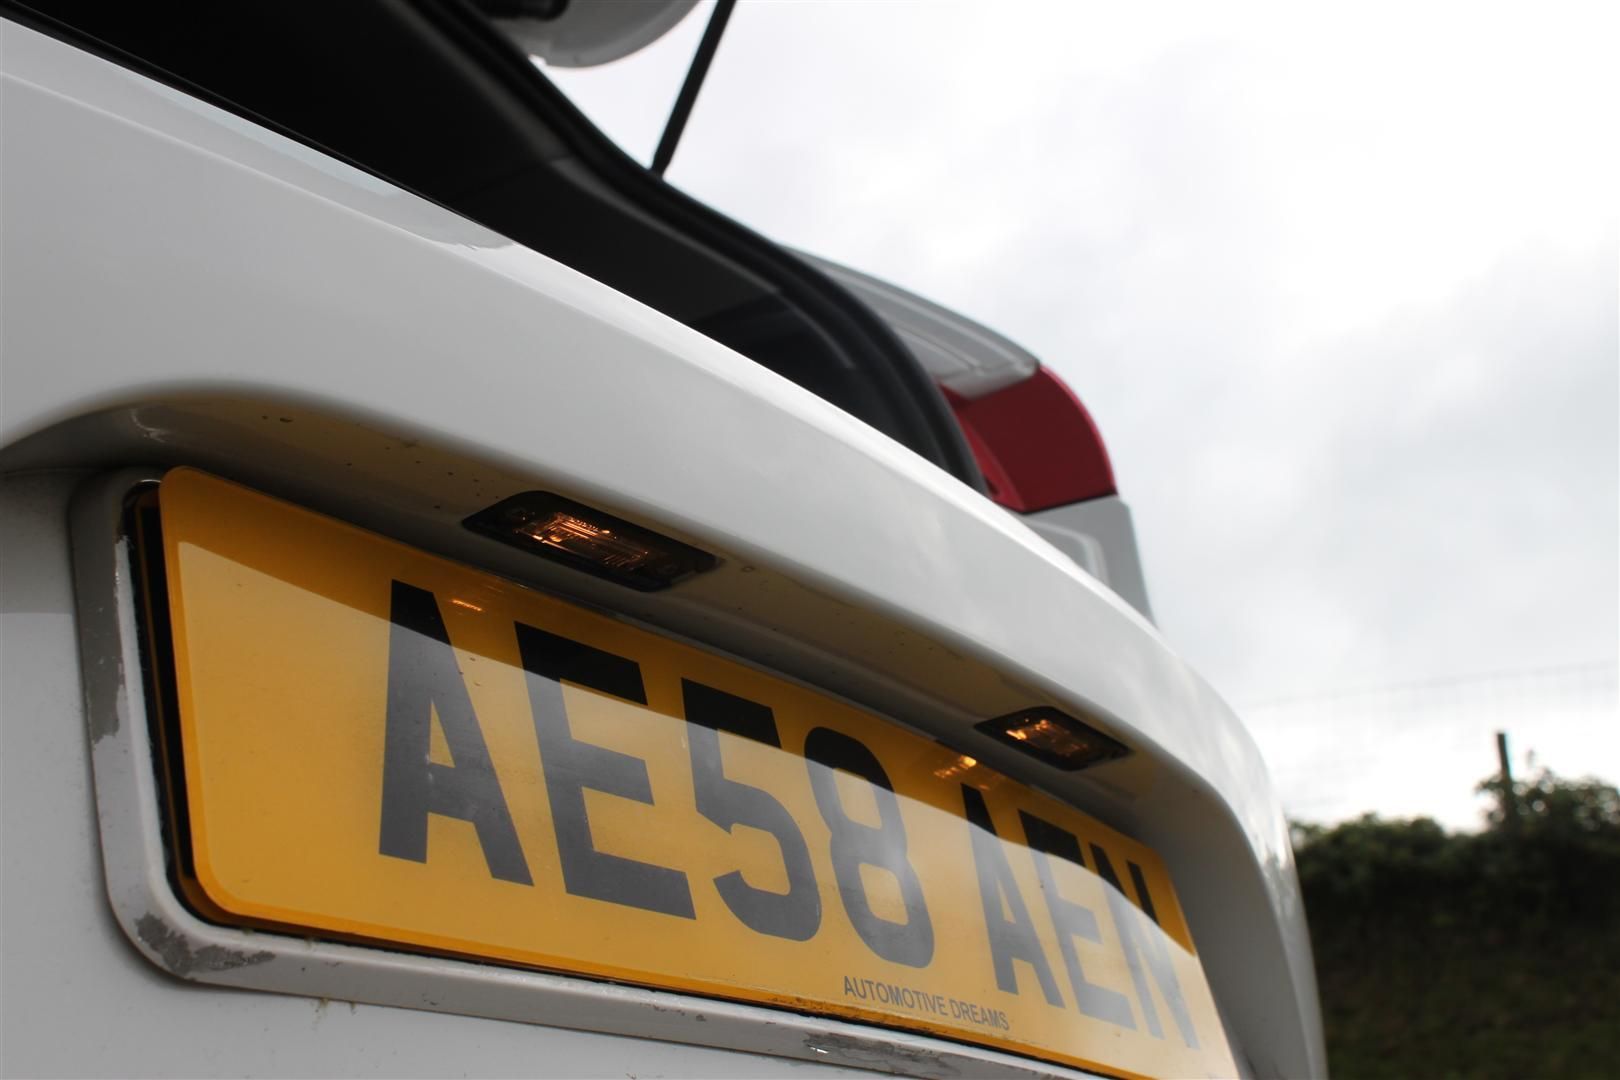
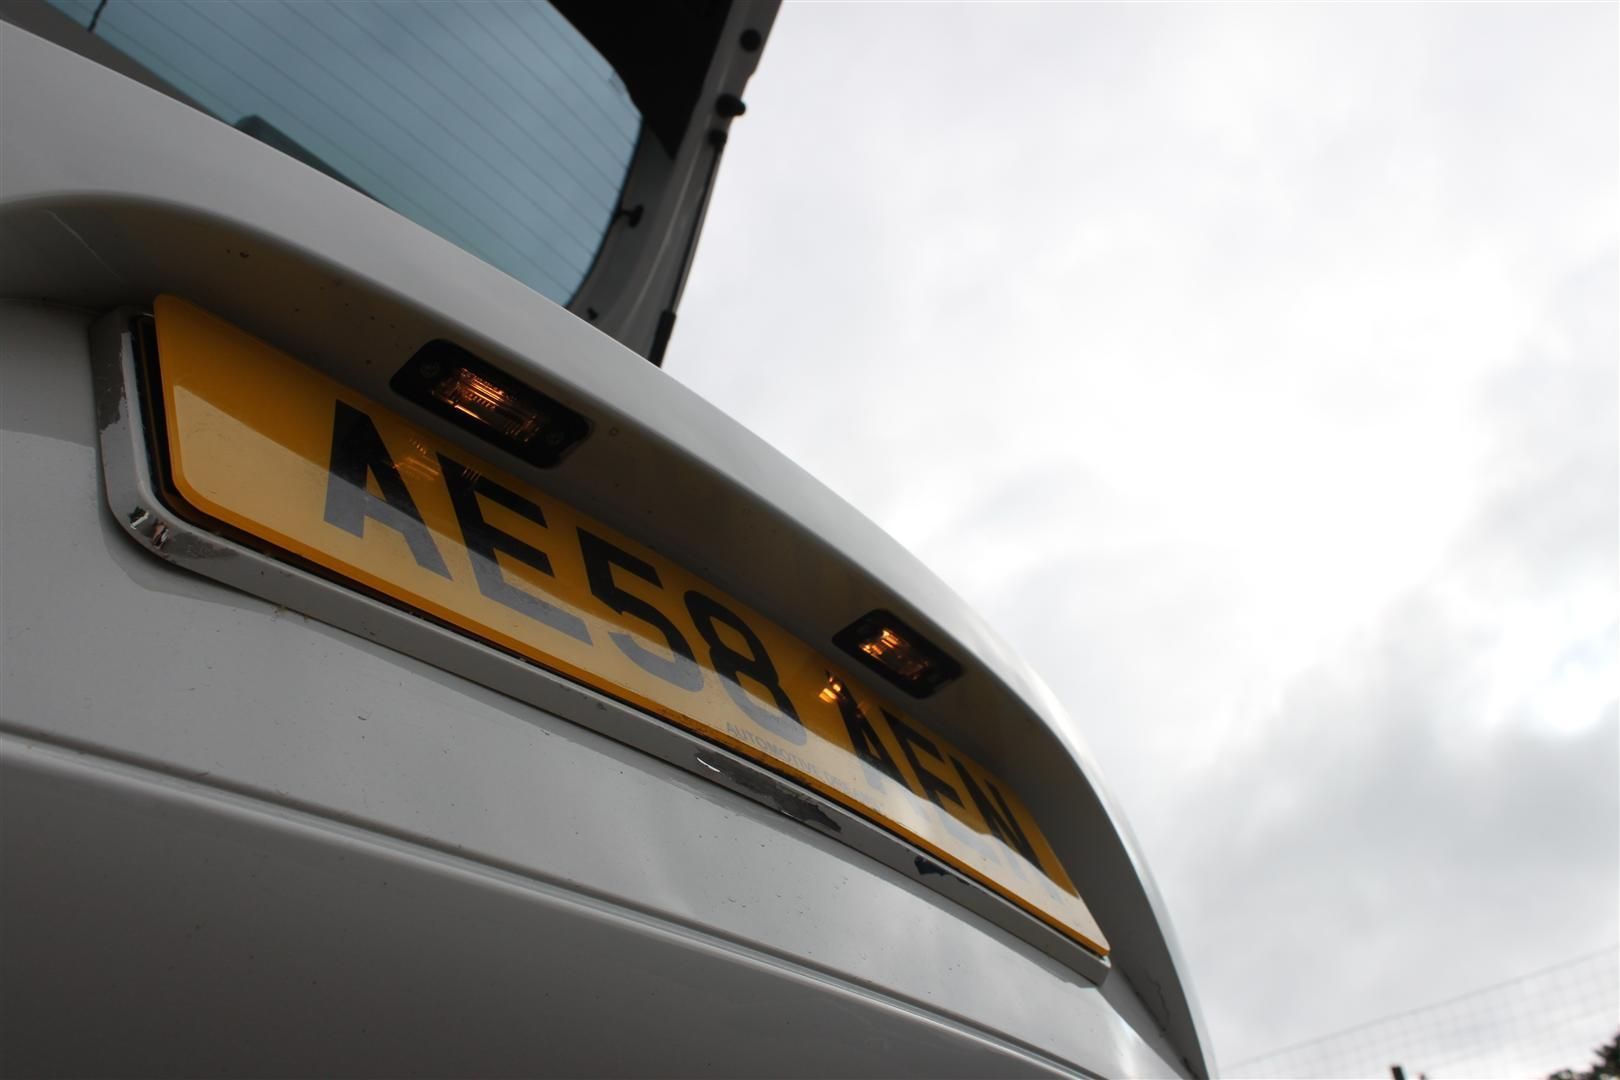
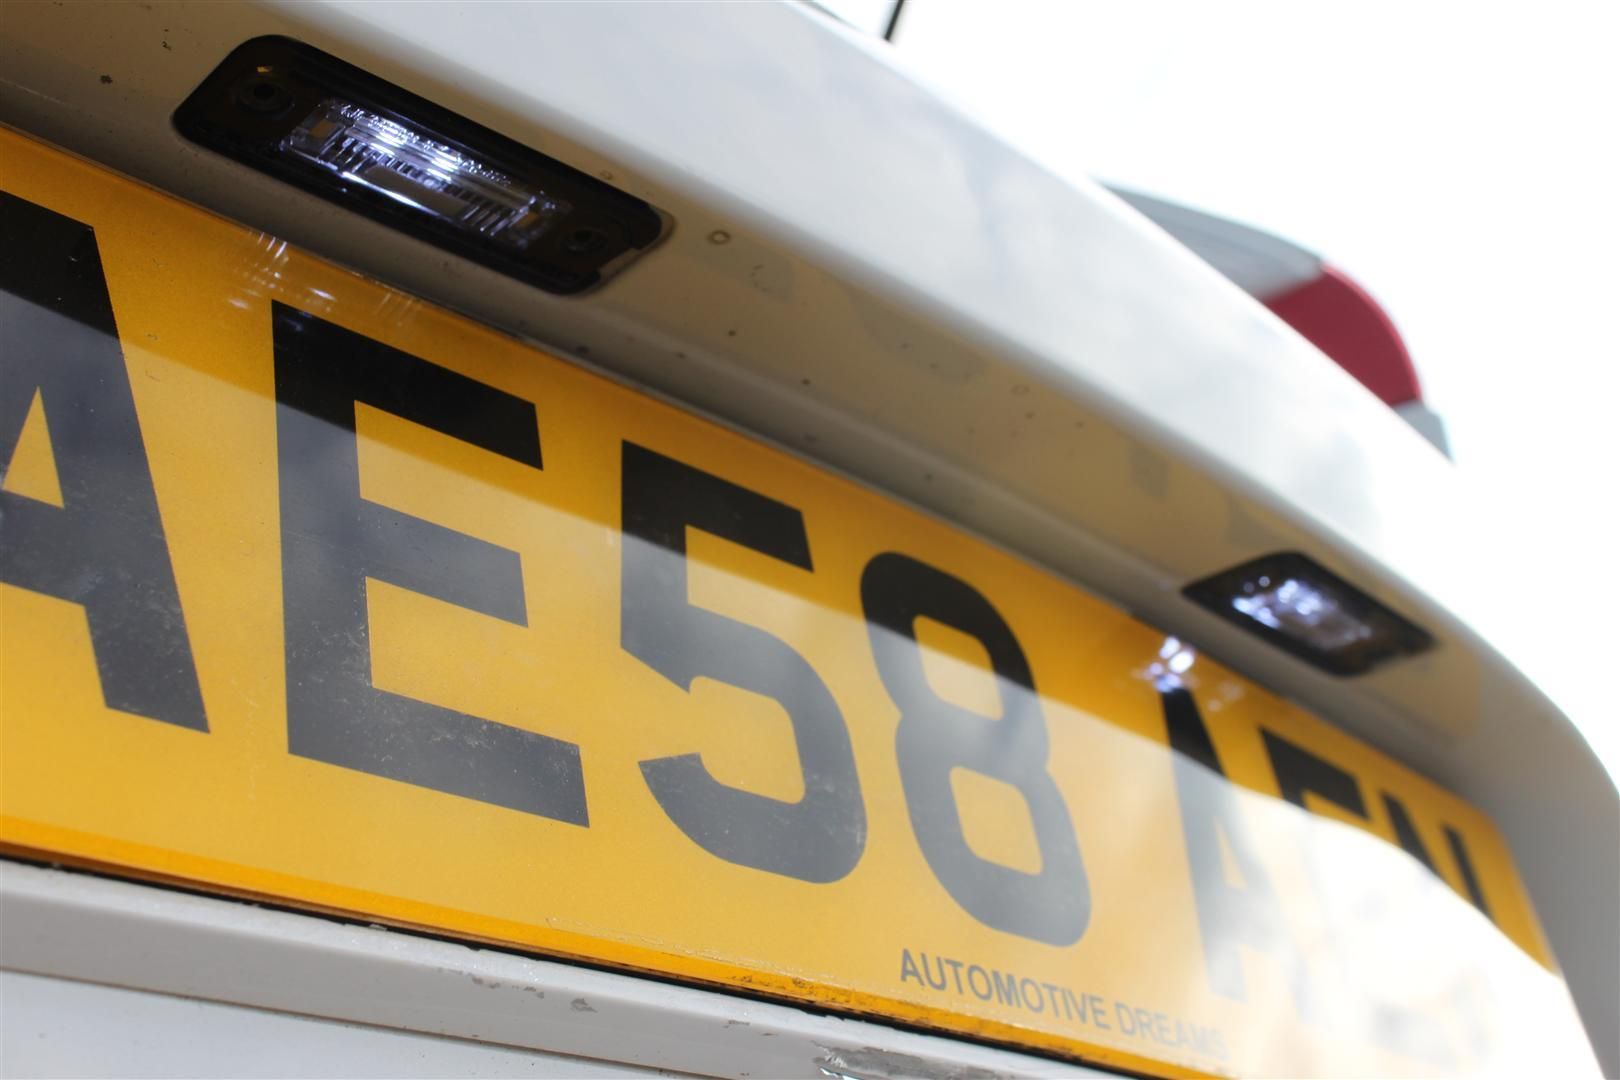
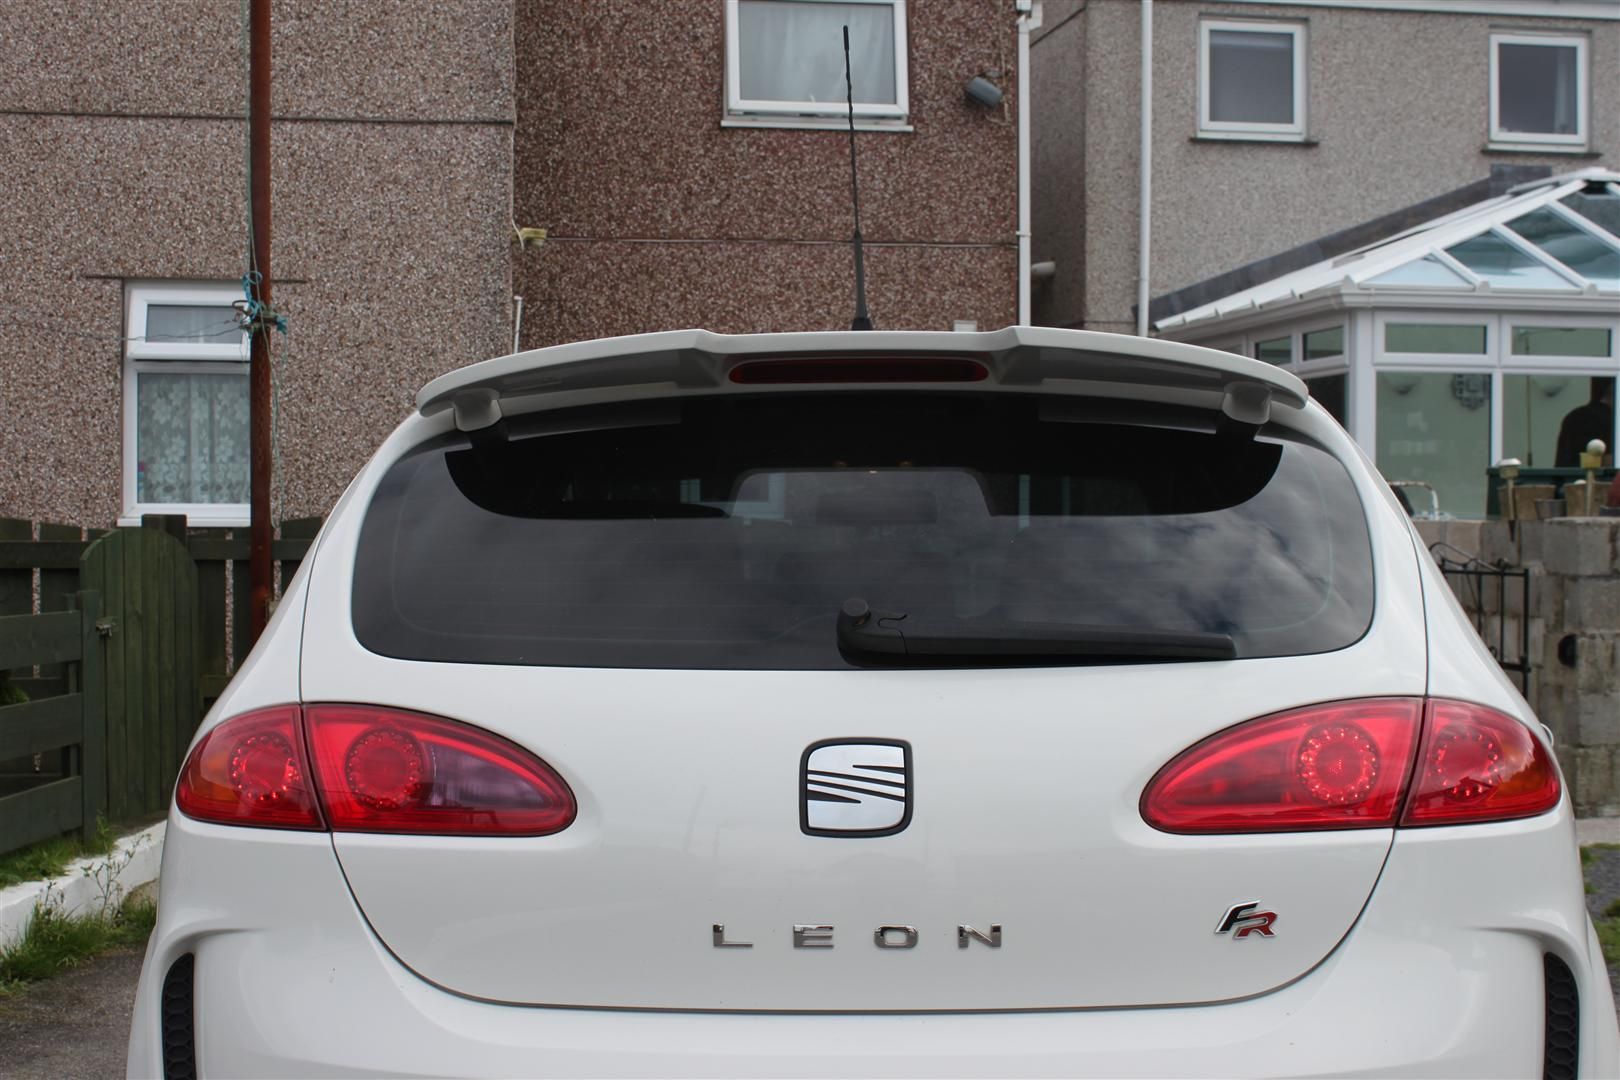
Anyway here are some pictures of the car:


Plans in the next few months:
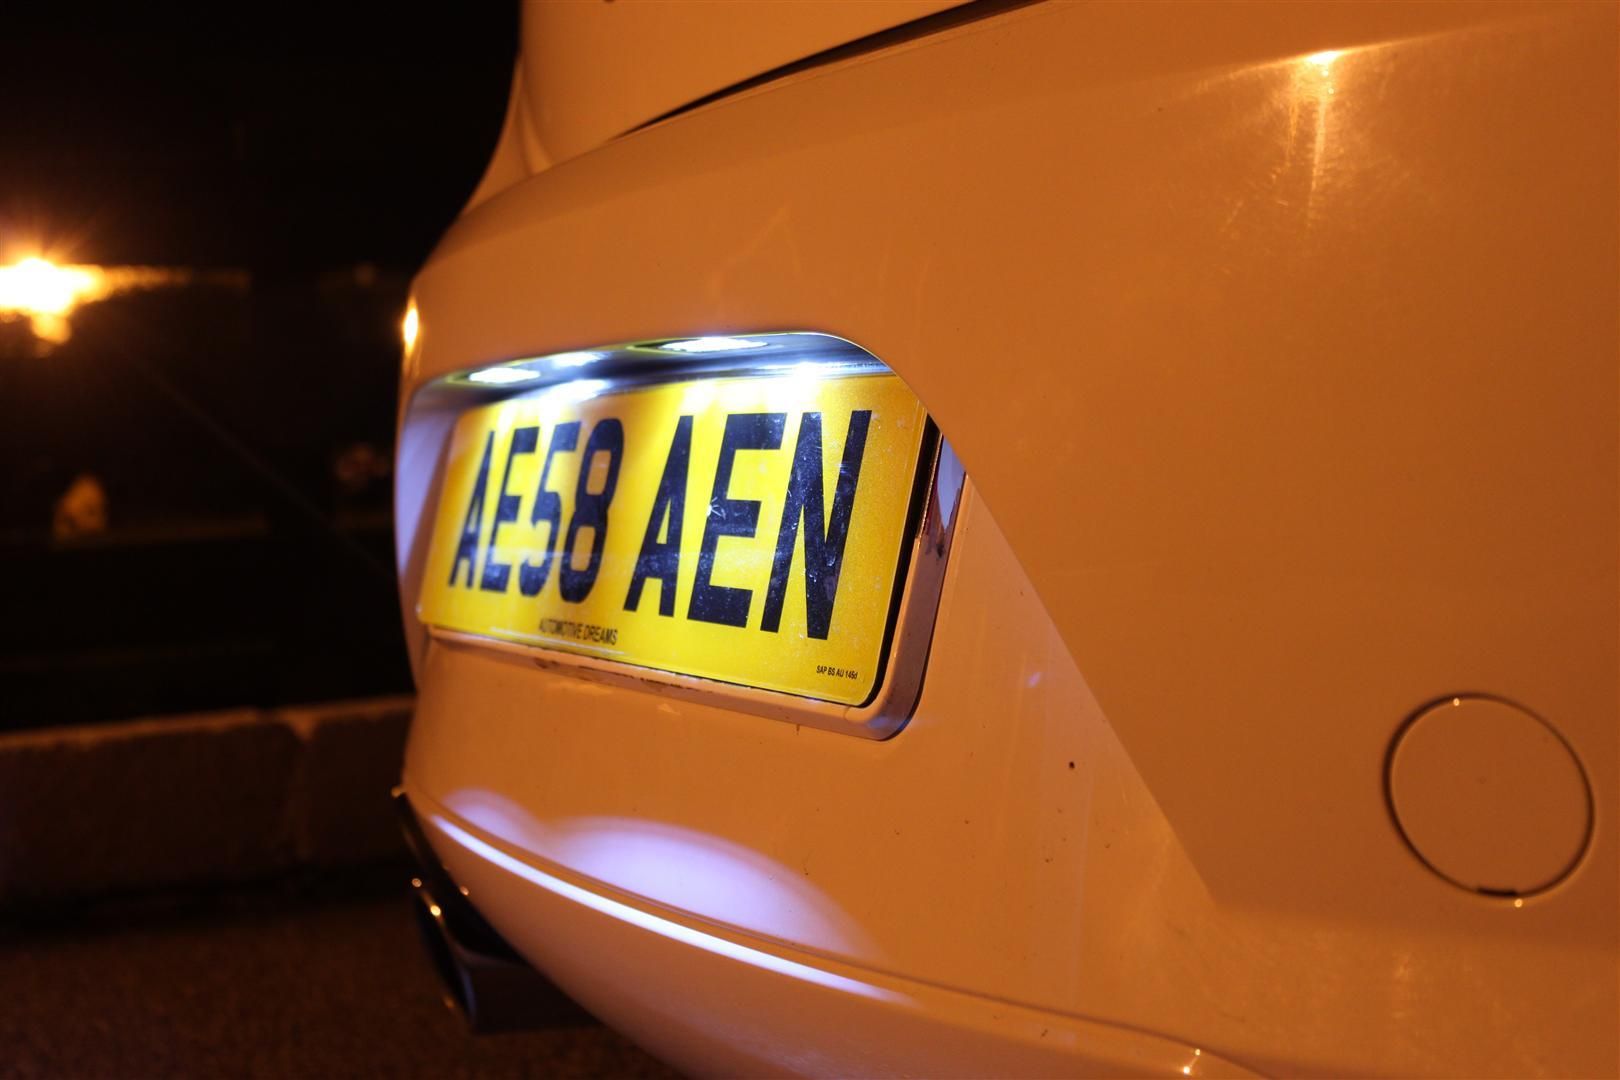
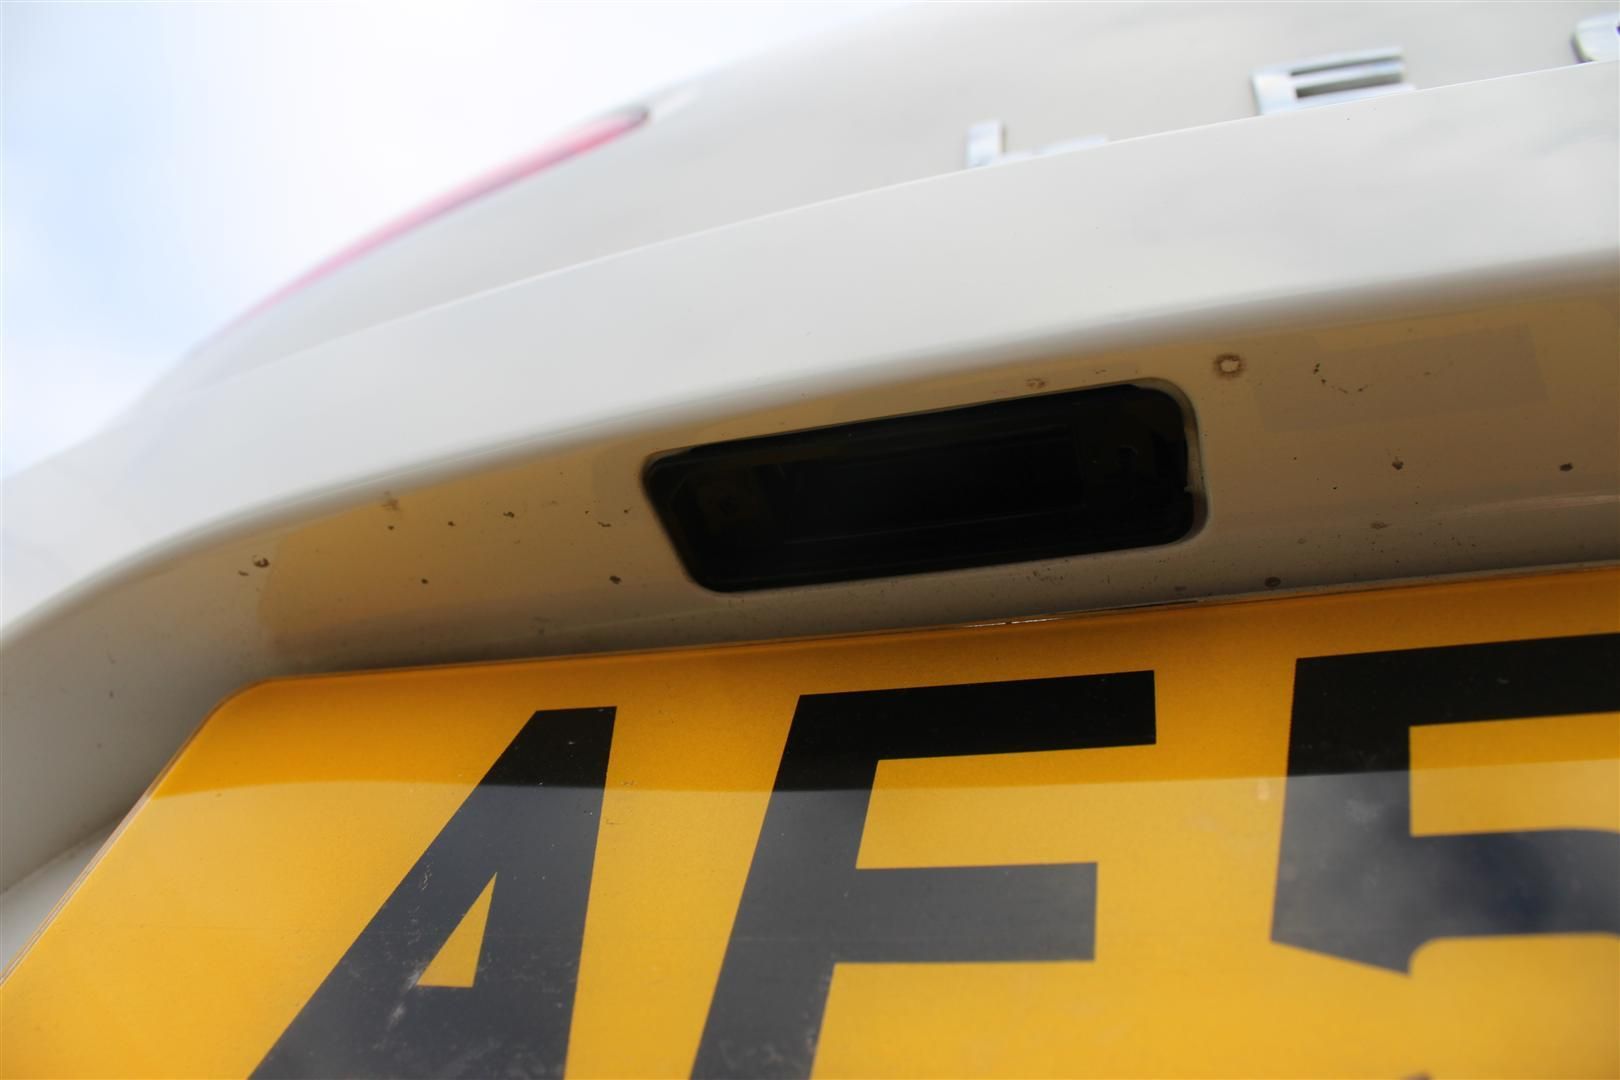
First up get my private plate on it, as the square front plate is awful! To me its ruining the front end of the car.
Secondly give the car a full detail and wax using dodo juice products.
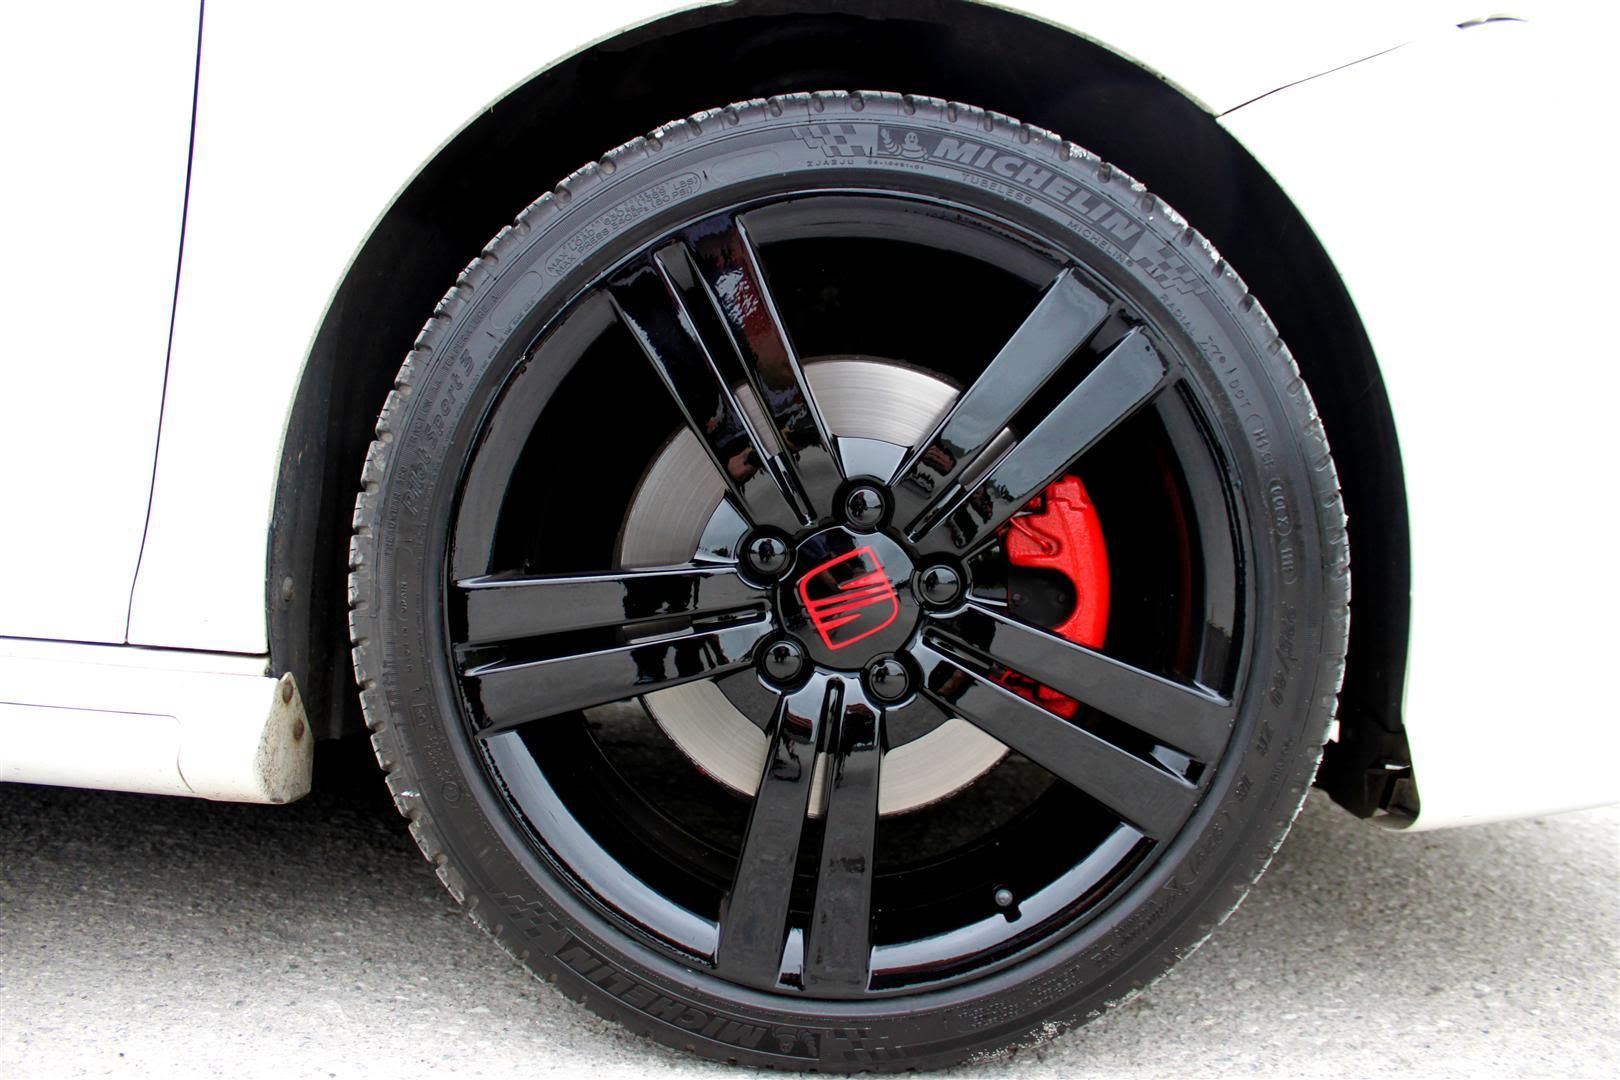
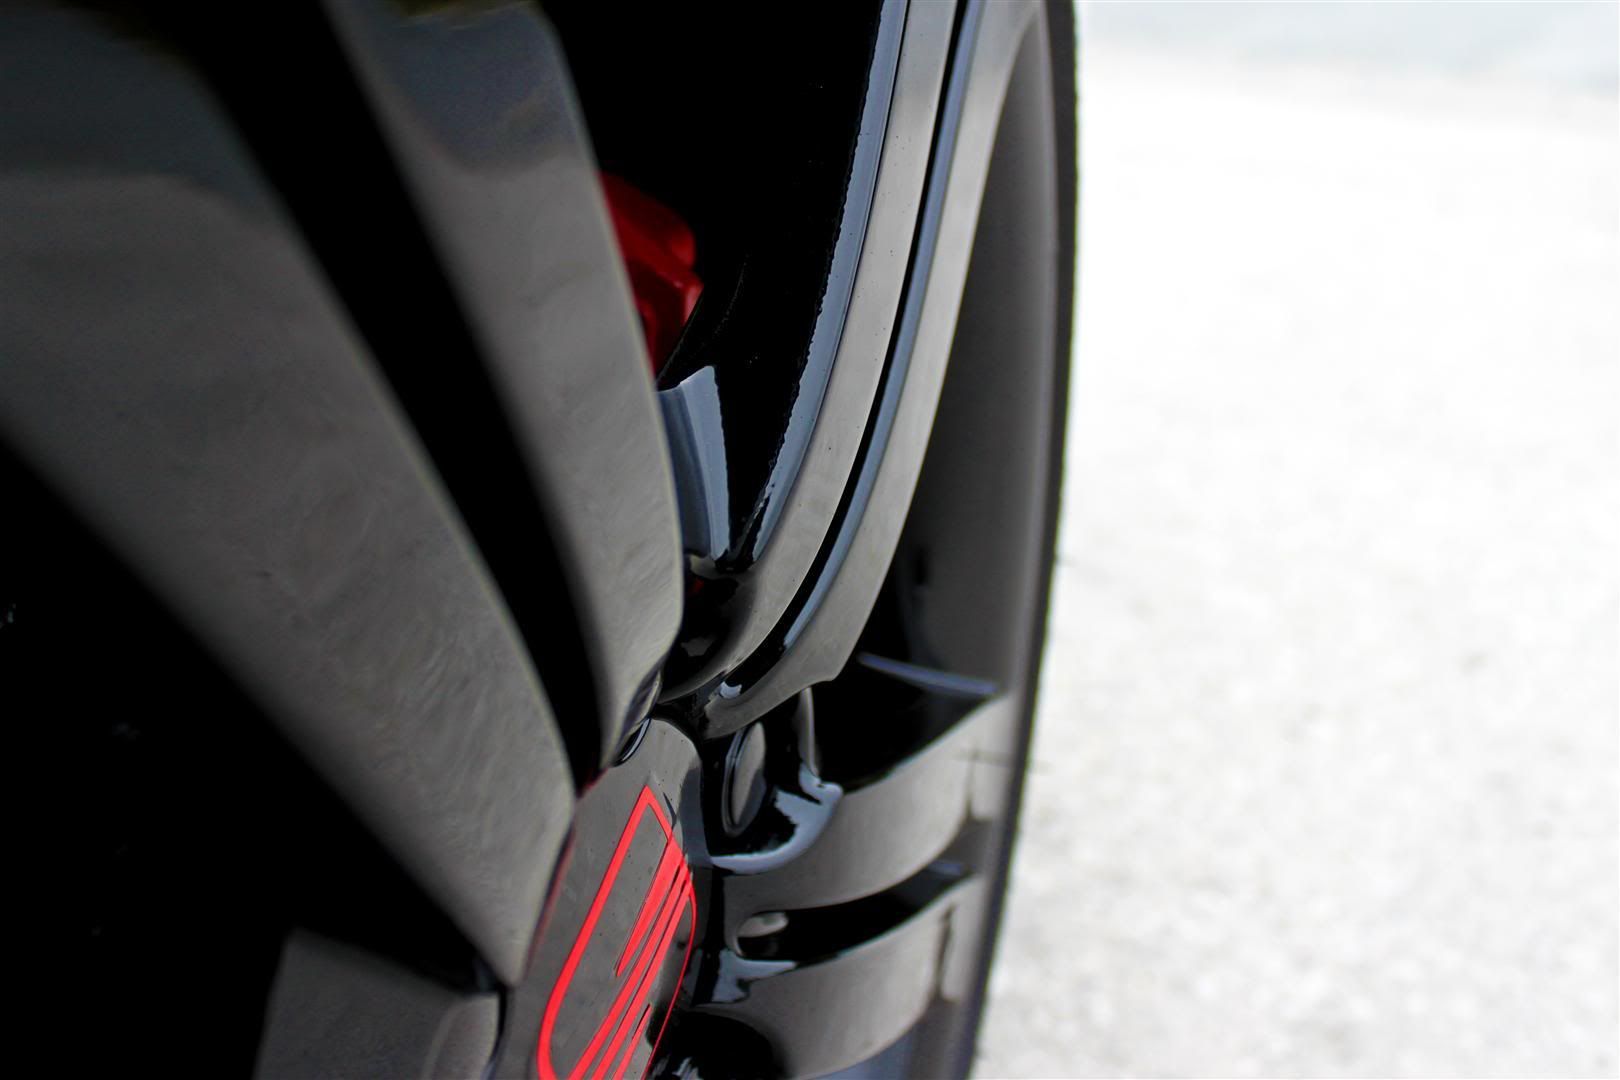
The wheels are going to be professionally refurbished in gloss black, no rattle cans!
Paint the Calipers.
H&R 50mm Lowering Springs/Eibach Sportlines???
This will all be done asap.
Plans in the long run:
Stage 1 - Revo software + DPF Removal + Milltek Turbo back.
Coilovers.
BBS LM/CH reps.
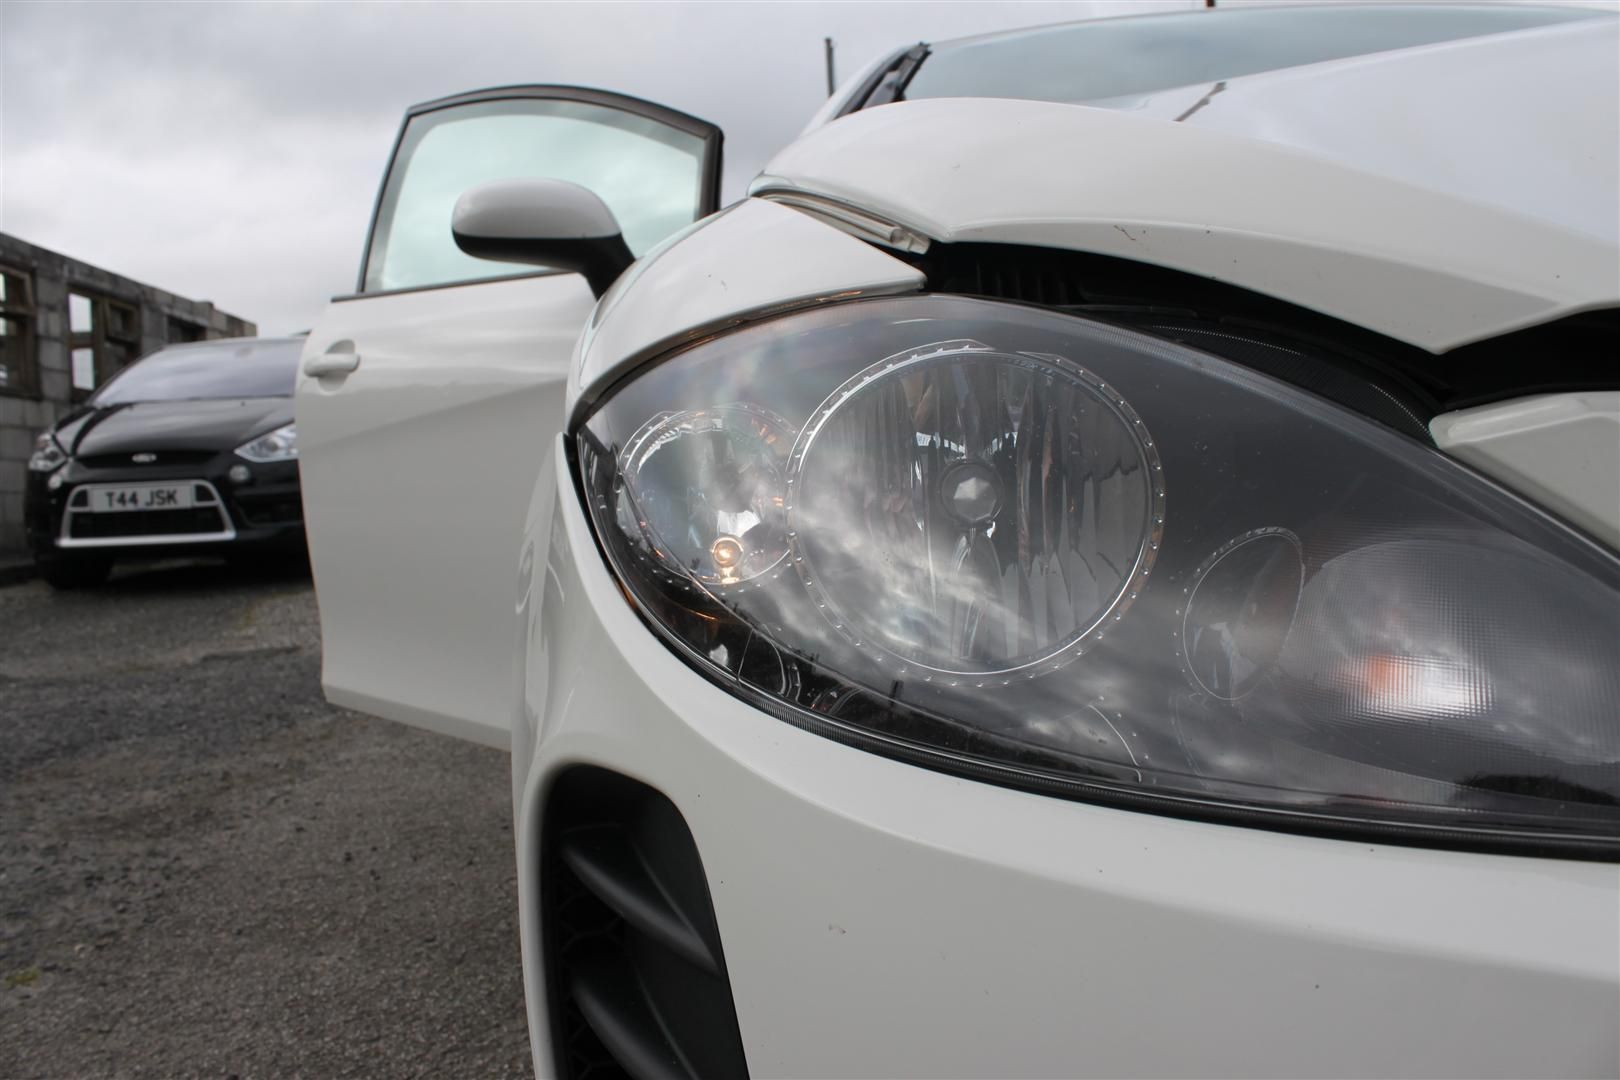
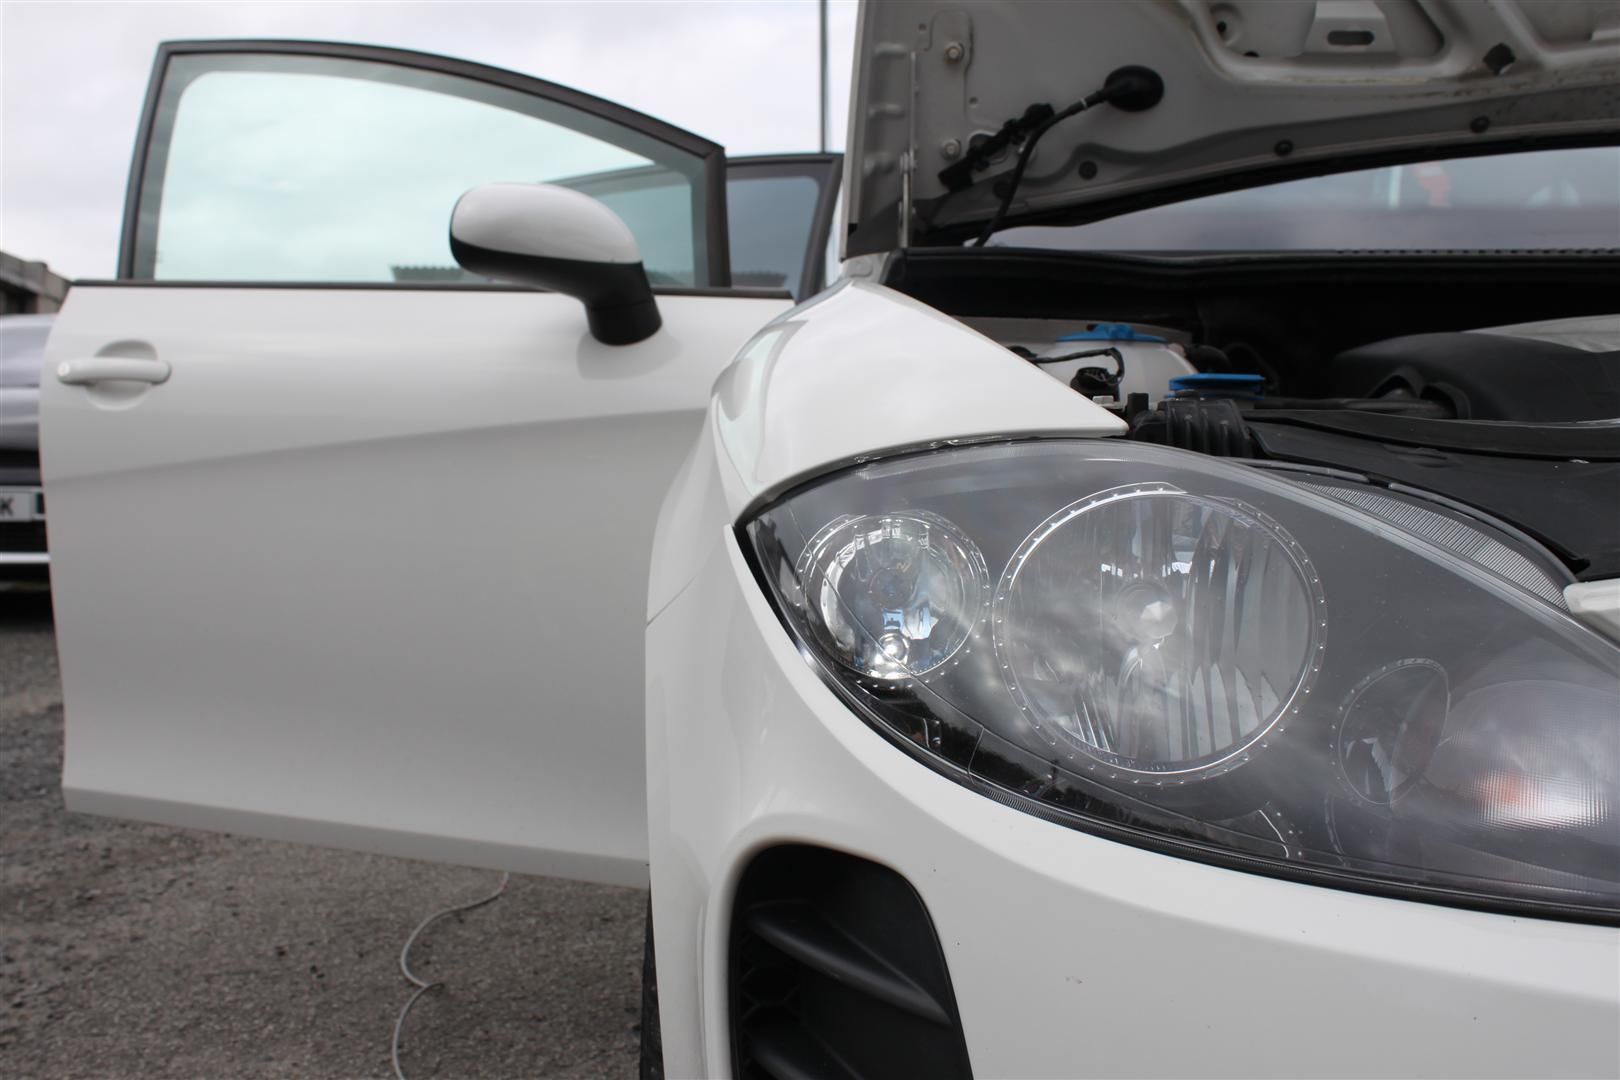
Xenon headlights (full headlights not HID's)
That's about it. There will be plenty of other little bits I will do though
So yea, that's my car[
Thought i would start a new thread in this section as a progress thread as i will be updating quite alot
Im new here, but got the car i wanted!
So the car I went for is a 2008 (58) Seat Leon FR. I have always liked them since coming out and with the bodykits on even more! So I went out of budget a little to make sure I got a nice, newish, low mileage, white Leon with all the options.
The car has the BTCC bodykit fitted finished in White. It has all the usual spec, Bluetooth headunit with steering wheel phone controls, ipod connectivity, cruise control and so on which is lovely to have.
The comfort and feel of the car is lovely, drives so well and the handling is unreal. It really holds on in the corners and does not fail to dissapoint!
The engine is 170bhp as standard which is plenty for now, returning 45mpg easily, or about 41mpg after having a bit of a spirited drive
Anyway here are some pictures of the car:
Plans in the next few months:
First up get my private plate on it, as the square front plate is awful! To me its ruining the front end of the car.
Secondly give the car a full detail and wax using dodo juice products.
The wheels are going to be professionally refurbished in gloss black, no rattle cans!
Paint the Calipers.
H&R 50mm Lowering Springs/Eibach Sportlines???
This will all be done asap.
Plans in the long run:
Stage 1 - Revo software + DPF Removal + Milltek Turbo back.
Coilovers.
BBS LM/CH reps.
Xenon headlights (full headlights not HID's)
That's about it. There will be plenty of other little bits I will do though
So yea, that's my car
[
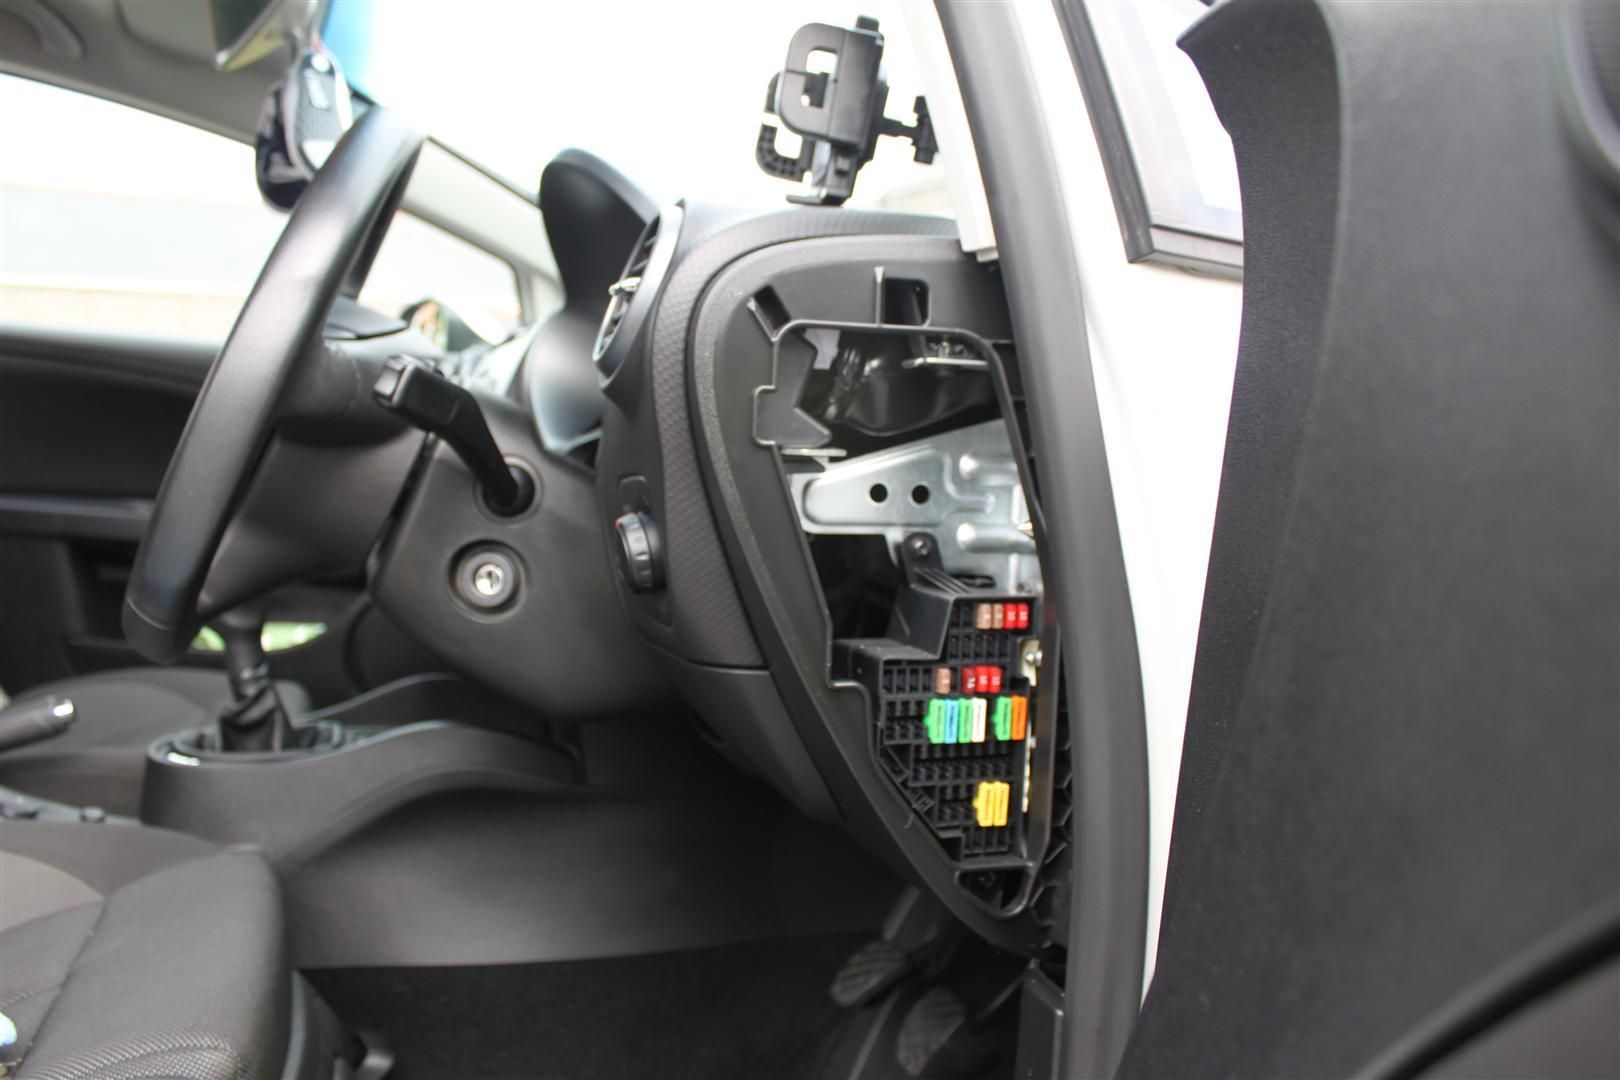
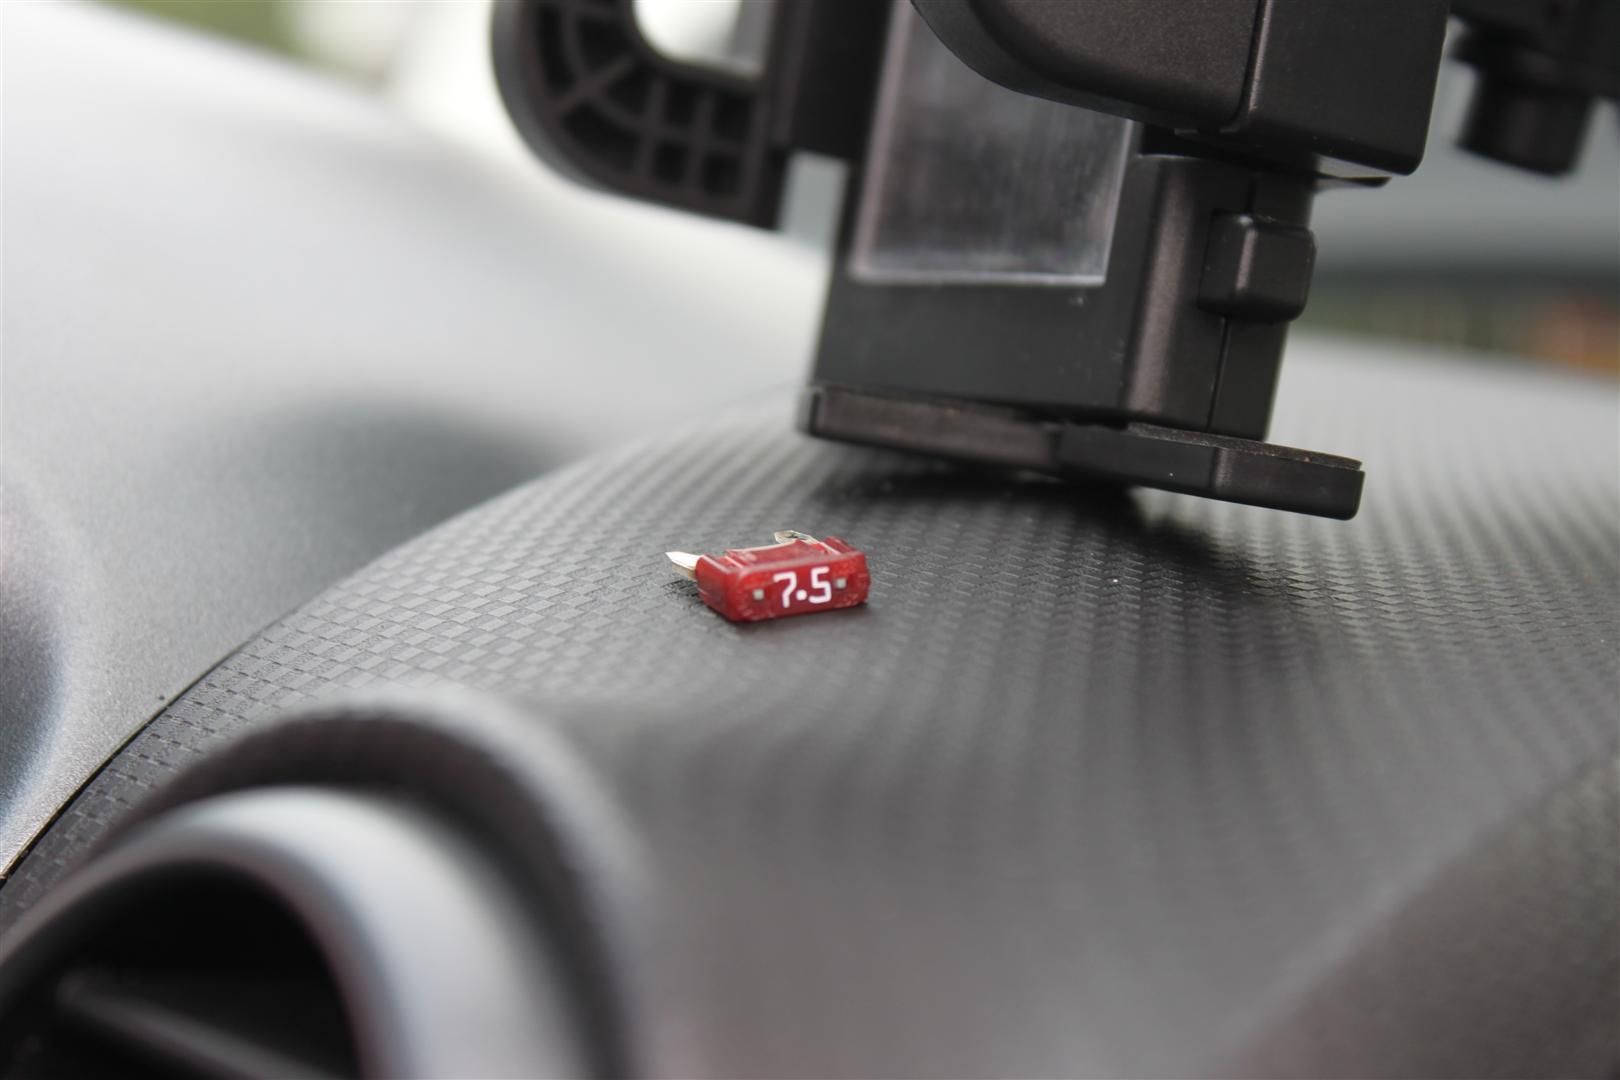
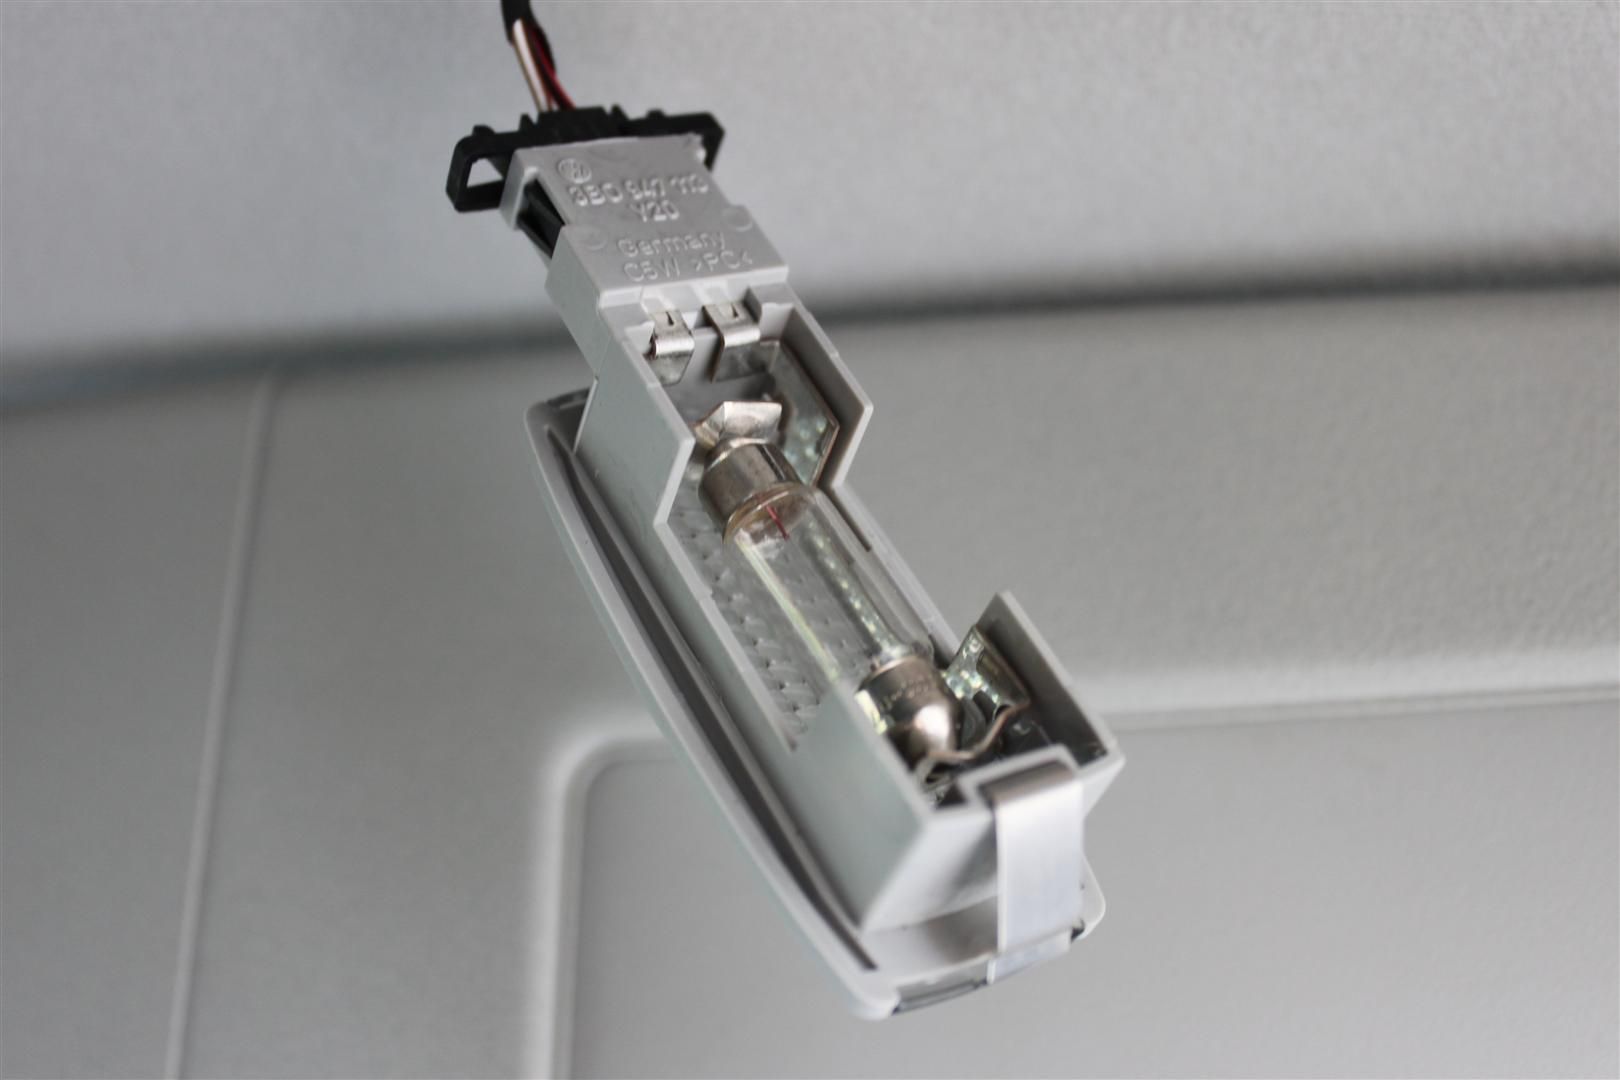
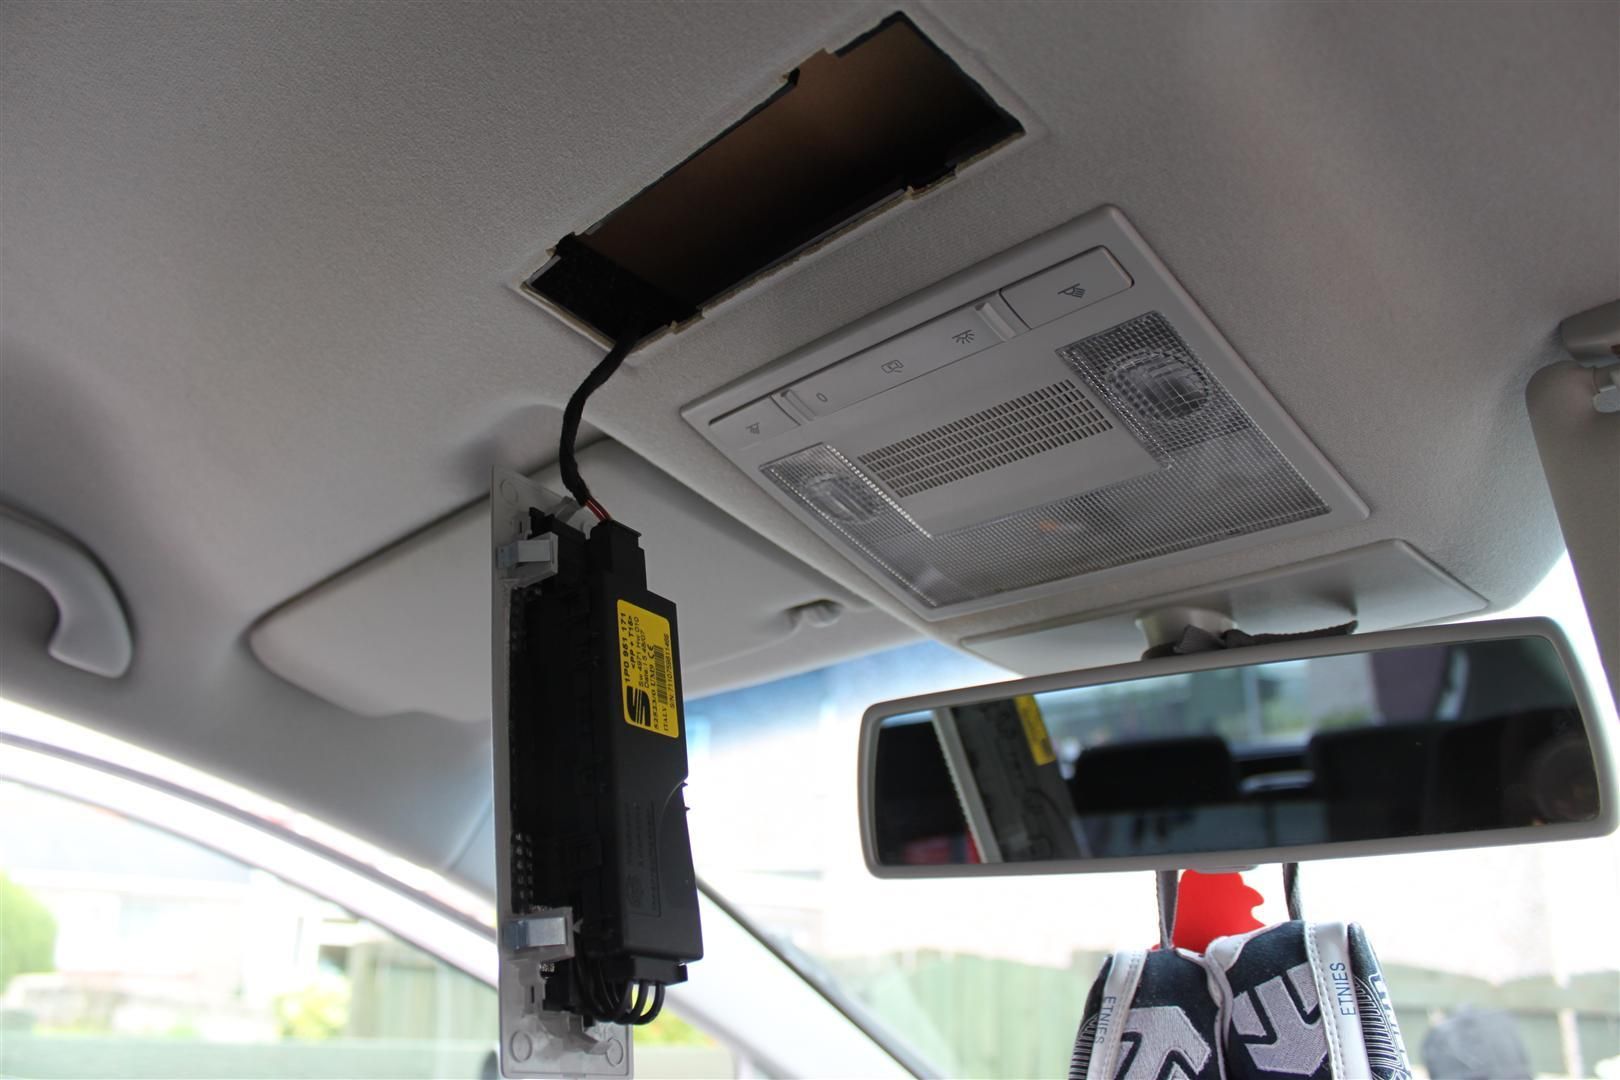
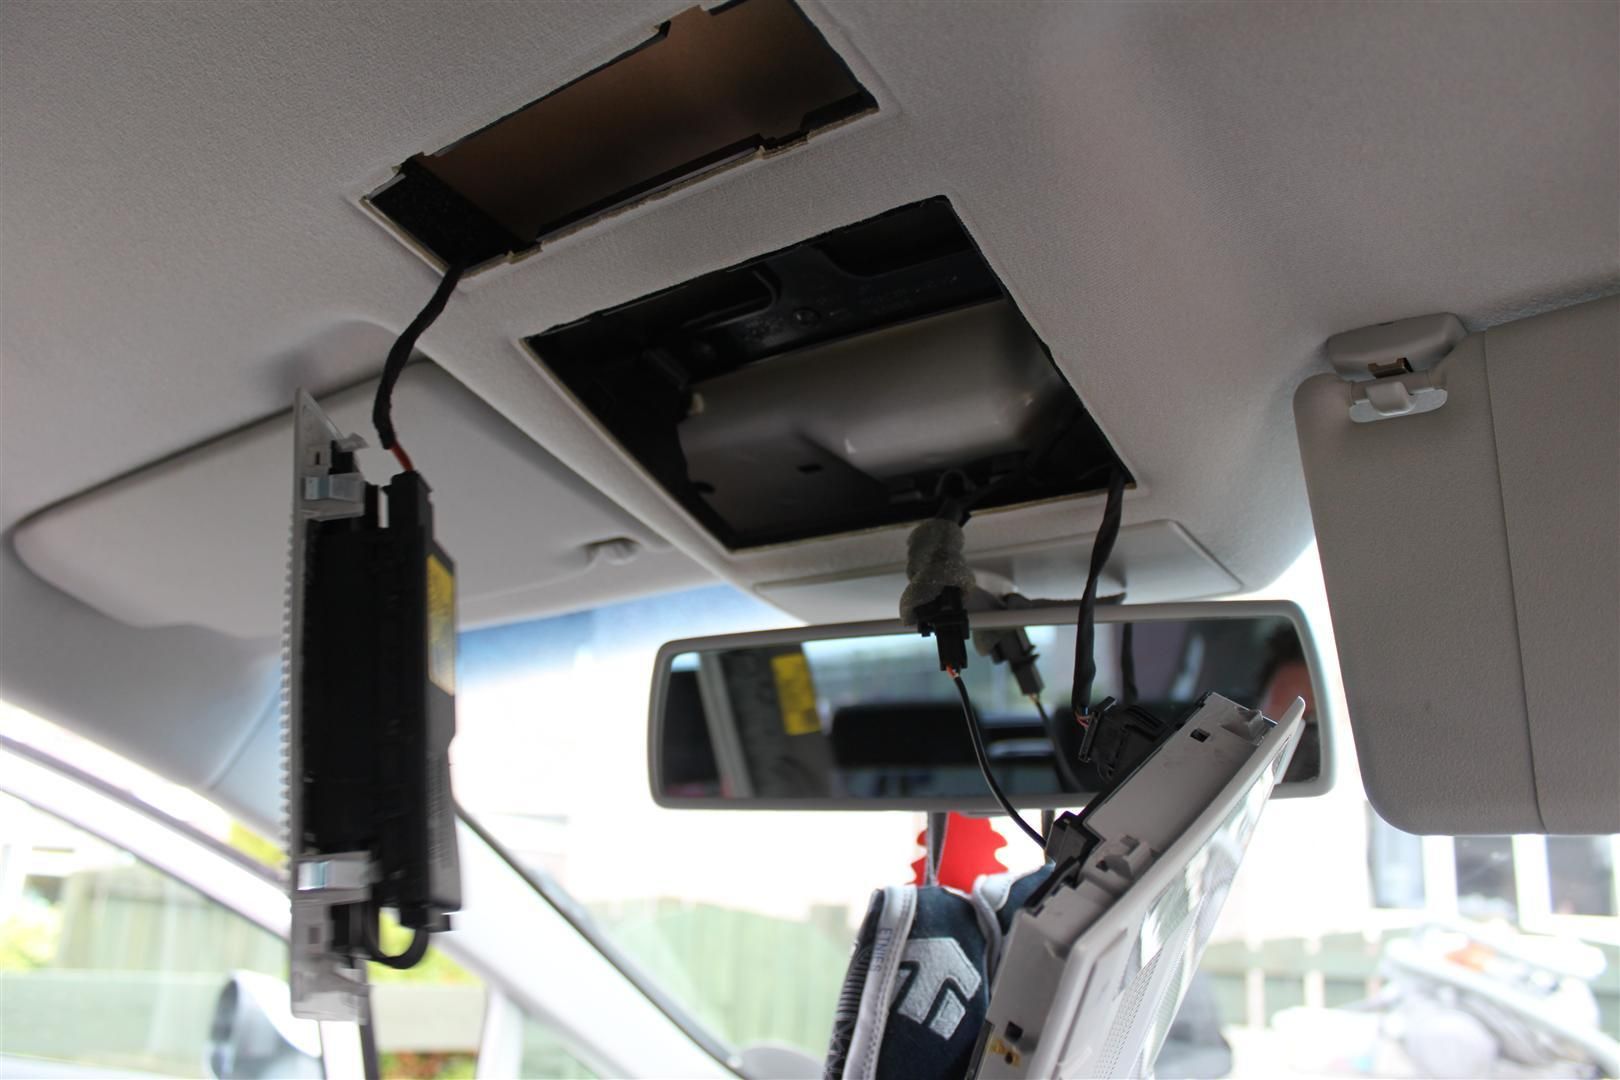
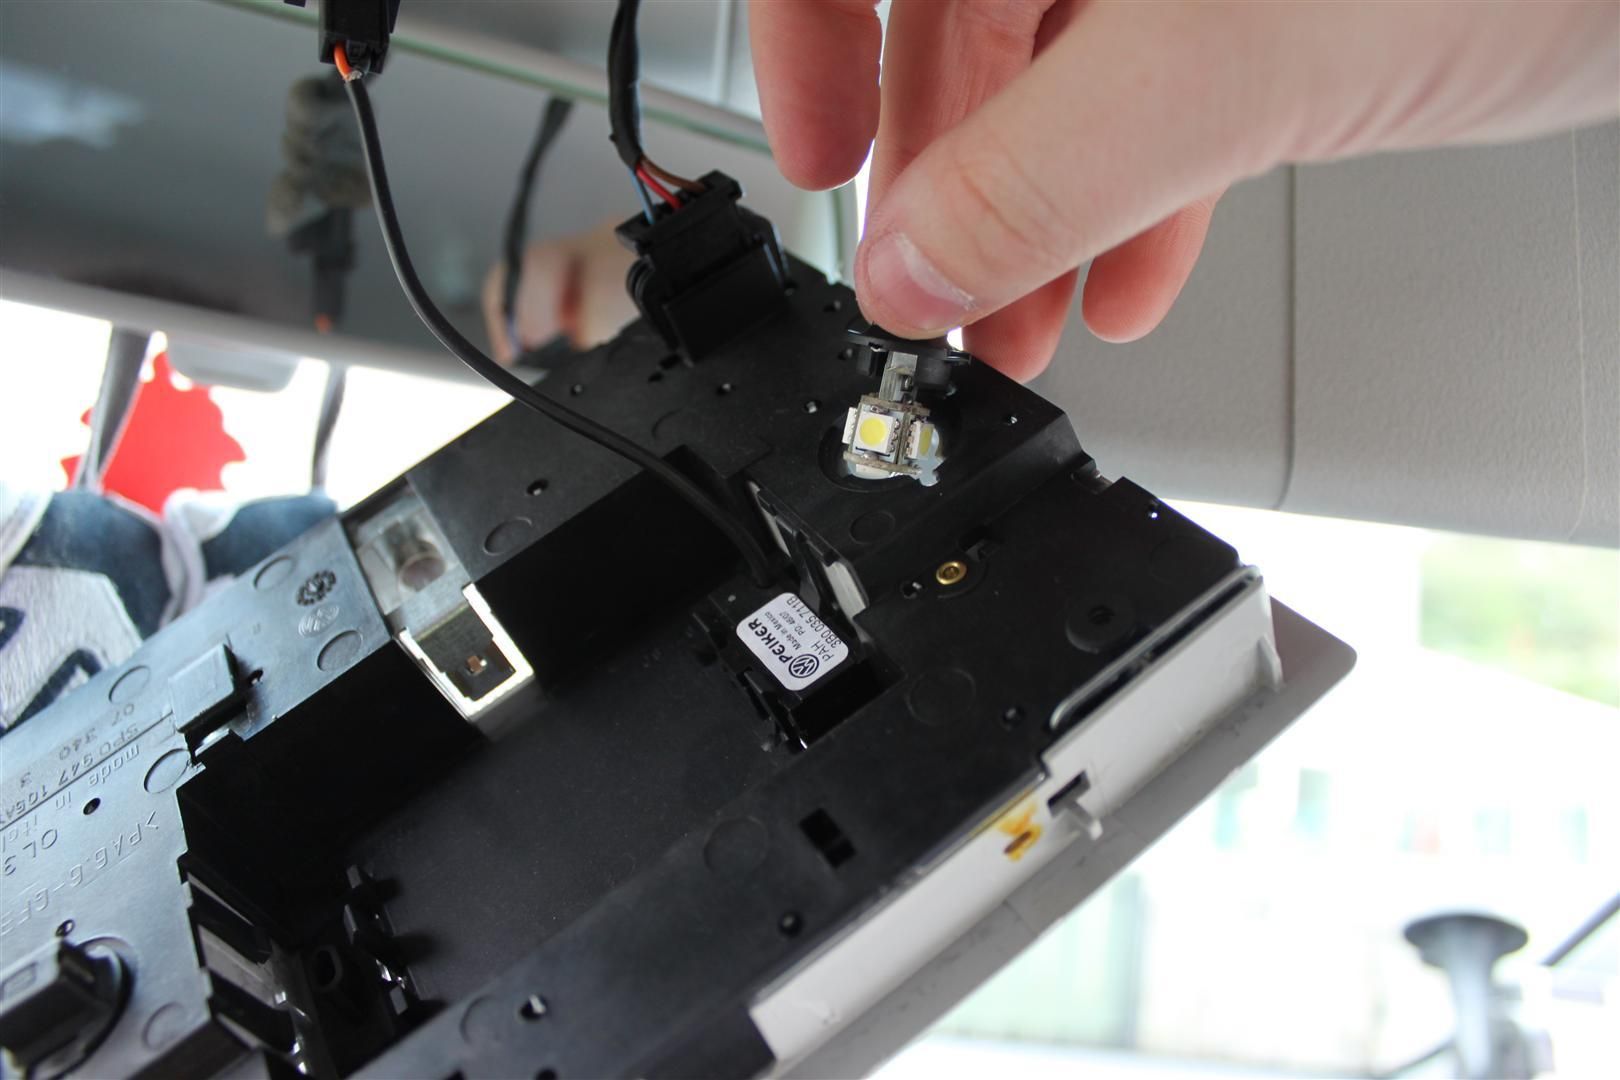
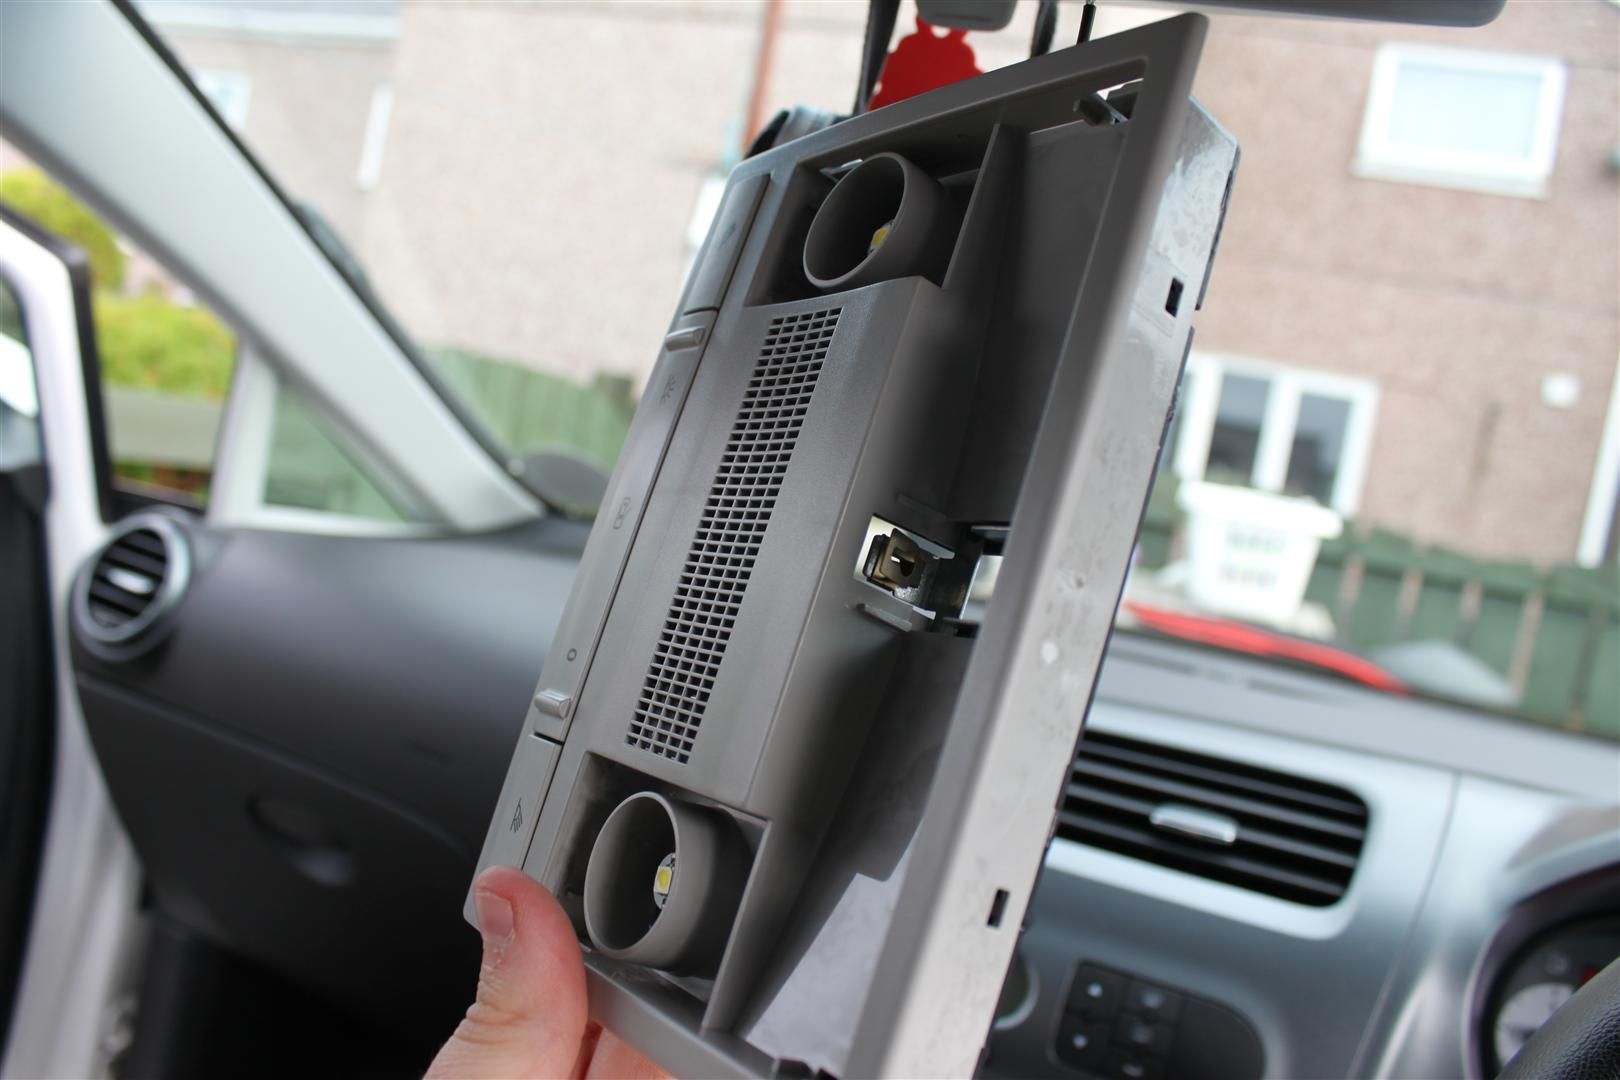
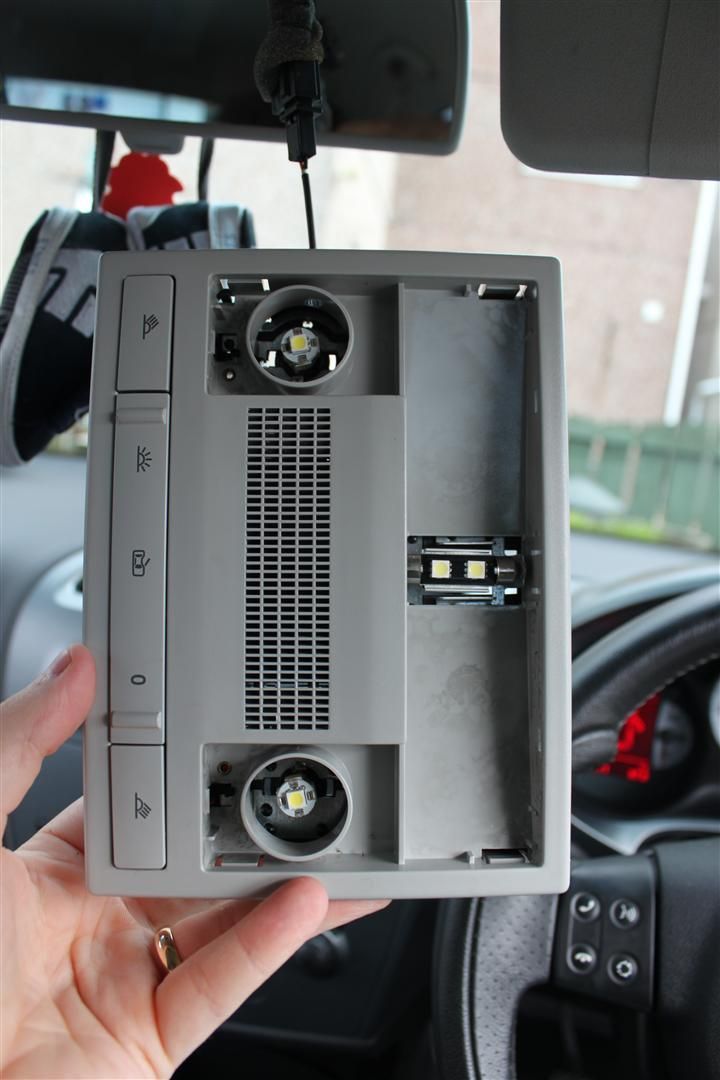
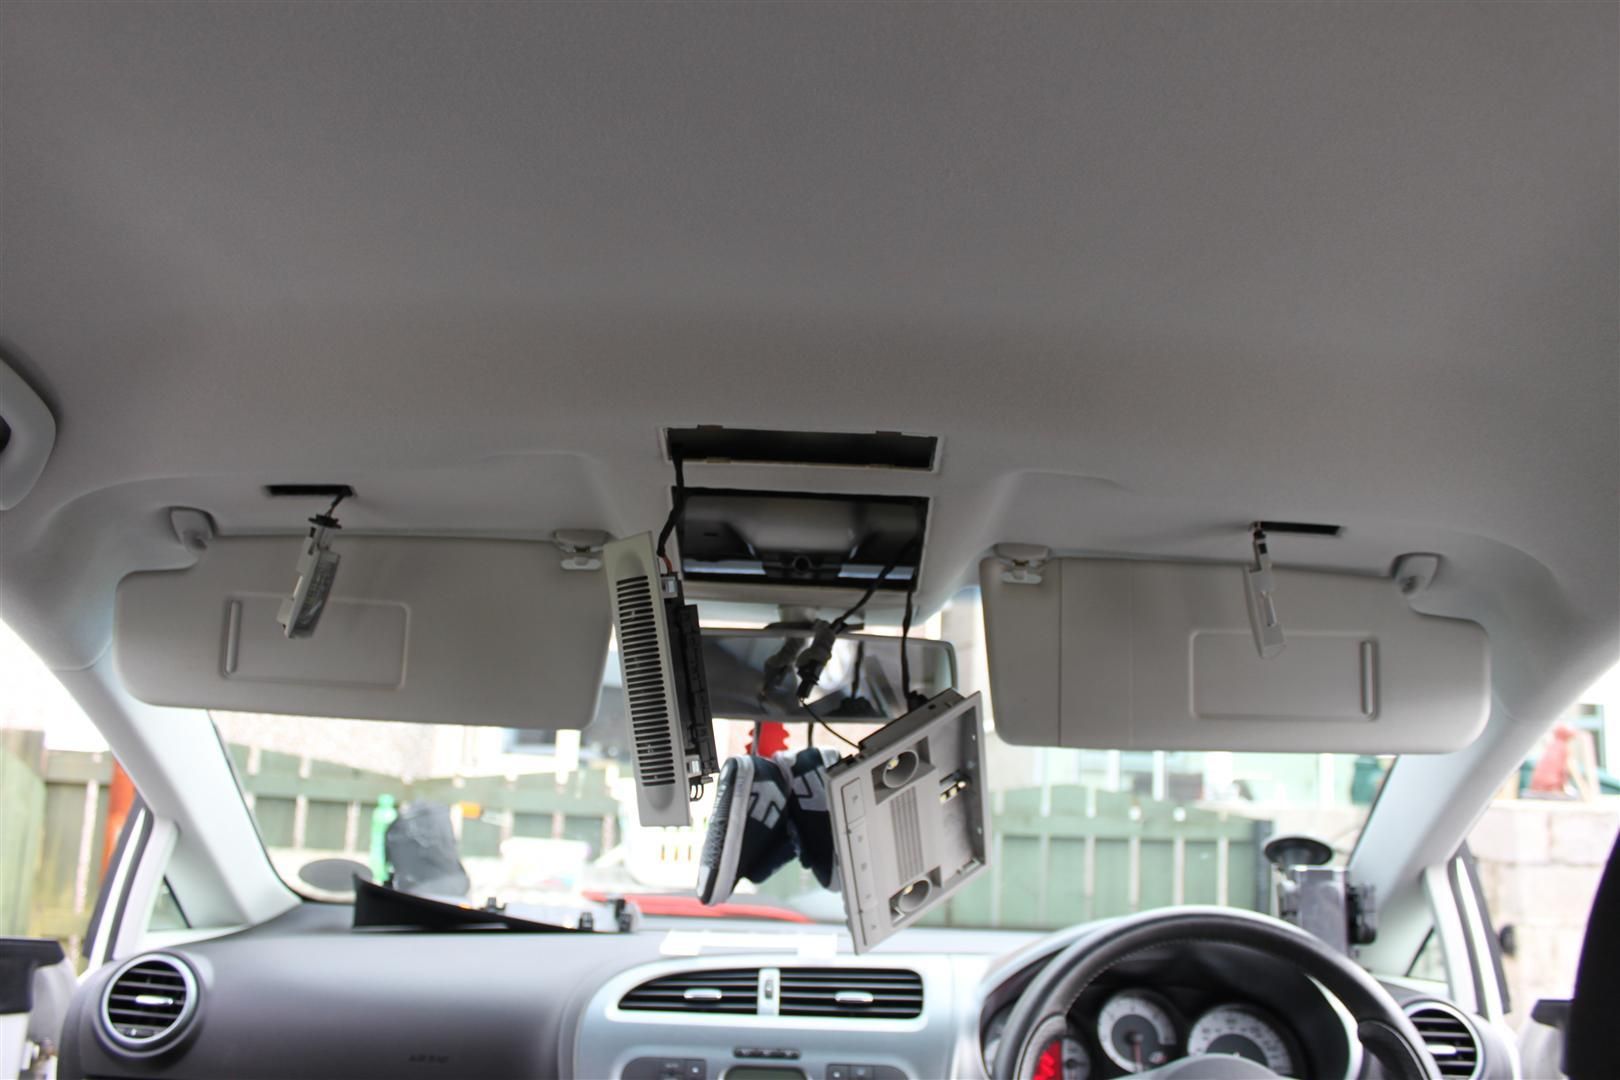
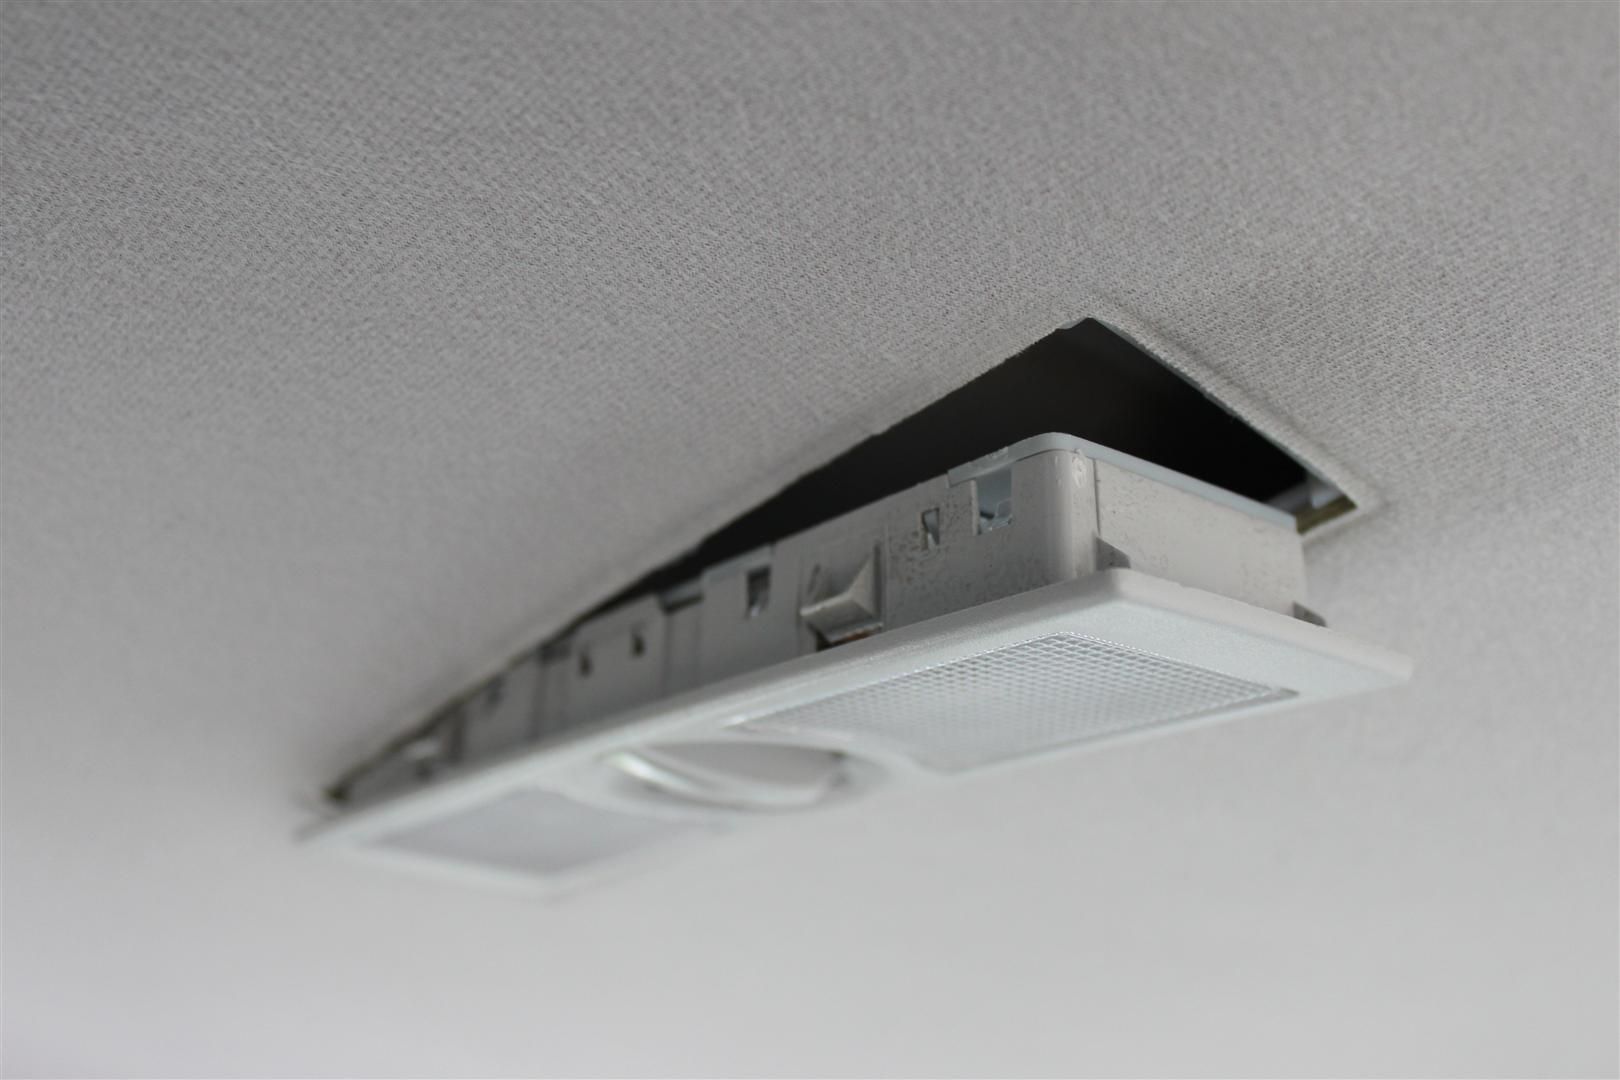


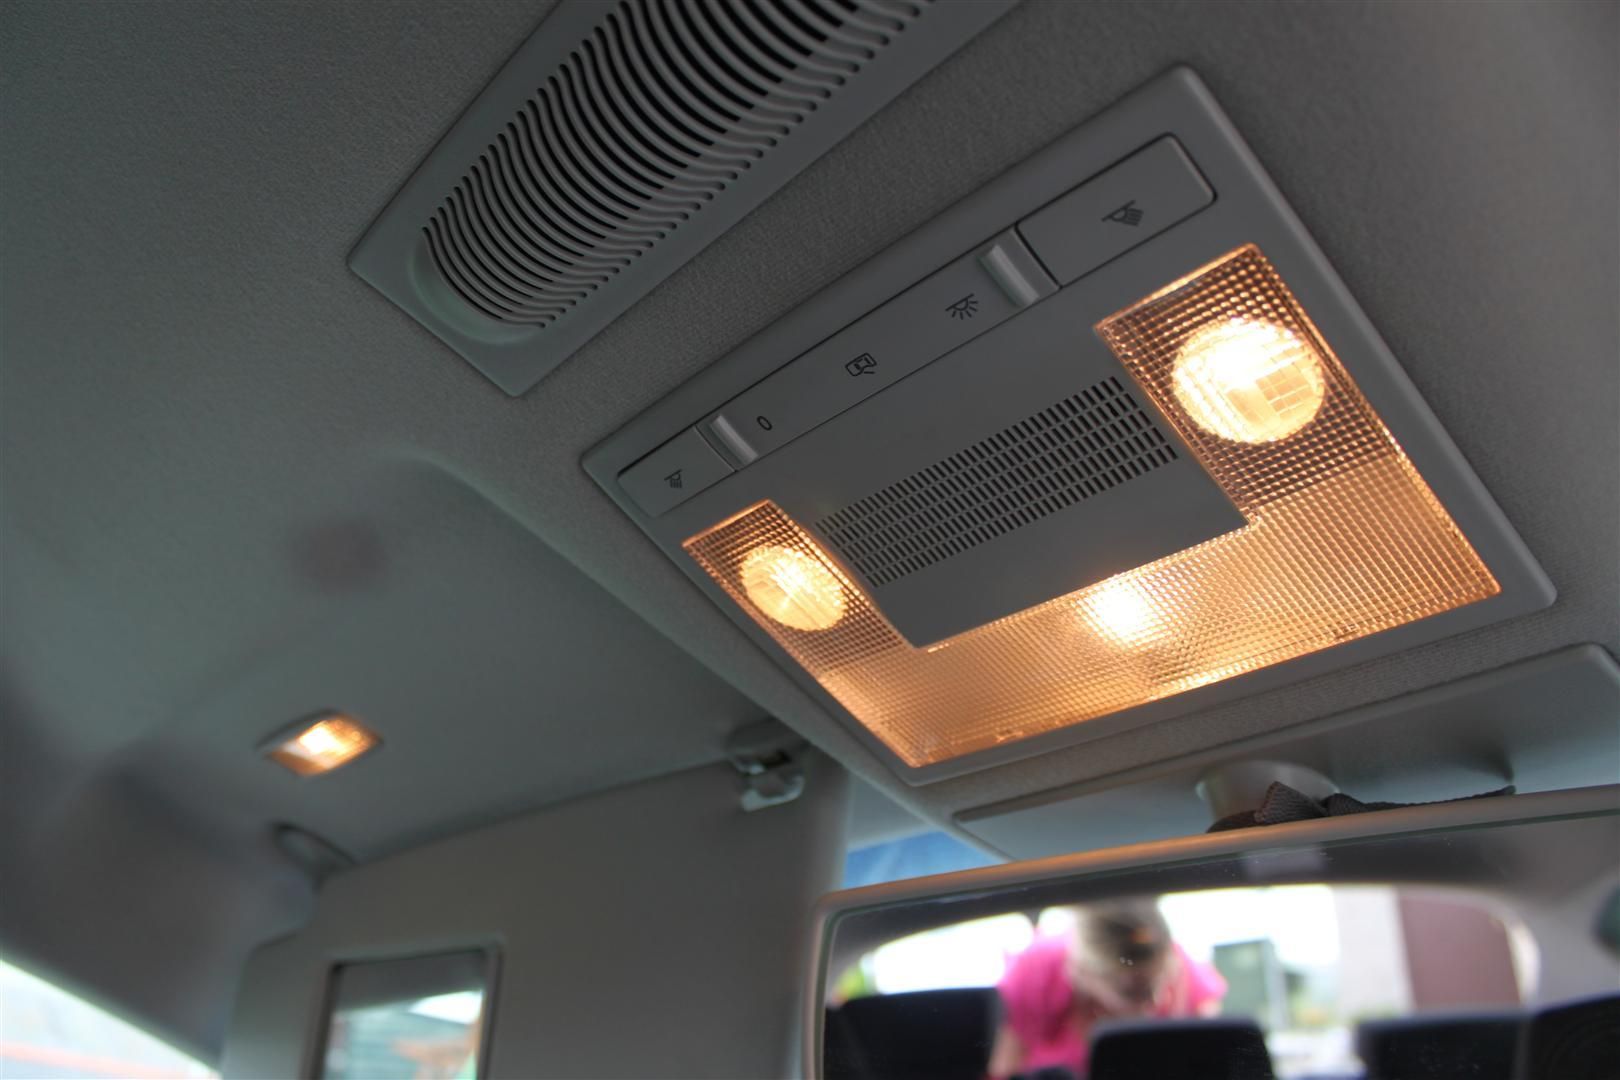
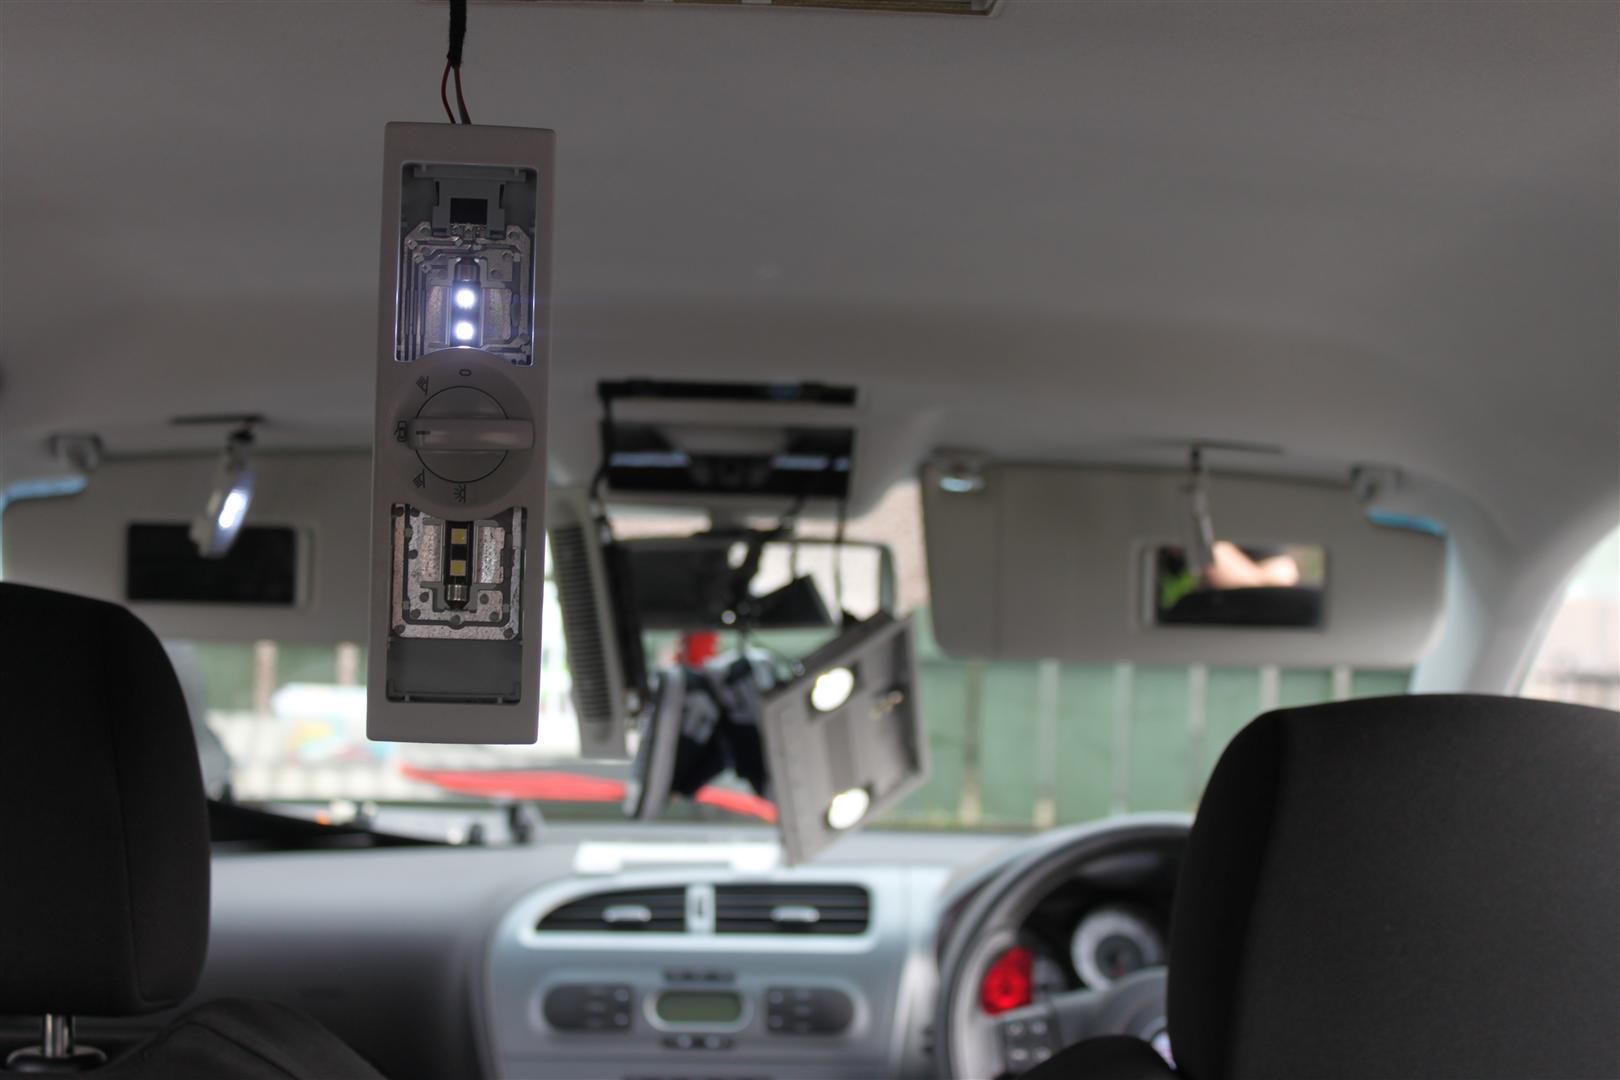
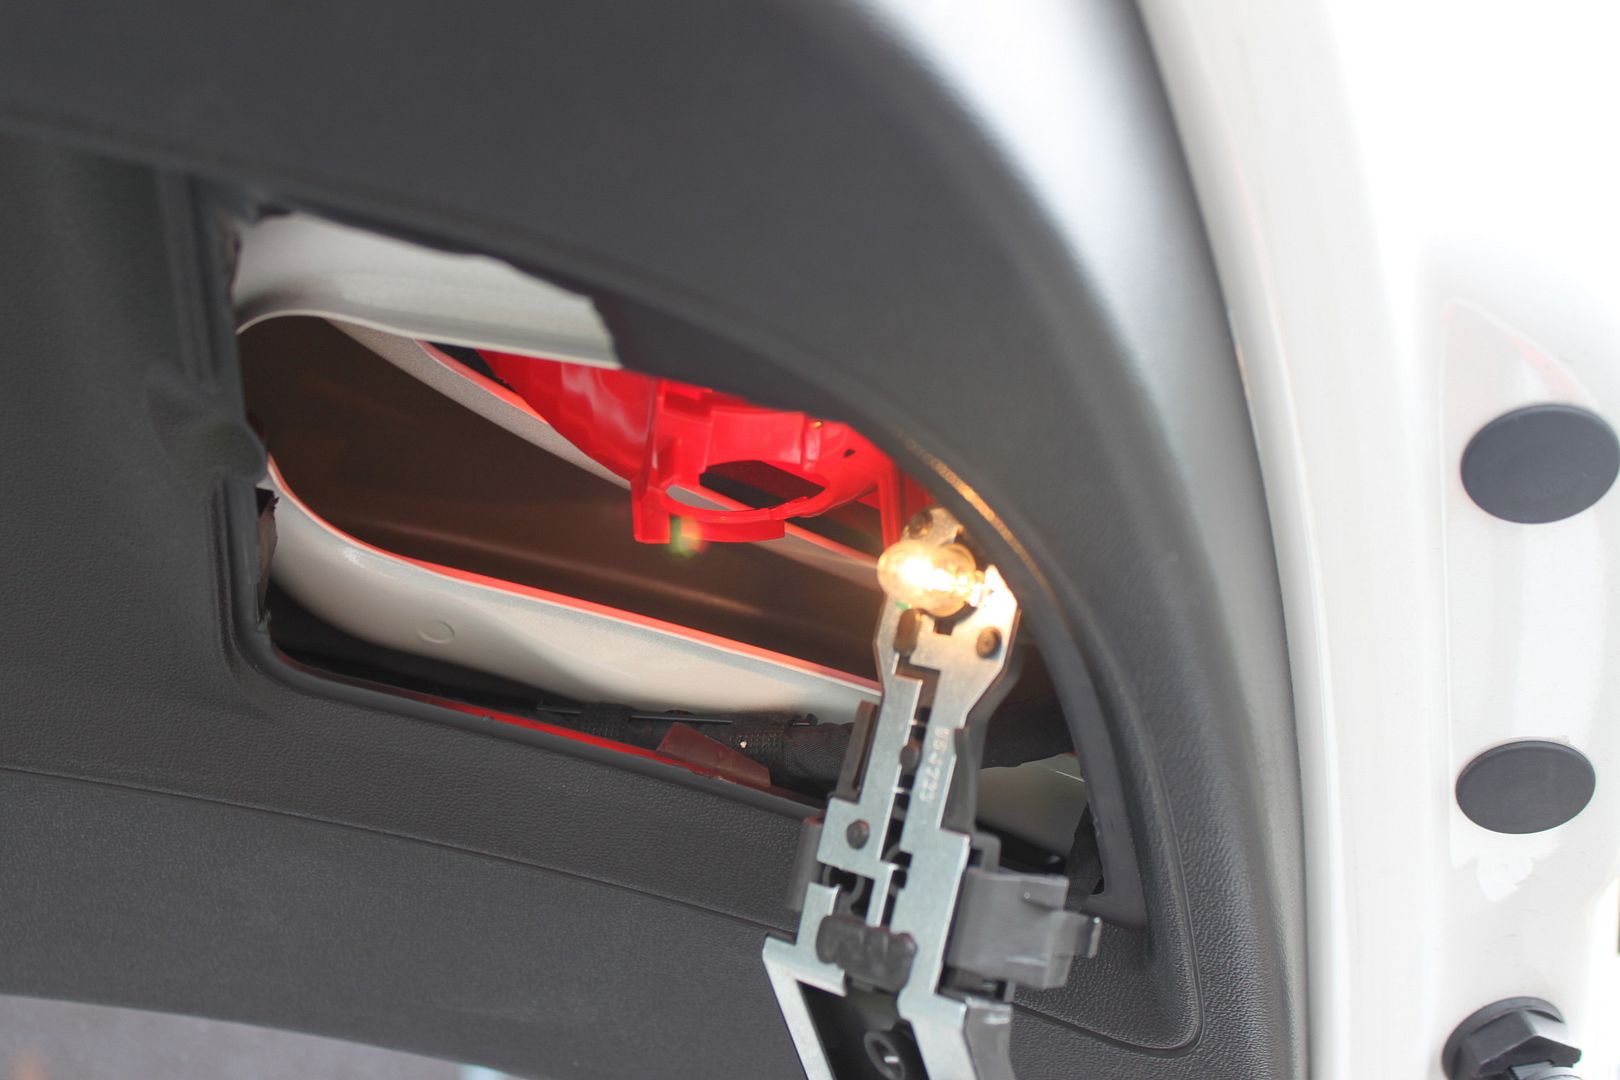
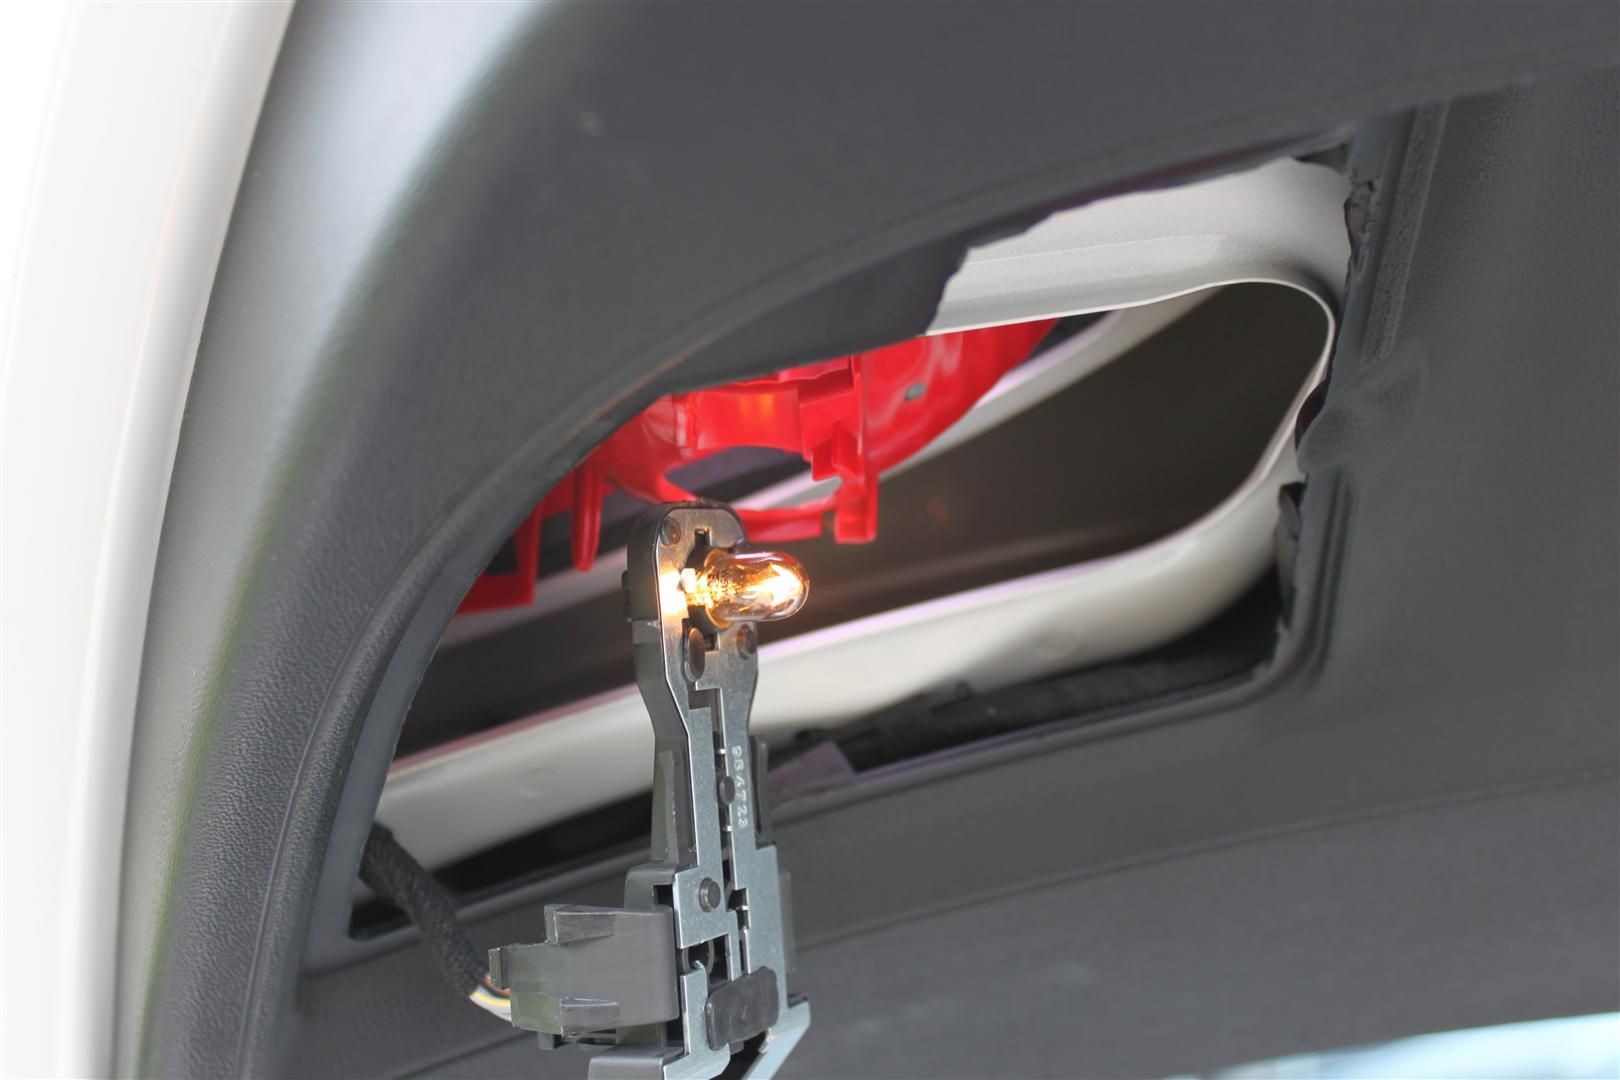
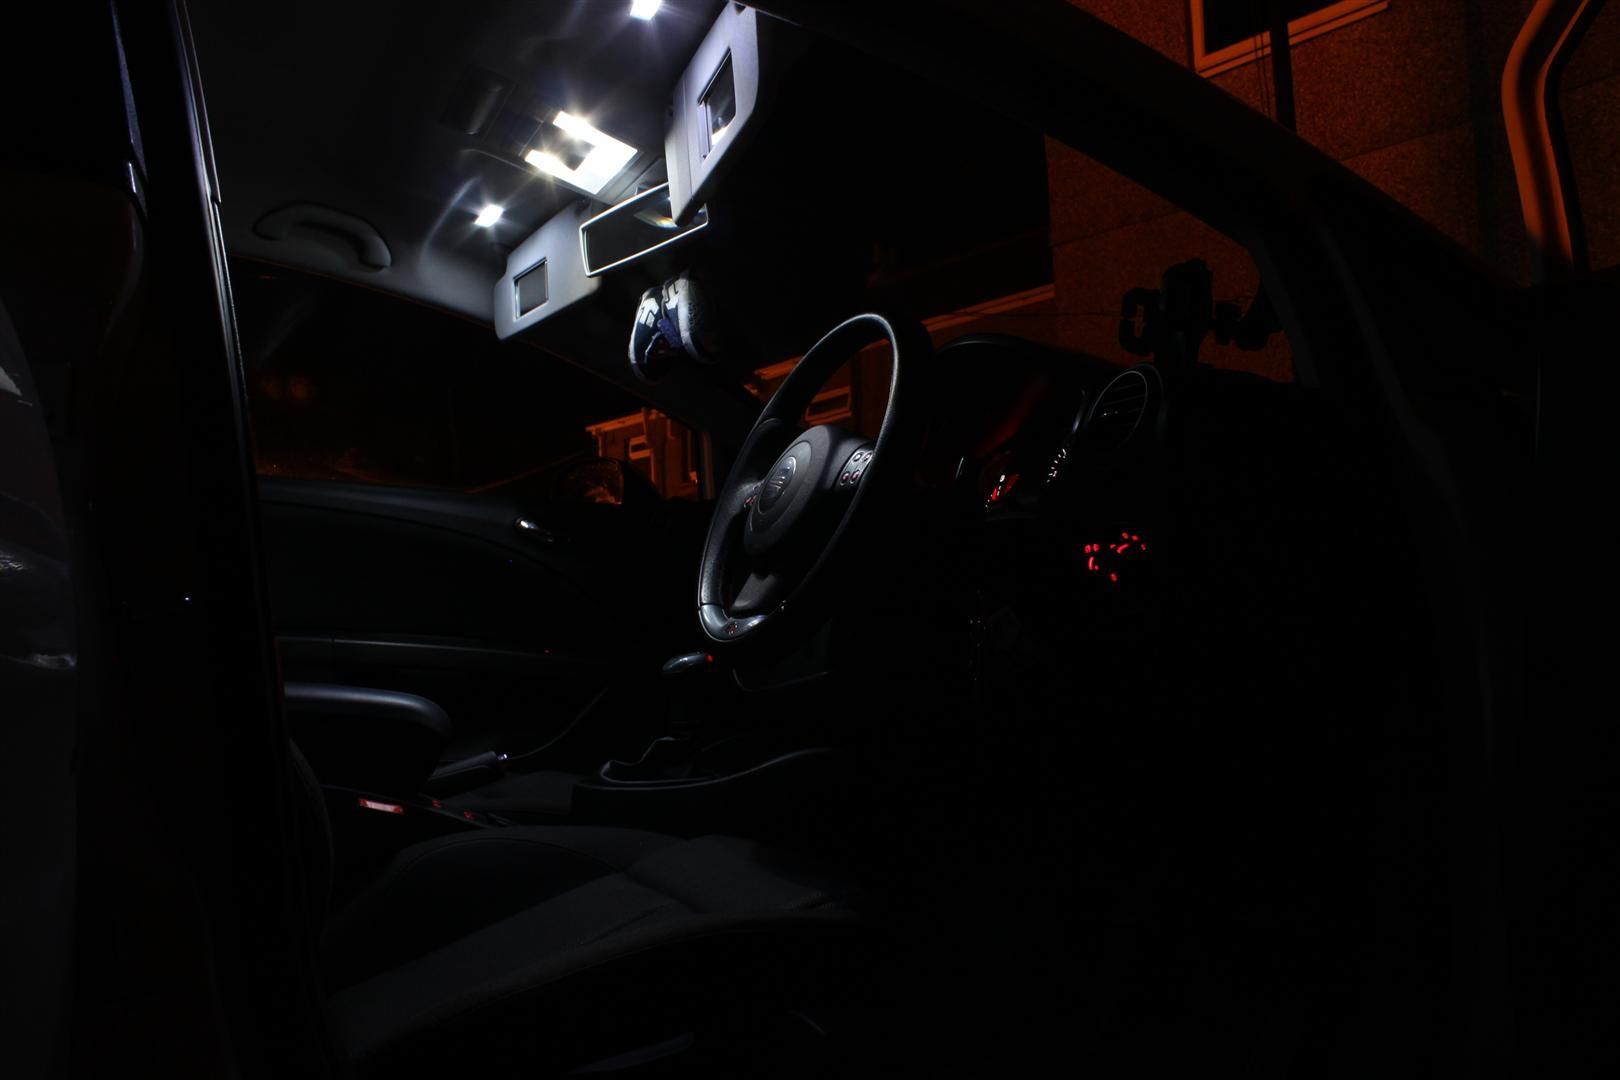
 no idea why, but it was. Anyway, stole a sidelight from the headlights...
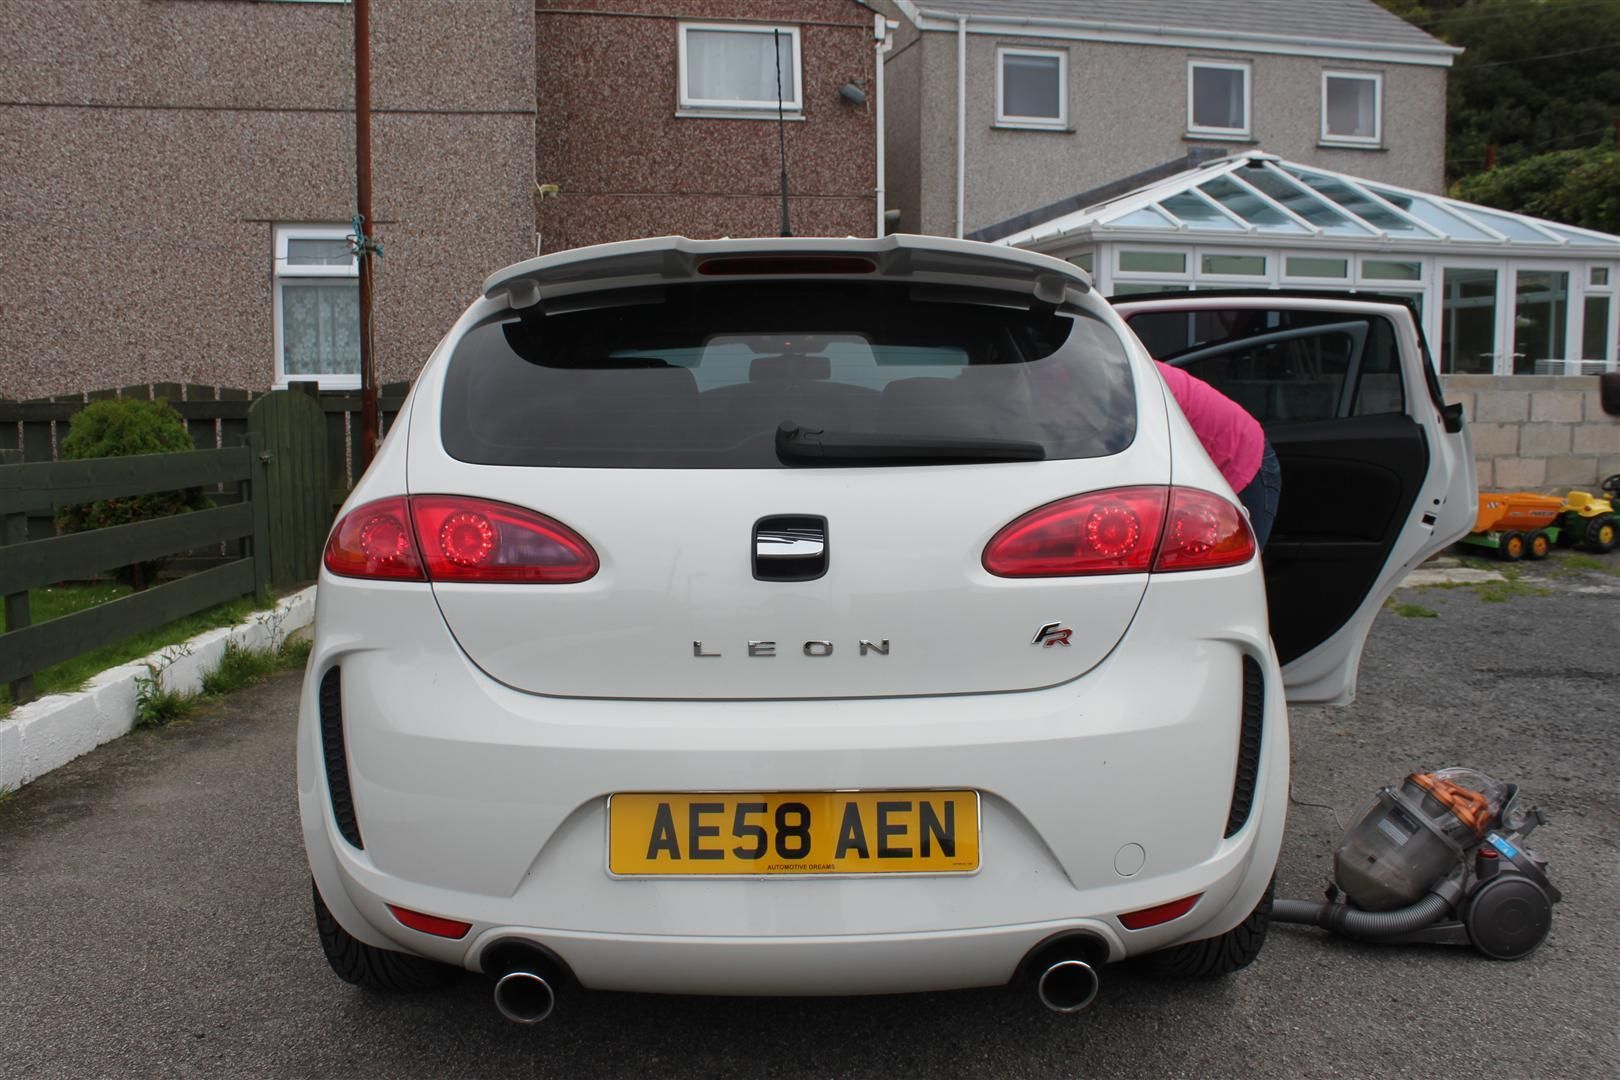


![[B)]](/forums/styles/seatcupra/oldforumsmileys/shades.gif "Cool [B)]")