Hi all, here are my thoughts on replacing the rear lefthand side wheel arch trim. The rear righthand side will be the same tbh, the fronts may well be quite different.
So the VAG workshop manual is really good and I really wouldn't have attempted this without it so a big shout out to East Yorkshire Retrofits for supplying me with it.
The first thing to note is that you should have the rear door open whilst doing this.
I thought I'd write this up to include some pics and add my experiences of doing this that may help some of you in the future.
This was the scratch damage on my wheel arch:

I managed to do the job with just these tools:

The VAG instruction suggests you need a rotating adhesive strip remover but I didn't use one and found it quite easy to remove the adhesive strip remnants by hand, it just takes a little time.
There are 3 different clip types across the arch. The first 3 to the rear of the arch clip into the plastic bumper panel and pop out really easily. The next 2 near to the top clip into the metal arch/rear wing & were a little more difficult to remove & I managed to break one of these. The remaining 4 that attach to front of the arch near the rear door were a total pita to remove & I broke one of these too! Luckily the new trim comes with all new retaining clips & the adhesive strip.
Initial photo with the first 3 clips popped:

Next with the top 2 popped, we're into removing the sticky strip:

Using the plastic panel removal tools prise the sticky strip away from the body panel. Ideally if you can break the adhesion of the entire sticky strip then all you need to do is rotate the wheel arch trim slightly anticlockwise and the arch is off. The 4 clips will then need to be removed. I did this by tilting the clip to get one of the retaining bits exposed and then used the smallest plastic panel remover to push the other retaining bit towards the centre of the clip. They then come out leaving the rubber inserts in place. I'd guess there is a special tool specifically for removing these 4 clips.


So after removing the remains of the adhesive from the body it's just a matter of cleaning up the area ready to fit the new wheel arch trim. I washed it down with soap & water, dried it off then used a little methylated spirit on a cloth to ensure the paintwork was totally clean where the sticky strip attaches.

Now the fun part; remove the backing from the sticky strip. Place the bottom forward edge of the trim against the rubber seal and line up the guide pin with the hole in the body. It's then just a simple job of pushing each of the clips into their adjacent holes one by one working from the rear door towards the rear bumper. The VAG instruction suggests applying pressure to the area of the sticky strip for a while to ensure proper adhesion.
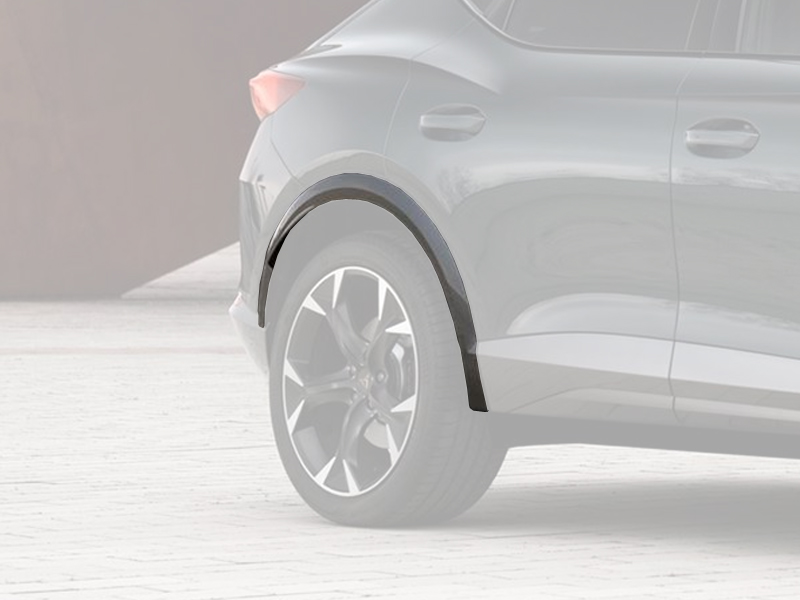
And that's it! A nice new wheel arch trim fitted!


So the VAG workshop manual is really good and I really wouldn't have attempted this without it so a big shout out to East Yorkshire Retrofits for supplying me with it.
The first thing to note is that you should have the rear door open whilst doing this.
I thought I'd write this up to include some pics and add my experiences of doing this that may help some of you in the future.
This was the scratch damage on my wheel arch:
I managed to do the job with just these tools:
The VAG instruction suggests you need a rotating adhesive strip remover but I didn't use one and found it quite easy to remove the adhesive strip remnants by hand, it just takes a little time.
There are 3 different clip types across the arch. The first 3 to the rear of the arch clip into the plastic bumper panel and pop out really easily. The next 2 near to the top clip into the metal arch/rear wing & were a little more difficult to remove & I managed to break one of these. The remaining 4 that attach to front of the arch near the rear door were a total pita to remove & I broke one of these too! Luckily the new trim comes with all new retaining clips & the adhesive strip.
Initial photo with the first 3 clips popped:
Next with the top 2 popped, we're into removing the sticky strip:
Using the plastic panel removal tools prise the sticky strip away from the body panel. Ideally if you can break the adhesion of the entire sticky strip then all you need to do is rotate the wheel arch trim slightly anticlockwise and the arch is off. The 4 clips will then need to be removed. I did this by tilting the clip to get one of the retaining bits exposed and then used the smallest plastic panel remover to push the other retaining bit towards the centre of the clip. They then come out leaving the rubber inserts in place. I'd guess there is a special tool specifically for removing these 4 clips.
So after removing the remains of the adhesive from the body it's just a matter of cleaning up the area ready to fit the new wheel arch trim. I washed it down with soap & water, dried it off then used a little methylated spirit on a cloth to ensure the paintwork was totally clean where the sticky strip attaches.
Now the fun part; remove the backing from the sticky strip. Place the bottom forward edge of the trim against the rubber seal and line up the guide pin with the hole in the body. It's then just a simple job of pushing each of the clips into their adjacent holes one by one working from the rear door towards the rear bumper. The VAG instruction suggests applying pressure to the area of the sticky strip for a while to ensure proper adhesion.
And that's it! A nice new wheel arch trim fitted!
Last edited: