Leon - 29/08/13 Poly Resin, Adjustable top mounts, Canards....

May 18, 2013
190
0
Standard spec:

Standard spec:

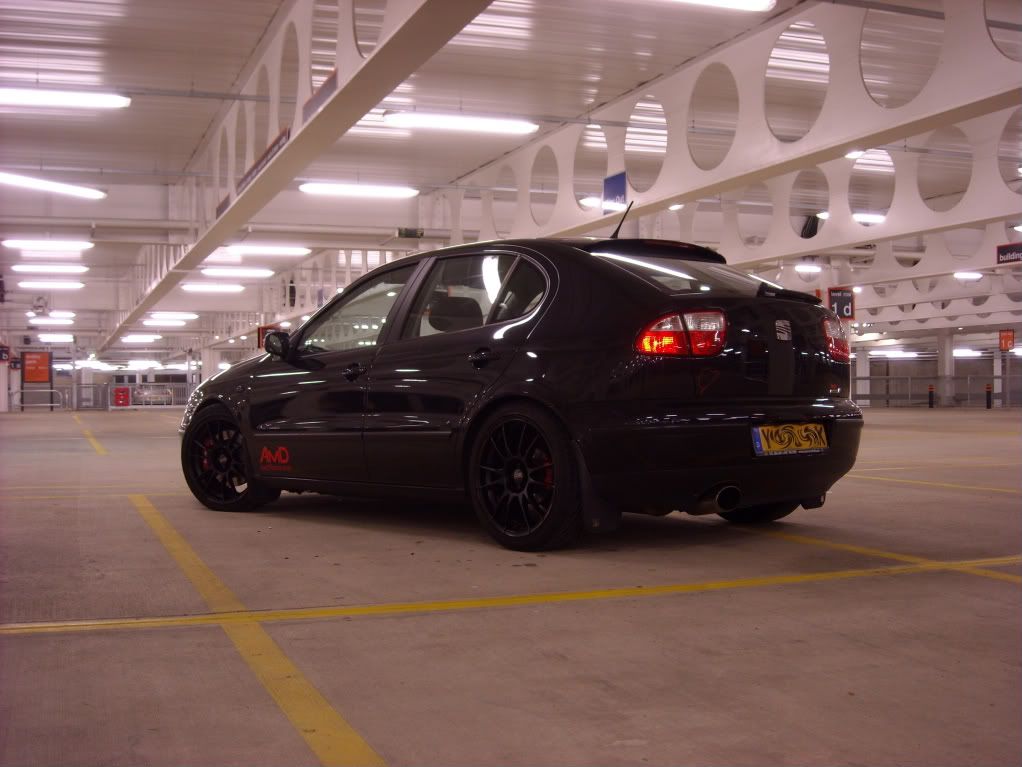
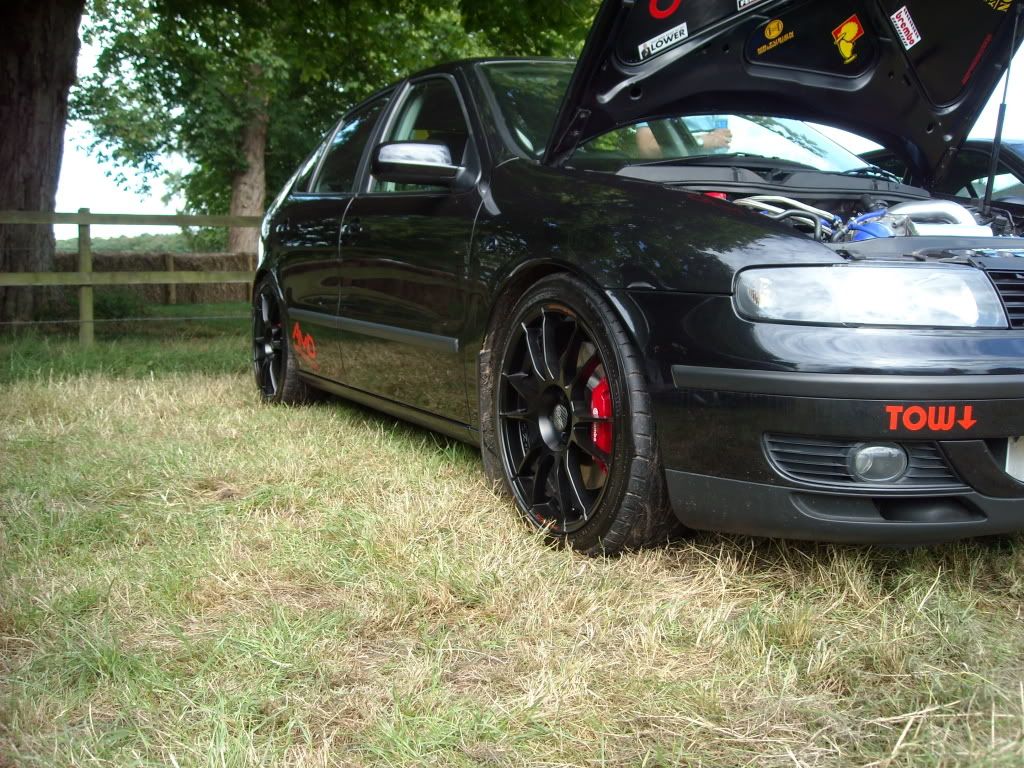
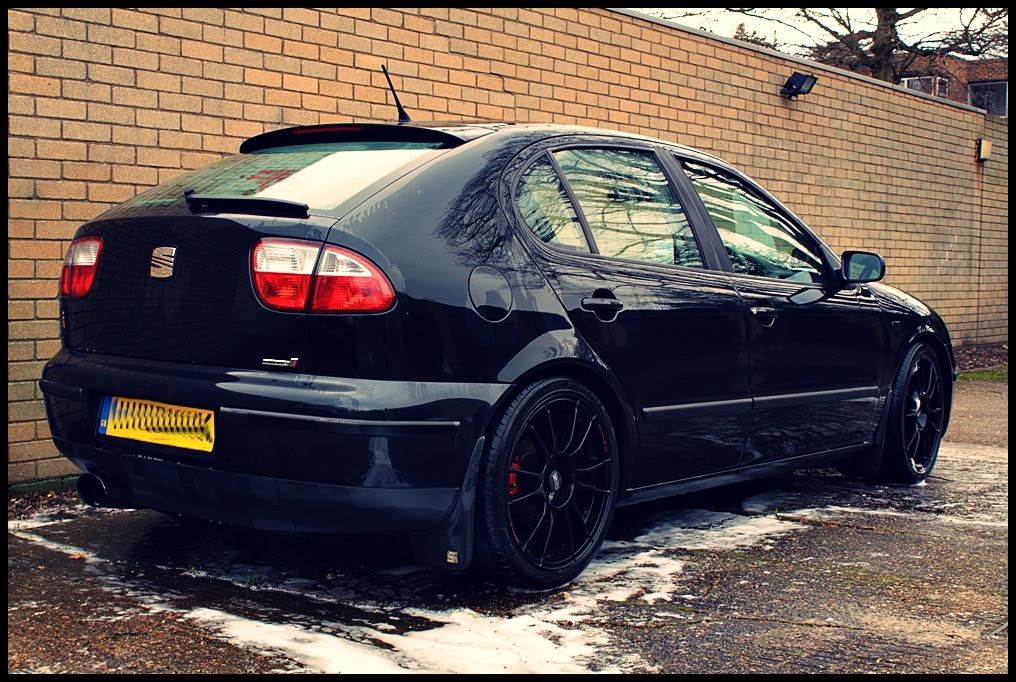
2001 Black magic Seat Leon Cupra
Full black leather interior
Electric front seats
Electric folding mirrors
Electric windows all round
rain sensitive wipers
Auto dimming rear view mirror
Any other usual extra's

Modifications:

Engine

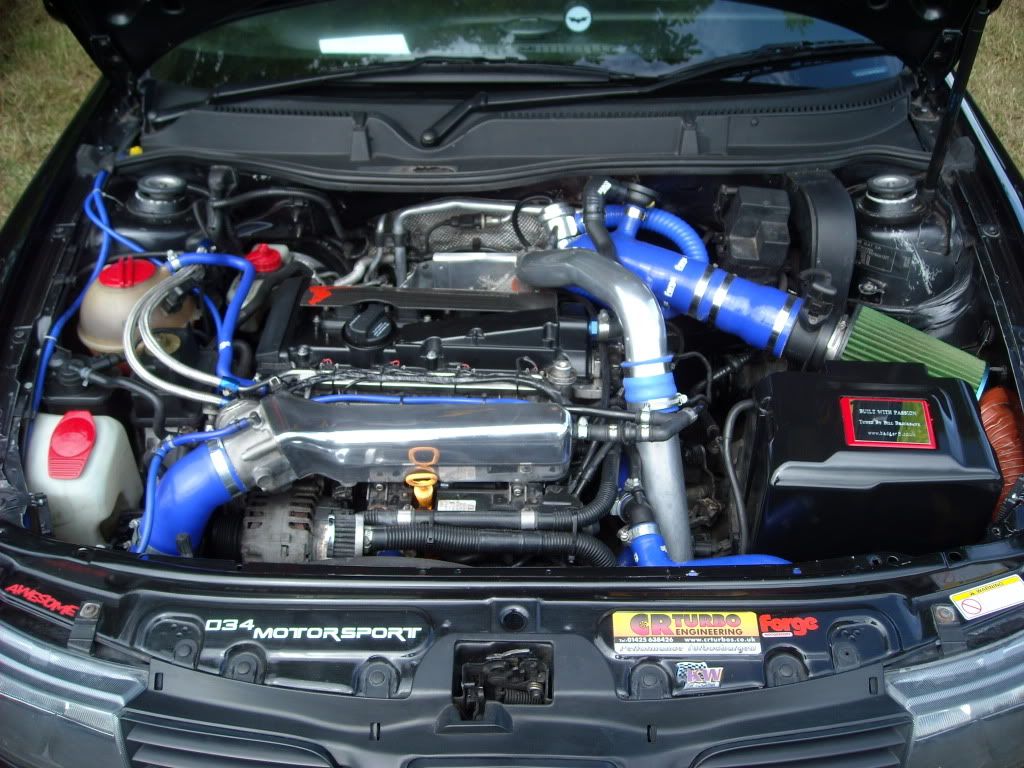
K03 hybrid turbo - Built by CR Turbo's (basically a ported K03 mated to a K04)
K04 MAF housing
Forge Actuator
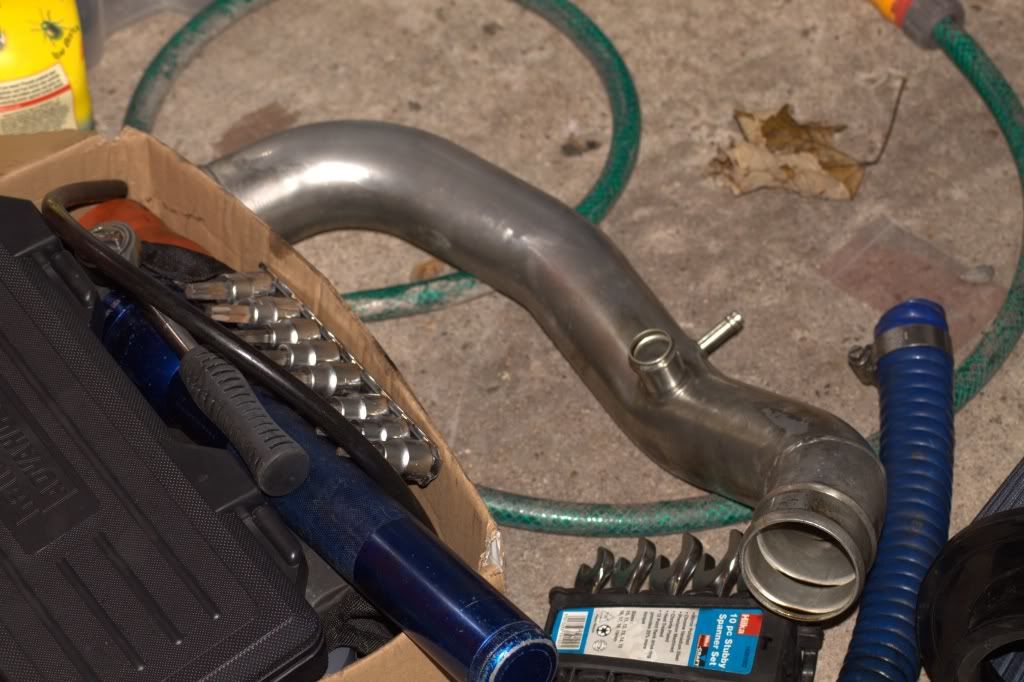
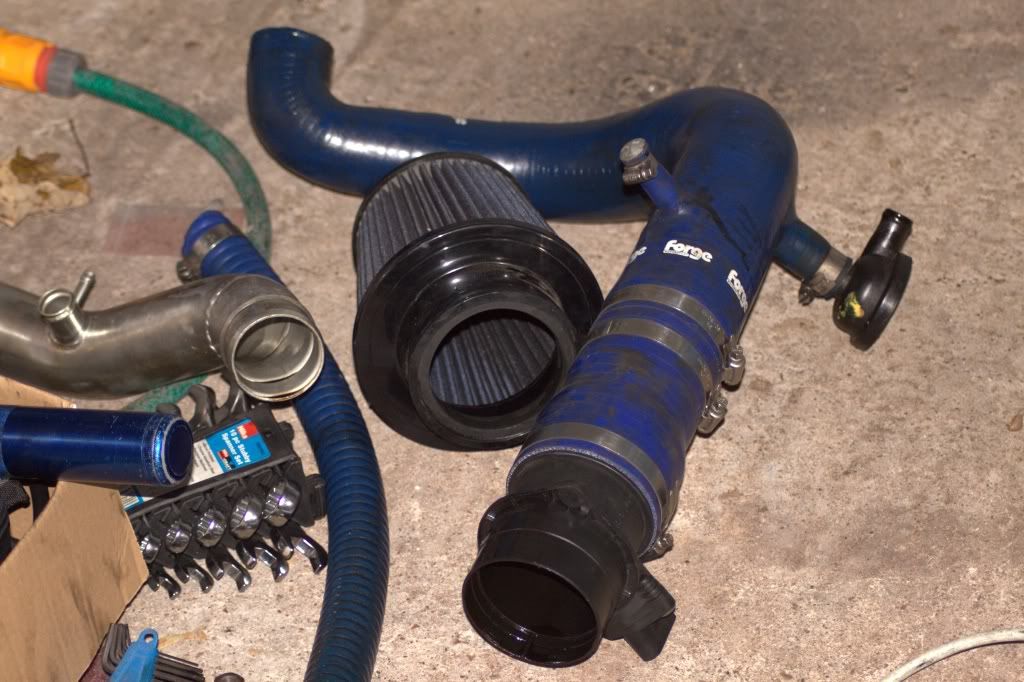
Forge TIP
Forge DV
Green cone filter
Braided fuel lines
Audi R8 petrol cap
Pro Alloy FMIC
Blueflame oval turbo back exhaust
Decat
3" Downpipe
Stage 3 clutch
Carbon fibre coil pack cover
Hitachi bolt down coil packs
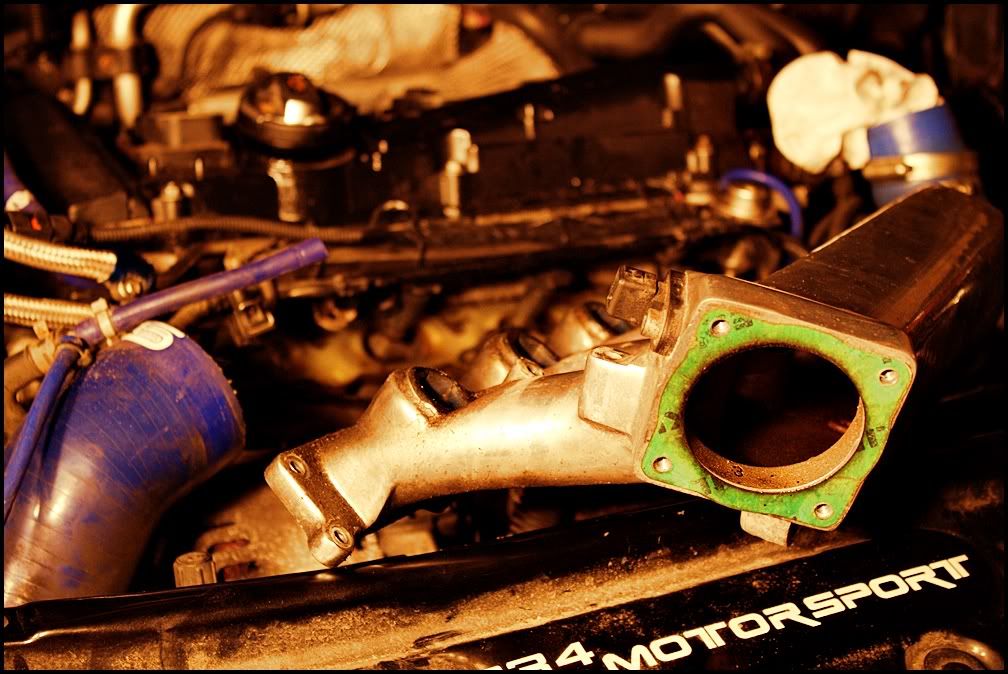
Crackle black intake manifold
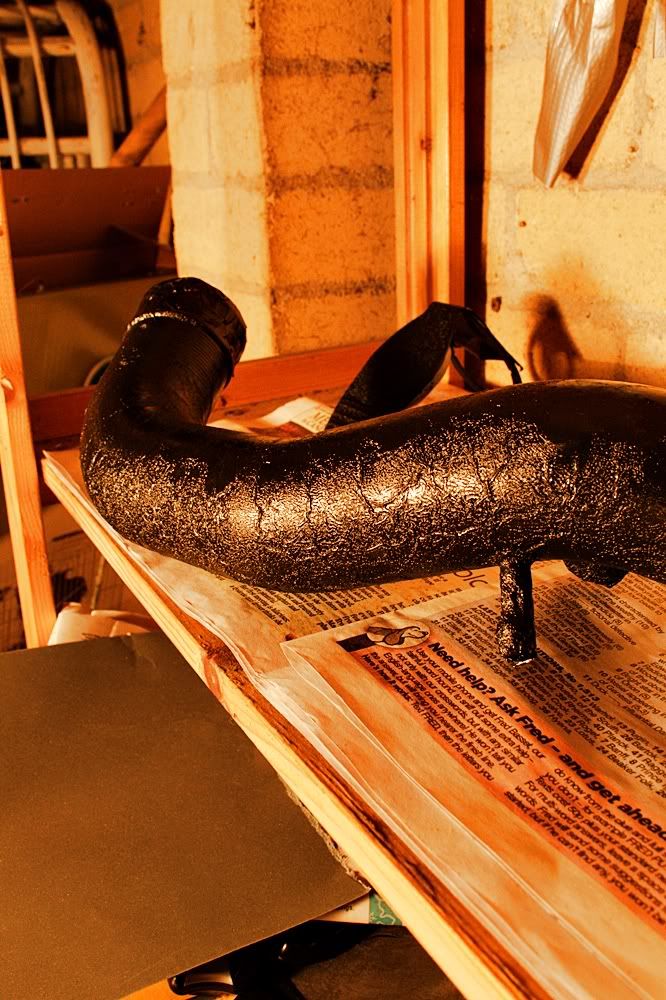
Crackle black charge pipe
Forge coolant pipes
Satin black cam cover
Various anodised connectors
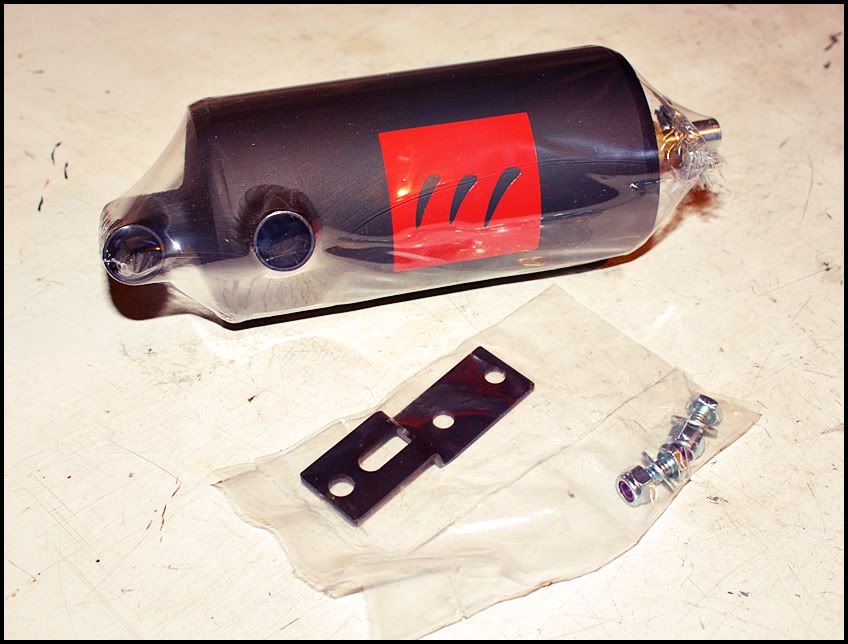
Saikou Catch Can
N249 removal
Forge SAI blanking plate and SAI system removed
Carbon canister removed
Braided fuel hoses
Custom one off cold air filter
Supersize SFS TIP
Devils Own progressive water meth injection kit

Power
Mapped 291bhp & 287lbft
13.4 1/4 mile @ 108mph (GTI International at Shakespeare way 2013)

Handling

KW V1 coilovers
Neuspeed 25mm front ARB
Neuspeed 28mm rear ARB
330mm Brembo's
Raceland Chassis strut brace

Styling

HID's 6000k
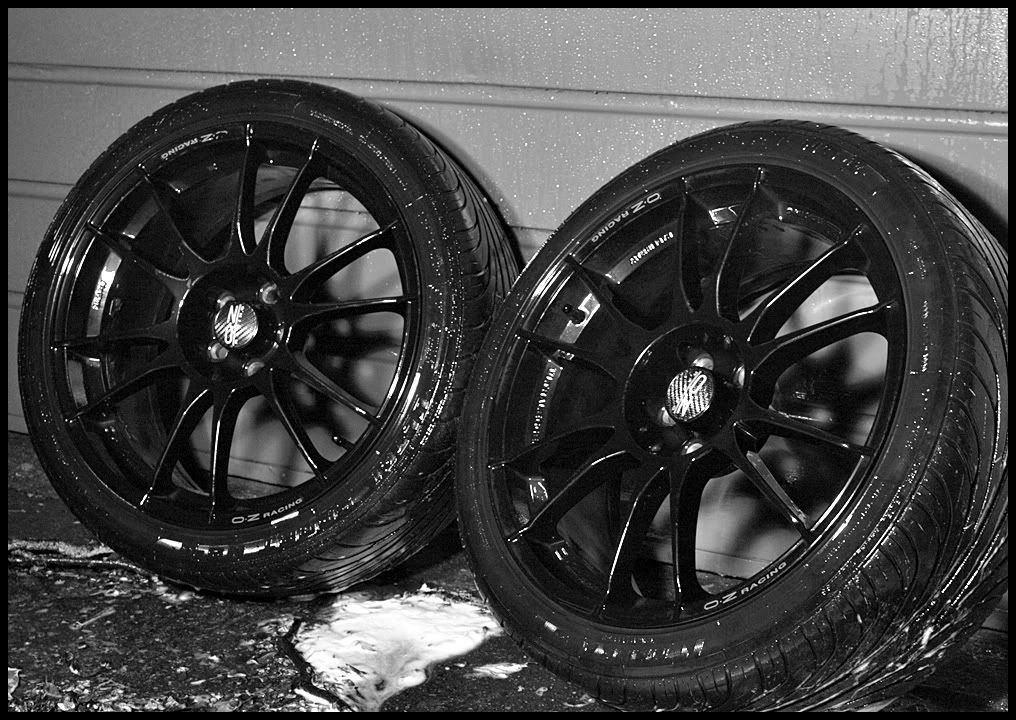
18" Oz Superleggera alloys
3m carbon wrapped bump strips
3m carbon wrapped spoiler
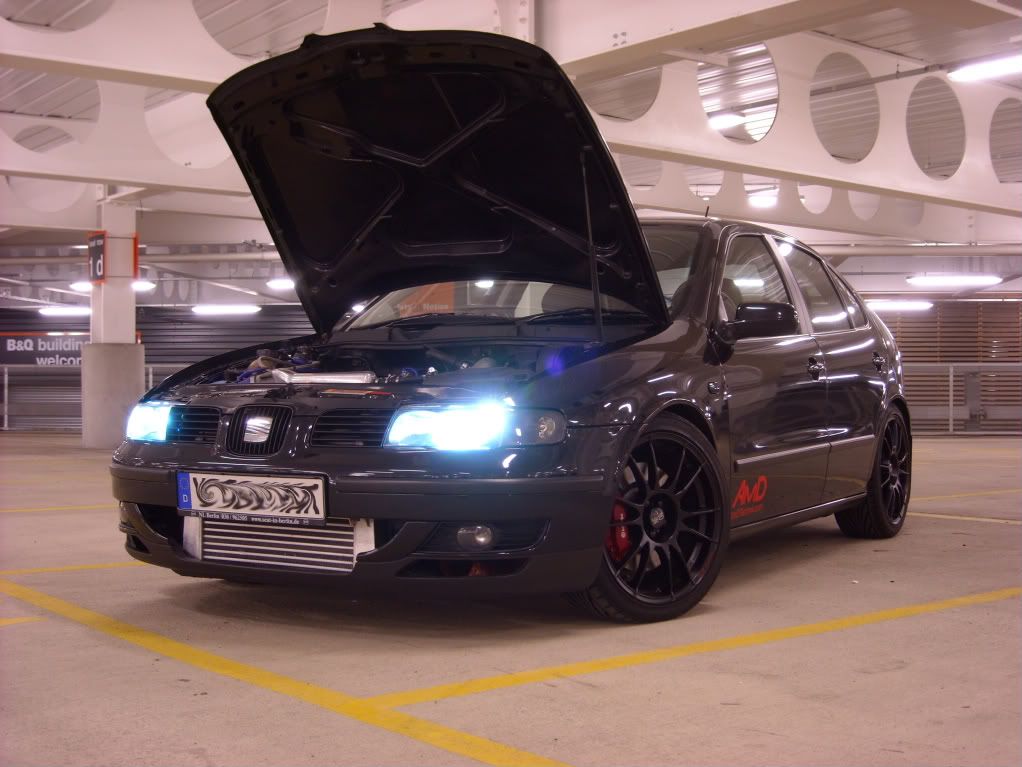
Front grill cut out to show the very large PA FMIC
One fog light removed for 100mm CAI
Front number plate cut out
Crash bar drilled
Leon Cupra R rear spoiler


Interior

Auto gauge black faced boost gauge
Nomad single pillar pod
Fully stripped interior
Corbeau pro series fixed back bucket seat
3" 5 point harnesses
6 speed quick shift
Alloy racing battery tray
0 AWG battery wire
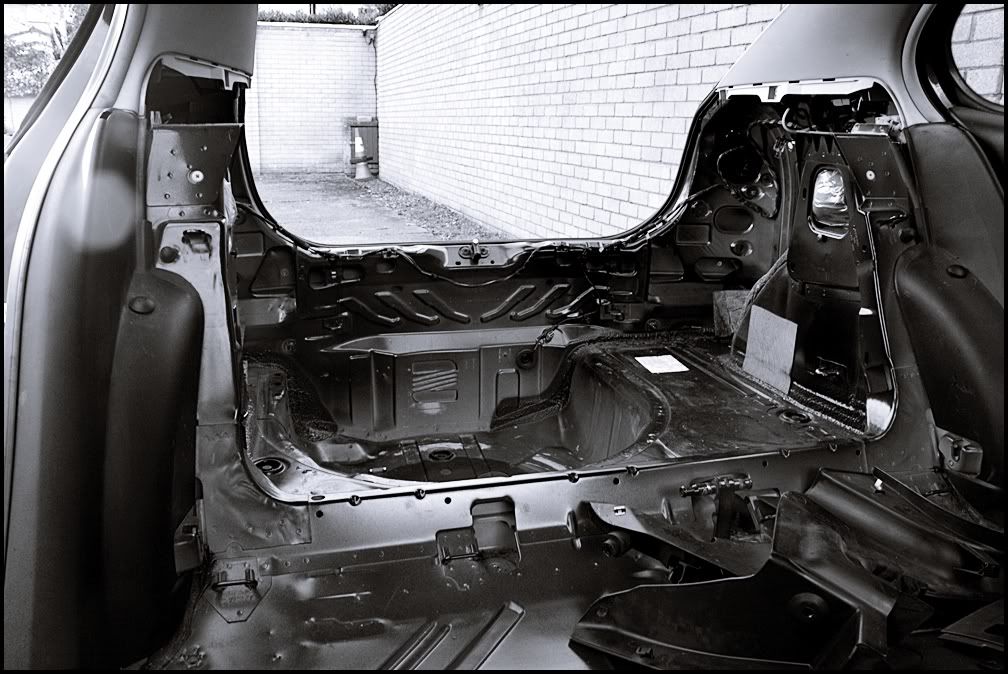
All sound deadening, carpets, plastics, roof lining, door cards and seats removed


The Story so far

There are a few issues....

The turbo was making a sound when I bought her, and I was aware of this when I bought her, almost a squeeling sound on boost around 4000rpm - This has now been fixed with a new turbo

She is still in a bit of a mess at the mo,

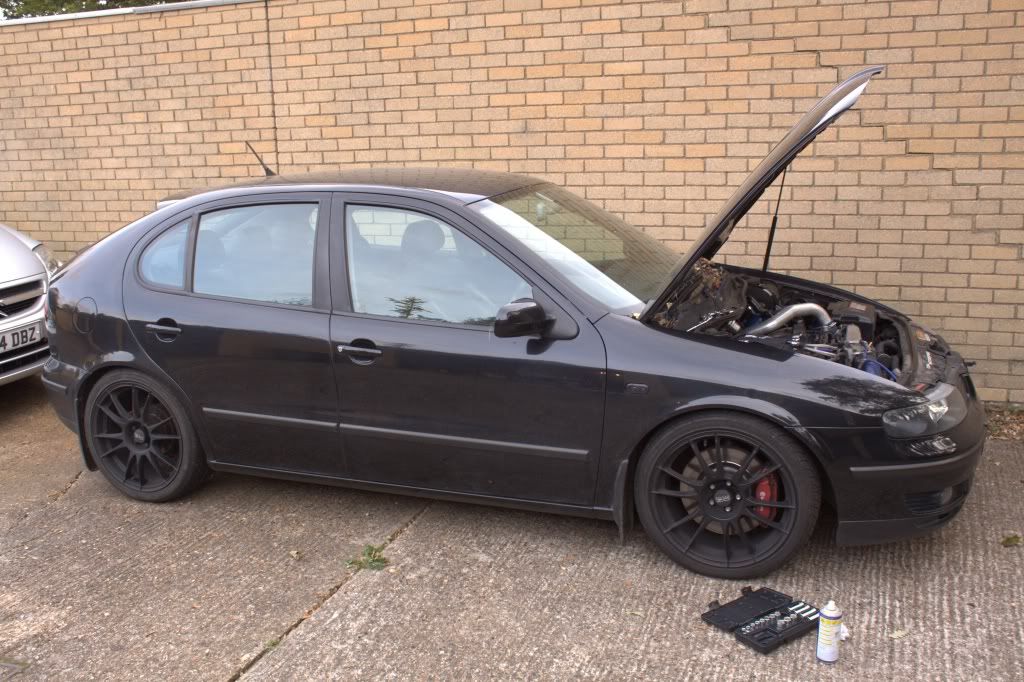
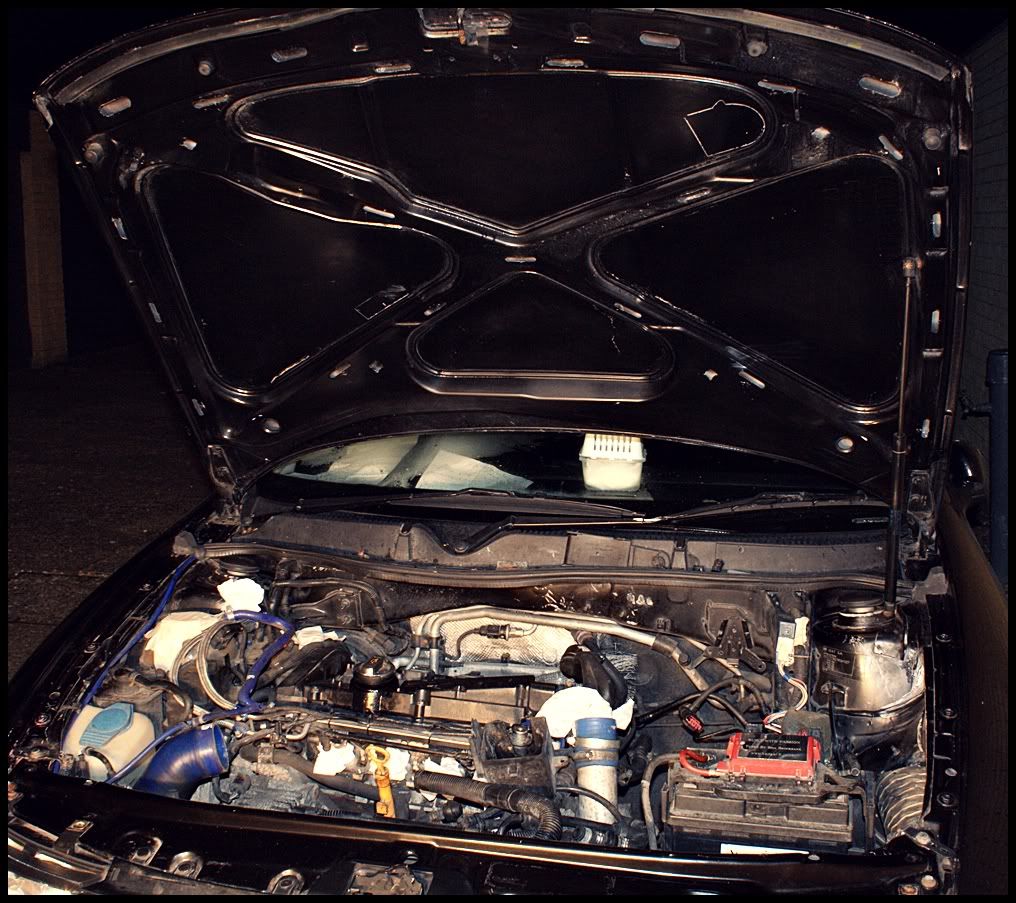
Here is how she looked a while back
NightCarPics028-1.jpg


NightCarPics009-2.jpg


Picture048.jpg


Picture049.jpg


And some more recent pics

8371673332_185ce934d1_c.jpg


8370631839_25cef2bc43_c.jpg


8371674356_c25f002c5d_c.jpg


8371674720_abb4021c0f_c.jpg


8370607623_0a32941257_c.jpg


8371675672_9d02b8a6ce_c.jpg


8371676136_e4a2b08a48_c.jpg


8371676686_408be1bc85_c.jpg


8371677876_e908216eed_c.jpg


More to follow....
 
Last edited:
May 18, 2013
190
0
Looks good. Have you done all the mods yourself? spec looks good! What other plans you got?

When I got the car back (I sold it, then bought her back) the guy had made a right royal mess of it.

This is the story of her coming back to her former glory....mostly sat out the back of my old house slowly slowly doing bits and pieces

A stark contrast to the leon in her former glory, this was her current state outside the car

6254102285_1ff69a21bc_z.jpg


6254124647_e0f583c40f_z.jpg


http://farm7.static.flickr.com/6160/6254673388_6d0706f0d9_z.jpg[img]

[img]http://farm7.static.flickr.com/6240/6254685384_b21be9e27c_z.jpg

6254172543_8baeb51d75_z.jpg


Needs a clean thats for sure

6254718638_7cc51cdac5_z.jpg
 
May 18, 2013
190
0
next up was taking the turbo off....what a pain in the ass

The moon spanners were ok, but still I could not get enough leverage and they were slightly too long. So I ordered a set of stubby spanners off ebay. Despite the better leverage the bolts were not budging

So I sprayed a load of WD40 and Brake cleaner and left them to soak for about 3-4 days

In the mean time I started removing other parts off the engine

IMG_9250.jpg


IMG_9246.jpg
 
May 18, 2013
190
0
I then finally got the turbo off. The stubby spanners were a god send, and a good few days with soaking the bolts, I managed to get them loose

Trying to remove the turbo is a pig in general, even when you have all the bolts off, you have to undo and remove the actuator to be able to move and pull the turbo out as space is so tight

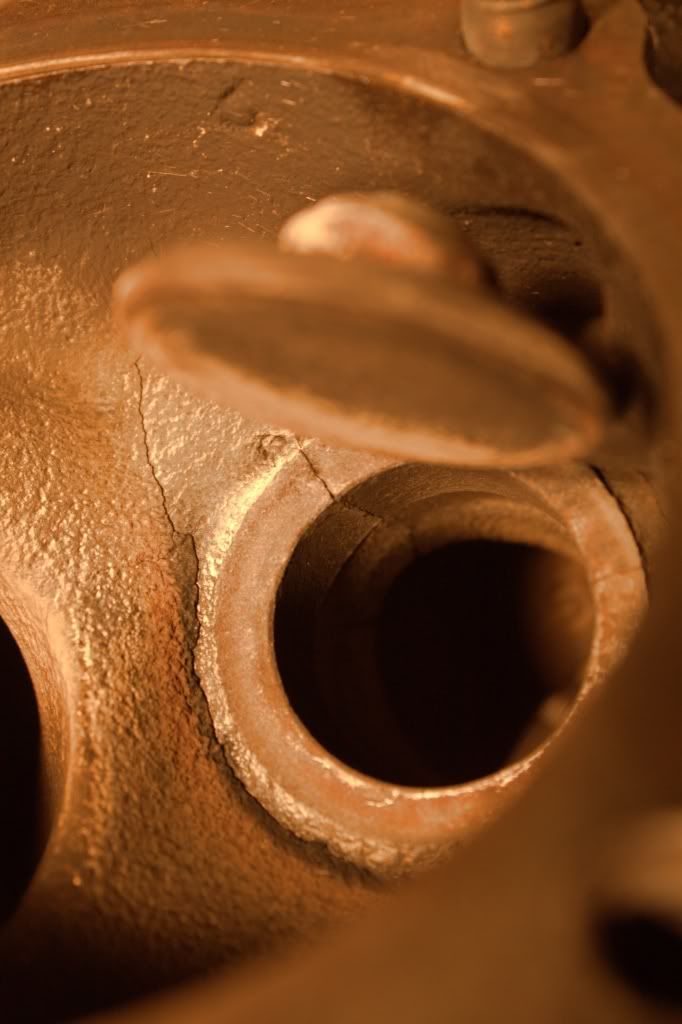
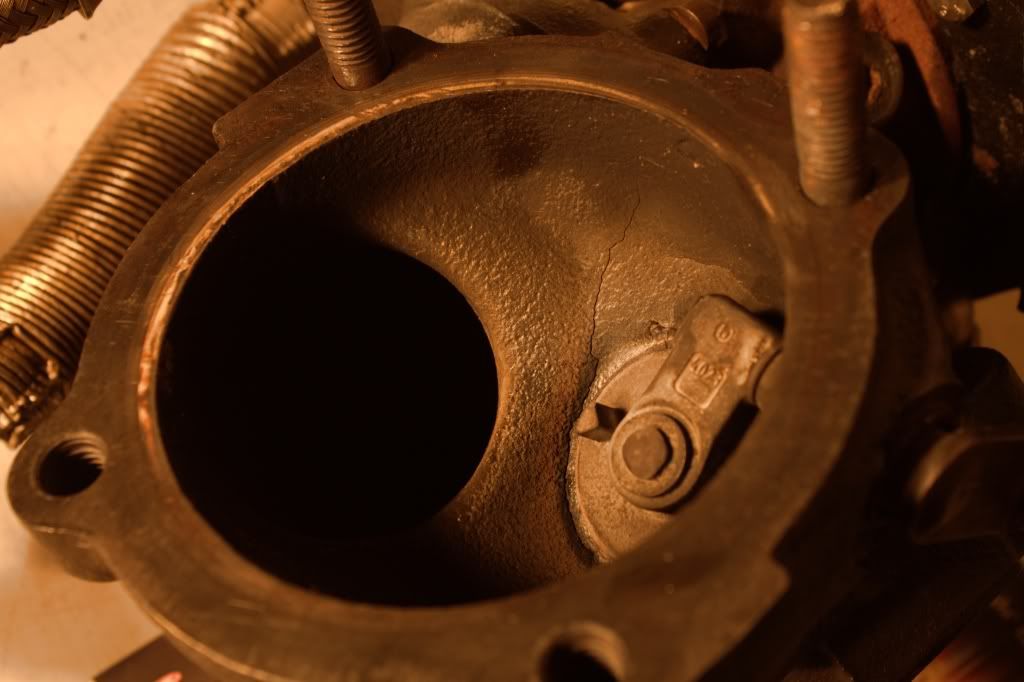
Here is what the turbo looked like when it came off.....not in a pretty state to say the least

Cracked hotside, right through the wastegate

Turbo4.jpg


Turbo3.jpg


Turbo6.jpg


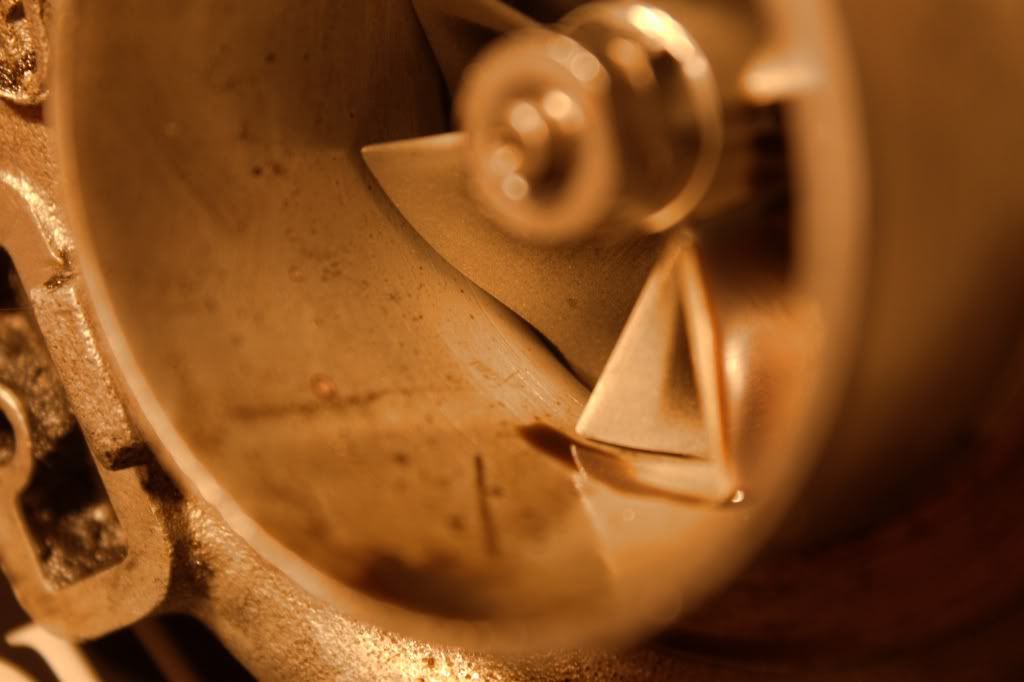
One of the faults with the turbo was upon 4000rpm, it was making a horrendous scraping sound and I can see why now

There was a lot of play in the shaft, and the compressor wheel has been scraping on the inlet for sometime, from the worn down blades and the scarring across the inlet

Turbo1.jpg
 
May 18, 2013
190
0
So while the turbo was off, it was time to start on spraying up the engine bits and pieces

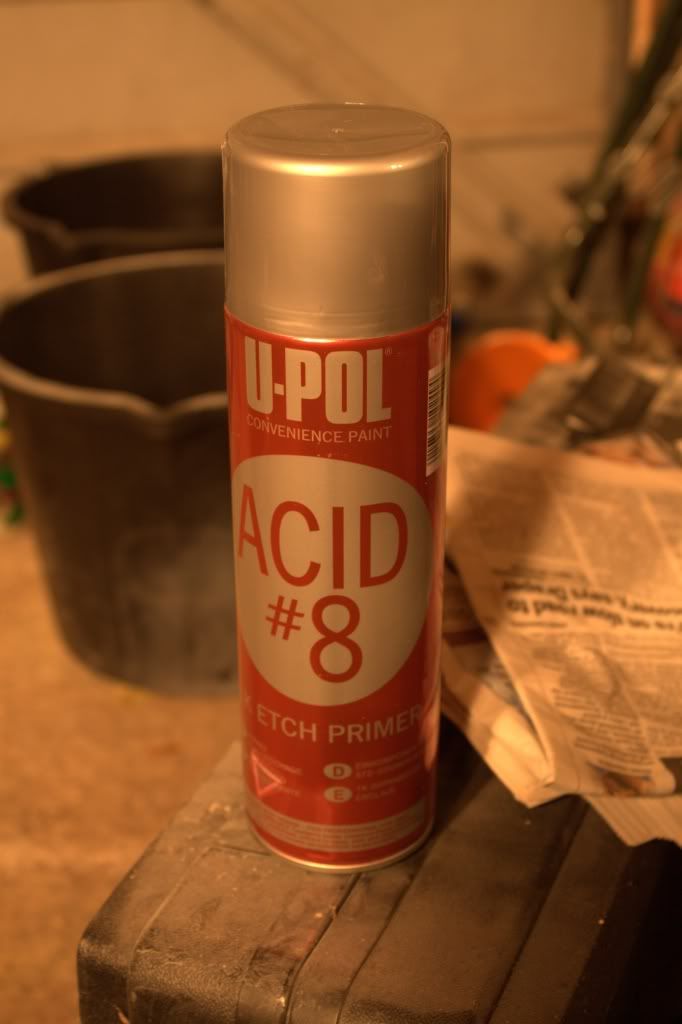
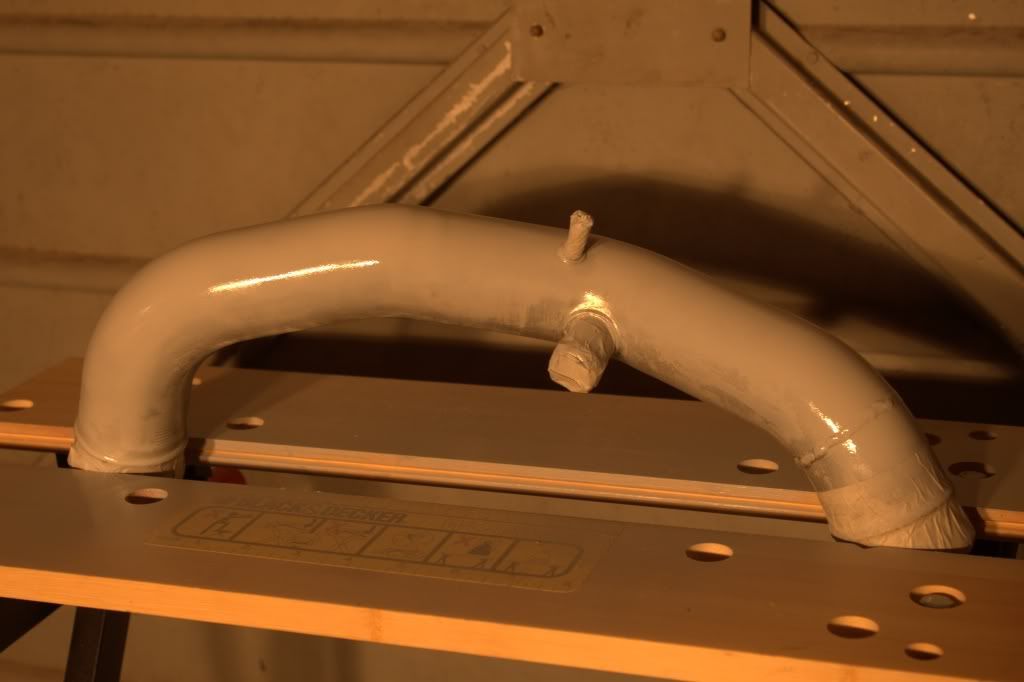
Starting with the charge pipe, I got some etch primer

IMG_9269.jpg


first few coats

IMG_9266.jpg


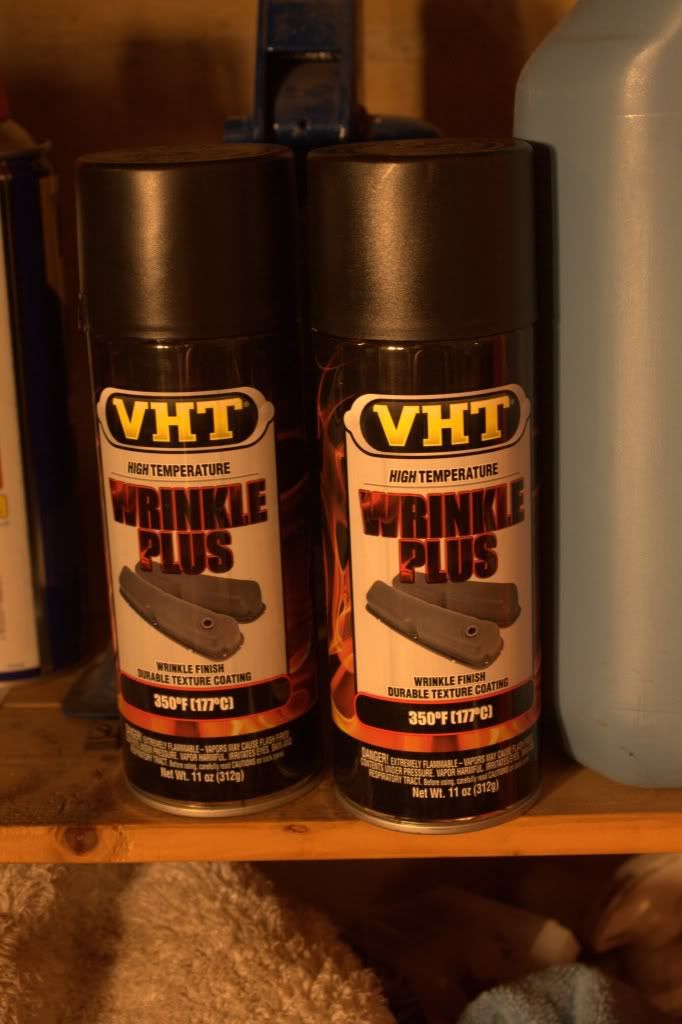
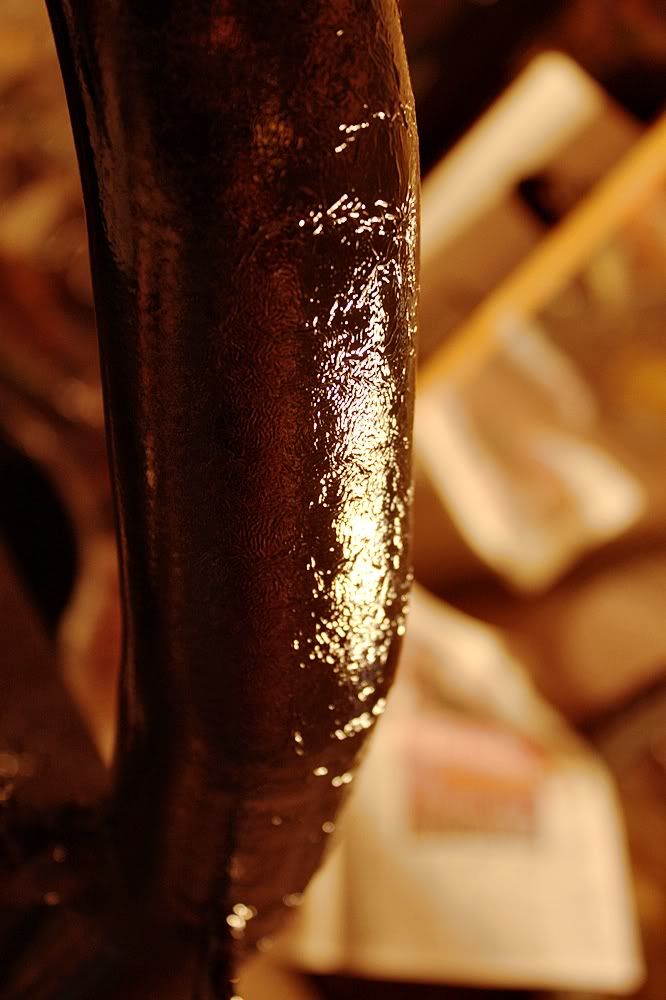
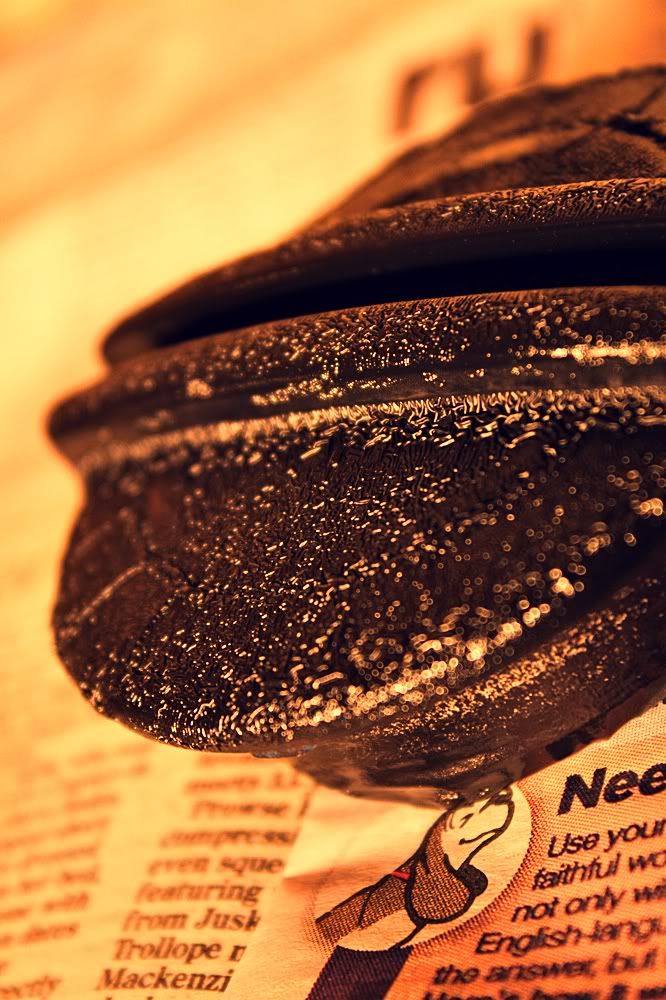
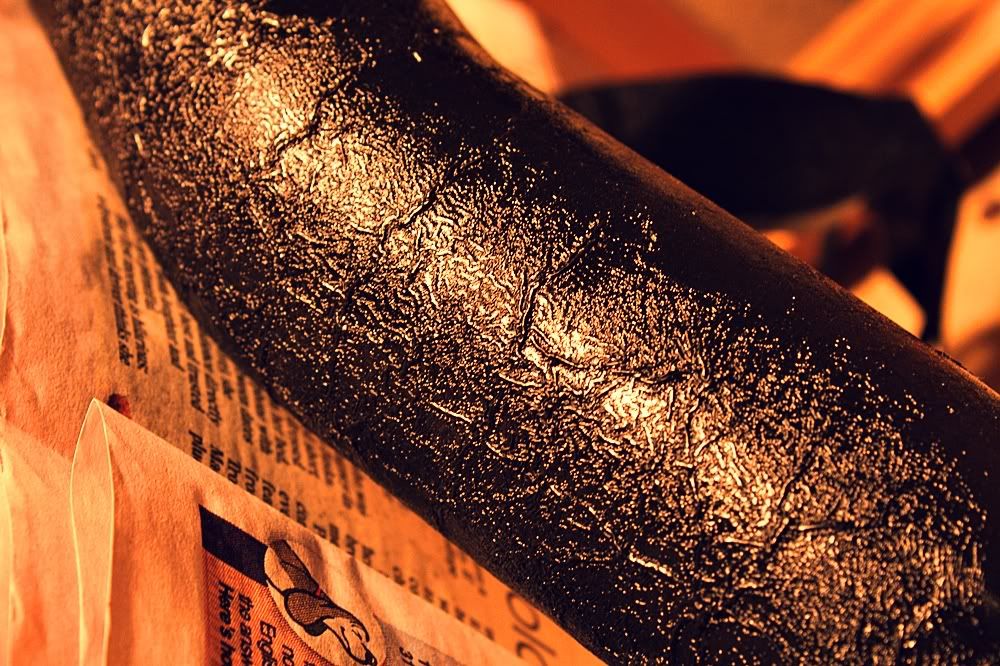
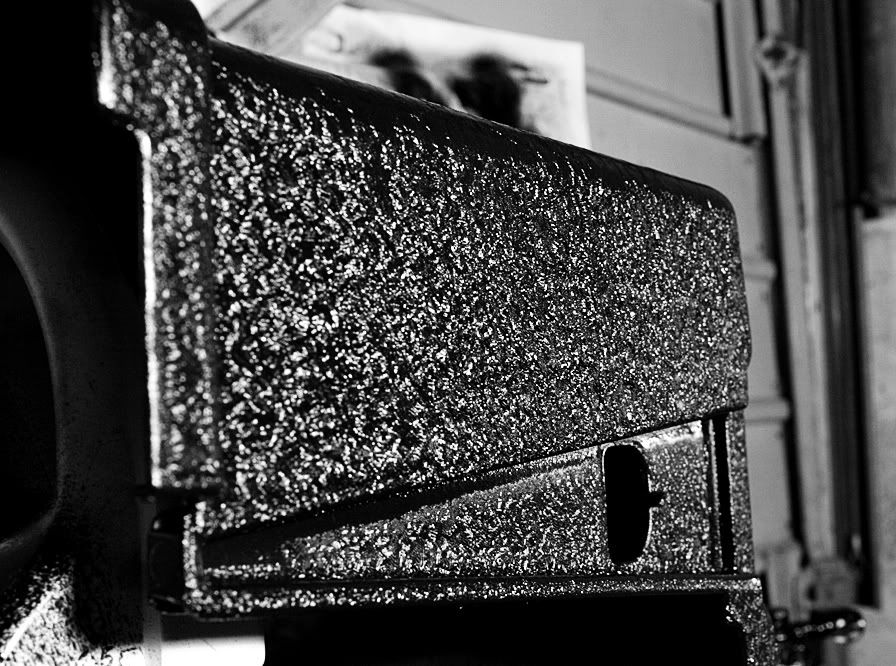
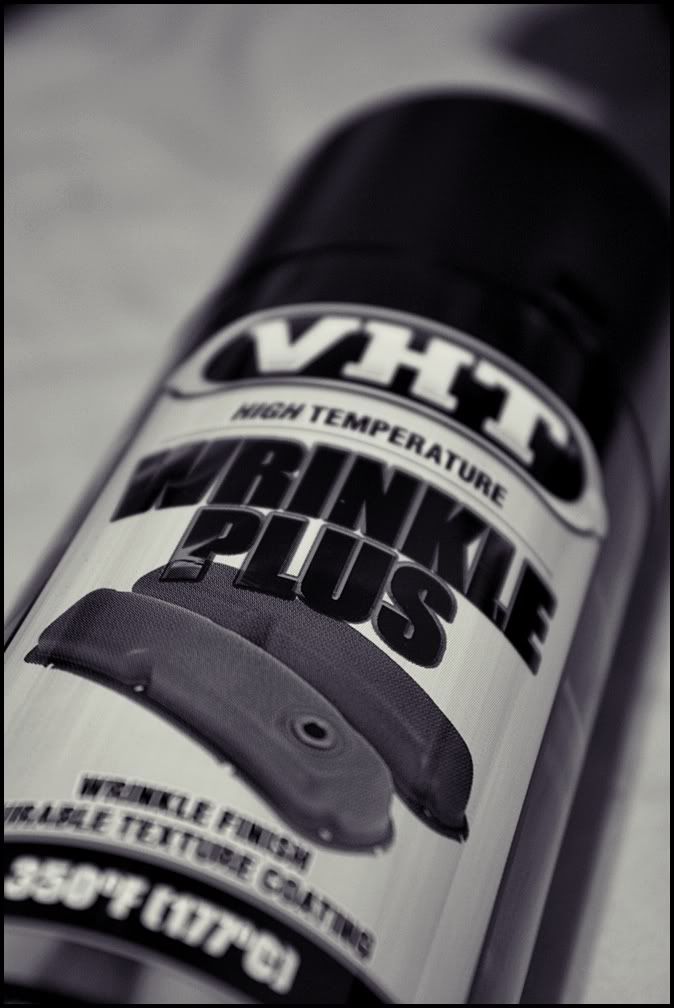
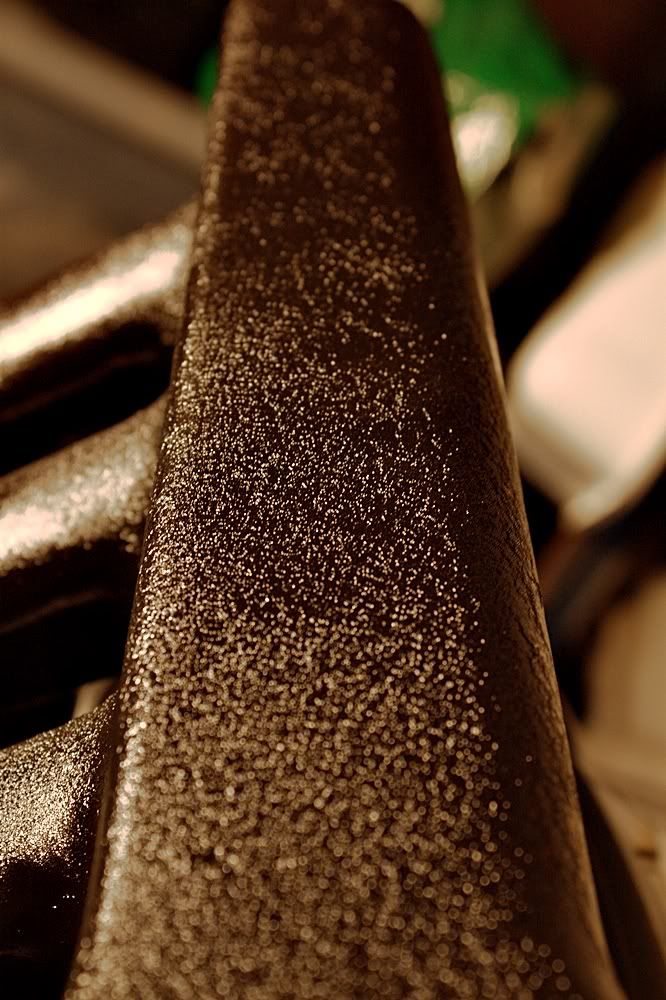
Black wrinkle paint (I love this stuff!)

IMG_9268.jpg


and here is the effects with a few layers built up

IMG_9275.jpg


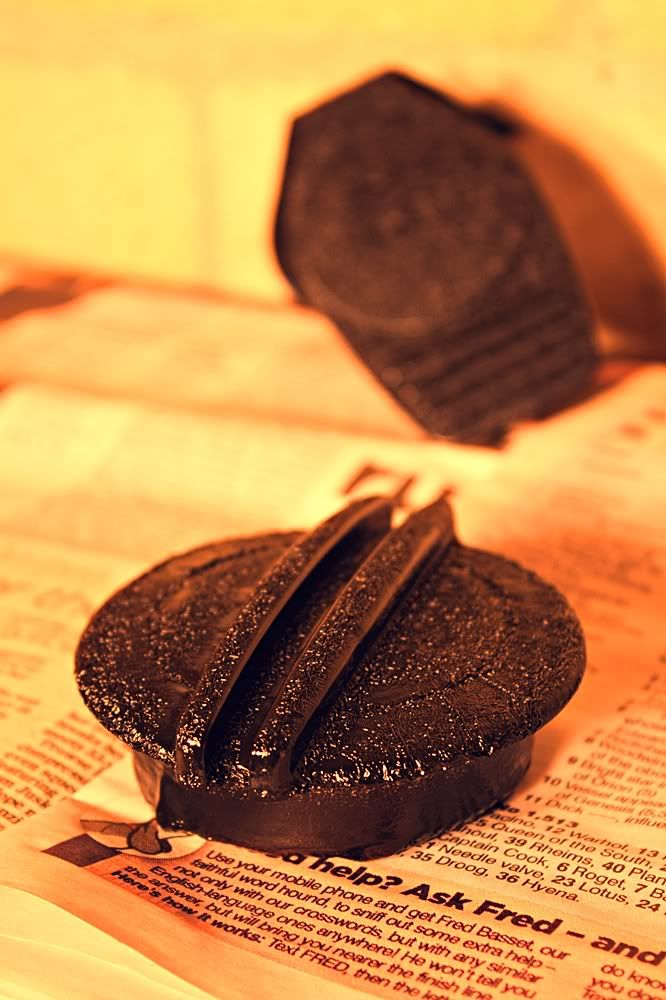
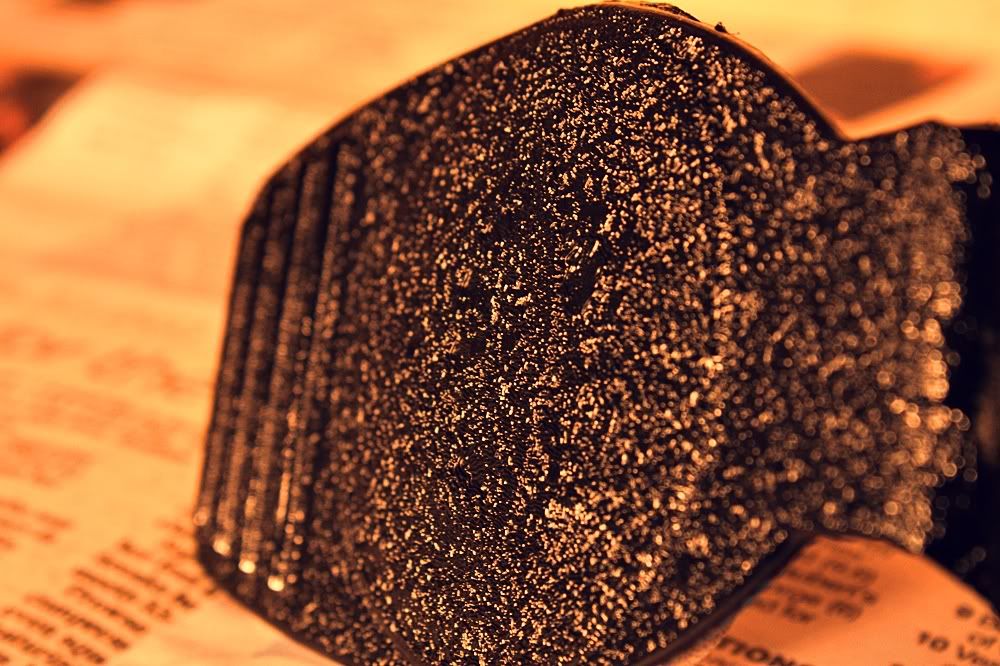
I then started on the caps for water, coolant etc

coolantcap1.jpg


washercap1.jpg


coolantcap2.jpg


chargepipe1.jpg


chargepipe2.jpg
 
May 18, 2013
190
0
I also made a start on the battery cover

Batterycover.jpg


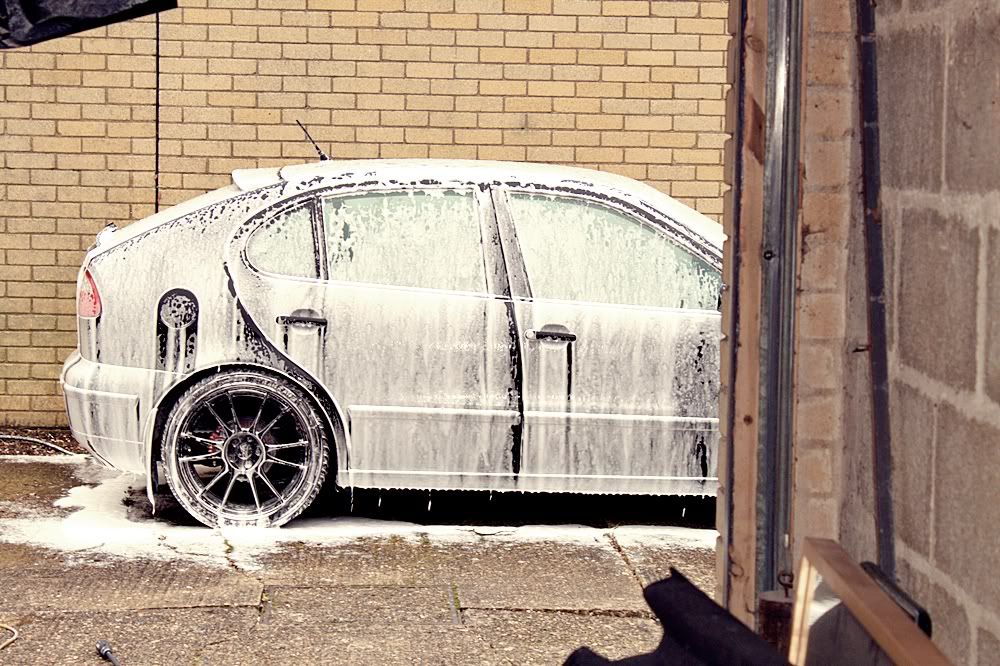
I then gave her a good clean, to stop her looking so neglected

snow foamed first

Snowing.jpg


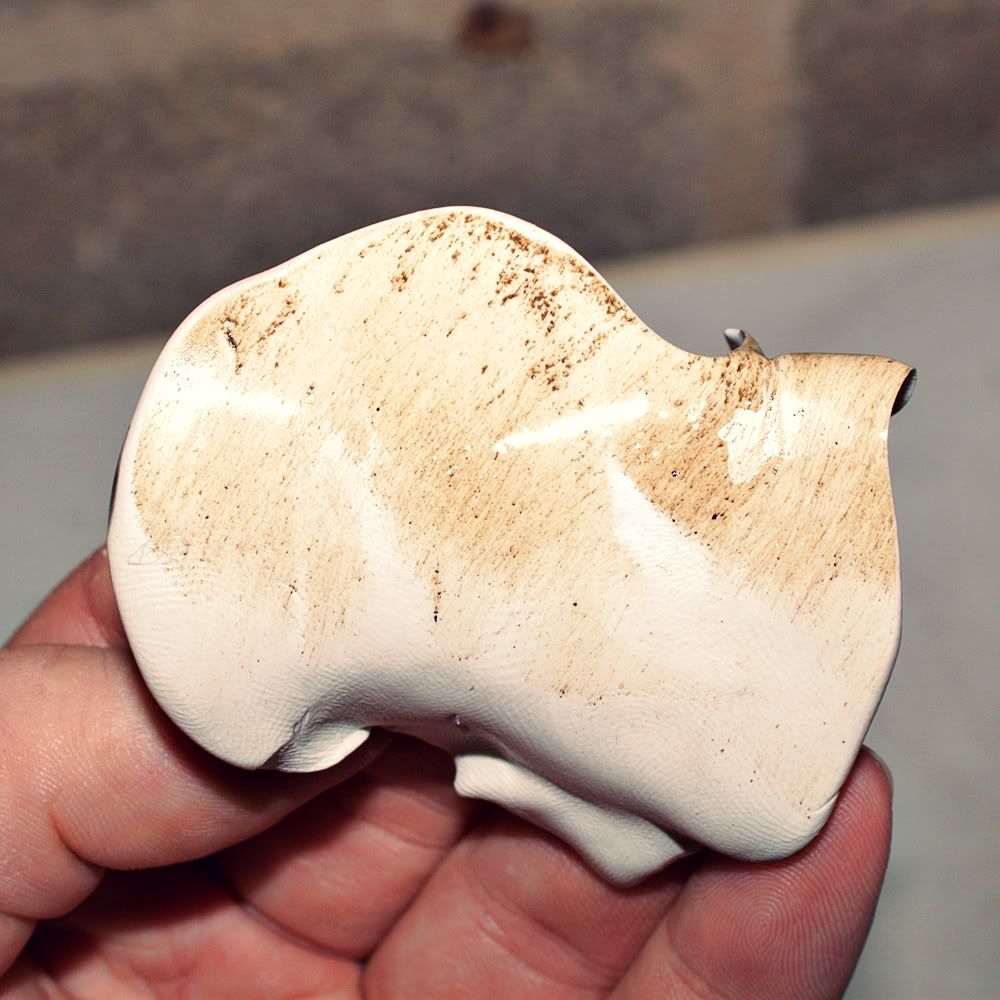
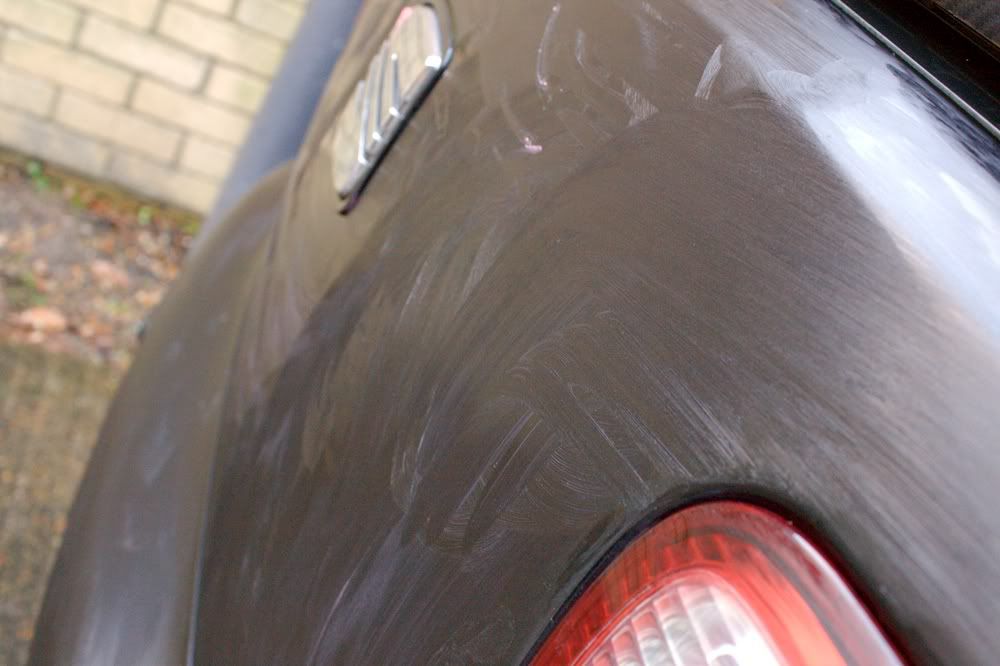
then after washing her, a good claying, and it got a lot worse after this. Seems there is quite a lot of contaminants on the paint work so I will have to look into this later

claying.jpg


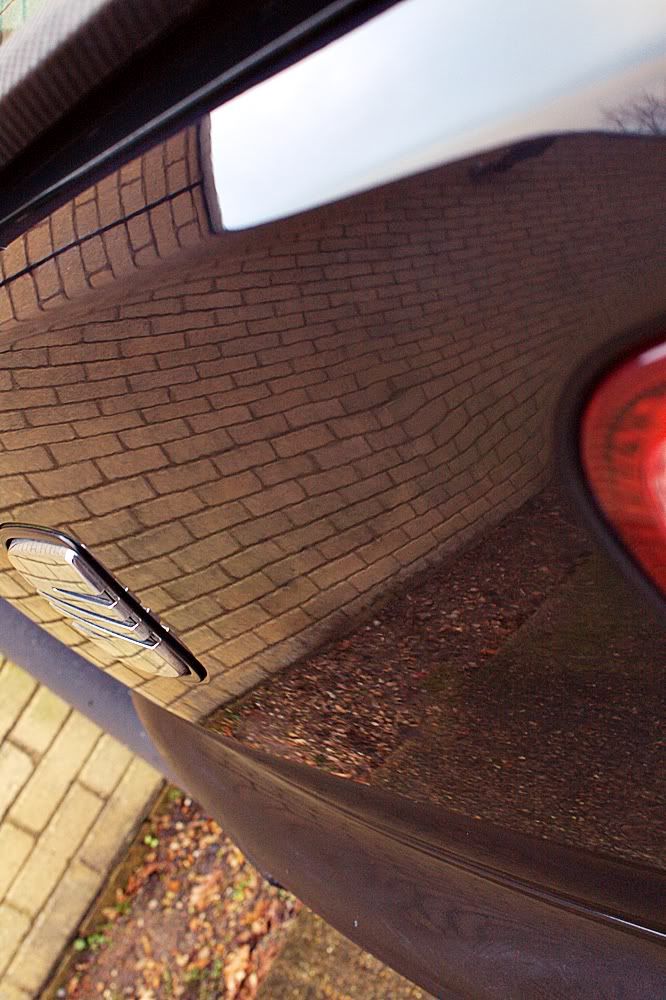
Victoria concours wax

waxed.jpg


shiny

Shiny.jpg


Washed.jpg
 
May 18, 2013
190
0
With the car now 11 years old, and when removing the TIP, there was alot of oil in it. Part of this was due to the complete failure of the turbo, but also a lot of oil was blowing about from the head leading into the TIP....and other pipes so not good

I organised a group buy and got this. 19mm inlet and outlet (cheap ebay crap only go to 17mm)

catchcan.jpg


also placed an order with www.hosequip.co.uk yesterday for some 19mm ID hosing, so I can start mounting this in the engine bay (somewhere...!)
 
May 18, 2013
190
0
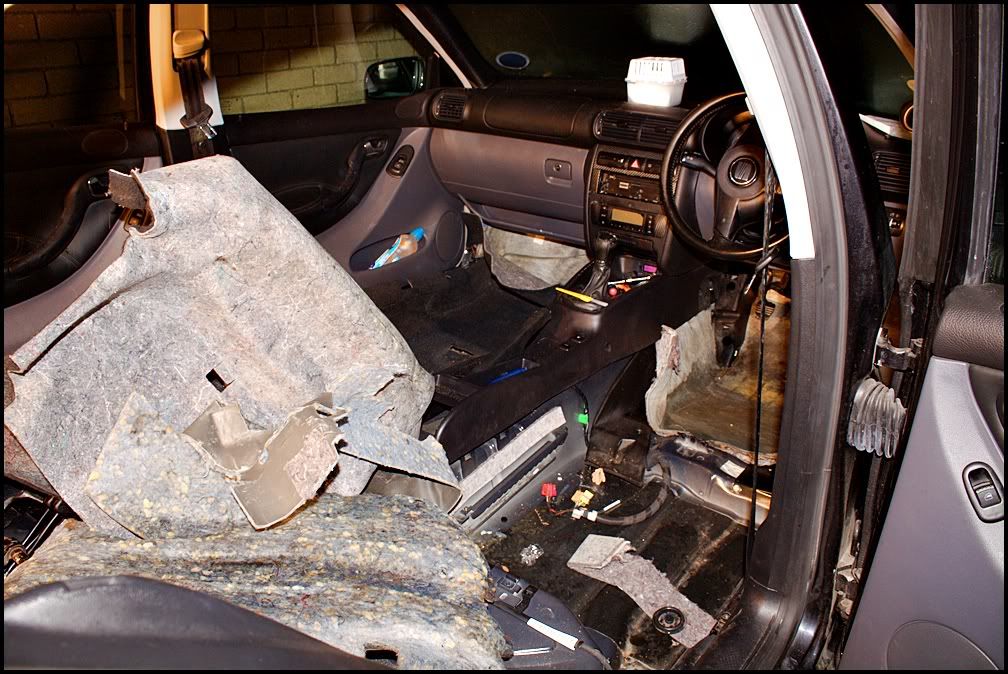
While part of its return to glory, I want to go a bit hardcore with it, and shed a lot of its weight, so out came the interior

stripduring.jpg


I had to take out all the seats anyway, because the bloody car door is leaking, and there was a lot of moisture inside the car to the point where there was mould growing so before these became wrecked, they are now safely being stored in my garage

Puddle of water in the drivers side

puddledriversside.jpg


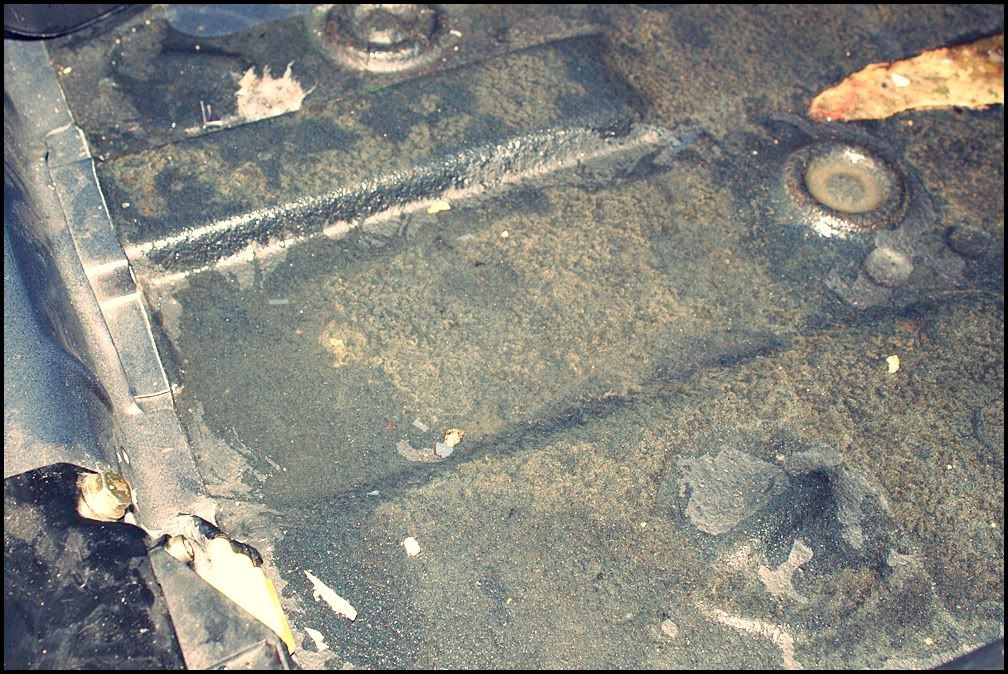
One of the floorplan seals is fecked and ruste away. Going to rub this down an reseal

rusthole.jpg


Some of the sound deadening. Absolute pig to remove and weighed a tonne. Especially the soaking wet bits

wetsounddeadening.jpg


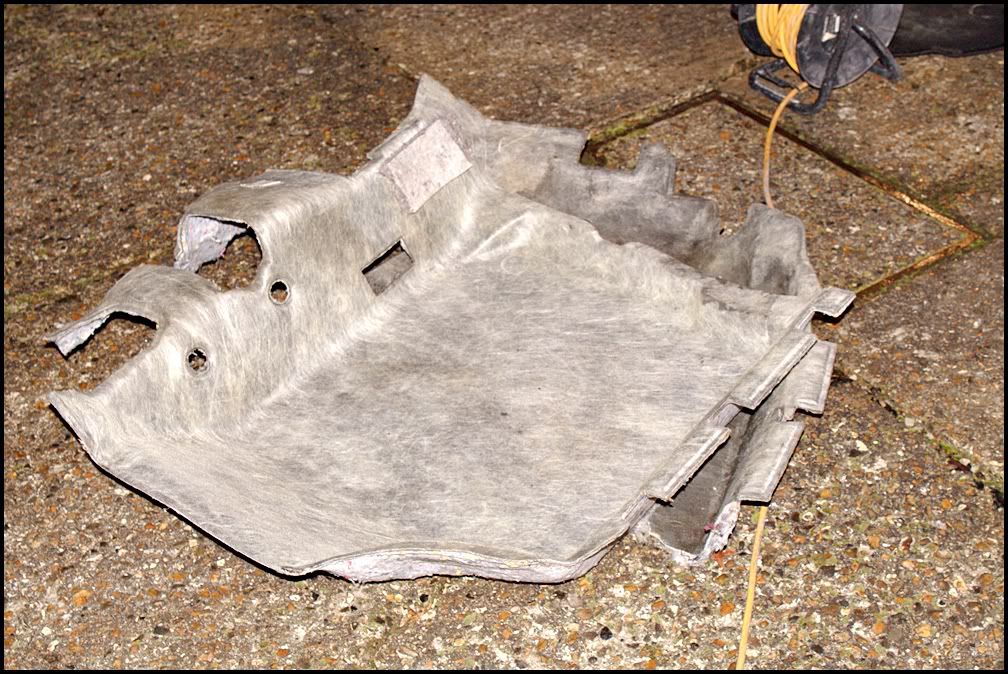
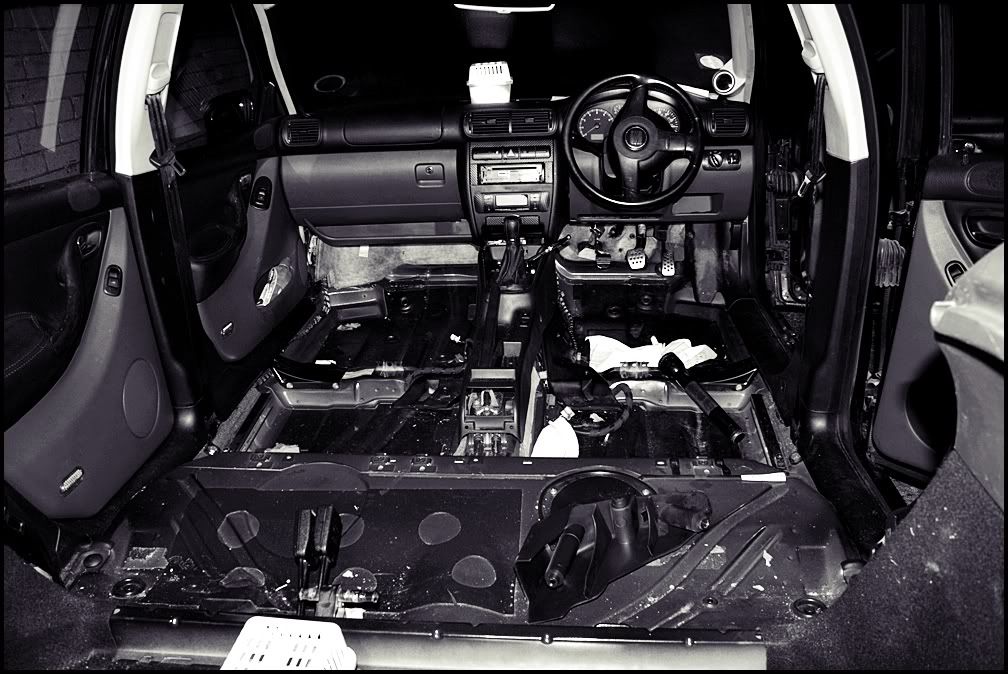
interior now all out, carpet and most of the sound deadening

Strippedinterior.jpg
 
May 18, 2013
190
0
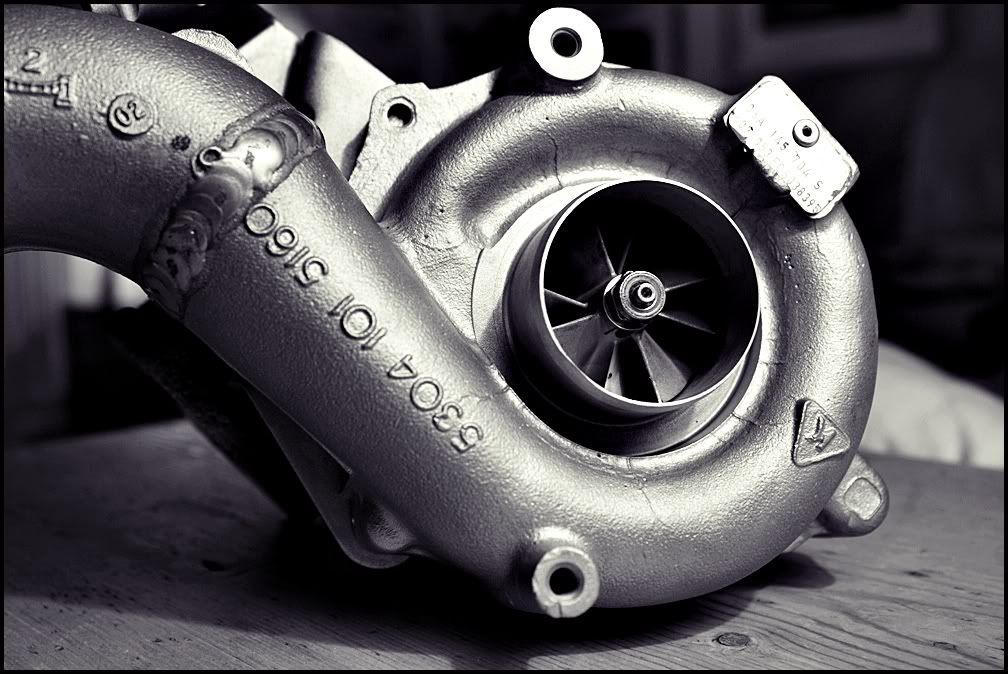
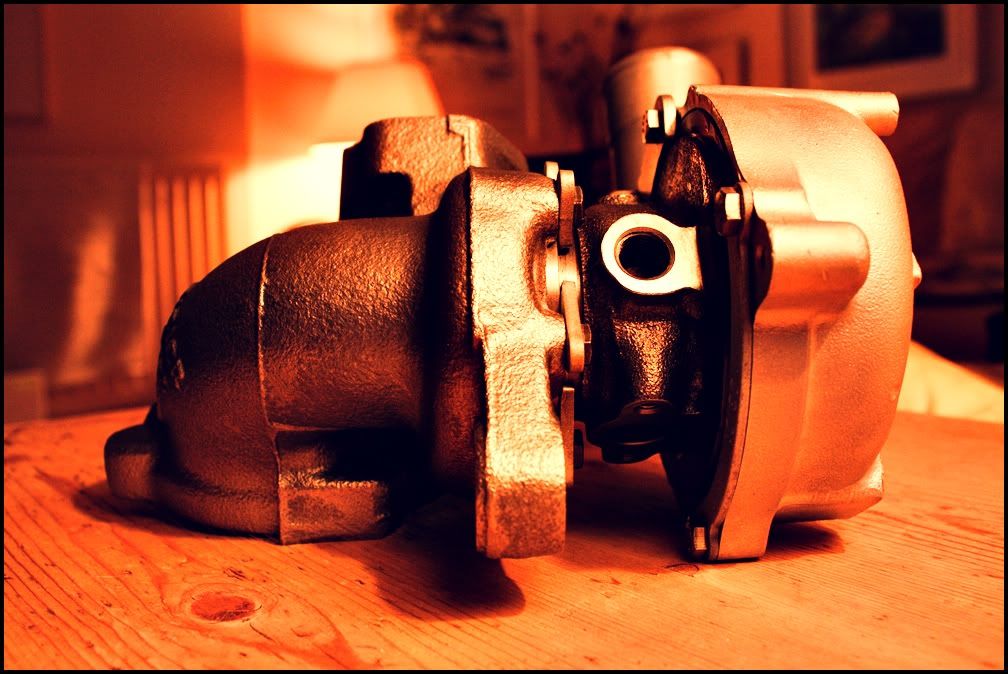
So the turbo went off to CR Turbo's to be fully rebuilt. Original K03 hybrid spec with 360 thrust bearing, RS6 clipped compressor wheel, uprated turbine, oil seals and enlargened inlet as well

turbo.jpg


turbo1-1.jpg


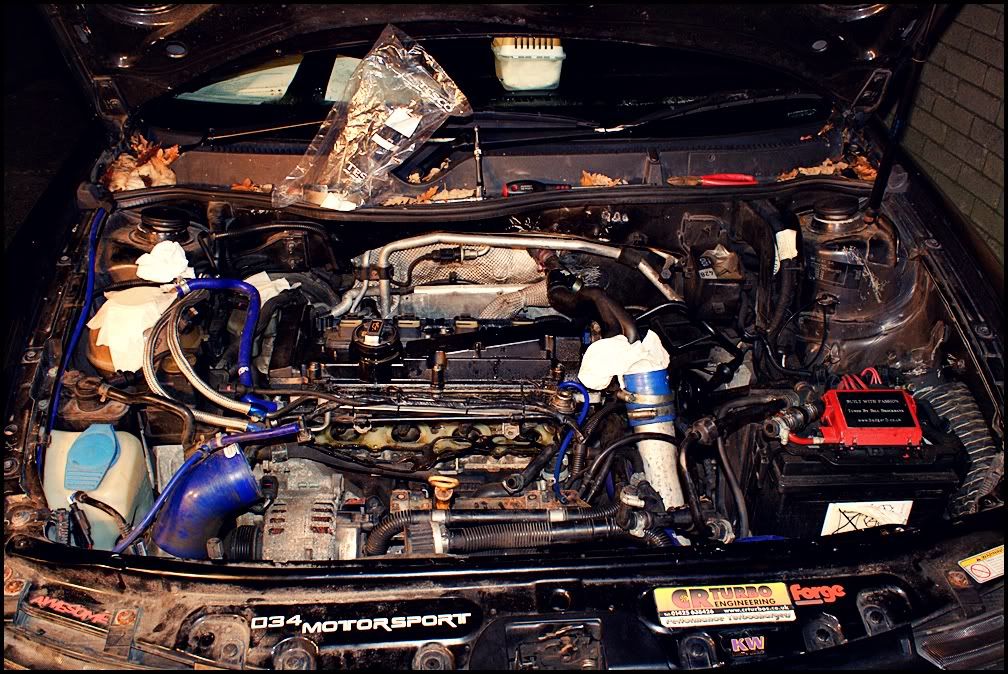
Now it was time to start tidying up some other bits on the engine bay

Before:
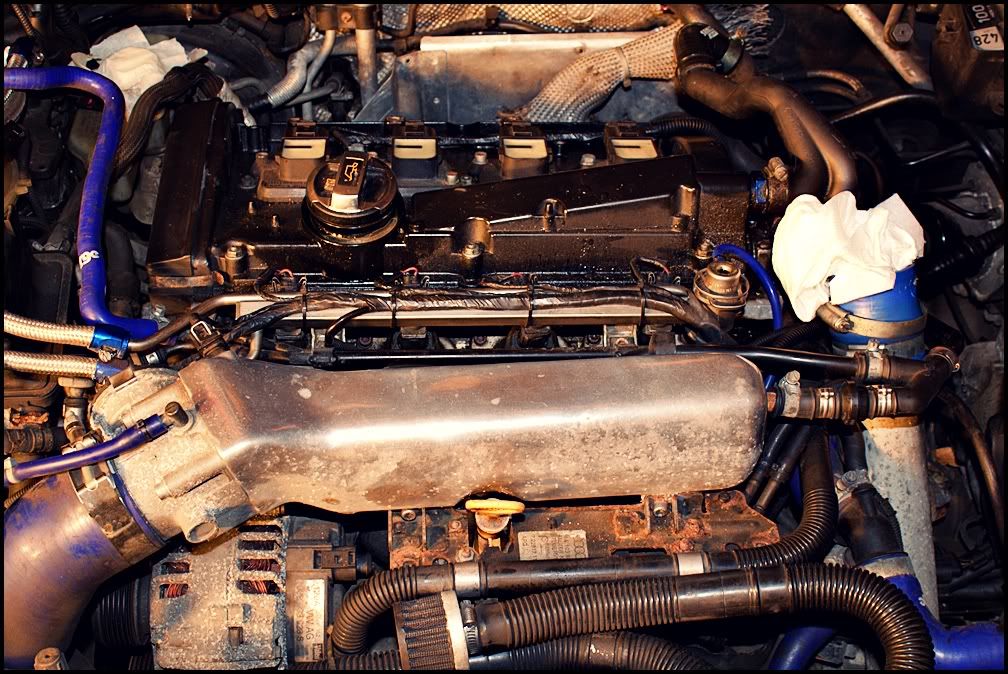
EngineBay.jpg


During:

EngineBay3.jpg


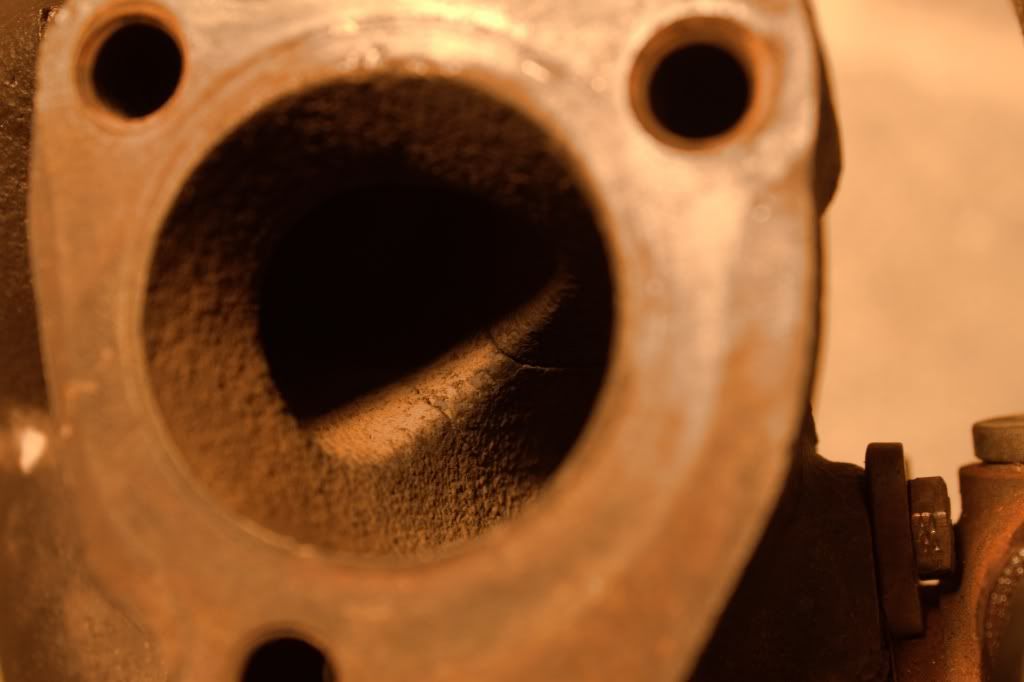
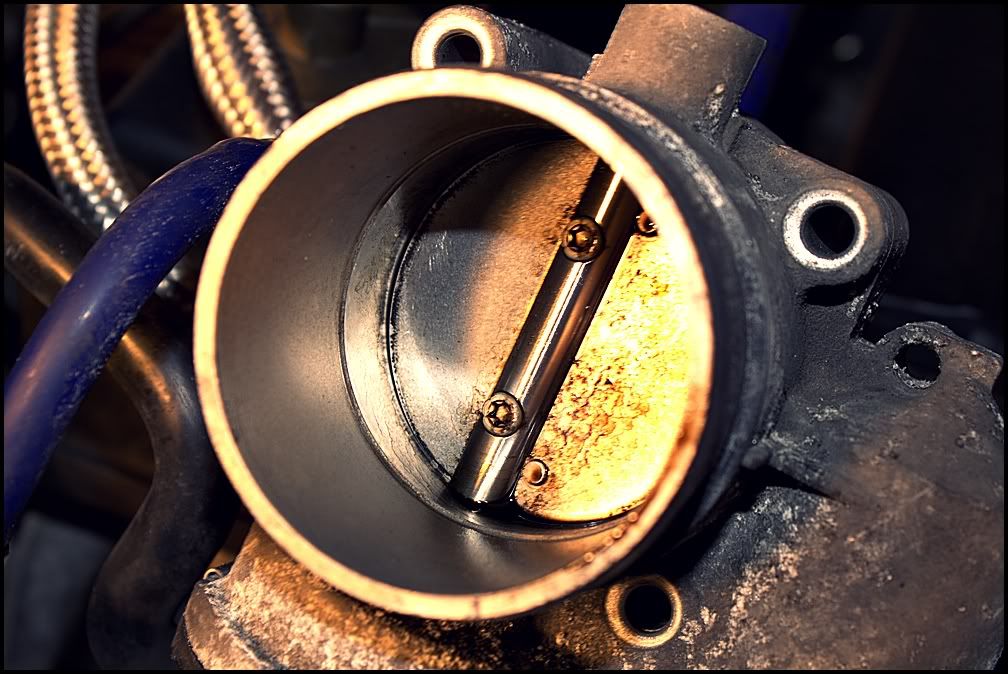
Dirty throttle body

EngineBay2.jpg


After:

EngineBay4.jpg
 
May 18, 2013
190
0
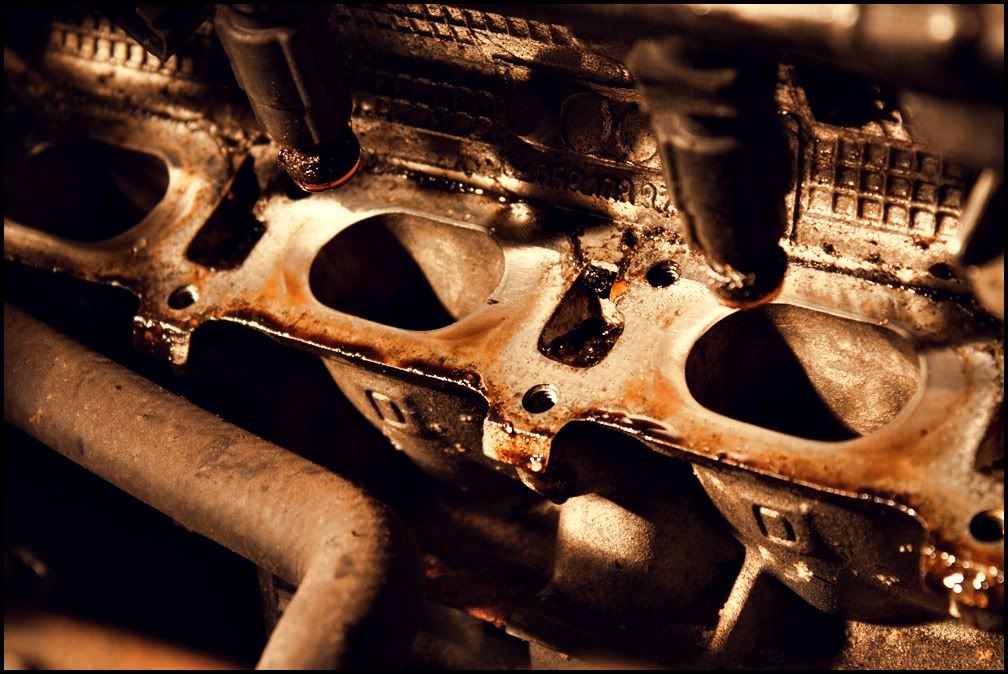
The inlet was also a mess, so I decided to clean this up:

Before:

EngineBay5.jpg


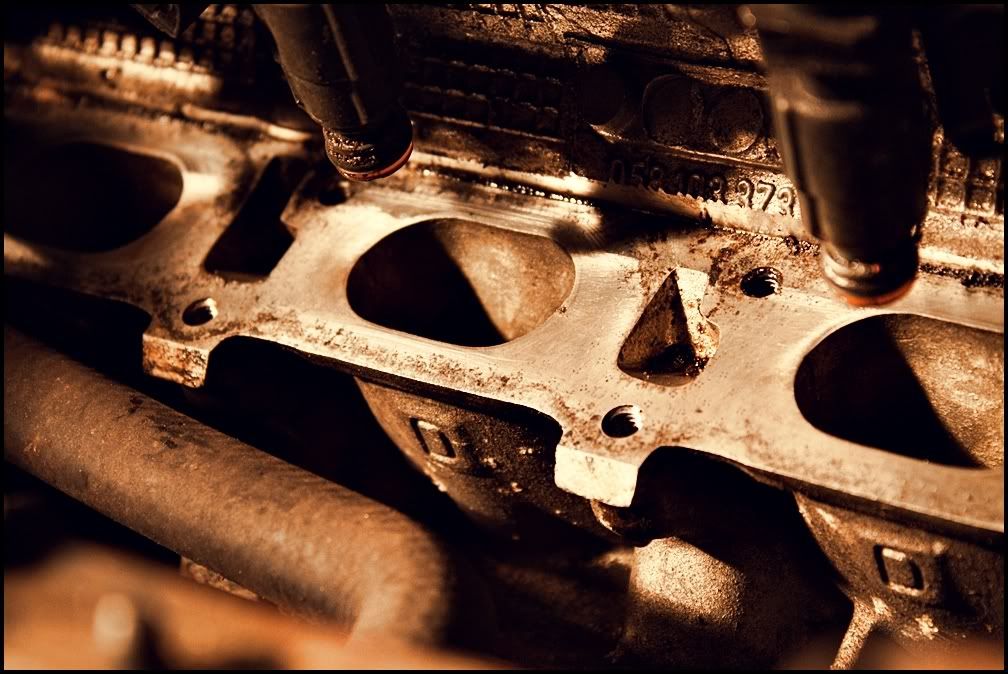
After:

EngineBay6.jpg


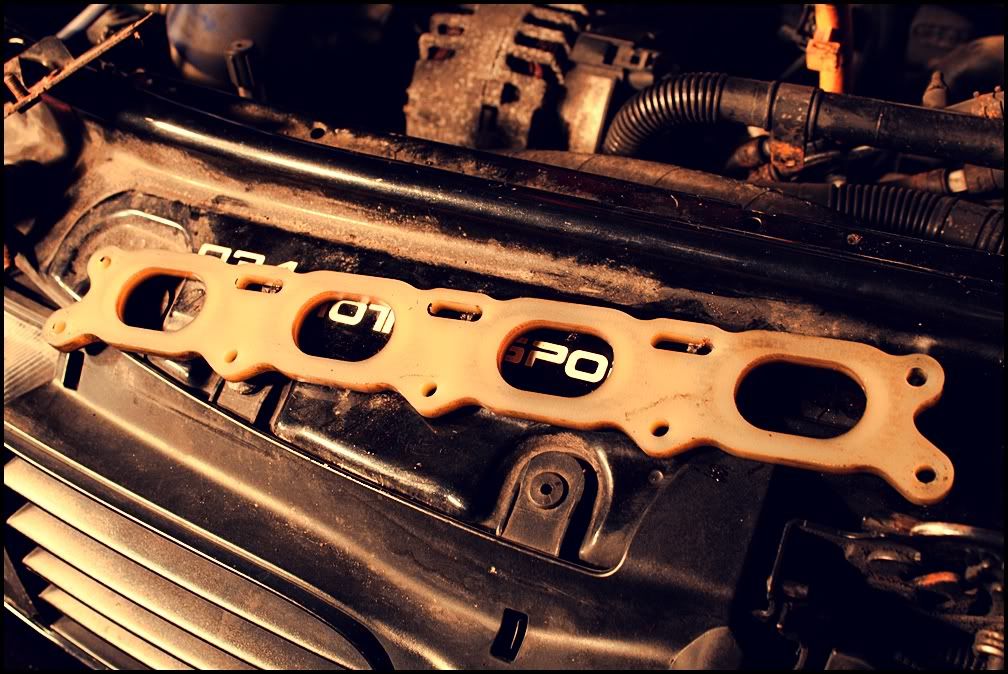
Cleaned up the gasket as well

Gasket.jpg


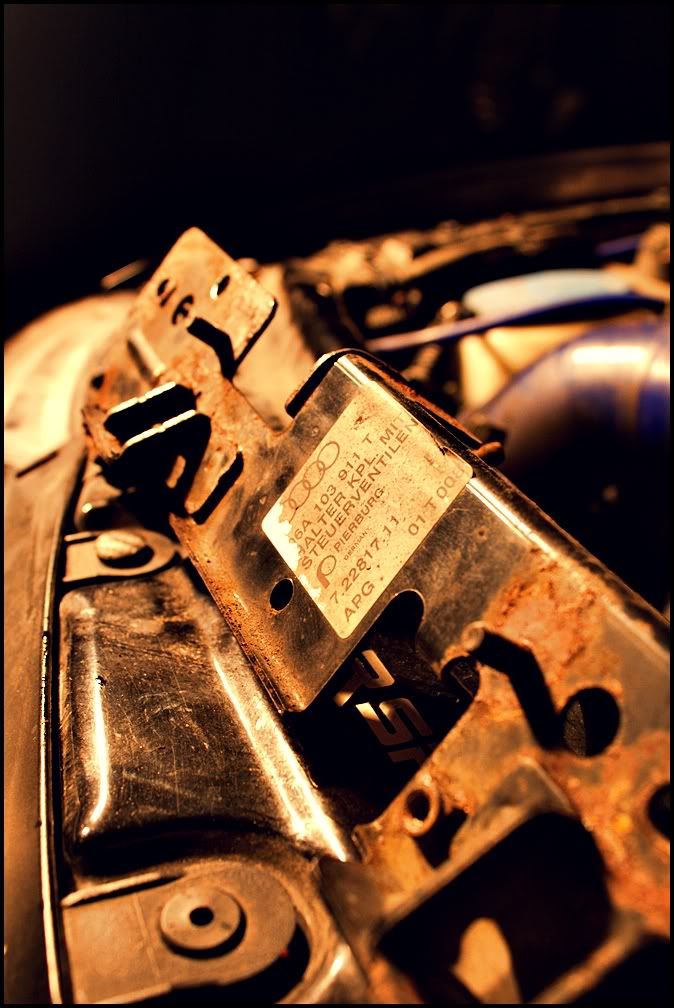
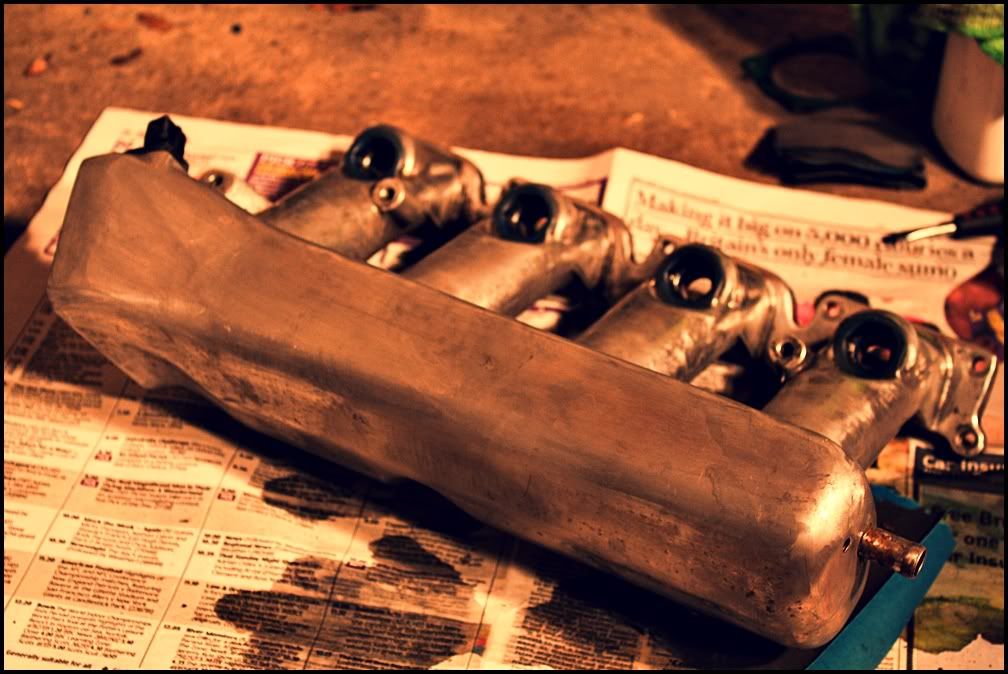
I then decided to remove this, as it just looked an absolute mess and all rusty. It is the inlet manifold tray which hold the brake booster and VAC lines

EngineBay7.jpg
 
May 18, 2013
190
0
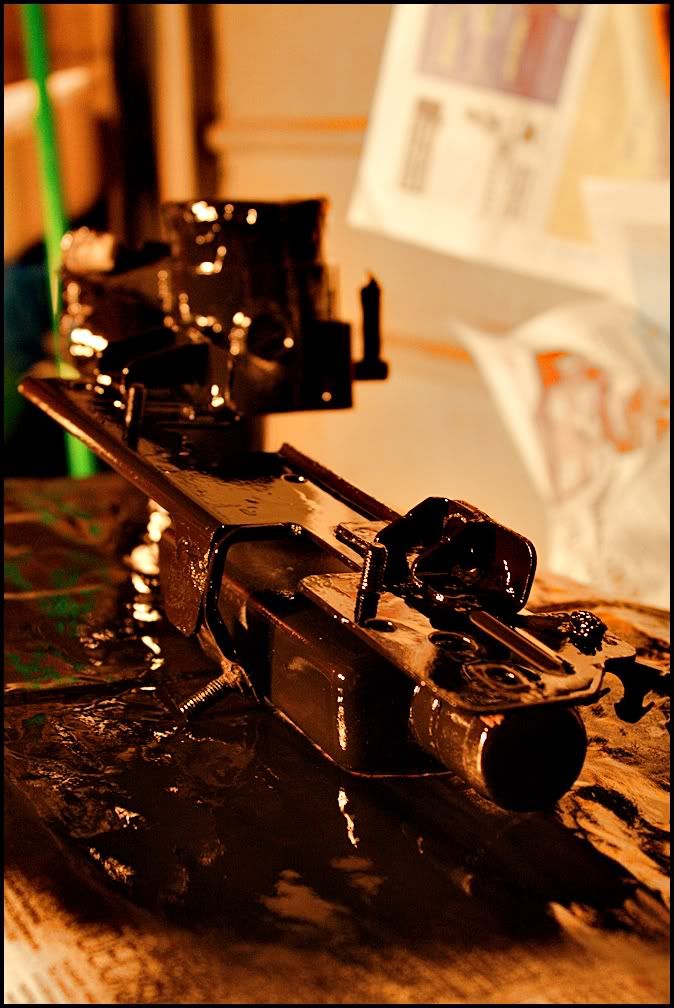
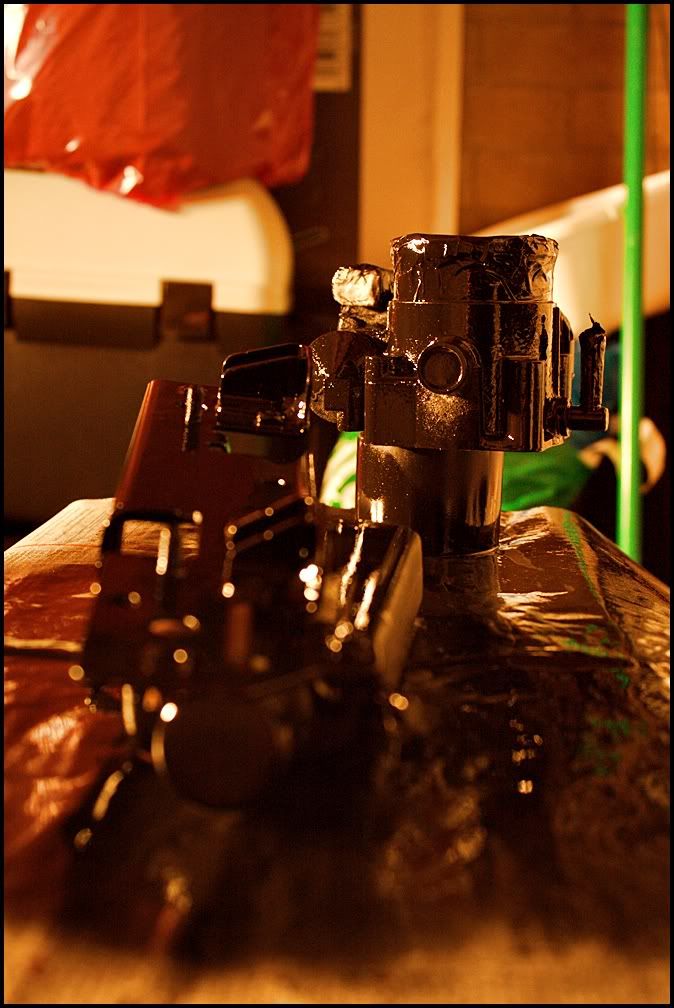
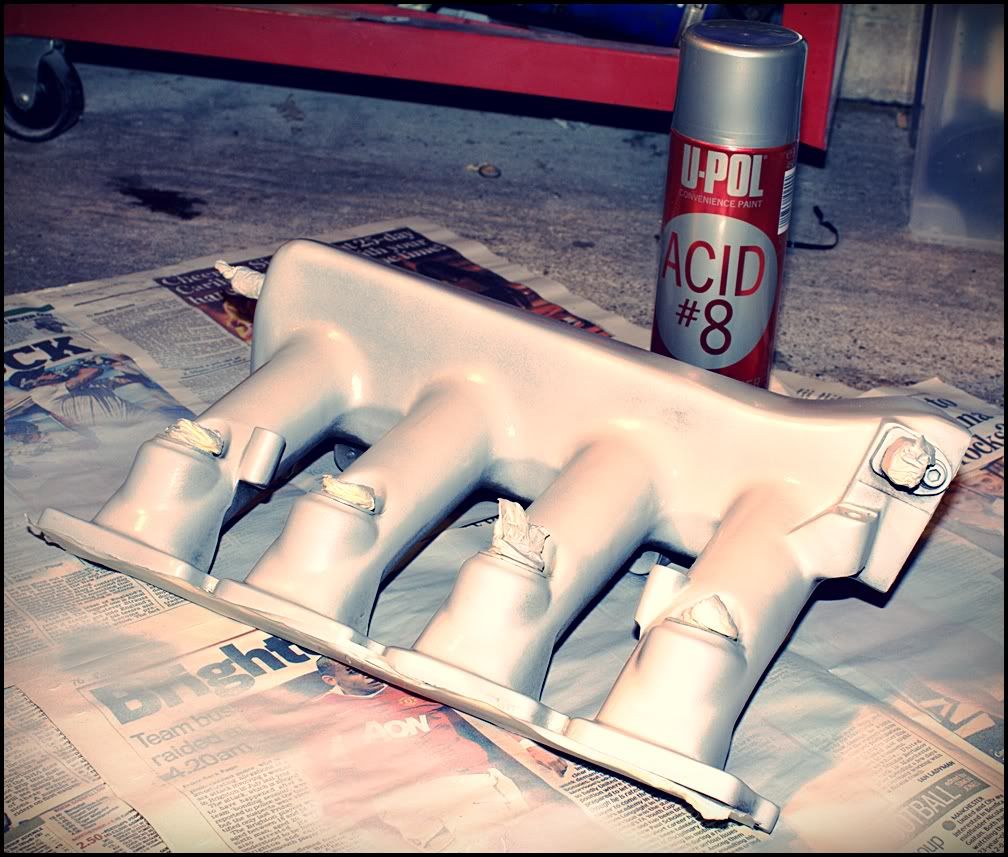
With the TB off and the inlet manifold tray I started spraying these up:

At the start:

ManifoldTray.jpg


TBSprayed.jpg


Wrinkle goodness of the inlet manifold tray now dry:

CrinkledManifoldTray.jpg


Sanded down the inlet manifold tray

InletManiSanded.jpg


Etched primered it

EtchedManifold.jpg


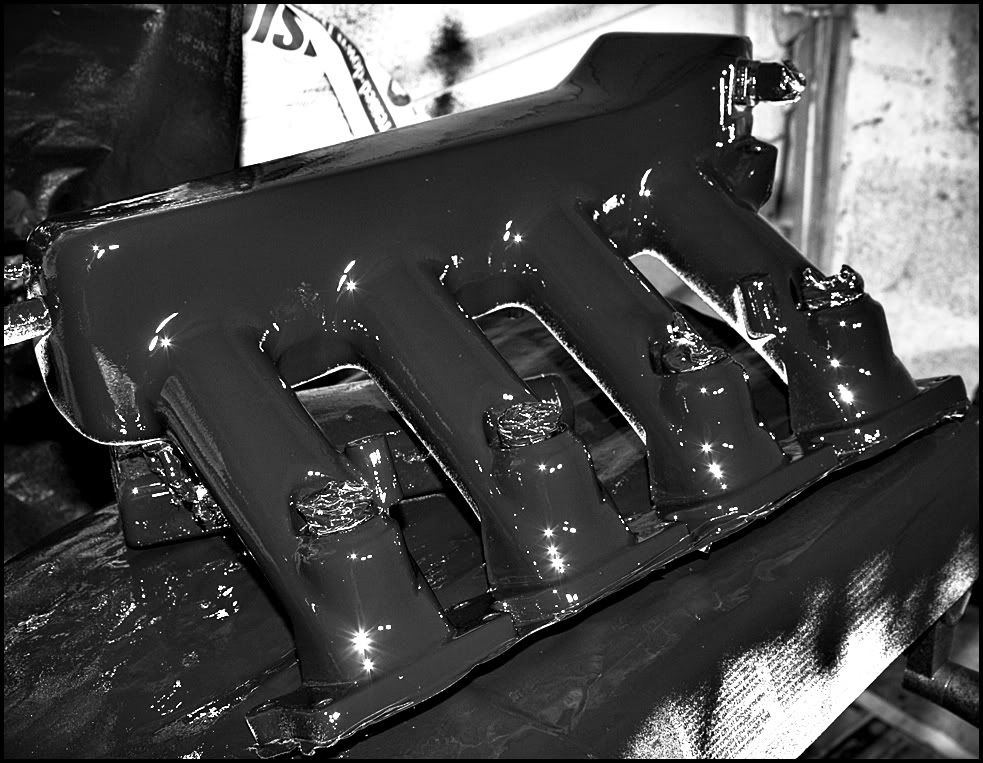
First coat of wrinkle paint (looks smooth as it was wet when I took the picture, so will get some more pics up of its progress soon)

CoatedManifold.jpg
 
May 18, 2013
190
0
All the turbo parts arrived today, bolts, gaskets, oil filter etc and picked these up from Seat

SeatParts.jpg


My 19mm hosing arrived from <!-- m -->http://www.hosequip.co.uk<!-- m --> so I can make a start on my catch can. Going to take off a fuse box and relocate the wiring to the fuse cover next to it, to mount the catch can against the bulk head

I then did a bit of work on the car tonight

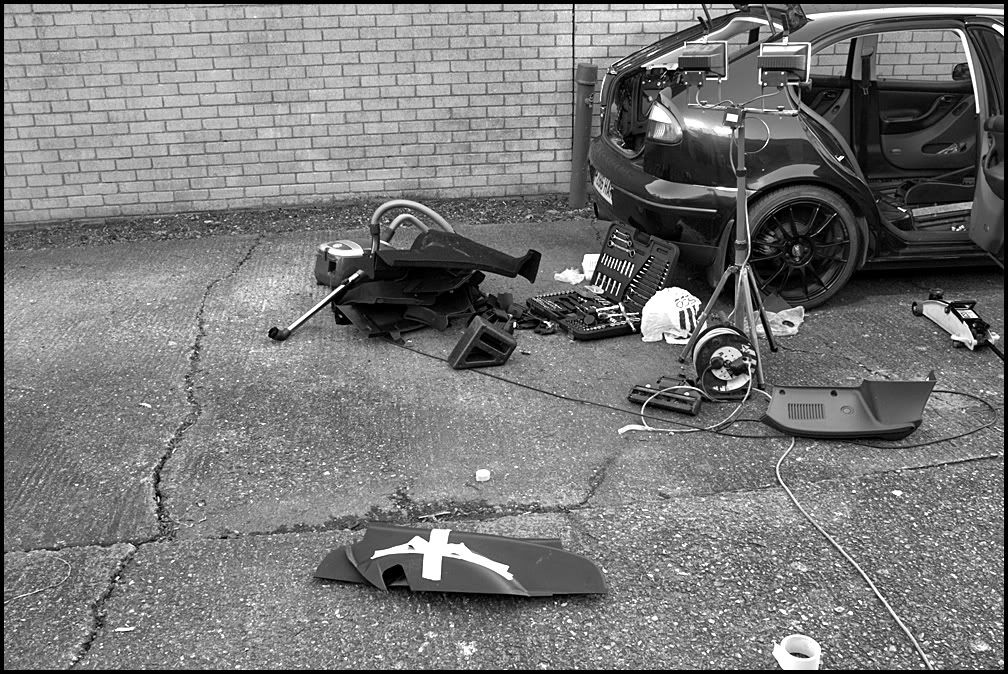
Finished ripping out all the crap in the boot, carpet, side panels and the plastic boot lid

strippedboot.jpg


Parts from out of the car

rippedout.jpg


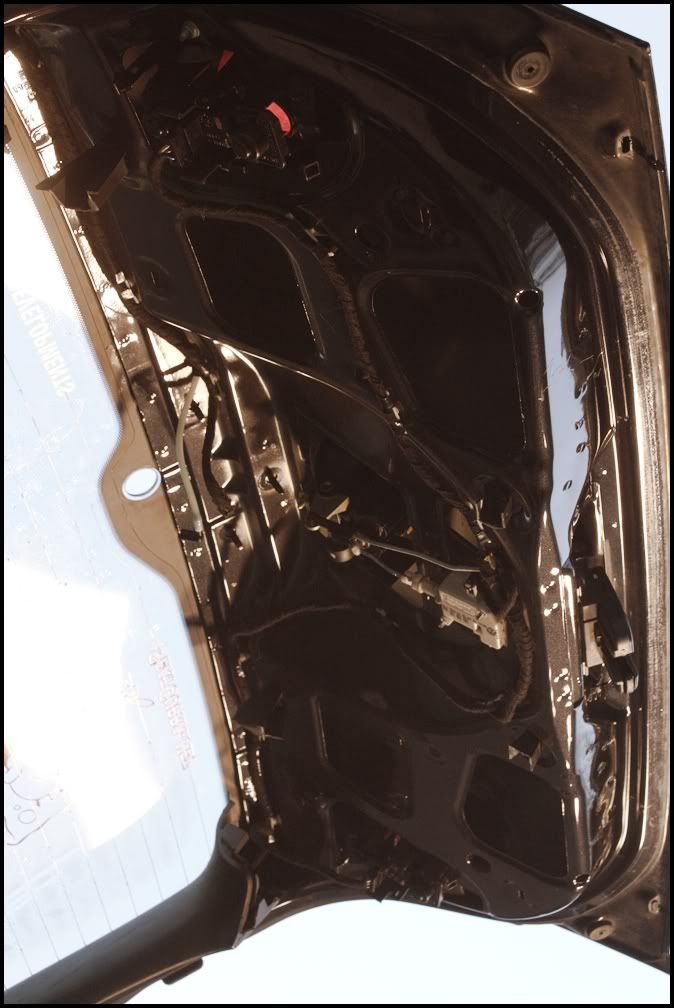
Took off the wiper and rear windscreen washer and it's now dewipered

strippedbootlid.jpg


I then found a nice glass bung that had been sitting in my draw for the best part of two years...which sits perfectly flush and very OEM

glassbung.jpg


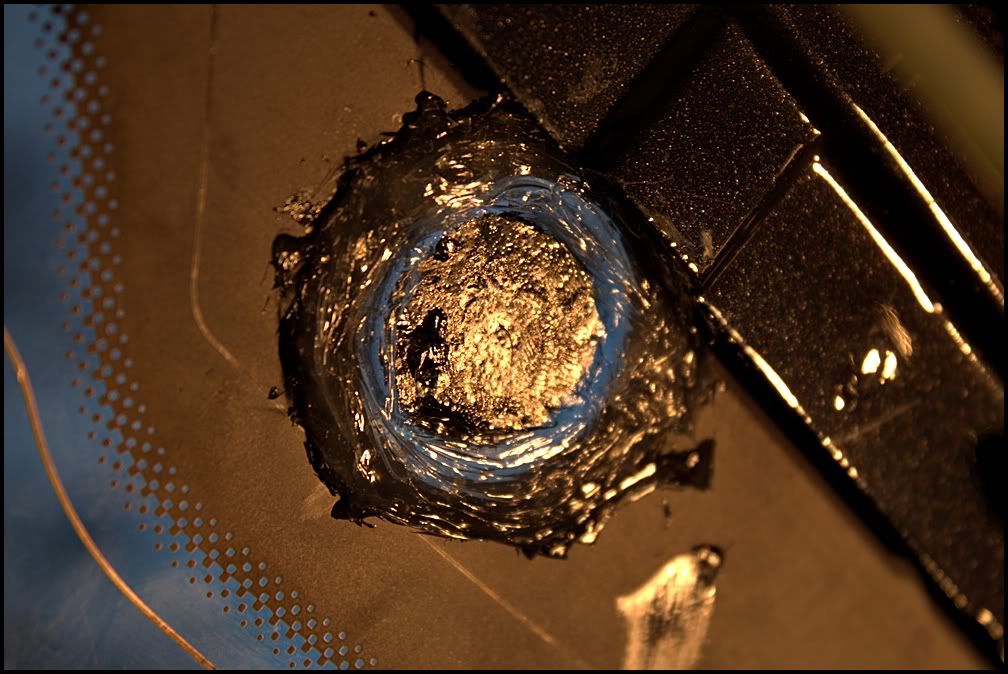
Sealed underneath (not pretty but it does the job)

sealedbung.jpg


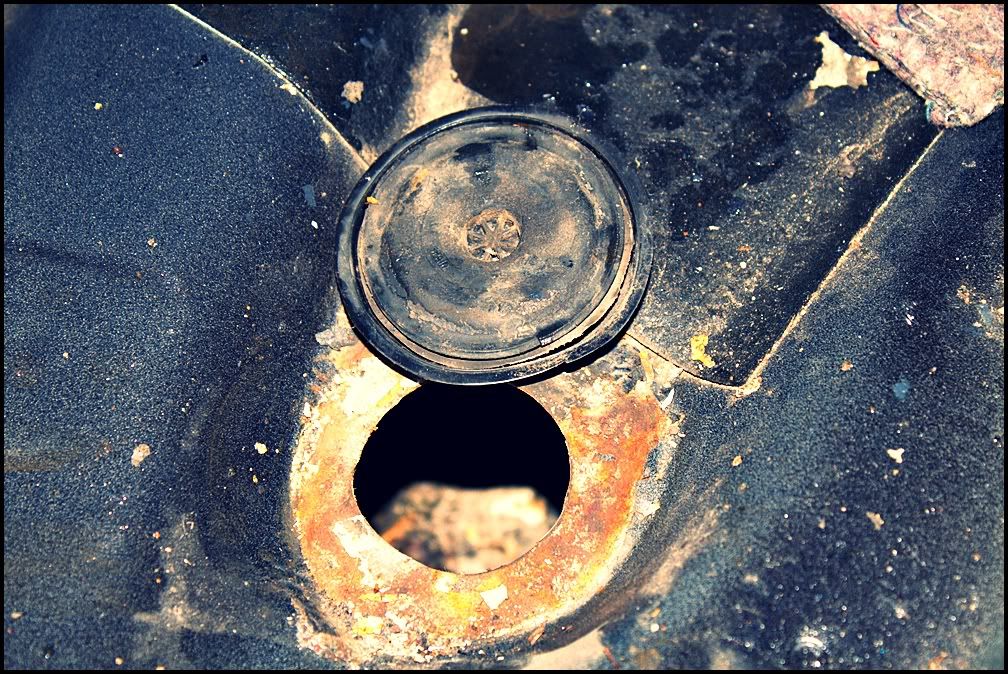
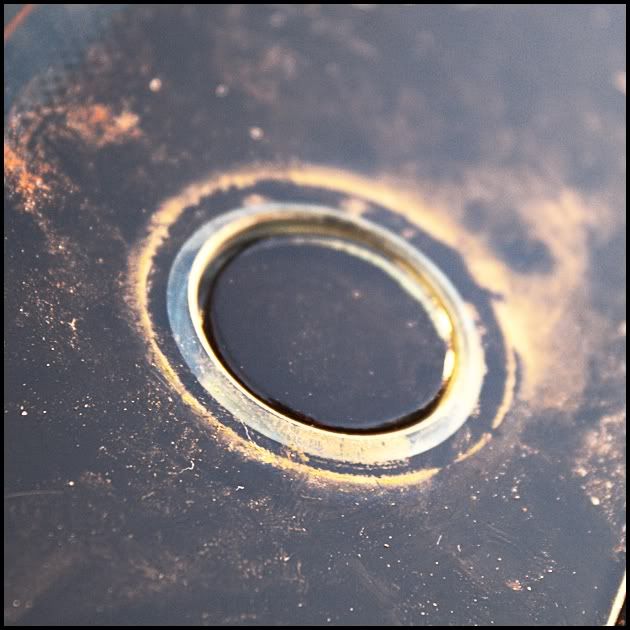
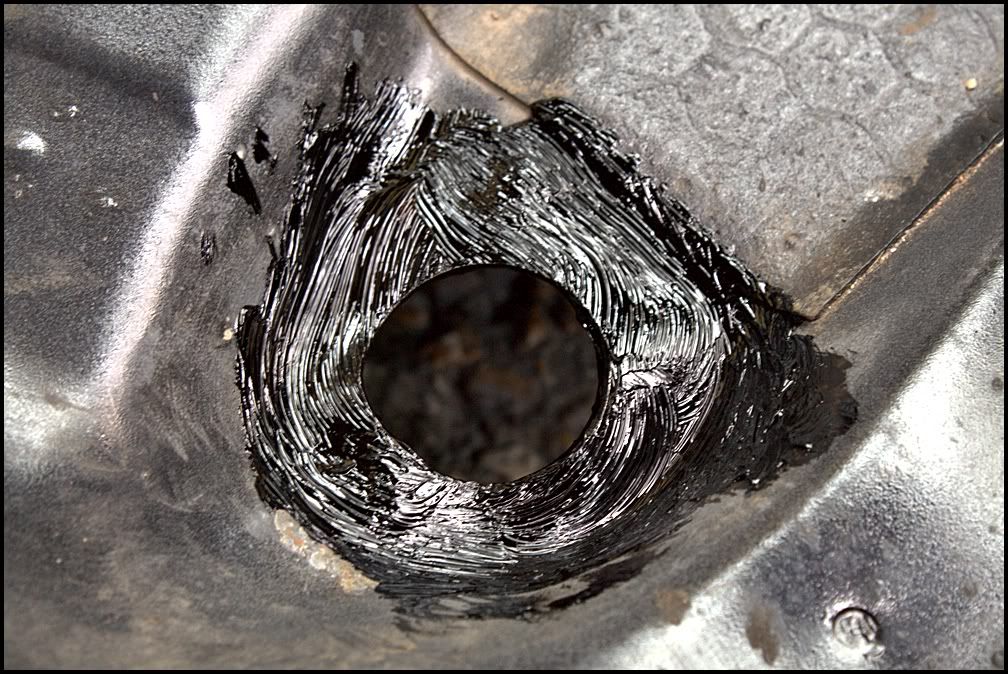
I then sanded down and waxyoiled the drain hole in the floor, and refitted a new drain hole cover

Drainholesealed.jpg


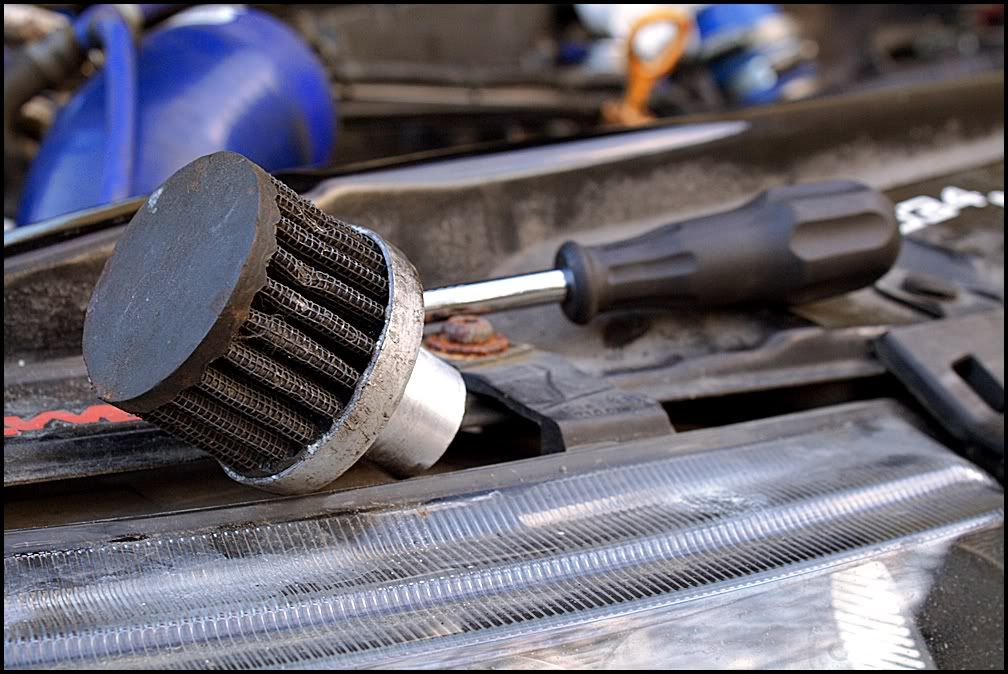
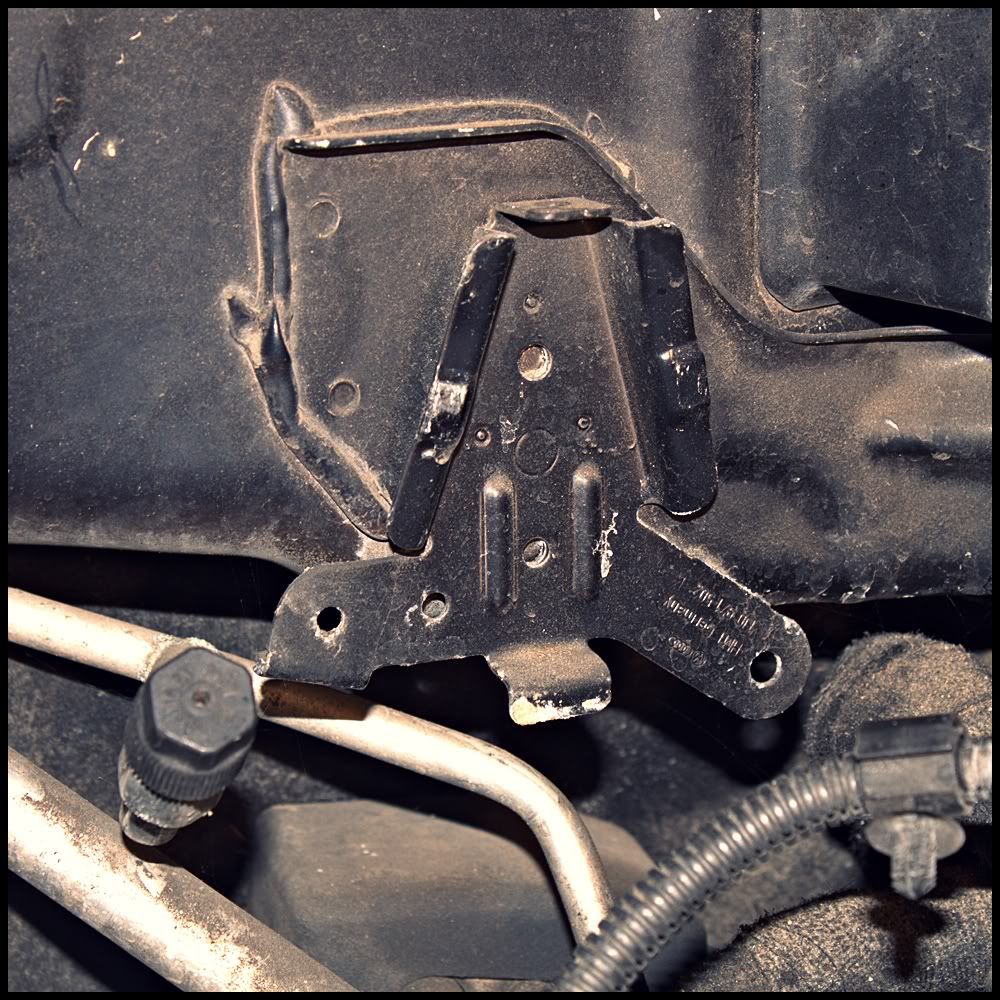
I then took this off. It has been annoying me for ages, and it has seen better days, so I will be putting a nice green one on and cutting the pipe which it fits onto as it is far too long in the engine bay and looks silly

seenbetterdays.jpg


and finally the inlet manifold is almost done. Couple of patchy bits so needs a few more coats and it will be done

cracklemani.jpg


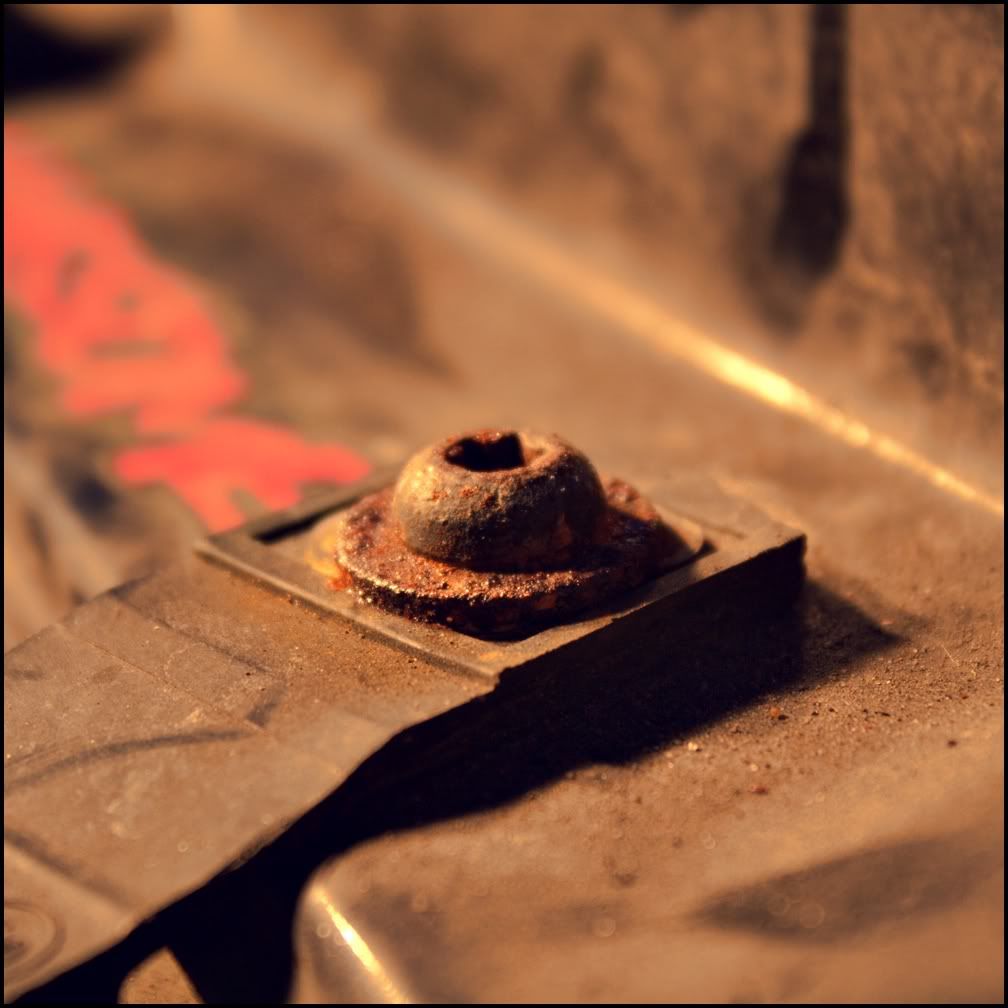
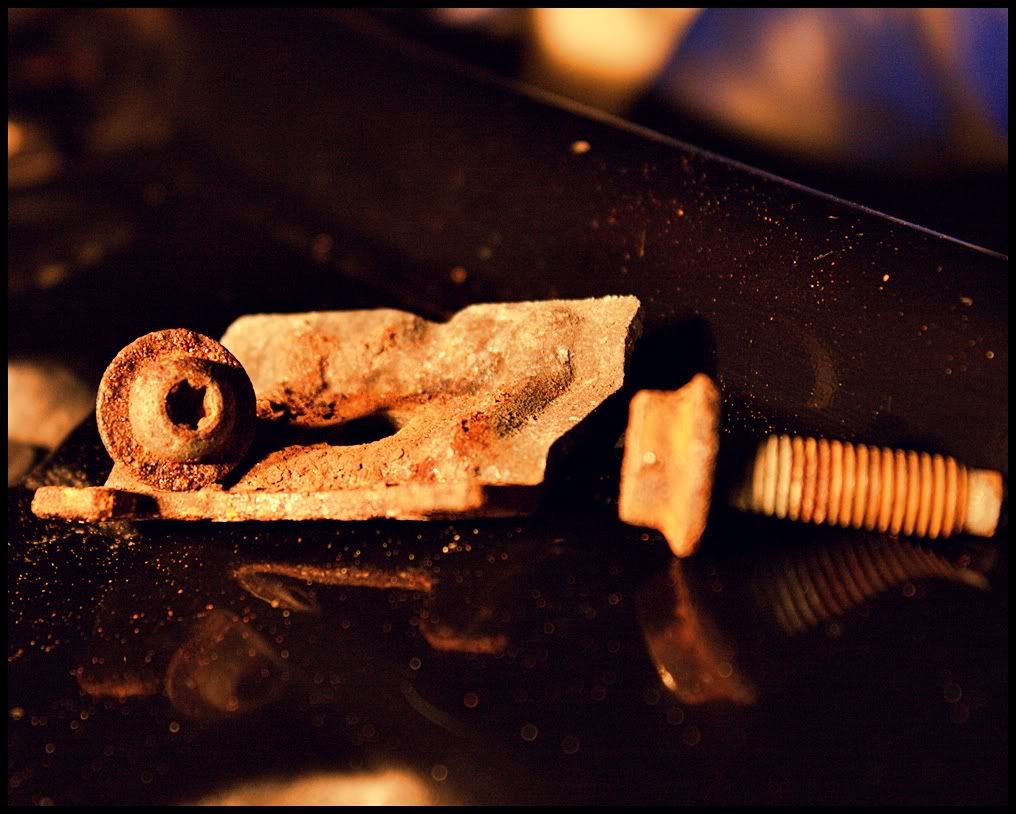
I then realised looking around the engine bay that there are quite a few rusty bolts. This bolt is part of a pair that holds the headlight on

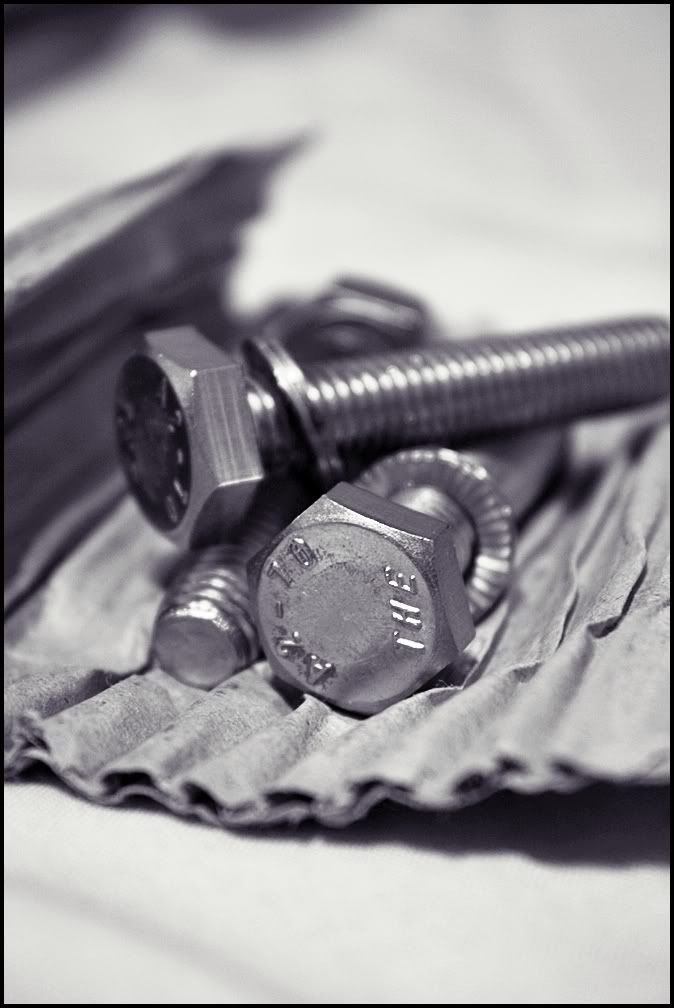
rustybolts.jpg


I will be replacing a number of these bolts when I go to Seat on Saturday, as it just looks really untidy.

Next up is to take the wheels and arch liners out and start to properly seal all the arches. I also hoovered all the sodding leaves and crap that had been sitting on the scuttle panel for ages and looking a lot better. All the stupid stickers under the bonnet and around the engine bay will be going too
 
May 18, 2013
190
0
So I started some minor work on the car tonight. I wanted to clean the engine bay, but it pretty much juts froze as soon as I sprayed it on

Removed all the stupid stickers from the engine bay

Cleanedupbay.jpg


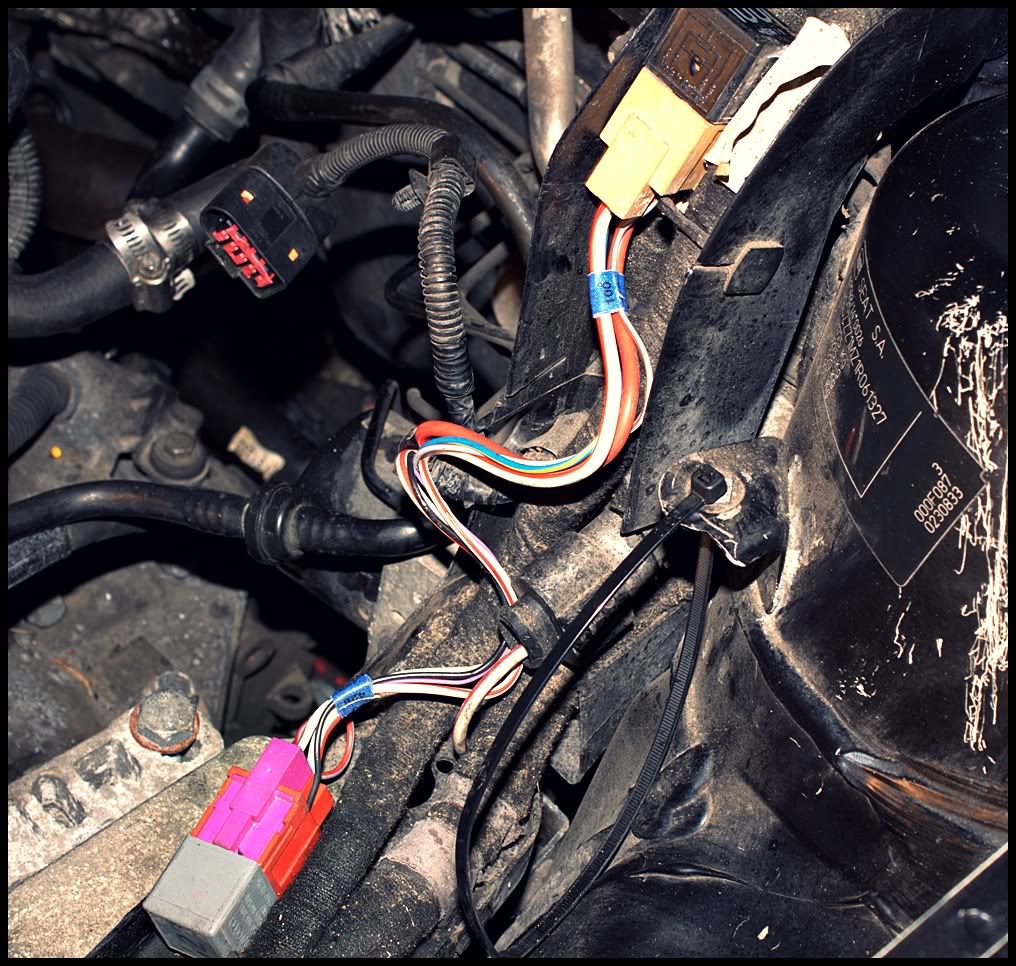
Took out a small box which houses some cabling

RemovedBox.jpg


Rerouted the cabling and need to buy the long plastic top which slides over this

reroutingWires.jpg


Three rusty parts I am taking to Seat so they get the right bits. One bolt off the bracket for the headlights, the bolt and the metal clamp which holds the battery in.....well and truly foobarred

MoreRustyBolts.jpg


Had to call it a night, as where there is moisture on the inside of the rear window, had turned to ice
 
May 18, 2013
190
0
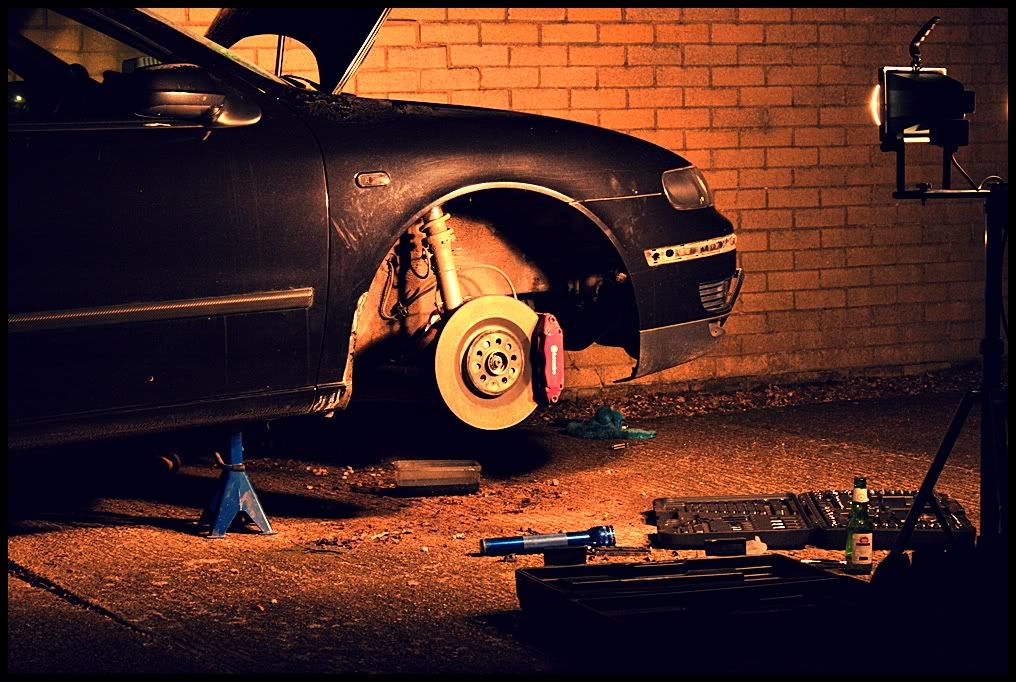
So I did some more work on the car tonight....and yes it was cold, but one good thing about these temps is it keeps your beer nice and cold

Jacked up

Jackedup.jpg


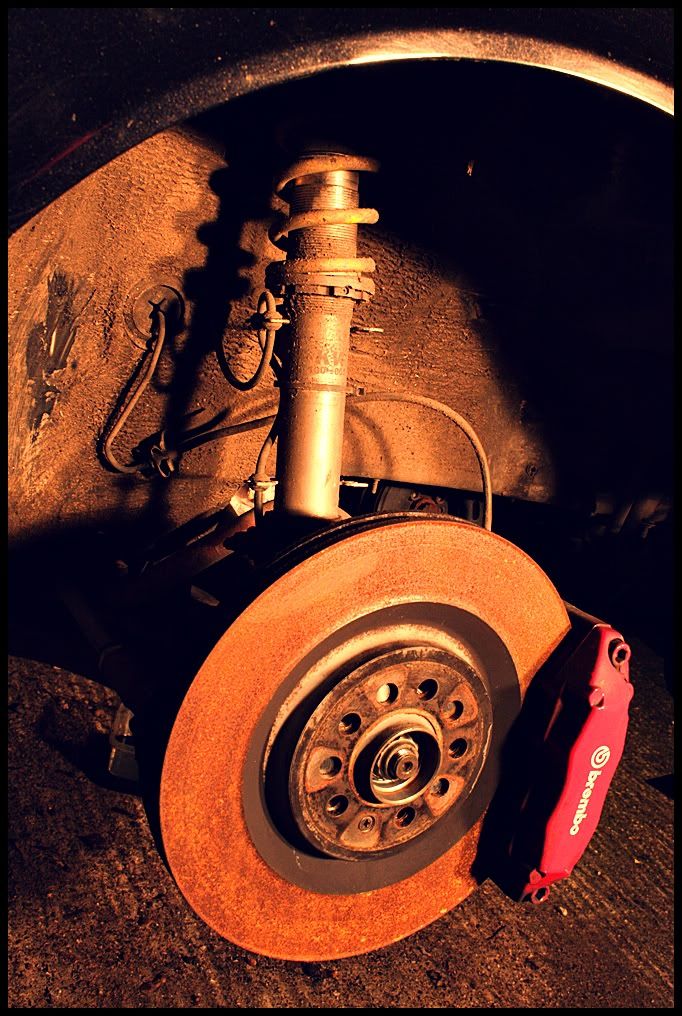
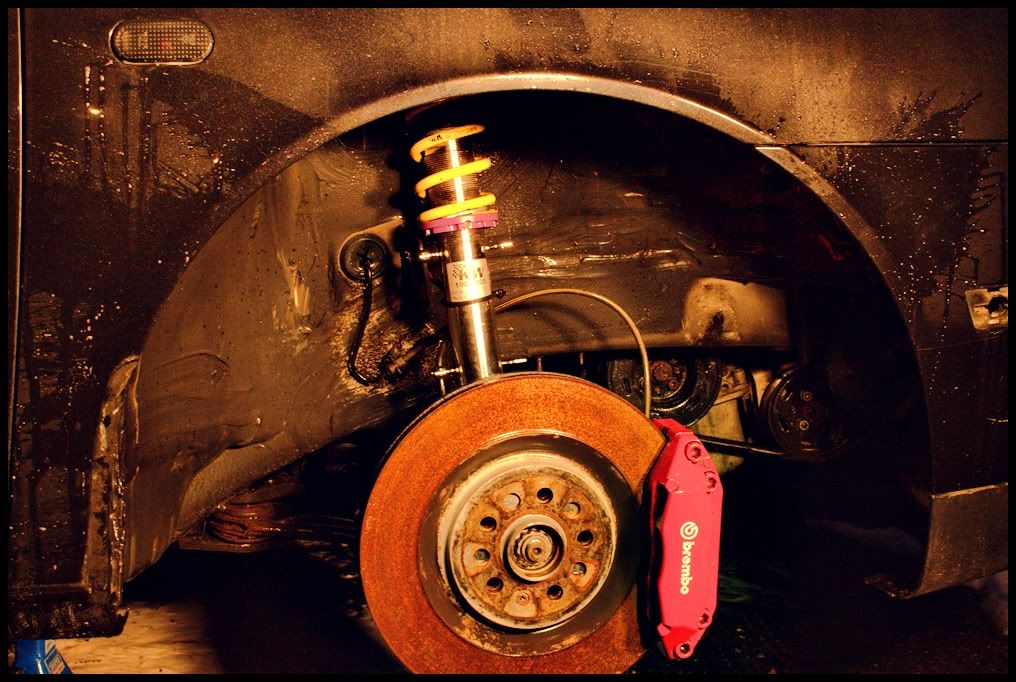
Lining removed. Absolutely bogging. Need to order all new lining bolts as they are rusted to hell. I will be cleaning the arches tomorrow with some snow foam and then some wheel cleaner for the coilovers, to remove all the built up dirt. Thankfully the KW's are in great condition still

Once the arches are clean and dry, then I will be waxyoiling the arches to properly seal them

DeArched.jpg


Cheeky pic of the Neuspeed 25mm ARB

CheekyARB.jpg


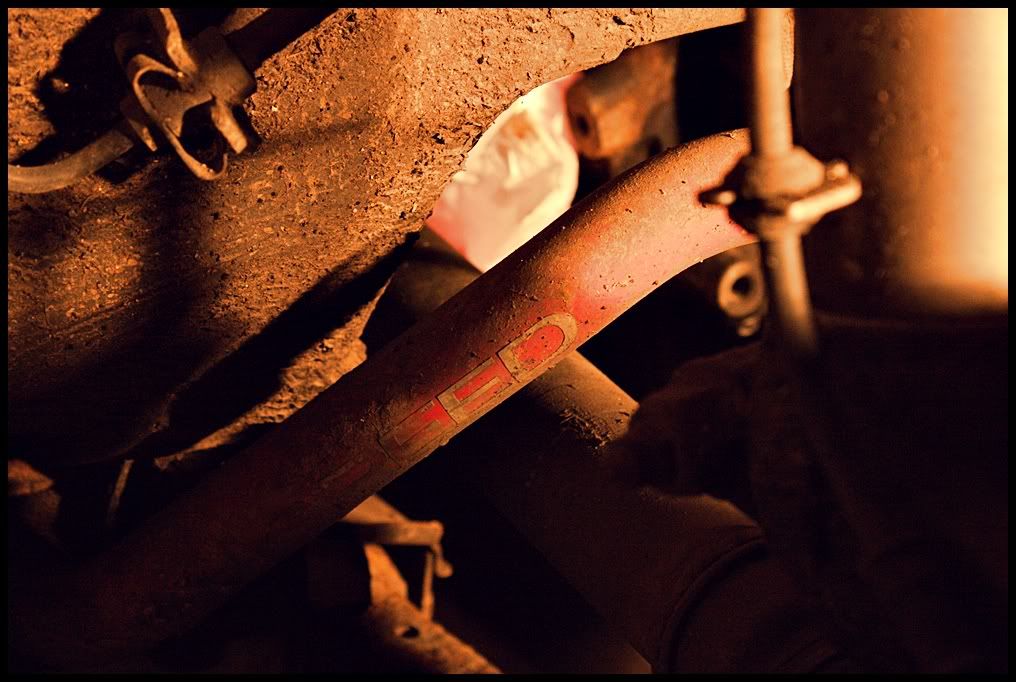
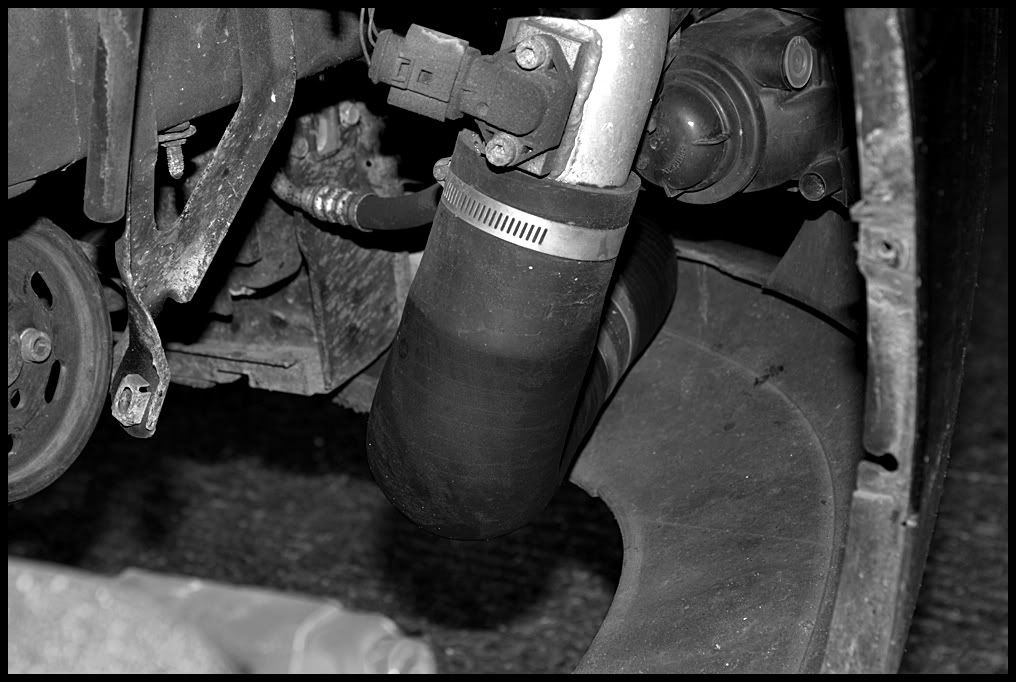
FMIC pipes which is one main reason the bumper is coming off, to replace the clamps (as Pro Alloy has put cheap crappy ones on) and check all the hoses for splits as the bumper has been rubbing against them for some time. The bumper also needs to be cut back

FMICPipes.jpg


Had to call it a night, as come 21:30, temperatures were dropping quickly. It's ok working and I was building up quite a sweat, but as soon as you stop, you get cold very very quickly. Was -2 when I came in.
 
May 18, 2013
190
0
Work is slow and painful at the moment...with the cold and it getting dark so early

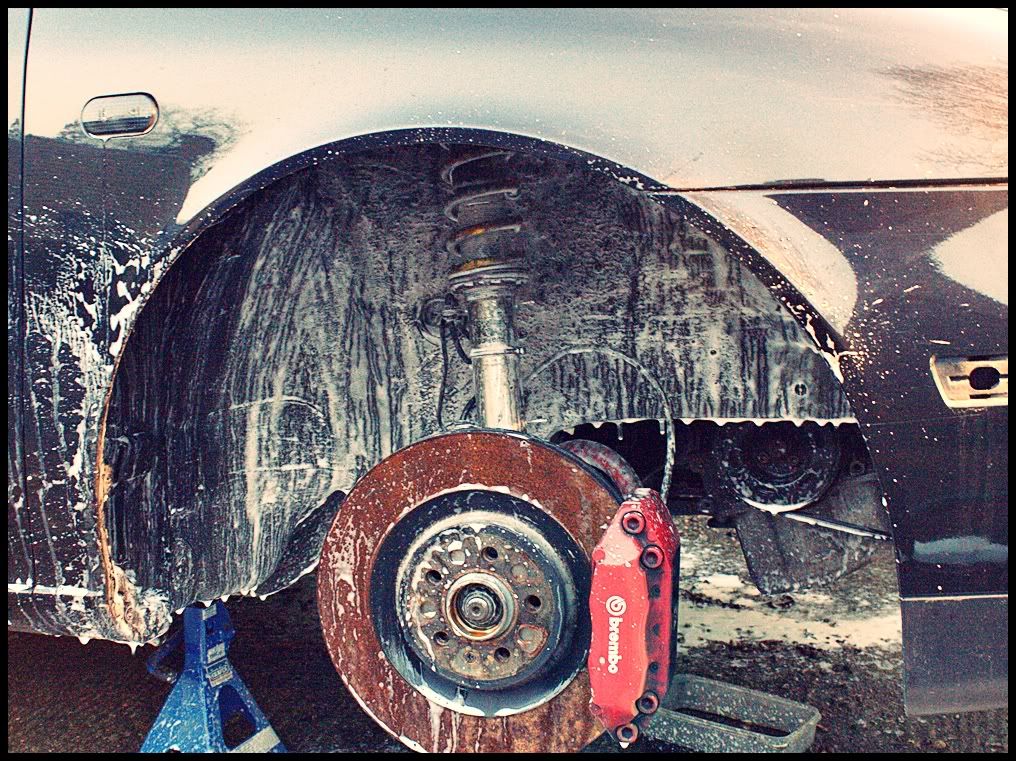
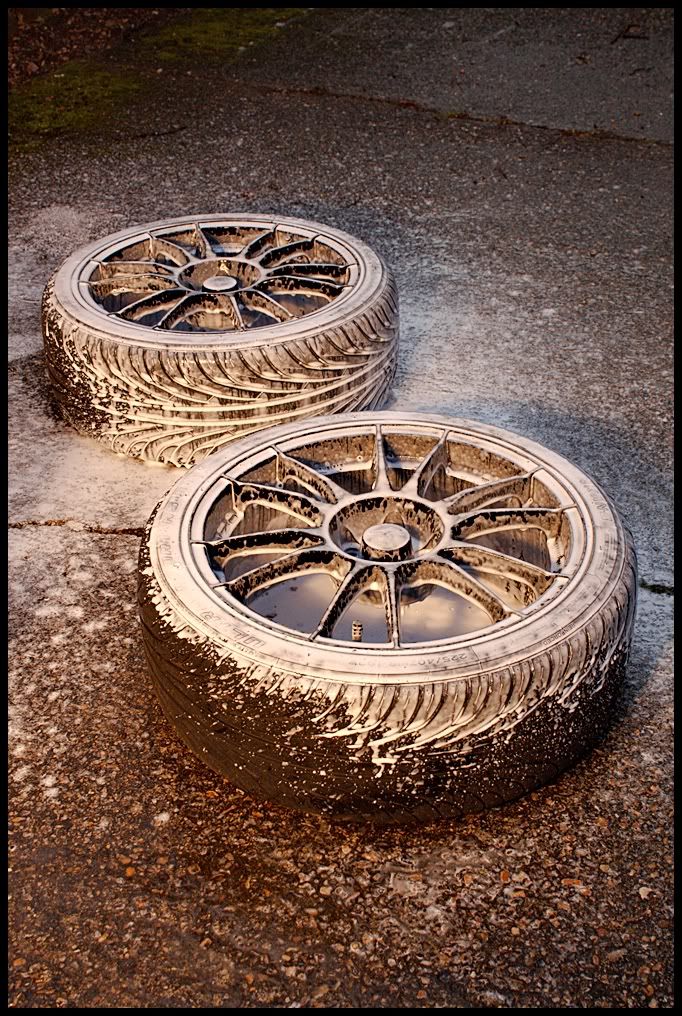
Managed to clean the arches tonight, and give the front wheels a good scrub along with the brembos. The wheels will need refurbing, as there is some seriously brake dust caked on which simply wont bloody shift

Snow foamed the arches

ArchSnowFoam.jpg


Gave the wheels a good soaking

FoamedWheels.jpg


Cleaned the arch (cleaned it a bit more after this). KW's have come up like new almost as well

CleanedArch.jpg


Wheels have come up ok actually. Just pockets of brake dust right in the corners of the wheels

CleanedWheels.jpg


Leaving the arches to dry now and will start painting them with the waxyoil tomorrow or Wednesday night...and then the same again with the rear arches...then I can get the arch lining back on, and start with putting the turbo kit back on

Slow and Frustrating [:@]