New bonnet catch and I was missing a stud on the far right of the inlet manifold, so bought a set of these

bonnetcatch.jpg


Forgot I had this, carbon fiber coil pack cover. Gave it a quick clean and its come up really well from sitting in the garage for months!

carboncoilpackcover.jpg


ordered some blue anodised bolts for the carbon cover, coil packs, braided hoses and hose coupler, so a few bits going on next week
 
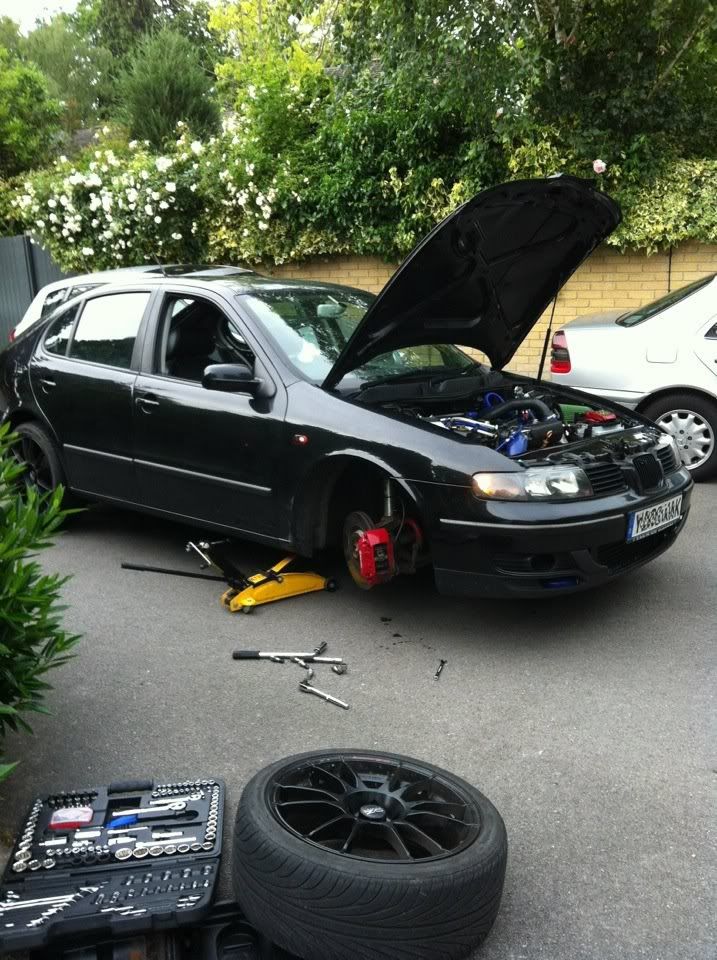
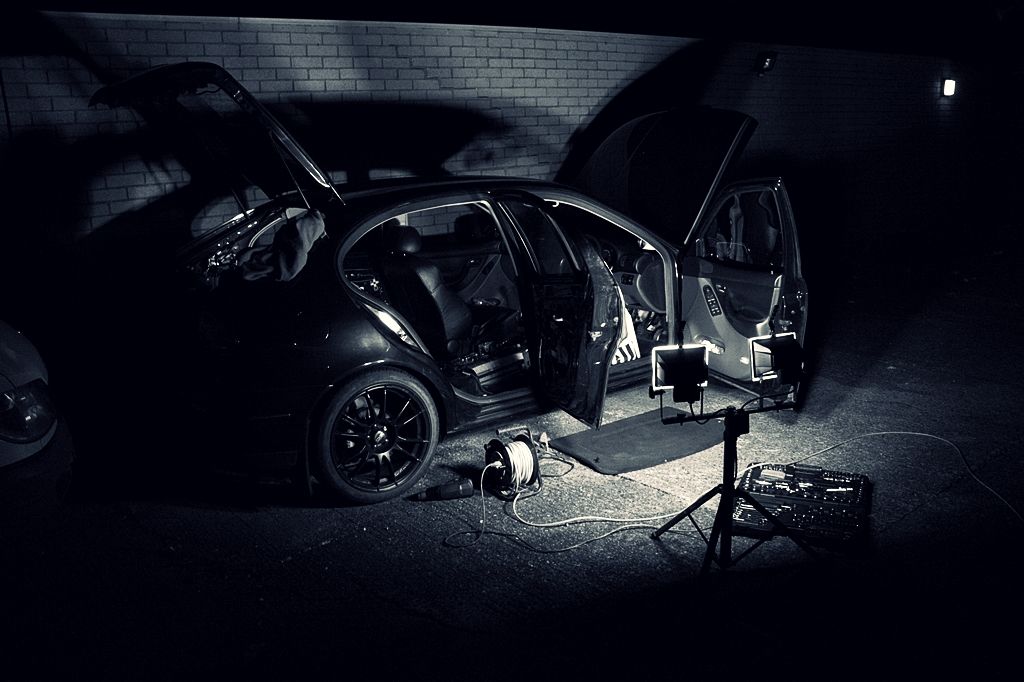
So got a few bits done on the car tonight

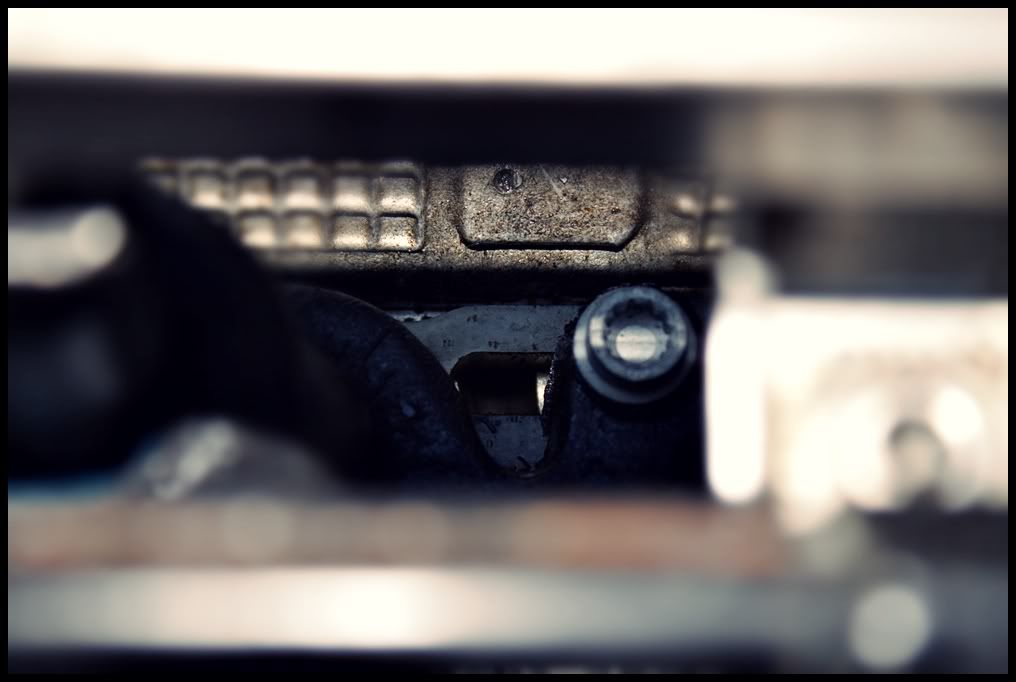
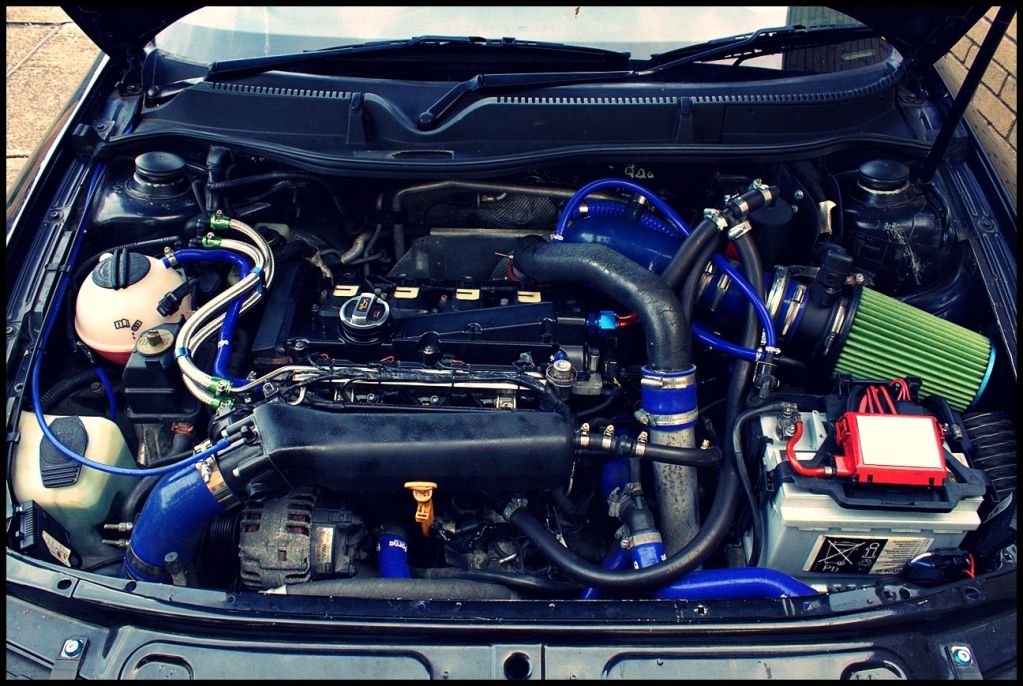
Phenolic gasket reinstalled. Now I didn't intend to put this back on, but I knew the far left stuf was missing. There is two studs on the left and right that hold the manifold on and the rest are bolts. So to do the job properly I had to remove the whole inlet manifold to get this stud in. What a fecking pain in the ass.

While it was off I couldn't reinstall the OEM gasket as it was foobarred and bent taking it off, so I thought I would reinstall the phenolic gasket again. WOW, what a ball ache. Because the gasket is so thick you literally have less than 1mm of thread left on the bolts to grip and screw in, which simply wasn't happening. For some reason I had a pack of bran new longer bolts. Where they came from I have no idea, but they were a god send
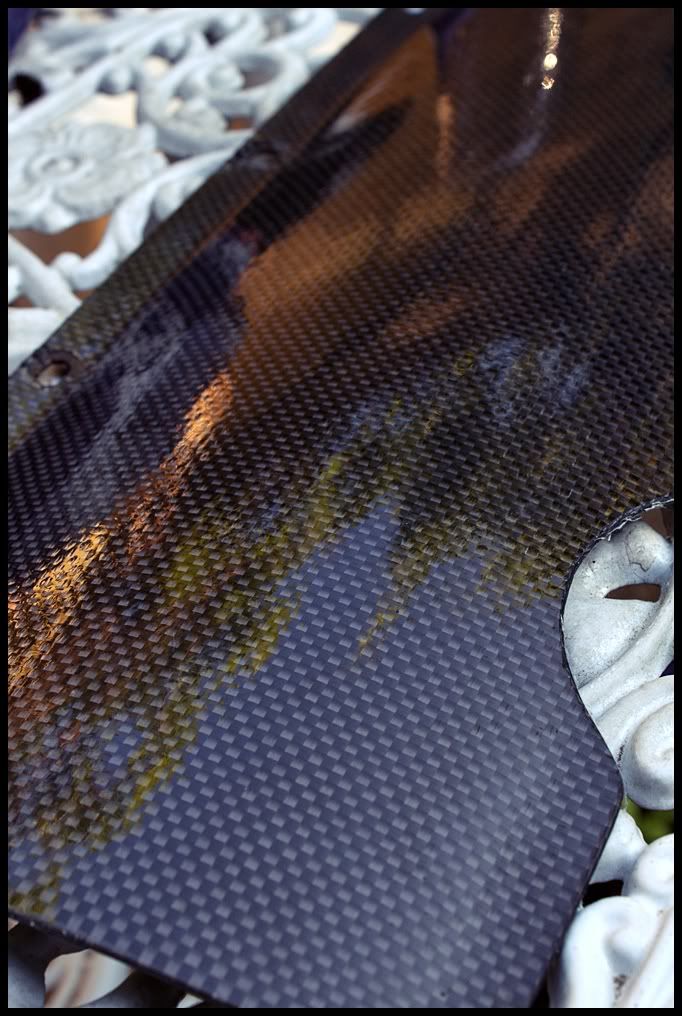
Gasket

Phenolicgasket.jpg


Two types of OEM bolts. The longer bolt with 2mm more on the thread really is the difference with the bolts tightening and just turning

Gasketbolts.jpg


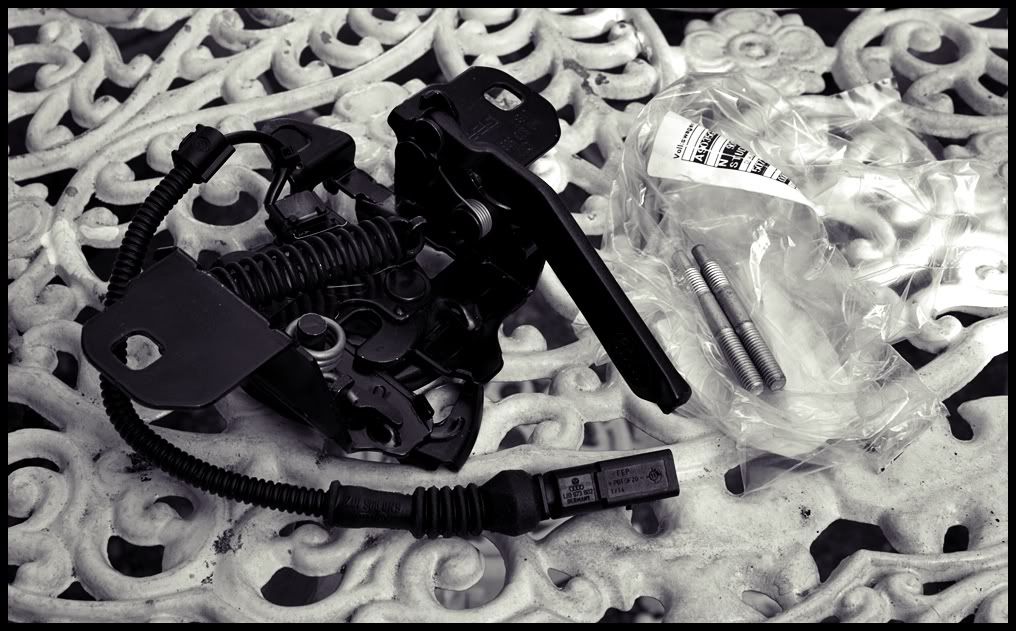
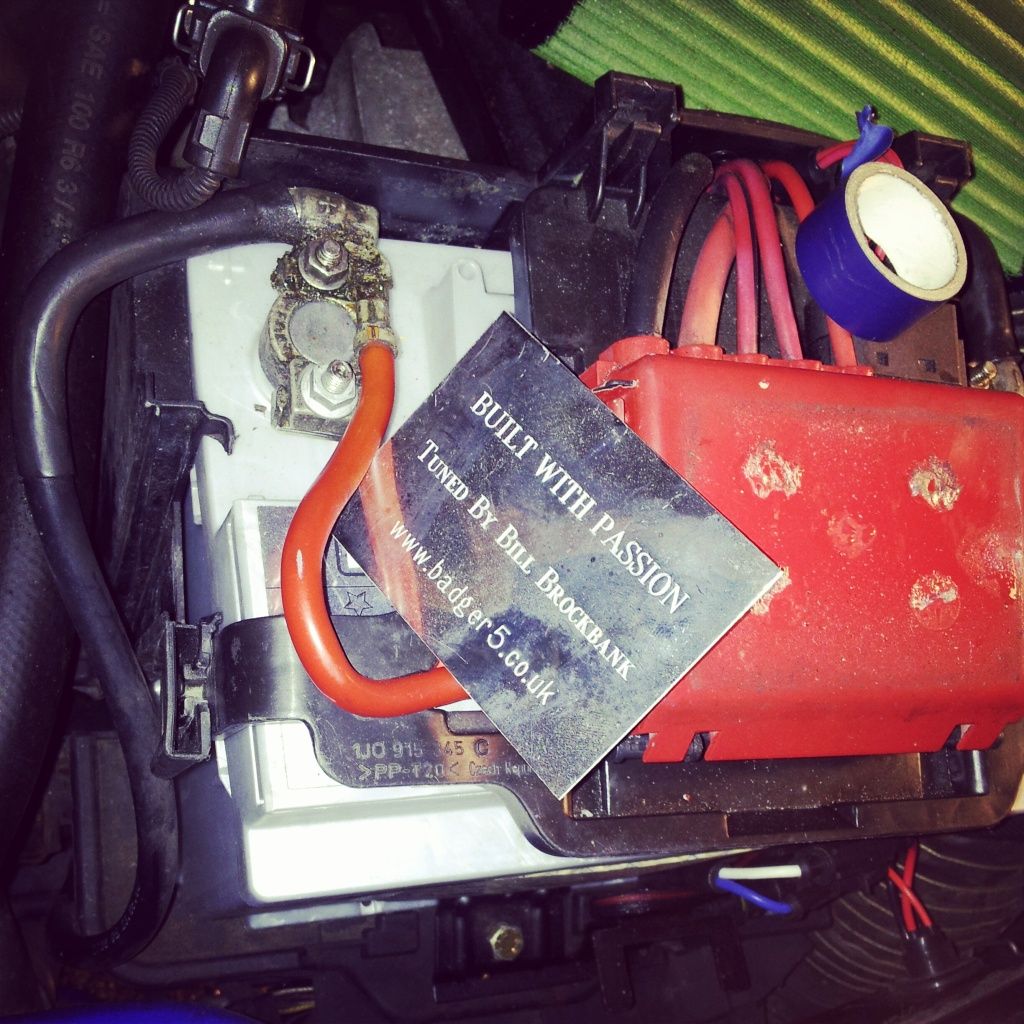
Part number for anyone interested

Gasketpartno.jpg


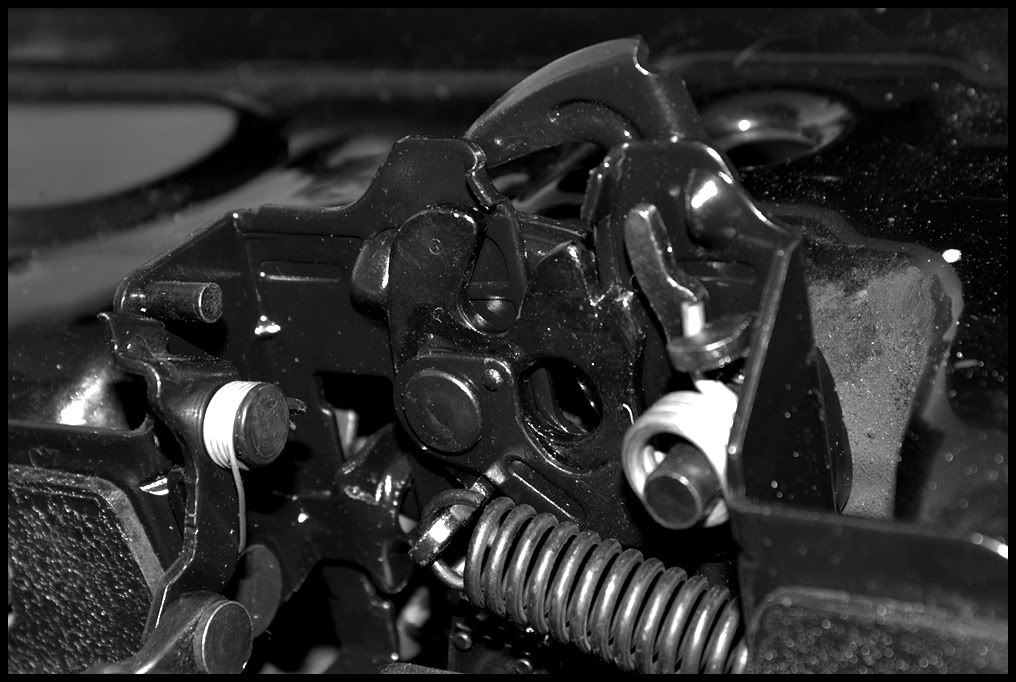
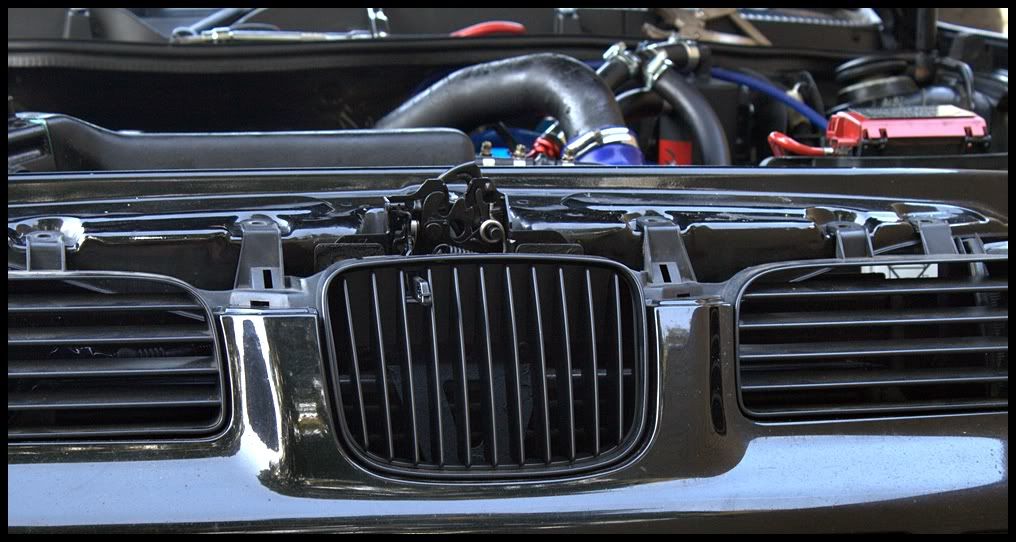
I then replaced the bonnet catch. For the first time in 6 months the bonnet now closes nicely

Bonnetcatchnew.jpg


I then replaced the grill as the badget was fecked and snapped with a badgeless grill

badglessgrill.jpg


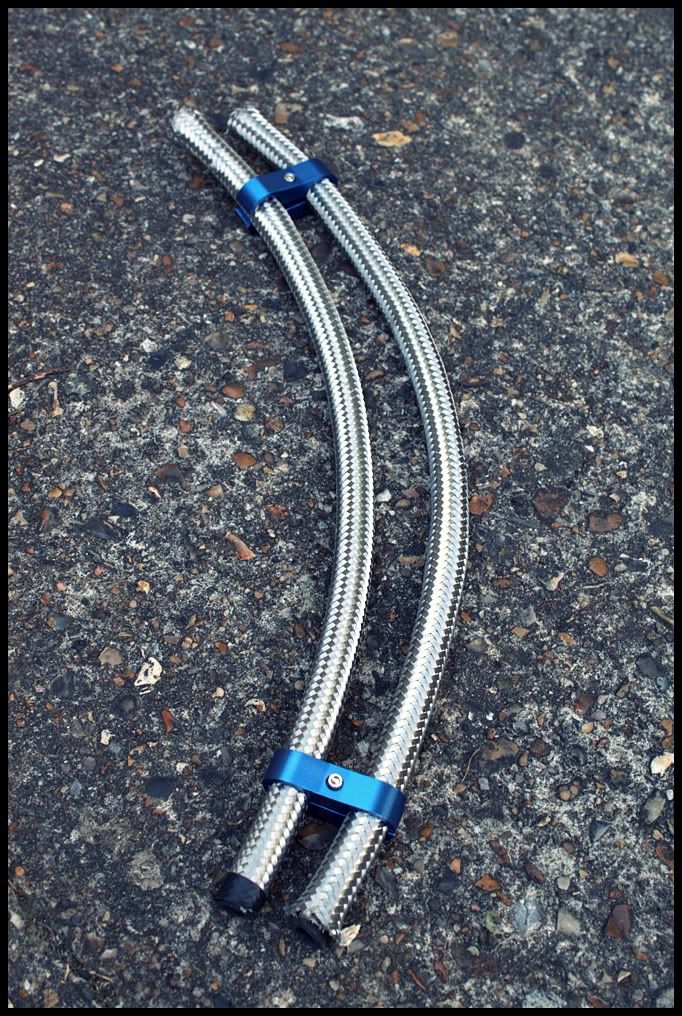
I bought some braided hosing to replace the old hosing, as well as two hose couples too keep them tidy. Here is the cut and ready

braidedhoses.jpg


I had some hose end tidiers, but on the old braided hoses they are much thinner and the new ones are much thicker, so these do not fit and I will have to order some new ones

hosetidier.jpg


I then got on with some more resistor crimping and tidying away the old cabling
 
Installed the new fuel lines

Braidedhosesfinished.jpg


Thought I would opt for a bit of colour and went for the green hose finishers

braidedhosefinisher.jpg


Just waiting on some piping from Forge, 90 degree pipe joiners so I can relocate the DV and thats pretty much it until next Friday....
 
so went out for a test drive and it was blody lucky I did really

just turning into my estate and I literally heard a "ping", then the car would not move at all. I first thought the brakes had jammed on.

Rung the AA, and I had already taken the wheel off etc, so a nice easy job for him, tools out and ready also for him

He diagnosed the issue quickly and the track rod had snapped clean from the ball joint. The car would not move because one wheel was going in one direction and the other wheel was going in a different direction. With a bit of muscle, the AA guy manually turning the wheel as I drove the car slowly we got her parked up

brokencupra.jpg
 
So I drove over to Nicks to pickup a set of lower arms and wheel hubs, top man! saves the car sitting on axle stands for months on end, and means its easier to do a straight swap when the time comes

How I got them:

IMG_20120816_222900.jpg


Spent an hour cleaning them tonight

de-greasing

lowerarm1.jpg


First scrub down with a wire brush and picking the old paint off with a screw driver, a bit to go yet

lowerarm2.jpg


These are going to need quite a bit of work to get like new again

hub1.jpg


Thanks to a few members off Edition today, they pointed out a 30% sale on euro car parts, so ordered two new lower ball joints and two new wheel bearings

Next up is to scrape all the sound deadening out of the leon, take the roof lining out and as much weight as possible....potentially the air con as well as that weighs a ton
 
Bought some of this today....not cheap but will make it easier and get the job done

IMG_20120818_113834.jpg


and here's a picture of her next to my mates R5 before she was SORN

IMG_20120812_131804.jpg
 
Been trying out the rust stuff today, it's actually really good, and has really stripped the rust off with very little work

lowerarmsprep2.jpg


lowerarmsprep.jpg


still some discoloration, but it has stripped the rust and some paint right back. I am going to leave it on over night, then clean it off tomorrow. Pretty much done and ready for painting then

lowerarmsprep3.jpg


This was one of the worst arms. A lot of rust has been stripped but still a way to go yet

IMG_20120819_155811.jpg
 
Last edited:
few bits arrived

IMG_20120825_121607.jpg


ordered some snow foam as well to clean the rear arches as I will be sealing these, shortly and ordered some butyl as well to sort out the leaky doors
 
suspensionarm1.jpg


Bought these from AKS Tuning as well, OEM+ coolant and washer caps in black, look awesome. One problem with spraying the washer cap is the paint cracks when you bend the fixing point back onto the bottle. This doesn't happen with this washer caps as the actual plastic is black

Coolant

coolantandwasher.jpg


Washer

coolantandwasher1.jpg


Snow foam turned up also, so I can prep the arches and sills and get sealing these before the cold properly sets in

snowfoam.jpg
 
Had a fairly productive evening tonight

Gave the arms a final coat of paint tonight, all done. Just need to drill out the bushes ready for the new polybush ones

Lowerarmsfinished.jpg


Then I got onto the black sound deadening, was quite therapeutic doing this actually

To the side of the footwell

SoundDeadening.jpg


Then the spare wheel well

SoundDeadening1.jpg


A good 5kg of this stuff already, and got the whole of the footwells to go which is very thick, so a good 15-20kg I reckon of weight to come

Got a shot of the engine bay, very dirty and bogging looking, nothing pretty about it

EngineBaymess.jpg
 
cracked on with working on the car.....now with nights drawing in quicker, back to working in the dark

MyGarage.jpg


Sound deadening removed from under the rear seats

RearSeatdeadening.jpg


Removed the drivers seat, and cracked on with removing more sound deadening

SoundDeadeningDuring.jpg


First half gone

FrontSeatSoundDeadening.jpg


frontandrearsounddeadening.jpg


full bag already of sound deadening, good 10kg's already

BagofSoundDeadening.jpg
 
Up in the air again

Intheair.jpg


Spot the difference and what is missing....

Spotthedifference.jpg


Dirty arch

Dirtyarch.jpg


Cleaned guard

Cleanedarch-1.jpg


During clean

ArchDuringClean.jpg


Spotted three spots of rust, so I am glad I started this job now

ArchRustSpots.jpg


Lower arms all done

FinishedLowerArms.jpg


Arch now sealed and left to dry

SealedArch.jpg
 
Last edited:
Decided to start tidying the interior up, and get rid of the old glue left over from the sound deadening

Before

Side%20Sound%20deadening%20before_zps32572aad.jpg


After

Side%20Sound%20deadening%20after_zps3e72181f.jpg


Rear patches tidied up

Boot%20sound%20deadening%20cleaned_zpsb0991551.jpg


spare wheel well (still a bit to sort)

Sound%20Deadening%20wheel%20well_zpse62245d3.jpg


Made a brief start on the drivers side

Before

Sound%20deadening%20drivers%20side%20after_zps888e5672.jpg


After

Sound%20deadening%20drivers%20side_zps17e98ac3.jpg


Roof lining, grab handles, interior lights and plastic side pillars removed

Roof%20lining%20removed_zps2c23c194.jpg
 
The car was absolutely full of water, I knew it had a leak but didn't realise it was this bad....and we have had some pretty torrential rain

Luckily I left some big cloths in there to soak up the water....I literally squeezed out two pints worth of water from them!

The water is pouring in from the pollen filter housing. I removed this last night, and the seals around the pollen filter were soaked. So I resealed these and I need to reseal the plastic cover against the windscreen, but ran out of sealant

Apologies for the poop quality

So the evening started off like this

IMG_20121010_203147.jpg


Pollen housing...minging

IMG_20121010_203328.jpg


Screwed seals around the pollen filter housing

IMG_20121010_203203.jpg


Now resealed, so hopefully this will hold out for a while. Doing the rest of the sealant tonight


I finally got round to sealing the last wheel arch.

During cleaning

IMG_20121010_200108.jpg


Sealed

IMG_20121010_214758.jpg


Next up is finally crack on with reconditioning the hubs, removing all the old sealant glue, relocate the battery and start to design my custom housing to enclose the air filter.....
 
Got most of the old glue off from the sound deadening

IMG_20121017_174315.jpg


Pulled off the passenger cover tonight...trying to find the source of the leak...and losing some more weight from the car

IMG_20121017_173507.jpg


Before
IMG_20121017_165639.jpg


After
IMG_20121017_165933.jpg


Before
IMG_20121017_165505.jpg


After
IMG_20121017_165556.jpg
 
Going to sand the paint down, fix the snapped stud in preparation for carbon dipping

Wheel arch refitted for the last arch which was sealed

IMG_20121024_200537.jpg


Finally got round to adding the last resistor to the removed SAI, so the error code stops coming up (Thanks to Mylo again for making this up for me)

IMG_20121024_210527.jpg


tidied it away since the pic.

Sorry Bill....but I have rebuilt it since

IMG_20121024_211321.jpg


Old Vs new pollen filter

IMG_20121024_212043.jpg


Hopefully sealed the leak...but still don't think I have properly, as yet again the cloths on the passenger floor were absolutely soaking
 
3" Downpipe and decat off Nick

IMG_20121105_203714.jpg


Silica Gel, to soak up the moisture, as still got a small leak, and water collects on the inside of the roof (no roof lining)...also with it sitting around so much it never gets warm to dry up the moisture, so this will have to do for the mean time

IMG_20121113_122416.jpg


First set of polybushes arrived also

IMG_20121115_115014.jpg