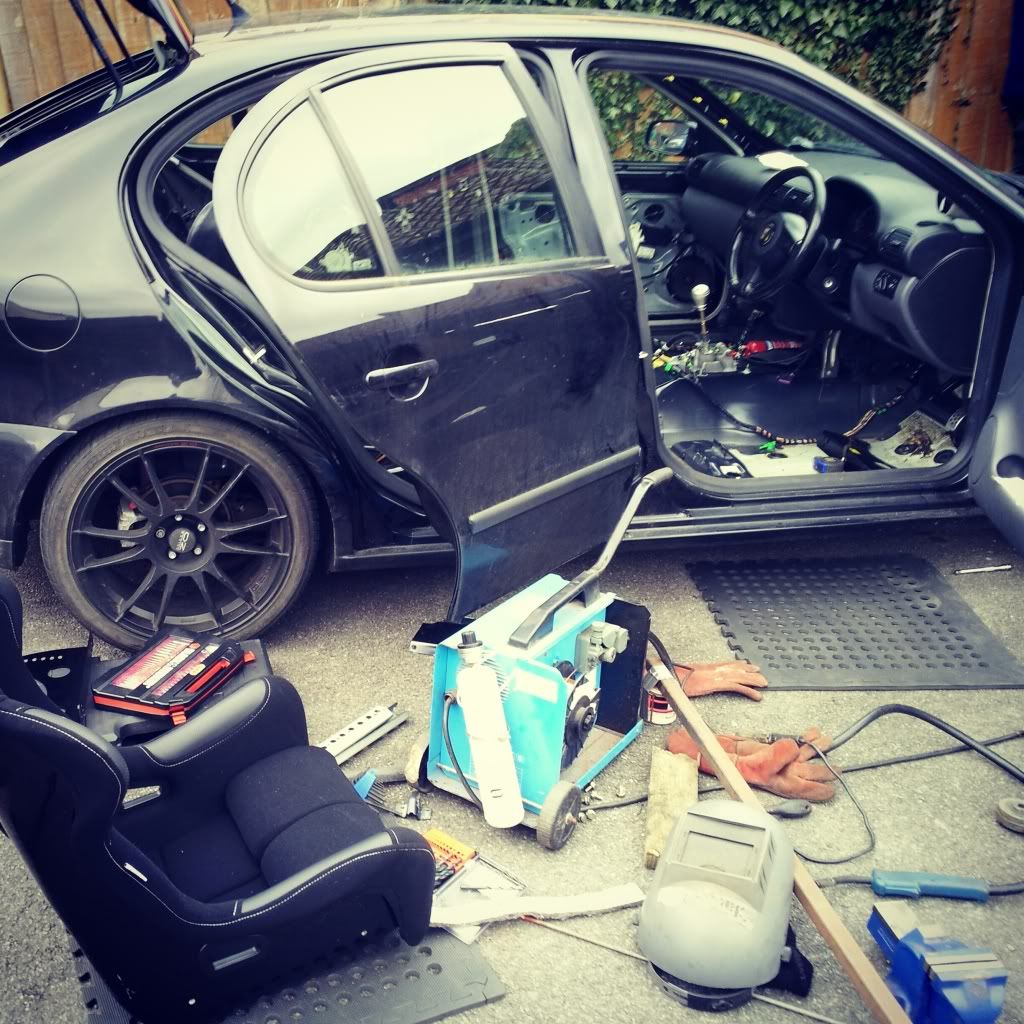
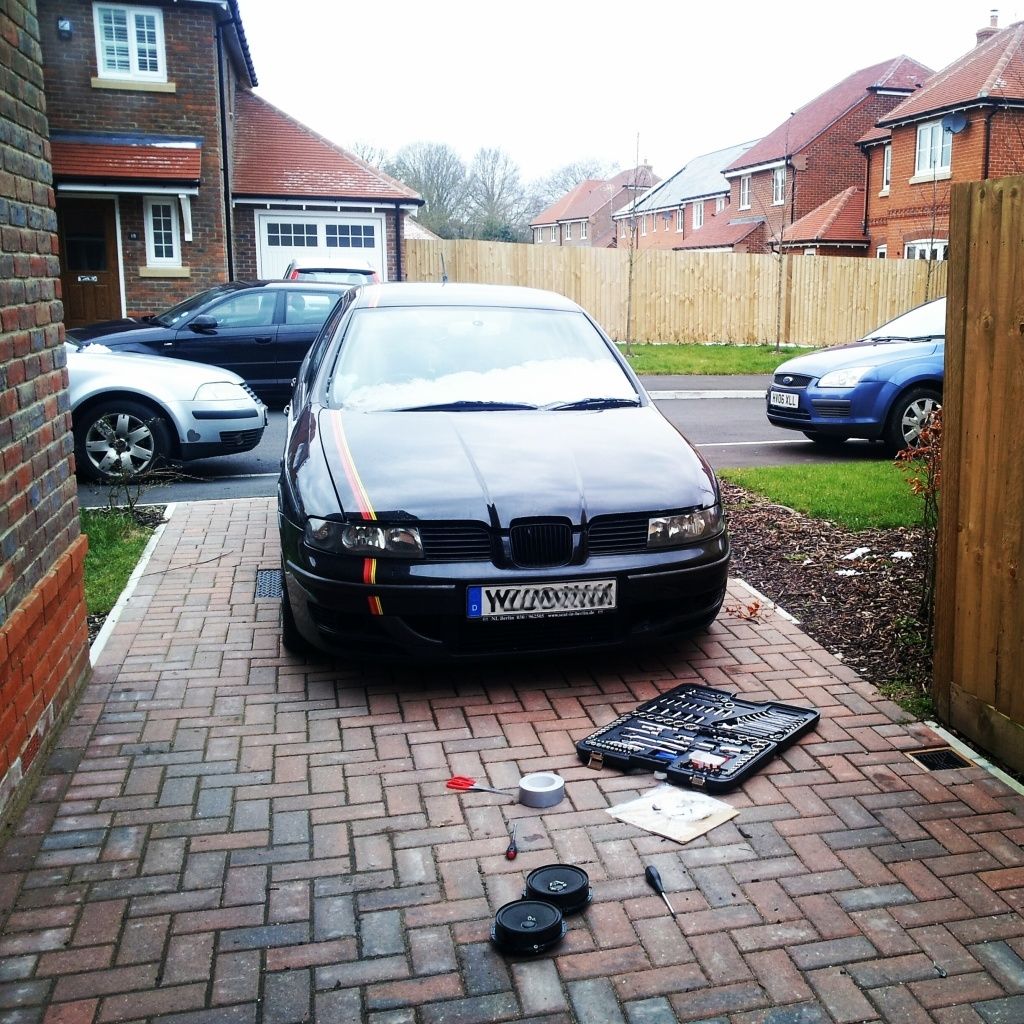
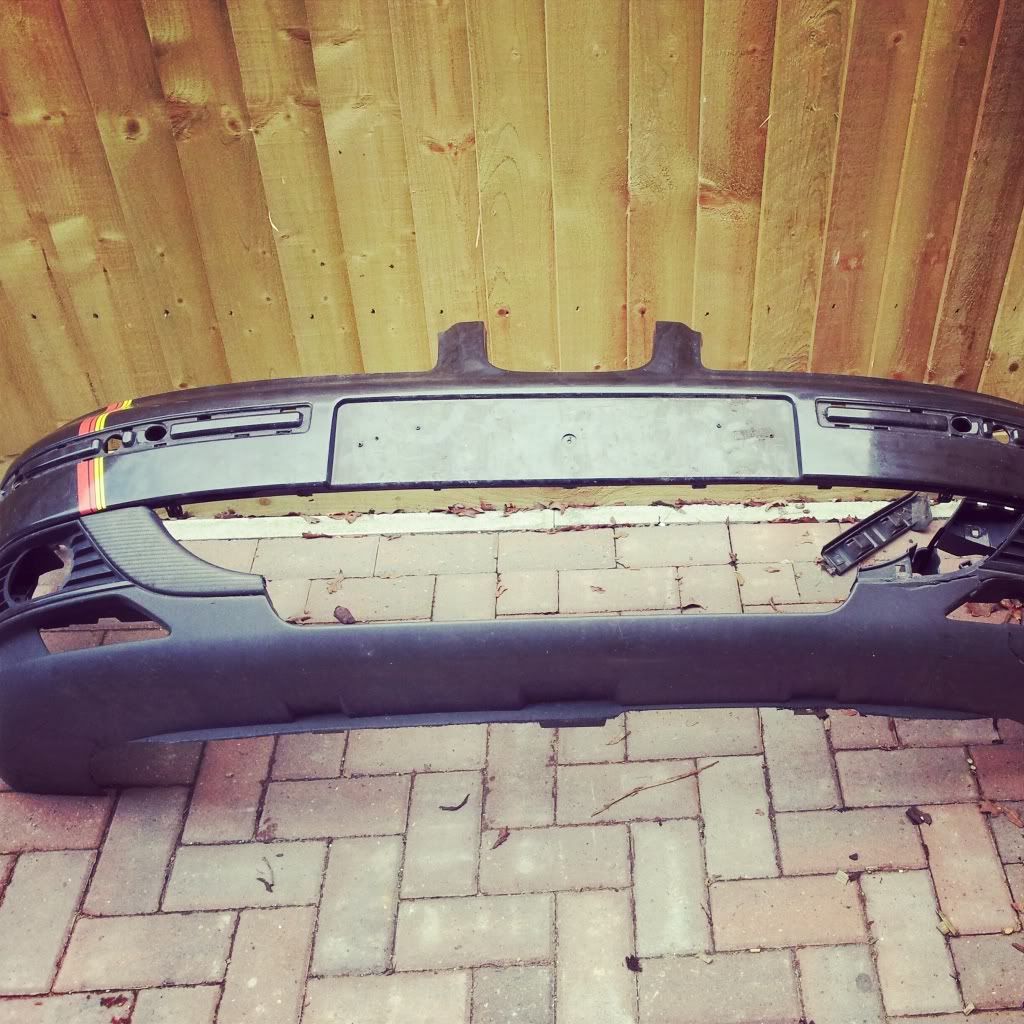
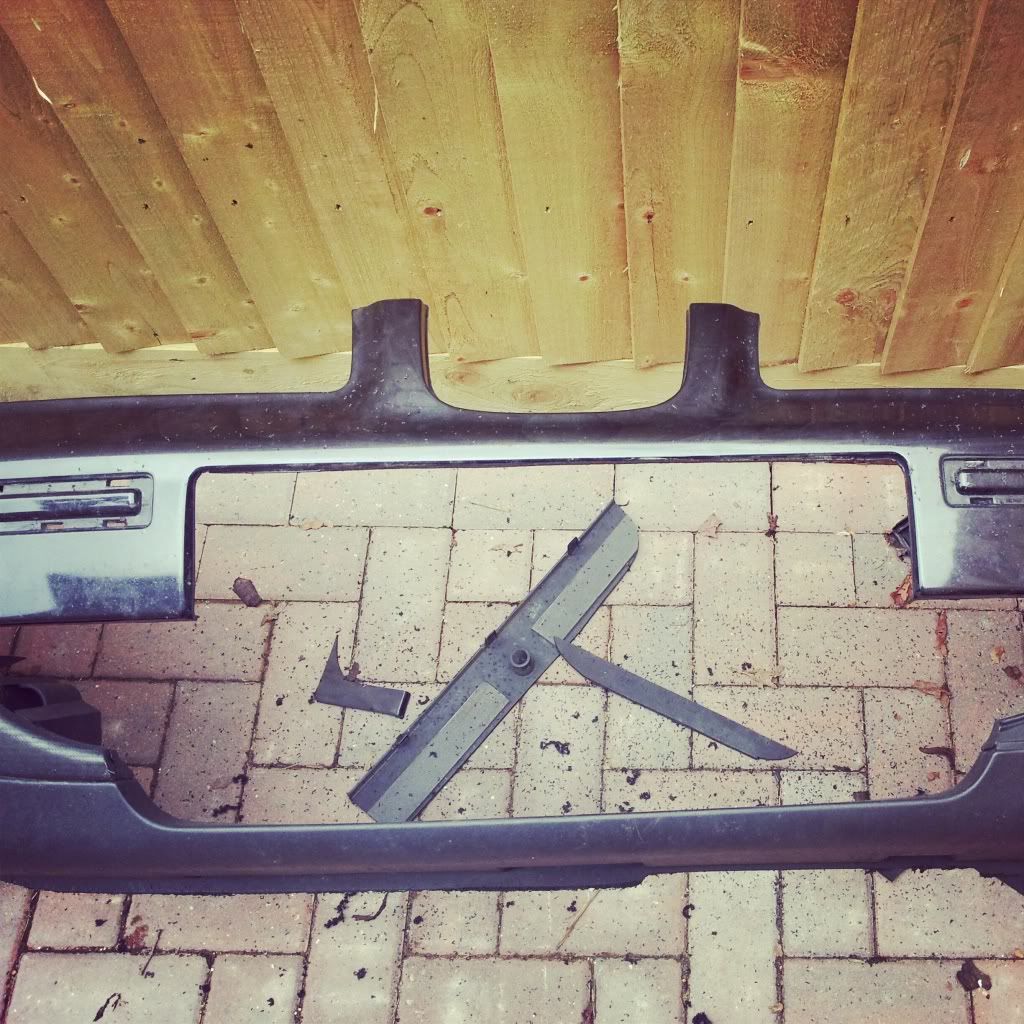
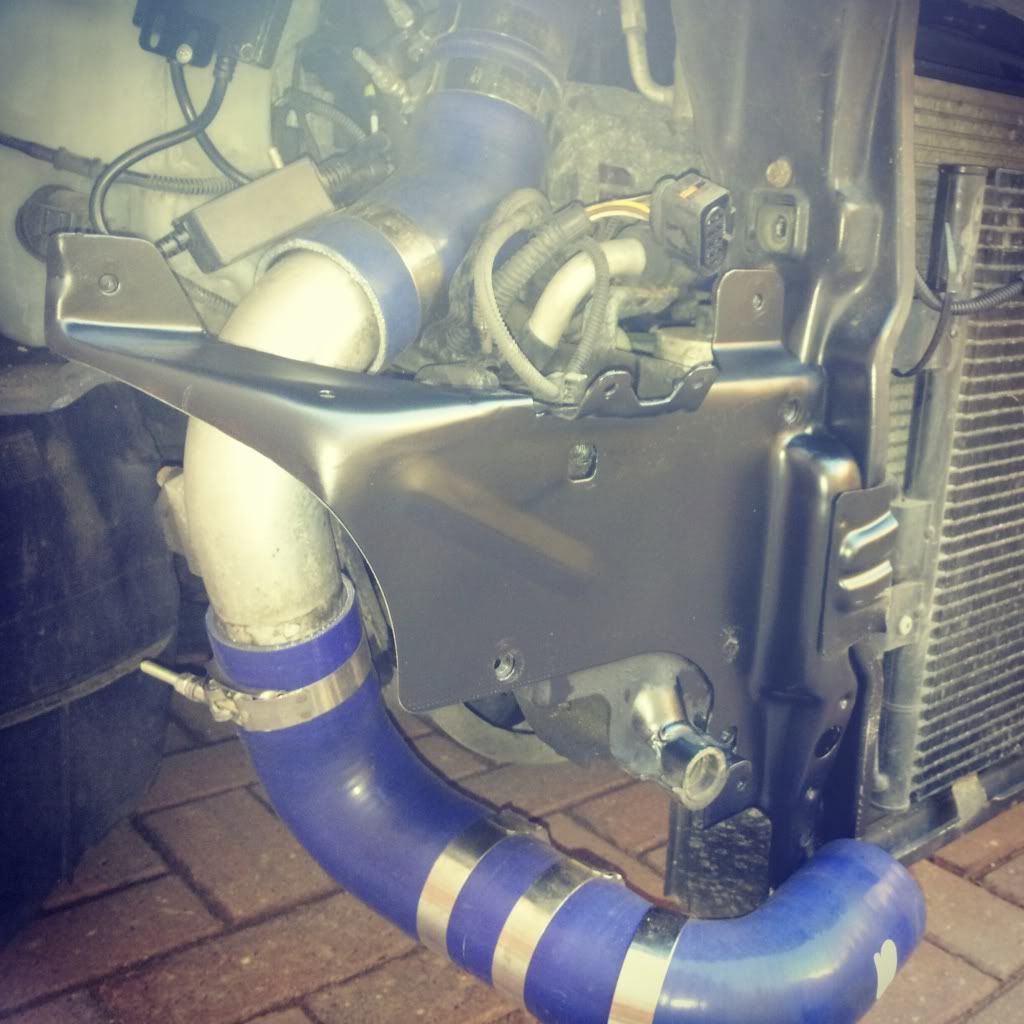
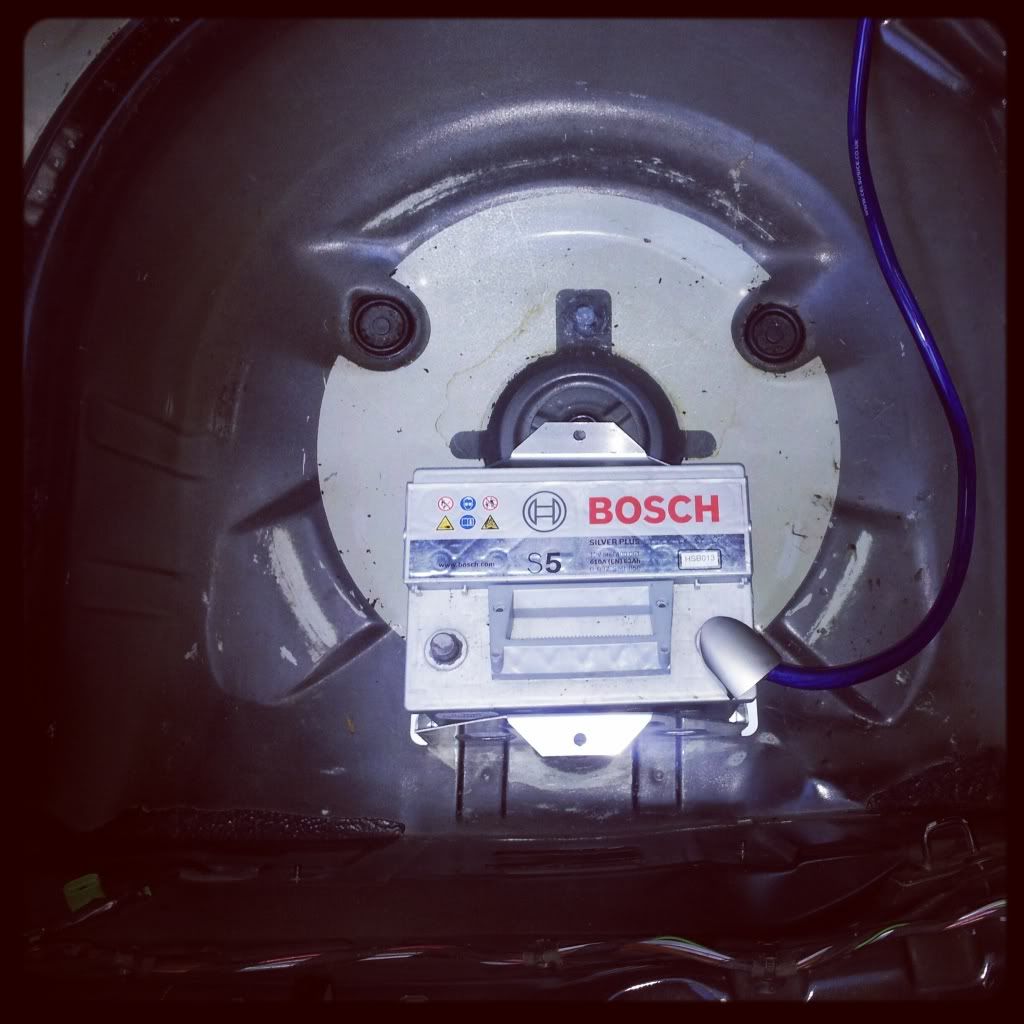
Determined to get my downpipe off ready for the 3" downpipe and decat....in the pouring bloody rain

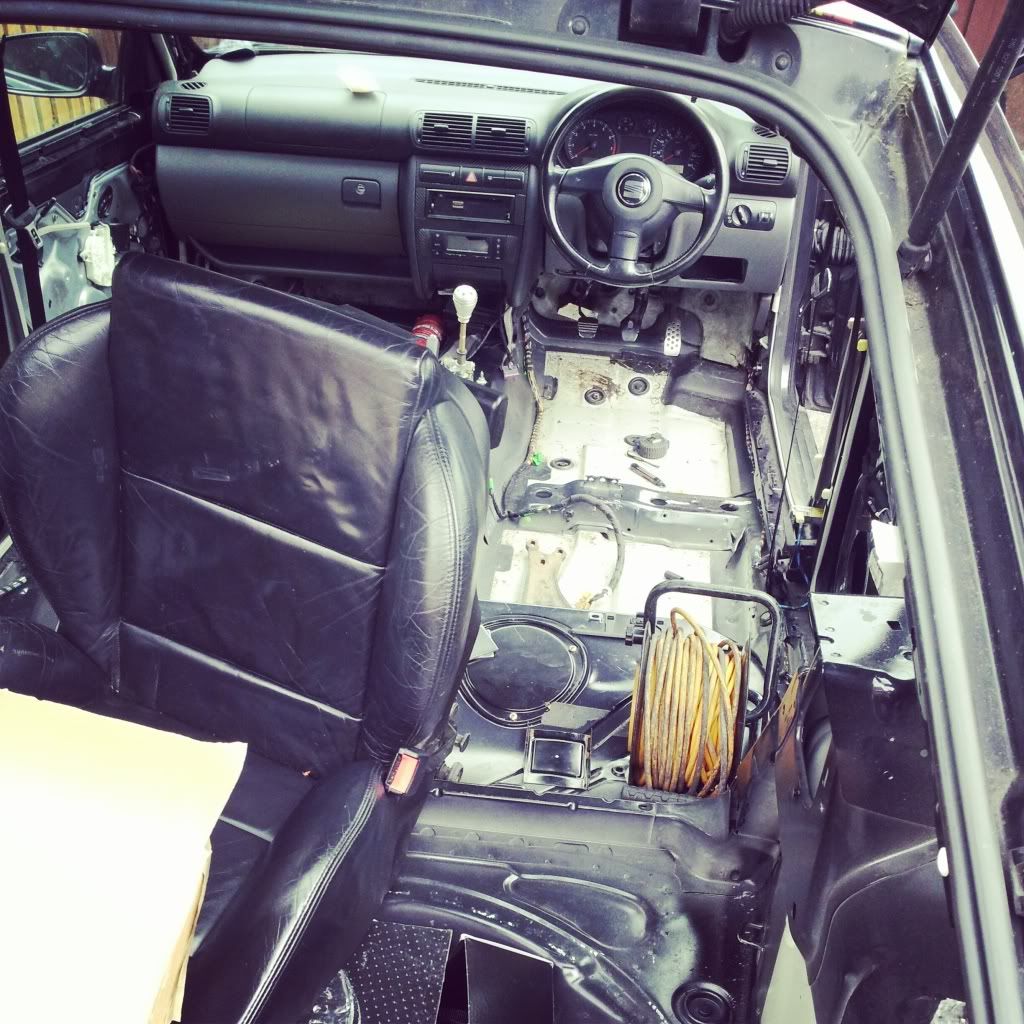
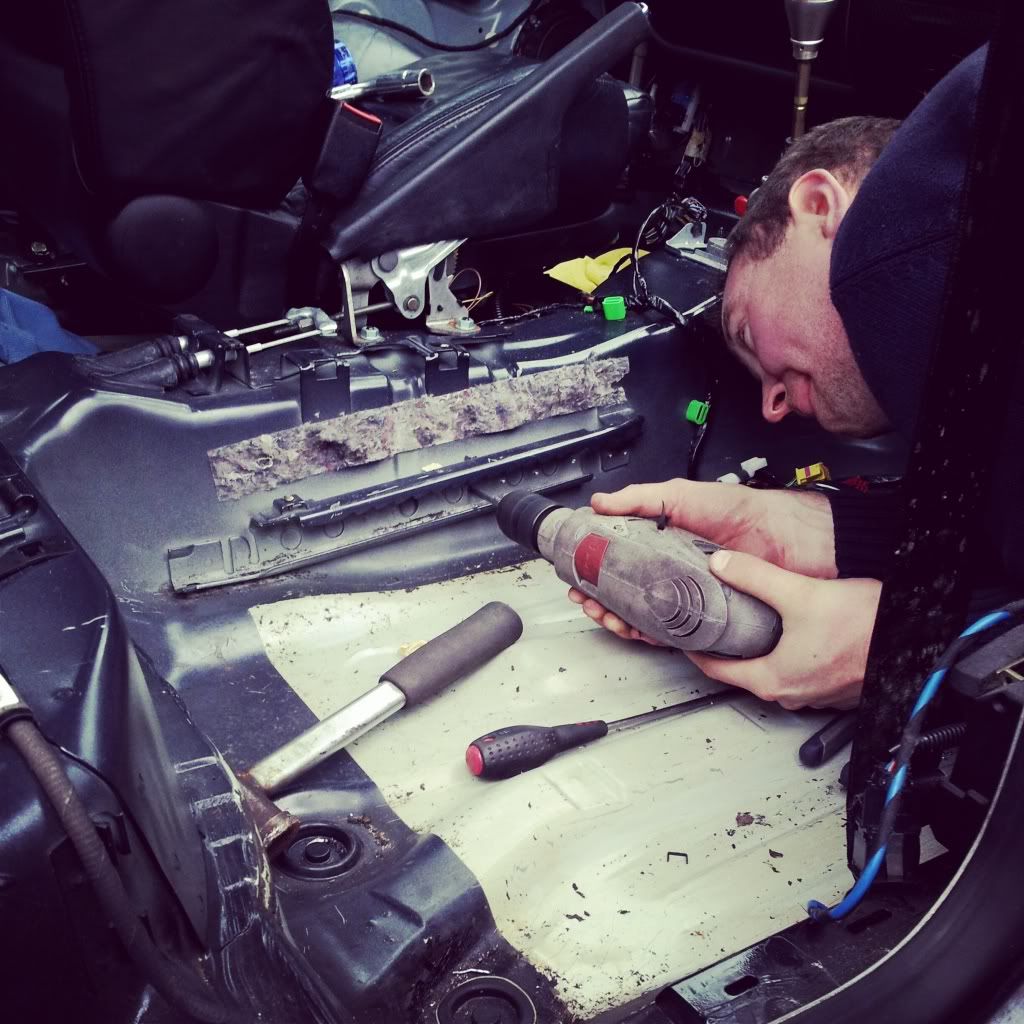
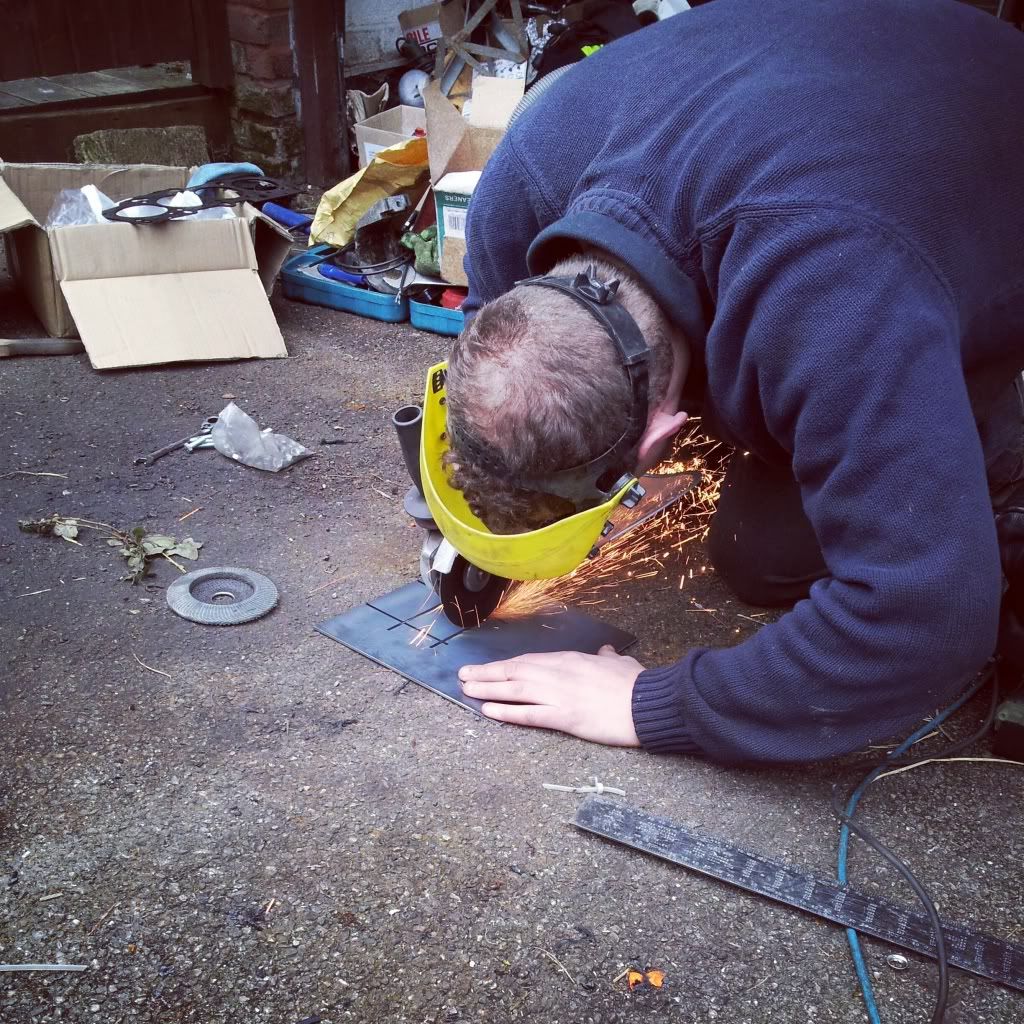
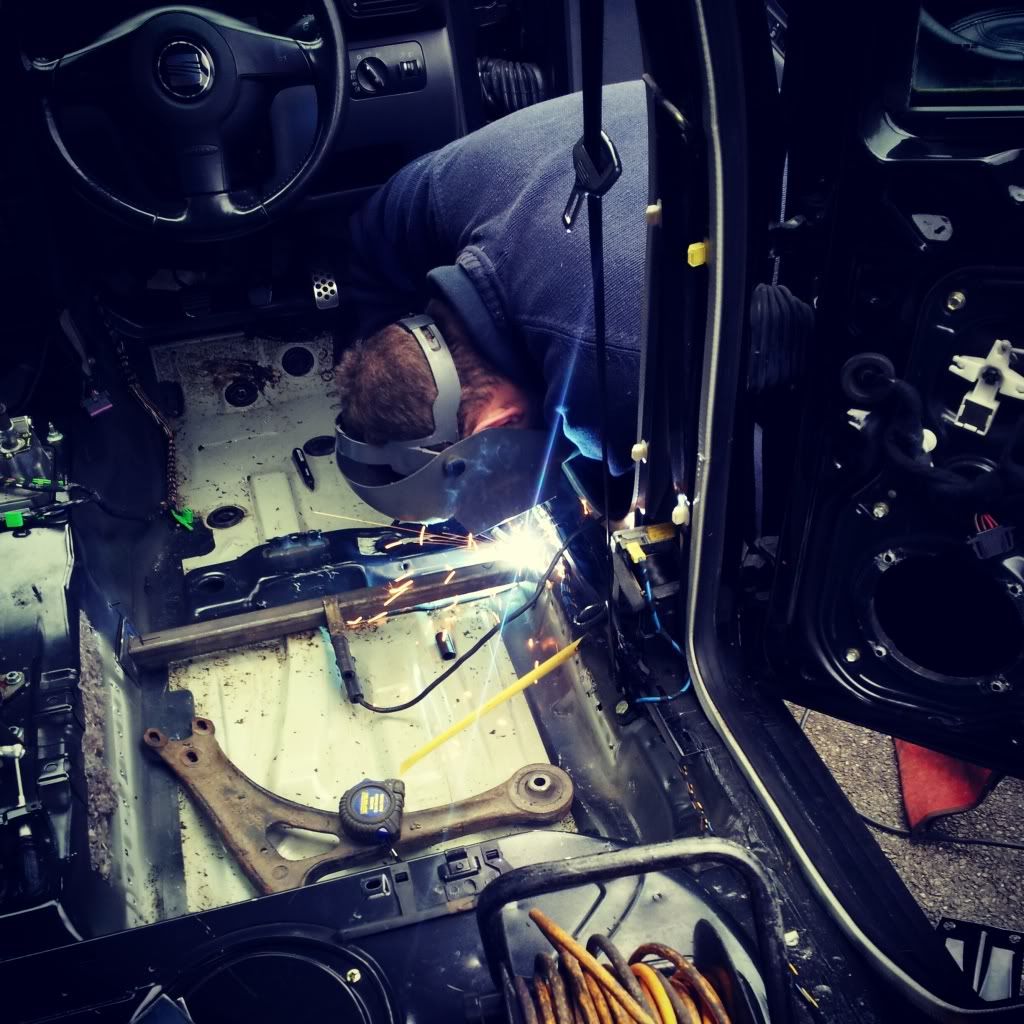
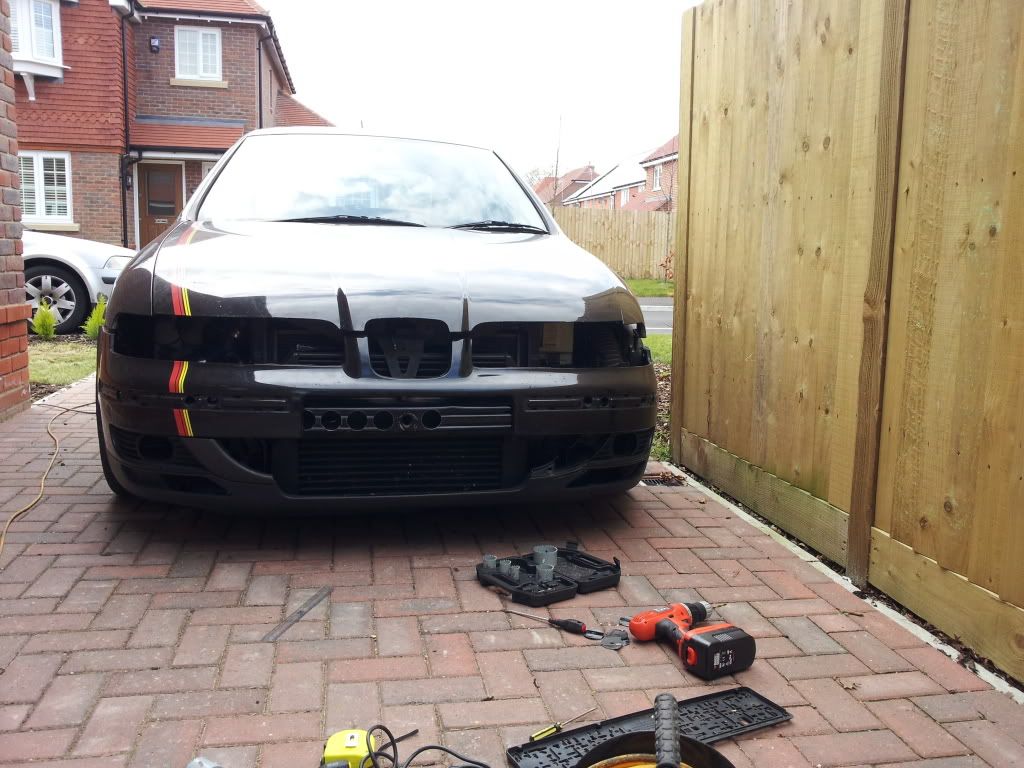
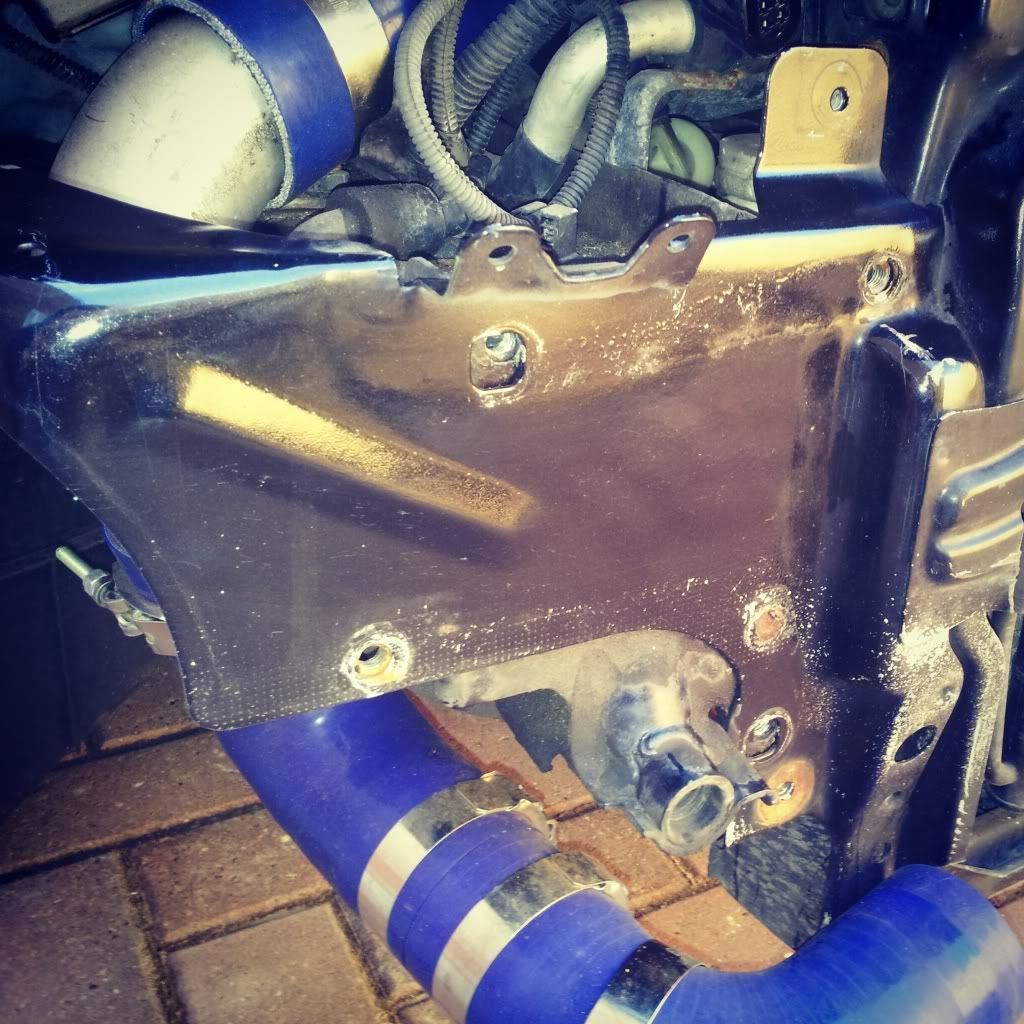
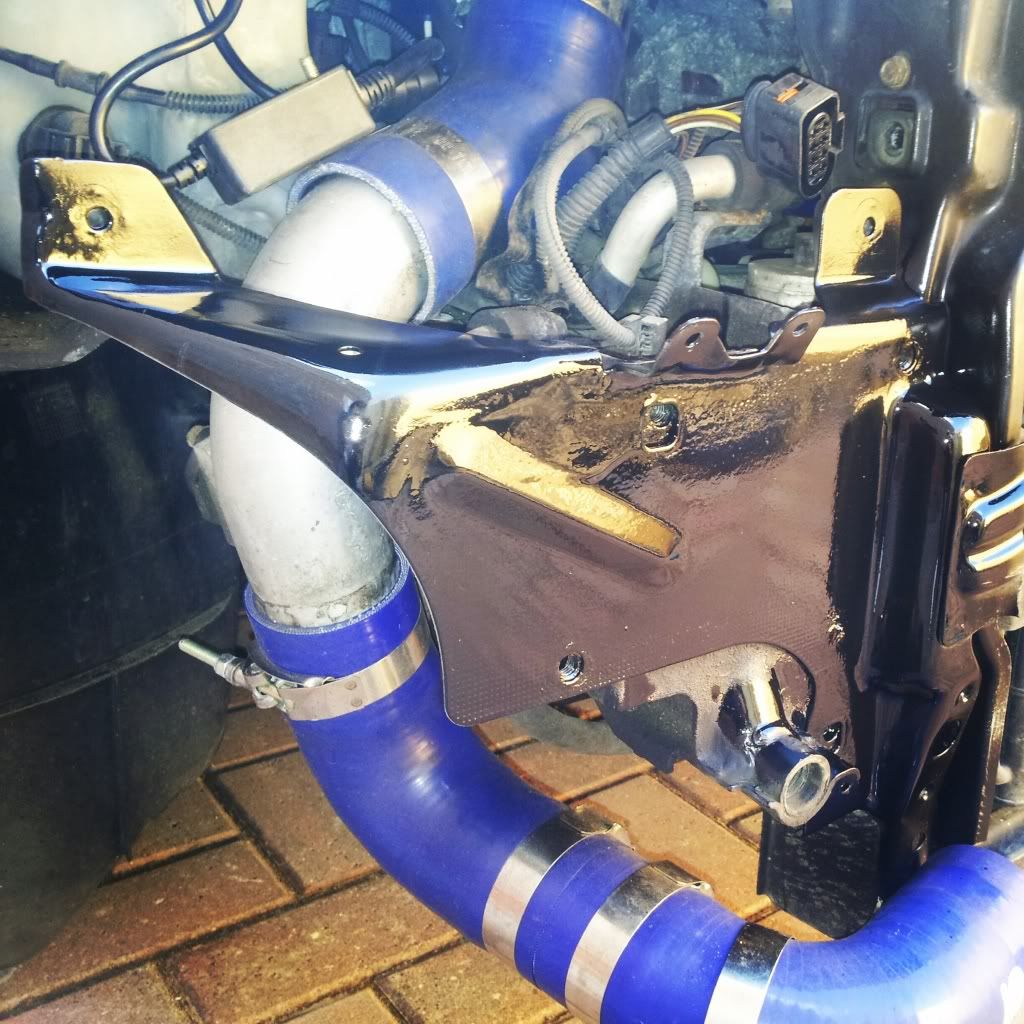
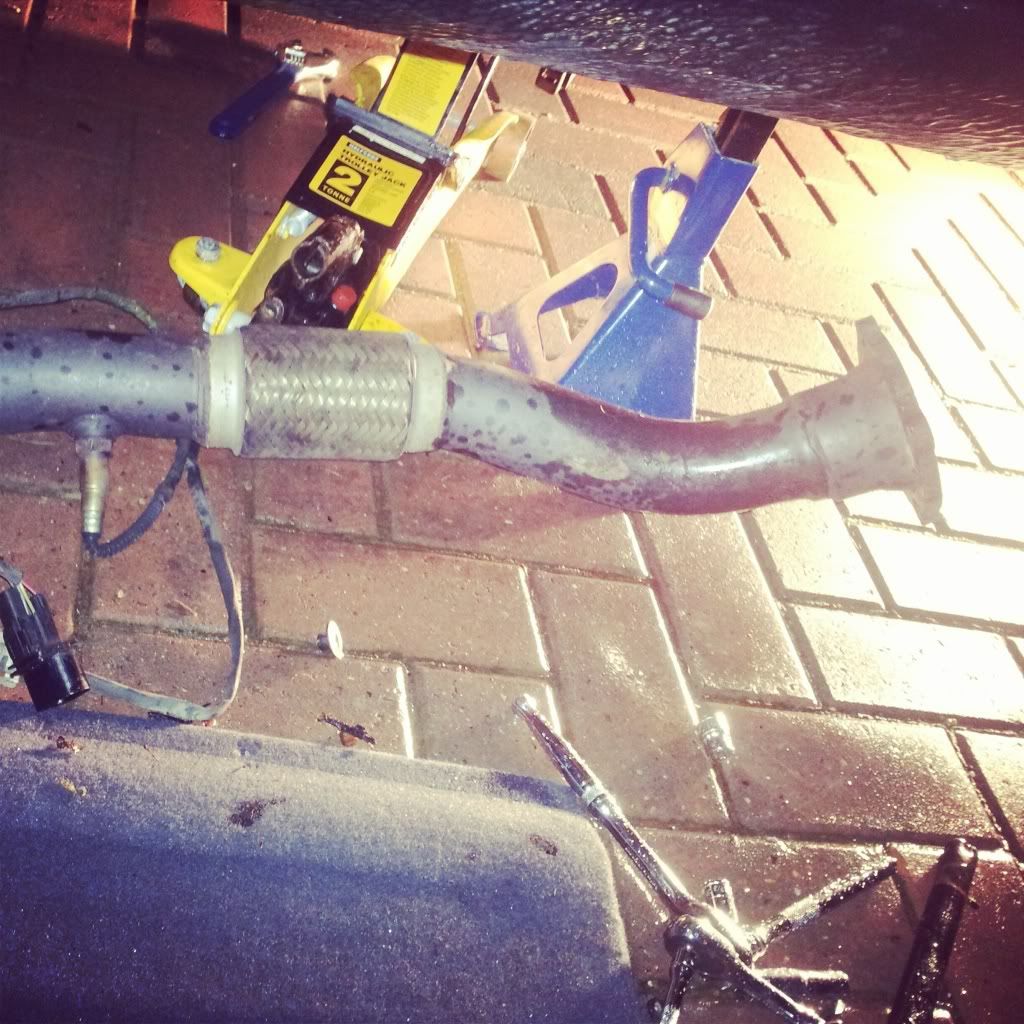
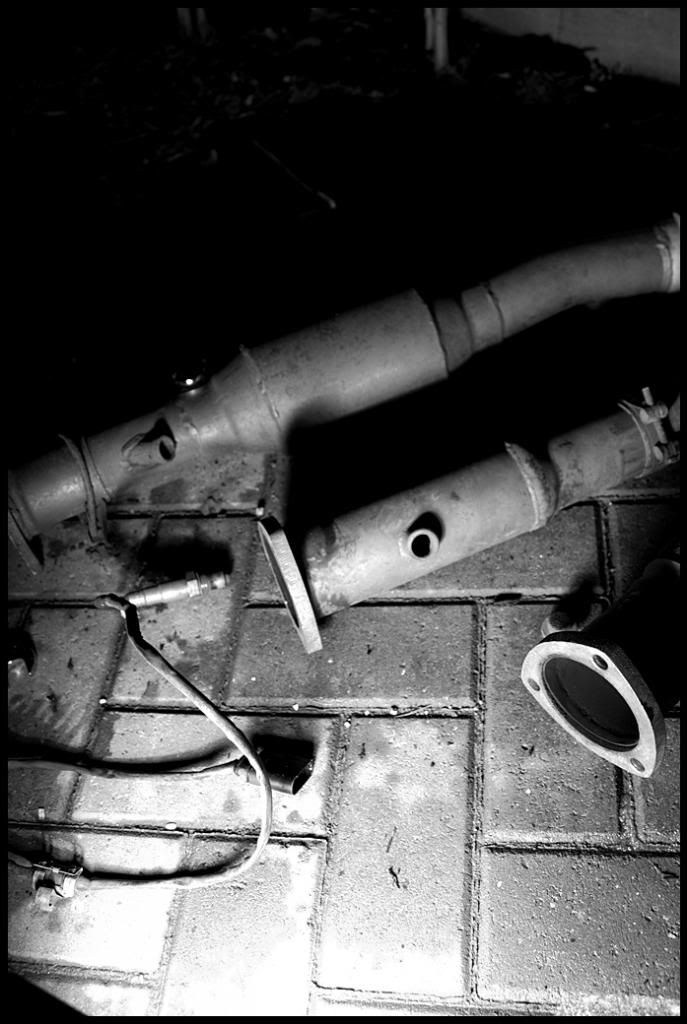
Downpipe off, not too difficult but made harder laying on the drive way

IMG_20130114_193407.jpg


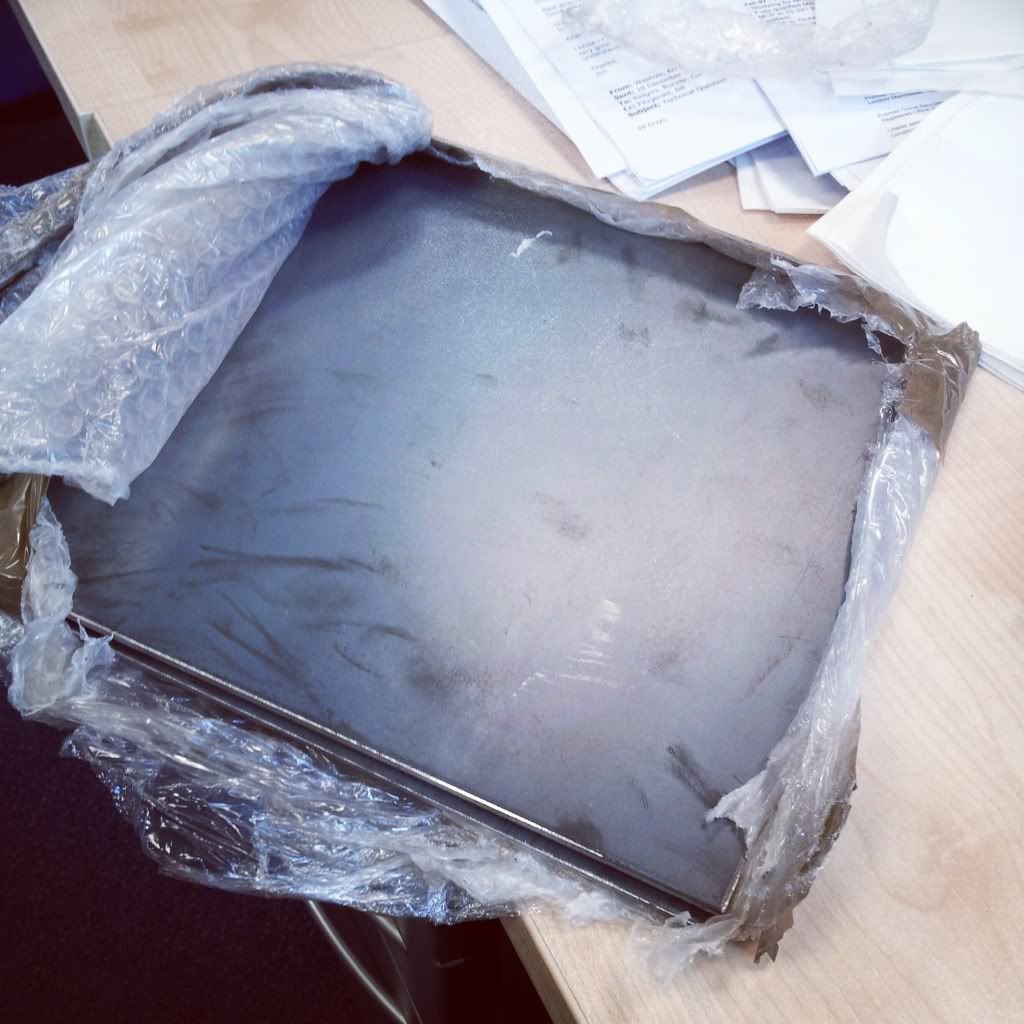
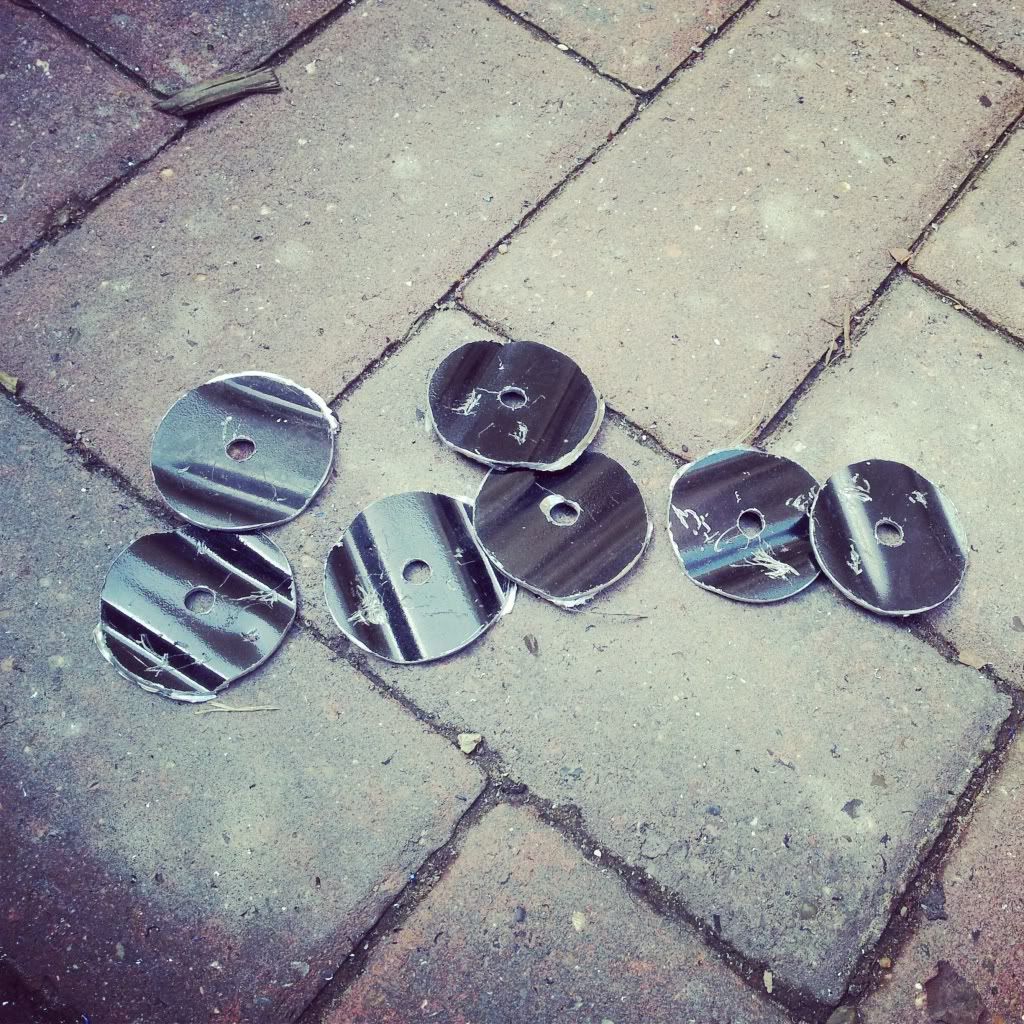
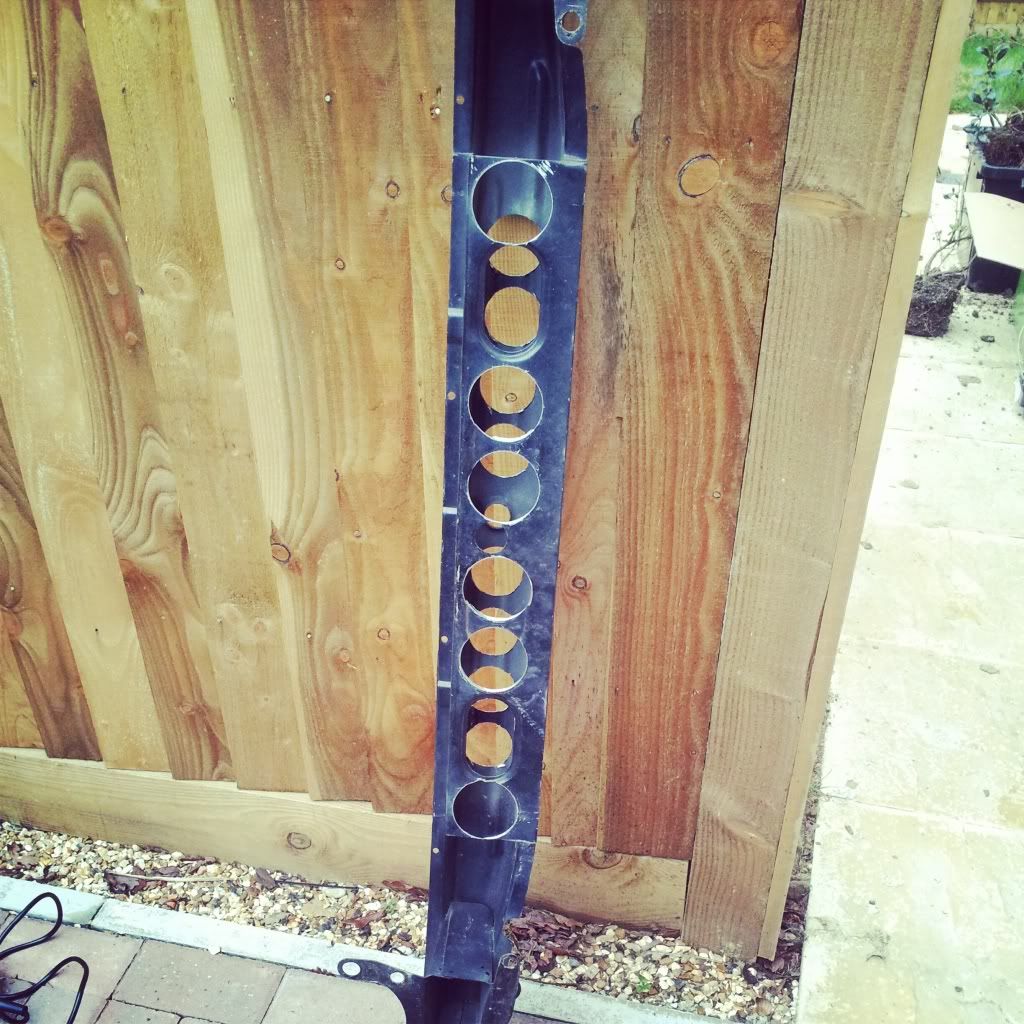
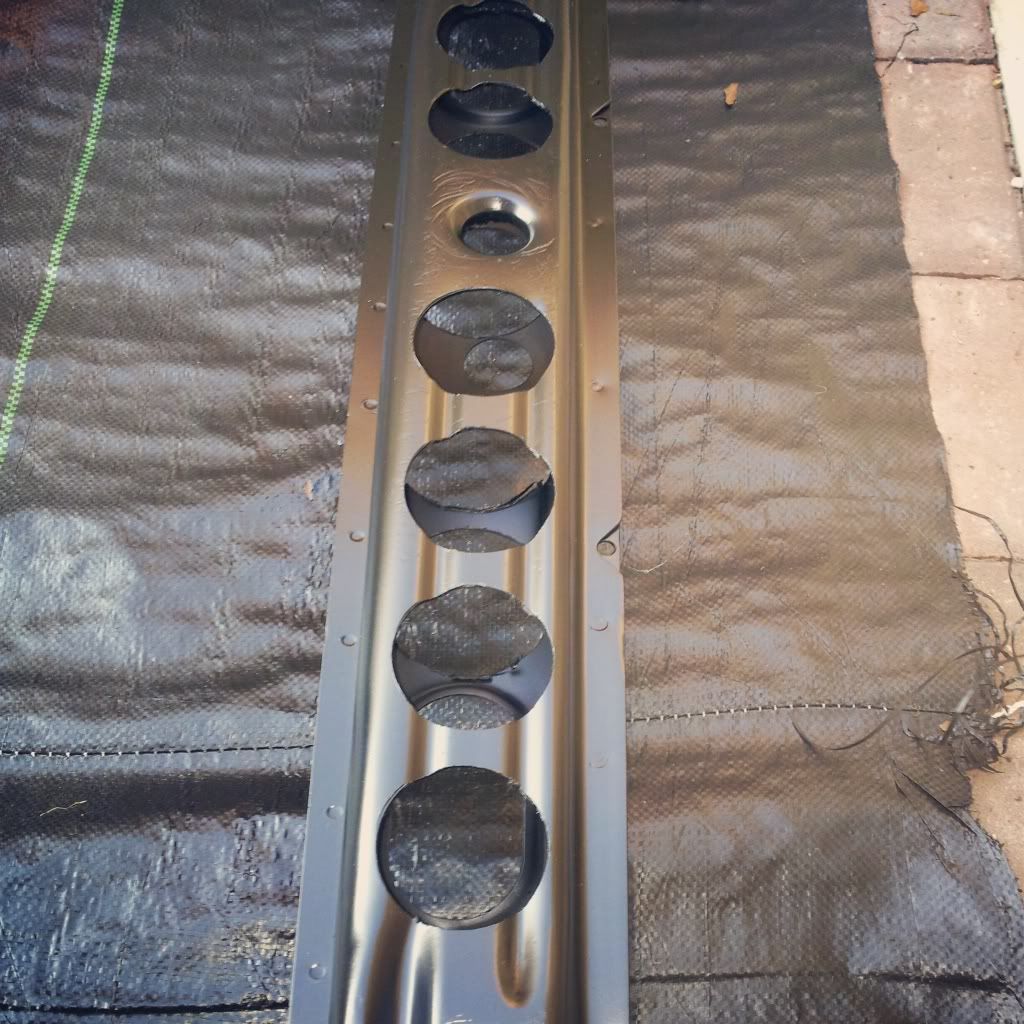
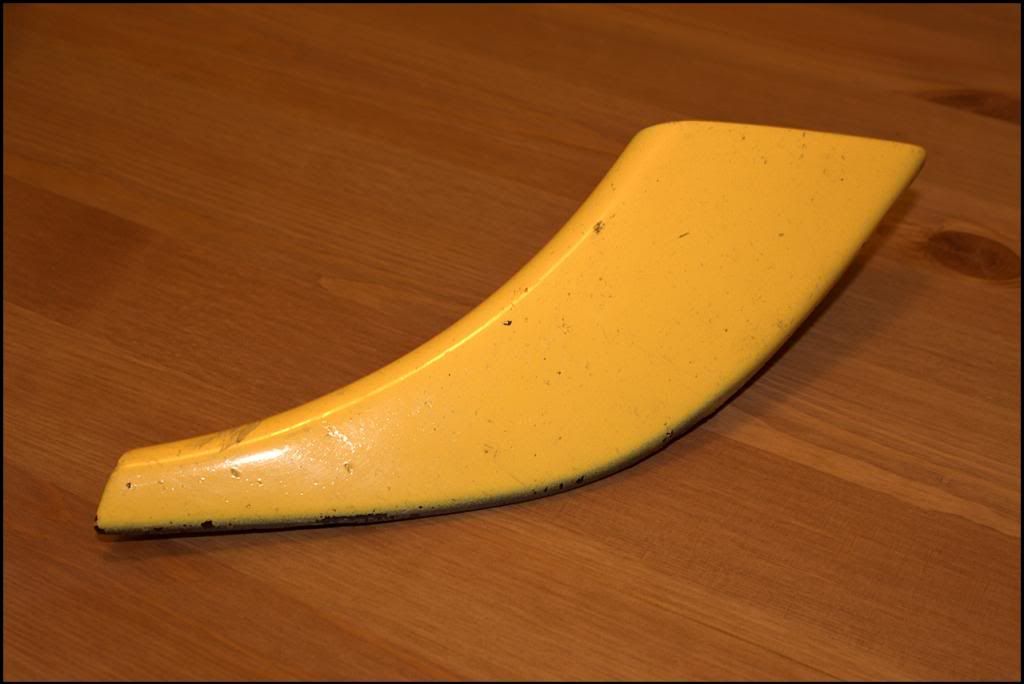
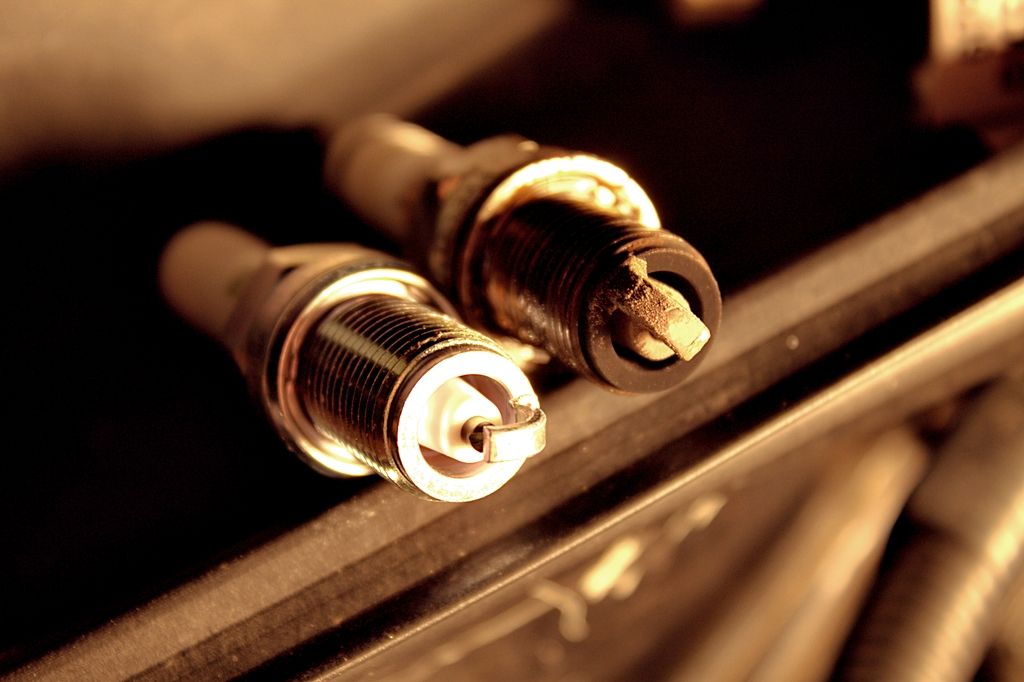
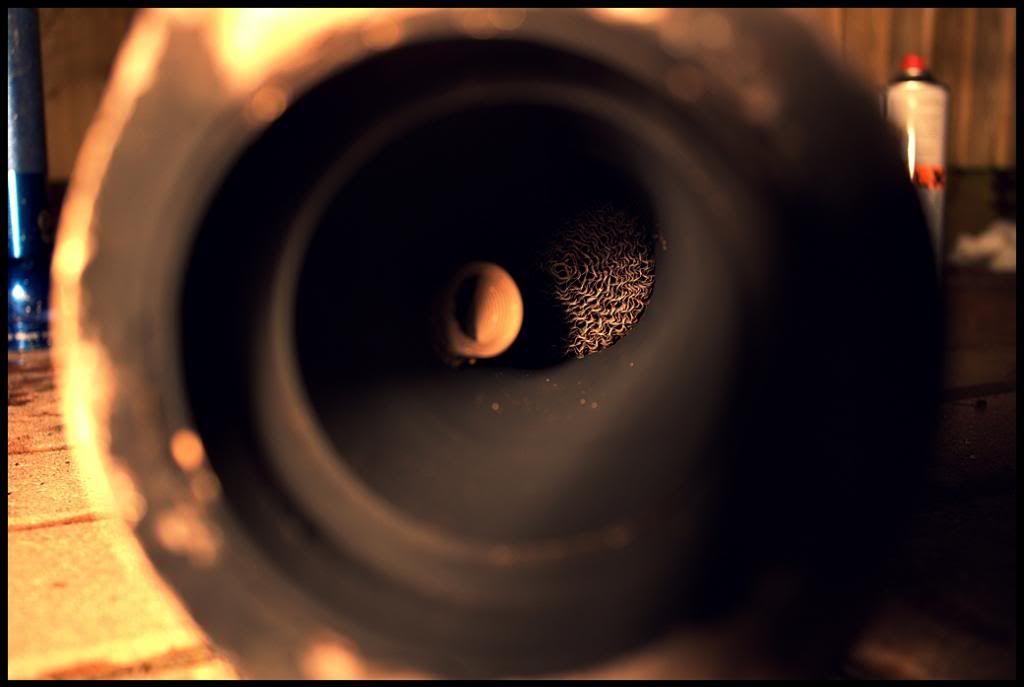
Spot the restriction. 3" DP vs the restrictive supposed updated downpipe from Blueflame which is measuring in at just over 2.2"
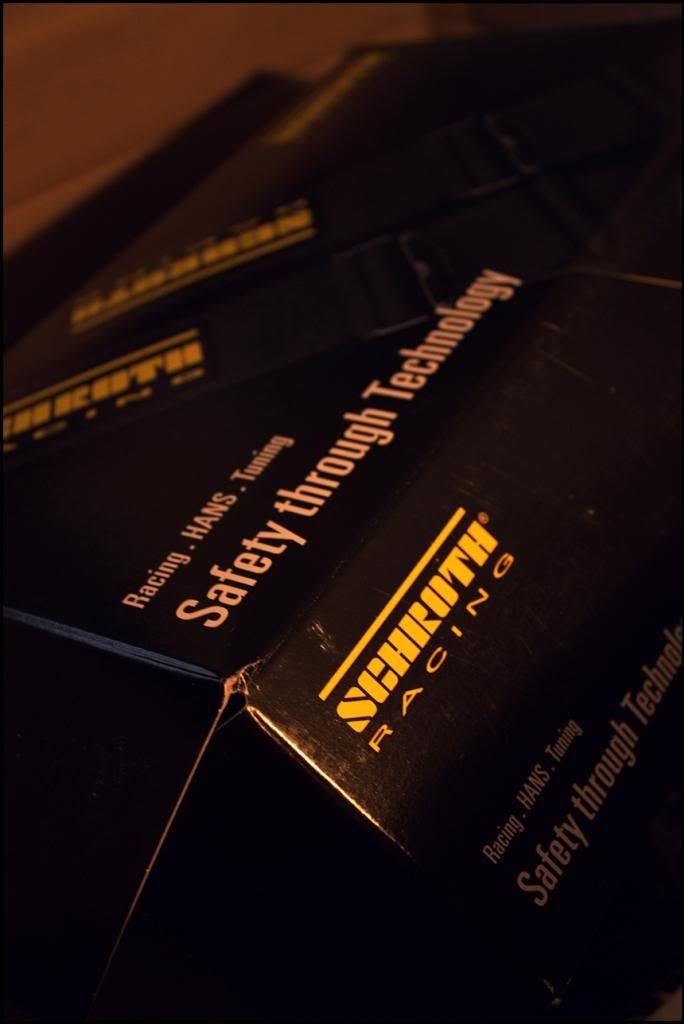
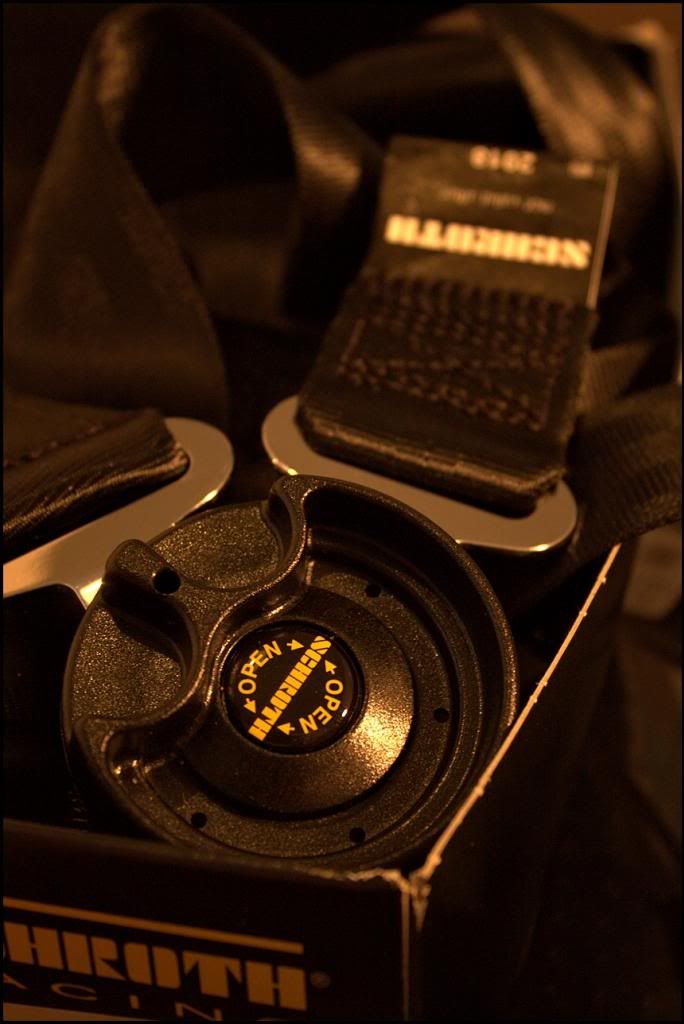
IMG_20130114_194027.jpg
 
So I got the spark plugs changed, which had not been changed since the turbo went pop.....they were very oily

Old Vs New

Spark1_zps8d0e2975.jpg


This was the plug nearest the turbo

oilyspark_zpsdb05bd24.jpg


Next was to pull out the sensors from the existing exhaust, but first I had to get this bolt out of the decat which was a pig...ended up putting the spanner and standing on it, which released it

DPBolt_zpsdfd66ef9.jpg


sensors out and then I put them in the 3" DP and decat....again standing on the spanner to undo the sensors!

DPBoltOff_zps1789a586.jpg


Then my outside light went pop!

Inside of the old cat as well

OldCat_zps8f00b029.jpg


Next will be getting the DP and decat on, and changing the fuel filter
 
Time to replace the rocker cover gasket and the valve cover gasket

Valve cover off, came off nice and easy too

Rockercoveroff_zpsea60c5f3.jpg


Bit of dried gunk on the 4th valve <!-- s:? -->:?<!-- s:? -->

oilyvalve_zps80e89bbe.jpg


This is the old valve cover gasket, the 4th one which was where the oiliest spark plug was....I couldn't notice any splits or particularly worn gasket

oldvalvegasket_zpsba427d87.jpg


newvalvecover_zps8a79039a.jpg


Fresh nuts also

freshnuts_zpsc83ad544.jpg


Now just the exhaust to go and tracking. angle grinding the fecking nut on Monday!
 
Stage one to losing some more weight out of the car, this turned up :)

Corbeau Pro Kevlar, weighing in at 8.6kg, compared a good 35kg+ for my leather electric seats. Only one at the moment as I couldn't afford two at the same time, so the second one will come later.

SchrothHarness_zps95ba07e5.jpg


SchrothHarness1_zps262fadda.jpg


Corbeau1-1_zpsfc9d2280.jpg


CorbeauBack_zps45e3f027.jpg


Other developments recently are my 3" Downpipe and decat are now on the car, and has made a big difference. You can really hear the turbo spooling even more now. Thanks to Nick.

Getting the seat fitted on the 10th March, then next up will be ordering my water meth kit
 
Box steel arrived ready for the bucket seat being mounted

IMG_20130301_125836_zps7cdc78f4.jpg


Relocating the battery

batterytray_zps9c73a456.jpg
 
Last edited:
Some very useful pics for me.... when I come to put mine back together! I'm so tempted to mod mine, but I bought it to save cash.... not spend more! Bah, this looks awesome.
 
Bucket seat was installed. Started at 9 and finished at 18:00.....for one Seat. I did not realise the amount of work that went into this, but wow.

Nick is an absolute legend, and his technical skills amazed me today.

Today started off like this, at Prawn HQ

IMG_20130310_102518_zpsd68014d4.jpg


Seat out

IMG_20130310_123838_zpsb0886961.jpg


Nick drilling out the welded OEM Seat rails

IMG_20130310_105426_zps6db3764c.jpg


Mess around the car

IMG_20130310_131715_zps9c2984d3.jpg


Nick cutting out the 3mm steel for the box steel to be welded too

IMG_20130310_112948_zps2f4d178d.jpg


Nick Tack welding the steel to the sides
IMG_20130310_125313_zpse0dac0b5.jpg


This was then removed, and sprayed up (to ensure this doesn't ever rust)

IMG_20130310_141800_zps9e9489be.jpg


All done

IMG_20130310_142615_zps0eb6188e.jpg


Welding bolt eye into place

IMG_20130310_150126_zpse2013841.jpg


Half done

IMG_20130310_150212_zps0e088f68.jpg


Lovely jubbly

IMG_20130310_150750_zps11cf1956.jpg


More Welding

IMG_20130310_155532_zpsdf063a35.jpg


Seat rails in

IMG_20130310_161951_zps4d7a01c2.jpg


Trial Mounting Seat

IMG_20130310_175802_zpsf4adaa74.jpg


AND fitted, sorry for the poor pic, but this was late, we were frozen beyond belief!

BucketSeat_zps0bf7697d.jpg
 
Ordered my water methanol kit, DVC30 progressive kit, with low level float warning and 4 quarts tank. This also comes with the sensor showing the pump is actually pumping to stop any issues with detonation etc which is pretty important!

dvc-na-stage-2a.jpg
 
Removed the spoiler and wing mirrors which are being wrapped in carbon

Removed the front bumper also as the headlights are getting tinted in laminex also.

Passenger side mirror off and glass taken out. This was a pain in the ass as one of the bolts had corroded so had to be drilled out.

IMG_20130324_161351_zps7d9a2ba2.jpg


Spoiler removed

IMG_20130324_172644_zps0d979f41.jpg


Ready to be sent off

IMG_20130324_172359_zpsbf11caf9.jpg


Finally removed the passenger door speaker, and removed the drivers door speaker also

IMG_20130324_161430_zpsbb3c3319.jpg


Cleaned up the area where the spoiler was, as it was minging

IMG_20130324_171621_zps6293de33.jpg
 
Took the gauges out of the old Audi mounting brackets and trial fitted them

Perfect fit

Gauges_zps4157a1d8.jpg


Notice how the fittings are slanted also, so they point towards the driver :D

Gauges1_zps23b34c77.jpg


Got myself a Makita angle grinder as well, as I need to cut up some steel plates to hold the alloy battery cage in and start making my custom heat shield

Makita_zpsf5ea26ae.jpg


Makita1_zps6f32abac.jpg


Also sent off the spoiler, wing mirrors and headlights off to GStar wraps today to get wrapped http://www.gstarwraps.com/
 
Last edited:
plan today was to get some more airflow to the FMIC

Bumper

IMG_20130331_132500_zps89630a4d.jpg


Half cut out

IMG_20130331_133219_zps30f91a3a.jpg


Done

IMG_20130331_134258_zps296914fc.jpg


I tidied it up a little bit after this as well

hanging on after drilling the crash bar a bit as well, as you can see its quite a bit more flow to the FMIC with the number plate cut out

IMG_20130331_145517_zps415df264.jpg


Bits cut out

IMG_20130331_150513_zps908efd0f.jpg


Cut out.....actually looks wonky the holes cut but that's because parts of the bumper are sunken

IMG_20130331_152927_zps51f89d54.jpg


Took it off and drilled the back with a larger hole saw to maximise flow

IMG_20130331_163135_zps6d8df997.jpg


Naked again

IMG_20130331_171534_zpsea7cc22f.jpg
 
Tidied up the crash bar and finished off spraying it

IMG_20130401_175645_zps6cea0783.jpg


Decided to clean up the points where the crash bar mounts to

Before
IMG_20130401_172521_zps04cb857f.jpg


Sprayed

IMG_20130401_172726_zpsa9cbf0a1.jpg


Dried and done

IMG_20130401_175955_zps2d5042f4.jpg
 
3m carbon arrived to finally do the missing bumper cover

In yellow, but that doesn't matter

bumpercover_zpsd8c205d4.jpg


Carbon covered

bumpercover1_zpsdbdb6923.jpg


Parts have arrived for the gauges today

oil pressure sender

oilpressuresender_zpsf66497f8.jpg


Sump plug and sump plug oil temperature sensor

Gaugeparts_zps3c56825c.jpg


Gaugeparts1_zpsd51dbefa.jpg


and my bits are ready from GStar wraps....SUPER excited about these :D

Massive thanks to them. They can be found by searching for GStar wraps or www.gstarwraps.com

spoilerlightsmirrors_zps20136e7f.jpg
 
Last edited:
Few bits arrived for the car. Some of the cars performance issues is related to the stat and temp sensor as these are bringing the engine management light on, and this can really affect fueling etc.

This figures because the mpg I get is piss poor even when coasting off boost and is effecting power top end as I don't think it can work out fueling correctly. Either running lean or rich

Stat
Stat_zpsb774f55d.jpg


Temp sensor
tempsensor_zps923ecef7.jpg


Boss to be welded into the metal intake pipe for my water methanol injection

WMIBoss_zpsf2bfb7a1.jpg


More updates to follow this Friday when it gets put back together :)
 
Battery relocation is a work in progress at the moment

cut the brackets to pin the battery cage down. The lips on the end of the battery cage were to narrow and too thin to put bolts put through them, so I cut my 3mm steel left over

cut and drilled the ends

IMG_20130411_184404_zps7b843f96.jpg
[/URL]

Started spraying them up, and the other black bracket is the top which goes over the top of the battery in the cage. The cage is too bling for my liking to its getting sprayed satin black also


IMG_20130411_192647_zps9ffb44ba.jpg


Trial mounted in the boot. You can just see the ends of the battery cage where they are too thin, so the metal bars will be clamping this down.

IMG_20130411_193630_zps980acf70.jpg


I'm going to spray the white patch in the spare wheel well also at the weekend.

Then all I have to do is drill the foot well and bolt it down, fit the negative cable then that's job done and I can start on the supersize TIP.