
-
Hey Guest👍👎 We're looking for reviews of your local CUPRA or SEAT Dealership - it's quick and easy to do: Leave a review now
Leon - 29/08/13 Poly Resin, Adjustable top mounts, Canards....
- Thread starter deutsch
- Start date
You are using an out of date browser. It may not display this or other websites correctly.
You should upgrade or use an alternative browser.
You should upgrade or use an alternative browser.
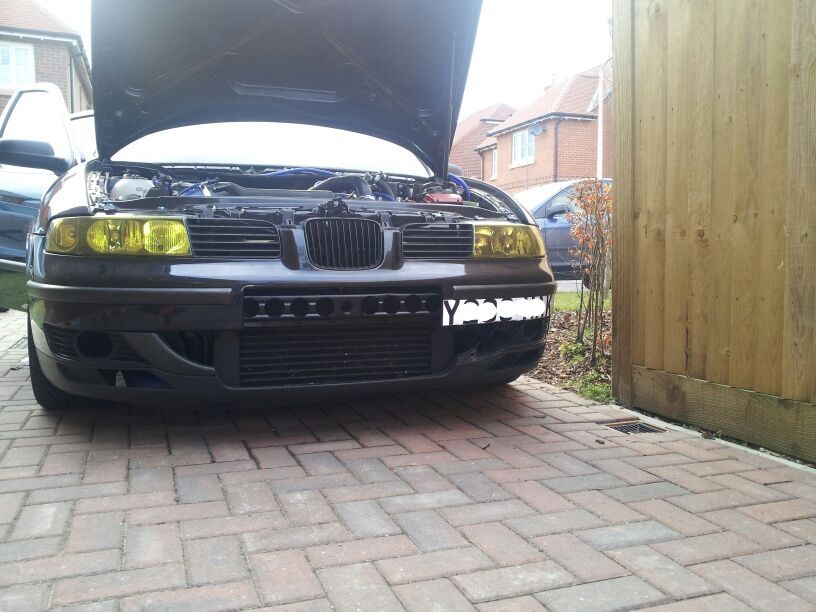
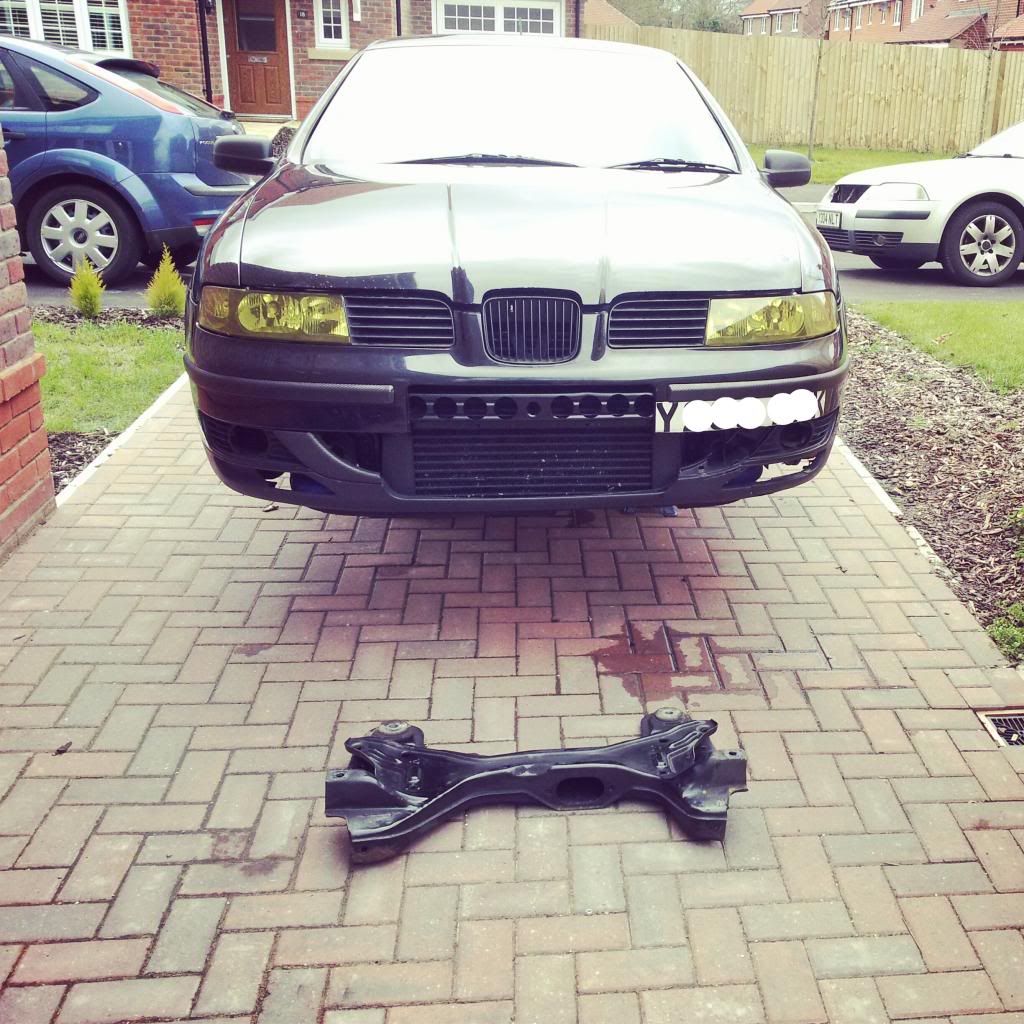
went down to Portsmouth today to pick up the replacement subframe, was in bloody good nick as well, rushed back.
car jacked up and ready to go
 [/URL]
Subframe was changed in an hour thanks to the help of Nick, but while changing it over we noticed the dog bone mount was absolutely shagged....literally no rubber left in the mount at all
 [/URL]
now going to order a polyflex replacement one
car jacked up and ready to go
Subframe was changed in an hour thanks to the help of Nick, but while changing it over we noticed the dog bone mount was absolutely shagged....literally no rubber left in the mount at all
now going to order a polyflex replacement one
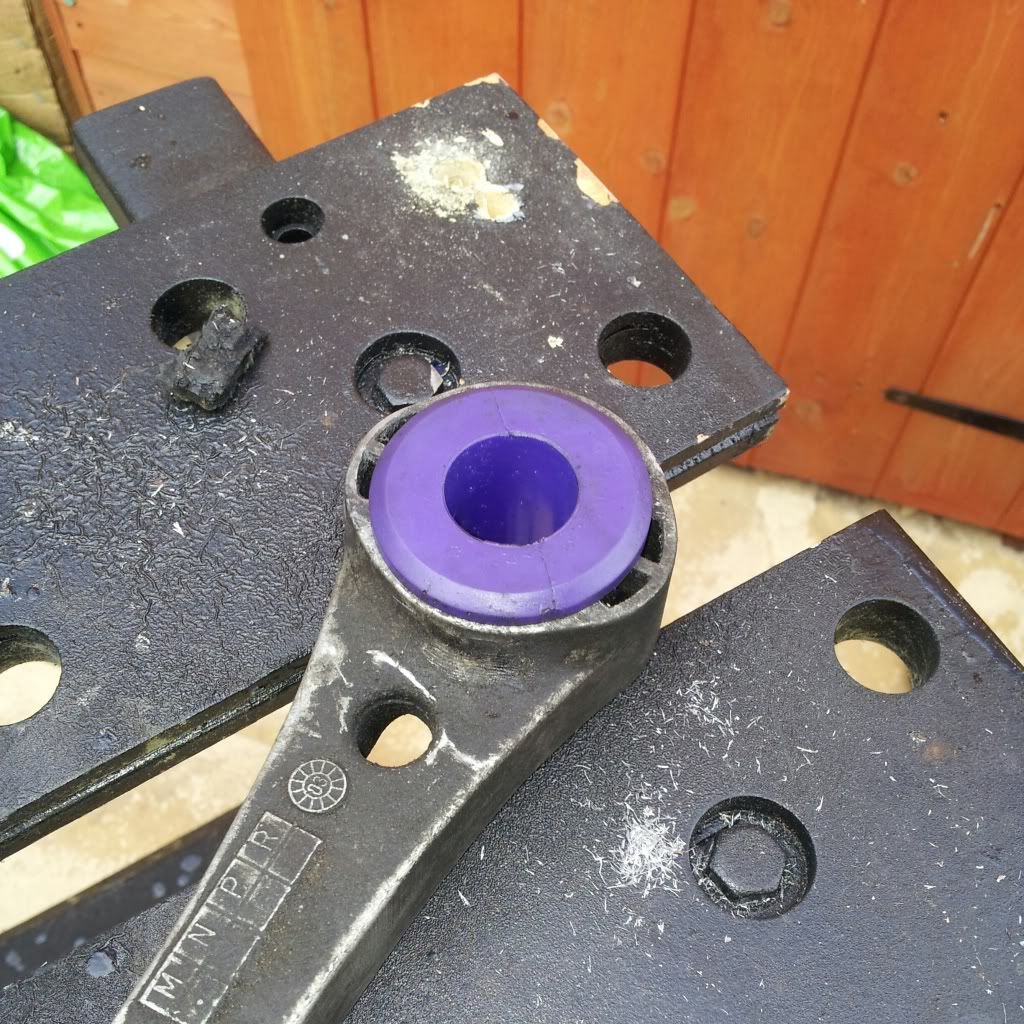
got the dogbone mount done today, as it was absolutely fecked
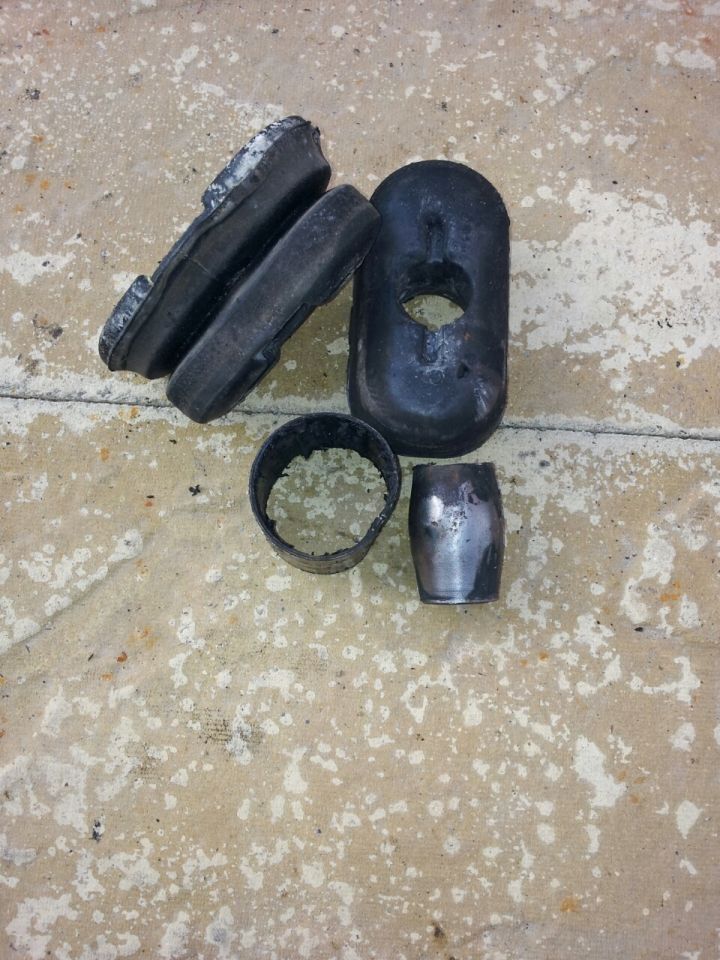
Old rubber from the mount, absolutely soft as butter....an uprated mount from a supplier I won't mention]
 [/URL]
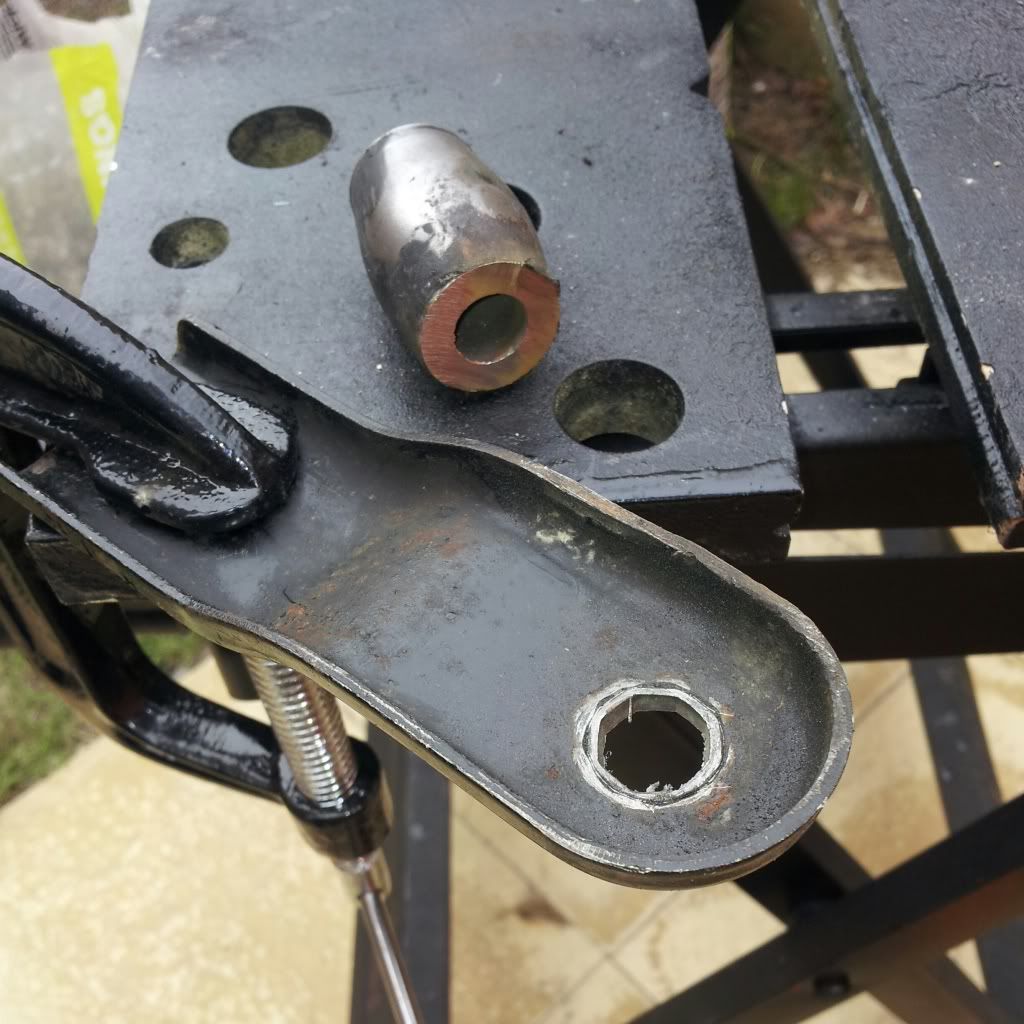
Old bush insert cut off, but had to drill a 15mm hole....and drill bits come in 14mm or 16mm....so out with the 14mm drill and widened the hole until the small insert came out
 [/URL]
insert out
 [/URL]
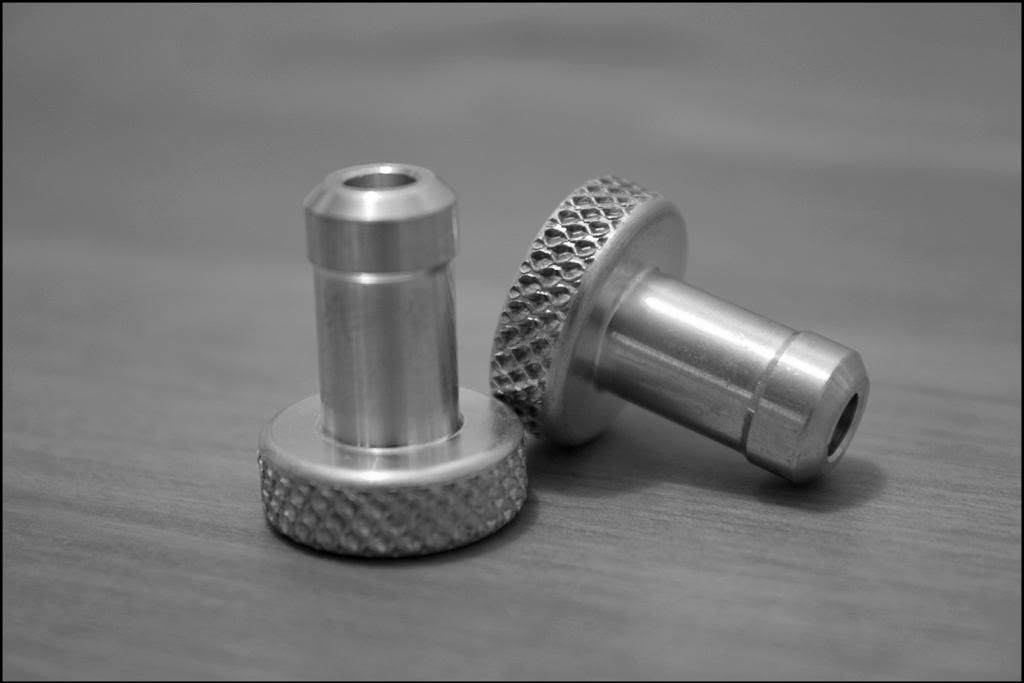
Bush was then pressed in. This was a struggle, but managed to do it with a clamp I had. Took a few goes as it was only a small clamp and it kept sliding off the bush, but got there in the end
 [/URL]
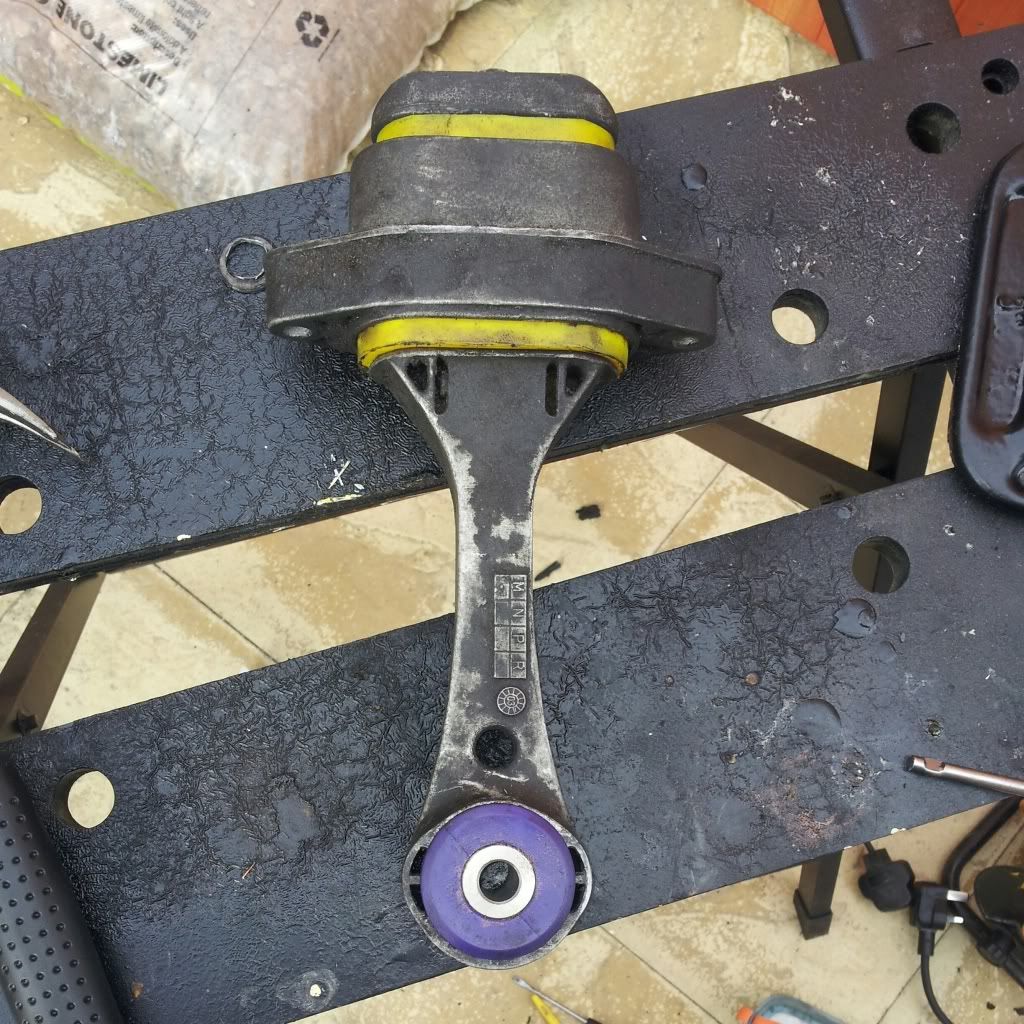
Put the whole dog mount together. Next challenge was to press the two main bushes enough for the bolt to grip through the center of them onto the connecting nut, but got there in the end
 [/URL]
Old rubber from the mount, absolutely soft as butter....an uprated mount from a supplier I won't mention]
Old bush insert cut off, but had to drill a 15mm hole....and drill bits come in 14mm or 16mm....so out with the 14mm drill and widened the hole until the small insert came out
insert out
Bush was then pressed in. This was a struggle, but managed to do it with a clamp I had. Took a few goes as it was only a small clamp and it kept sliding off the bush, but got there in the end
Put the whole dog mount together. Next challenge was to press the two main bushes enough for the bolt to grip through the center of them onto the connecting nut, but got there in the end
Fitted the dogbone mount tonight, hardly any engine movement now, and it's very stiff
 [/URL]
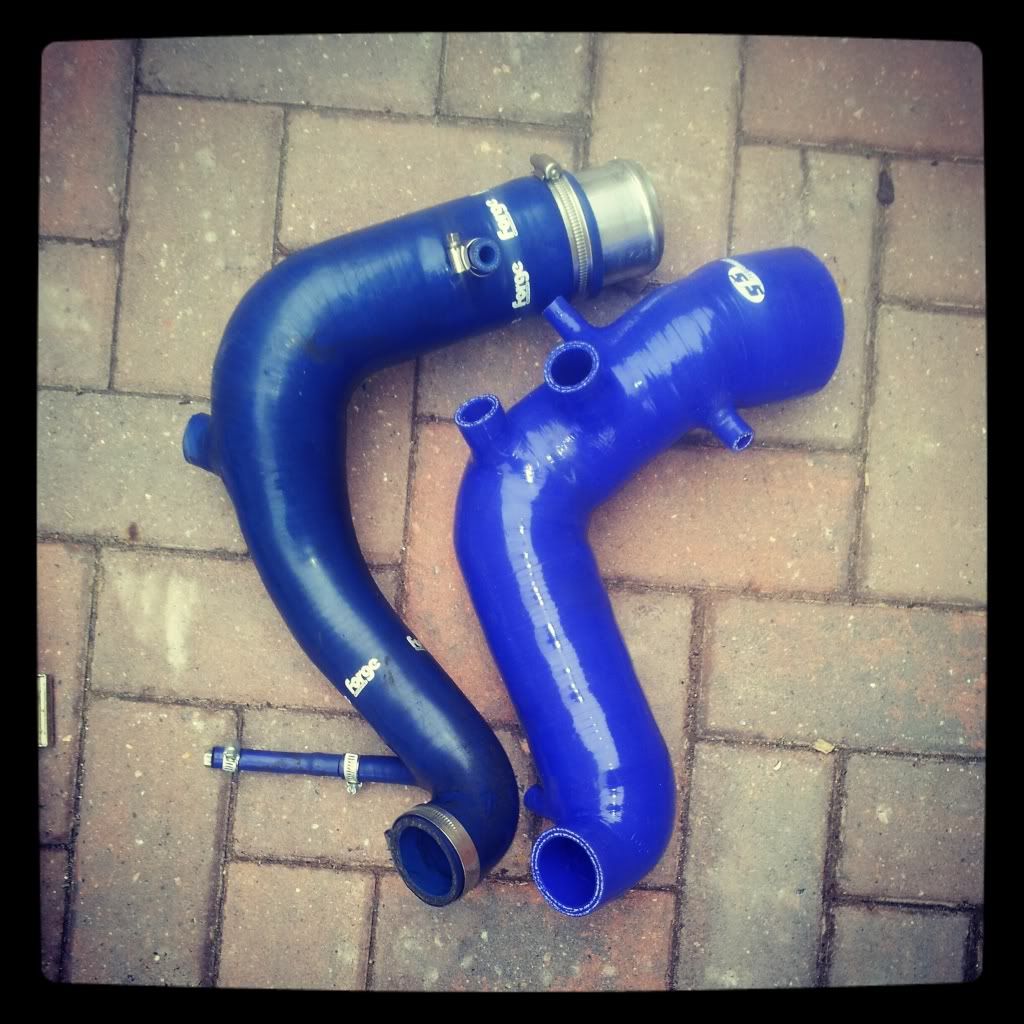
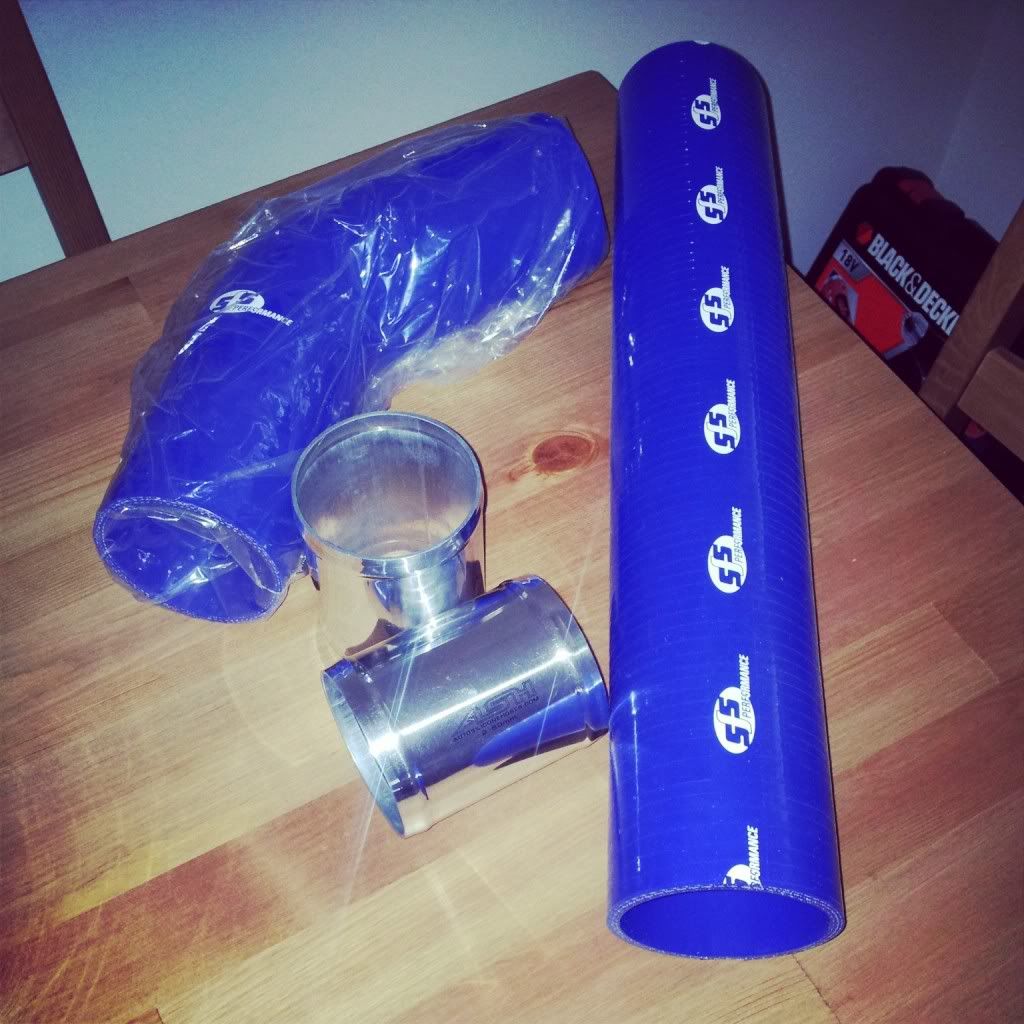
Then started with fitting the supersize TIP.
Comparison (this is a custom made version as I run a K03 Hybrid, so it is a K03 fitment on the turbo end, but an 80mm MAF fitment the other end, as I run an LCR MAF)
 [/URL]
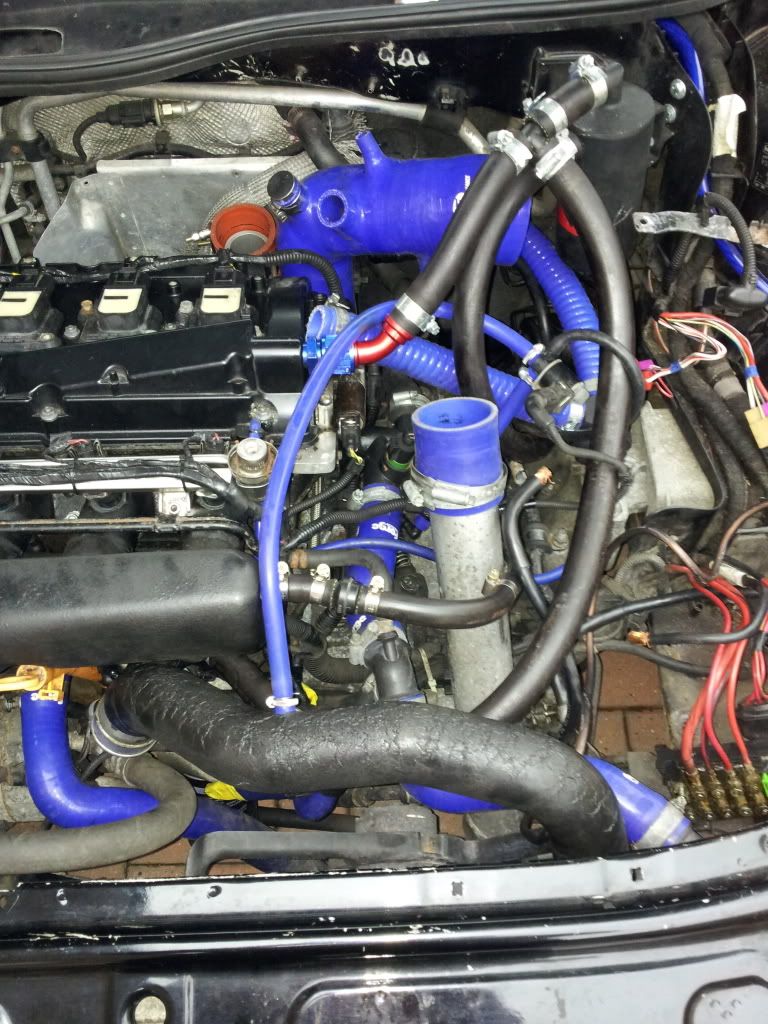
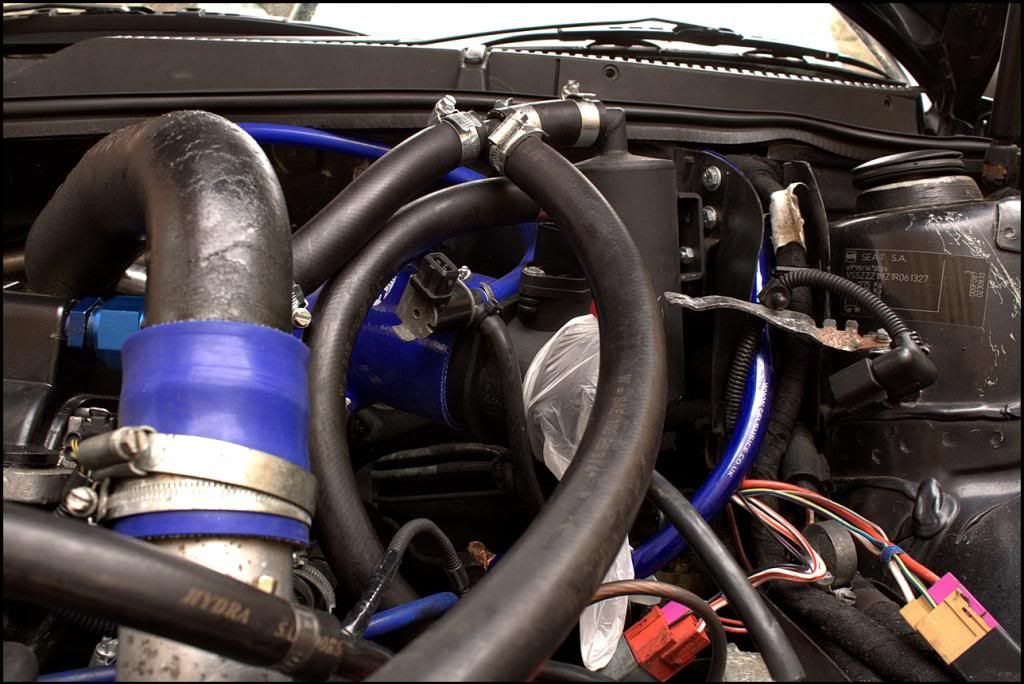
Fitted...excuse the absolute mess and wiring everywhere as I am in the middle of relocating the battery as well which is to be tidied up
 [/URL]
Then started with fitting the supersize TIP.
Comparison (this is a custom made version as I run a K03 Hybrid, so it is a K03 fitment on the turbo end, but an 80mm MAF fitment the other end, as I run an LCR MAF)
Fitted...excuse the absolute mess and wiring everywhere as I am in the middle of relocating the battery as well which is to be tidied up
small bits of progress tonight
9.5mm bung's for the supersize TIP
 [/URL]
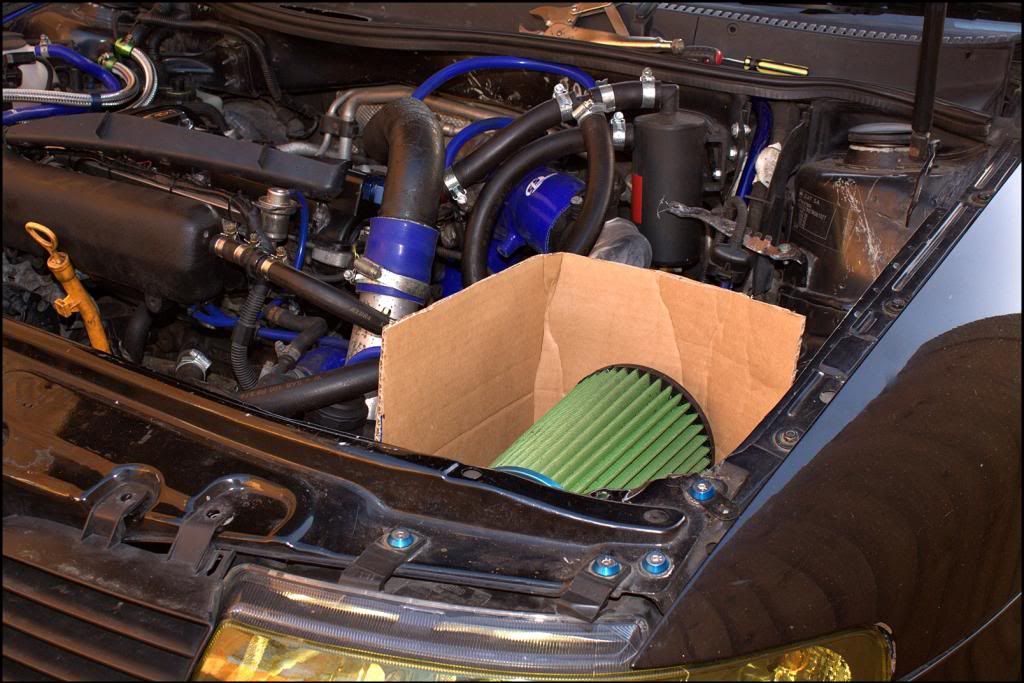
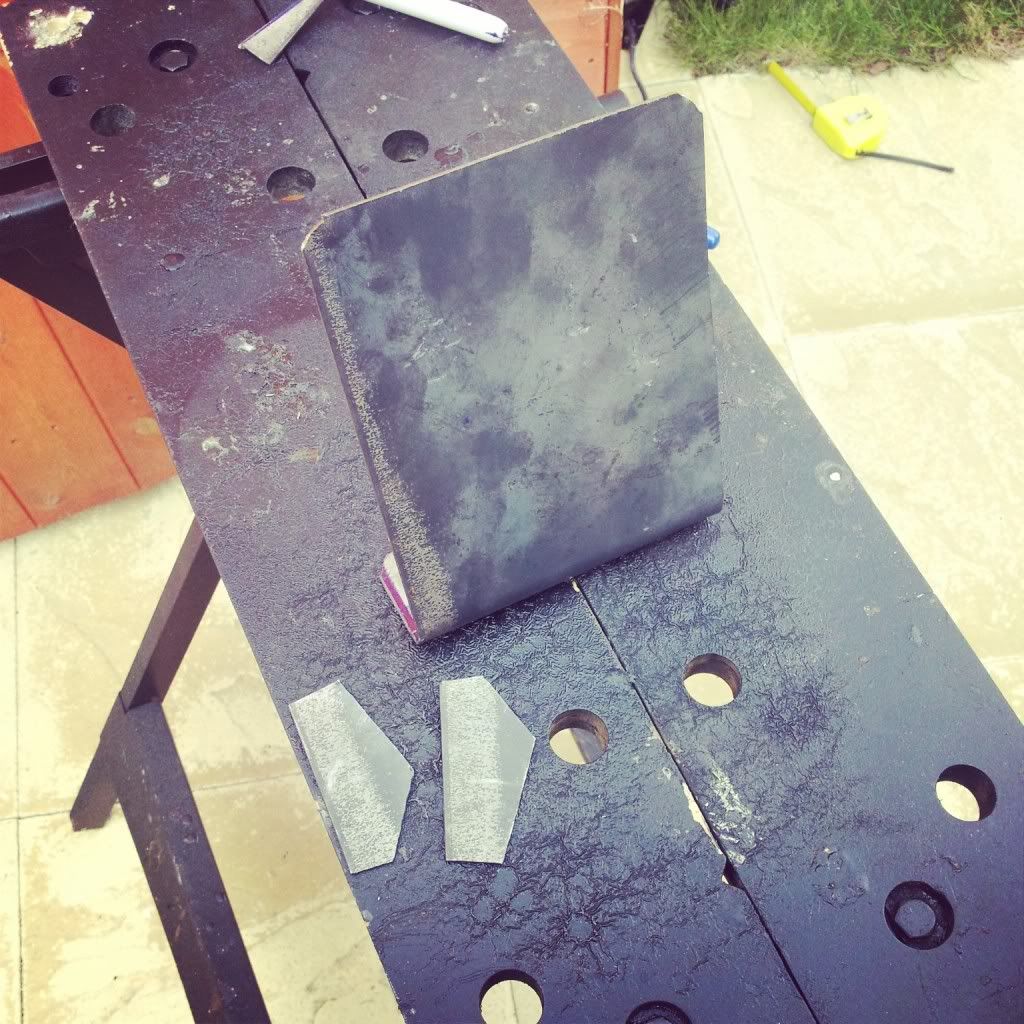
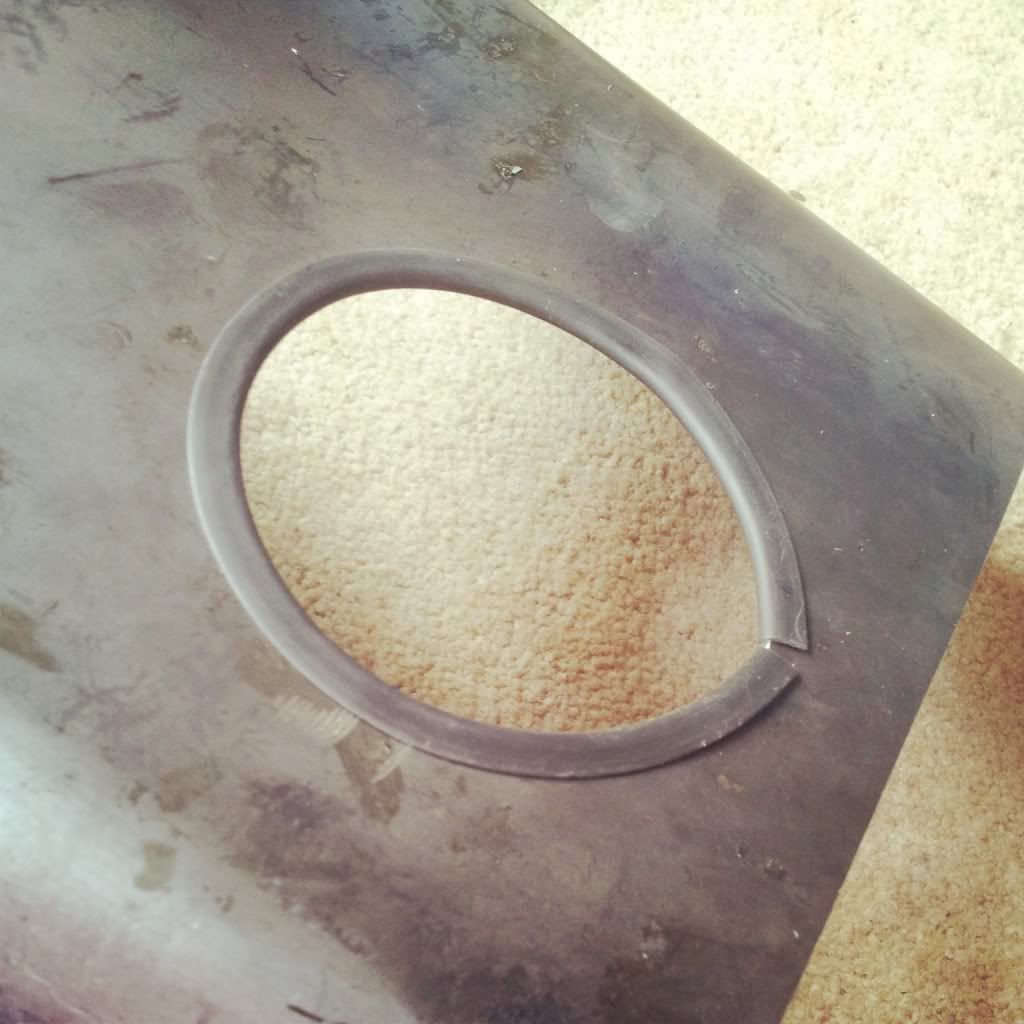
Started making the heatshield template tonight. Cut and ready, bit rough around the edges and a few bits to tidy up but on the whole it's sorted
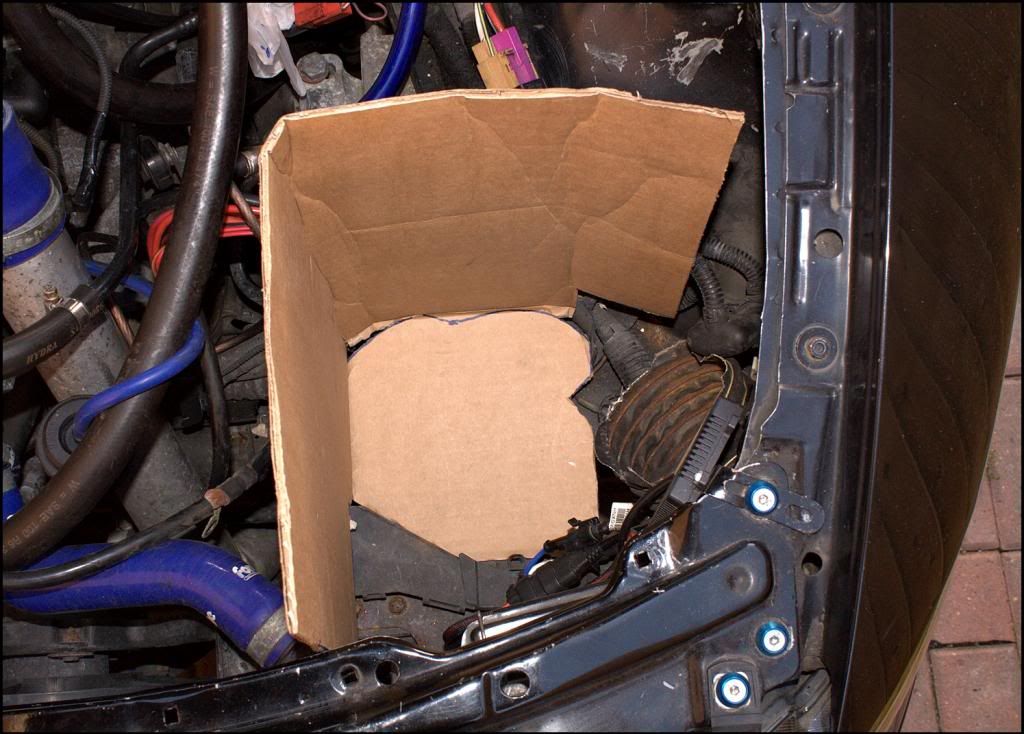
Looks like it sits very high, but that's because there is a bolt on the chassis so it's not sitting flush yet, and the bolt needs cutting off. It will sit lower once done.
 [/URL]
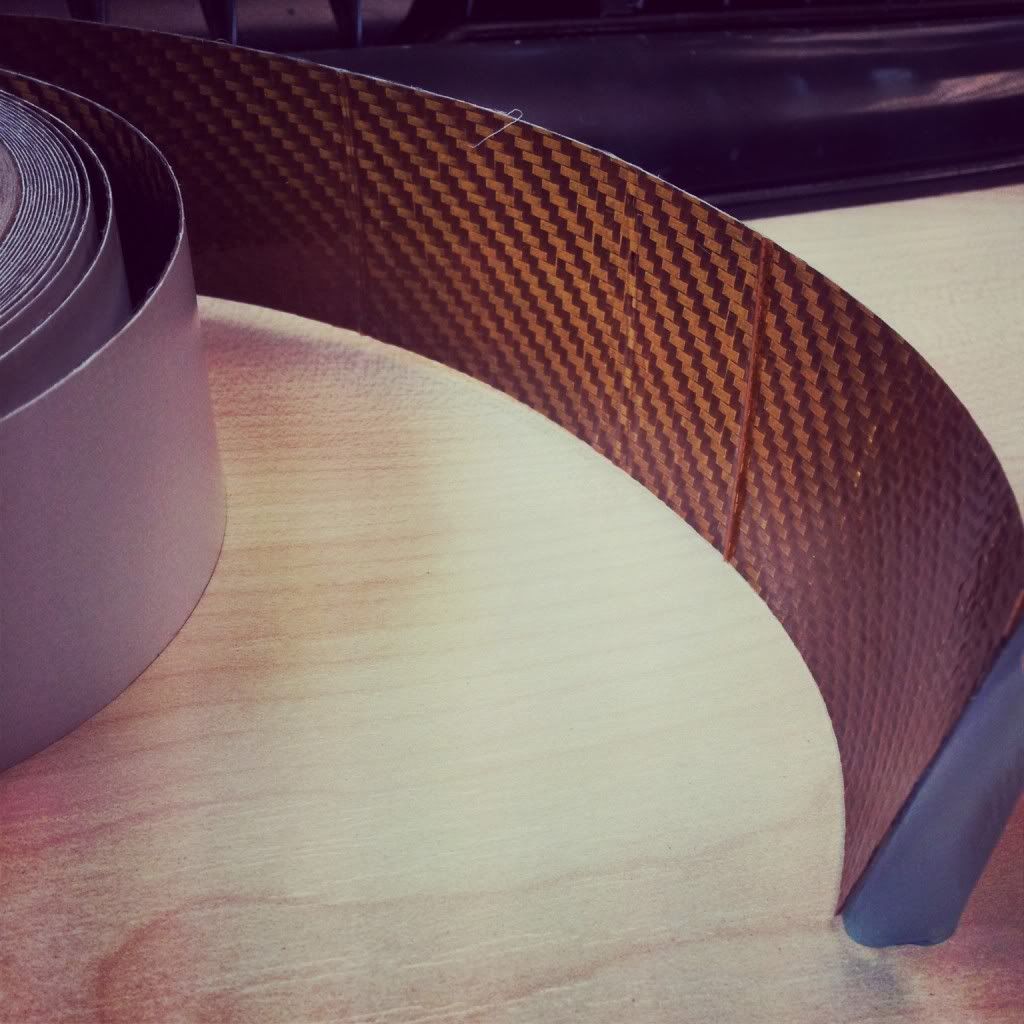
Shielding is going to be made from 1.5mm mild steel sheet, sprayed black, then wrapped in reflective heat material
Ordered a few other bits as well arriving this week, more updates to come shortly")
9.5mm bung's for the supersize TIP
Started making the heatshield template tonight. Cut and ready, bit rough around the edges and a few bits to tidy up but on the whole it's sorted
Looks like it sits very high, but that's because there is a bolt on the chassis so it's not sitting flush yet, and the bolt needs cutting off. It will sit lower once done.
Shielding is going to be made from 1.5mm mild steel sheet, sprayed black, then wrapped in reflective heat material
Ordered a few other bits as well arriving this week, more updates to come shortly
Few things arrived today
Methanol intake pipe, thanks to Bill Brockbank at www.badger5.co.uk
 [/URL]
6 speed quick shift as well.
 [/URL]
Just ordering 1.5mm mild steel now for the heatshield and magmashield tape for the heat shielding
Methanol intake pipe, thanks to Bill Brockbank at www.badger5.co.uk
6 speed quick shift as well.
Just ordering 1.5mm mild steel now for the heatshield and magmashield tape for the heat shielding
still sat on the driveway going nowhere...

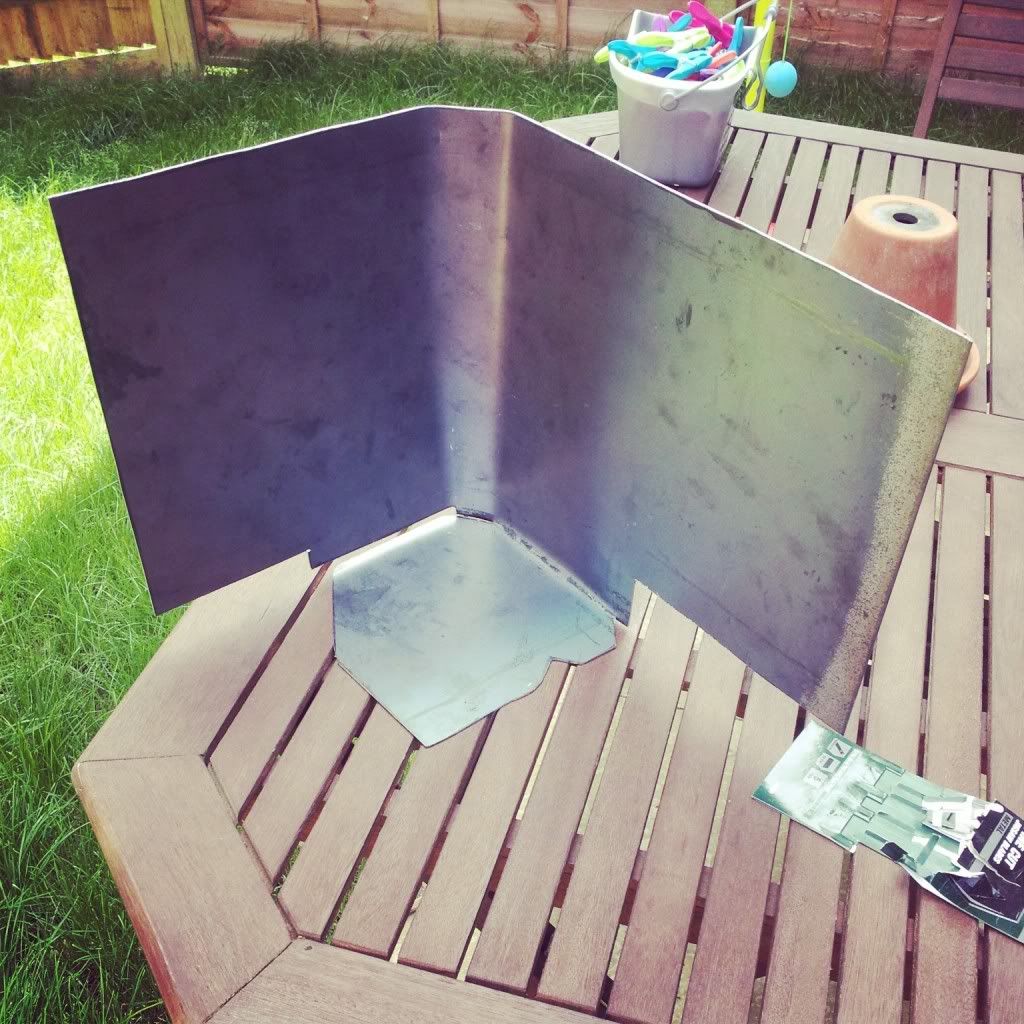
Since stripping the car, the buttons for the TCS and fuel cap are hanging loose in the car, so I have started to make the mount. The VAG com port is also going to be mounted into this.
cut (maybe a bit too tall at the moment, but this is to be adjusted) and also small pieces to brace the sides of the mount
This is how its going to look. It will sit lower than this as it is resting on the two bolts which is what it's going to be bolted onto. Will spray it black also to tidy it up

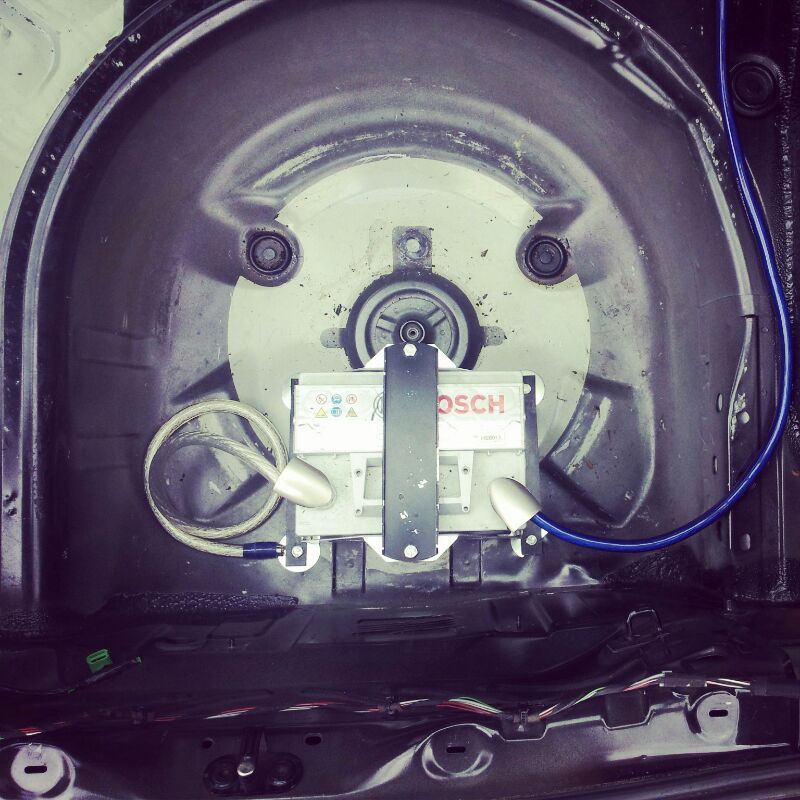
Battery relocation done, but the boot is too thin to mount the negative wire too, which is causing a weak signal, so I need to get a longer piece of cable and mount it to the seat belt point
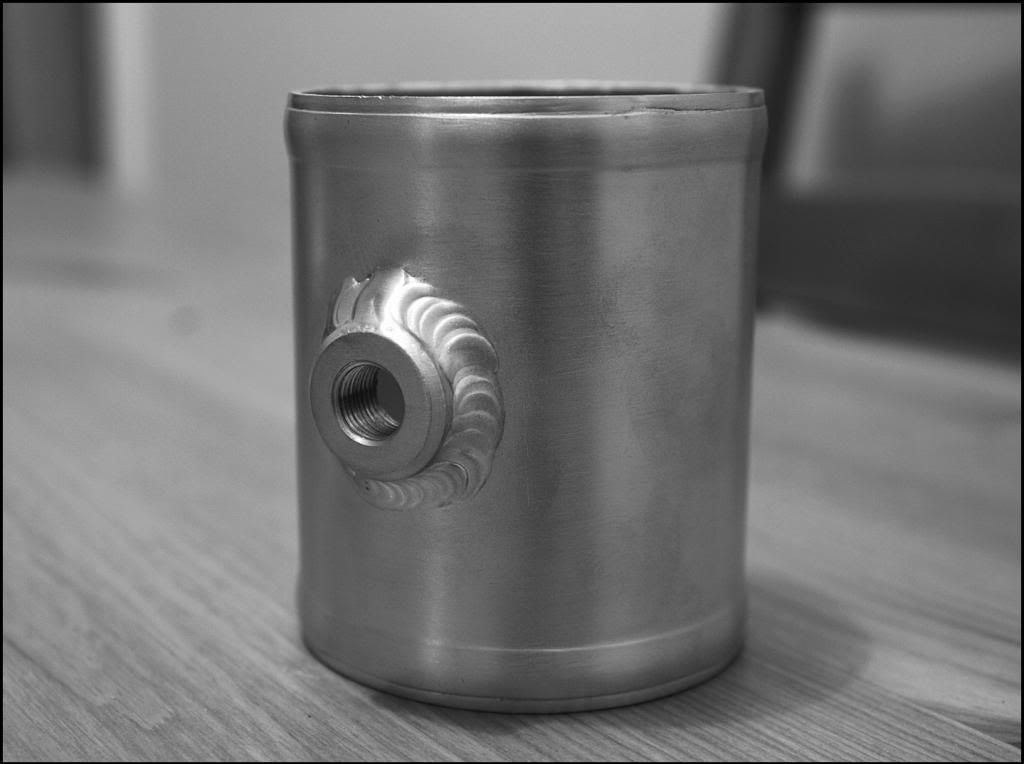
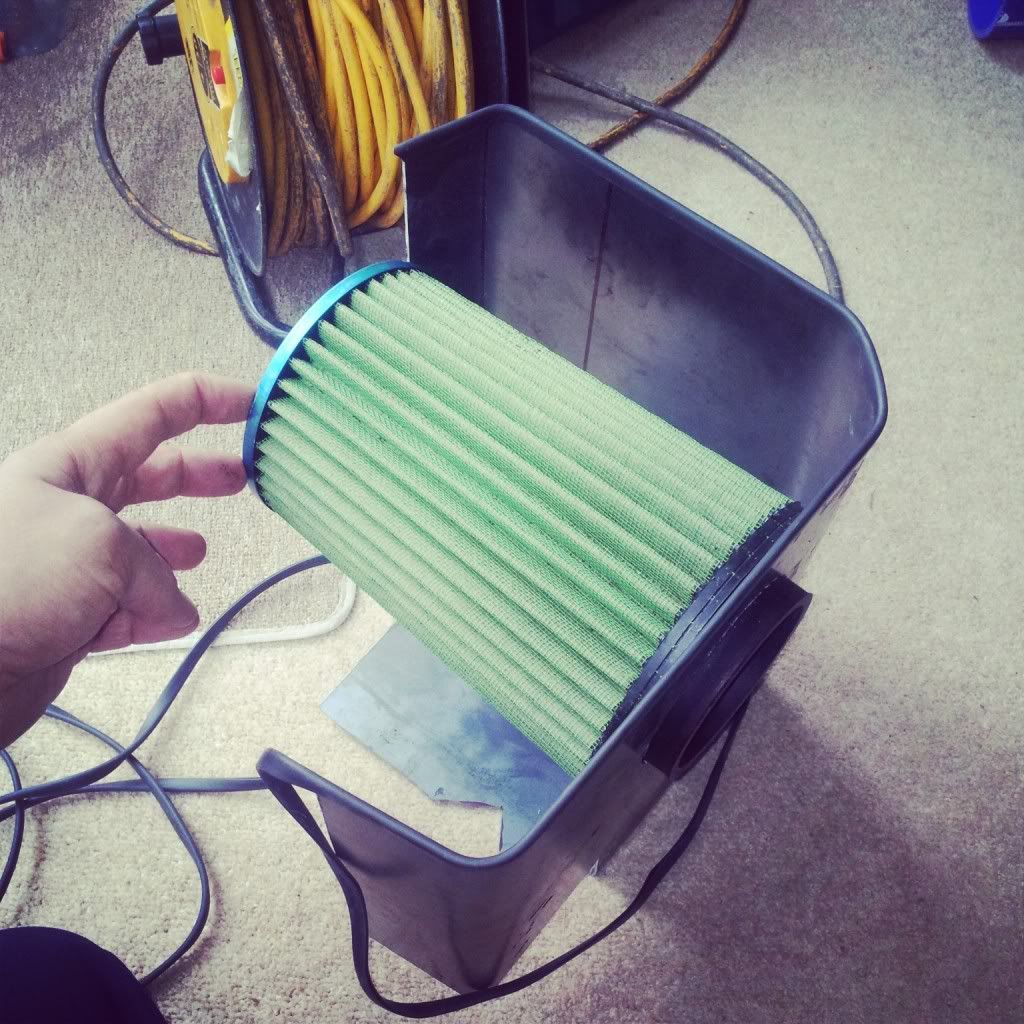
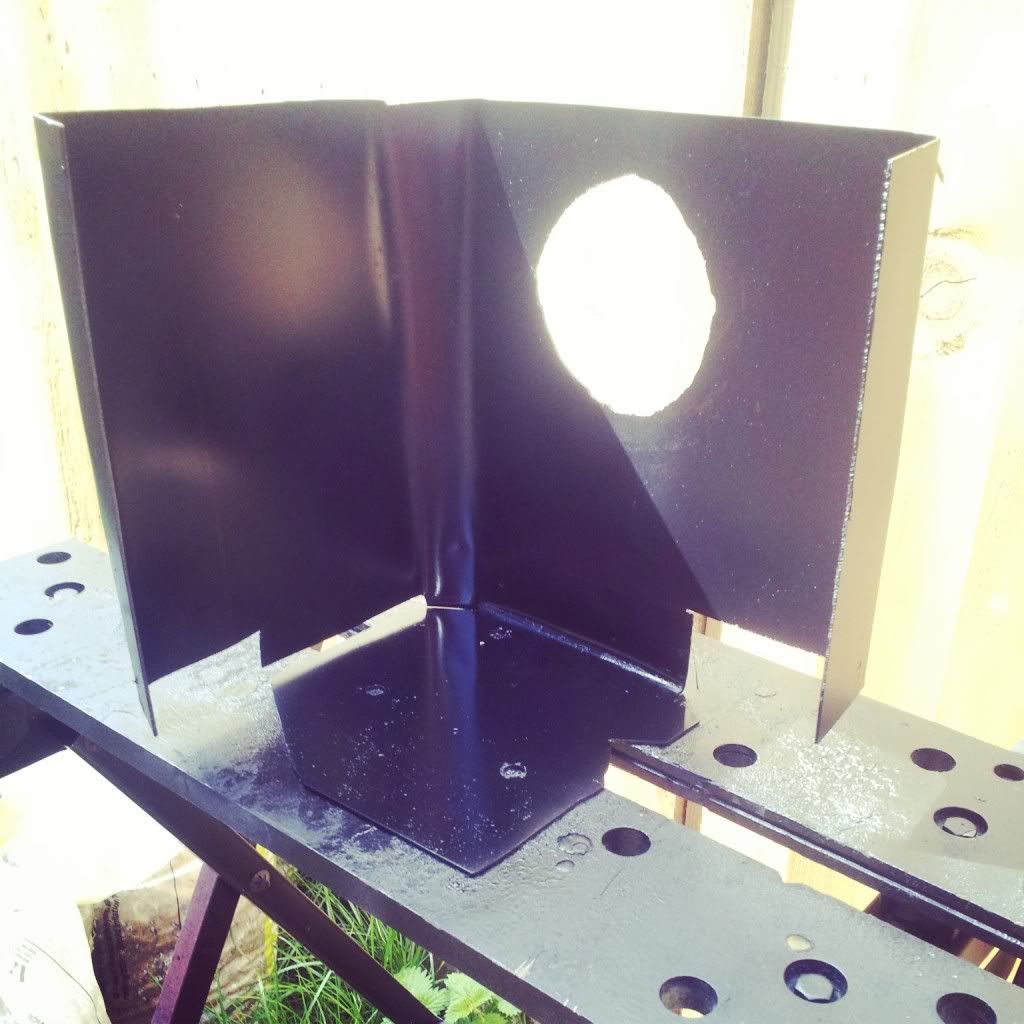
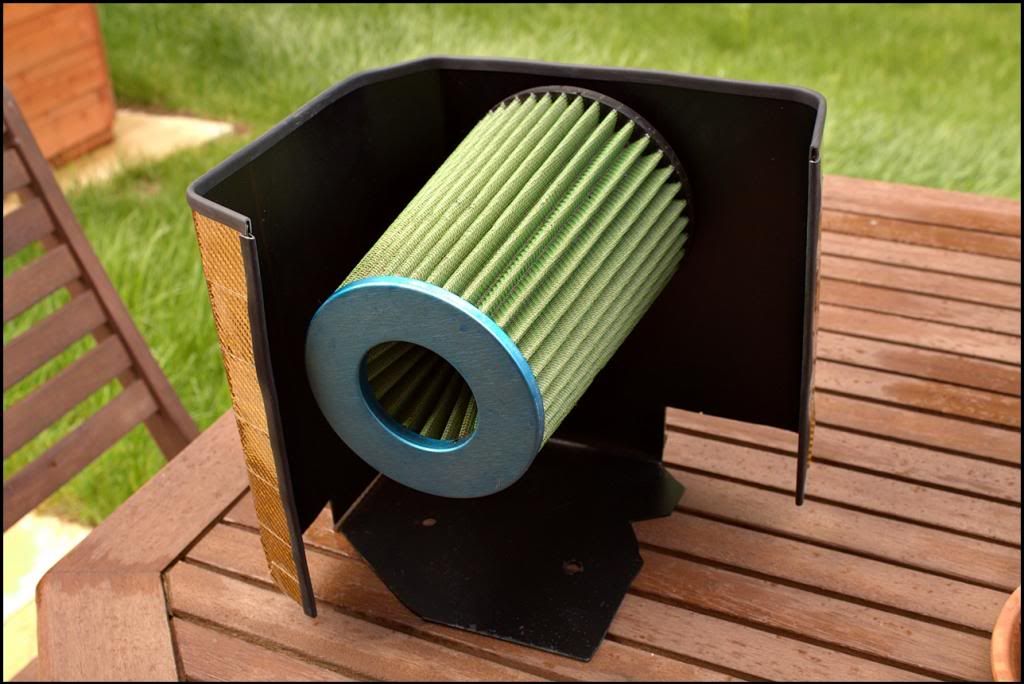
Final filter relocation bits arrived
Since stripping the car, the buttons for the TCS and fuel cap are hanging loose in the car, so I have started to make the mount. The VAG com port is also going to be mounted into this.
cut (maybe a bit too tall at the moment, but this is to be adjusted) and also small pieces to brace the sides of the mount
This is how its going to look. It will sit lower than this as it is resting on the two bolts which is what it's going to be bolted onto. Will spray it black also to tidy it up
Battery relocation done, but the boot is too thin to mount the negative wire too, which is causing a weak signal, so I need to get a longer piece of cable and mount it to the seat belt point
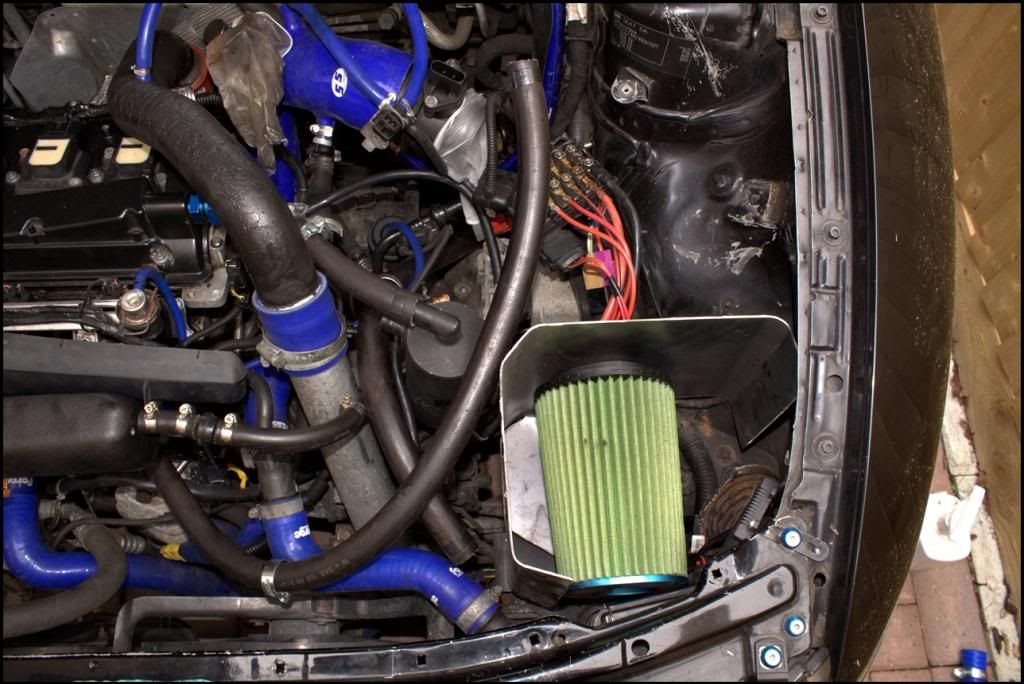
Final filter relocation bits arrived
Did some more work on the car tonight, only had an hour or so though
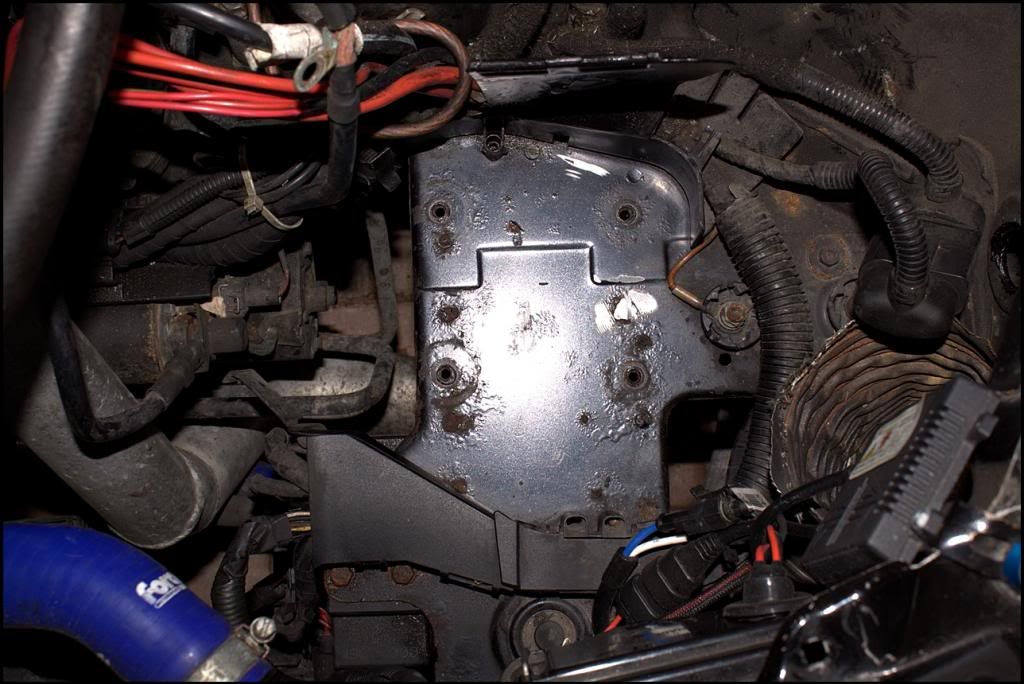
Battery tray
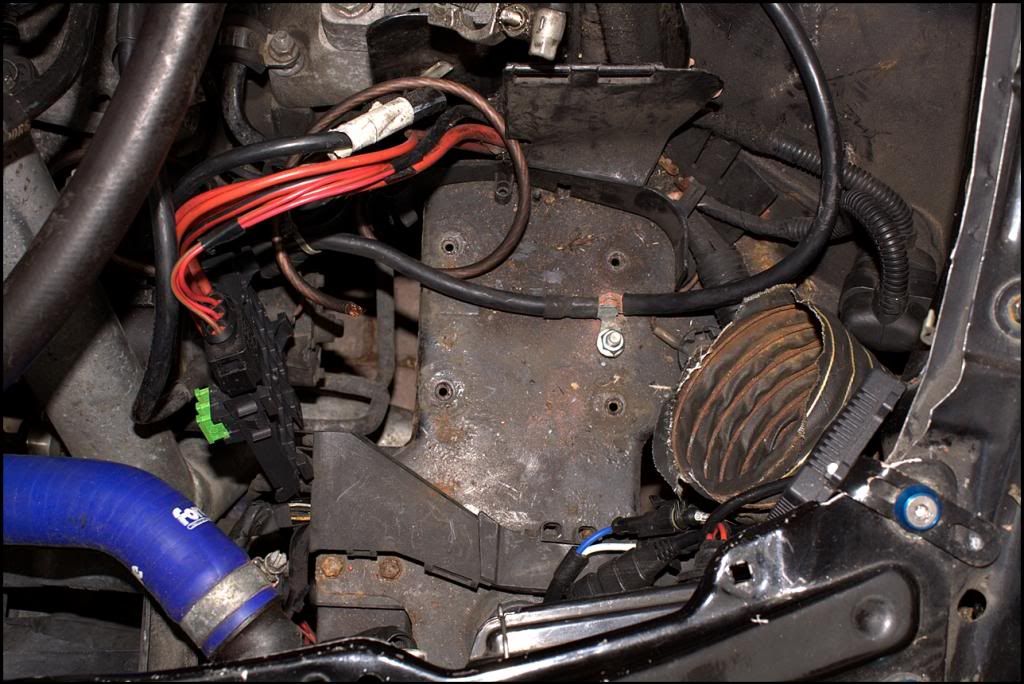
two bolts in the way, out comes the angle grinder..... (earth for cable is going onto the engine mount where the hard pipe is)
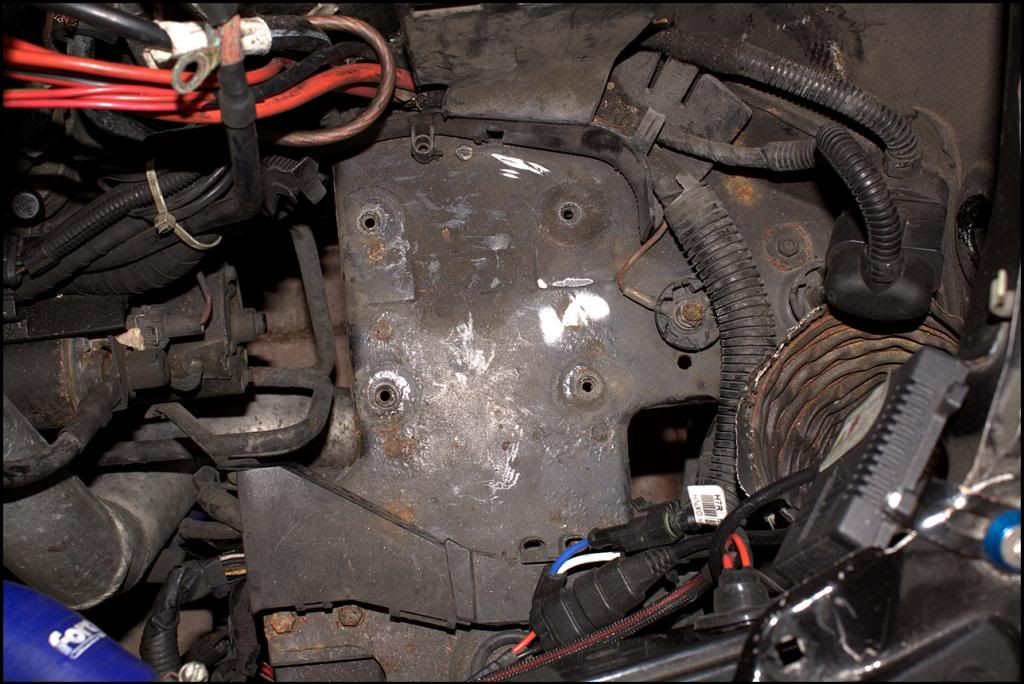
quick clean
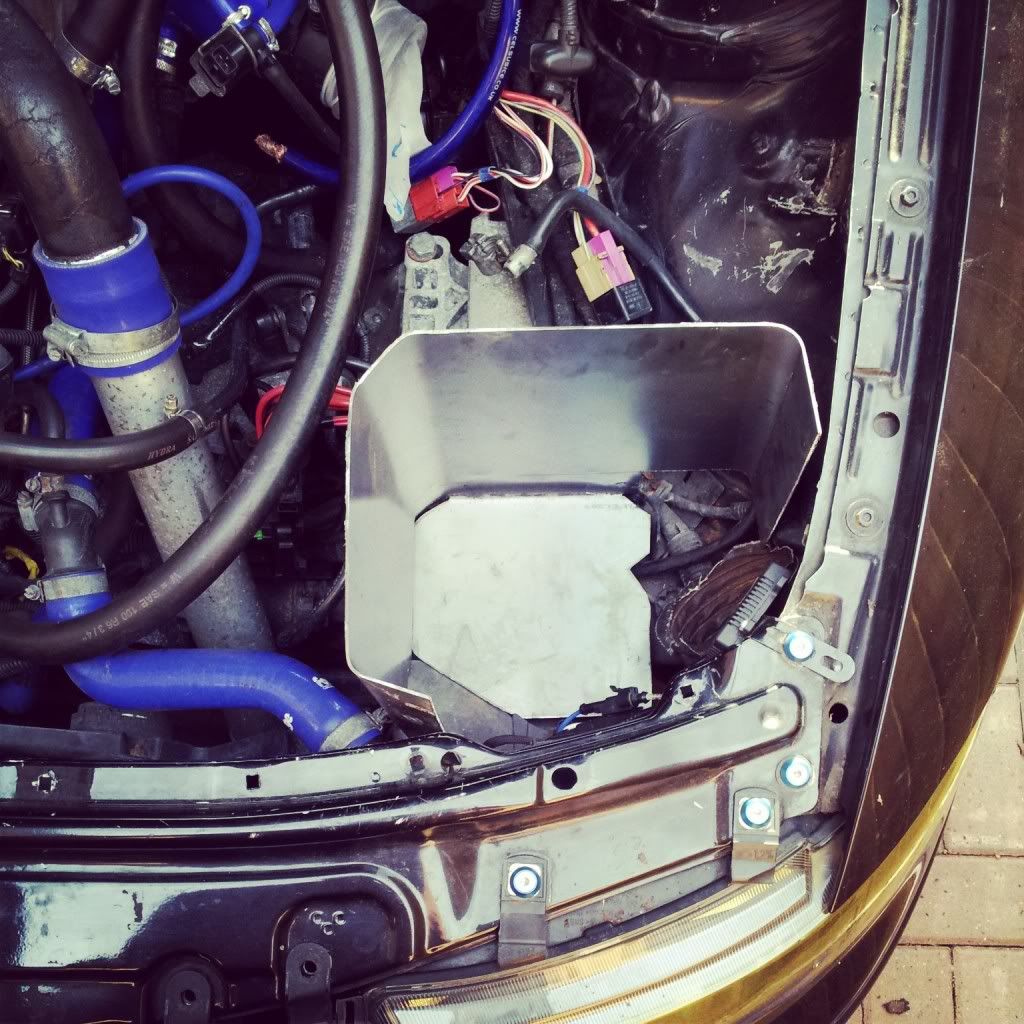
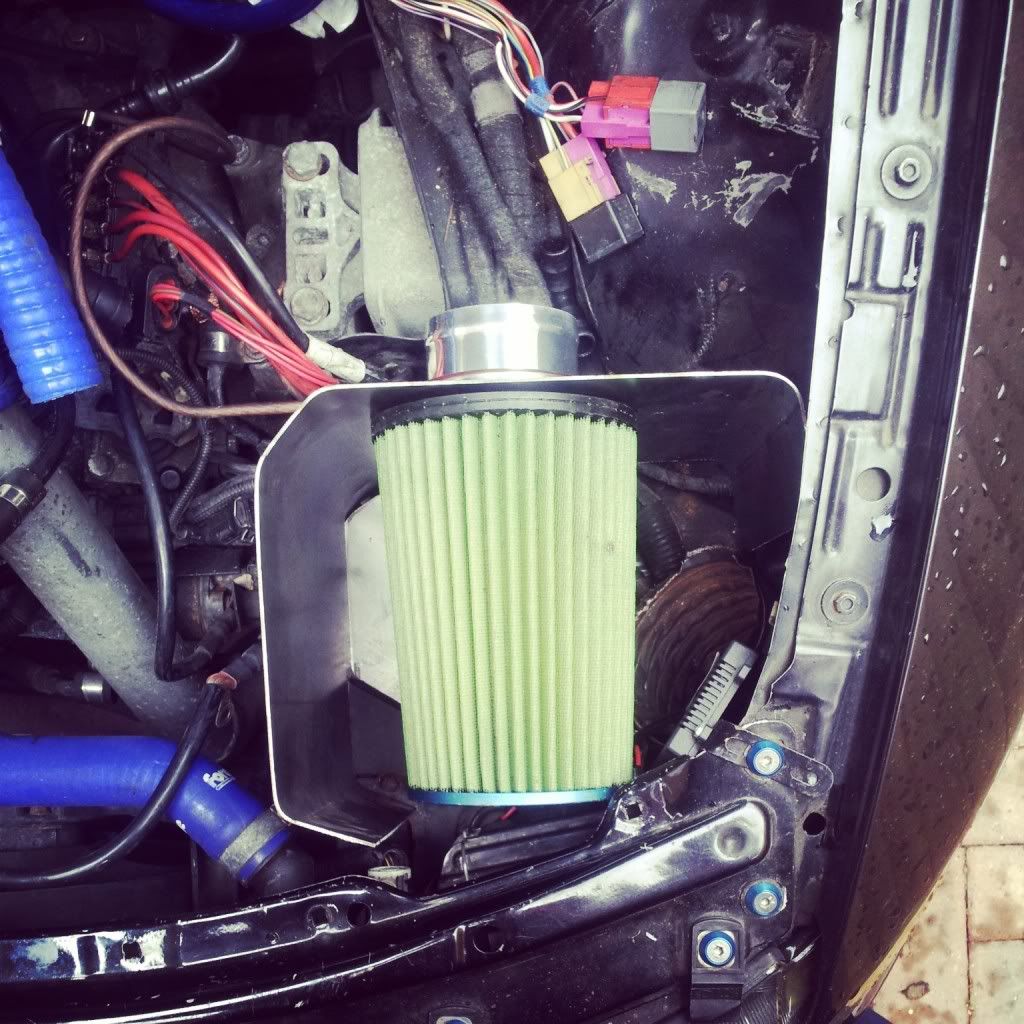
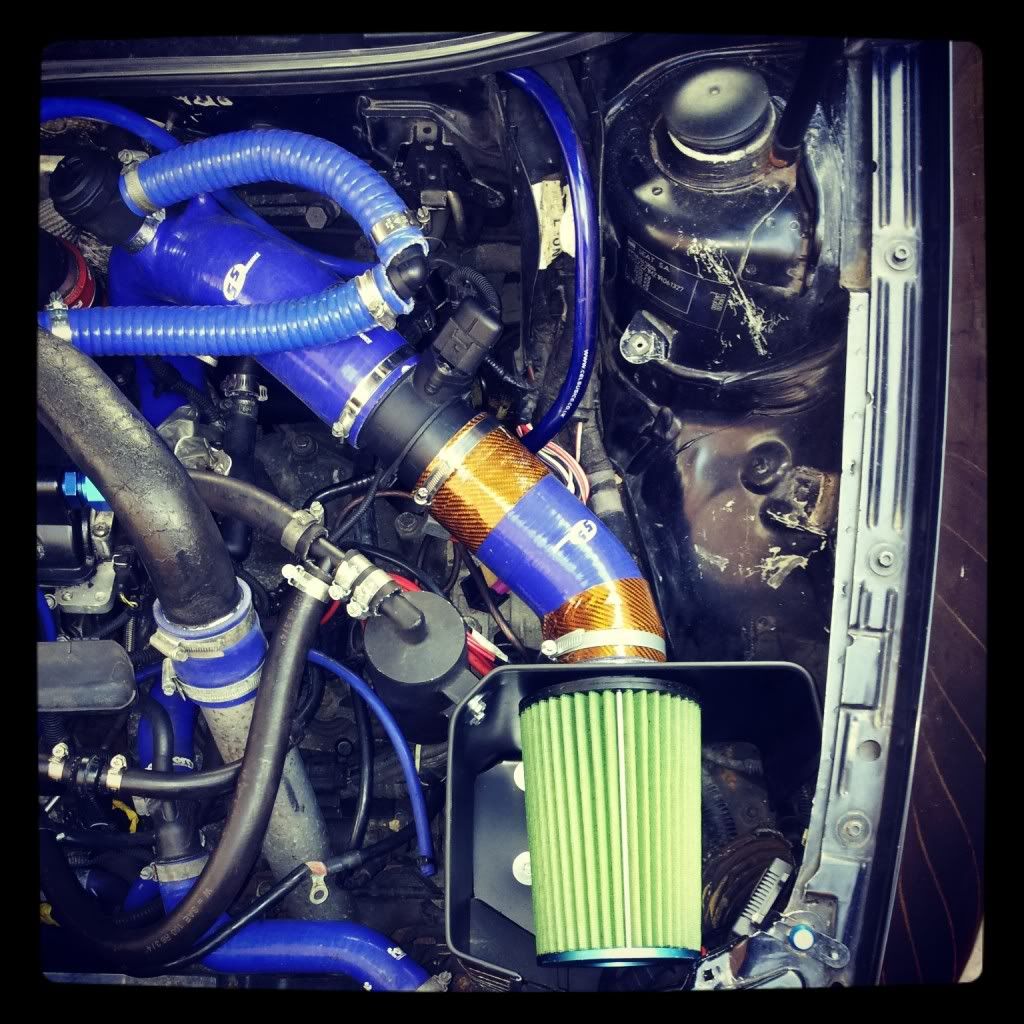
The issue with catch can as you can see is its a complete mess and in the way of the TIP, and the pipework is also in the way of the DV.
This needs to be relocated. I have taken it off its mount
Mock up of how it will look, and the catch can which is going to be mounted to the side of the heat shield. Other pipes need trimming down of course.
Got the day off on Thursday and Friday so I aim to finally complete it all then
Battery tray
two bolts in the way, out comes the angle grinder..... (earth for cable is going onto the engine mount where the hard pipe is)
quick clean
The issue with catch can as you can see is its a complete mess and in the way of the TIP, and the pipework is also in the way of the DV.
This needs to be relocated. I have taken it off its mount
Mock up of how it will look, and the catch can which is going to be mounted to the side of the heat shield. Other pipes need trimming down of course.
Got the day off on Thursday and Friday so I aim to finally complete it all then
Last edited:
are you bolting the maf to the shield and extending the wires or adding silicone between the two?
are you bolting the maf to the shield and extending the wires or adding silicone between the two?
no not bolting it (couple of the bolt holes are snapped anyway), will just be secured with jubilee clips and fitted between the silicone...its a tight fit getting it all in and onto the TIP

Looks good. I'll be interested to see what you make of the new brake pads.
getting them fitted on Monday mate so will be a little while till I can test them in full anger but will let you know what they are like.
DS2500's are good...but they do suffer from fade when pushed quite badly I found
The heat shield looks good mate
Thanks mate...alot of time spent making this. I wouldn't do it again, it wasnt difficult....just fiddly
Last edited:
Finally got the car up and running today with help of Nick.
It was such a stupid problem as well.
when I originally took apart the battery fuse box to fit a new cable, I only did up four of the nuts...leaving the other four loose
We scratched our heads for a few hours this morning. We went and bought a volt meter tester in the end, 4 of the nuts were good and showing good current, but when testing other areas of the fuse box, the signal was very weak.
We only figured this out because when applying pressure from the volt tester, we faintly heard a few sparks....then we realised the four nuts were loose....
tightened these up and hey presto.
SO frustrating because everything I had done with the battery relocation was right, and it was all undone from 4 nuts loose on the fuse lid!![[:@]](/forums/styles/seatcupra/oldforumsmileys/furious.gif "Furious [:@]")
I can't believe it was something so stupid!
I then went for a test drive...almost straight away the car died on me and the EPC light came on and the car was struggling to run.....something had popped off
found that the charge pipe to turbo had not been tightened.
Limped home, tightened it and all good
It was such a stupid problem as well.
when I originally took apart the battery fuse box to fit a new cable, I only did up four of the nuts...leaving the other four loose
We scratched our heads for a few hours this morning. We went and bought a volt meter tester in the end, 4 of the nuts were good and showing good current, but when testing other areas of the fuse box, the signal was very weak.
We only figured this out because when applying pressure from the volt tester, we faintly heard a few sparks....then we realised the four nuts were loose....
tightened these up and hey presto.
SO frustrating because everything I had done with the battery relocation was right, and it was all undone from 4 nuts loose on the fuse lid!
I can't believe it was something so stupid!
I then went for a test drive...almost straight away the car died on me and the EPC light came on and the car was struggling to run.....something had popped off
found that the charge pipe to turbo had not been tightened.
Limped home, tightened it and all good
Similar threads
- Replies
- 13
- Views
- 3K
- Replies
- 47
- Views
- 16K
