Outer CV Joint Removal / Boot Replacement. Seat Leon Cupra 1.8T
Essential
30mm 12 point socket
Long breaker Bar
13mm spanner.
Small allen key
Short extension.
Hammer
long M10 spline bit (if removing driveshaft)
Useful
External circlip pliers.
Retaining clip pliers.
CV Joint boot kit. (Contains plastic boot / wire clip / grease / thrust ring / concave spring washer/ large clip / small clip.)
3B 0 498 203 E on LC - LCR is probably the same.
New 12 point socket shouldered self-locking nut
Step 1
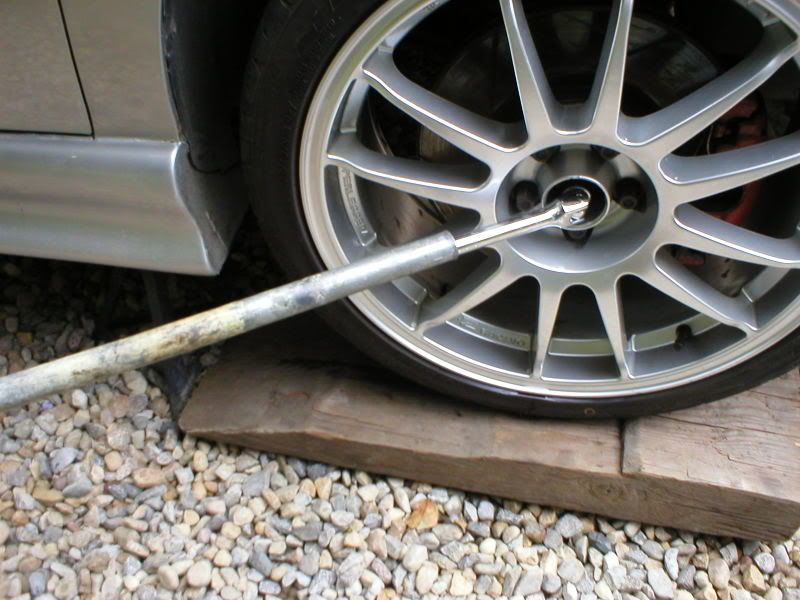
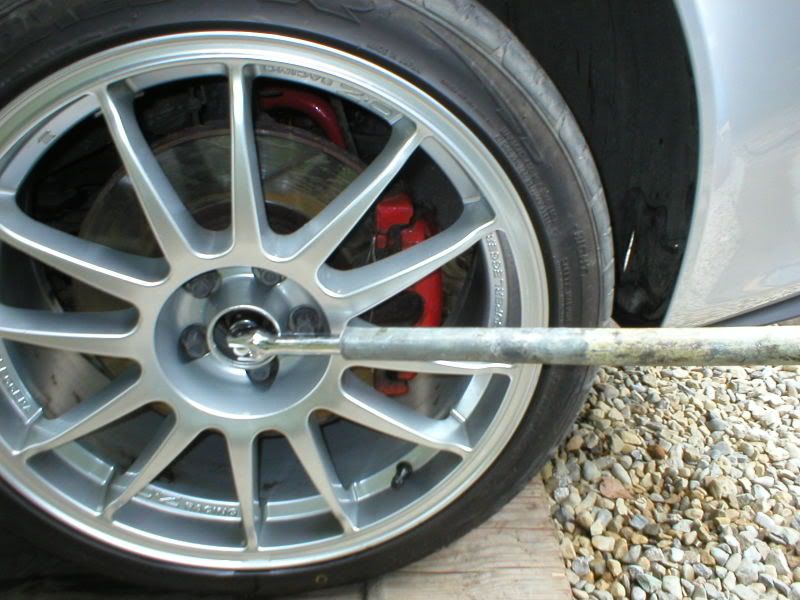
With the car still on the ground and in gear / handbrake on, remove the centre cap to the wheel to expose the centre nut. Using the 30mm socket on a long breaker bar, loosen the nut and unscrew (but do not remove) so that no threads are showing
Step 2
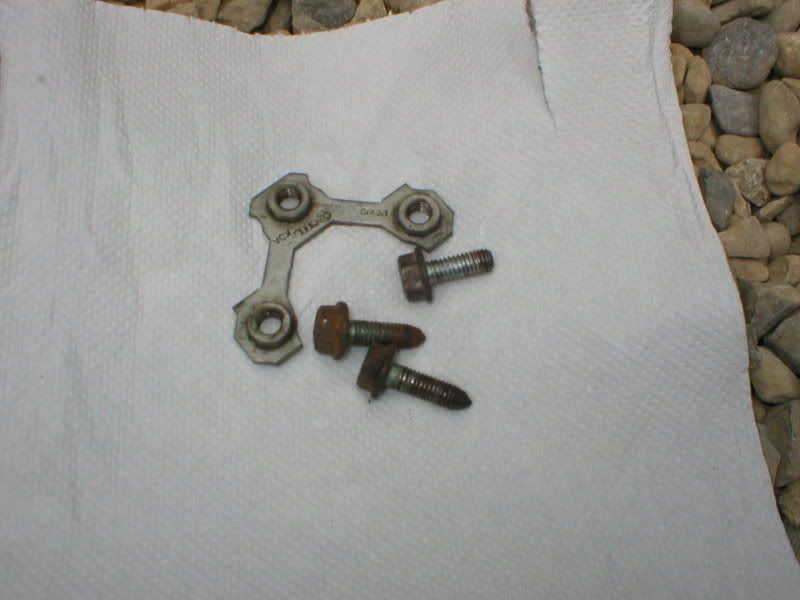
Jack the car up to lift the appropriate wheel off the ground. Support the car on axle stands. Remove wheel. At the end of the wishbone, there are three 13mm bolts securing the bottom ball joint flange. The bolts pass through wishbone and flange and secure into a bracket. Remove the three bolts and bracket, taking care not to knock the ball joint flange out of the end of the wishbone. Put a small allen key through the rearmost hole in the wishbone and flange. The following picture shows the bolts and bracket removed.
Step 3
Using a hammer and a short extension, give the centre nut a few taps and the cv joint will pop backwards. You can now remove the nut. If you now pull hard on the brake calliper, the disc/hub assembly will pivot round and you should now be able to pull the cv joint (attached to the end of the driveshaft) out of the back.
Step 4. (optional)
You may find it easier to work on the driveshaft if you remove it from the car. (But it is possible to remove the CV joint without doing so). There is another CV joint at the inboard end of the driveshaft and this is attached to the differential flange by 6 cap headed bolts.
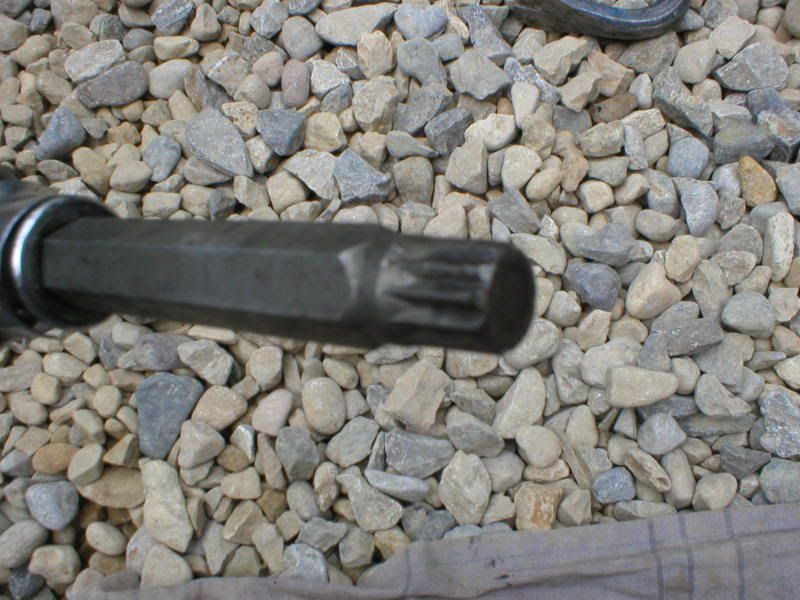
Undo the six bolts using a long M10 spline bit. (If these bolts are undone, I recommend replacing with new ones.)
Once the bolts are undone, the driveshaft can be lowered and extracted from the inboard end.
Step 5.
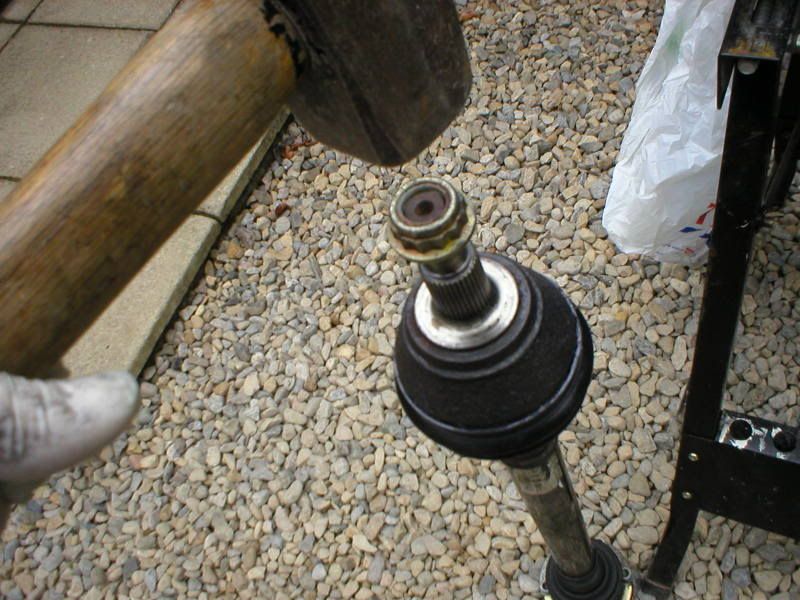
****Note this step is a departure from usual advice - you are supposed to strike the outer part of the CV joint with a copper headed hammer whilst holding the splined end of the joint to remove the joint from the clip. See discussion on this at the end of the thread *****
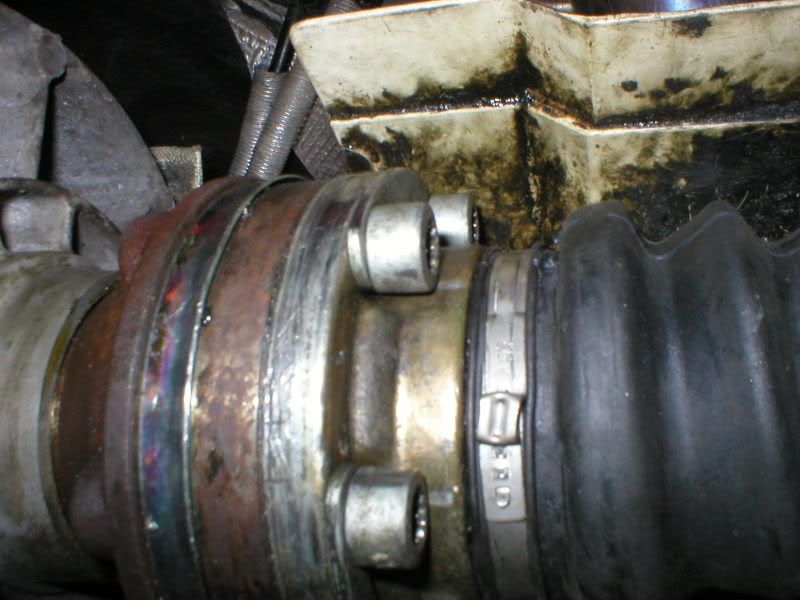
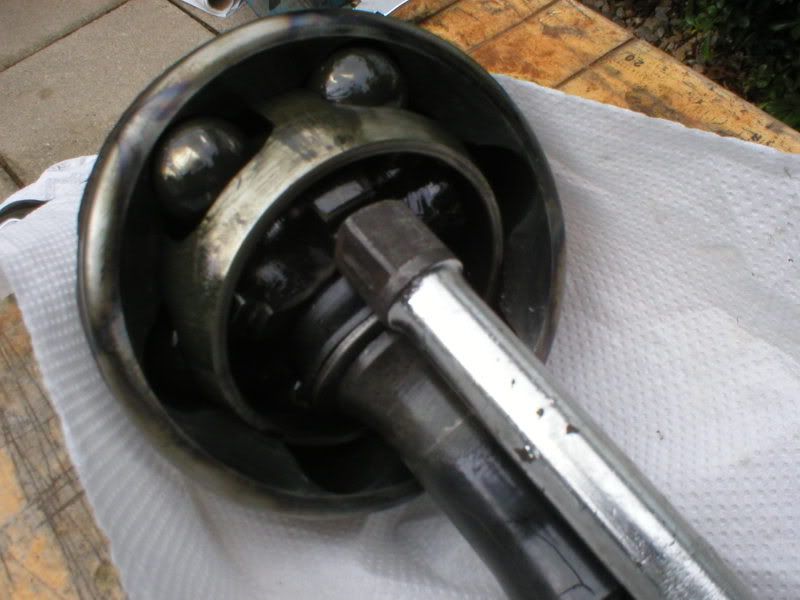
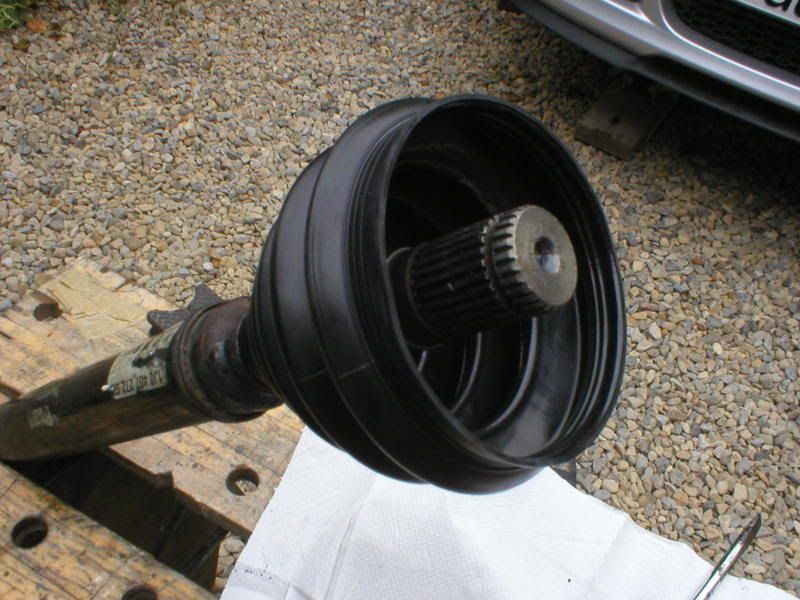
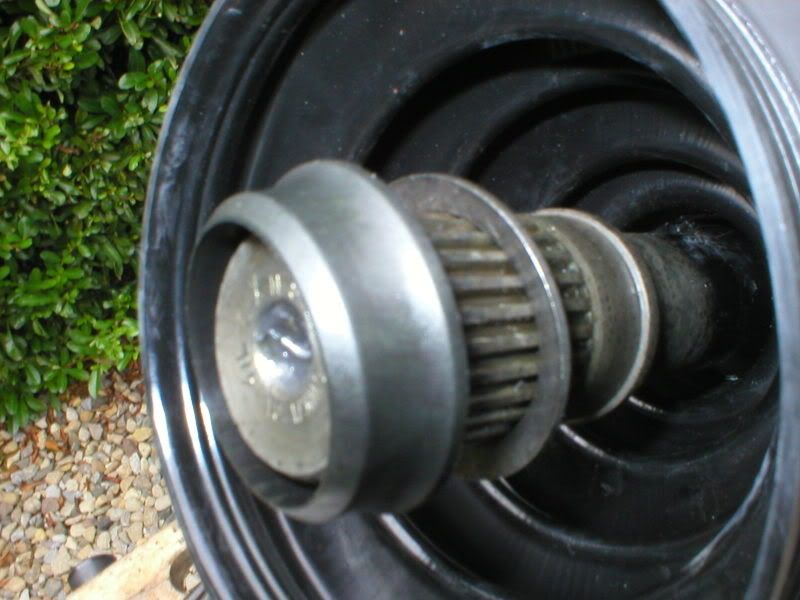
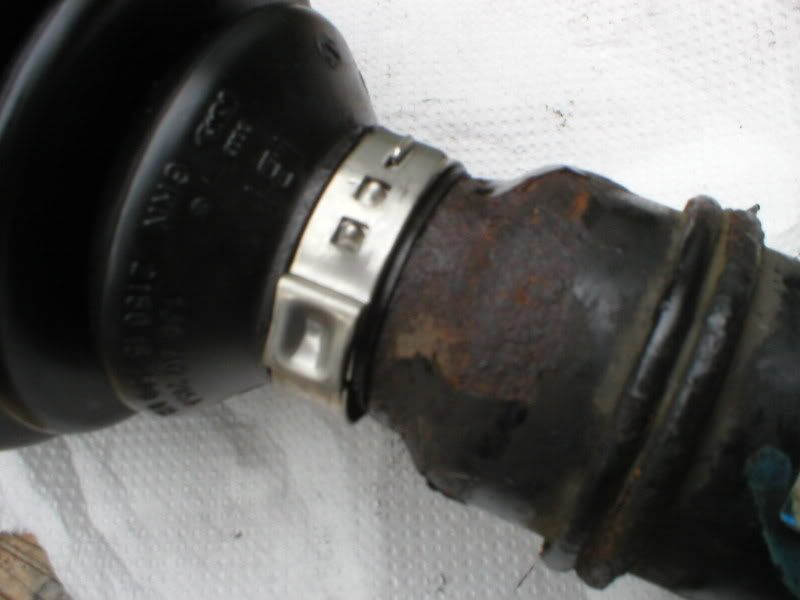
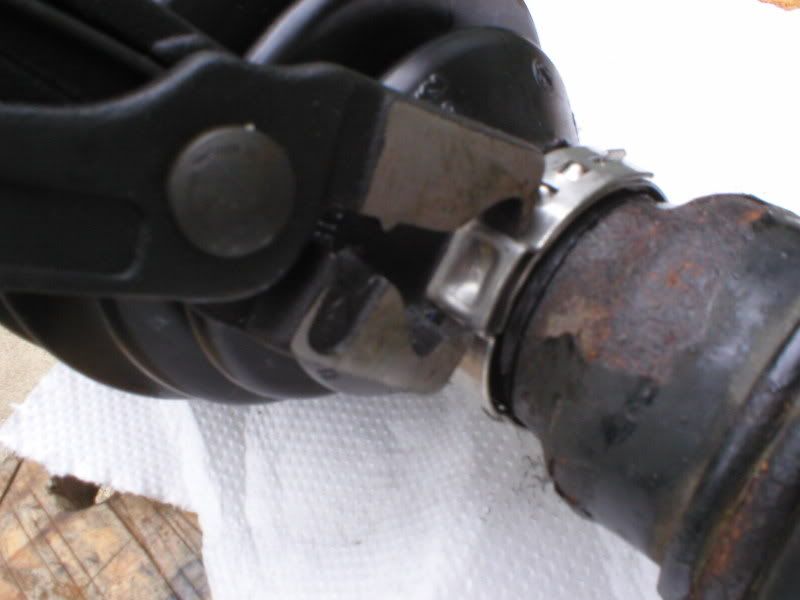
Remove the two clips securing the outer cv joint boot and cut off the old boot. Place the driveshaft in a vice. Position a short extension carefully as shown in the next picture, so that the end is squarely touching the shoulder and nothing else.
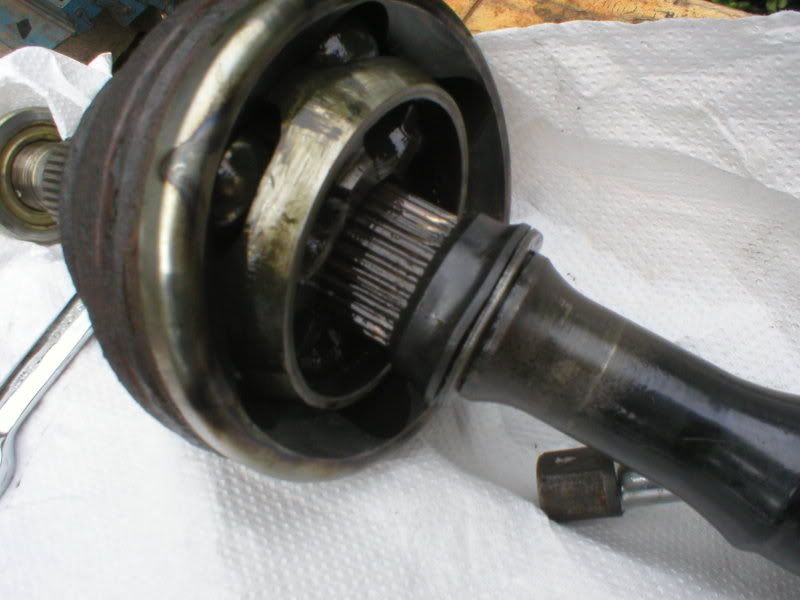
Hit the end of the extension hard with a hammer. The cv joint will move down the splines as shown.
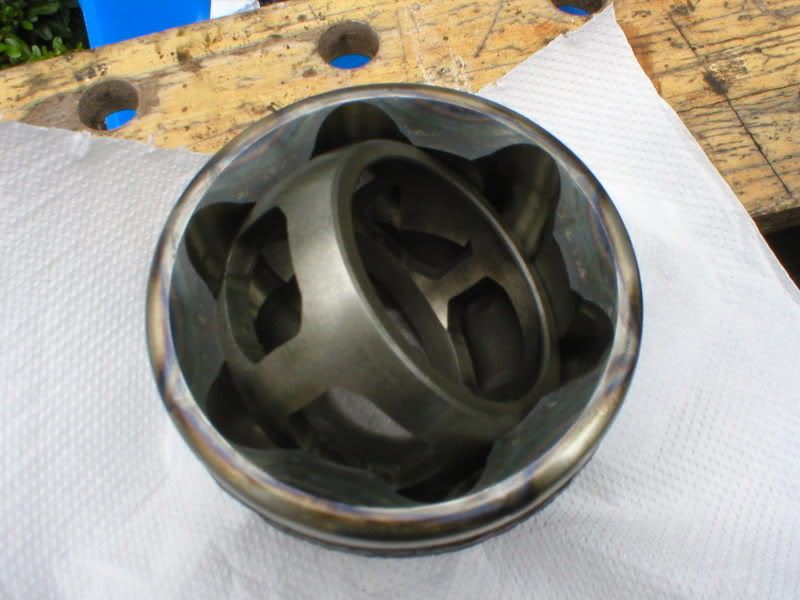
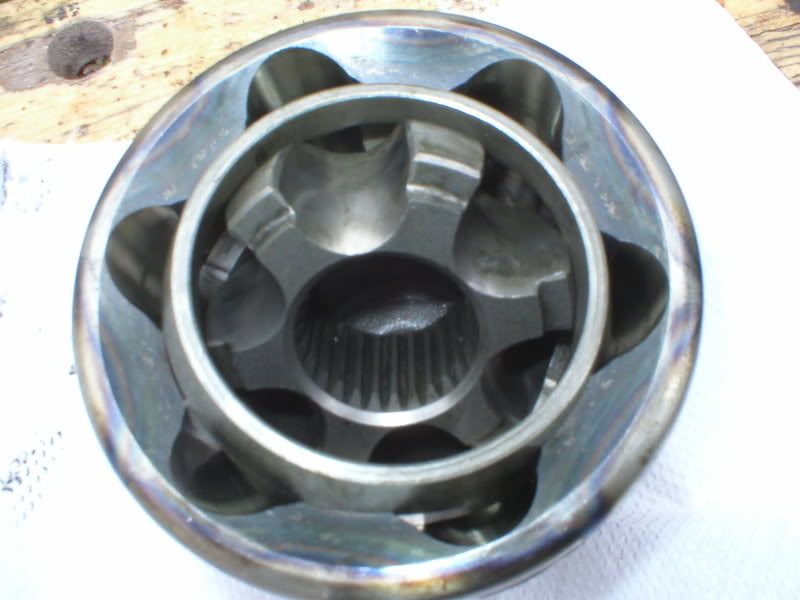
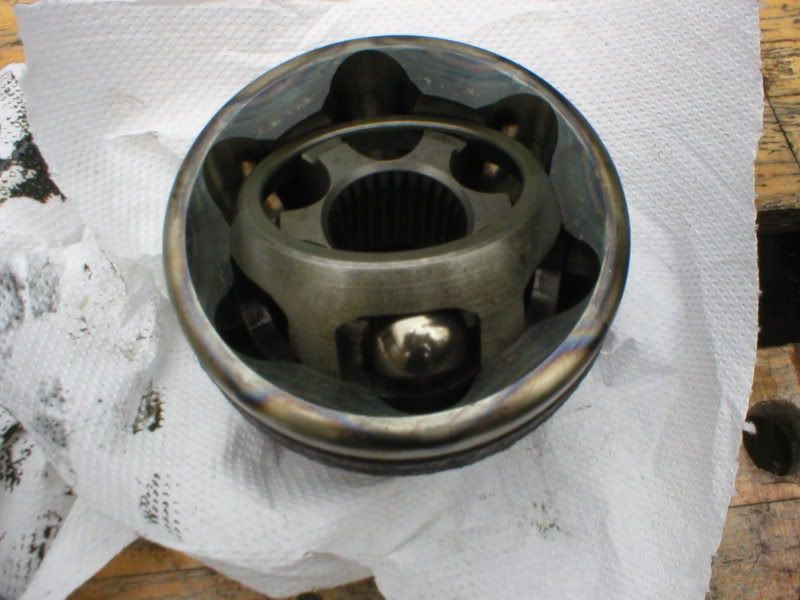
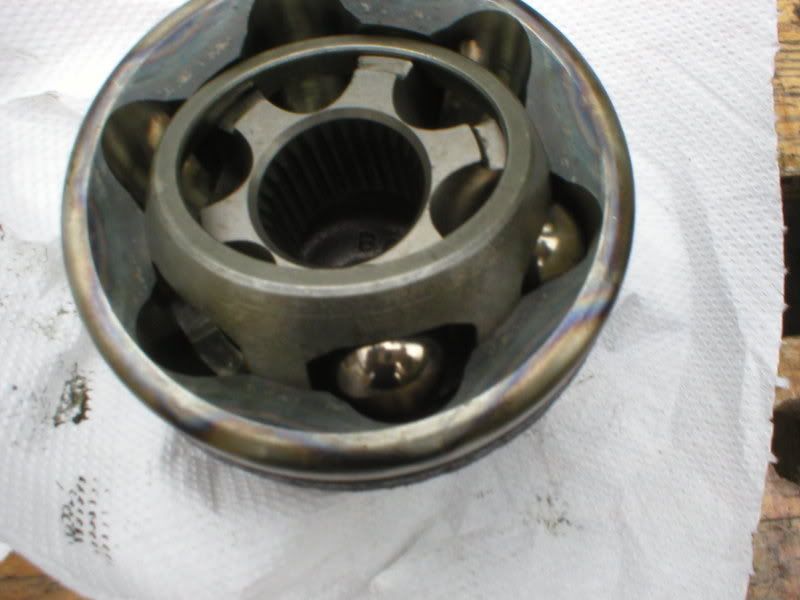
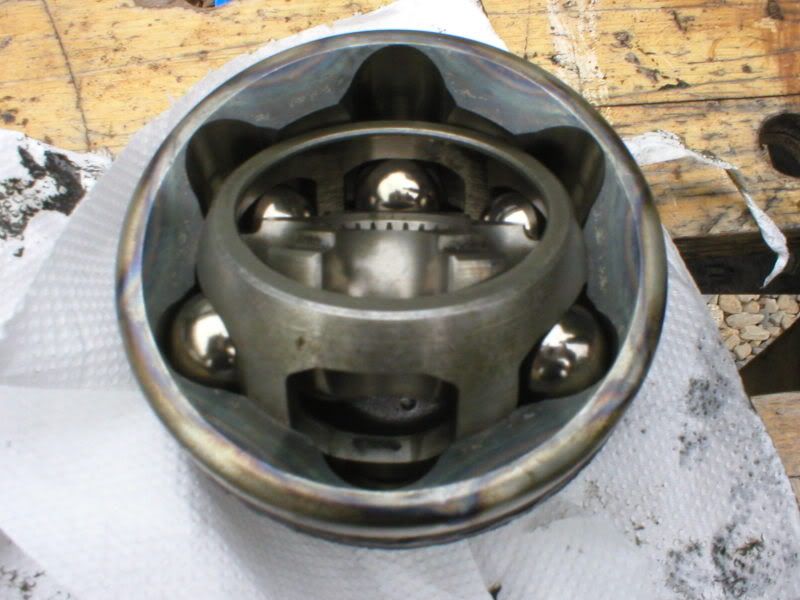
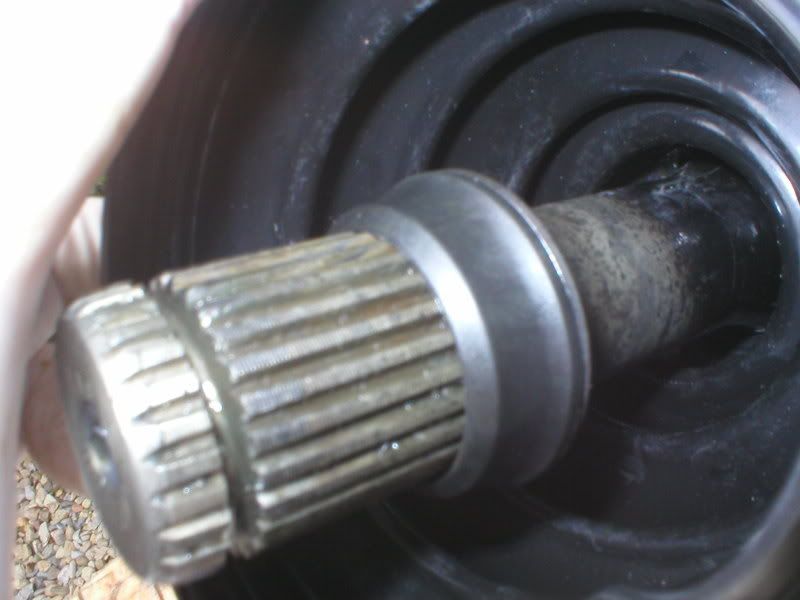
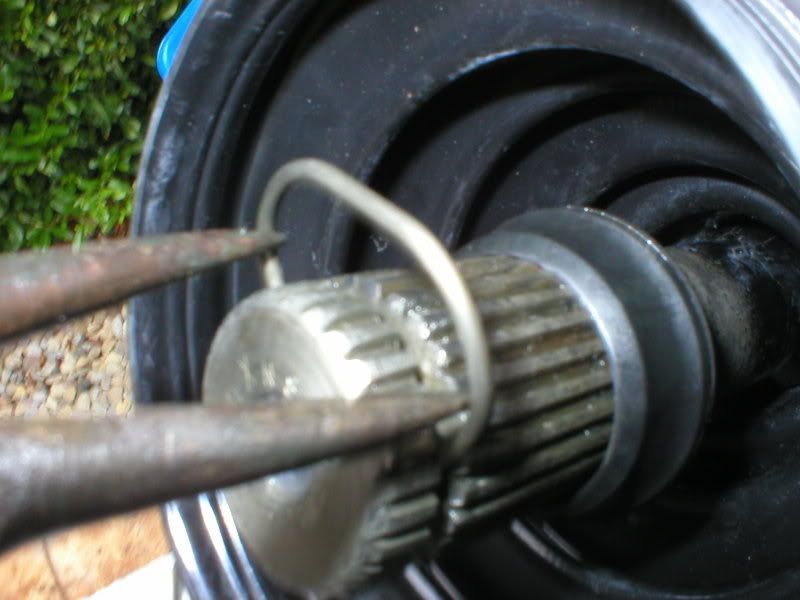
Remove the cv joint from the end of the driveshaft, noting that the wire clip is still in the groove near the end. If you are re-using the CV joint, work the joint round so that you can remove the six large ball bearings, then remove the circular cage and six-pointed inner section.
Clean all the old grease off all the items. Inspect them for any noticeable wear or scratches.


")

