• Hey Guest👍👎 We're looking for reviews of your local CUPRA or SEAT Dealership - it's quick and easy to do: Leave a review now

kENN1N

Active Member
Jul 1, 2026
10
2
Hey guys, i just bought my new car, and my first project is car audio...

Im gonna install a Match UP 6DSP amplifier and that requires access to the MIB unit to install this adapter.
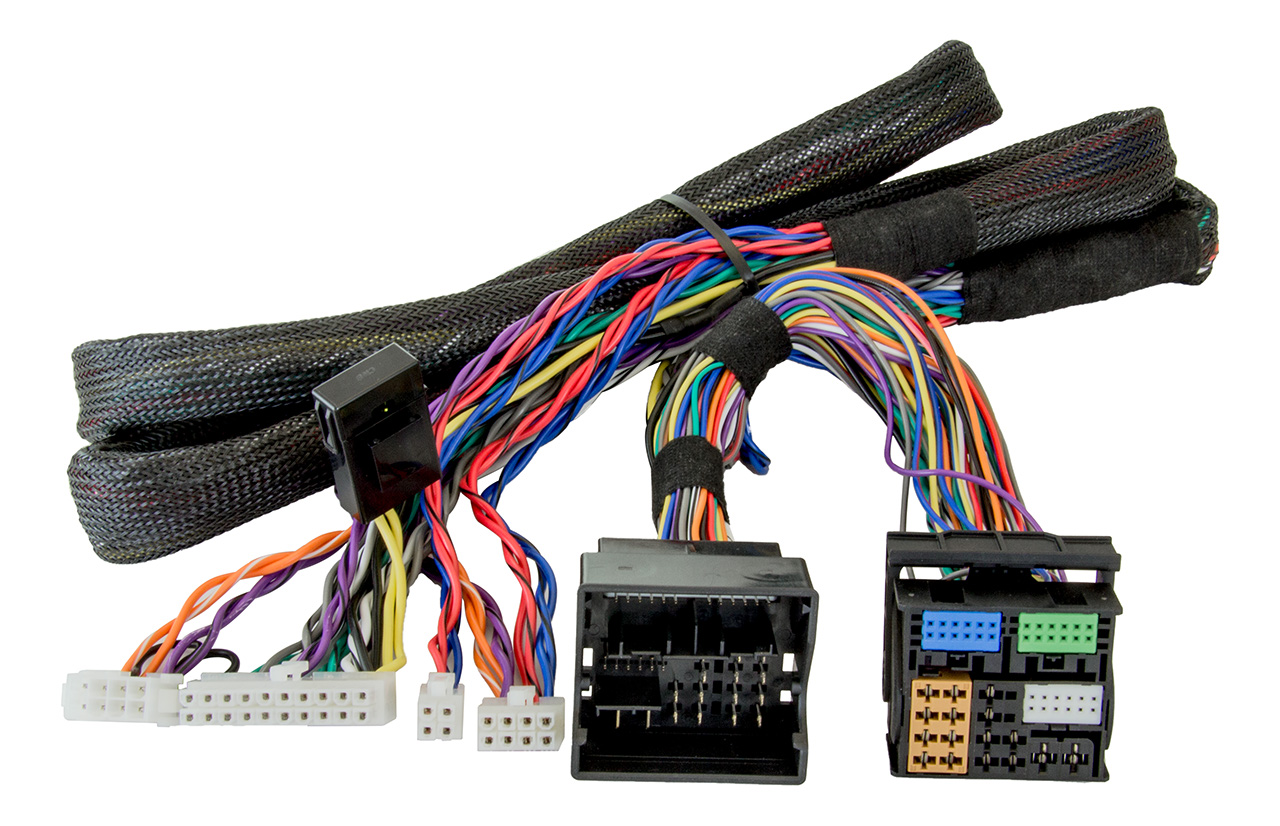
I heard that this box/unit is moved around on different models etc.
My car has the 8.25" screen, so no navigation just apple/android carplay, its a 2023 Ibiza FR.

If someone could enlighten me where it is and what i have to disassemble to get there it would be much appreciated.

Regards.
 
You connect it to the head unit. The head unit is your screen.

Here you have pics of the head unit
Nice! thanks - finally some clarity, because i did infact contact a seat service center in my country and their mechanics said they think its behind the glovebox, i got different answers but nothing definitive.

I found your project now, did you remove the trim around the radio and removed it, no further disassembly?

Also did you run active or passive, i dont know if i should do that to split up the tweeters & door, i like it simple and easy to mount but also want the best quality, so im not sure if its worth the hassle.
 
Nice! thanks - finally some clarity, because i did infact contact a seat service center in my country and their mechanics said they think its behind the glovebox, i got different answers but nothing definitive.

I found your project now, did you remove the trim around the radio and removed it, no further disassembly?

Also did you run active or passive, i dont know if i should do that to split up the tweeters & door, i like it simple and easy to mount but also want the best quality, so im not sure if its worth the hassle.

Hmm i havent changed any audio in my ibiza, i thought about getting a Match mini dsp plug and play and change the speakers. But i think you will have to add a subwoofer in the back to be worth the upgrade. Otherwise the stock sound will be ok.

There is a trim part you will have to remove first. I think its the one on the dashboard, not the trim around the radio.
 
  • Like
Reactions: Tell
Nice! thanks - finally some clarity, because i did infact contact a seat service center in my country and their mechanics said they think its behind the glovebox, i got different answers but nothing definitive.

I found your project now, did you remove the trim around the radio and removed it, no further disassembly?

Also did you run active or passive, i dont know if i should do that to split up the tweeters & door, i like it simple and easy to mount but also want the best quality, so im not sure if its worth the hassle.

Check with astina, real nice people there. I ordered a black front grill trim from them.

 
Check with astina, real nice people there. I ordered a black front grill trim from them.

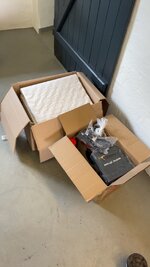
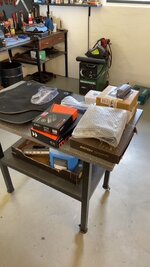
So im in the ordering section of the project now, for now the list is like this, i called Audiotec Fischer and found everything i needed.
  1. Match UP 6DSP - For Speakers
  2. Match UP 1FX - For Subwoofer
  3. Match PP-PAM 92B - Adapter cable
  4. Match PP-EC - Extender cable
  5. Helix URC.3 DSP Remote - Controller
  6. Single RCA Cable - Connecting 1FX to 6DSP for sub signal
  7. 10" Hertz Mille Pro MPS 250
  8. Custom box
  9. Helix Compose Ci3 K165.2FM-S3 MK2 - Speakers & Tweeters
  10. Helix Mounts - 3D printing myself
  11. STP Black Gold + Foam - In doors and trunk
  12. Power Cables - Fuses - ETC
  13. Making my own raised trunk so everything fits under there
I still havent figured out if i can just remove the trim around the radio and access all screws to dismount it or if i need to remove the silver center part to access everything - guess i find out when installing everything, but way less complicated with first scenario.
 

Attachments

  • ac4a7f33-297f-4553-a6c1-1e60fa18a500.jpg
    ac4a7f33-297f-4553-a6c1-1e60fa18a500.jpg
    86.2 KB · Views: 45
You might wish to get hold of the erwin manuals although you have to register as self employed rather than an end user these days. Trade only and buy your self a couple of hours air time to download the pdfs. They show in loose detail how to take this apart plus lots of other stuff. There are pdfs specific to the car and generals ones plus a wealth of other information. The official VAG publication on maintenance.

 
You might wish to get hold of the erwin manuals although you have to register as self employed rather than an end user these days. Trade only and buy your self a couple of hours air time to download the pdfs. They show in loose detail how to take this apart plus lots of other stuff. There are pdfs specific to the car and generals ones plus a wealth of other information. The official VAG publication on maintenance.

Yeah unfortunately its not possible to get access as private consumer anymore.
 
You give yourself a business name.... easy enough. Suppose to be related to Australian rules where where Tom, **** or Harry can't be given details of how to electrocute themselves on an EV so the story goes they said trade only. But if you have ever been self employed you know the drill. It's how you get into trade events :unsure:.
 
I decided to nail it on the fly :ROFLMAO:

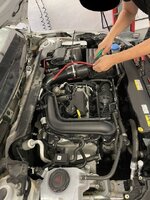
- Power is installed
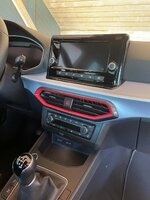
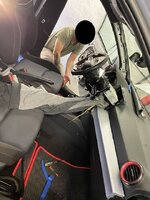
- Trim off the radio but found out it had no torx screws, had to use 4 pin keys to get it out
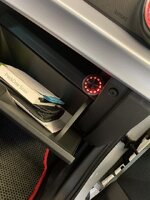
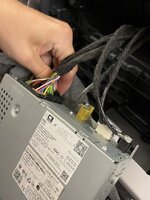
- Had to remove entire glovebox to install quadlock adapter as i couldnt reach the cable from the backside
^ Extended it to the boot and blinded the orignal power cables as im running highpower.
^ it was a perfect opportunity to drill a small hole in the right part of glovebox to install my conductor controller aswell and drag it to the boot side by side with the connector cable.
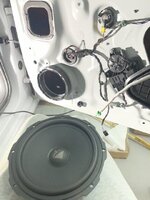
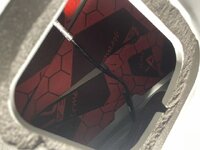
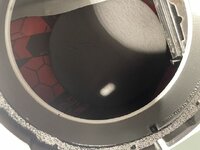
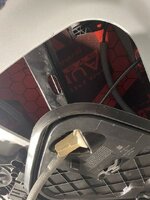
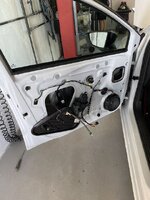
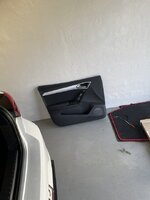
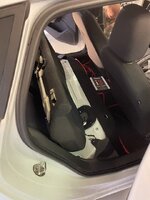
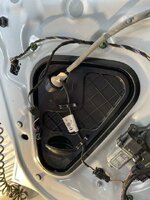
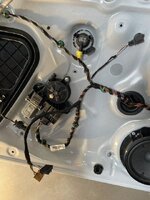
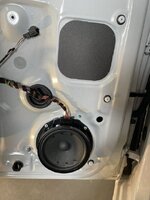
- All 4 doors has been soundproofed with Multilayer 7500 and Steg S7
- Front A pillar & doors have had Helix Compose Ci3 K165.2 MK 2 set installed.
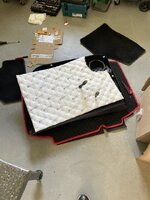
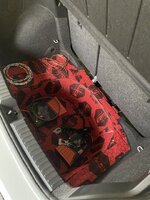
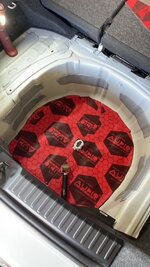
- Boot is soundproofed and the hatch aswell.
- Match 6DSP is installed and running a simple basic setup while i wait for my sub.
- Gonna build a new steady bottom, install 6DSP and 1UPFX on that, make some spacers and a new 2 piece board on top with felt matching the existing in the boot.

It's been one hell of a ride for now as its first time doing this haha, but you get to know the car thats for sure.
^ Pro tip, dont try to remove the silver pillar, i would rather step on legos for 30 minutes straight than trying to fit it in again.
^ The radio trim is clicked on SO well, i was -><- close to break it when removing the last 2 bottom clips.
 

Attachments

  • image0.jpeg
    image0.jpeg
    51.1 KB · Views: 8
  • image1 (1).jpeg
    image1 (1).jpeg
    50.7 KB · Views: 8
  • image2 (1).jpeg
    image2 (1).jpeg
    45.5 KB · Views: 8
  • image3 (1).jpeg
    image3 (1).jpeg
    48.2 KB · Views: 7
  • image7.jpeg
    image7.jpeg
    58.3 KB · Views: 7
  • image5.jpeg
    image5.jpeg
    59.1 KB · Views: 7
  • image4 (1).jpeg
    image4 (1).jpeg
    55.3 KB · Views: 7
  • image12.jpeg
    image12.jpeg
    60.8 KB · Views: 7
  • image11.jpeg
    image11.jpeg
    36.1 KB · Views: 7
  • image10.jpeg
    image10.jpeg
    46.7 KB · Views: 8
  • image8.jpeg
    image8.jpeg
    67.5 KB · Views: 5
  • image17.jpeg
    image17.jpeg
    222 KB · Views: 5
  • image16.jpeg
    image16.jpeg
    50 KB · Views: 5
  • image15.jpeg
    image15.jpeg
    61.6 KB · Views: 5
  • image14.jpeg
    image14.jpeg
    60.1 KB · Views: 6
  • image13.jpeg
    image13.jpeg
    51.4 KB · Views: 6
  • image18.jpeg
    image18.jpeg
    45 KB · Views: 6
  • image6.jpeg
    image6.jpeg
    82.1 KB · Views: 6
  • image9.jpeg
    image9.jpeg
    67.4 KB · Views: 6
  • Like
Reactions: Tell