As there's been a lot of talk recently i thought I'd post up a guide I did a while ago on how to smooth the O/E airbox
Hope this is of some help.
Feel free to add anything I have missed
Right you will need
1- pwer drill or dremil
2- grinding stone bit for above tool
3- Sand paper flap wheel for above tool
4- Sharp chistle if youv got one or wire cutters
5- sand paper
6- sharp knife
7- If you want it drilled - 10 mm drill bit
8- 3" flexi feed pipe
9- bit of cloth
10- hot glue gun or mastic
11- very small bit of either 2mm MDF or thick card about 6" x 6"
Be warned this will make a mess
To start remove airbox from car.
When you do the top half place it on the cloth otherwise you will scratch the outside of thr box when your working on it.
Useing the wire cutters snip off all the raised bits of plastic from the inside of the top and the bottom half's of the airbox, DONT remove the funnel that goes to the M.A.F in the top half. Then get the chistle and slice off what you could'nt get to.
Now get the drill with the grinding stone and grind out the bits you could'nt get to with the chistle, this WILL make a lot of mess, if you use the drill to do it all it make even more mess
You can then use the sandpaper flap wheel to smooth the surface down so it is nice and smooth.
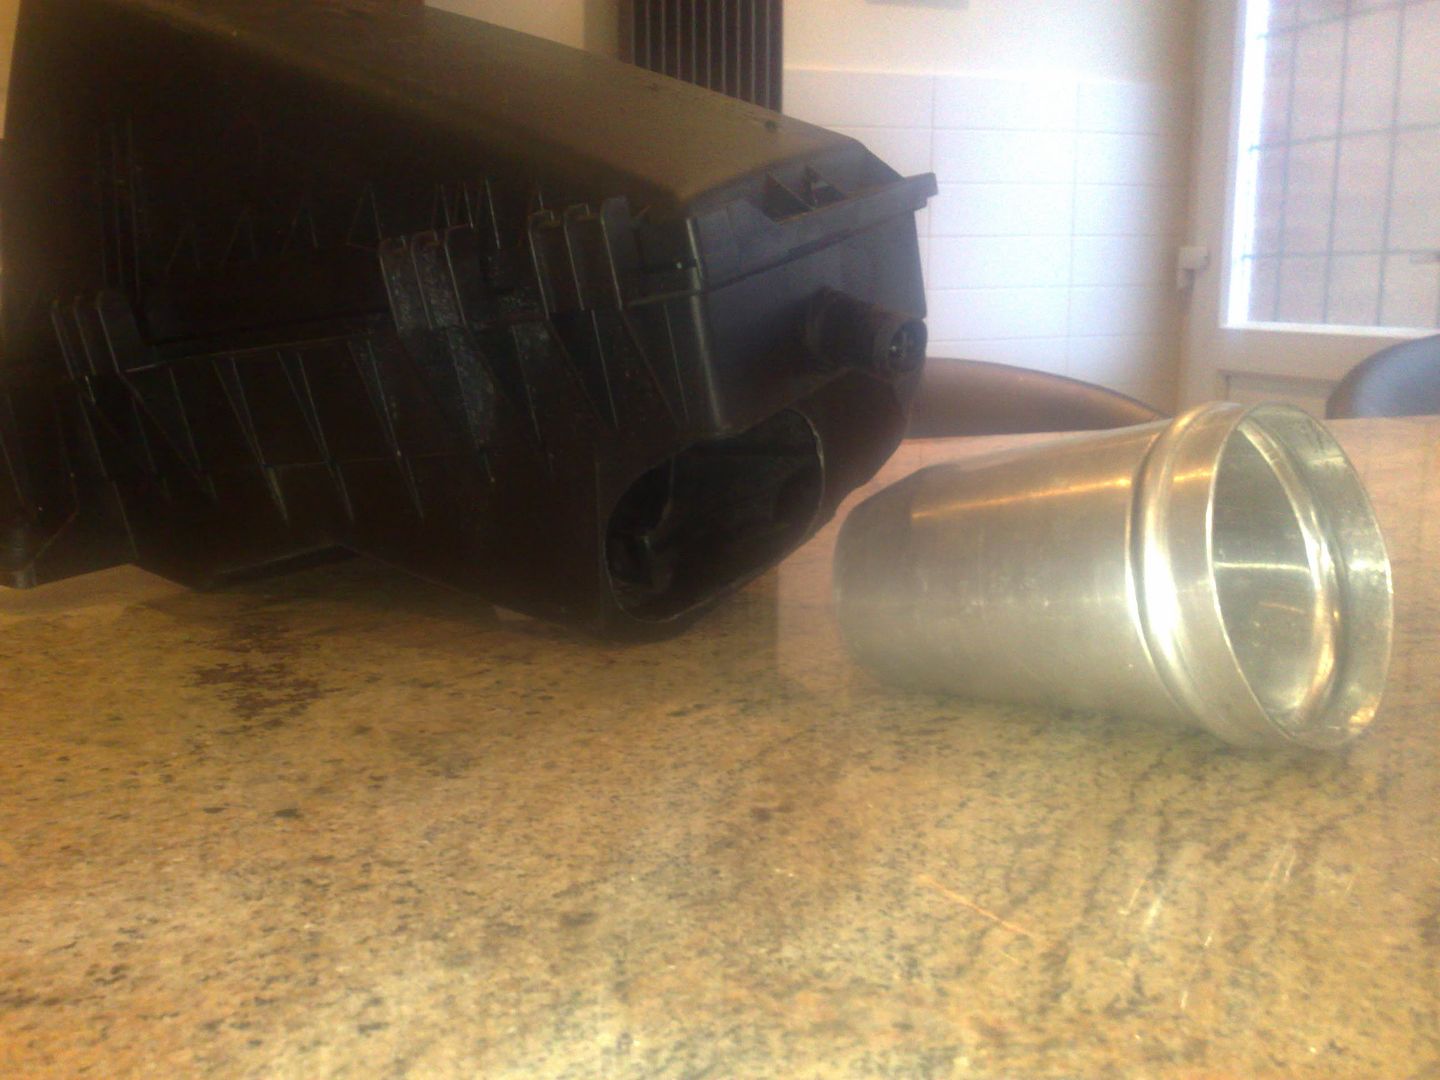
In the bottom half where the O/E feed pipe enters you will see a soft plastic oval flap, Cut it off and feed the 3" flexi pipe in. then cut the card of MDF to a shape that will cover the hole left at the side ao the feed pipe and glue or mastic into place.
This image has been resized. Click this bar to view the full image. The original image is sized 1024x768 and weights 231KB.
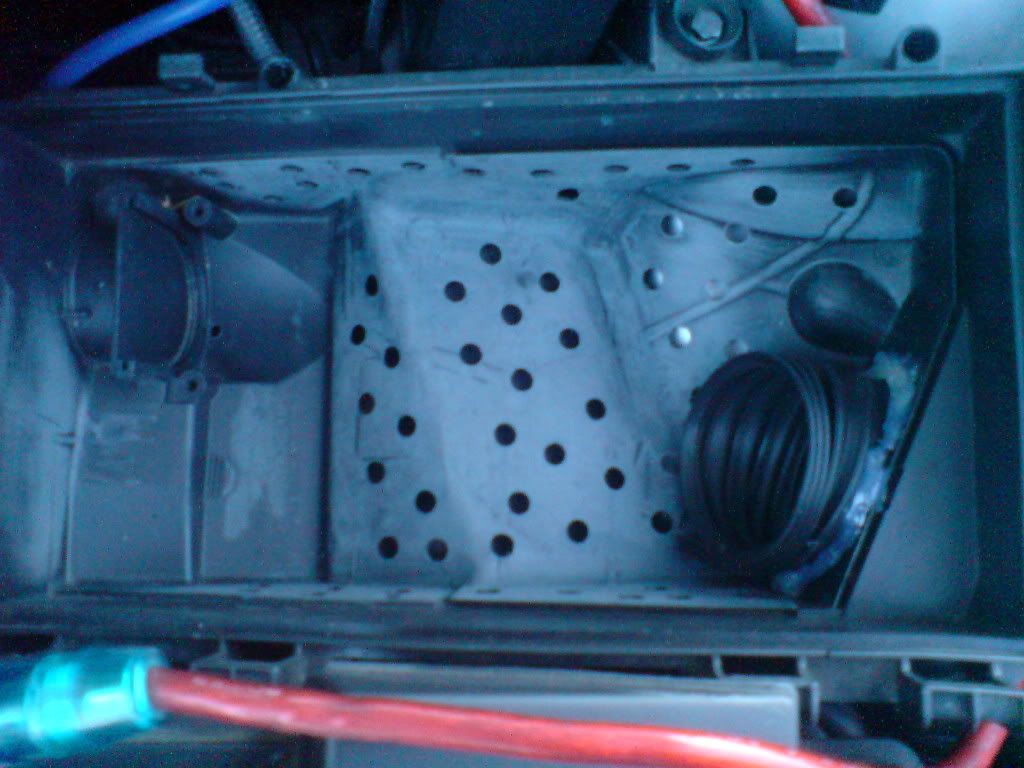
If you want a nice induction noise you can drill some holes in the BOTTOM half of the airbox, I drilled the bottom and up the sides, just make sure you dont drill above where the filter will sit, The more holes you drill the more noise you will get I did about 50 x 10mm holes and it sounds very good.
Refit and enjoy
Before and After

Drilled Bottom half of the airbox
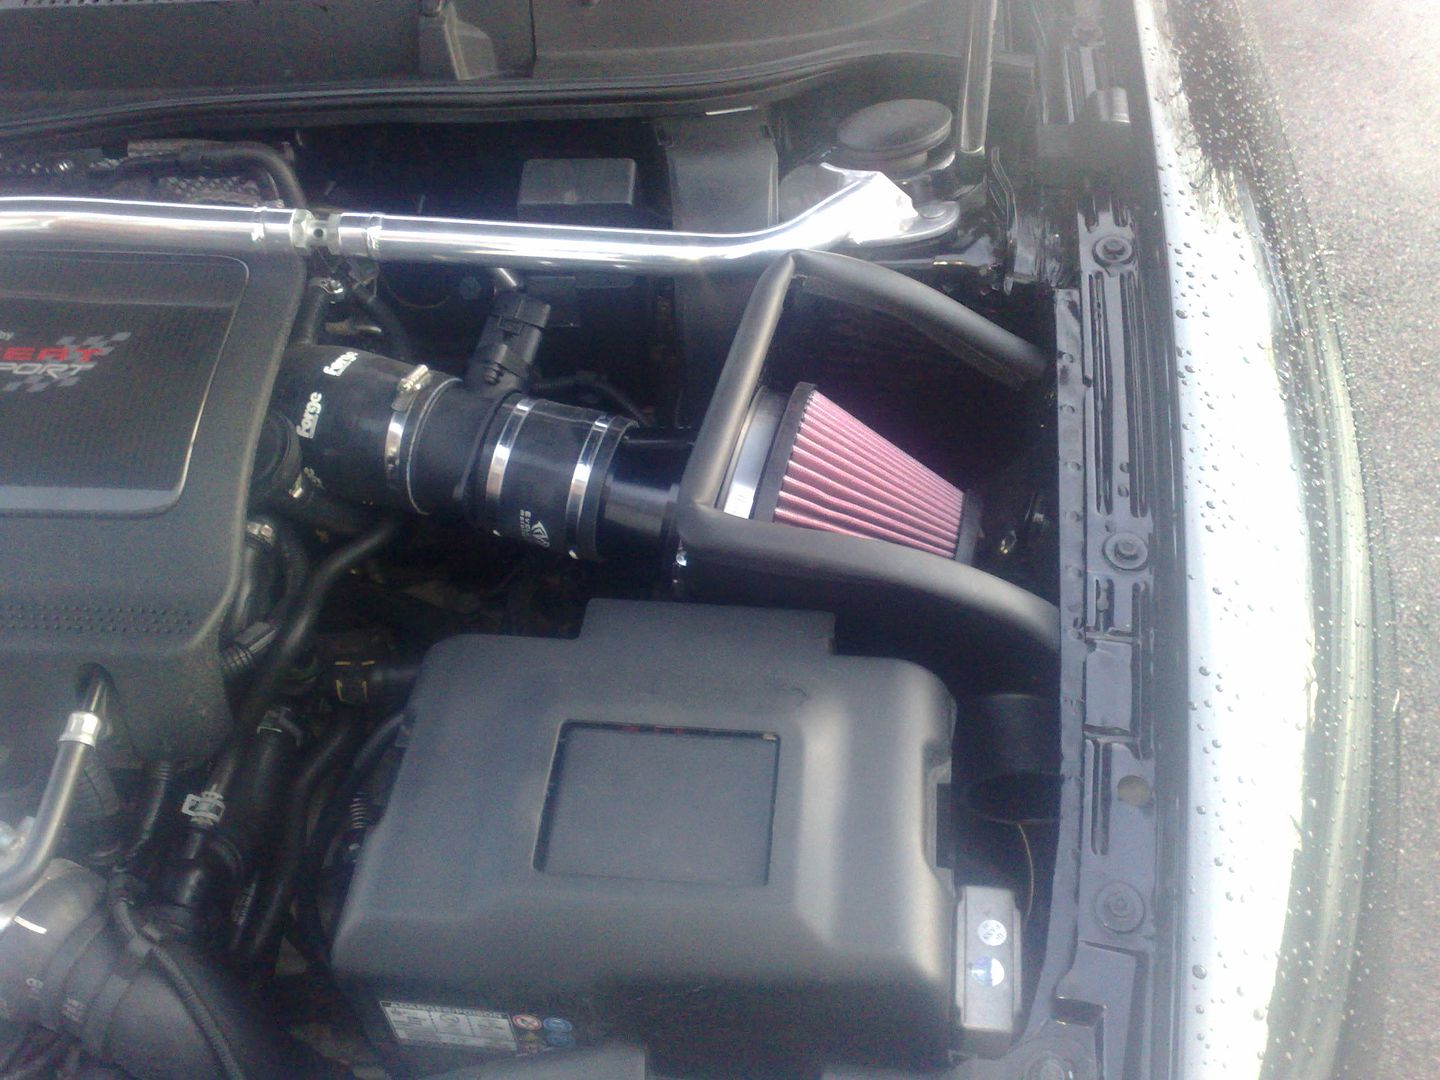
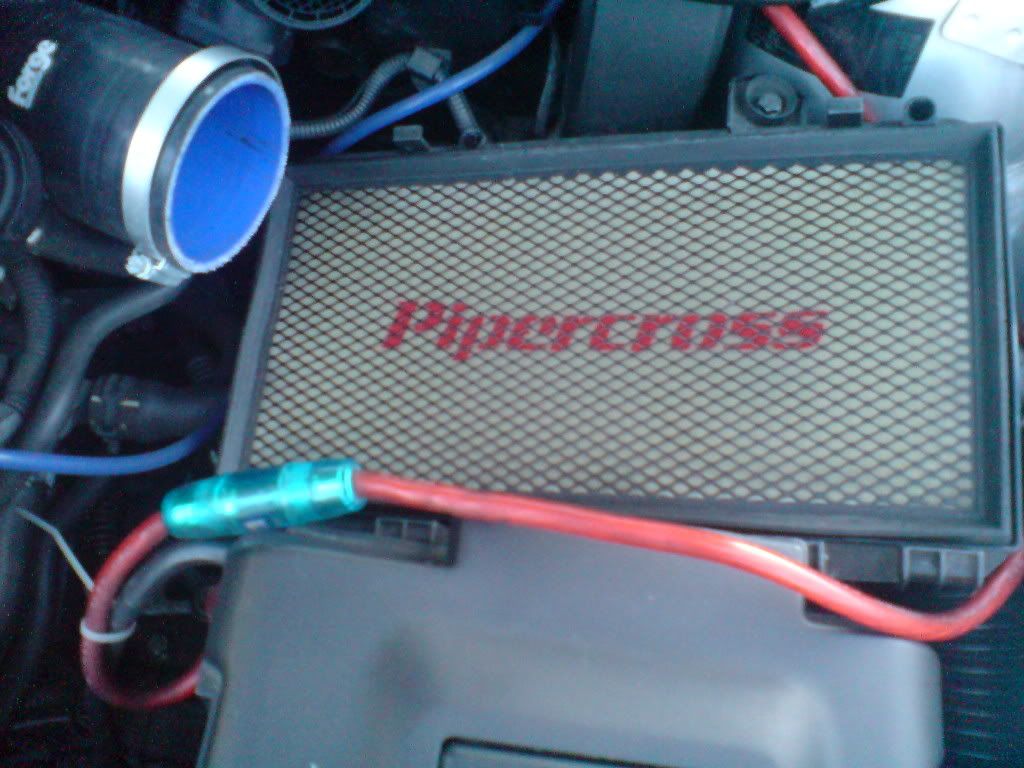
Filter fitted
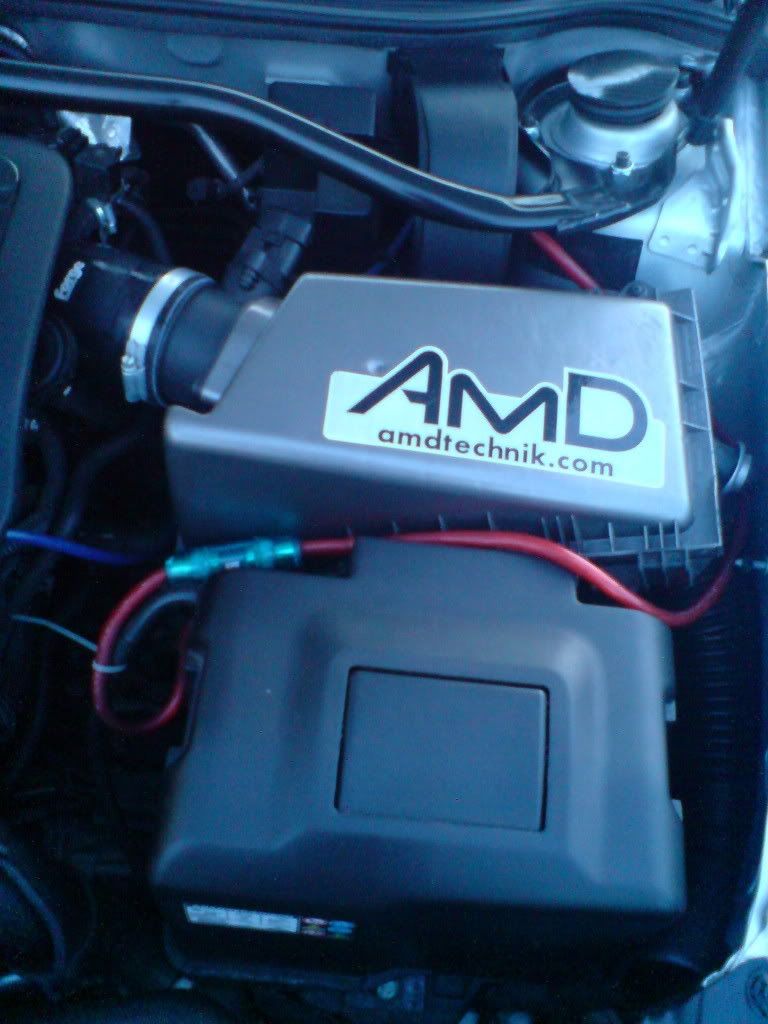
The ducting runs down the left side of the battery and sit's just behind the near side head light

Hope this is of some help.
Feel free to add anything I have missed
Right you will need
1- pwer drill or dremil
2- grinding stone bit for above tool
3- Sand paper flap wheel for above tool
4- Sharp chistle if youv got one or wire cutters
5- sand paper
6- sharp knife
7- If you want it drilled - 10 mm drill bit
8- 3" flexi feed pipe
9- bit of cloth
10- hot glue gun or mastic
11- very small bit of either 2mm MDF or thick card about 6" x 6"
Be warned this will make a mess
To start remove airbox from car.
When you do the top half place it on the cloth otherwise you will scratch the outside of thr box when your working on it.
Useing the wire cutters snip off all the raised bits of plastic from the inside of the top and the bottom half's of the airbox, DONT remove the funnel that goes to the M.A.F in the top half. Then get the chistle and slice off what you could'nt get to.
Now get the drill with the grinding stone and grind out the bits you could'nt get to with the chistle, this WILL make a lot of mess, if you use the drill to do it all it make even more mess
You can then use the sandpaper flap wheel to smooth the surface down so it is nice and smooth.
In the bottom half where the O/E feed pipe enters you will see a soft plastic oval flap, Cut it off and feed the 3" flexi pipe in. then cut the card of MDF to a shape that will cover the hole left at the side ao the feed pipe and glue or mastic into place.
This image has been resized. Click this bar to view the full image. The original image is sized 1024x768 and weights 231KB.
If you want a nice induction noise you can drill some holes in the BOTTOM half of the airbox, I drilled the bottom and up the sides, just make sure you dont drill above where the filter will sit, The more holes you drill the more noise you will get I did about 50 x 10mm holes and it sounds very good.
Refit and enjoy
Before and After
Drilled Bottom half of the airbox
Filter fitted
The ducting runs down the left side of the battery and sit's just behind the near side head light
Last edited:


![[B)]](/forums/styles/seatcupra/oldforumsmileys/shades.gif "Cool [B)]")