Hi Mate,
To
help you a bit i did the following:
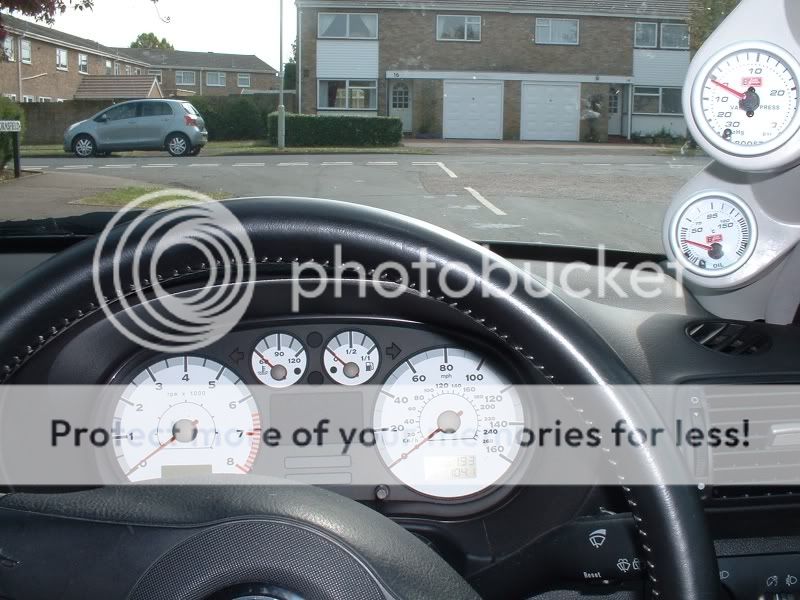
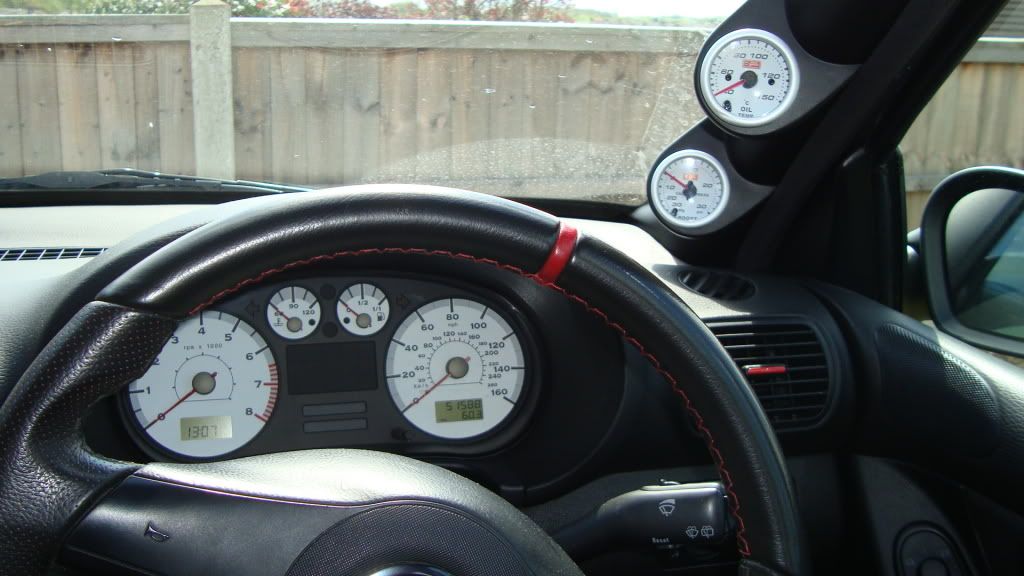
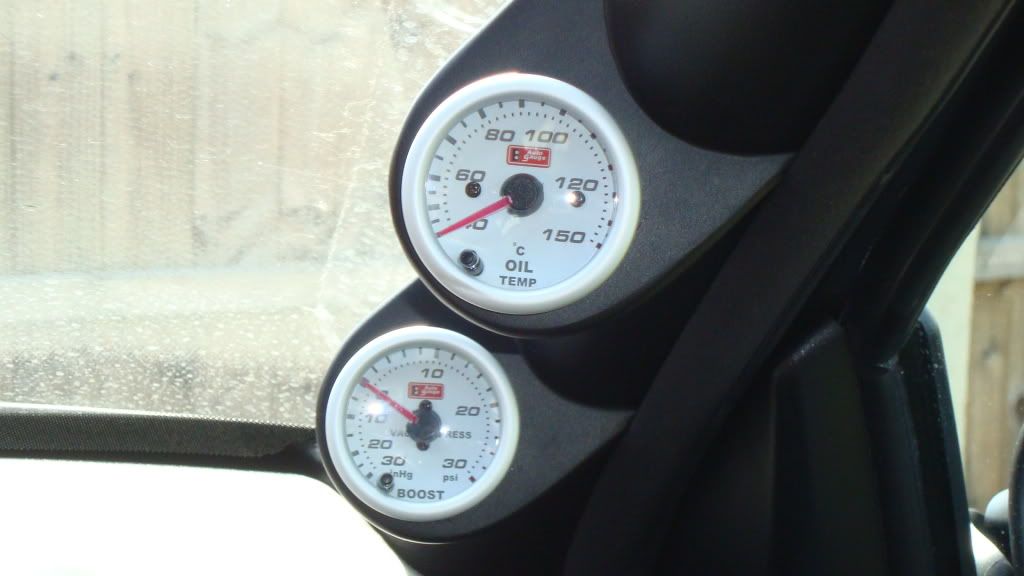
- Installed a nomad twin pillar pod assembly with 1 x boost gauge & 1 x oil temp gauge
- Installed three new fuse carriers (from halfords) with 10 Amp fuses in each. One of these is connected to the permanent live terminals below the steering wheel (under the cover) to the permanent live of each gauge. And the other two fuse carriers are connected to the switched live terminals and connected one to the boost gauge and one to the oild temp gauge. (I used two for the switched live feed to split the load a bit, as you need to run more than one switched live to each gauge - on the autometer type i installed).
- I connected the feed for the gauge illumination to the cable that is live when the side lights are switched on (on the rear of the light control switch)
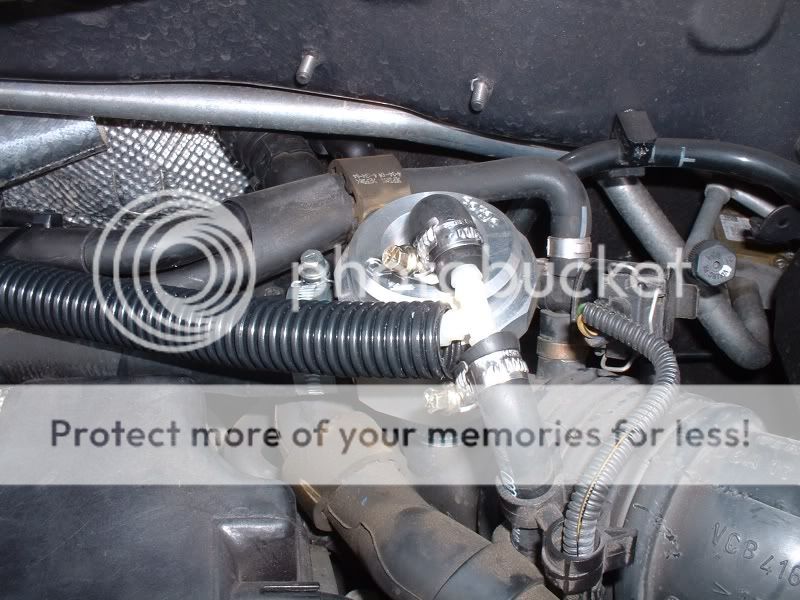
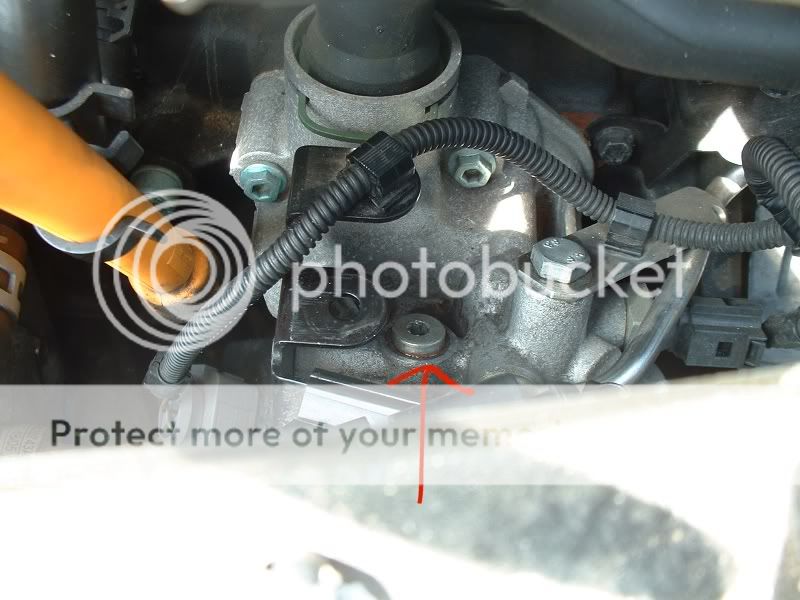
- I ran the cabling from the oil temp sender unit using black flexible conduit into the car (see photo links)
- I ran the boost pipe through the bulk head into the car (see photo links)
- I used self imalgimation tape and mastic to re-seal the bulk head cable gromit that is under the windscreen wiper cover .
I hope this gives you a bit of
help when you give it a go.
http://i167.photobucket.com/albums/...ost pipe and temp sender/DSC001451280x768.jpg
http://i167.photobucket.com/albums/...ost pipe and temp sender/DSC001781280x768.jpg
Cheers
Lee