I saw this mod about a year ago on this forum. It originates from the French forum called Leon2Passion.com . I thought I would post my version of a tutorial.
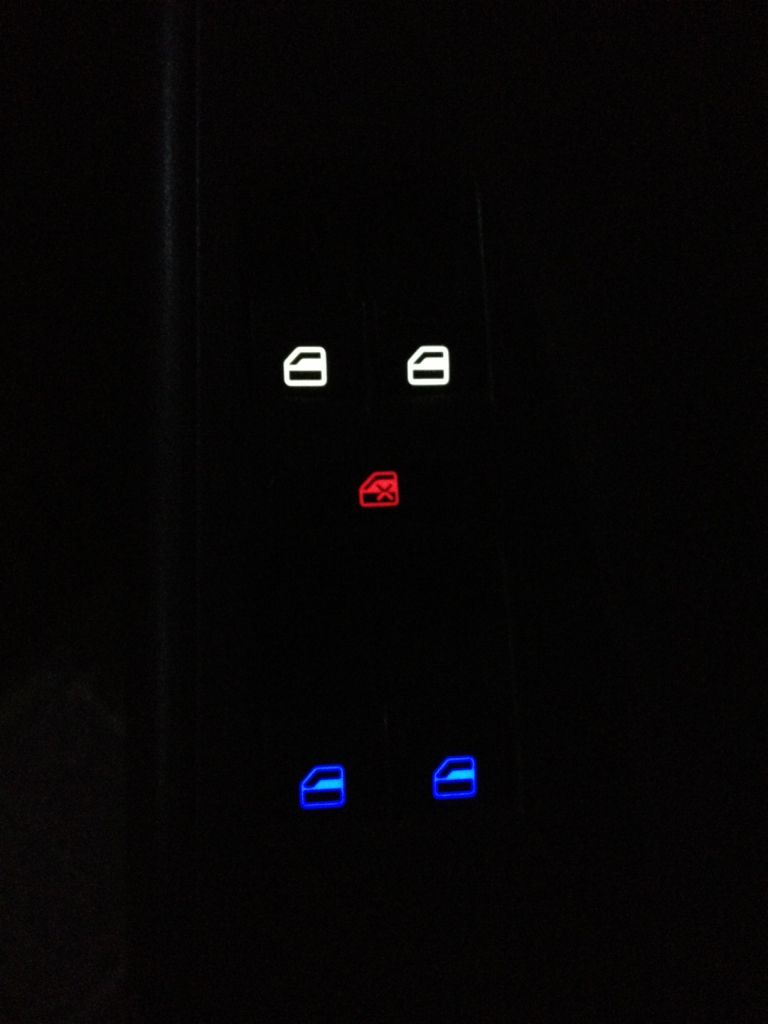
I could only find 2 places in SA that sell the required LED type, SMD LED 3528, the "3528" meaning 3.5mm x 2.8mm in size . . . they are tiny! For this job one needs 21 white LEDs for the radio and 11 white LEDs for the climate control. I also used 2 blue LEDs for the “cold” (down) arrow on the temperature control buttons(thanks TFSI_Mike).
http://www.communica.co.za/ProductListing.aspx?search=ka-3528&for=partNo&in=startsWith
http://shop.rabtron.co.za/catalog/a...sid=ad6297bf458880b05b5c3729ae0cc4db&x=17&y=9
I had the choice between 300 micro candescence (Communica) and 2000mcd (Rabtron). I chose to try the 300mcd white LEDs from Communica because I didn’t want the buttons to be too bright.
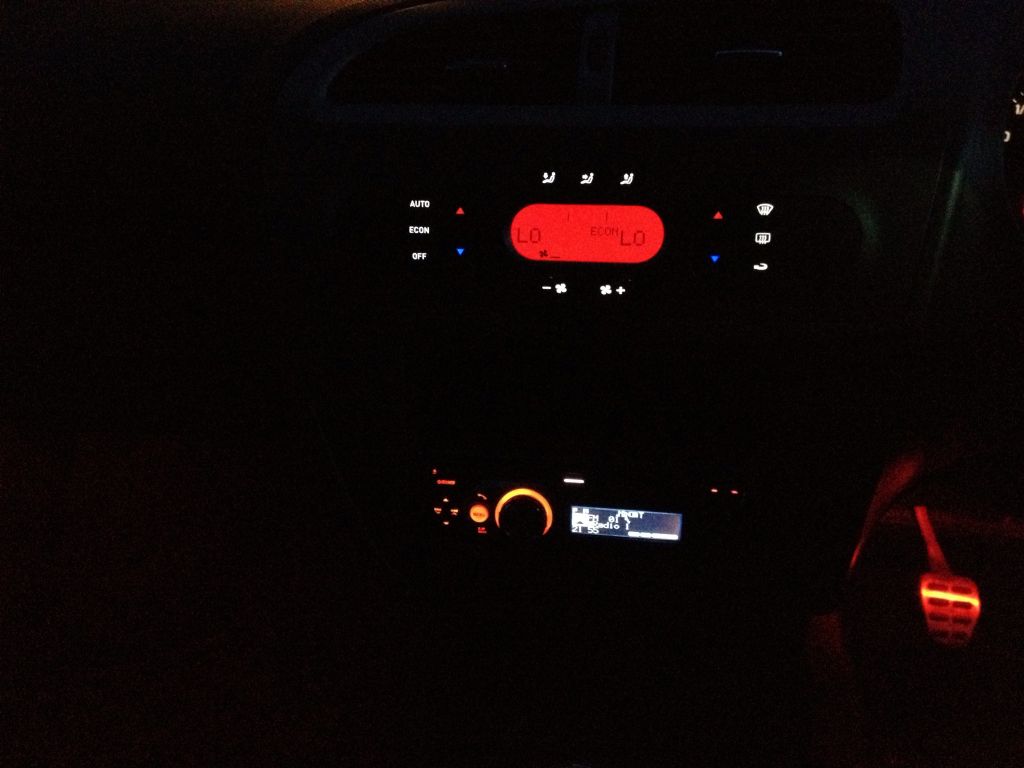
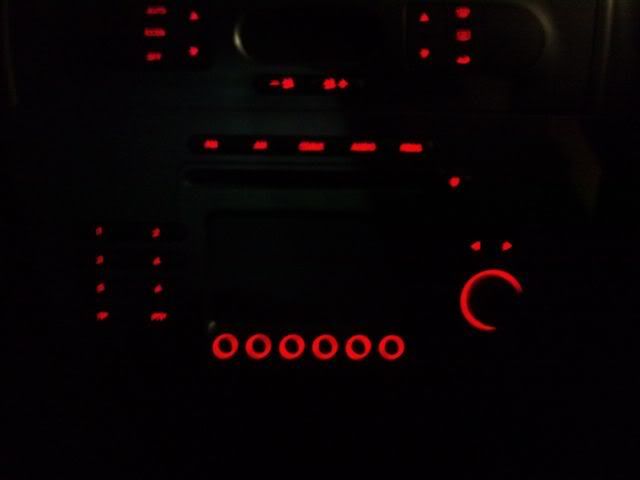
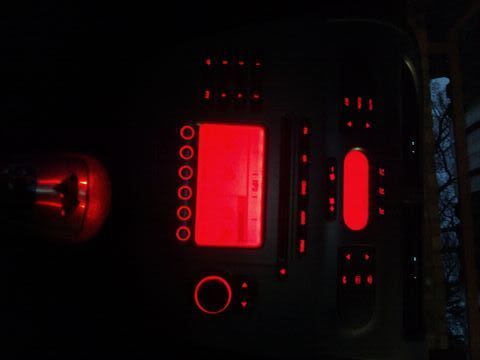
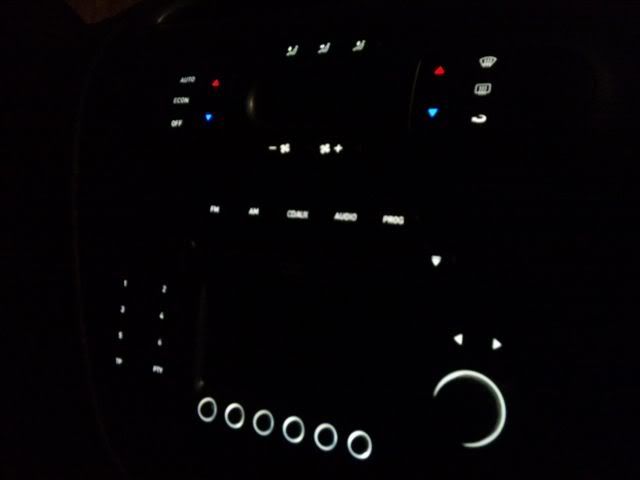
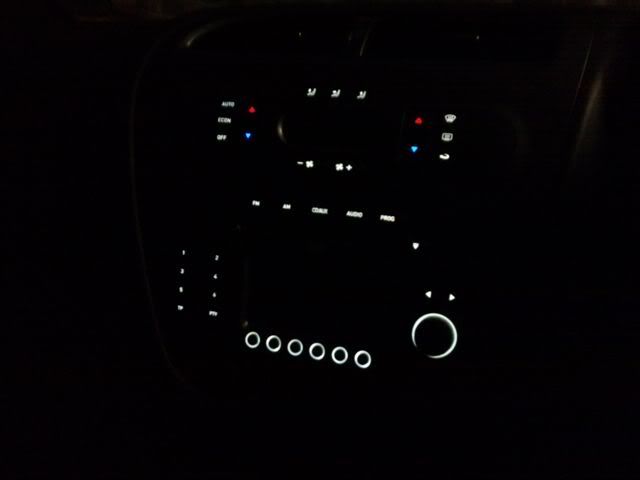
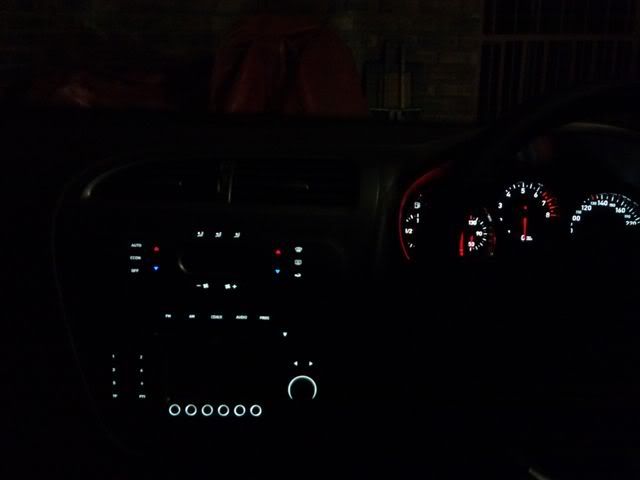
Center Console Before:
Removing the radio:
http://www.seatcupra.net/forums/showthread.php?t=139255
Removing the climate control:
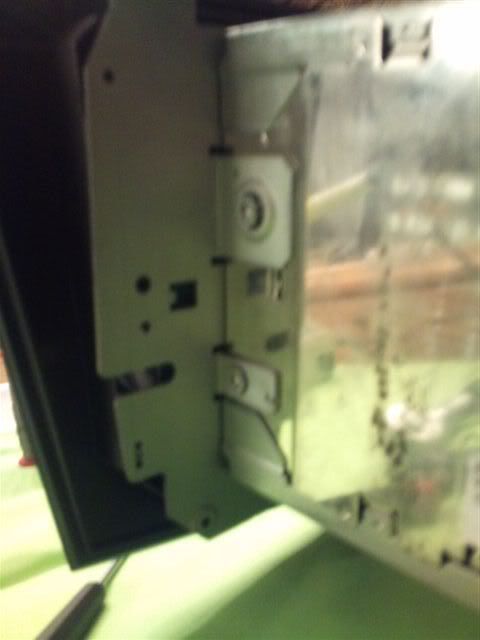
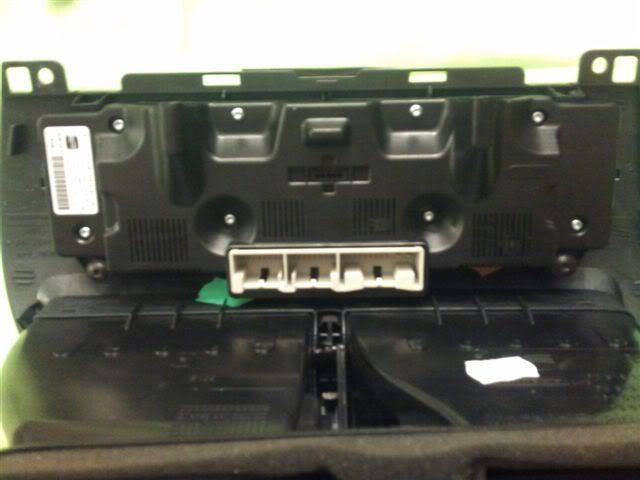
To get the climate control unit out one needs to take out the two torx screws that are visible from the front, as well as the two that are hidden underneath the unit ( above the radio when it is in the dash). Once those are out you have to pull the unit straight forward with quite a lot of force to unclip it from the dash. There are then 3 plugs to unclip and remove.
To strip the radio, take out the 4 torx screws from the sides,
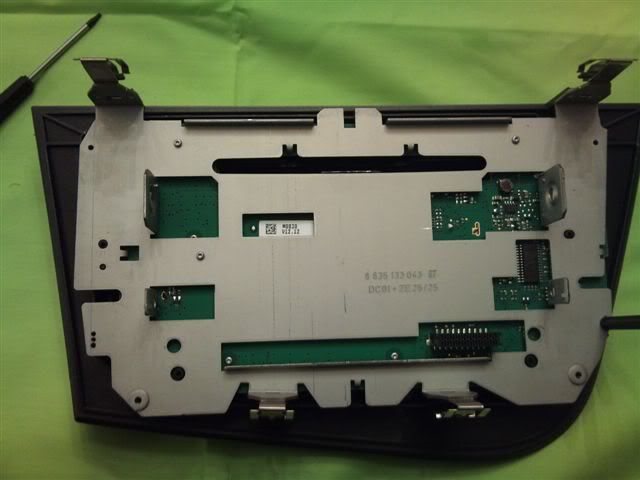
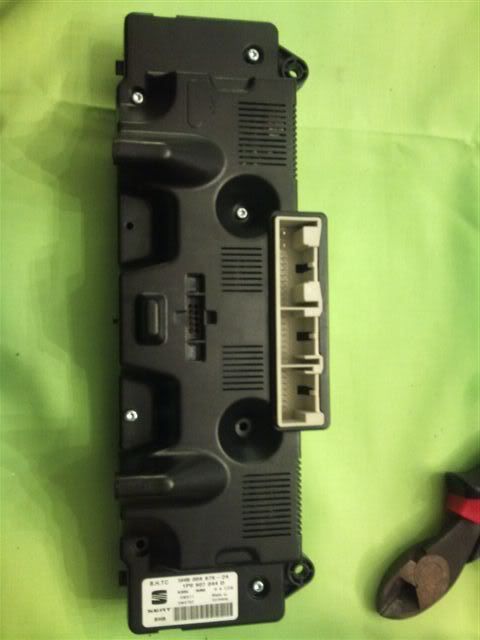
That will separate the back section from the front. Remove the metal panel/cover by removing the 7 small torx screws (I have removed 4 of them in this pic),
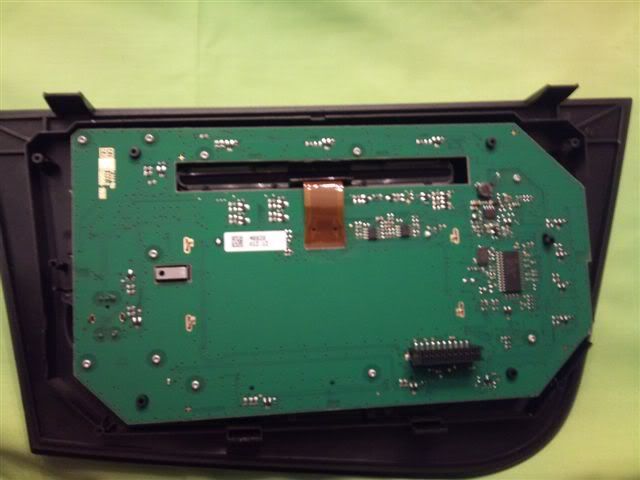
To separate the circuit board with the LEDs from the fascia plate, remove the 11 small torx screws,
Before pulling the fascia and circuit board apart remove the volume knob by pulling it straight out,
With the fascia plate removed,

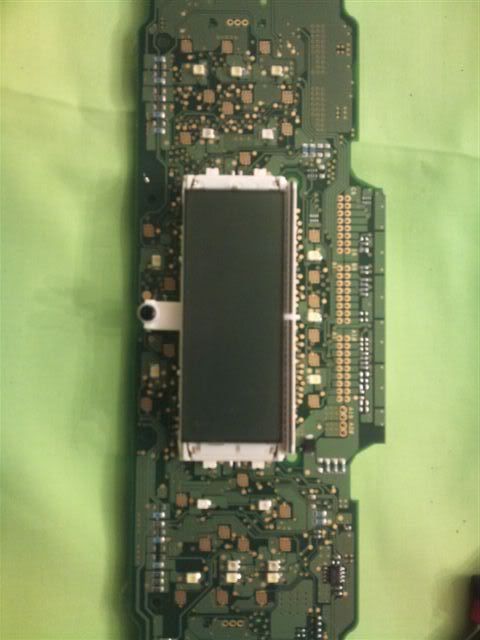
This exposes the LEDs, there are 21 to be changed in the radio. One of them is half hidden behind the volume control.
Close inspection of the LEDs will reveal a corner that has been chamfered,
I could only find 2 places in SA that sell the required LED type, SMD LED 3528, the "3528" meaning 3.5mm x 2.8mm in size . . . they are tiny! For this job one needs 21 white LEDs for the radio and 11 white LEDs for the climate control. I also used 2 blue LEDs for the “cold” (down) arrow on the temperature control buttons(thanks TFSI_Mike).
http://www.communica.co.za/ProductListing.aspx?search=ka-3528&for=partNo&in=startsWith
http://shop.rabtron.co.za/catalog/a...sid=ad6297bf458880b05b5c3729ae0cc4db&x=17&y=9
I had the choice between 300 micro candescence (Communica) and 2000mcd (Rabtron). I chose to try the 300mcd white LEDs from Communica because I didn’t want the buttons to be too bright.
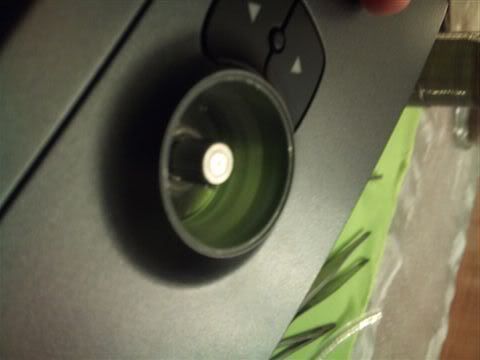
Center Console Before:
Removing the radio:
http://www.seatcupra.net/forums/showthread.php?t=139255
Removing the climate control:
To get the climate control unit out one needs to take out the two torx screws that are visible from the front, as well as the two that are hidden underneath the unit ( above the radio when it is in the dash). Once those are out you have to pull the unit straight forward with quite a lot of force to unclip it from the dash. There are then 3 plugs to unclip and remove.
To strip the radio, take out the 4 torx screws from the sides,
That will separate the back section from the front. Remove the metal panel/cover by removing the 7 small torx screws (I have removed 4 of them in this pic),
To separate the circuit board with the LEDs from the fascia plate, remove the 11 small torx screws,
Before pulling the fascia and circuit board apart remove the volume knob by pulling it straight out,
With the fascia plate removed,
This exposes the LEDs, there are 21 to be changed in the radio. One of them is half hidden behind the volume control.
Close inspection of the LEDs will reveal a corner that has been chamfered,


")