Hi all, Just an idea. I am taking loads of pics while rebuilding a spare engine I have. Is it worth while?
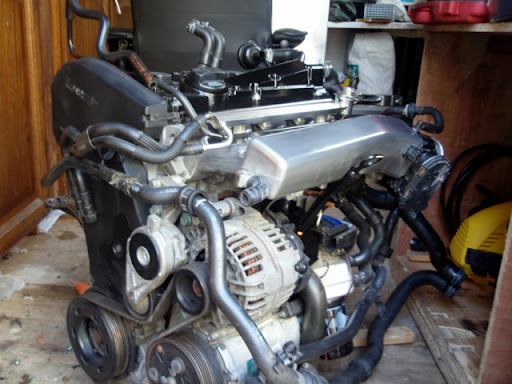
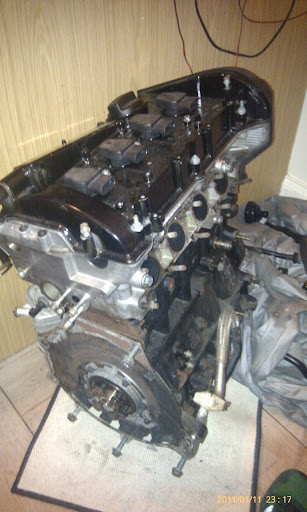
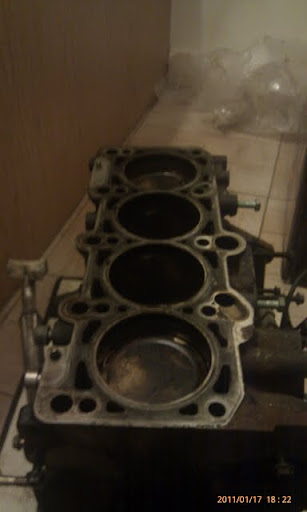
I got hold of a clean AYP (the original handwriting under the rear engine mount is still on the block allong with all of the white part number stamps and labels)
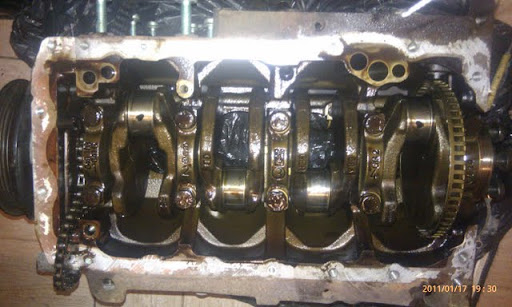
From here the plan was to strip the engine down completely,
hone the cylinder block
rebuild using new forged rods
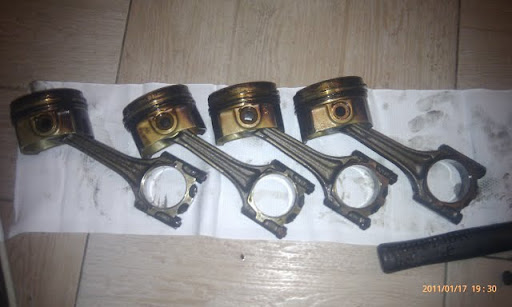
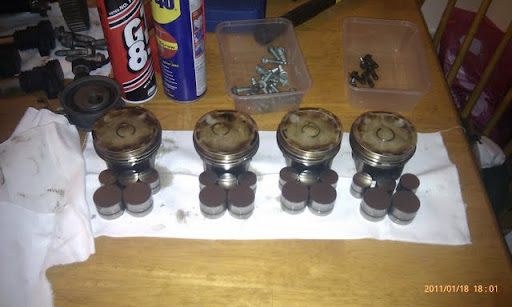
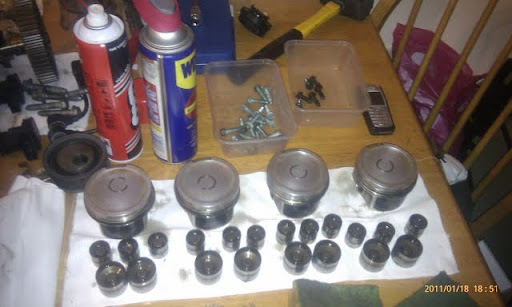
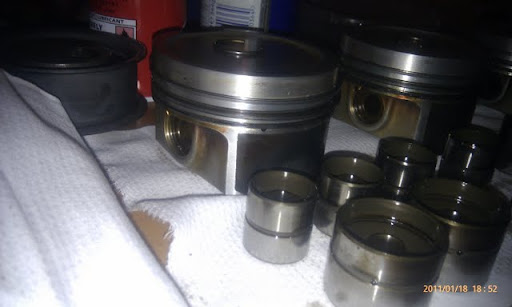
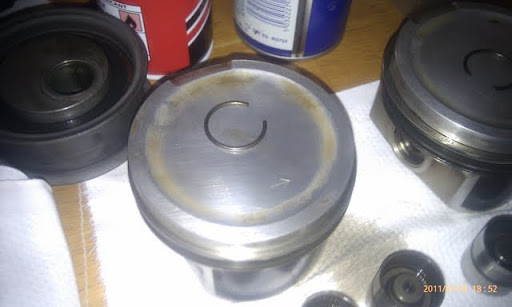
use existing 20mm wrist pin mahle pistons (since it is one of few 20mm piston engine codes and have been known to handle 500+bhp)
new rings and piston seals
new big ends and crank bearings/seals
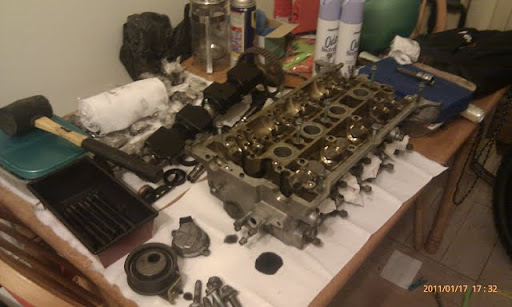
port/polish head
renew valve seals
reseat valves
skim head
reassemble
all while re finishing the exterior of the engine.
simple as.
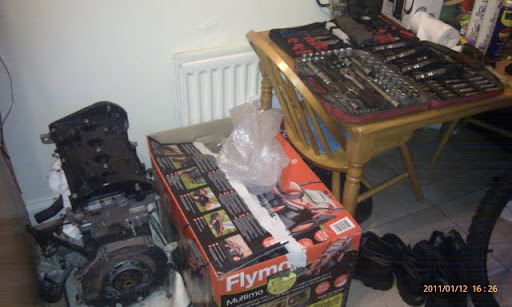
so on night one project kitchen rebuild commenced
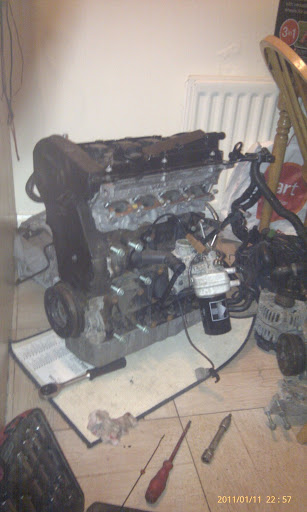
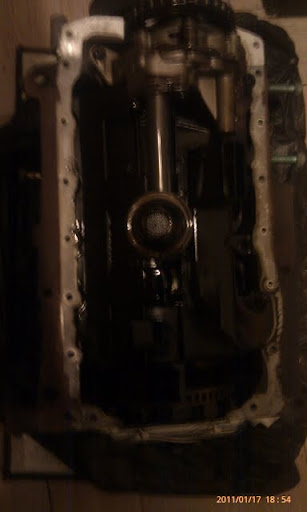
unload engine to kitchen and strip to the point just before oil falls out!
on night two.
was greeted by a house mate earlier wondering "what the f&ck is in the kitchen" so that went down well!
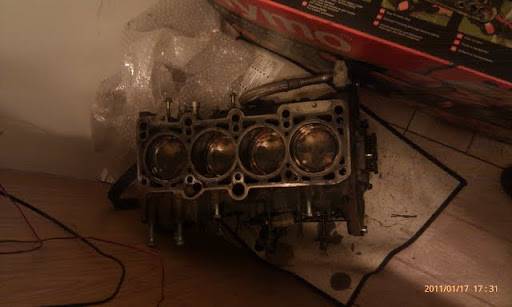
I didn't have the tool to remove the head to hand so I did what I could.
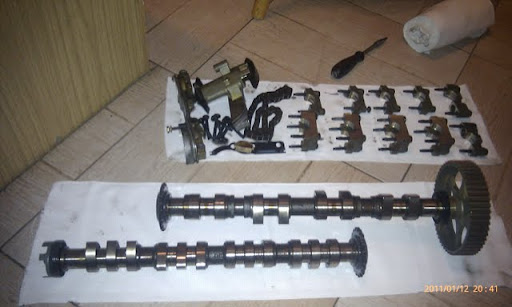
I removed:
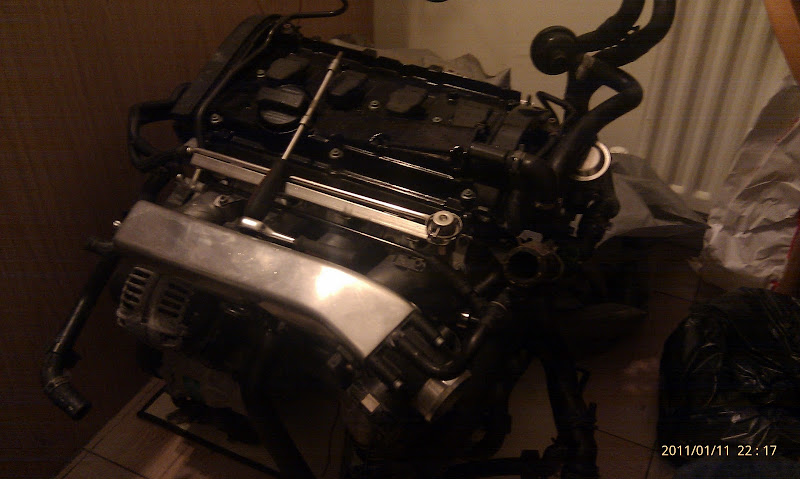
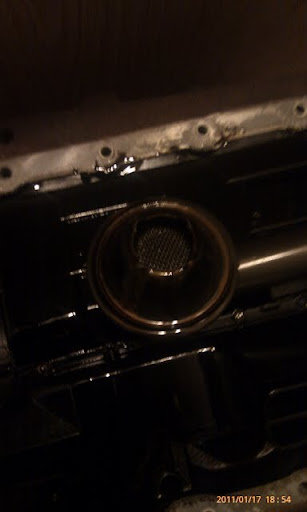
oil filter housings
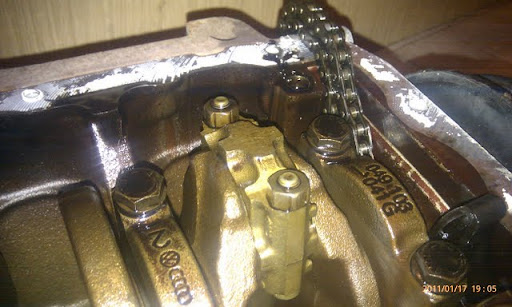
Timing belt and tensioner
rocker cover
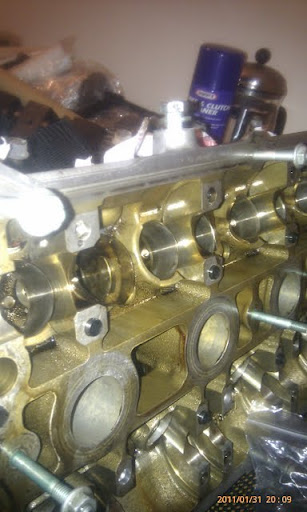
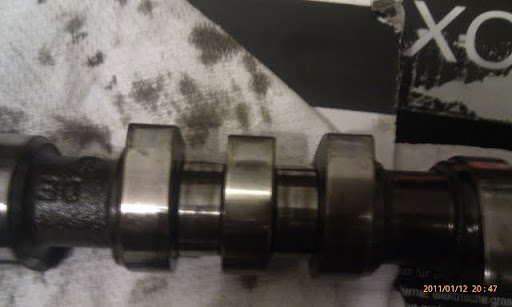
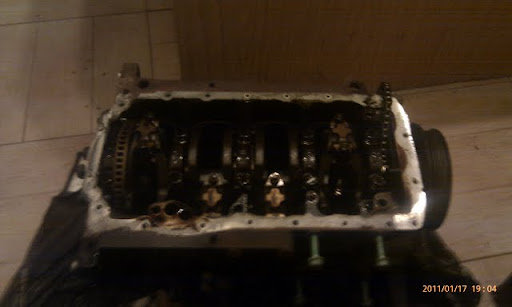
Marked all cam retainers
Timing chain tensioner
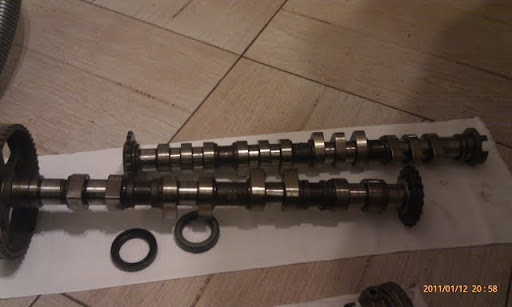
Cams
Timing Chain
Seals removed from cams
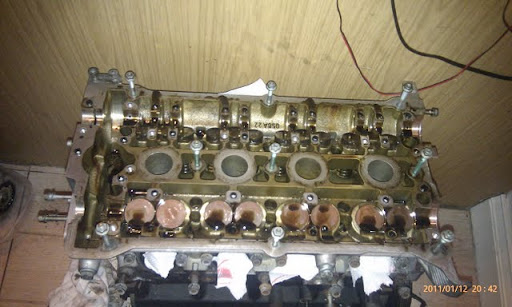
All seals where in working order.
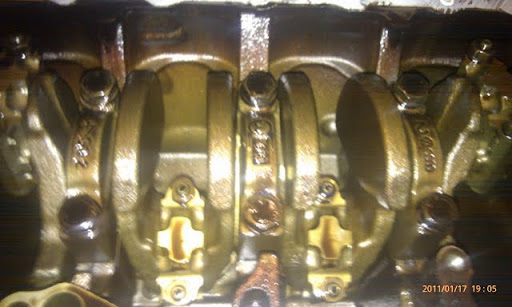
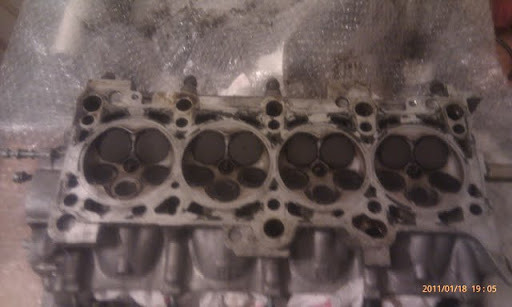
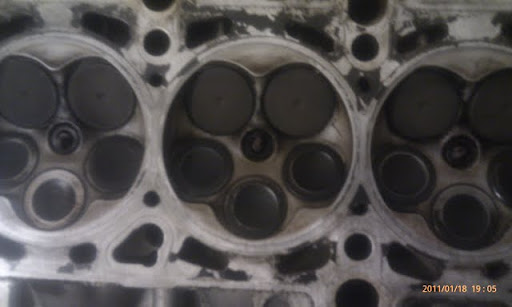
The head seems to have minimal wear with cam lobes perfect and hydraulic lifters perfect also
Is there any way which I could test the lifters?
and for progress,
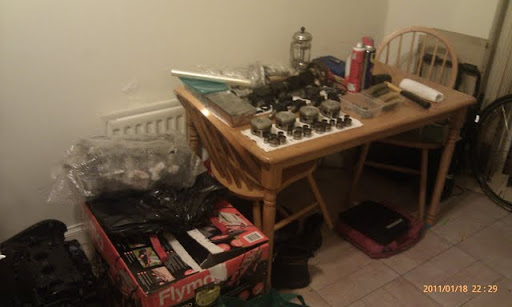
everything has been re oiled now and stowed away wrapped in cling film.
I got hold of a clean AYP (the original handwriting under the rear engine mount is still on the block allong with all of the white part number stamps and labels)
From here the plan was to strip the engine down completely,
hone the cylinder block
rebuild using new forged rods
use existing 20mm wrist pin mahle pistons (since it is one of few 20mm piston engine codes and have been known to handle 500+bhp)
new rings and piston seals
new big ends and crank bearings/seals
port/polish head
renew valve seals
reseat valves
skim head
reassemble
all while re finishing the exterior of the engine.
simple as.
so on night one project kitchen rebuild commenced
unload engine to kitchen and strip to the point just before oil falls out!
on night two.
was greeted by a house mate earlier wondering "what the f&ck is in the kitchen" so that went down well!
I didn't have the tool to remove the head to hand so I did what I could.
I removed:
oil filter housings
Timing belt and tensioner
rocker cover
Marked all cam retainers
Timing chain tensioner
Cams
Timing Chain
Seals removed from cams
All seals where in working order.
The head seems to have minimal wear with cam lobes perfect and hydraulic lifters perfect also
Is there any way which I could test the lifters?
and for progress,
everything has been re oiled now and stowed away wrapped in cling film.
Last edited:


 love it lol.
 interesting little build thread I like it, who's doing the head work?