
***Work in progress***
*****Instructions + Torque figures to be added*****
*****Instructions + Torque figures to be added*****
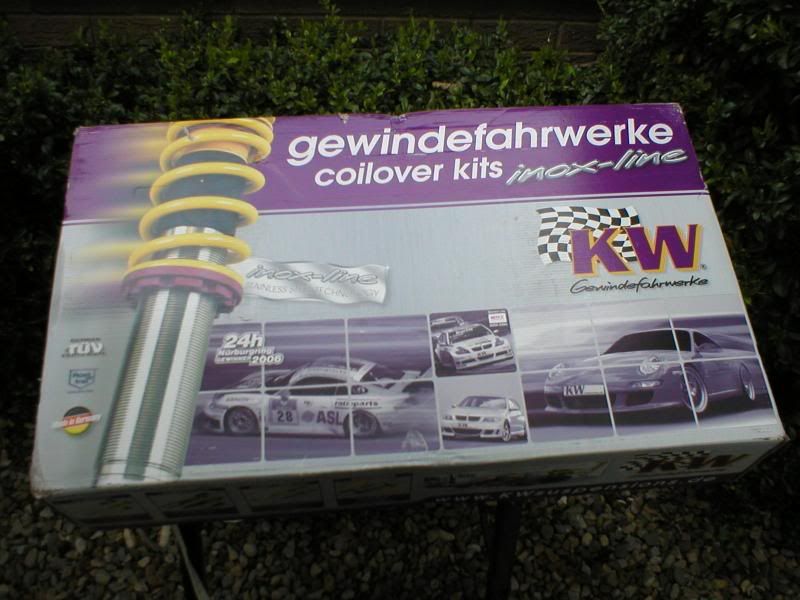
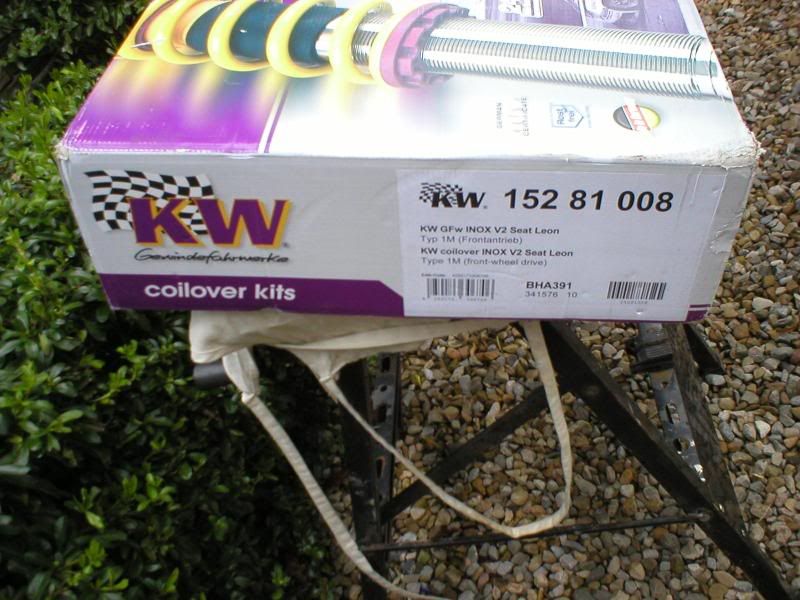
KW Variant 2 Coilovers
New VAG parts required (Recommended)
(Part numbers for Leon Cupra)
front
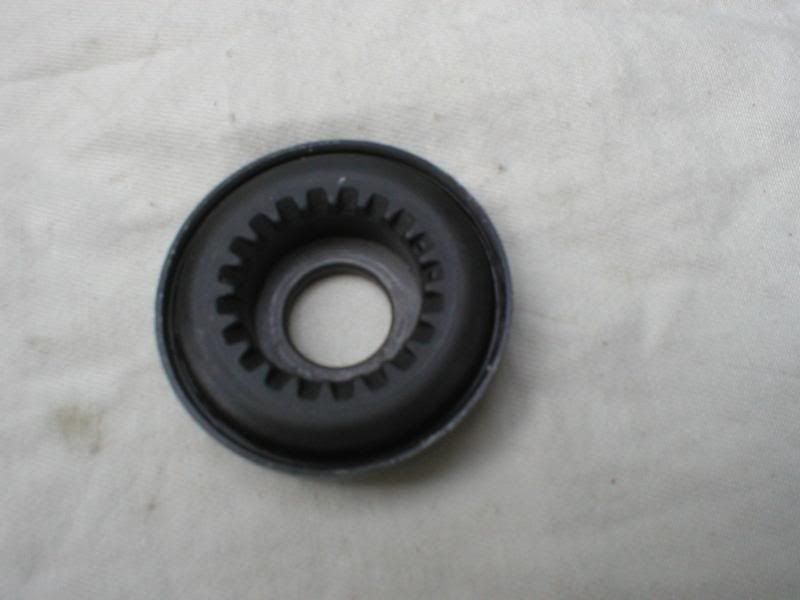
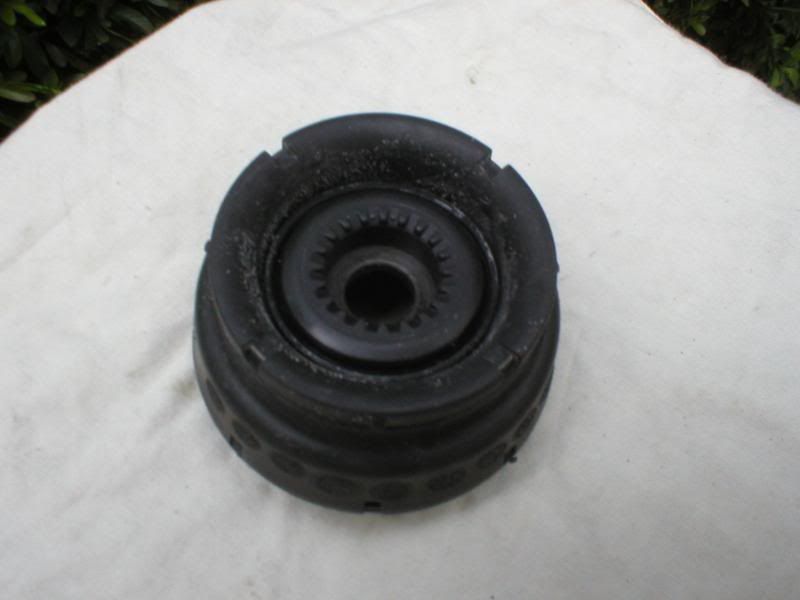
2 of 1J0412249 axial grooved ball bearing
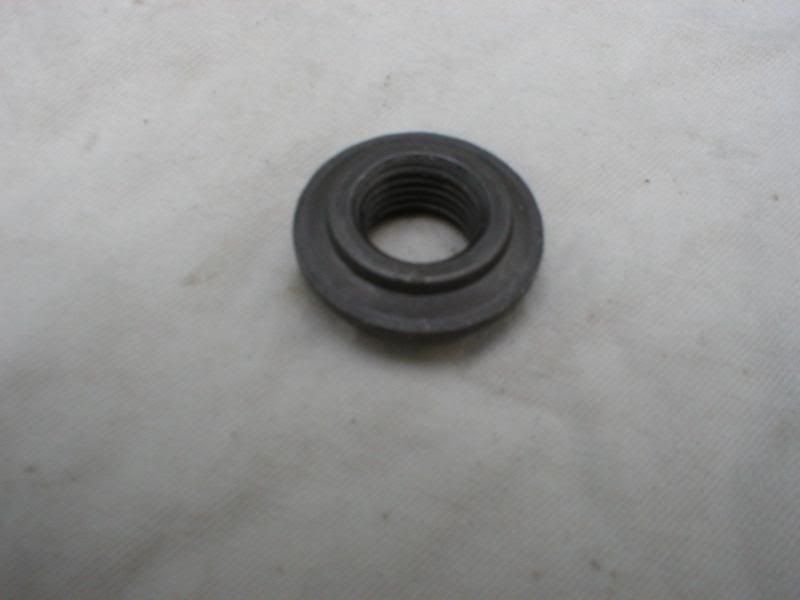
2 of 1H0412365A threaded bush
2 of IJ0412331C suspension strut storage **(Check this is correct for your chassis)
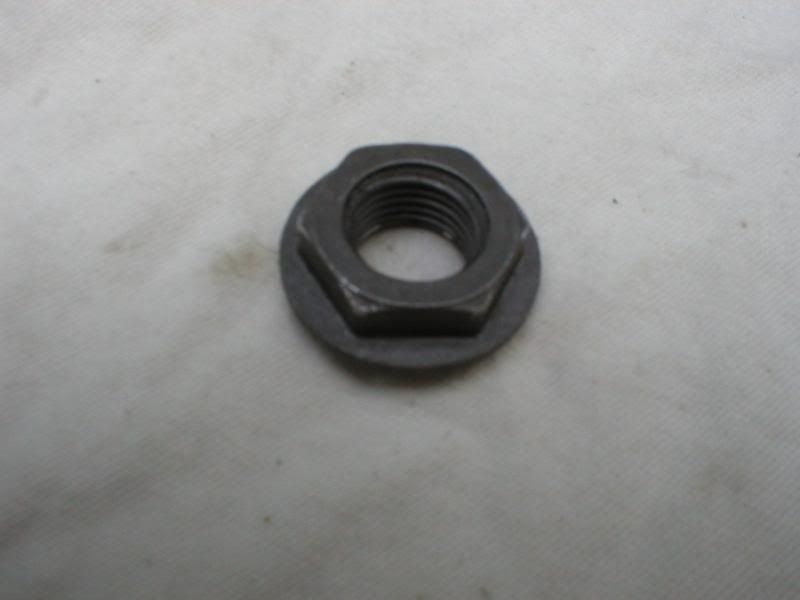
2 of N90353604 Hex Nut
rear
2 of N10403701 Hex Nut
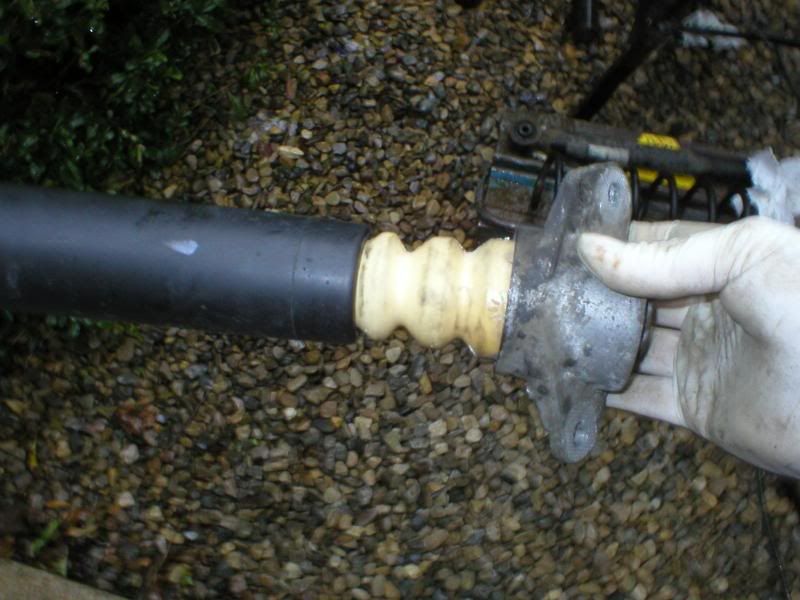
2 of IJ0512131C Rubber Stop **(Check this is correct for your chassis)
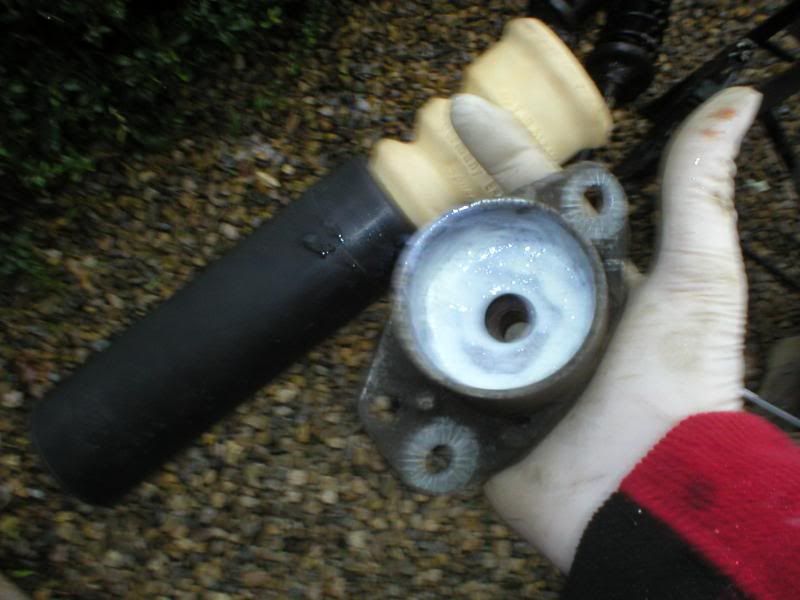
2 of 1J0512149B base upper
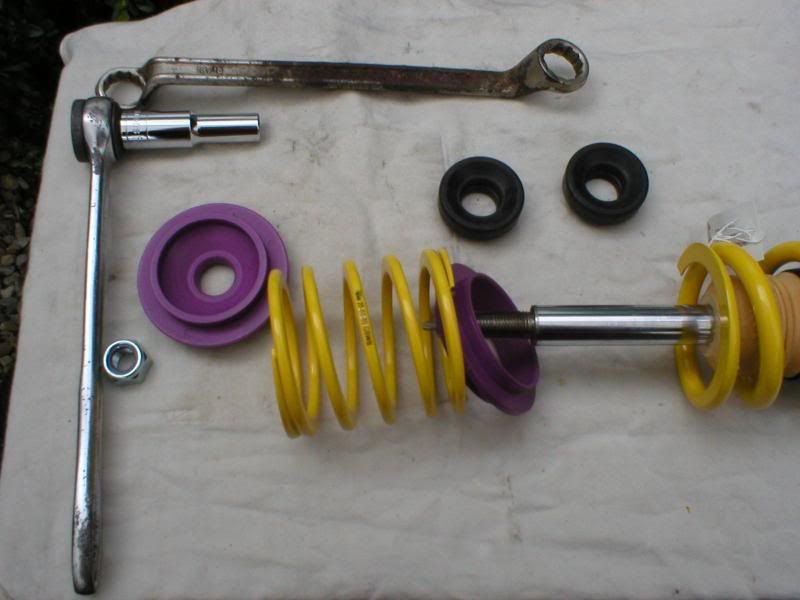
Tools required:
.............
.............
.............
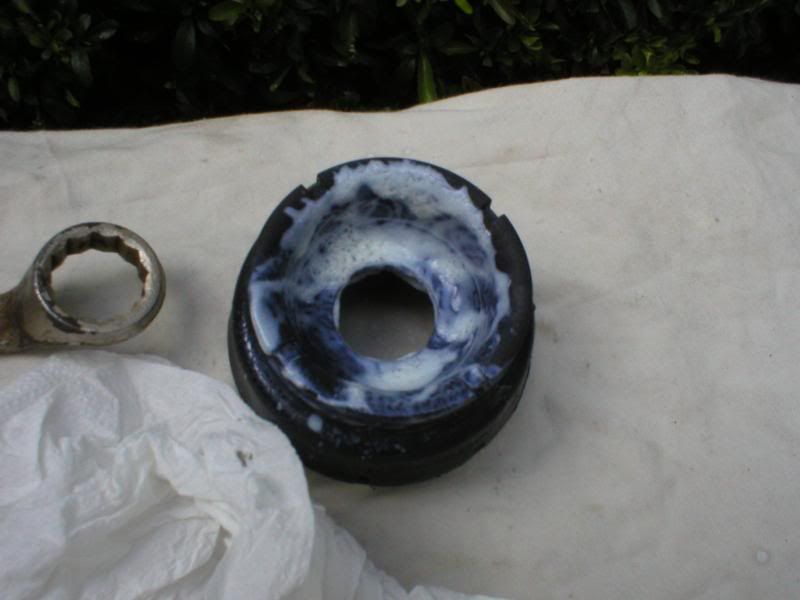
White grease
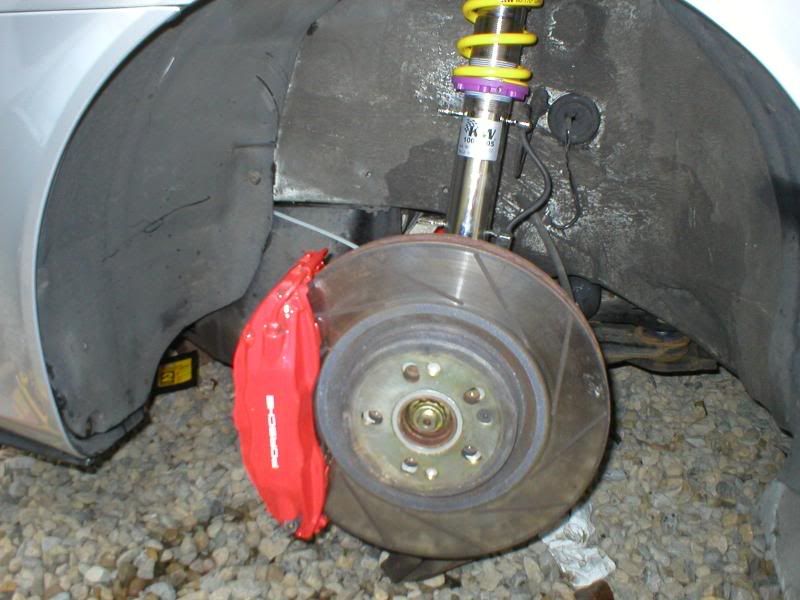
Front
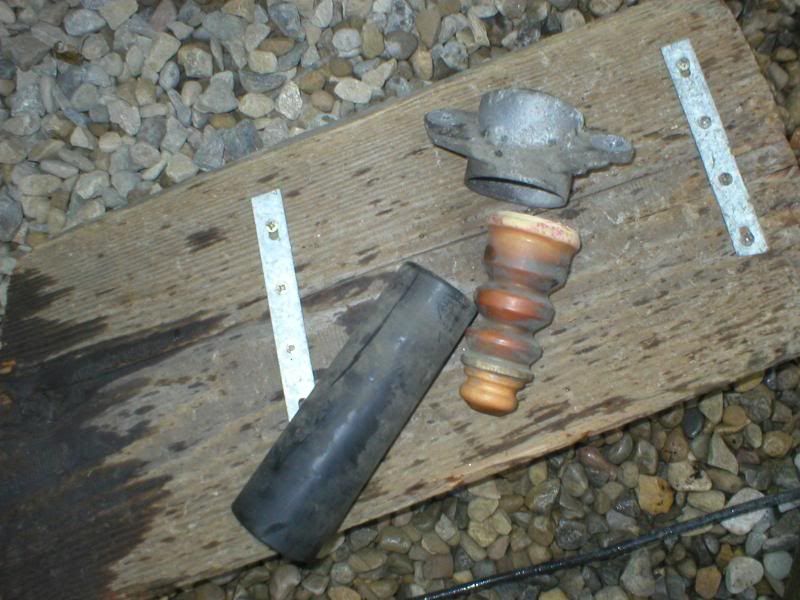
Removal of existing suspension struts.
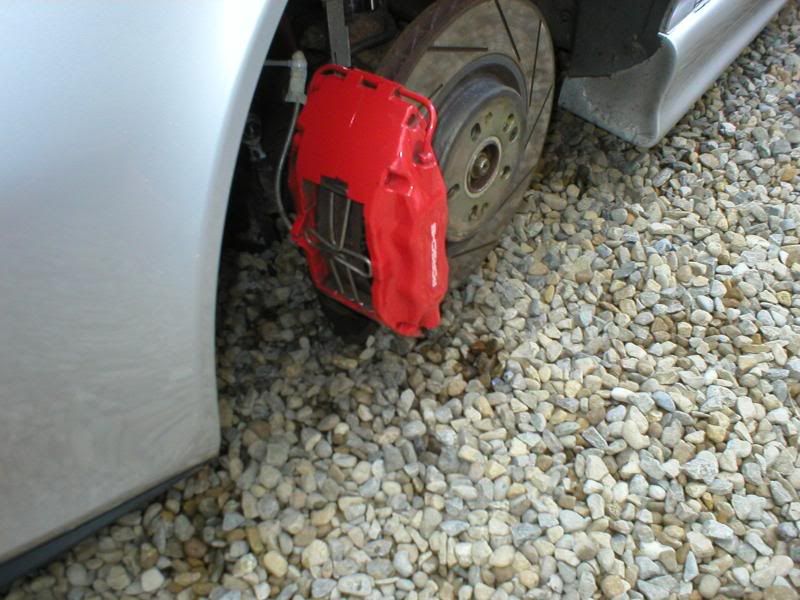
Remove your brake discs and calipers. It is not necessary to disconnect the hydraulic brake lines.
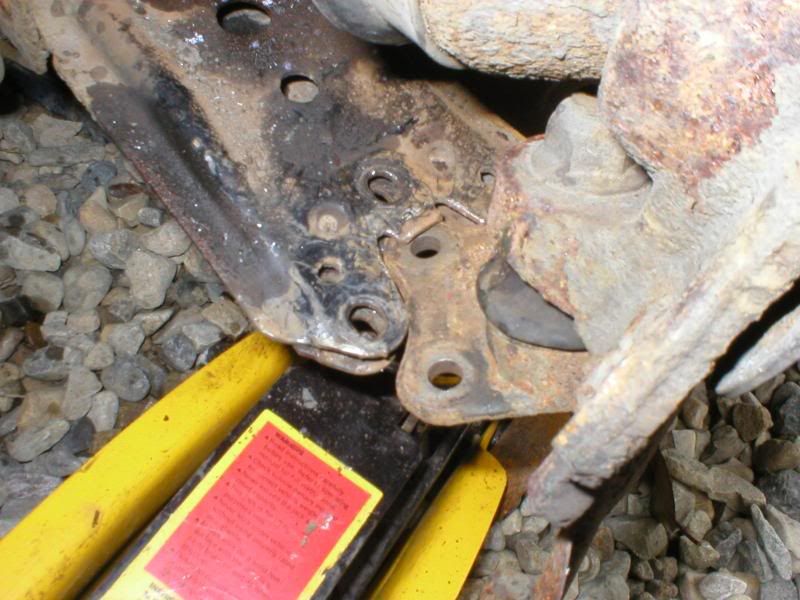
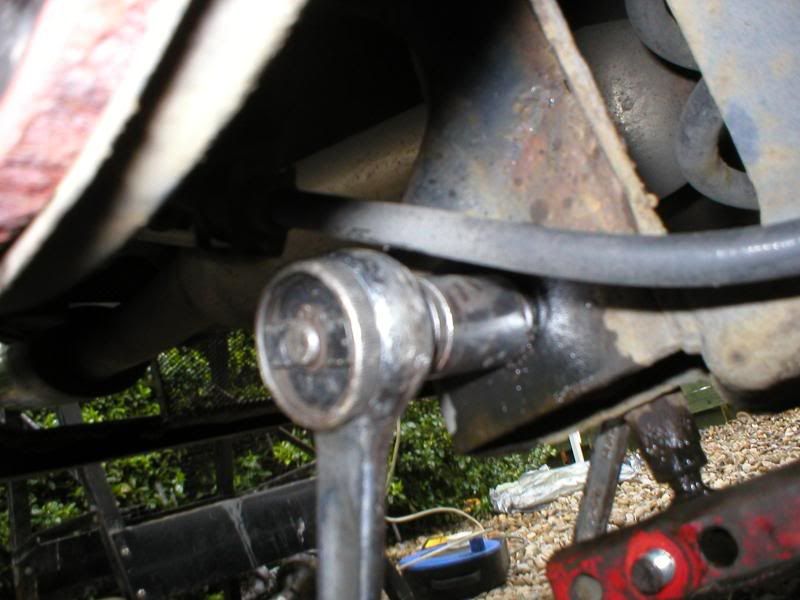
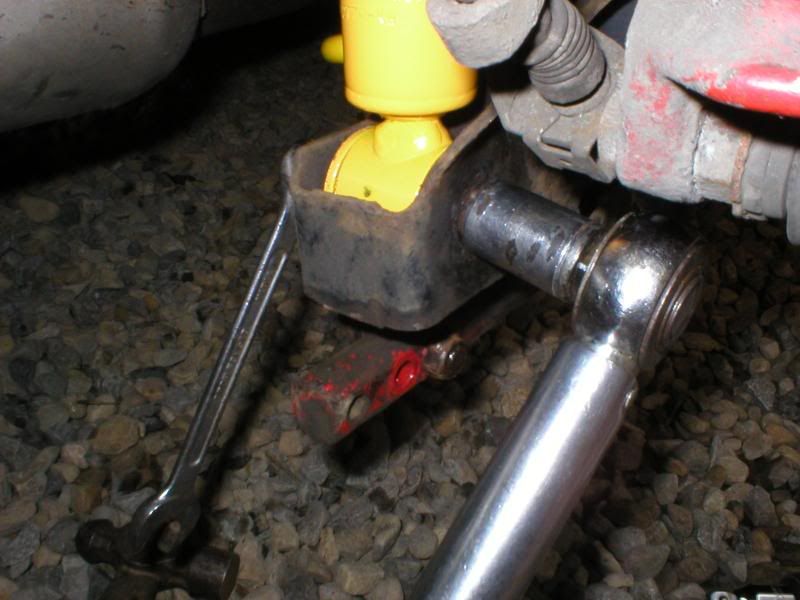
Unbolt the three bolts that hold the bottom balljoint plate to the end of the wishbone arm. Pull the plate out of the wishbone end. This will give you more clearance.
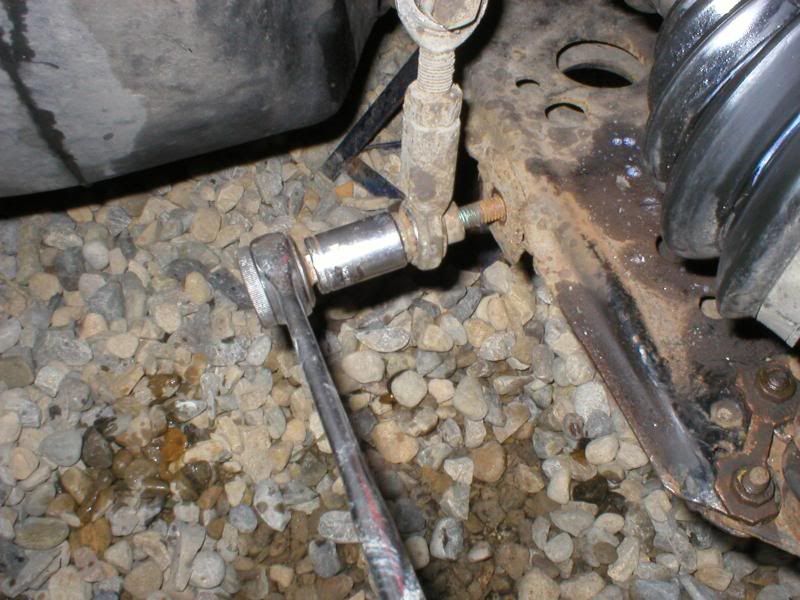
Unbolt an anti-roll bar droplink from the car on one side only.
Unclip the wiring from the suspension struts.
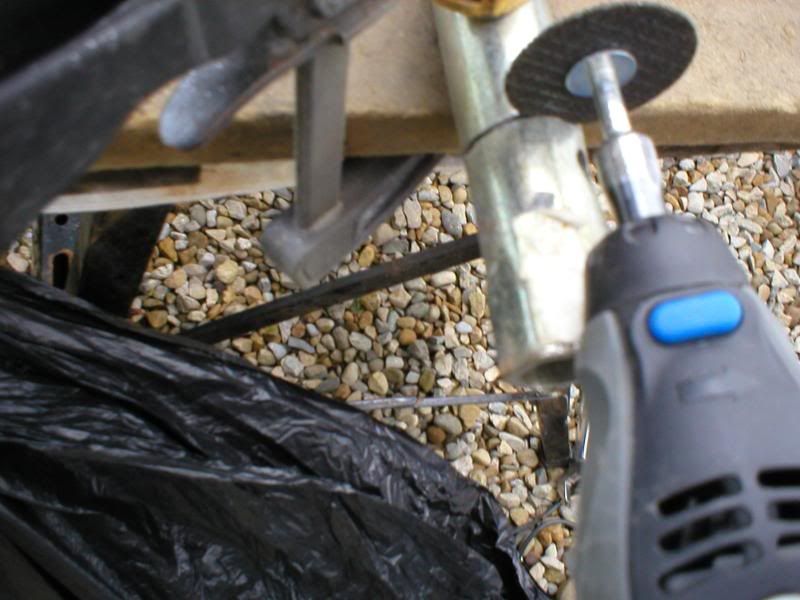
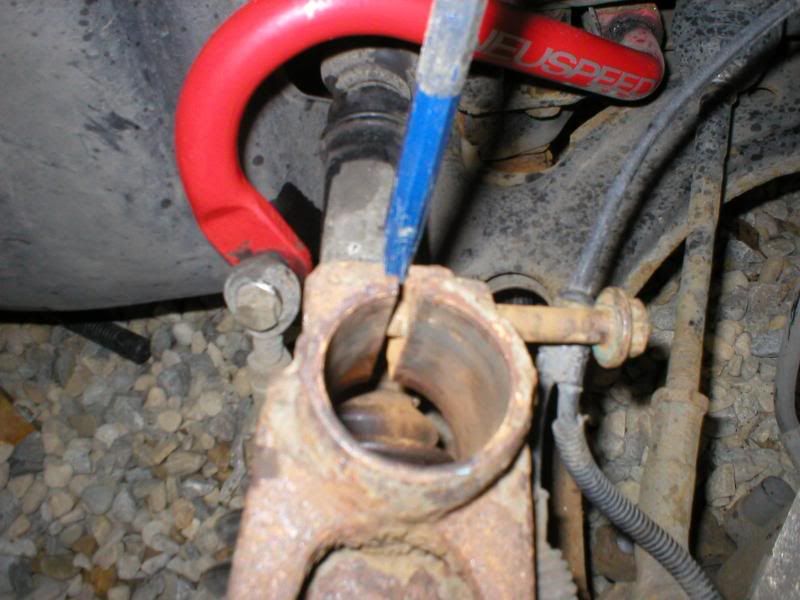
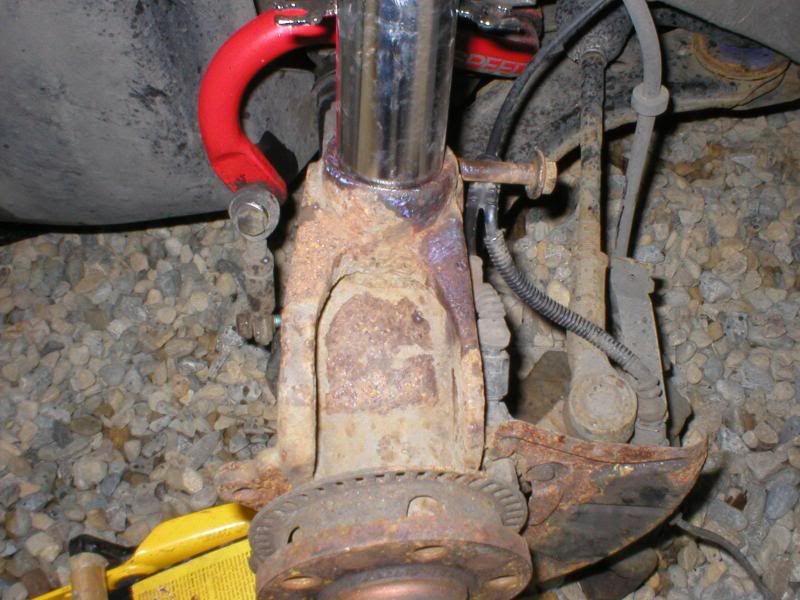
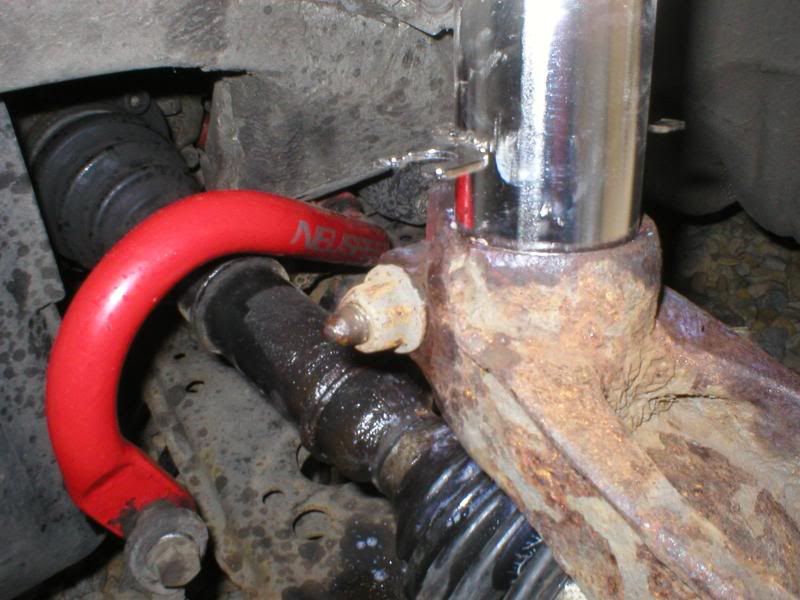
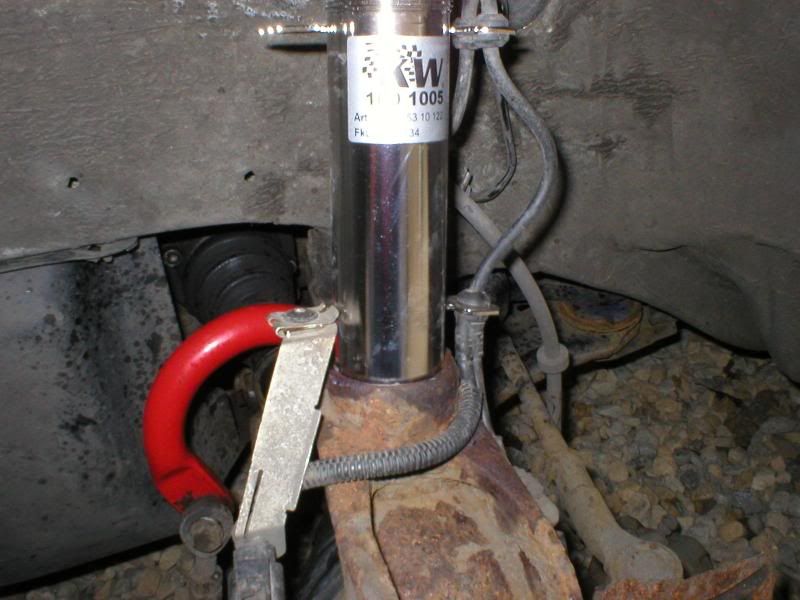
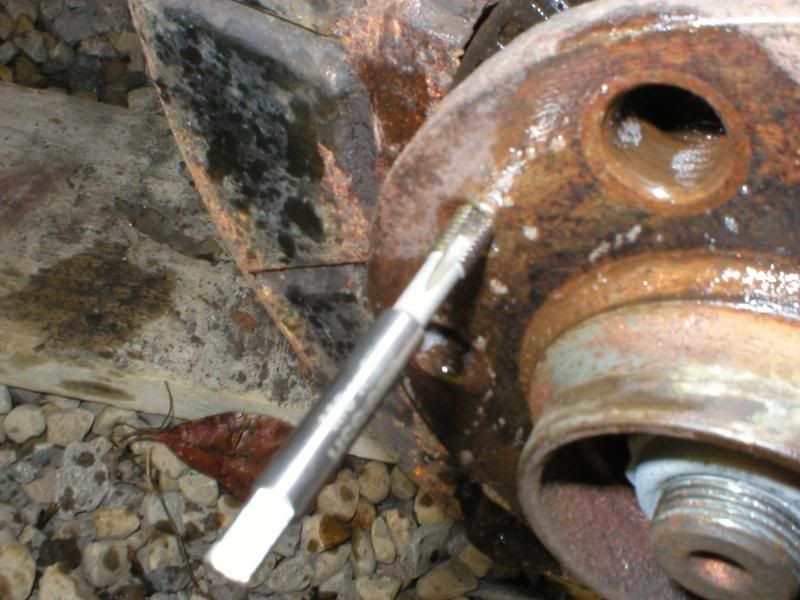
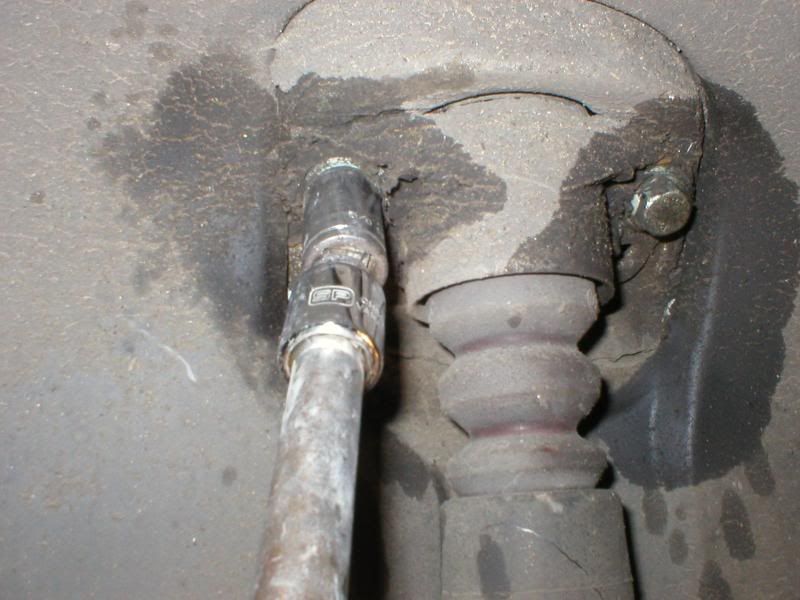
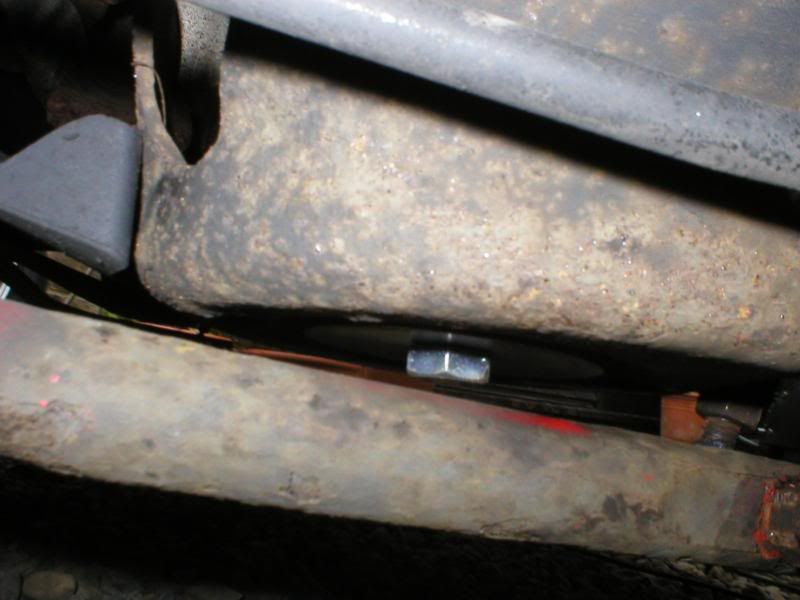
Undo the clamp bolt at the rear of the wheel bearing housing that secures the suspension strut. Fit a wedge into the slot at the back to open the joint. (A large flat screwdriver or a small cold chisel is ideal). You should now be able to push the wheel bearing housing down off the bottom of the strut.
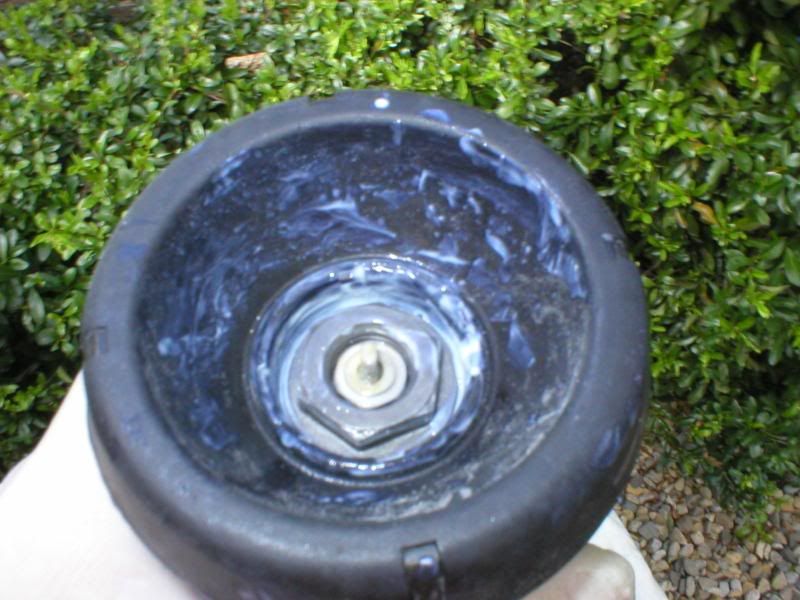
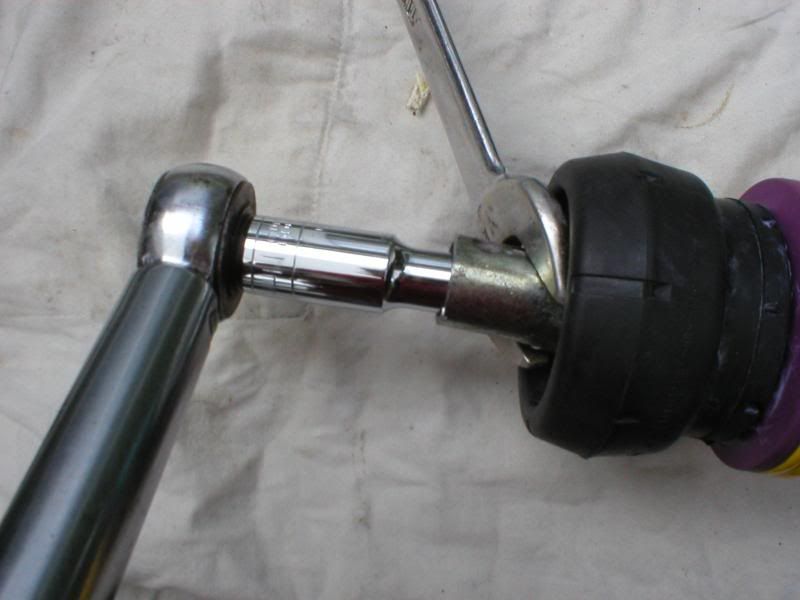
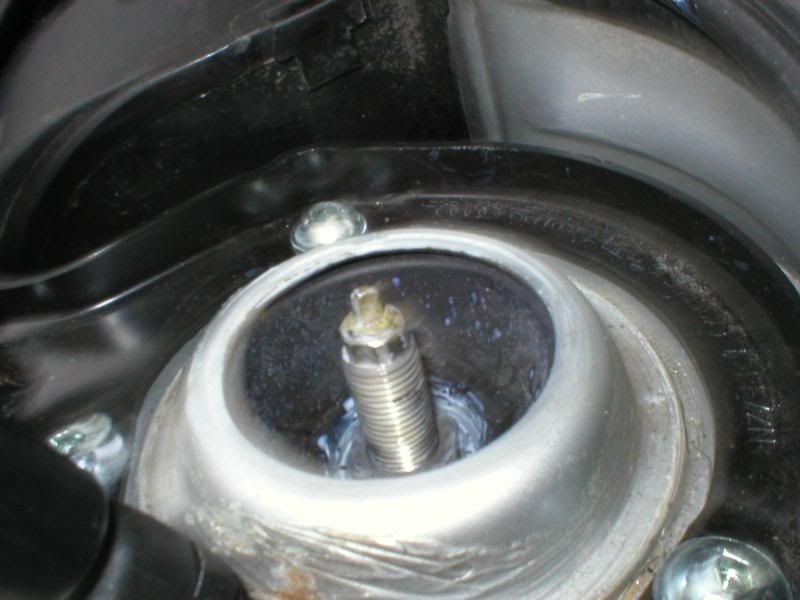
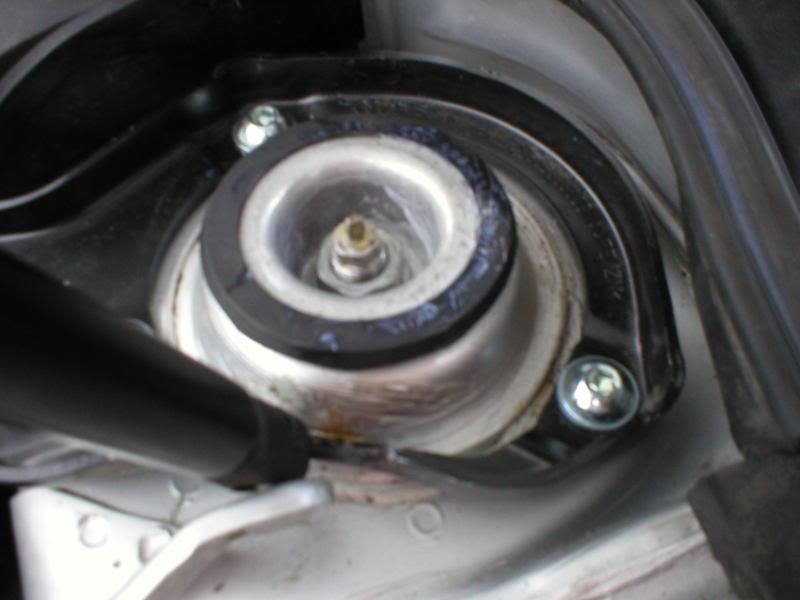
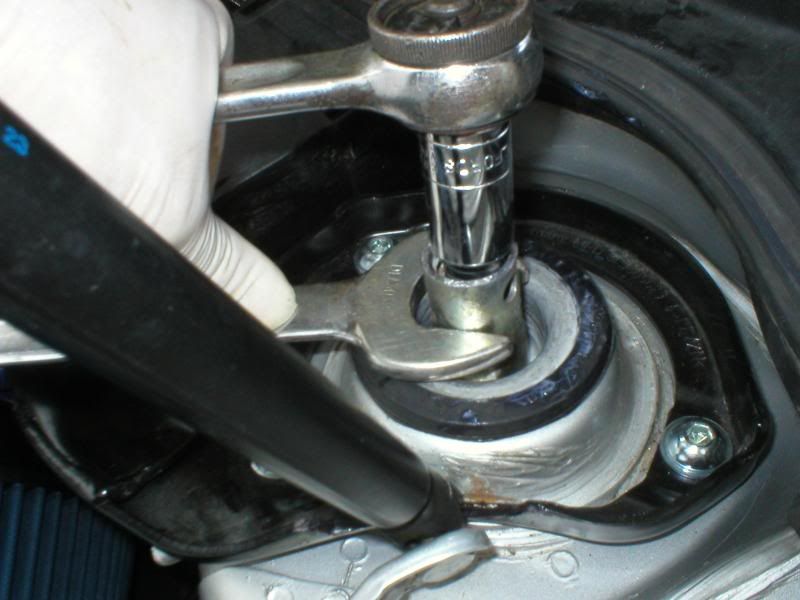
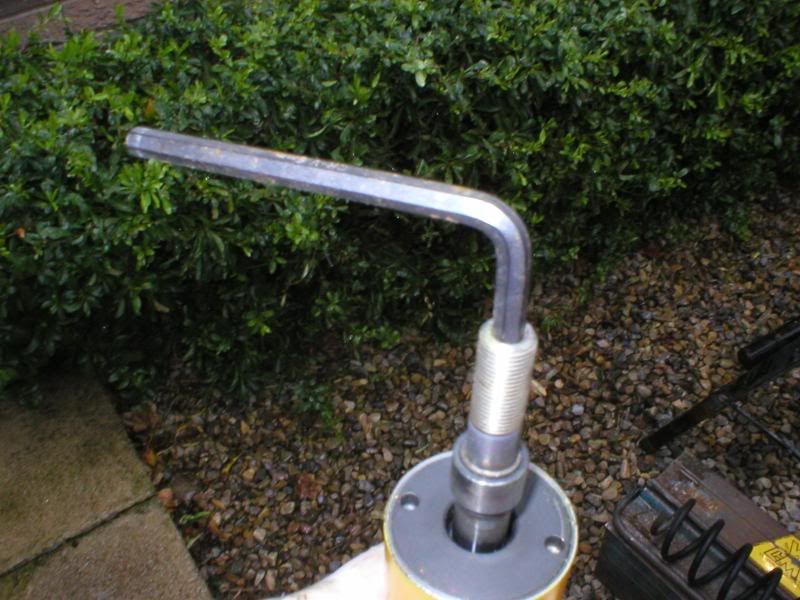
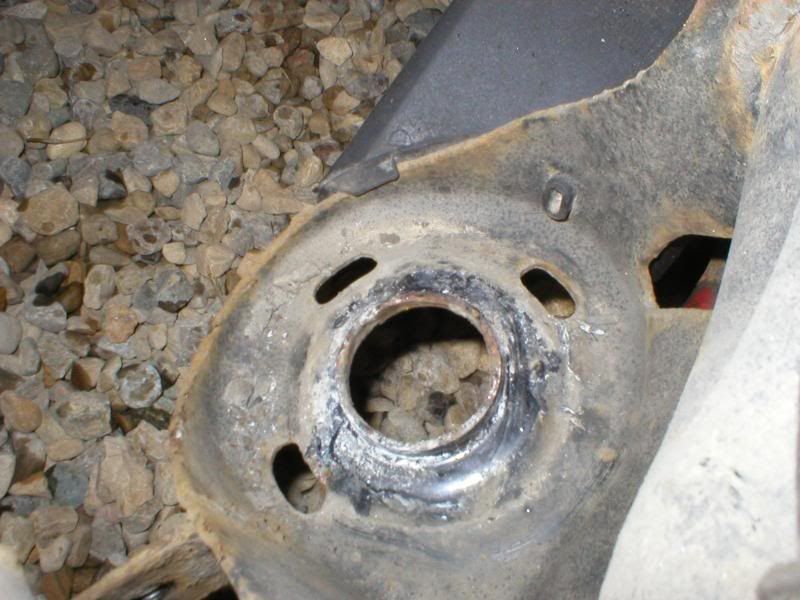
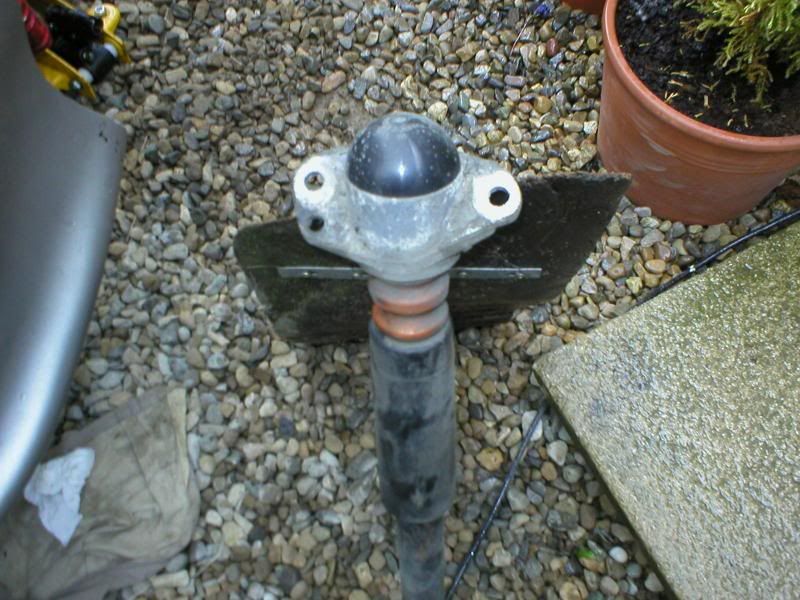
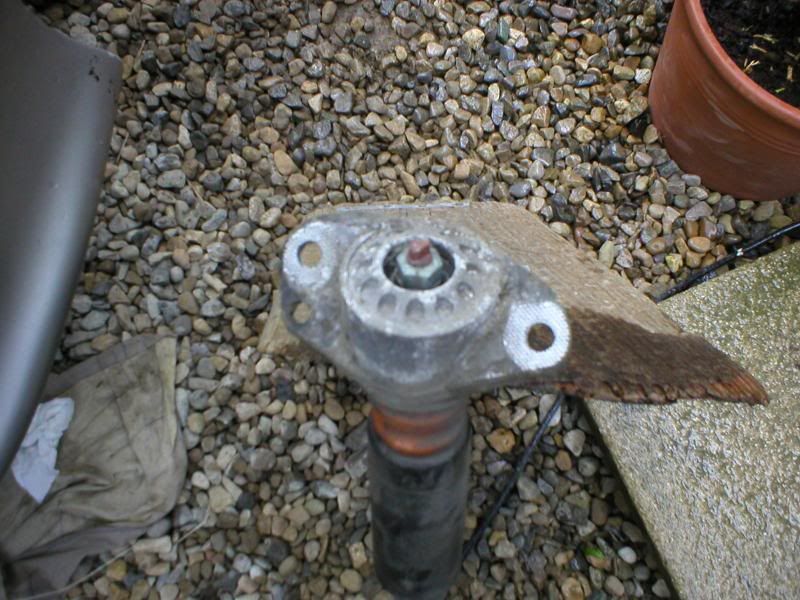
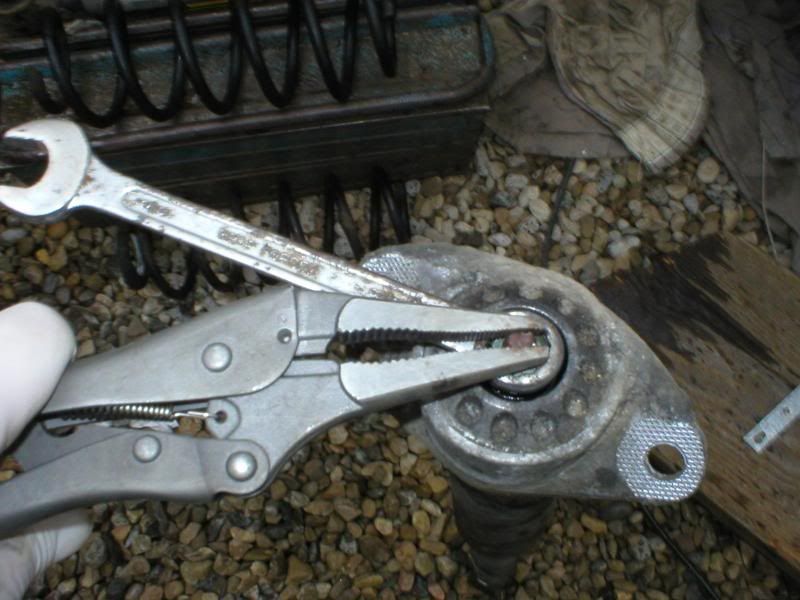
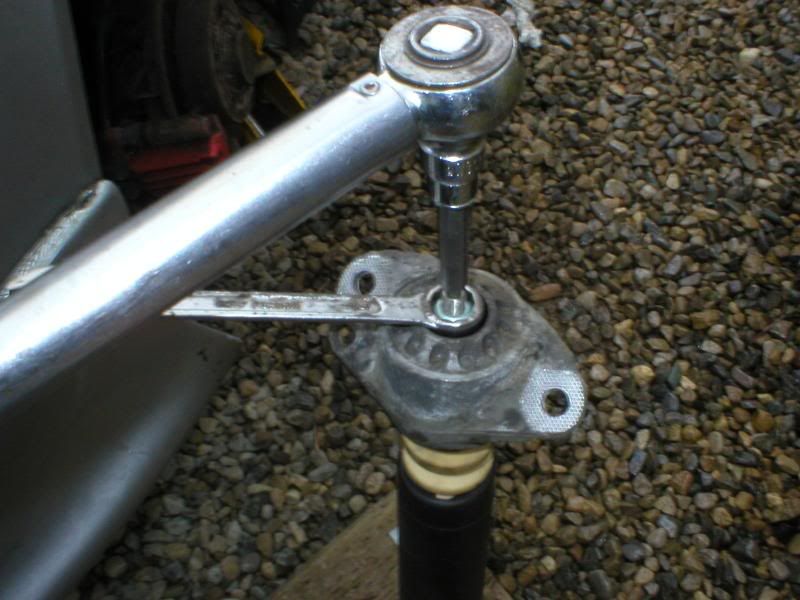
Moving to the top of the suspension strut, move the plastic cover, then using a hex (allen) bit to stop the piston rotating, undo the securing nut and remove the mounting plate.
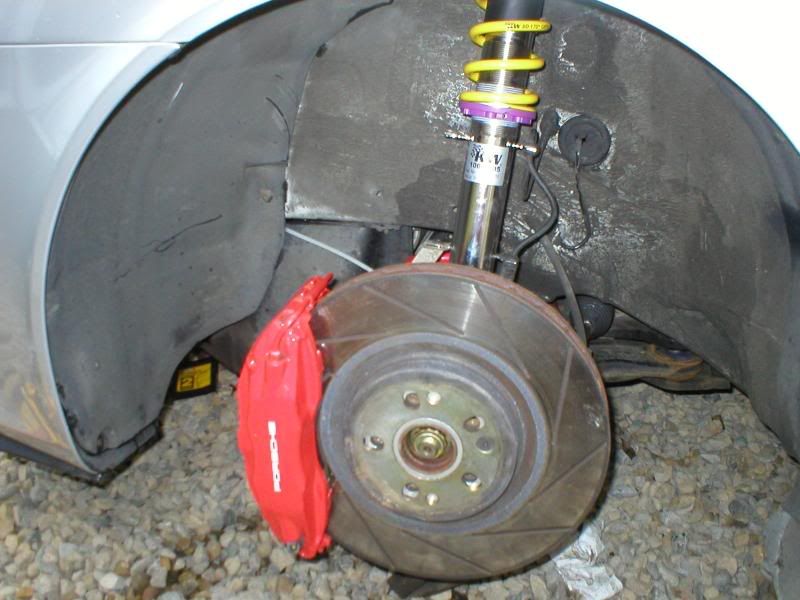
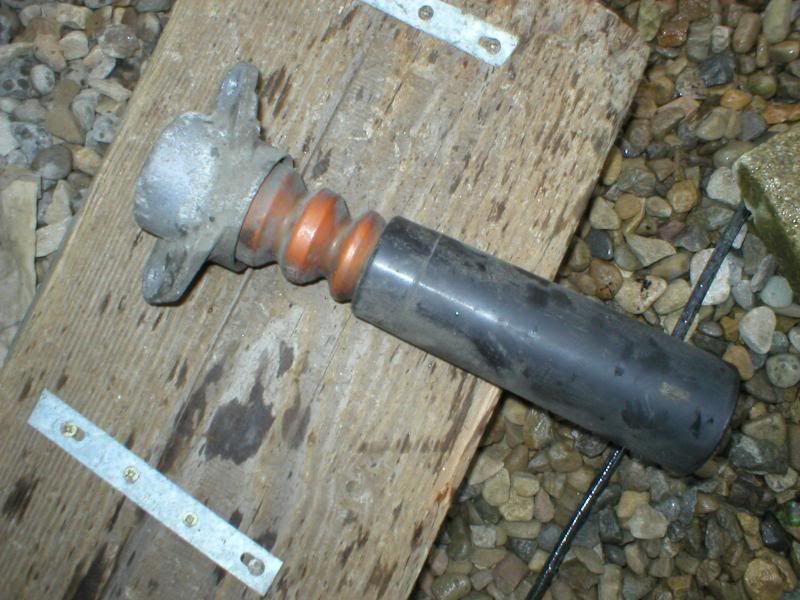
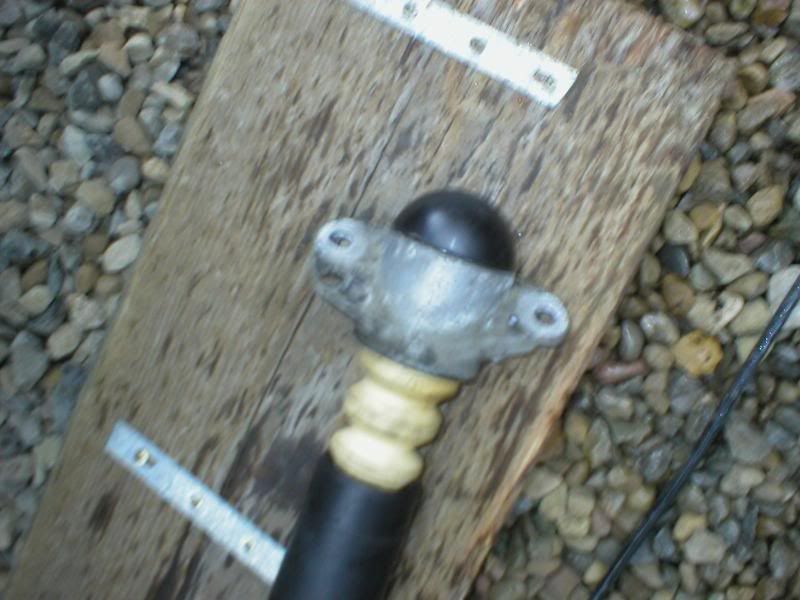
You should now be able to remove the entire suspension strut.
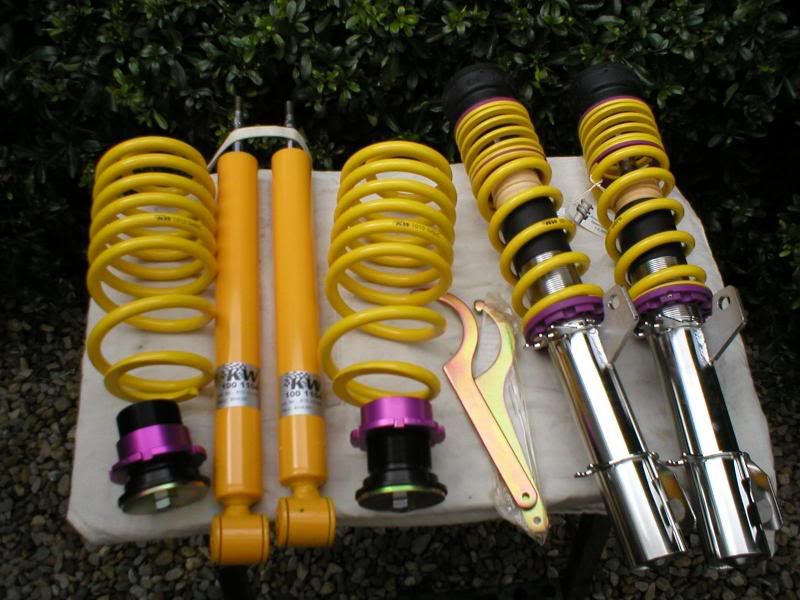
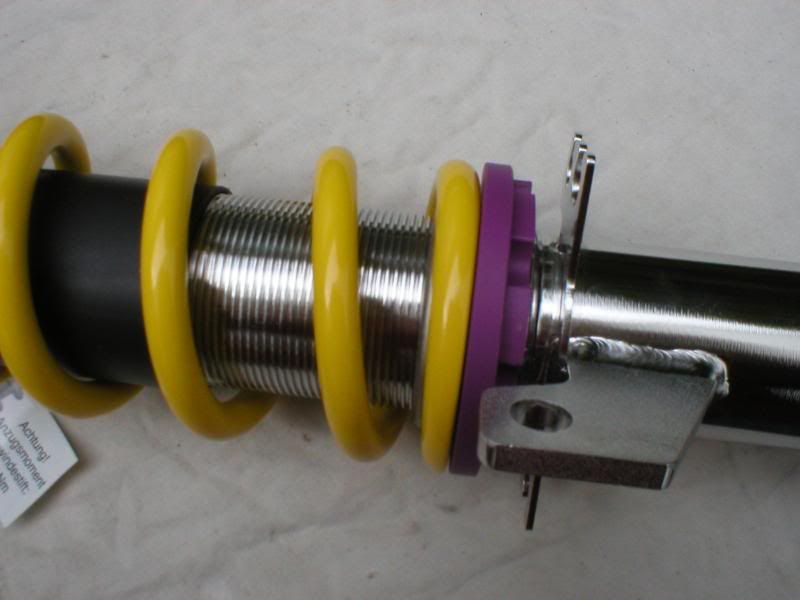
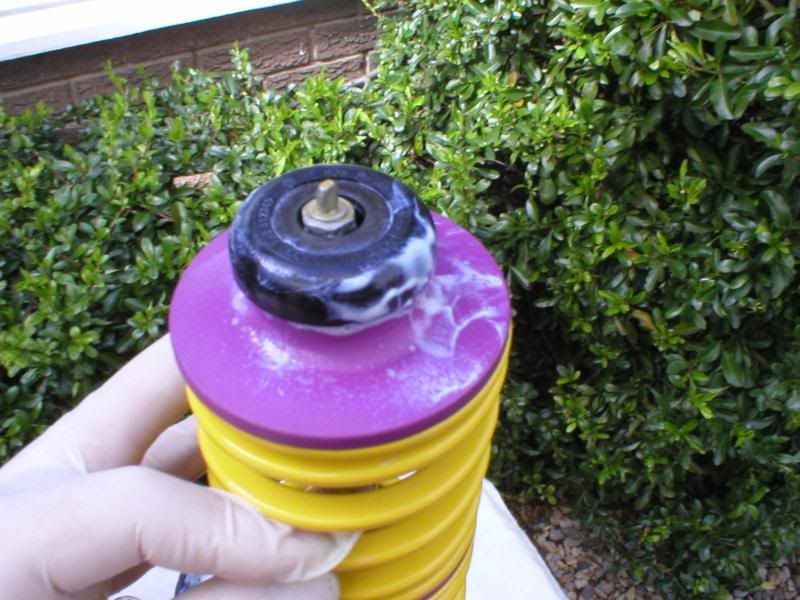
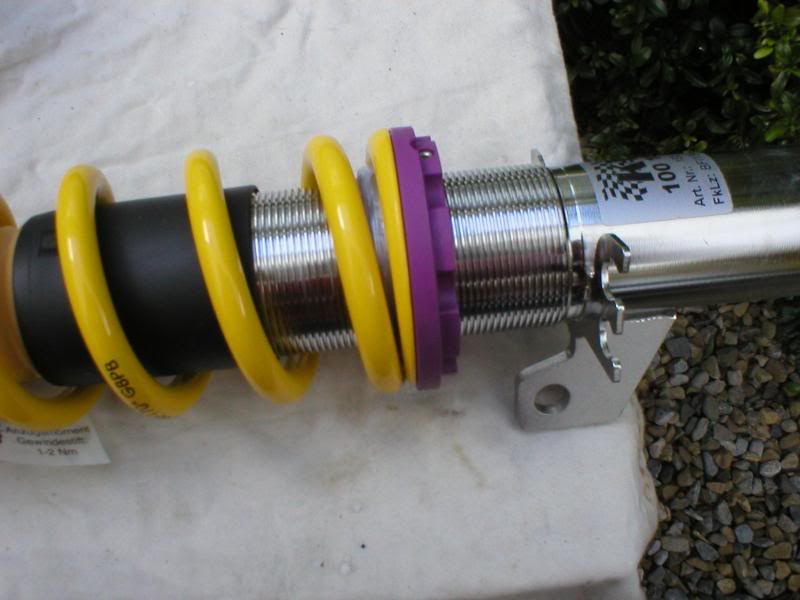
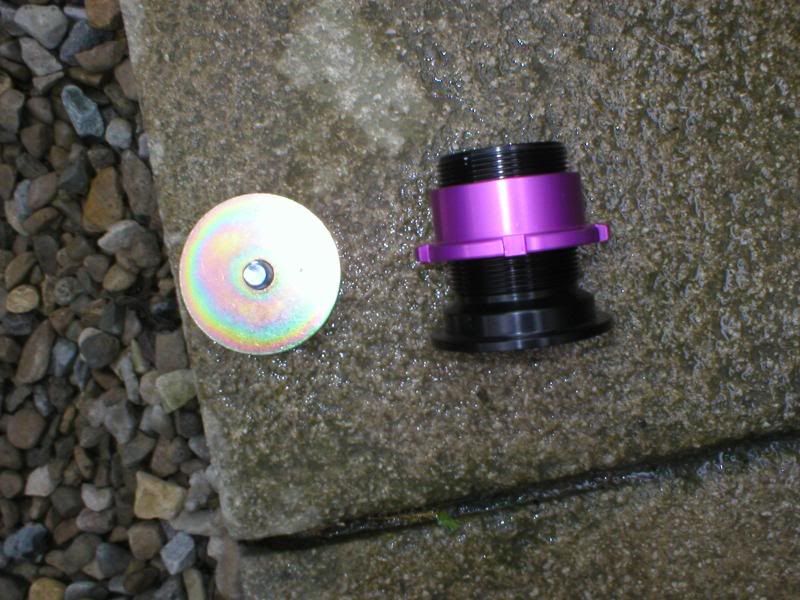
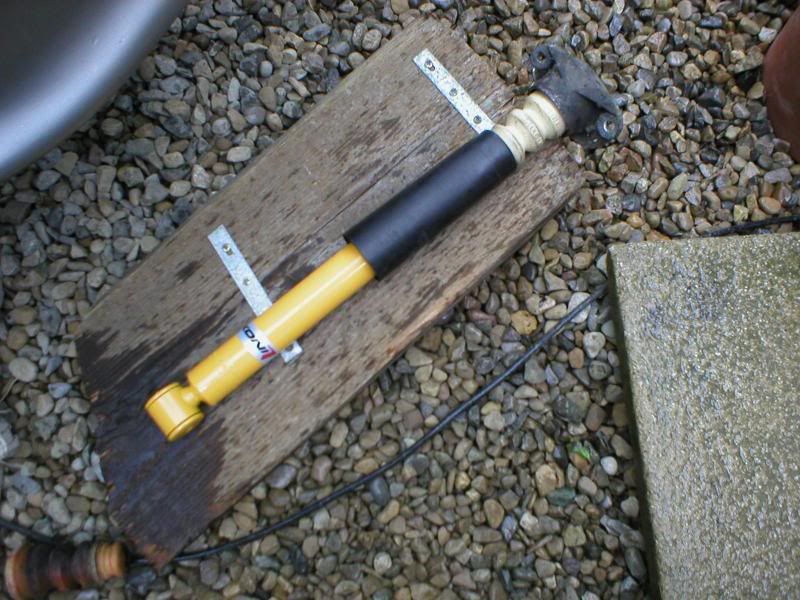
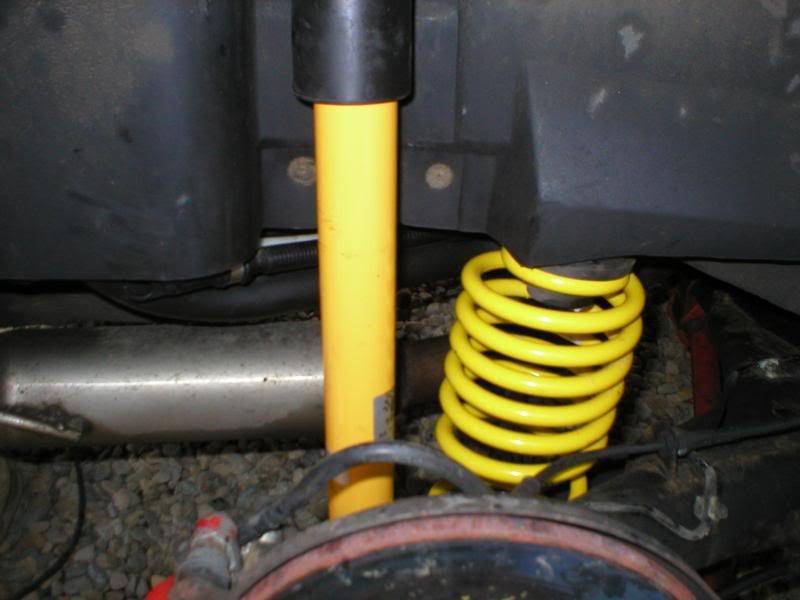
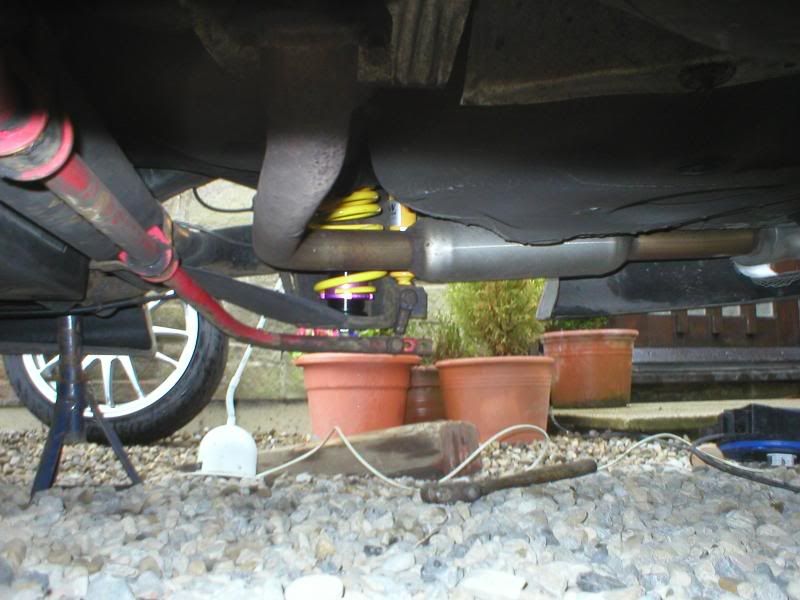
Take a moment to admire your new coilovers and check everything is there.....
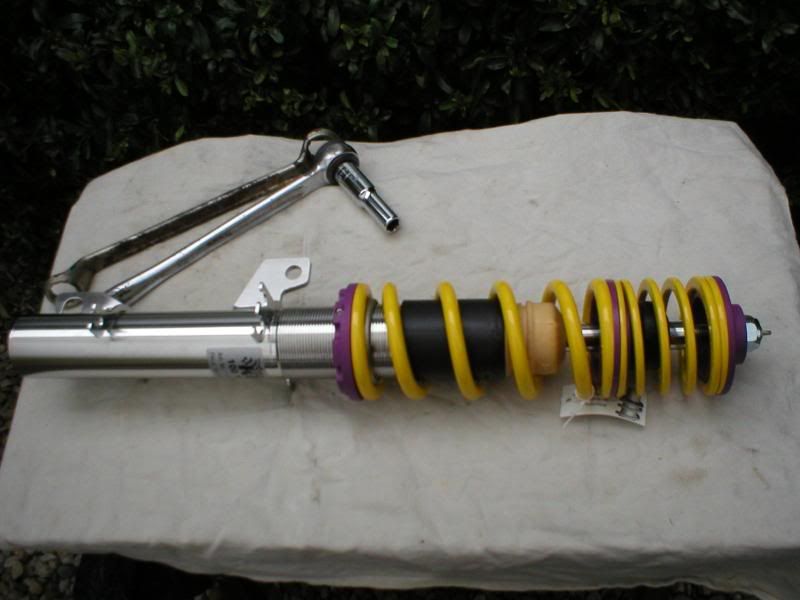
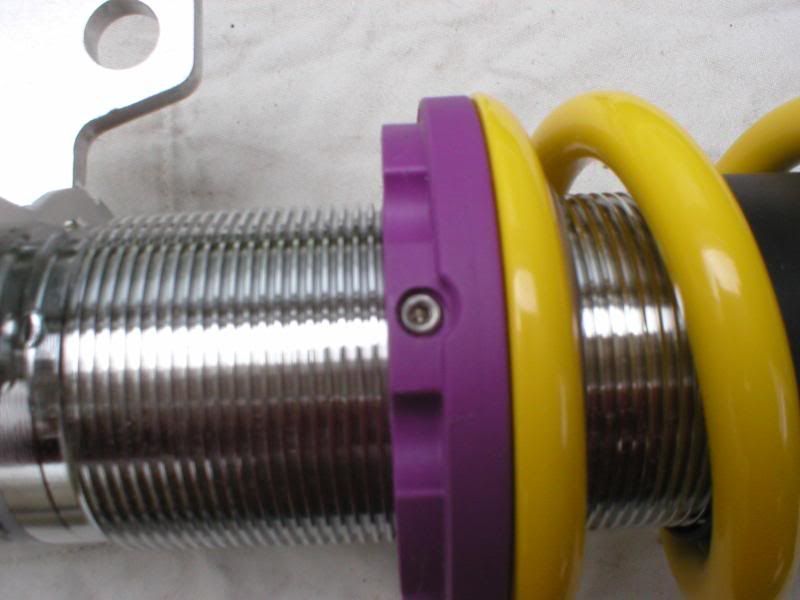
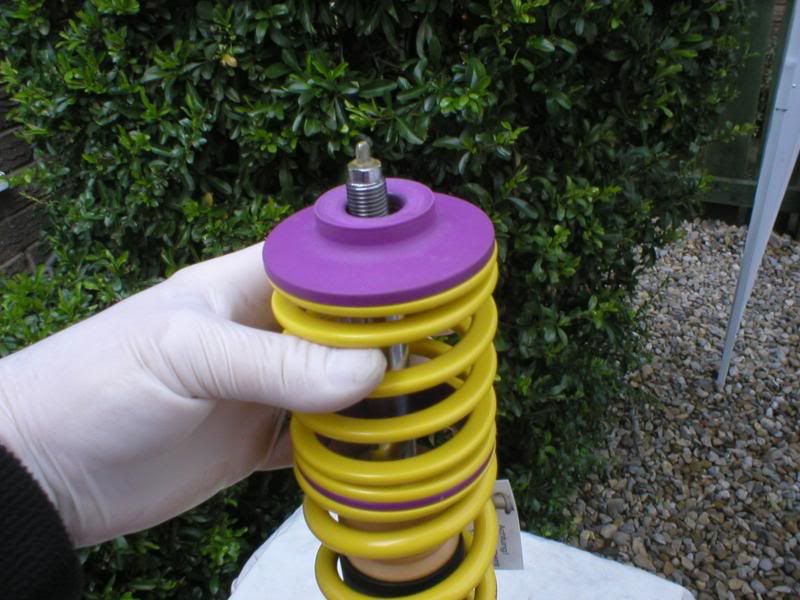
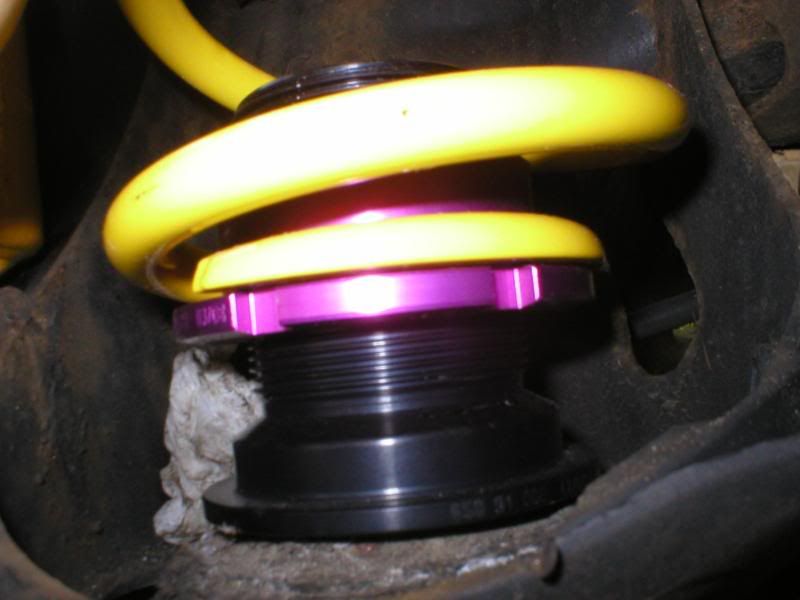
Note the locking screw on the height adjuster. Undo this now.
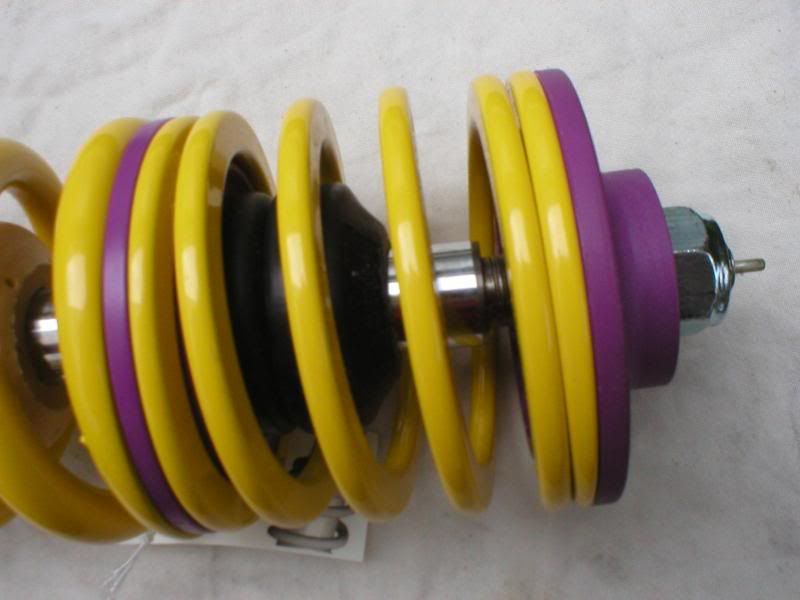
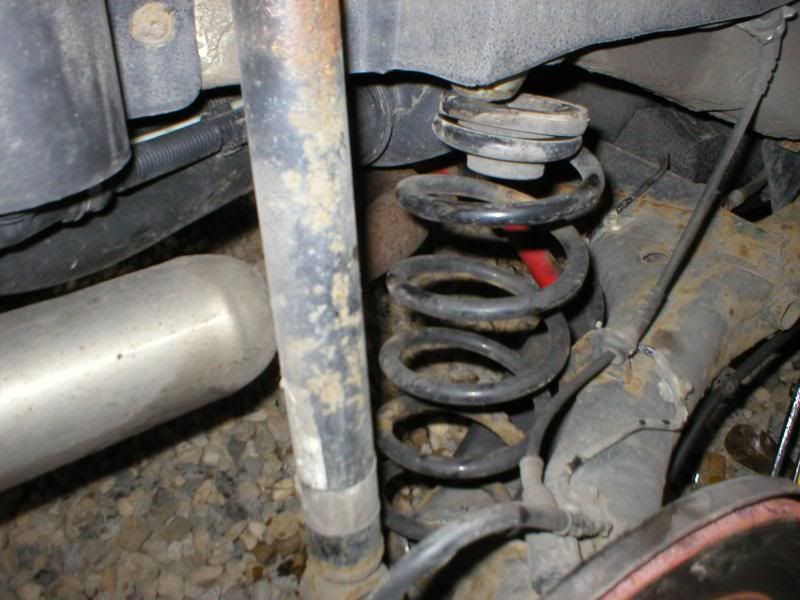
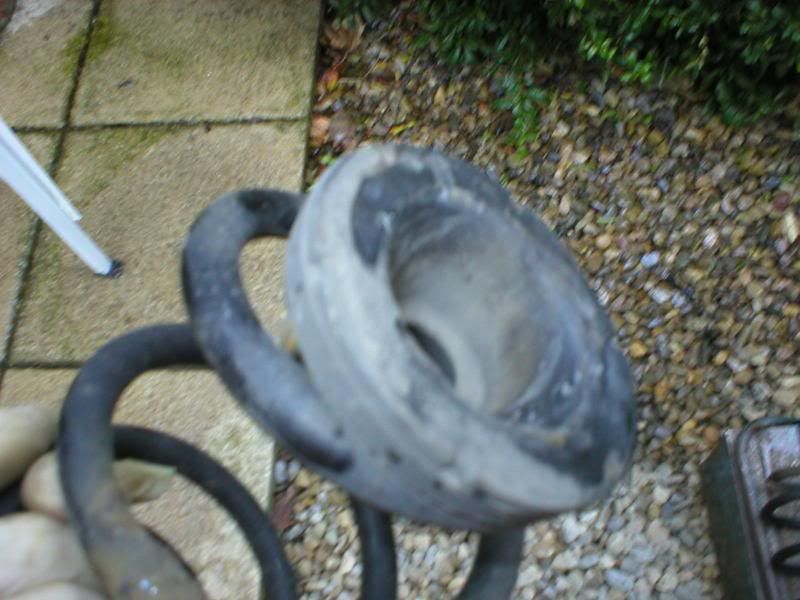
The KW front coilovers come with two height restrictors fitted to prevent anti-roll bars fouling the driveshafts. You can see these inside the top spring.
To make it easier for yourself, lower the height adjusting ring as far as it will go. This will take the spring pressure off.
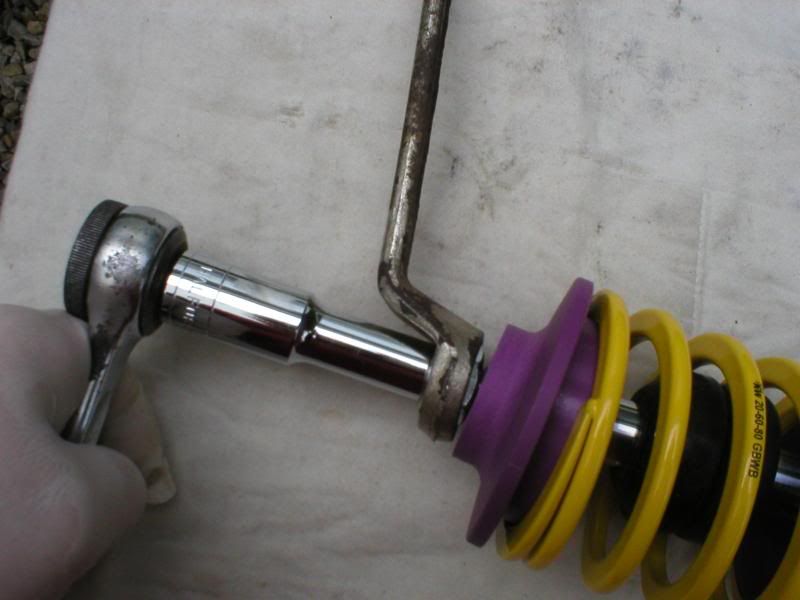
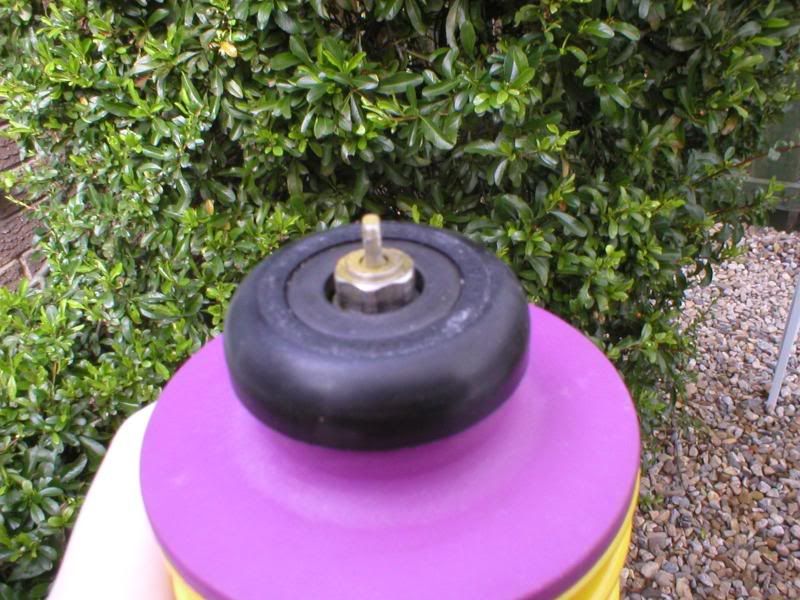
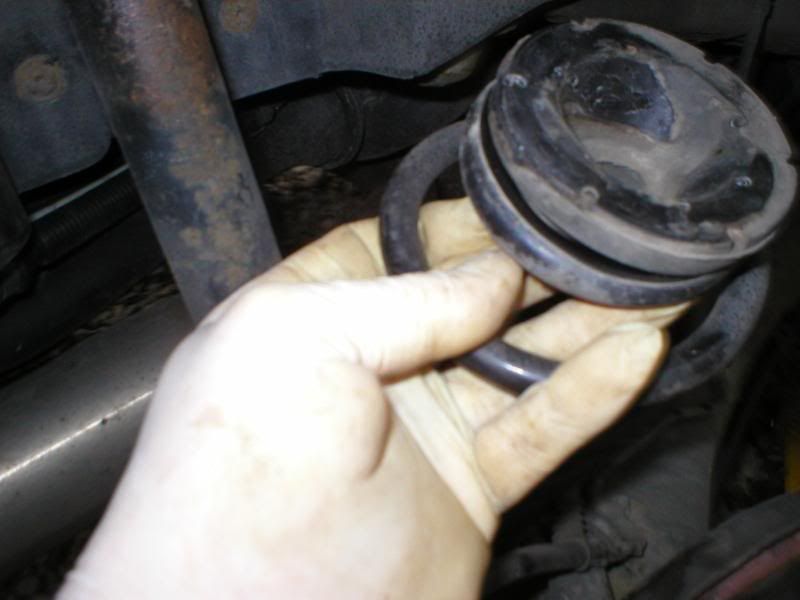
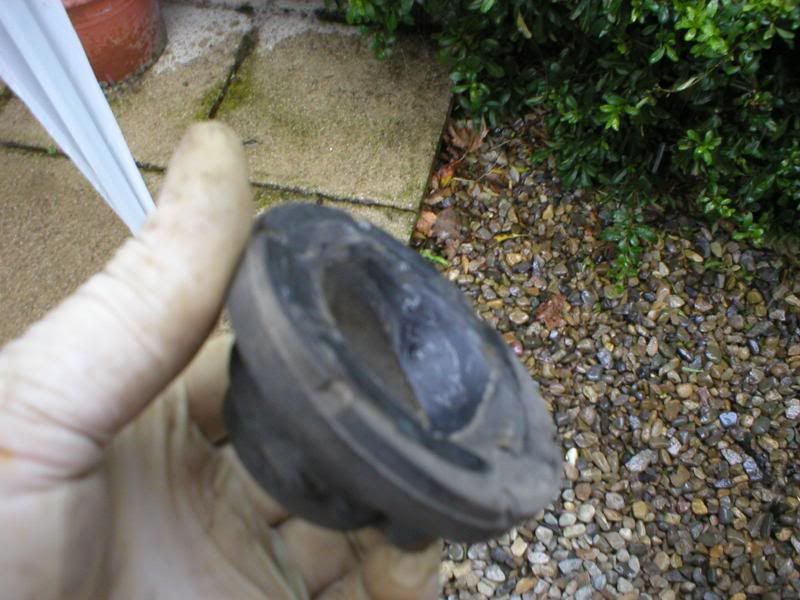
Now, remove the locking nut that comes fitted to the top of the coilover.
You can now remove one or both of the height restricting rubbers, depending on the configuration of rollbar you are running.
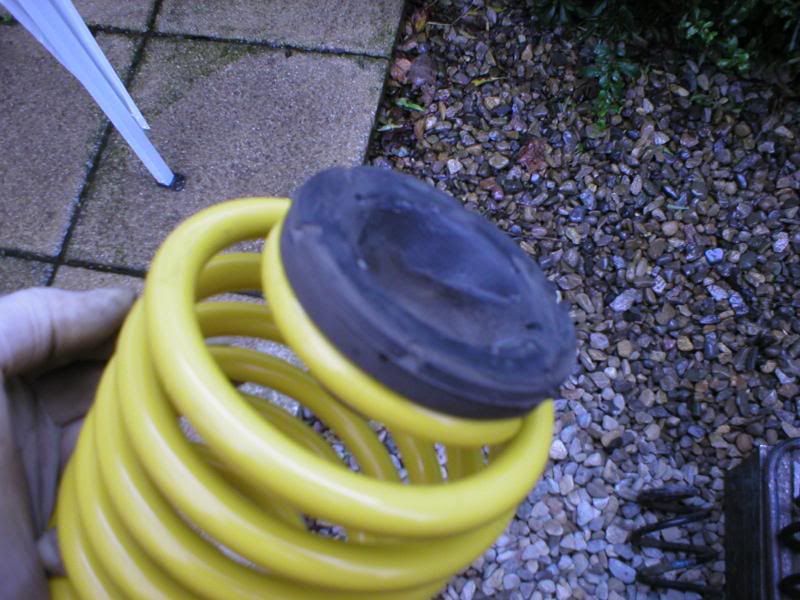
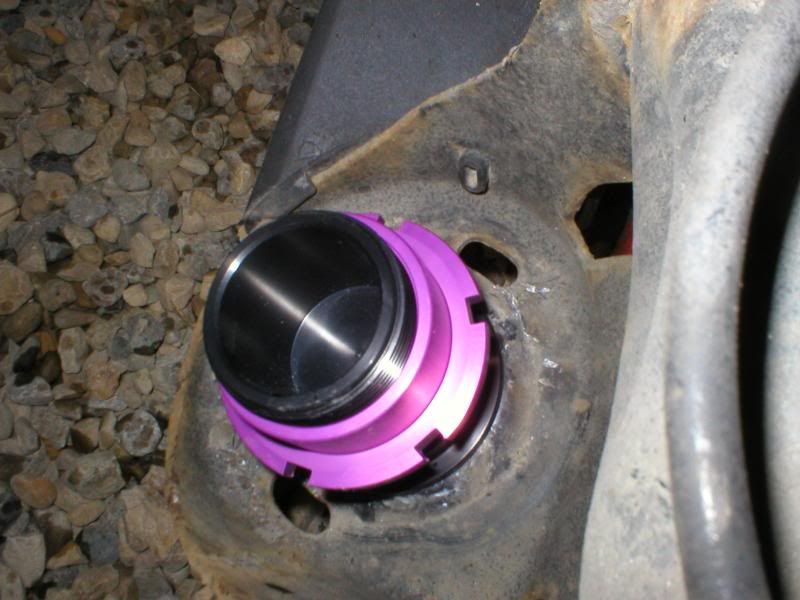
Now, refit the top spring and the top purple mount.
Last edited:


 I'll try it, in the interests of science...