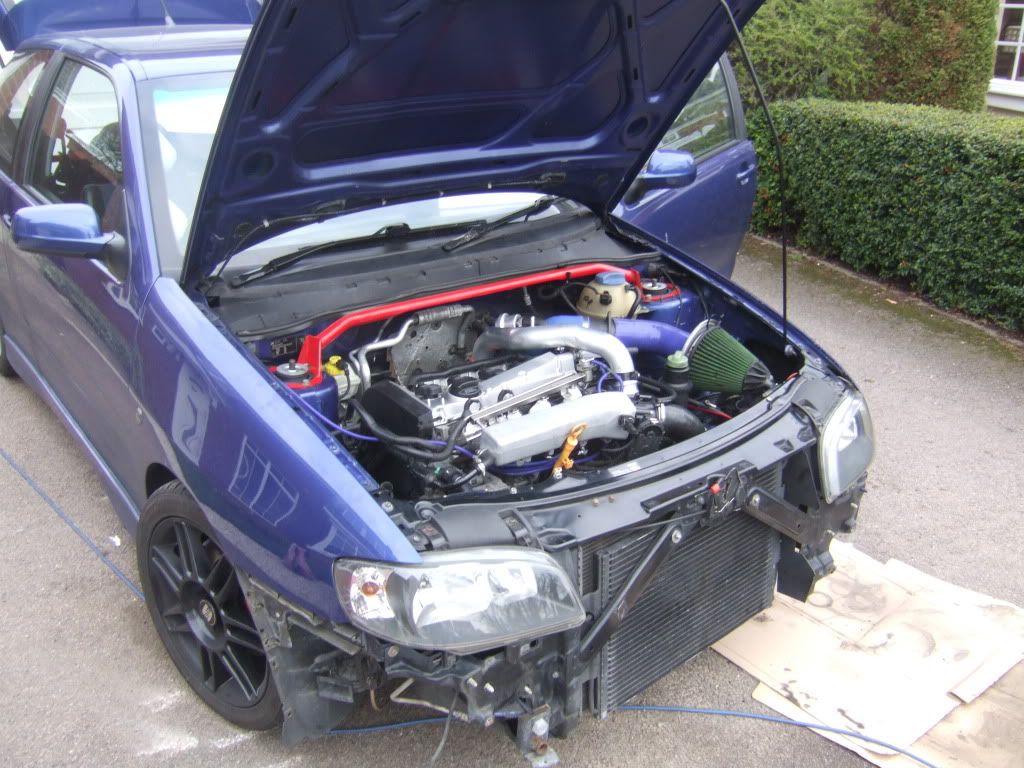
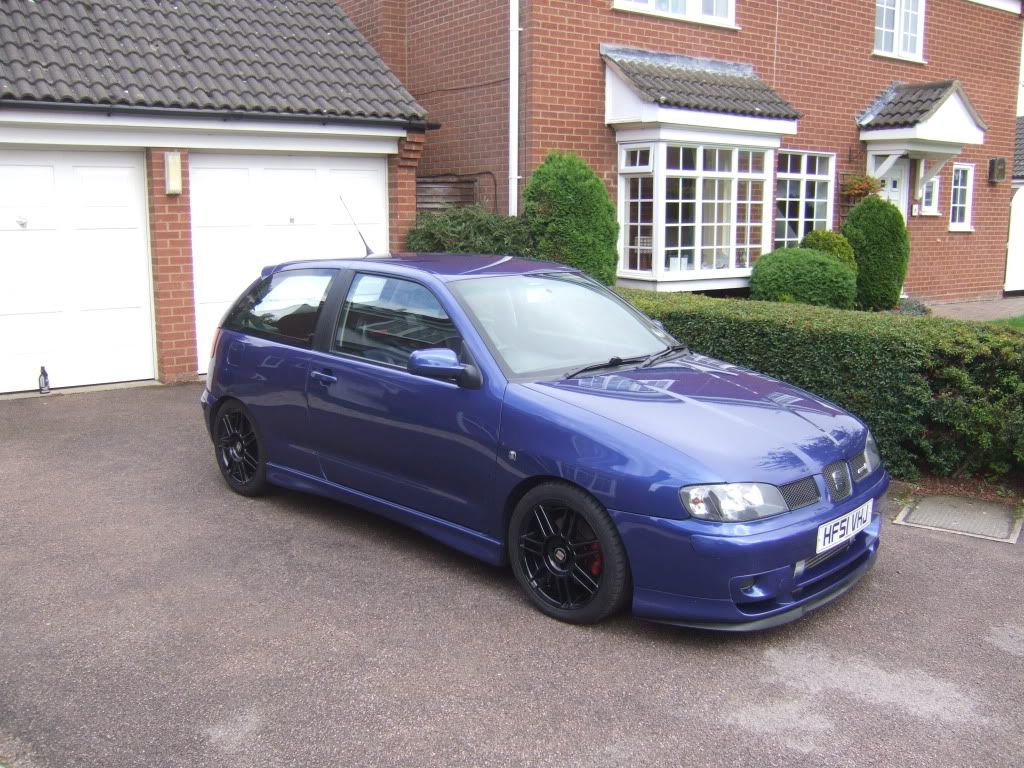
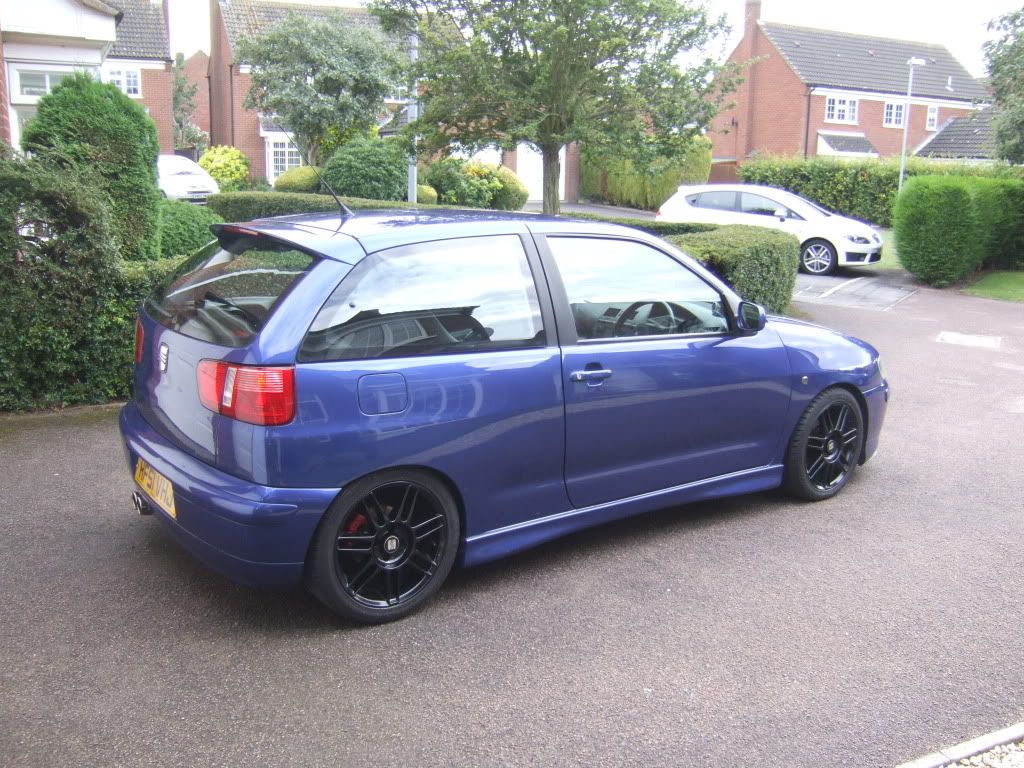
The cars spec as it stands:
2001 Seat Ibiza Cupra 1.8 20v Turbo
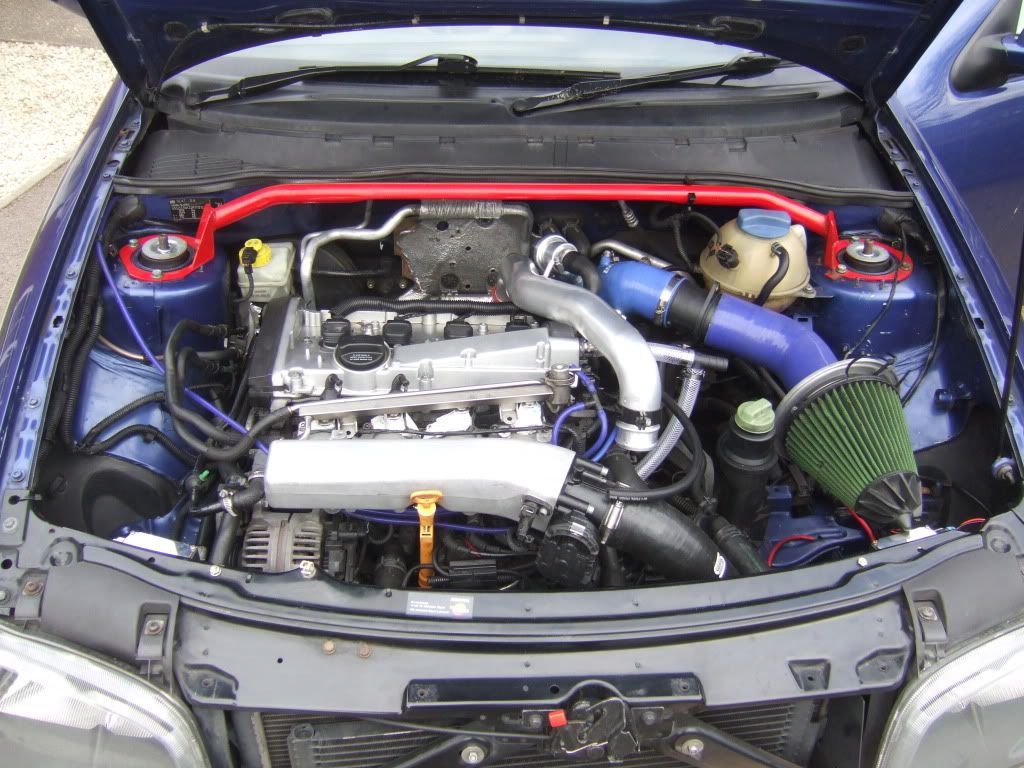
ENGINE
- BAM Block with a 1.9 overbore
- ADR Largeport Head
- AGN N/A Cams
- Supertech valves, springs & titanium retainers
- BAM Forged Crankshaft
- ARP Main studs
- Wossner Forged pistons (82.5mm/8.5 cr)
- TSR Forged Rods
- HTA GT2868 0.86a/r
- INA T25 Topmount Manifold
- REVO Stage 2 (For now)
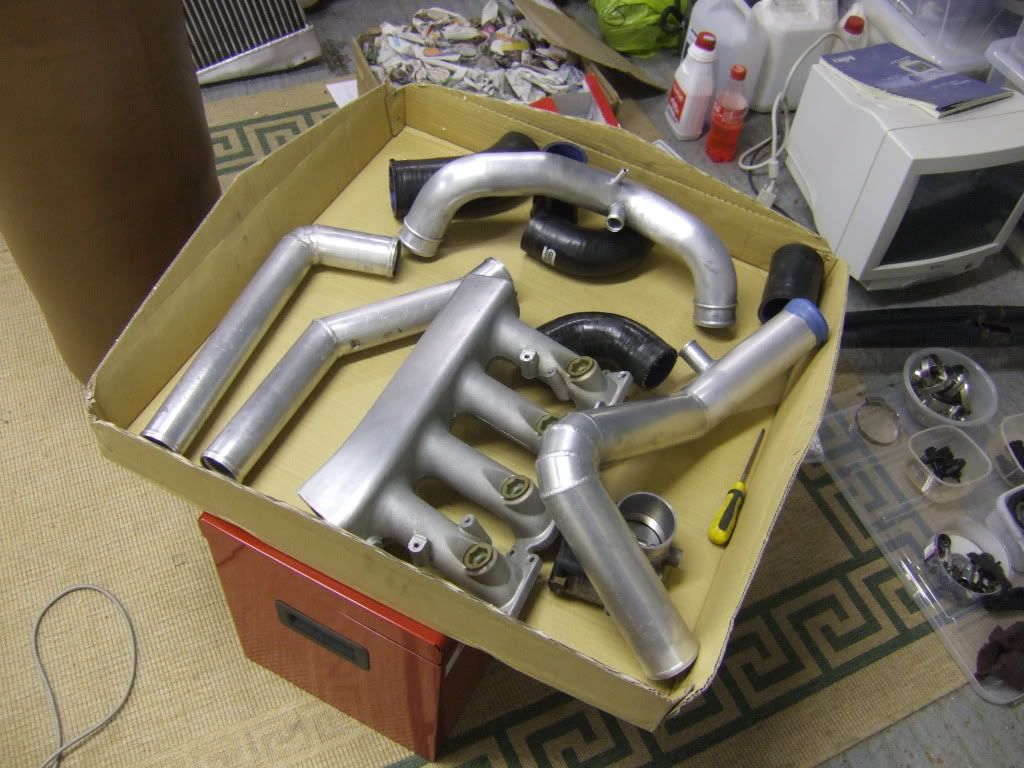
- SEM Motorsports largeport 80mm Inlet Manifold
- INA Billet fuel rail and FPR
- Braided fuel lines with aeroquip fittings
- Porsche 70mm throttle body
- VF Engineering front engine mount
- Solid Race rear & gearbox mount
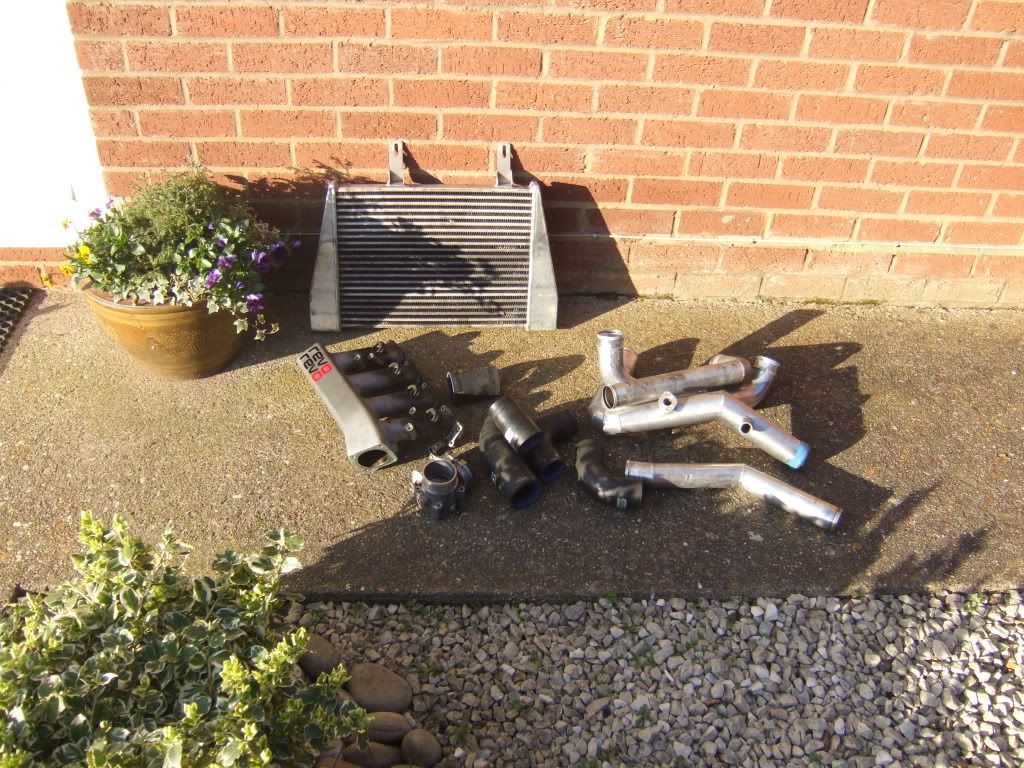
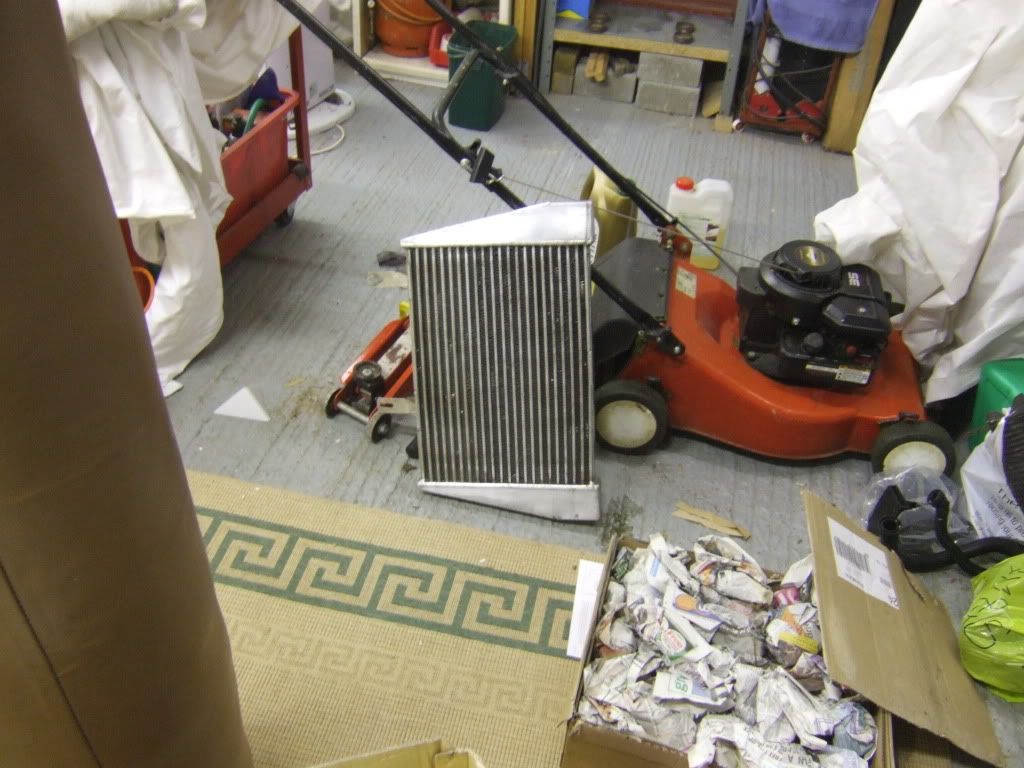
- Toyosports 3" FMIC With custom Pipework
- 3bar FPR
- 3" TIP
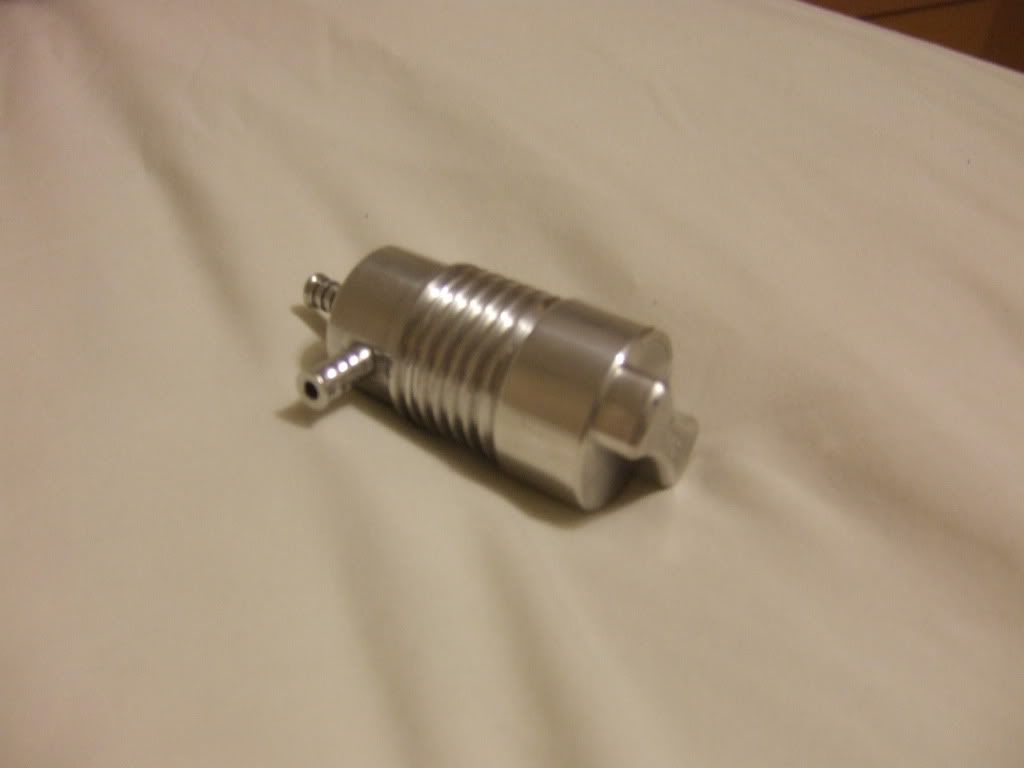
- Forge 007p (yellow spring)
- N249 Delete
- Custom 3" Decat Downpipe
- Milltek Non-resonated Catback Exhaust
- Forge Boost Pipework
- Jetex Open Cone filter
- AEM TruBoost Electronic Boost Controller
- Walbro inline pump
- 4 bar fuel pump
- 630cc Seimans Injectors
- Custom MAF housing with standard Ibiza element
- NKG Iridium Plugs
- SAI Removed (Forge blanking plate)
- Carbon Cannister Removed
- Battery Relocated to boot
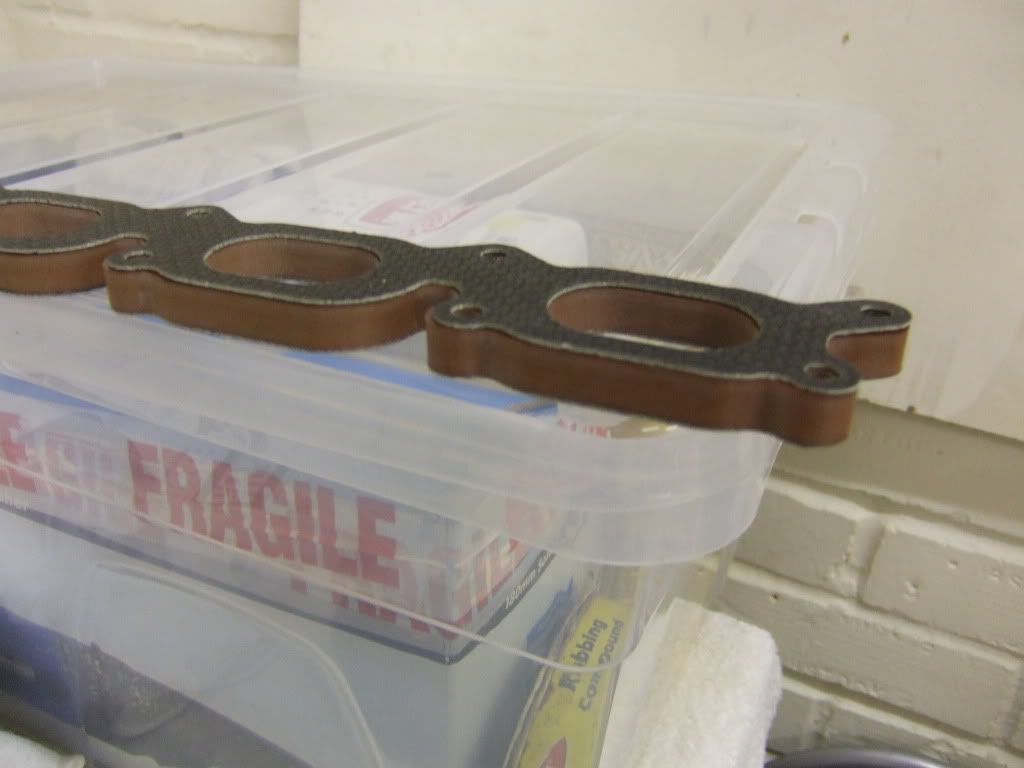
- Phenolic Inlet manifold Insulator Gasket
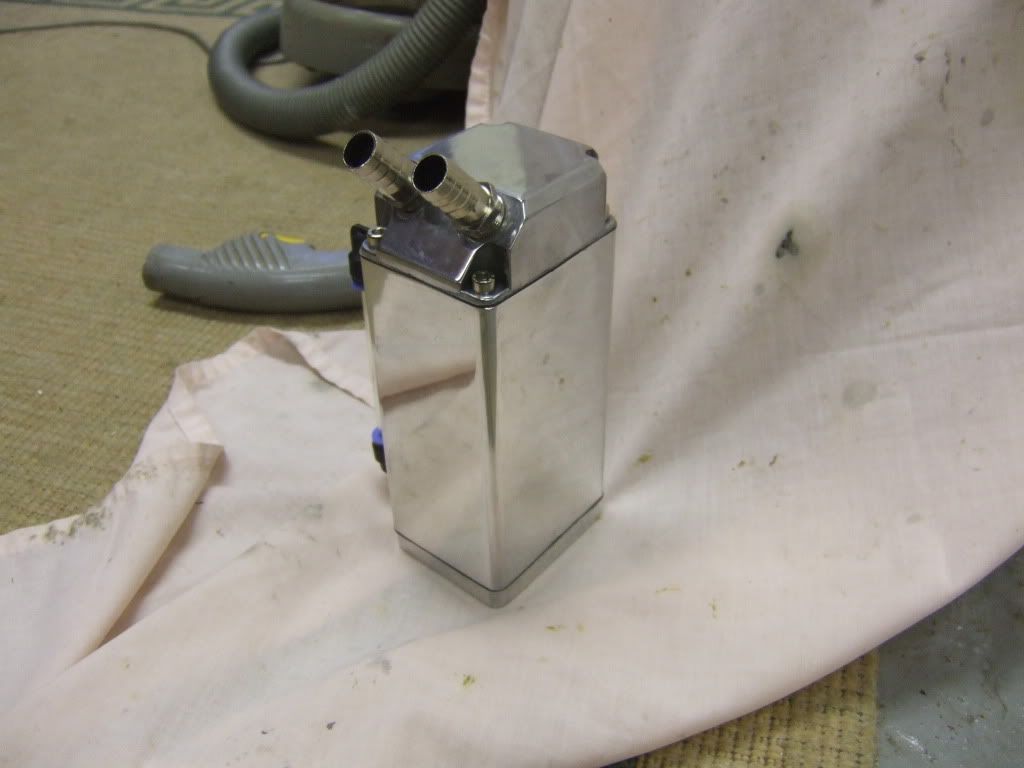
- Oil catch tank
- Aircon removed
TRANSMISSION
- Pelequin ATB diff with ARP Bolts
- G60 Flywheel Lightened & Balanced to 4.5kg
- SPEC Stage 3+ Paddle clutch
- B&M Short Shifter
- Top Mounted Shiftbox
- Richbrook gearknob
BRAKES
- 280mm Eliptically grooved Brembo Disks
- Eliptically grooved rear disks
- DS2500 Front pads
- Pagid rear pads
- Braided lines
- Hi temp fluid
HANDLING
- Weitec Coilovers
- Front Momo Seat sport Strut brace
- Rear OMP Strut brace
- Neuspeed Rear ARB
- Polybushed
EXTERIOR
- Seat Sport Speedline Course Alloys
- LCR Splitter
- Colour coded bump strips
- A sprinkling of forge revo and scn stickers
- HID Full beams
INTERIOR
- Nomad duel pod door pillar
- Autogauge Boost and Oil temp gauges
- AEM Wideband Guage
- EGT Guage
- Red Jelly Belly air freshener
- Rear seats removed
- Spare wheel removed
SECURITY
- Clifford Alarm


Thanks for reading!")
2001 Seat Ibiza Cupra 1.8 20v Turbo
ENGINE
- BAM Block with a 1.9 overbore
- ADR Largeport Head
- AGN N/A Cams
- Supertech valves, springs & titanium retainers
- BAM Forged Crankshaft
- ARP Main studs
- Wossner Forged pistons (82.5mm/8.5 cr)
- TSR Forged Rods
- HTA GT2868 0.86a/r
- INA T25 Topmount Manifold
- REVO Stage 2 (For now)
- SEM Motorsports largeport 80mm Inlet Manifold
- INA Billet fuel rail and FPR
- Braided fuel lines with aeroquip fittings
- Porsche 70mm throttle body
- VF Engineering front engine mount
- Solid Race rear & gearbox mount
- Toyosports 3" FMIC With custom Pipework
- 3bar FPR
- 3" TIP
- Forge 007p (yellow spring)
- N249 Delete
- Custom 3" Decat Downpipe
- Milltek Non-resonated Catback Exhaust
- Forge Boost Pipework
- Jetex Open Cone filter
- AEM TruBoost Electronic Boost Controller
- Walbro inline pump
- 4 bar fuel pump
- 630cc Seimans Injectors
- Custom MAF housing with standard Ibiza element
- NKG Iridium Plugs
- SAI Removed (Forge blanking plate)
- Carbon Cannister Removed
- Battery Relocated to boot
- Phenolic Inlet manifold Insulator Gasket
- Oil catch tank
- Aircon removed
TRANSMISSION
- Pelequin ATB diff with ARP Bolts
- G60 Flywheel Lightened & Balanced to 4.5kg
- SPEC Stage 3+ Paddle clutch
- B&M Short Shifter
- Top Mounted Shiftbox
- Richbrook gearknob
BRAKES
- 280mm Eliptically grooved Brembo Disks
- Eliptically grooved rear disks
- DS2500 Front pads
- Pagid rear pads
- Braided lines
- Hi temp fluid
HANDLING
- Weitec Coilovers
- Front Momo Seat sport Strut brace
- Rear OMP Strut brace
- Neuspeed Rear ARB
- Polybushed
EXTERIOR
- Seat Sport Speedline Course Alloys
- LCR Splitter
- Colour coded bump strips
- A sprinkling of forge revo and scn stickers
- HID Full beams
INTERIOR
- Nomad duel pod door pillar
- Autogauge Boost and Oil temp gauges
- AEM Wideband Guage
- EGT Guage
- Red Jelly Belly air freshener
- Rear seats removed
- Spare wheel removed
SECURITY
- Clifford Alarm
Thanks for reading!
Last edited: