
Hi guys well i thought i'd start a progress blog even though progress looks to be slow at the moment.
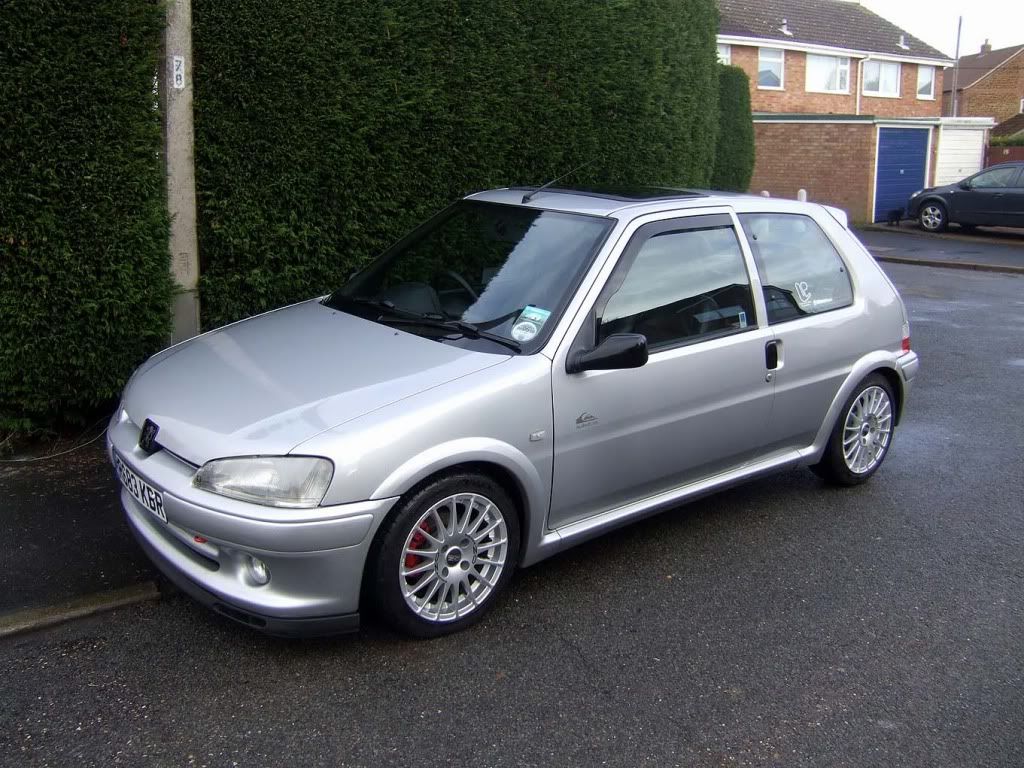
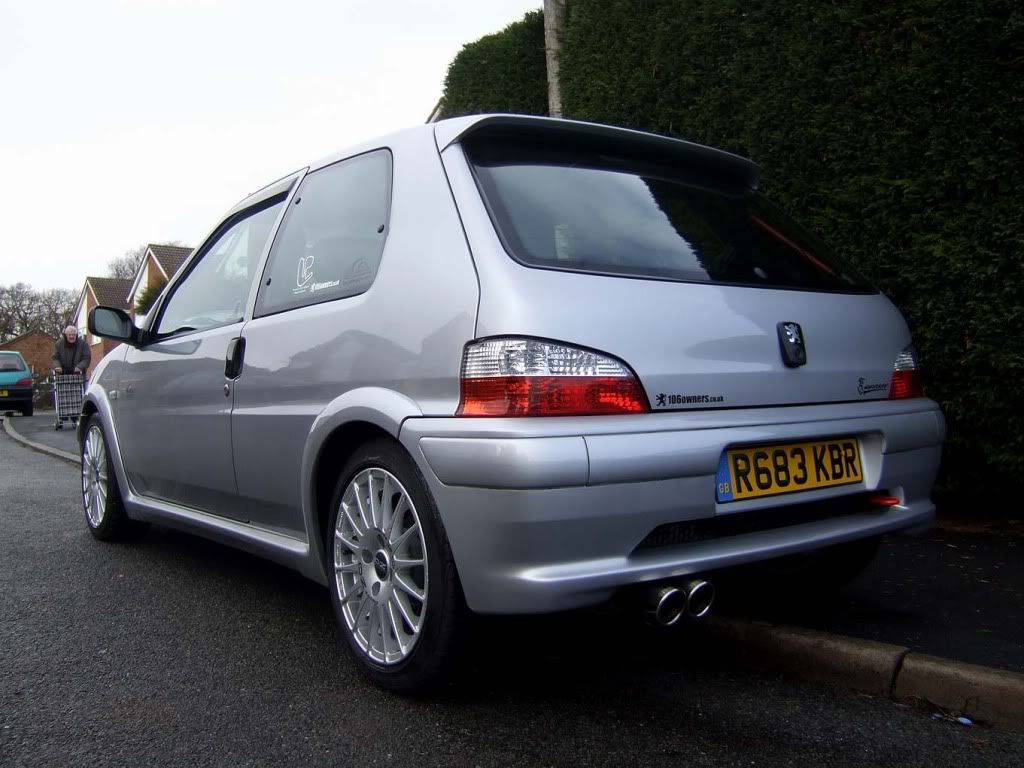
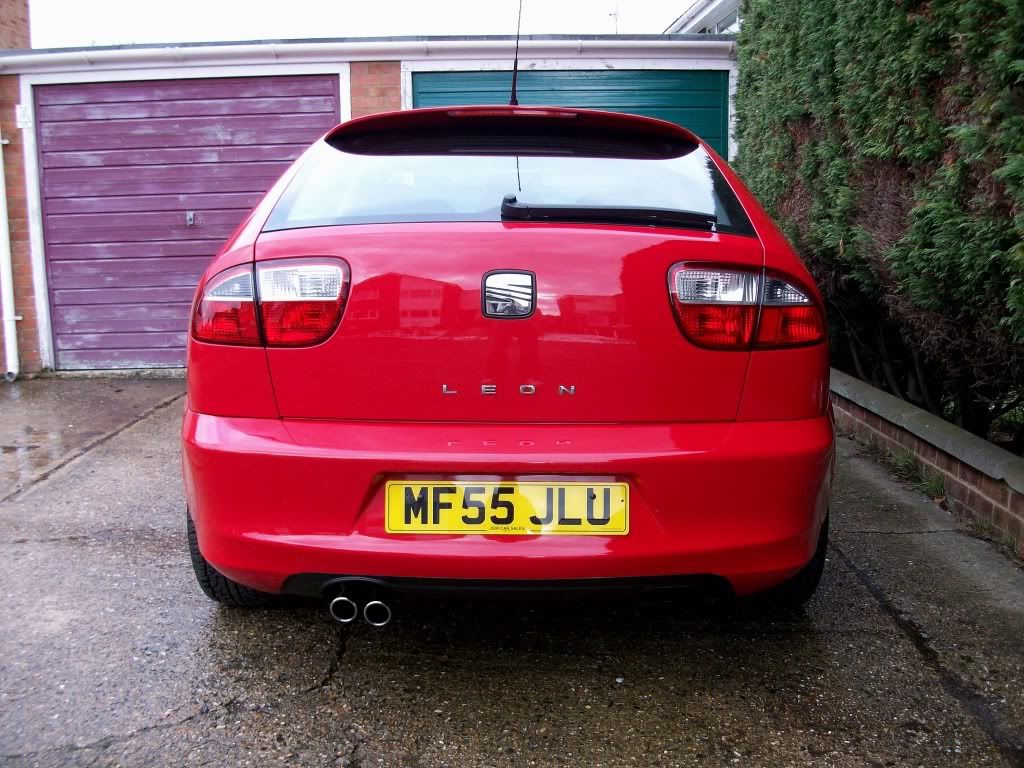
Well here it is My 55 plate FR 150, bought just over two weeks ago I traded in my little 106 Quiksilver and came away with this beauty.
Before:
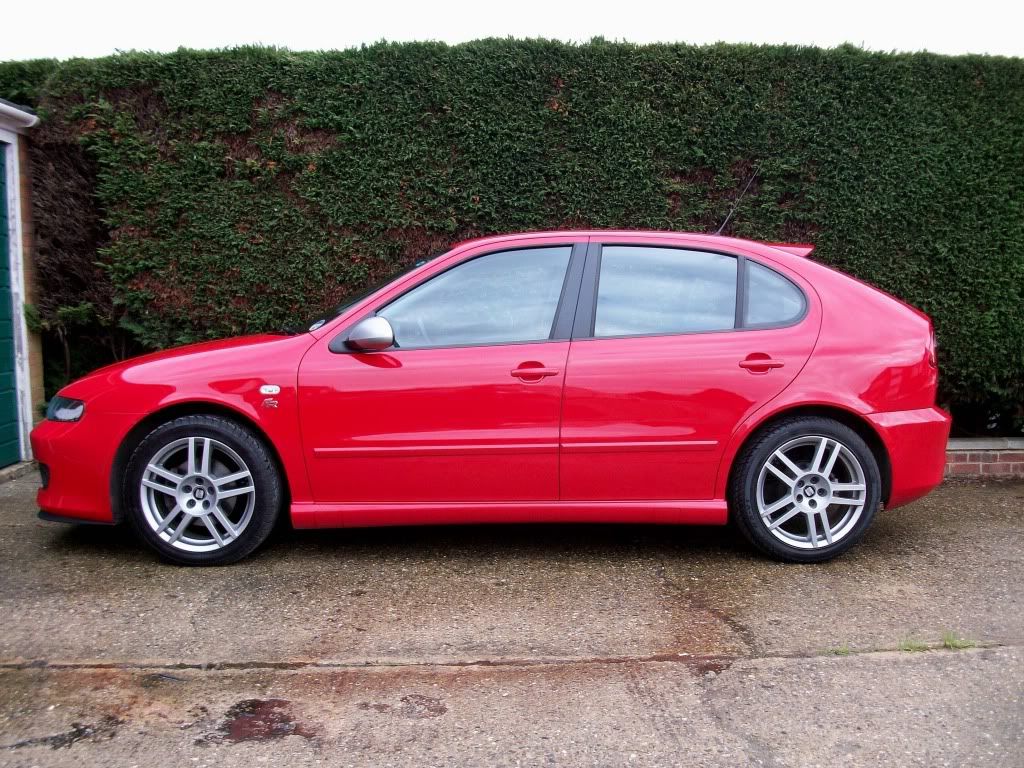
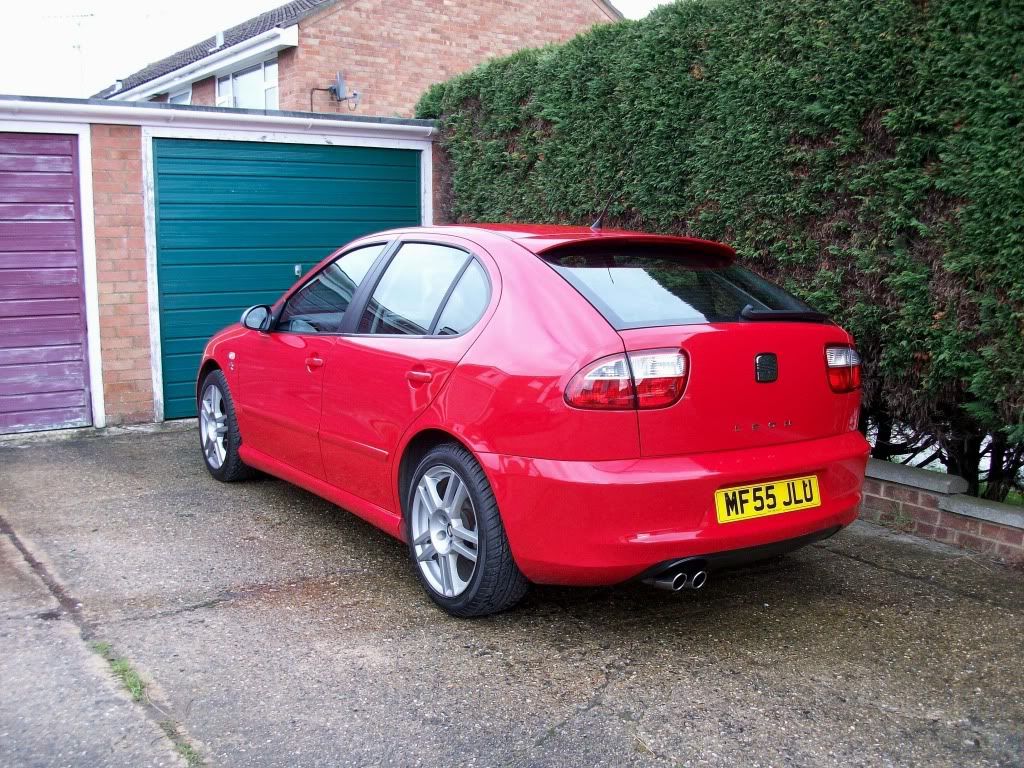
To this:
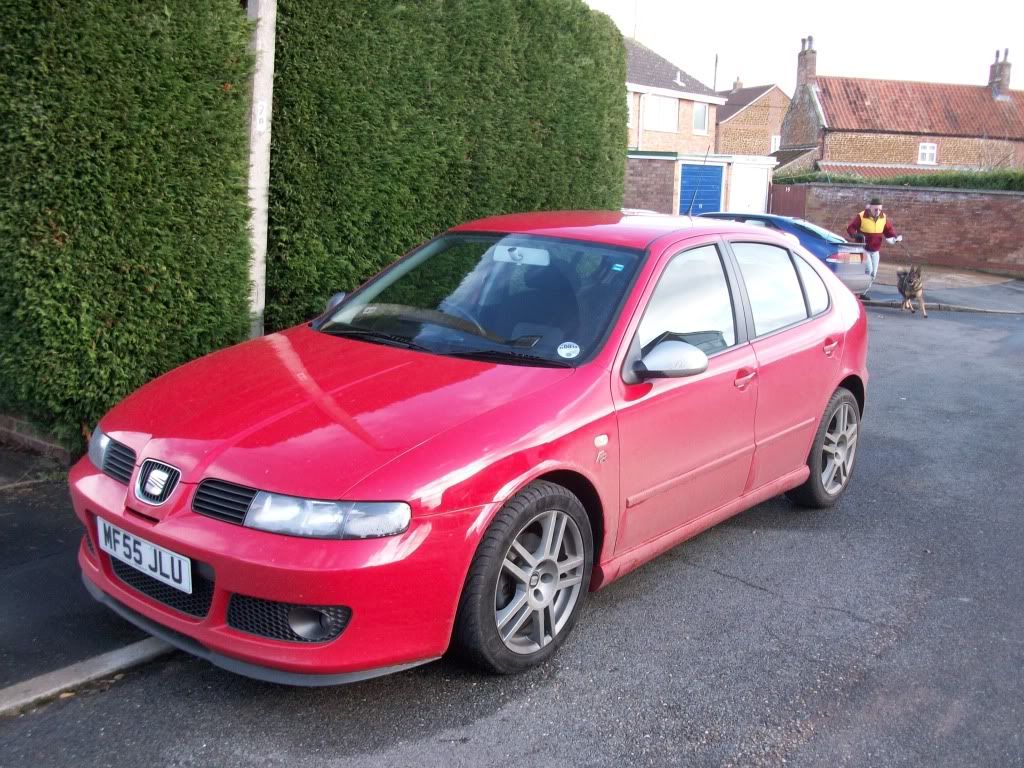
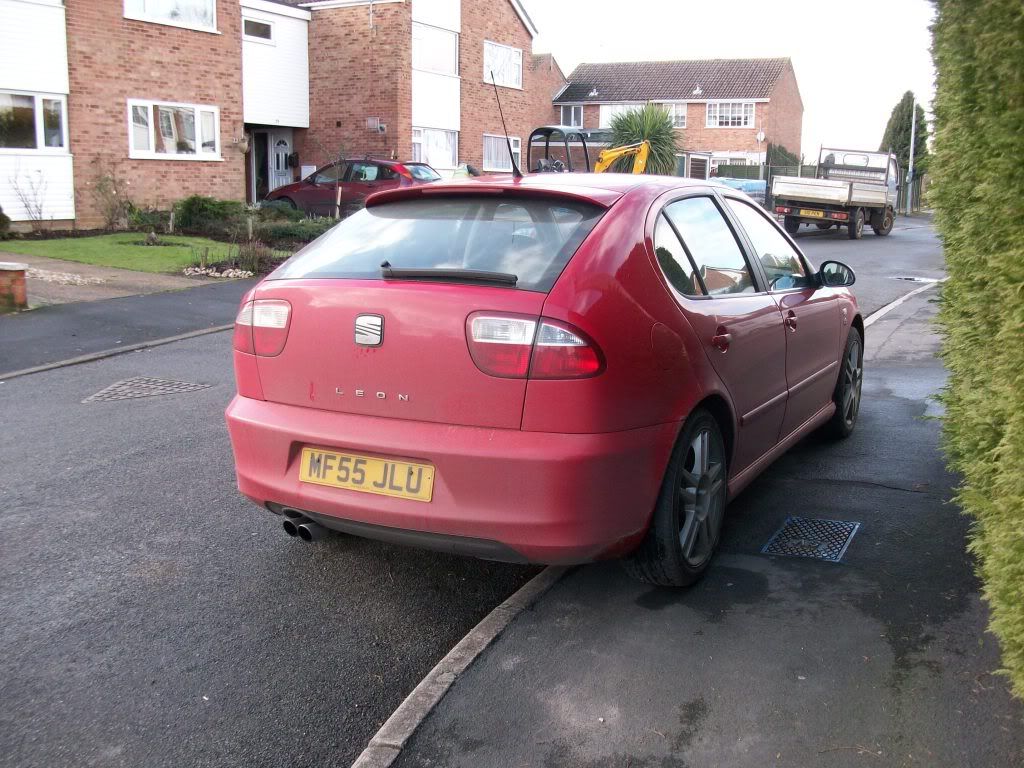
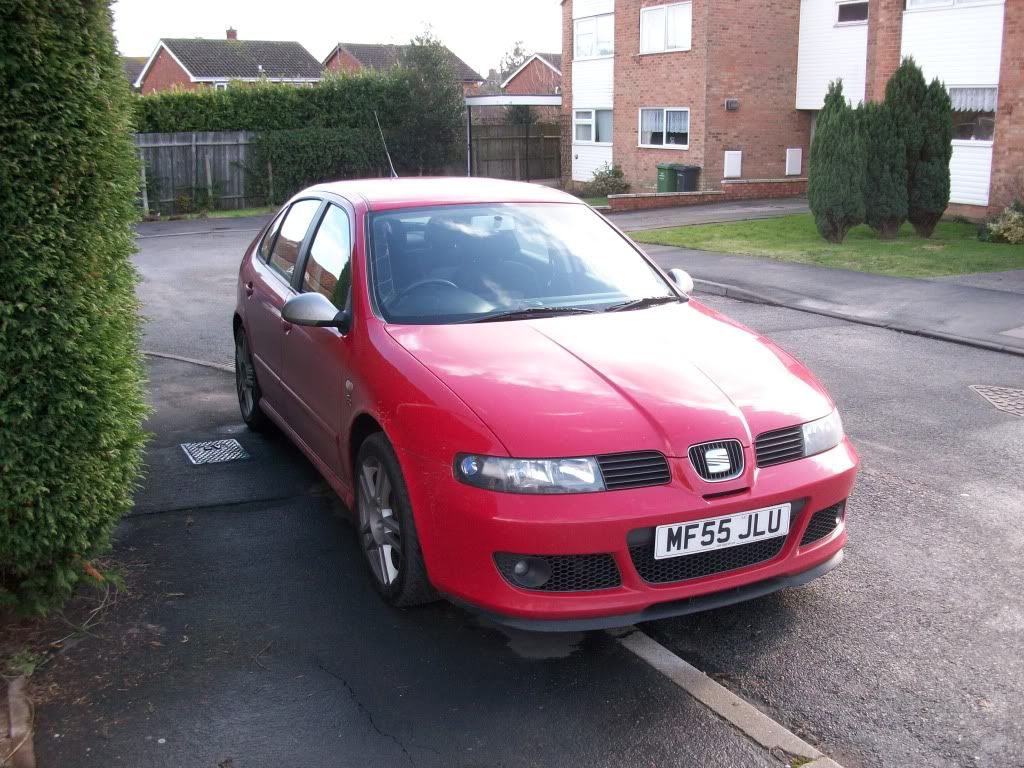
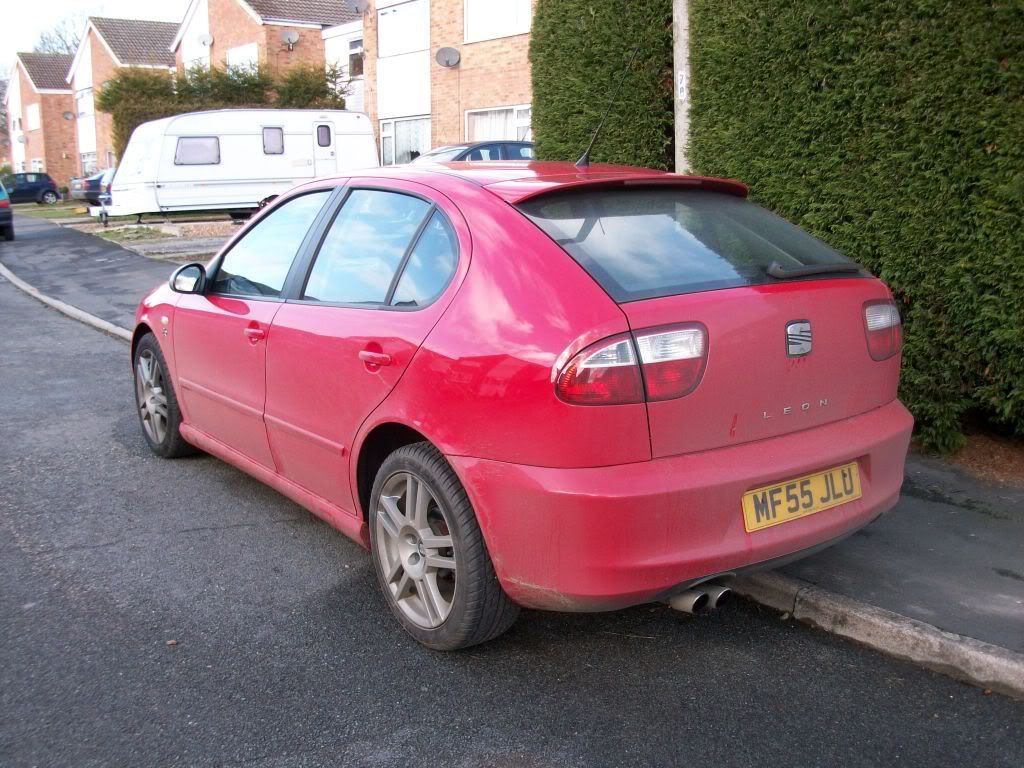
As you can see two weeks without a wash on the country roads where i live have completly caked it in crap already.
Anyway plans...
Short term:
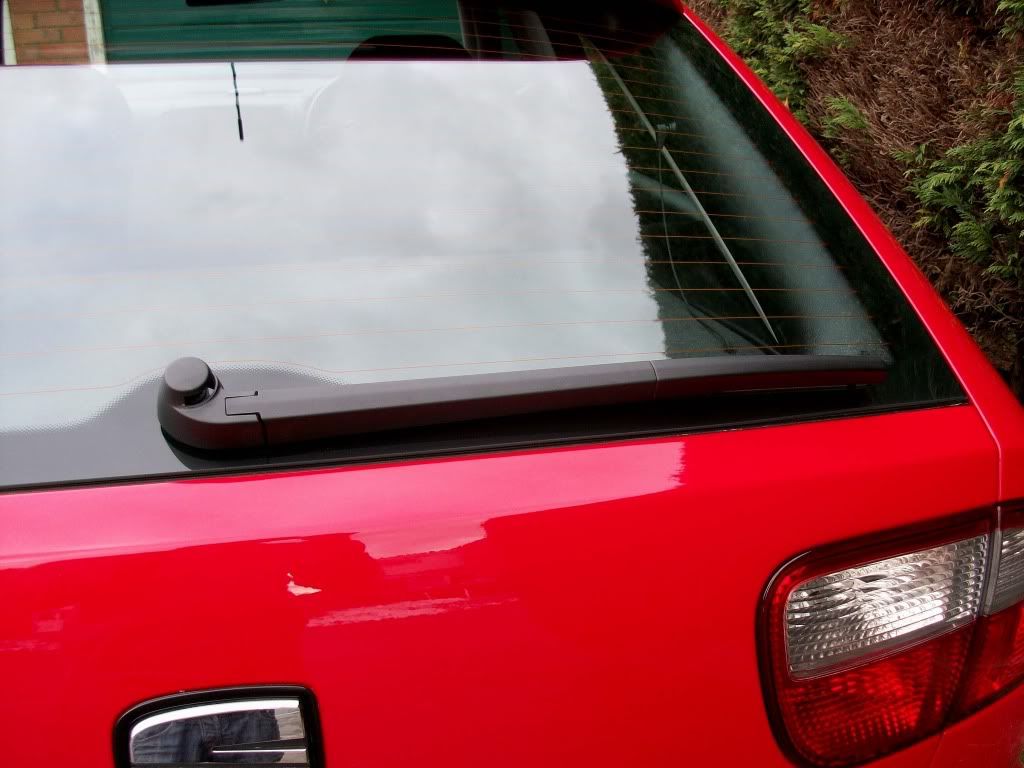
Fabia rear wiper - Now fitted.
Aero front wipers - Now fitted.
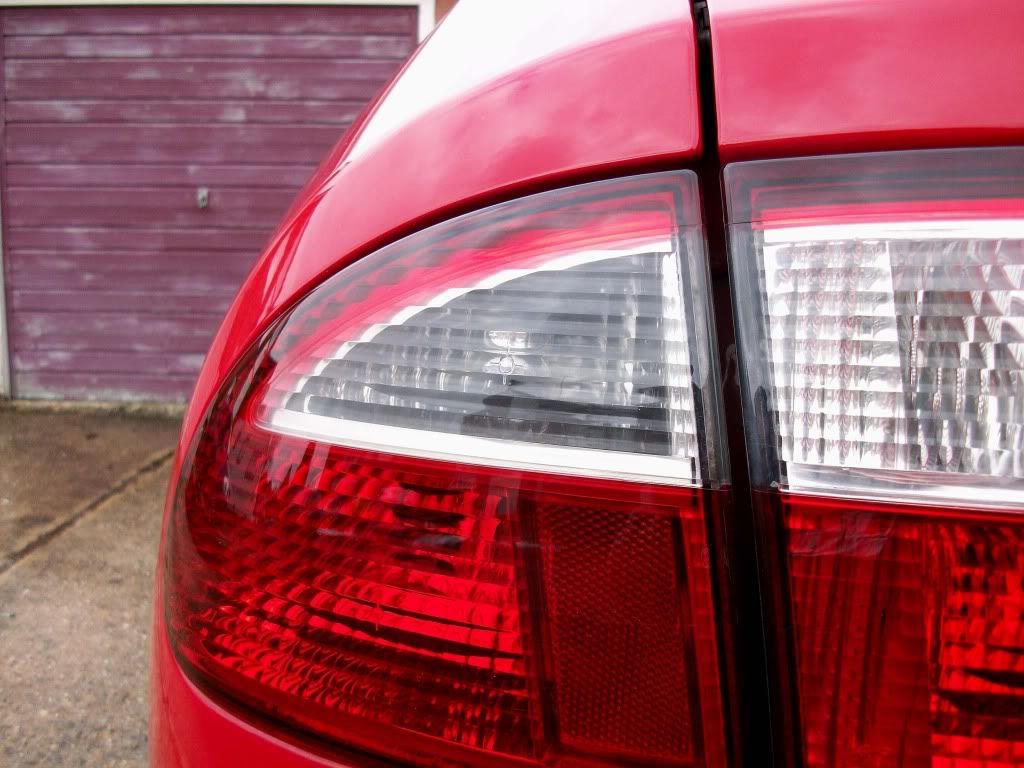
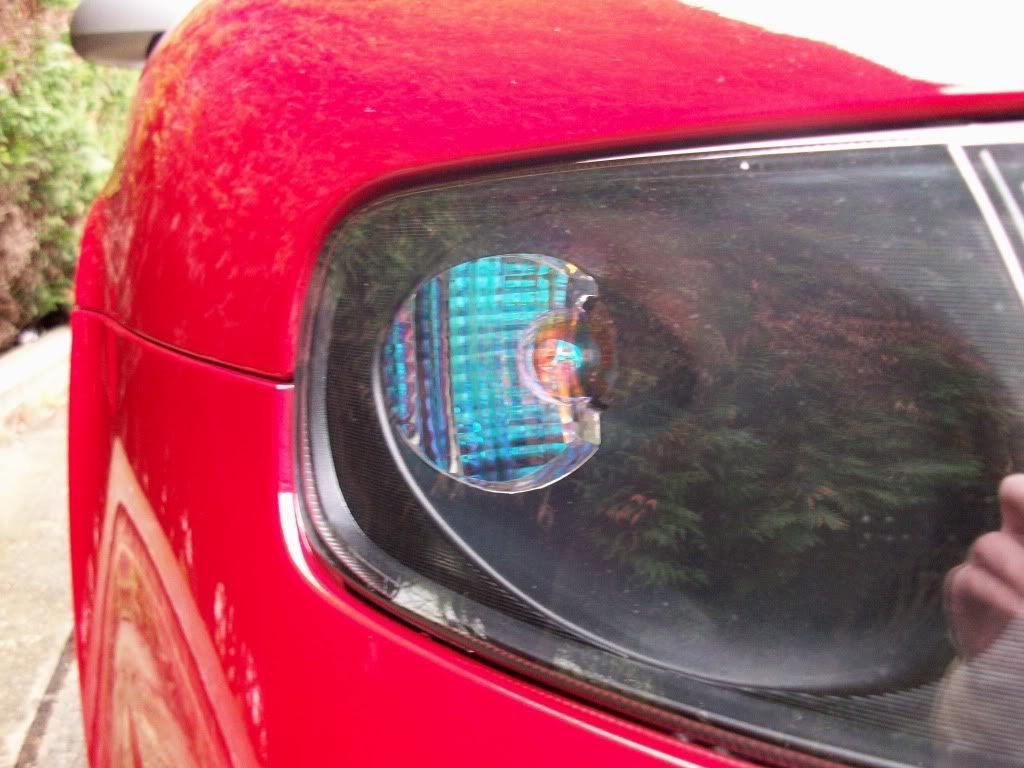
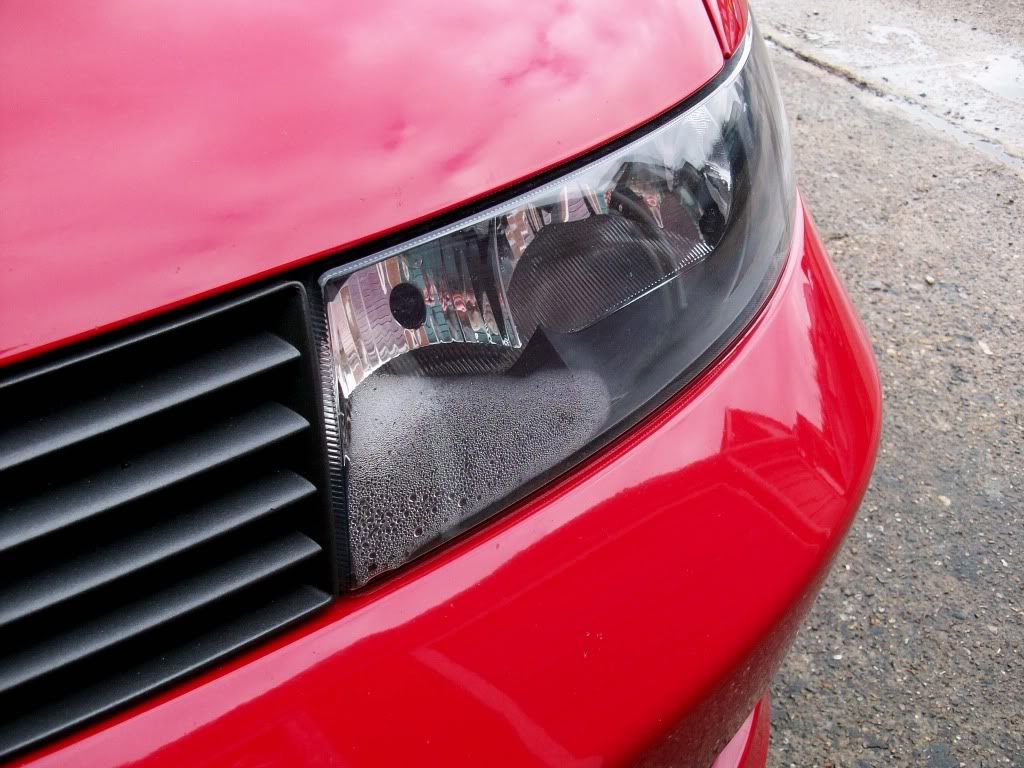
Chrome side repeater bulbs allround - Now fitted.
Uprated sidelight bulbs and dipped bulbs - Now fitted.
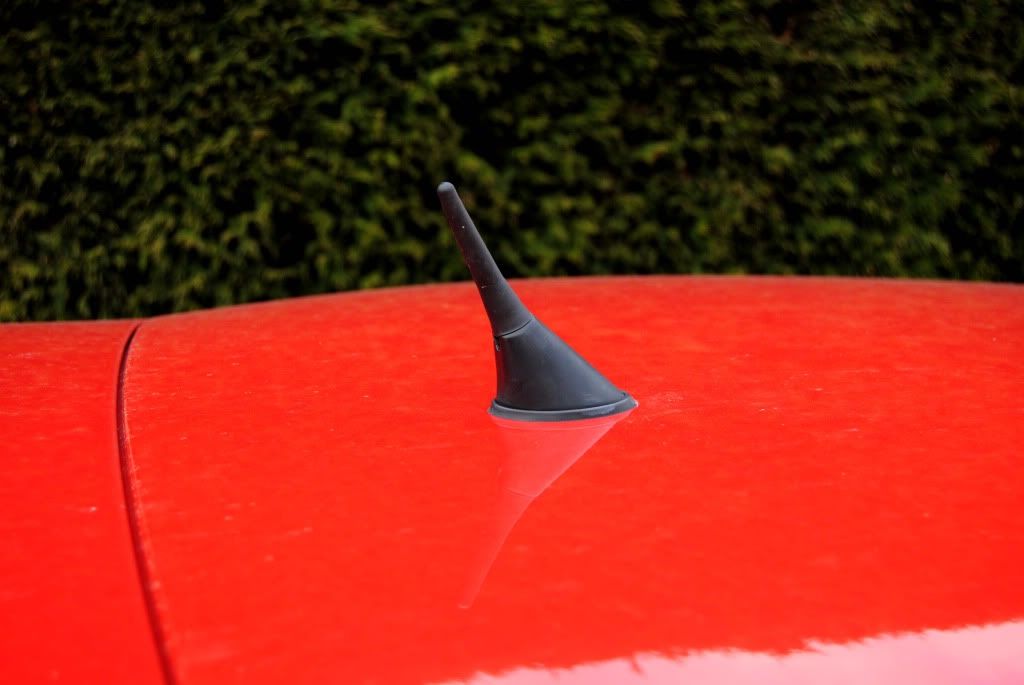
shorter Citroen C2 arial - Now fitted. (with added shite reception).
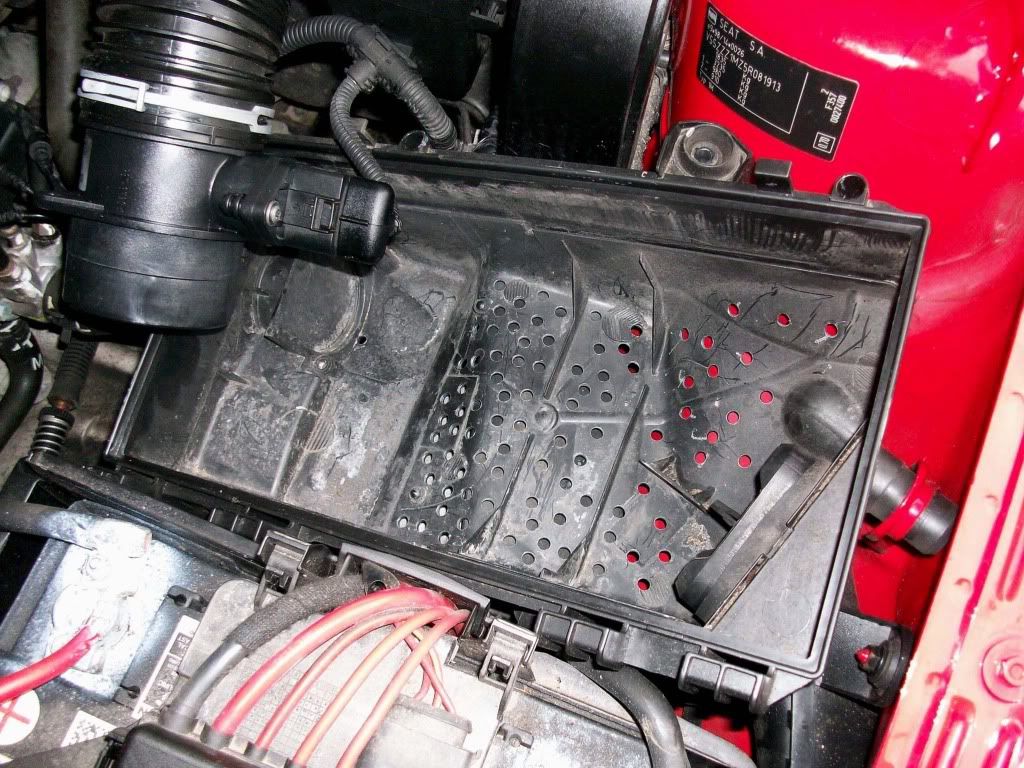
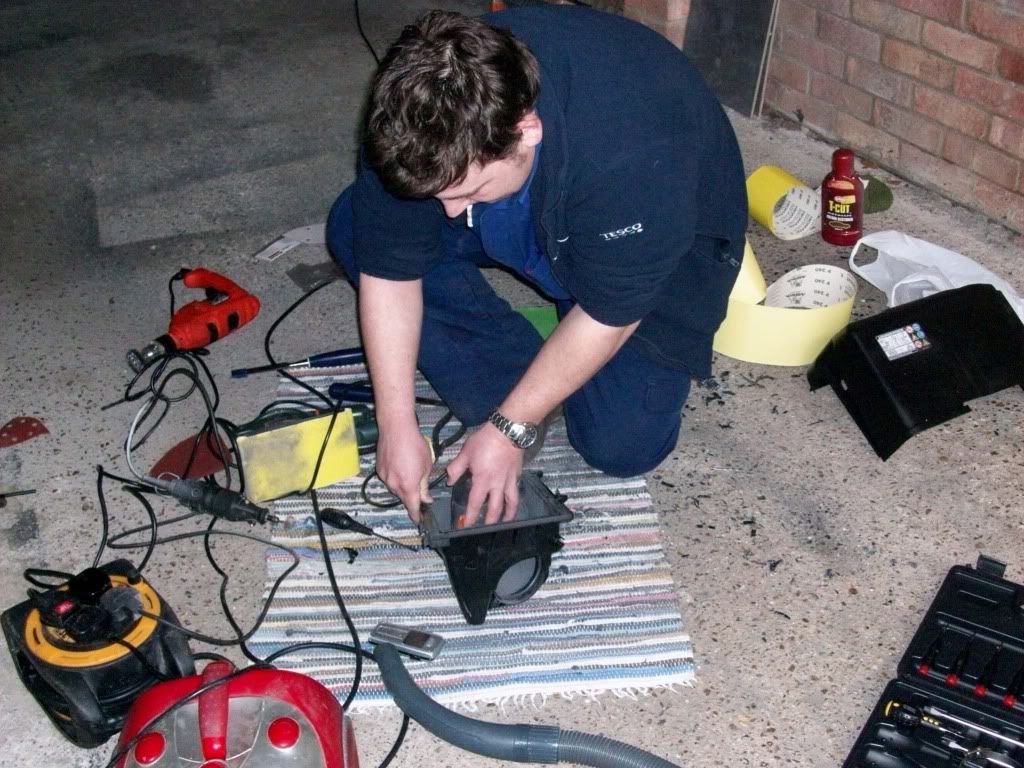
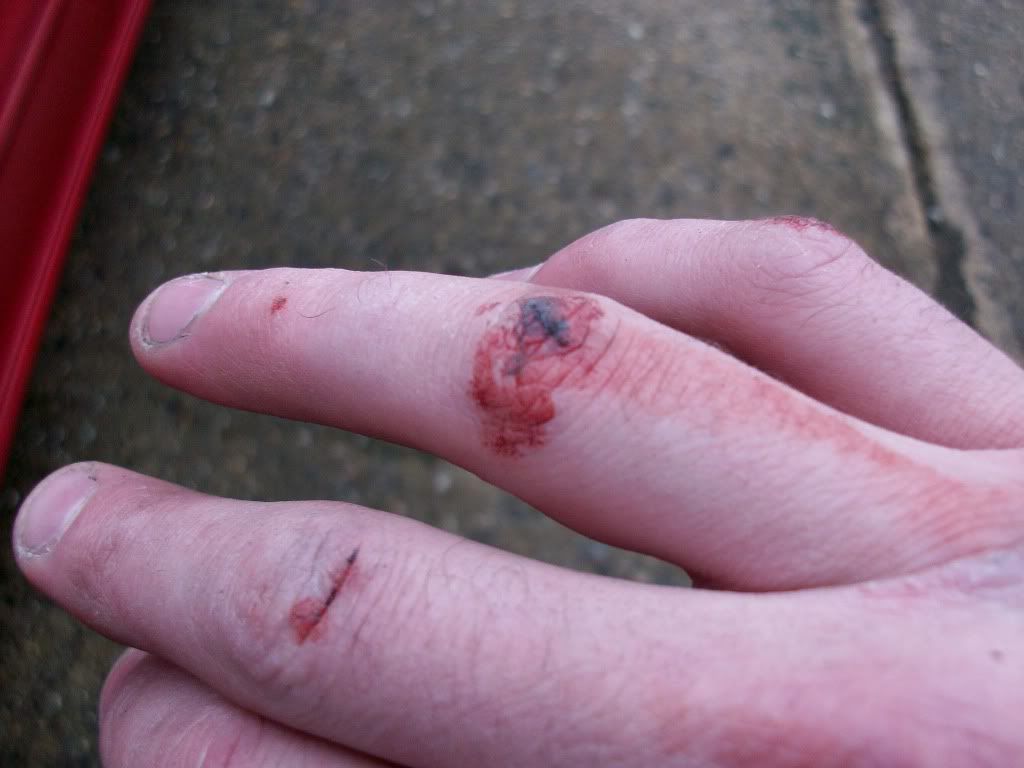
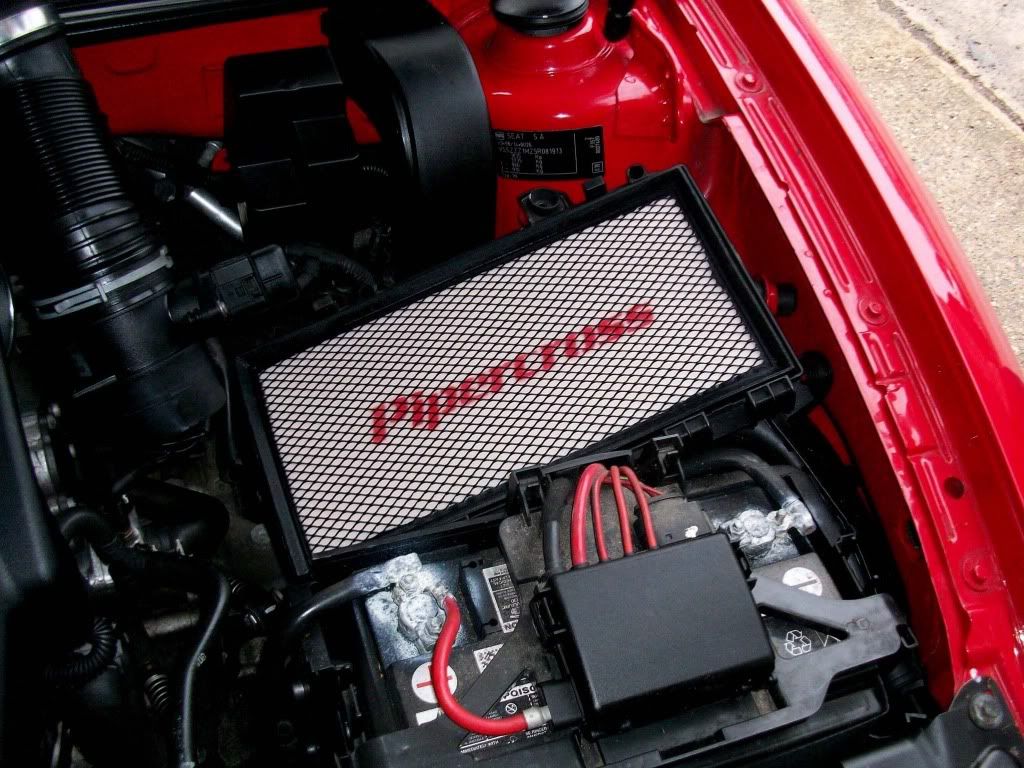
Pipercross panal filter with drilled airbox - Completed.
Need a new windscreen as mine is bloody cracked - Now fitted.
Long term:
Front end respray - both the bonnet and front bumper (this car has been stoned chipped to death) - Bumper completed.
All four wheels referbed in their original colour (Now sold) Back on original 17inch FR+ wheels.
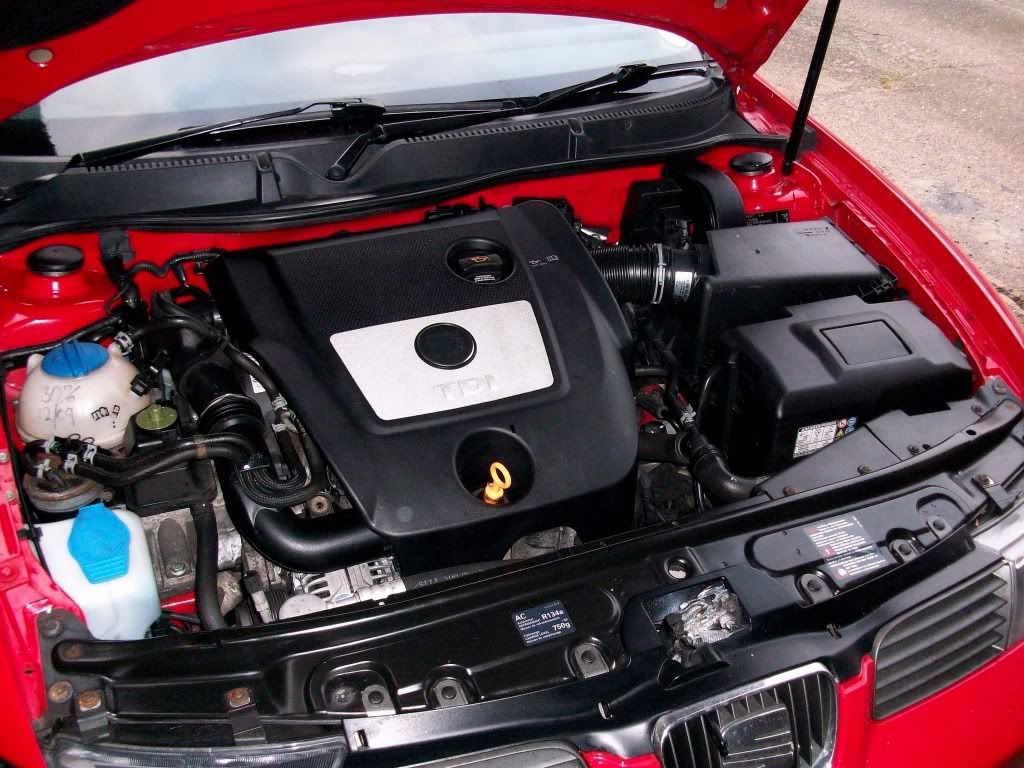
Miltech cat back exhaust system - Now fitted.
All four calipers referbed and painted red to match the car - Completed.
Four new tyres - Ive got shite Budgets on at the moment. Now Replaced with slightly less shite budgets.
Very long term plans:
Remap at Amd or Jabba and an aftermarket Sach clutch fitted at the same time - Both completed
Well here it is My 55 plate FR 150, bought just over two weeks ago I traded in my little 106 Quiksilver and came away with this beauty.
Before:
To this:
As you can see two weeks without a wash on the country roads where i live have completly caked it in crap already.
Anyway plans...
Short term:
Fabia rear wiper - Now fitted.
Aero front wipers - Now fitted.
Chrome side repeater bulbs allround - Now fitted.
Uprated sidelight bulbs and dipped bulbs - Now fitted.
shorter Citroen C2 arial - Now fitted. (with added shite reception).
Pipercross panal filter with drilled airbox - Completed.
Need a new windscreen as mine is bloody cracked - Now fitted.
Long term:
Front end respray - both the bonnet and front bumper (this car has been stoned chipped to death) - Bumper completed.
All four wheels referbed in their original colour (Now sold) Back on original 17inch FR+ wheels.
Miltech cat back exhaust system - Now fitted.
All four calipers referbed and painted red to match the car - Completed.
Four new tyres - Ive got shite Budgets on at the moment. Now Replaced with slightly less shite budgets.
Very long term plans:
Remap at Amd or Jabba and an aftermarket Sach clutch fitted at the same time - Both completed
Last edited:

")


![[:@]](/forums/styles/seatcupra/oldforumsmileys/furious.gif "Furious [:@]")