Hi guys
Been quite a few posts on the Leon forum recently about the large Toyosport FMIC.
Its been used on some 8L S3's to great effect (check out audi-sport.net) most notably on Welly's car - Bill and quite a few others refer to it as the "Wellycooler"
I already have a FMIC on my car, a tiny Toyosport FMIC with even tinier piping (56mm) - it was something I did a few years ago without actually thinking why I was doing it!!
Since I am now going hybrid, in order to get the best out of my car, I needed a better FMIC setup.
Welly got some outstanding figures on his car when it was running a K04 hybrid (338bhp) so I make no secret of the fact I wanted to copy his spec as much as possible
So I bought the cooler from Toyosport (collected it direct from them as they are based close to me in Brum).
Its a huge cooler, and very thick too. After a few measurements it became clear that a few "modifications" are needed for it to fit the LCR.
Before I go on, I should explain I have gone for 76mm piping. The reason for this is firstly this is what Welly did on his car, and secondly I will be running a SEM inlet manifold with 76mm TB.
To clarify, it will be 76mm piping reducing to the standard (60/63? mm) piping to the charge pipe silicone, and 76mm piping all the way to the throttle body. This means having to get a new location for the MAP sensor, more on that later...
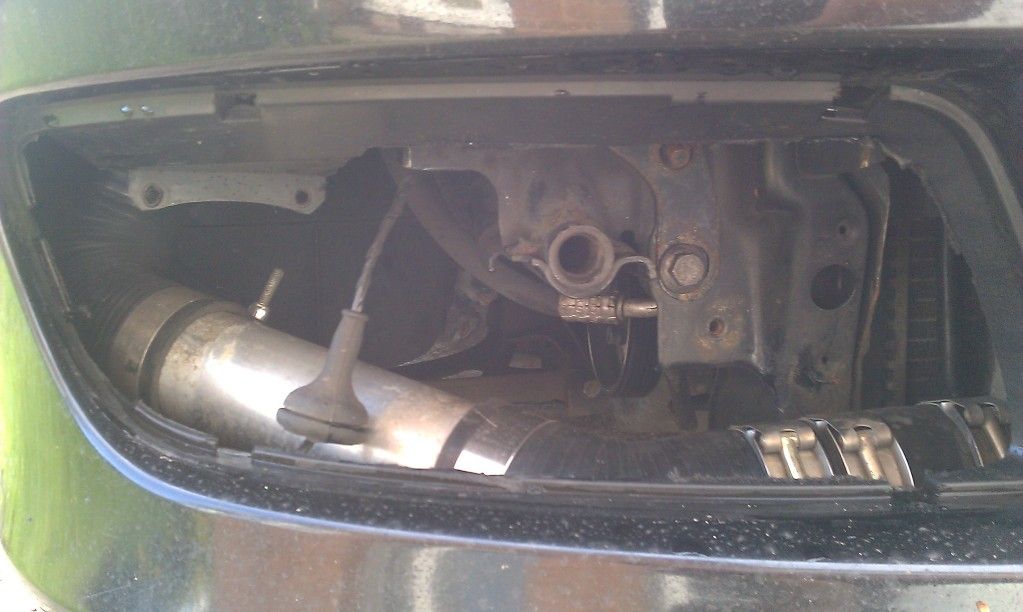
Mounting FMIC to front panel
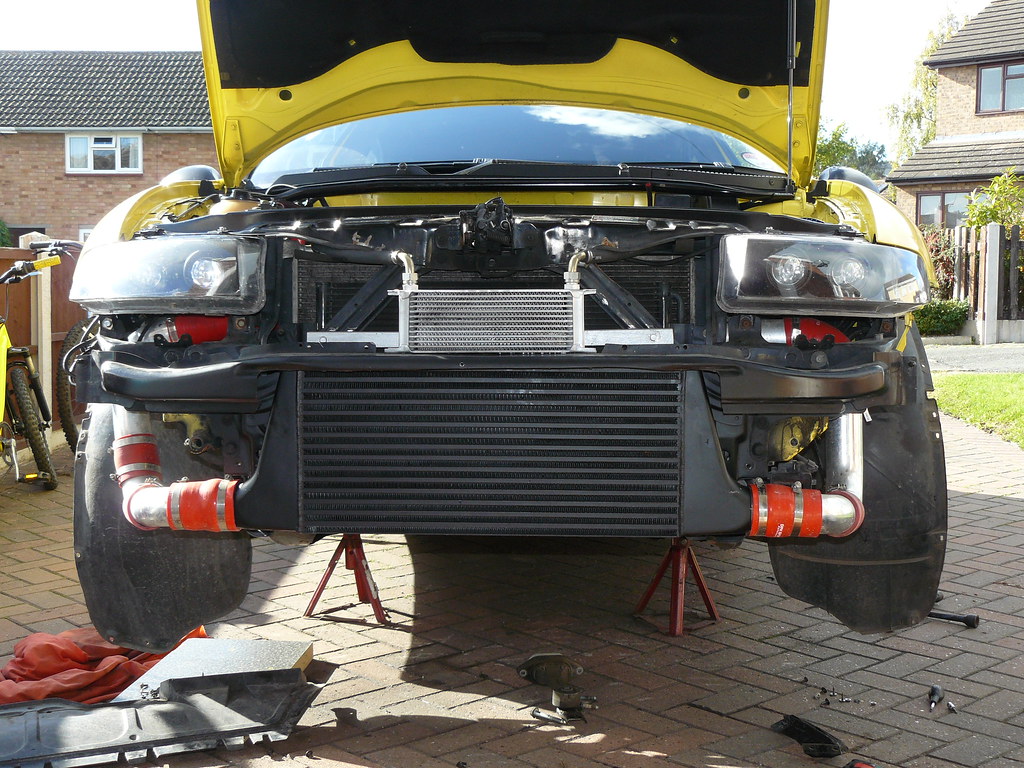
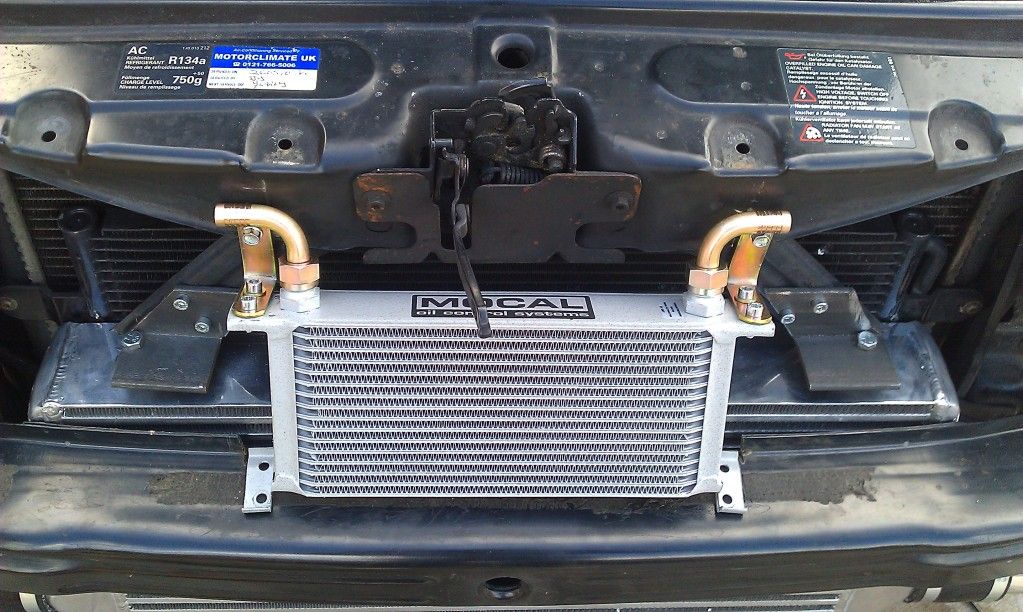
To start off, the FMIC needs to be mounted. I found the only way to do this was to cut the cross member supports on the front panel.
I then made up some funky shaped brackets from some very thick angled bar my uncle had lying around at his garage for the top two mounting points.
The bottom brackets were simply two straight bars from the front panel to the lower mounting points.
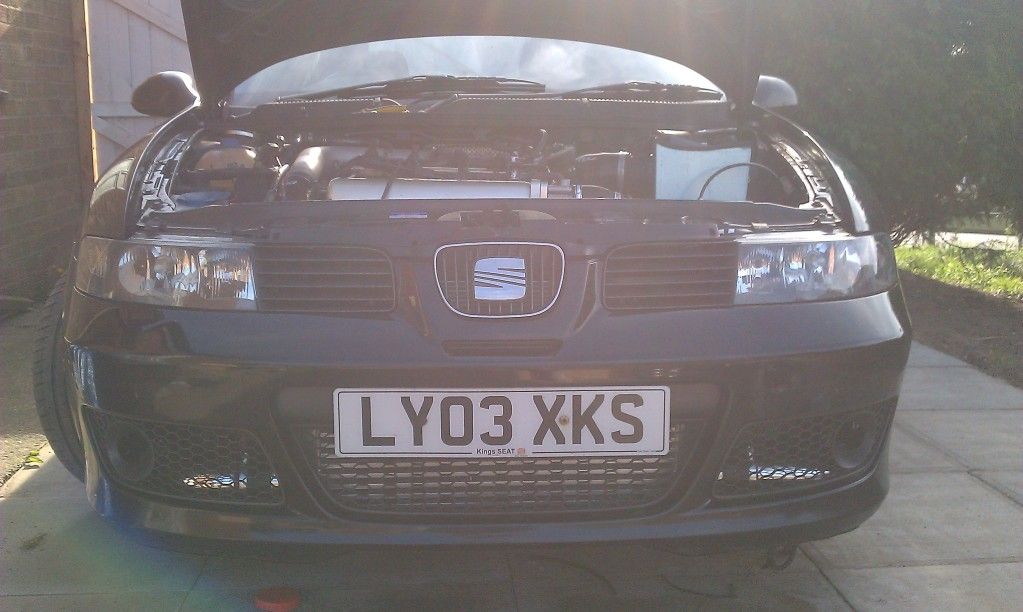
Not the best pic but this is what it looks like:
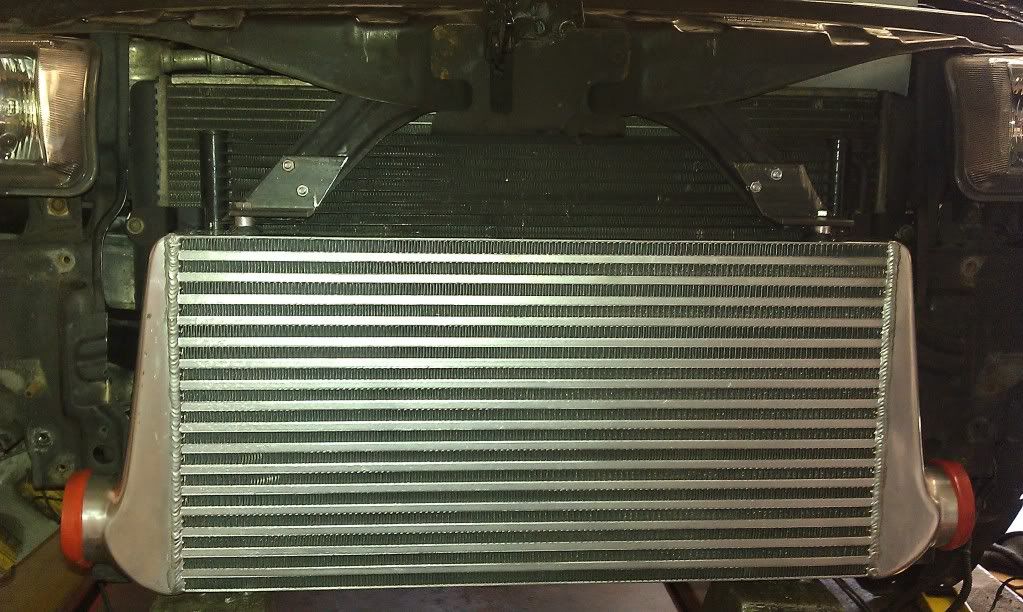
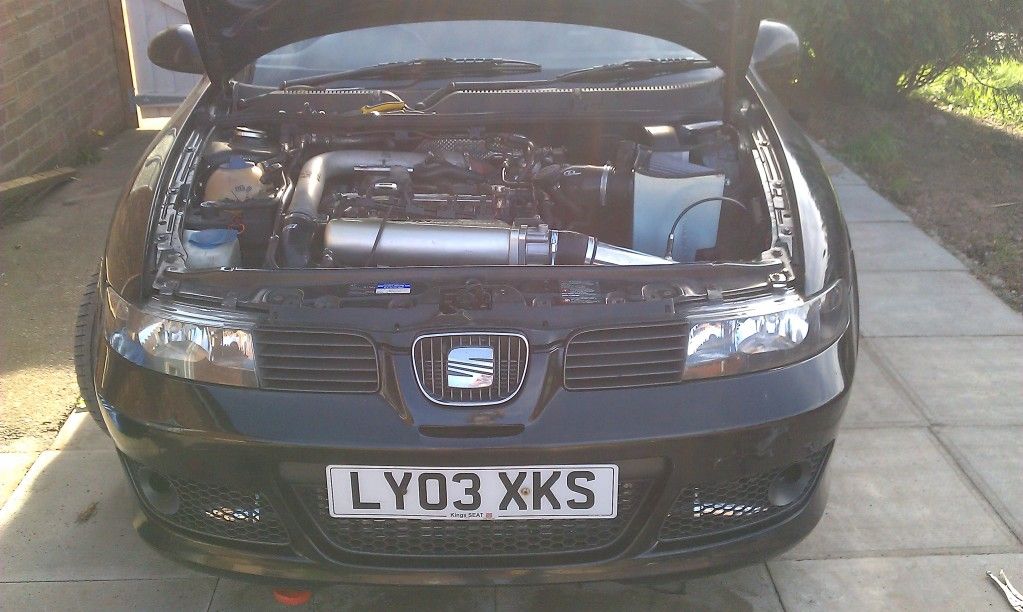
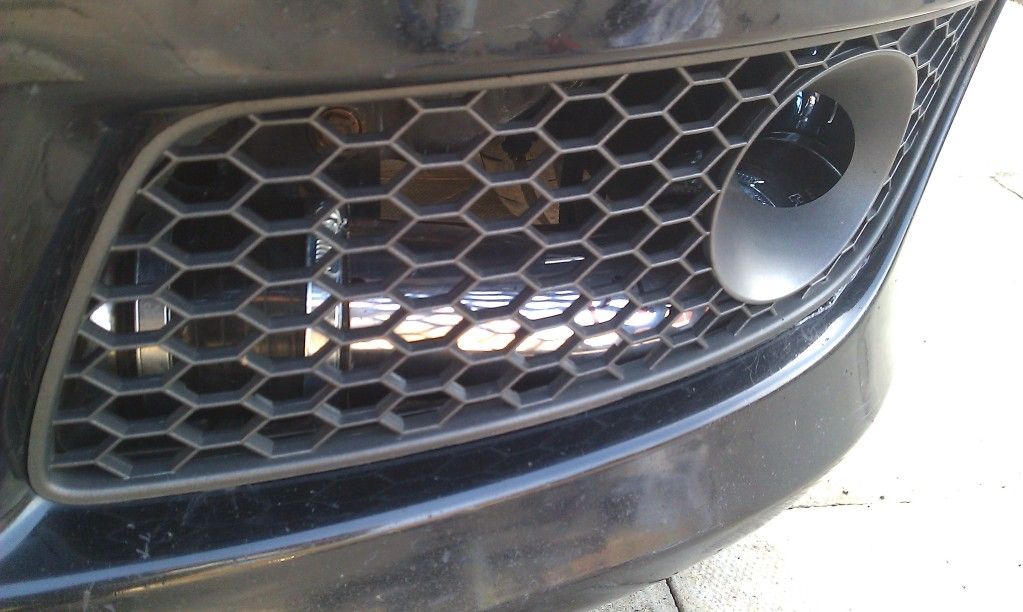
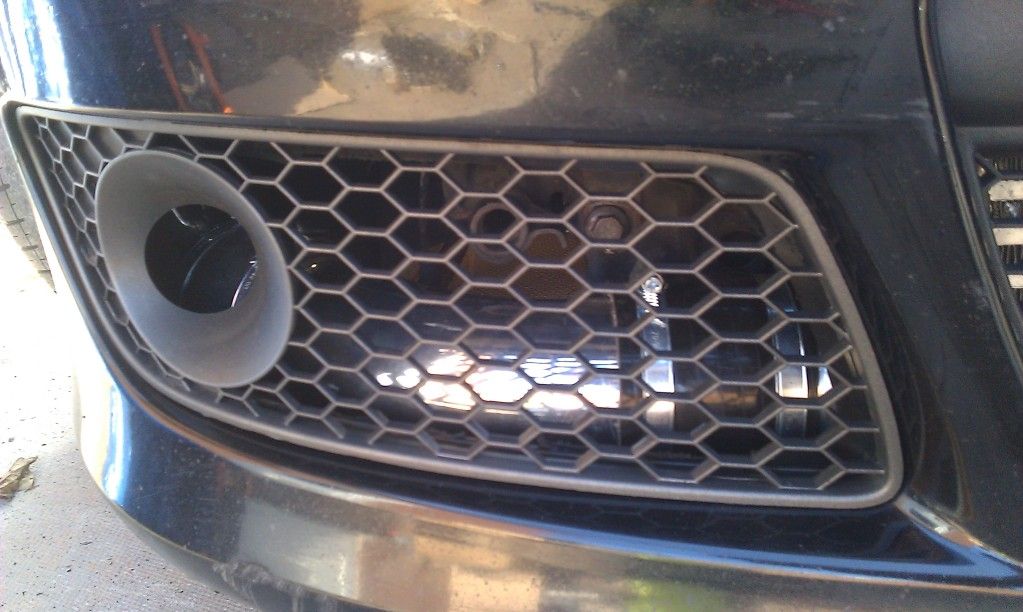
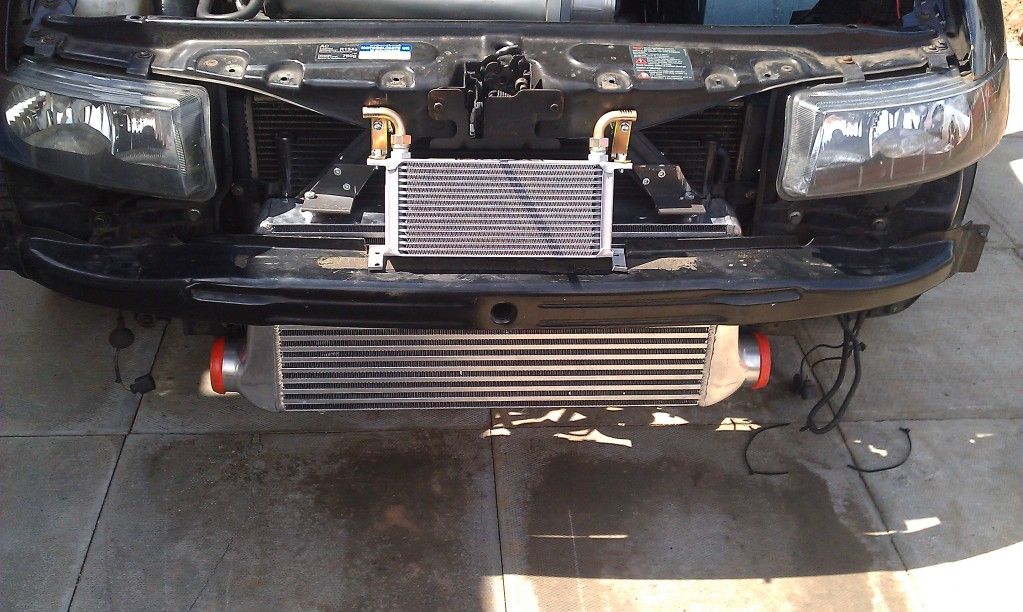
Now I found the bumper bar does need some very slight trimming. Stupidly I have not taken a picture of this. But basically I cut one inch off each side of the 'box section' that protrudes from the rear of the bar (you will notice when you looks at your own).
Depending on how you mount your FMIC, you may not need to do this. From what I can remember I don't think I had to do this, it just stopped the cooler from touching the bar a bit.
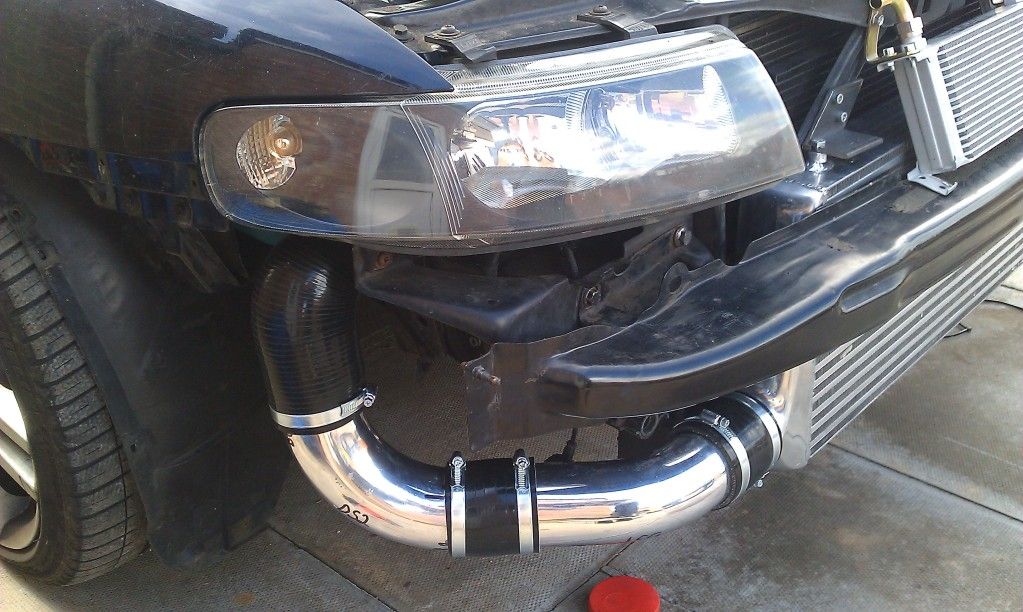
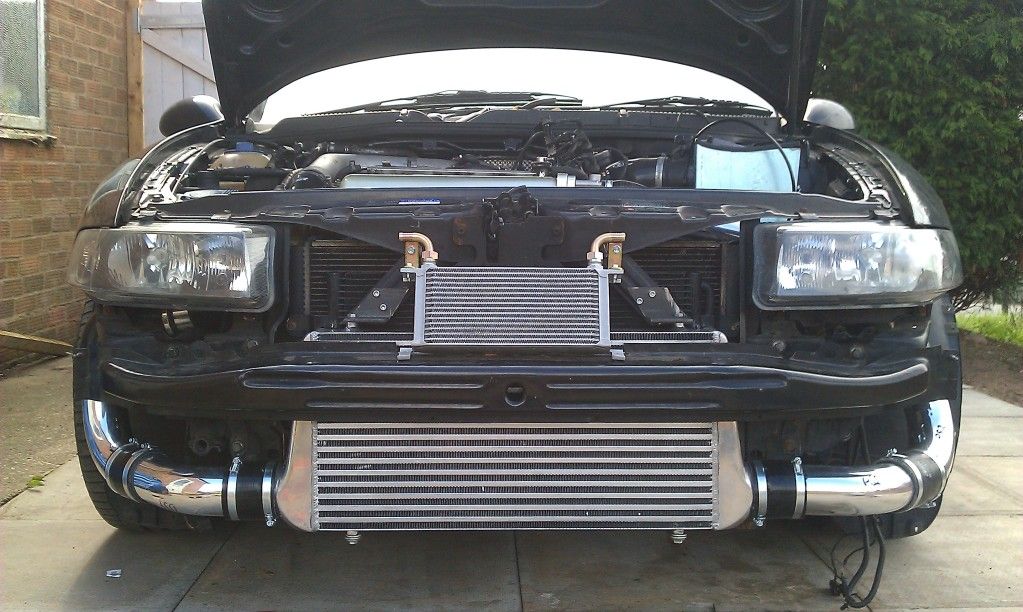
Here is another pic of the cooler mounted up, with the trimmed bar fitted:
Pipework
Now as mentioned earlier, I have gone for 76mm pipework, most people will got for 63mm, but the same principles still apply.
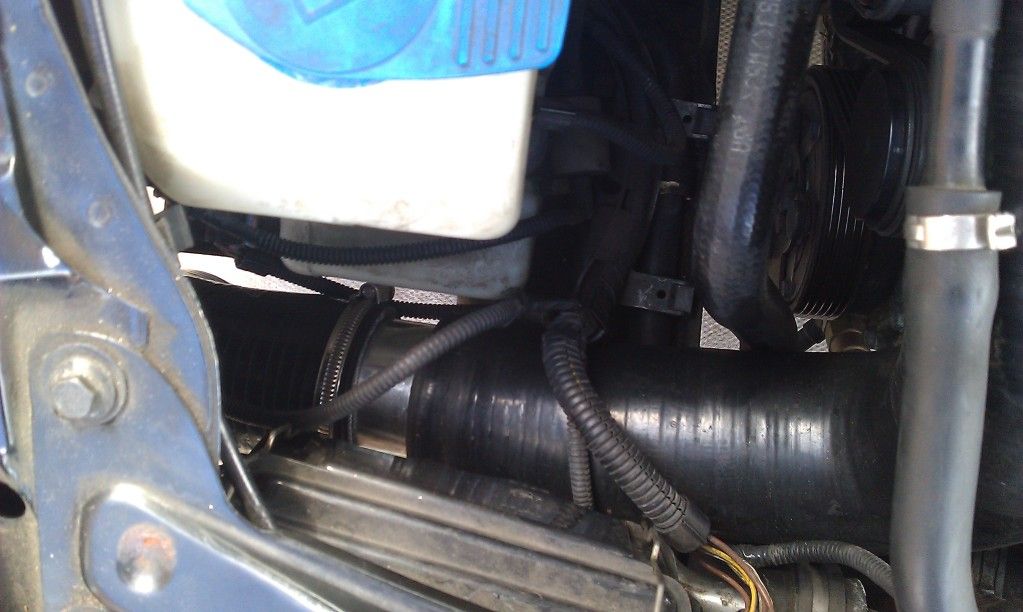
On the driverside the pipework goes:
1) 76mm 45Deg Aluminum Bend
2) 76mm 90Deg Aluminum Bend
3) 76mm reducing to 63mm 90Deg Silicone Hose into a:
4) 63mm Aluminum straight connector
Which joins my silicone hose to the standard charge pipe
Pics:
I would assume the pipework dimensions would be the same for 63mm to0.
I had to cut the pipework to size, as with all custom FMIC's there is a degree of trial and error, just cut a little at a time and try to visualize how it all comes together, its pretty easy once you get the hang of it.
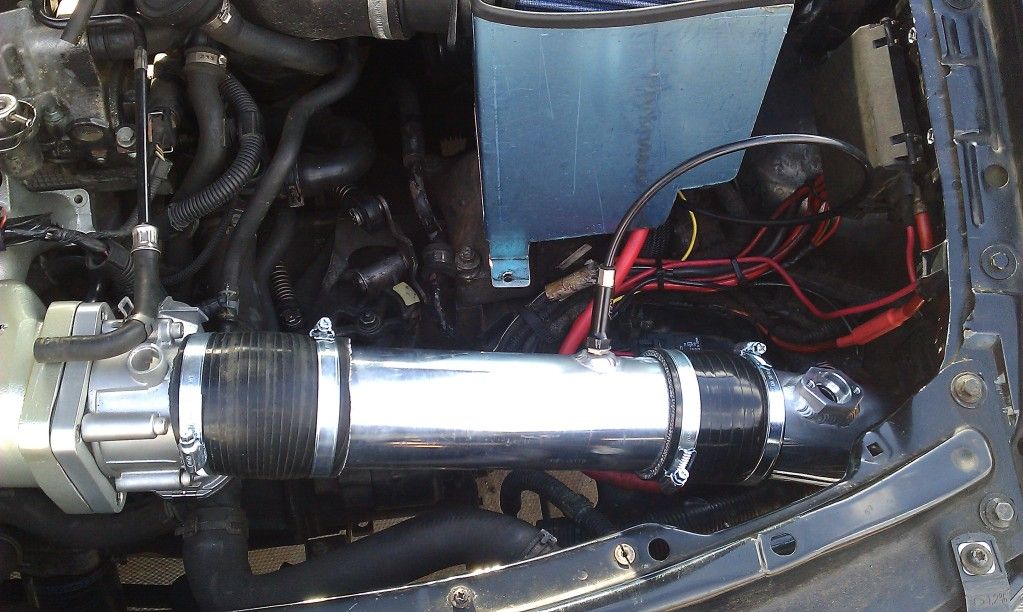
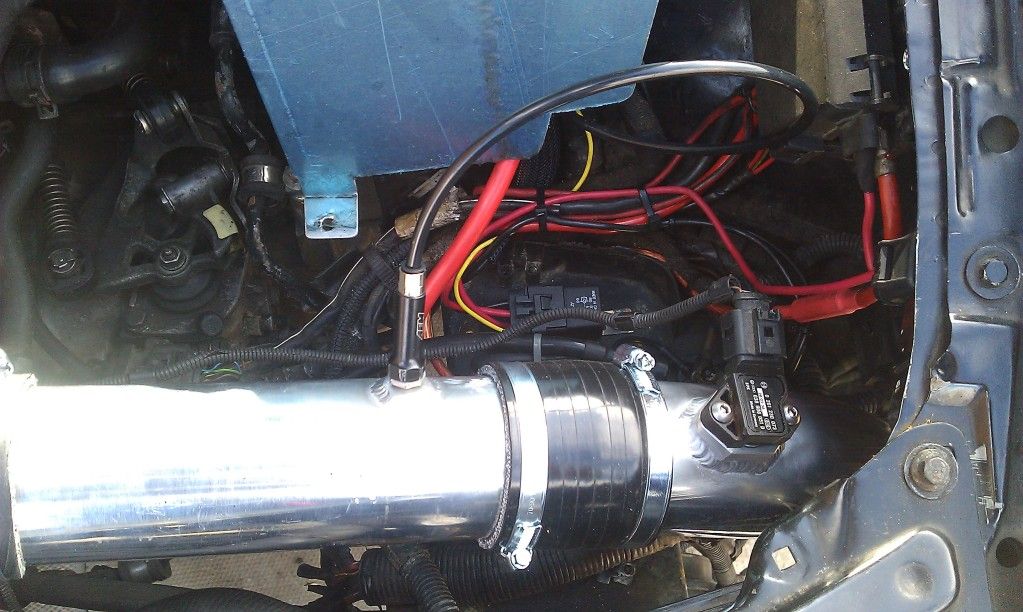
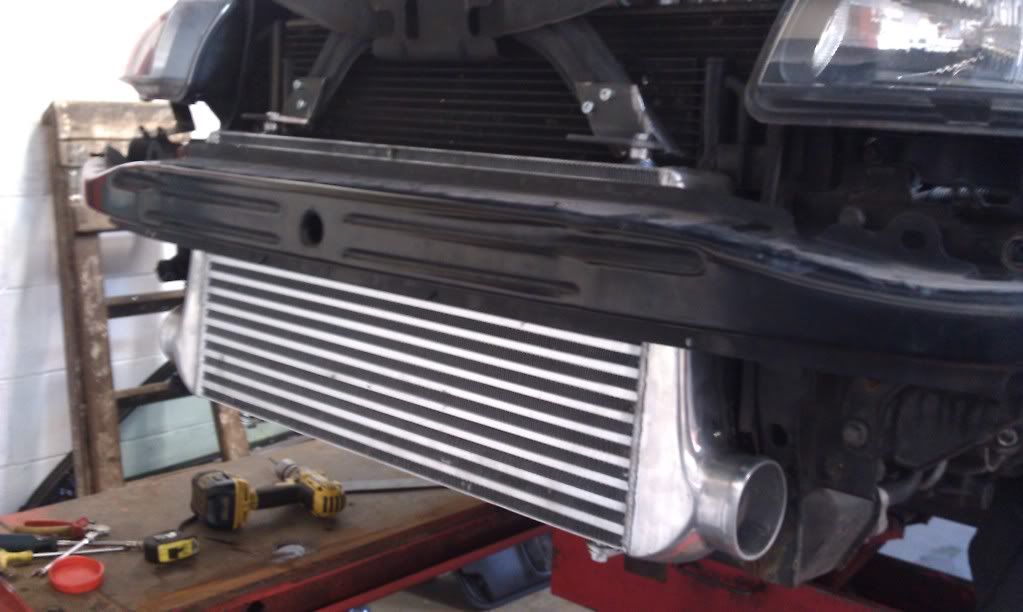
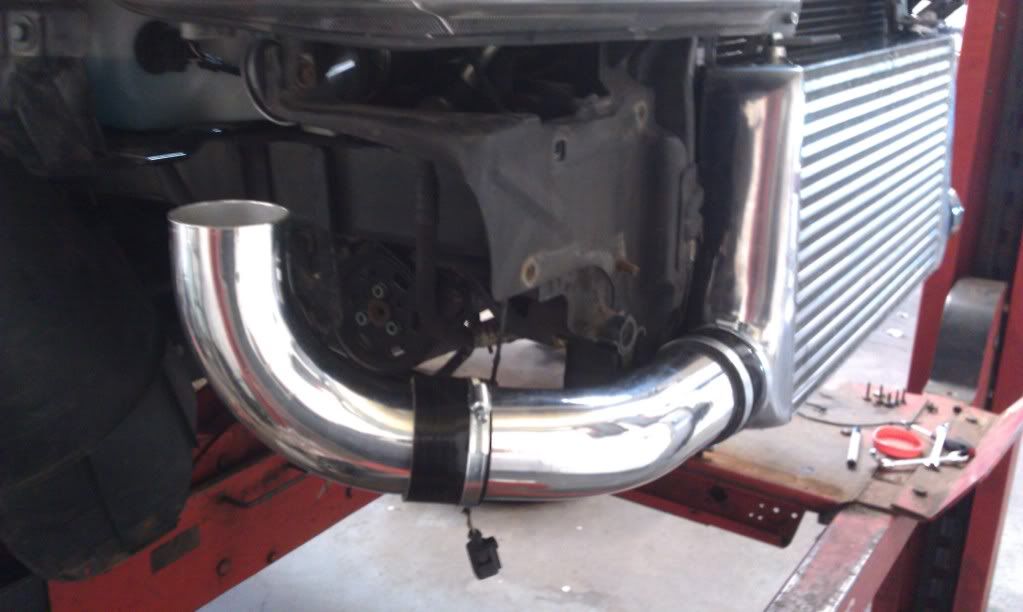
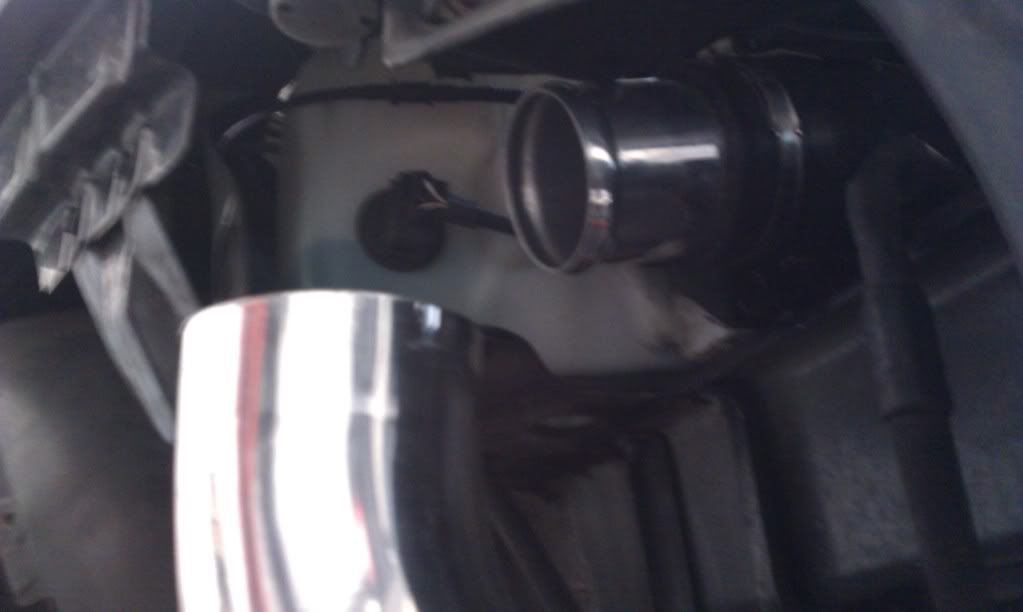
Moving onto the driverside the pipework goes:
1) 76mm 45Deg Aluminum Bend
2) 76mm 90Deg Aluminum Bend
3) 76mm 45Deg Aluminum Bend
4) 76mm Aluminum straight pipe
Which joins my SEM with 76mm TB
Pics:
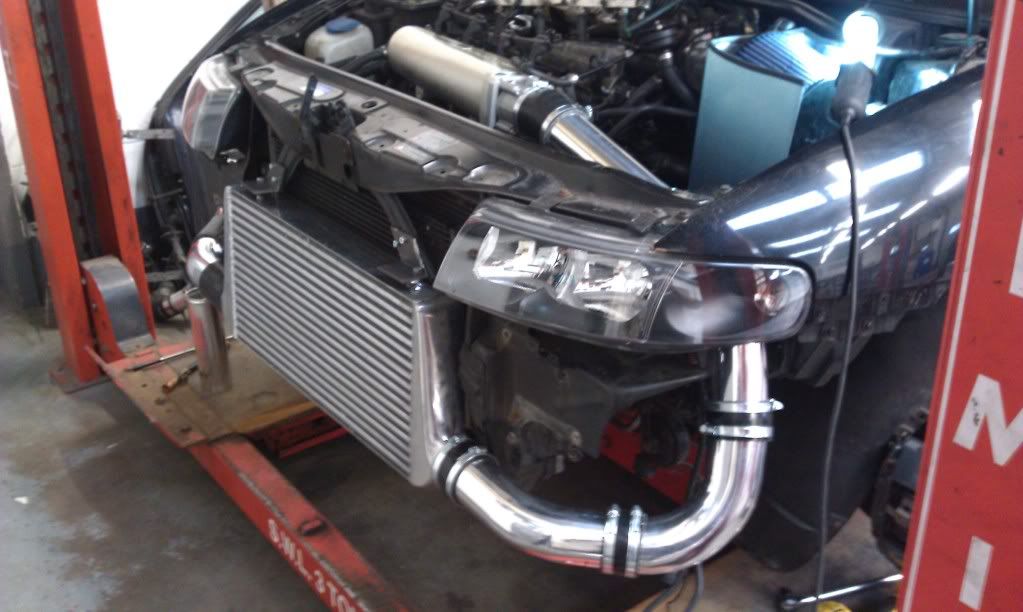

Now this side on my car is pretty custom, if you are retaining the standard pipework from the MAP pipe to the TB, then 3) would be a 90 degree silicone/alu bend (depends on how you approach it).
My own approach with this install was to use as much Aluminum as possible, keeping use of Silicone down to a minimum.
I initially wanted to get all the pipes welded up, but quickly decided it was not a good idea, you need a bit of flex in your pipework, and it would take forever to get the pipes cut properly for them to be welded!
As many people have experienced with FMIC pipework, once you cut the bead off the pipe, there is a good chance the hoses will pop off under boost. On a custom install its very common since the pipes have to be cut, which means you lose the original bead on the end of the pipe.
Luckily I know someone local to me who can bead pipes, and does Alloy welding, which came in handy for my install!
Been quite a few posts on the Leon forum recently about the large Toyosport FMIC.
Its been used on some 8L S3's to great effect (check out audi-sport.net) most notably on Welly's car - Bill and quite a few others refer to it as the "Wellycooler"
I already have a FMIC on my car, a tiny Toyosport FMIC with even tinier piping (56mm) - it was something I did a few years ago without actually thinking why I was doing it!!
Since I am now going hybrid, in order to get the best out of my car, I needed a better FMIC setup.
Welly got some outstanding figures on his car when it was running a K04 hybrid (338bhp) so I make no secret of the fact I wanted to copy his spec as much as possible
So I bought the cooler from Toyosport (collected it direct from them as they are based close to me in Brum).
Its a huge cooler, and very thick too. After a few measurements it became clear that a few "modifications" are needed for it to fit the LCR.
Before I go on, I should explain I have gone for 76mm piping. The reason for this is firstly this is what Welly did on his car, and secondly I will be running a SEM inlet manifold with 76mm TB.
To clarify, it will be 76mm piping reducing to the standard (60/63? mm) piping to the charge pipe silicone, and 76mm piping all the way to the throttle body. This means having to get a new location for the MAP sensor, more on that later...
Mounting FMIC to front panel
To start off, the FMIC needs to be mounted. I found the only way to do this was to cut the cross member supports on the front panel.
I then made up some funky shaped brackets from some very thick angled bar my uncle had lying around at his garage for the top two mounting points.
The bottom brackets were simply two straight bars from the front panel to the lower mounting points.
Not the best pic but this is what it looks like:
Now I found the bumper bar does need some very slight trimming. Stupidly I have not taken a picture of this. But basically I cut one inch off each side of the 'box section' that protrudes from the rear of the bar (you will notice when you looks at your own).
Depending on how you mount your FMIC, you may not need to do this. From what I can remember I don't think I had to do this, it just stopped the cooler from touching the bar a bit.
Here is another pic of the cooler mounted up, with the trimmed bar fitted:
Pipework
Now as mentioned earlier, I have gone for 76mm pipework, most people will got for 63mm, but the same principles still apply.
On the driverside the pipework goes:
1) 76mm 45Deg Aluminum Bend
2) 76mm 90Deg Aluminum Bend
3) 76mm reducing to 63mm 90Deg Silicone Hose into a:
4) 63mm Aluminum straight connector
Which joins my silicone hose to the standard charge pipe
Pics:
I would assume the pipework dimensions would be the same for 63mm to0.
I had to cut the pipework to size, as with all custom FMIC's there is a degree of trial and error, just cut a little at a time and try to visualize how it all comes together, its pretty easy once you get the hang of it.
Moving onto the driverside the pipework goes:
1) 76mm 45Deg Aluminum Bend
2) 76mm 90Deg Aluminum Bend
3) 76mm 45Deg Aluminum Bend
4) 76mm Aluminum straight pipe
Which joins my SEM with 76mm TB
Pics:
Now this side on my car is pretty custom, if you are retaining the standard pipework from the MAP pipe to the TB, then 3) would be a 90 degree silicone/alu bend (depends on how you approach it).
My own approach with this install was to use as much Aluminum as possible, keeping use of Silicone down to a minimum.
I initially wanted to get all the pipes welded up, but quickly decided it was not a good idea, you need a bit of flex in your pipework, and it would take forever to get the pipes cut properly for them to be welded!
As many people have experienced with FMIC pipework, once you cut the bead off the pipe, there is a good chance the hoses will pop off under boost. On a custom install its very common since the pipes have to be cut, which means you lose the original bead on the end of the pipe.
Luckily I know someone local to me who can bead pipes, and does Alloy welding, which came in handy for my install!

![[B)]](/forums/styles/seatcupra/oldforumsmileys/shades.gif "Cool [B)]")