andyj
There's no F in Quality..
Mig,
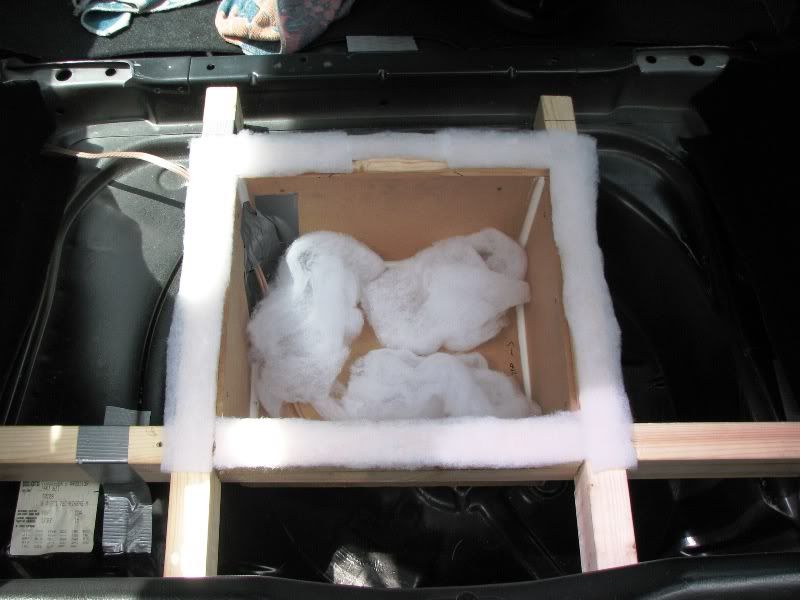
I can't see from the pics, but have you secured all that wood to the body of the car ?!?
I wouldn't fancy being in an accident in the car, with all that loose wood flying towards the back of my head........ Ouch")
Definitely worth securing it all in with a few bolts/brackets.
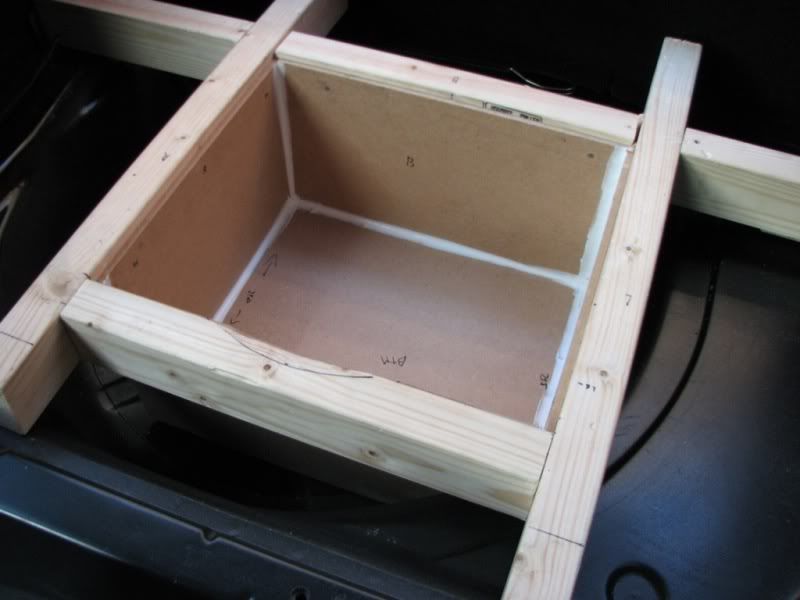
I can't see from the pics, but have you secured all that wood to the body of the car ?!?
I wouldn't fancy being in an accident in the car, with all that loose wood flying towards the back of my head........ Ouch
Definitely worth securing it all in with a few bolts/brackets.

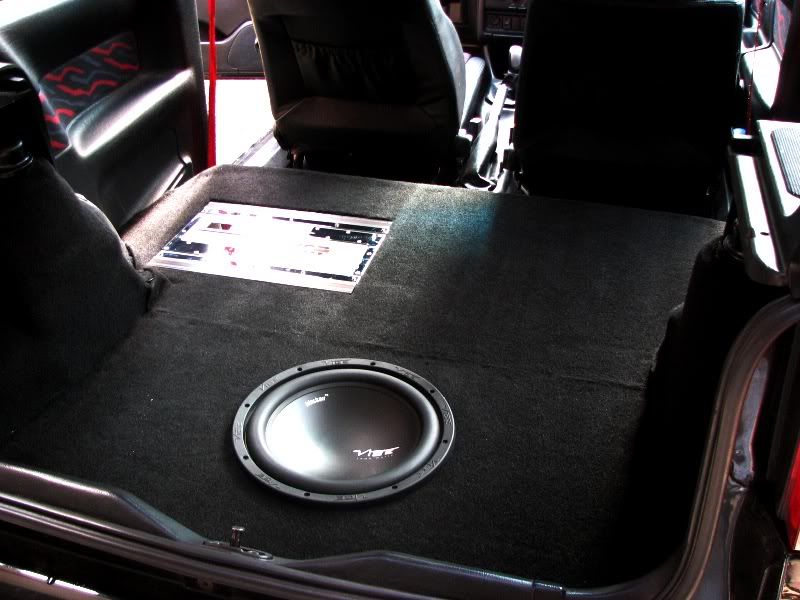
 , but I'm really chuffed with how it all eneded up.
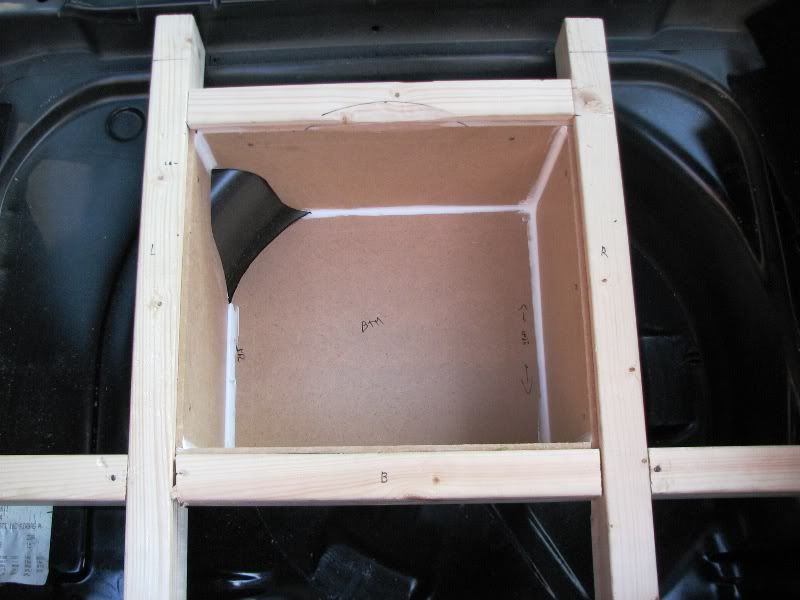

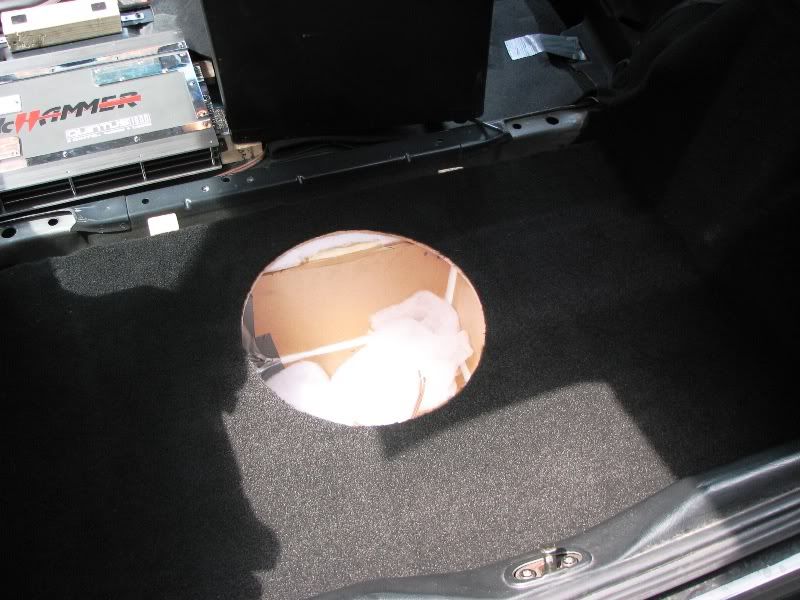
![[B)]](/forums/styles/seatcupra/oldforumsmileys/shades.gif "Cool [B)]")