
Little Update
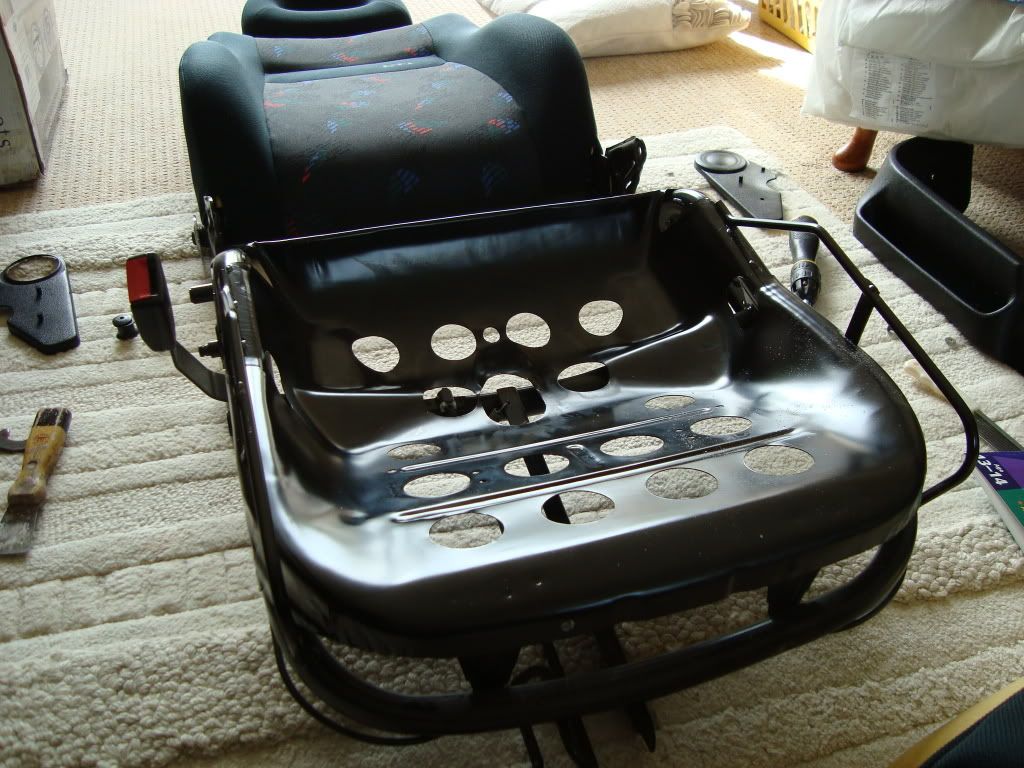
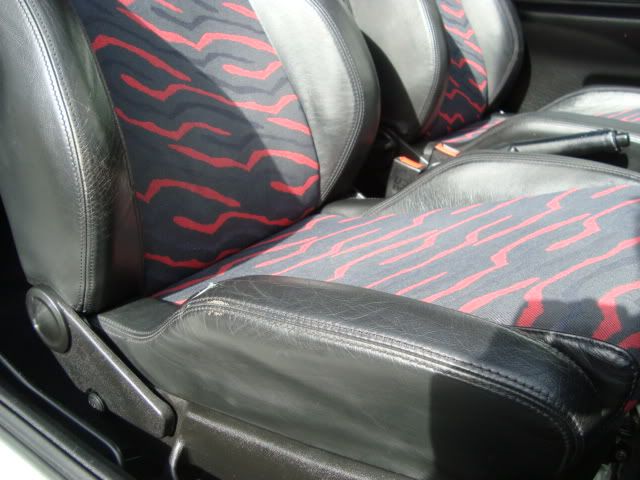
Well since my seat bolster had more or less collapsed, I decided to rectify it by digging into my original 8v passenger side seat. As expected, the bolsters were mint. So I dis assembled both seats as follows;

Carefully prised off the fabric to reveal the foam and frame;
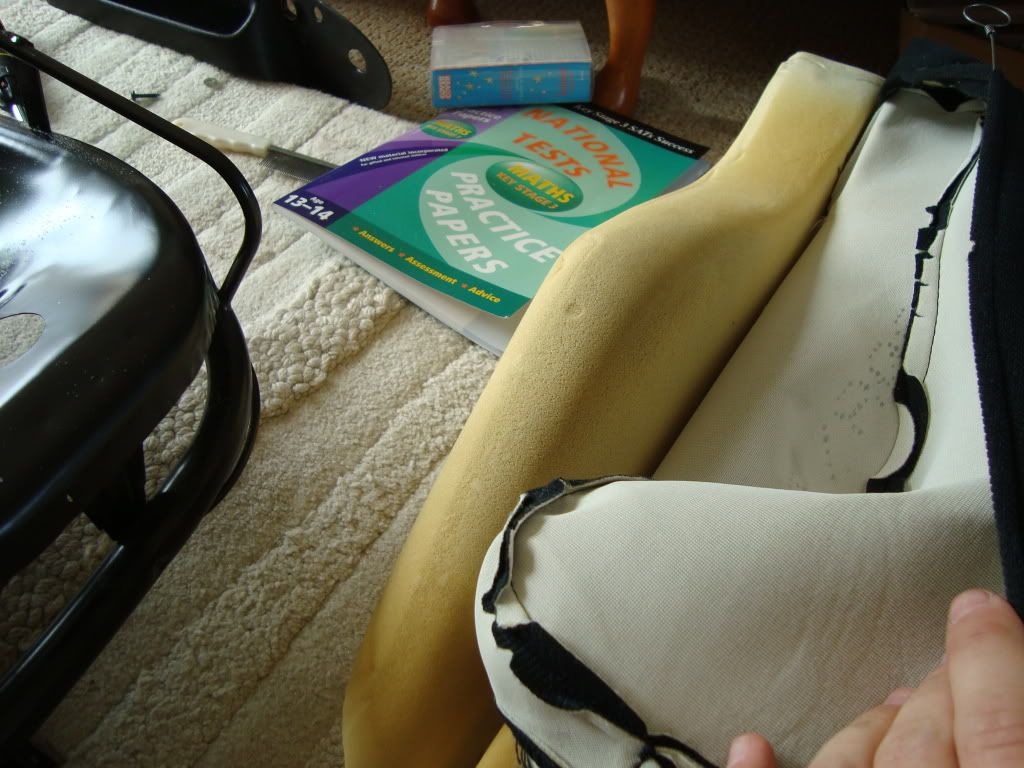
Removed fabric to reveal a fresh (10yr old) bolster (big improvement over the last!);
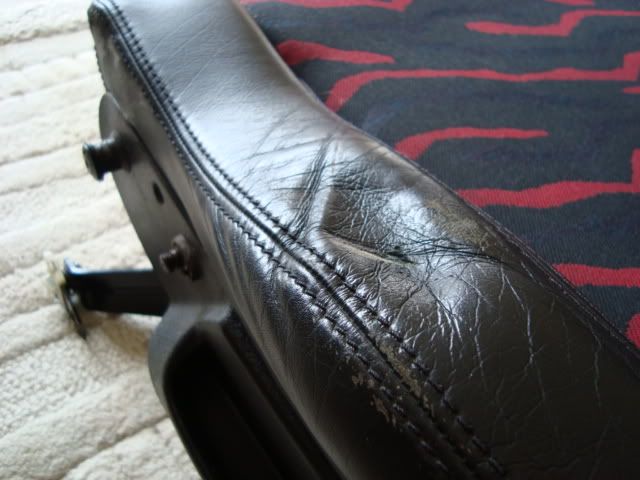
Before;
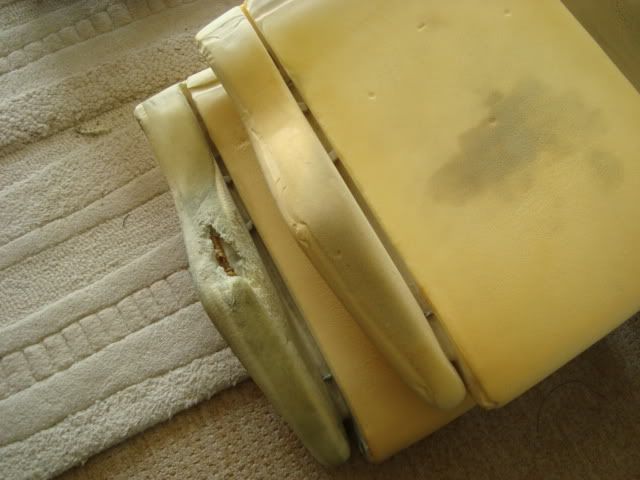
Old vs, Old?
New supportive bolster;
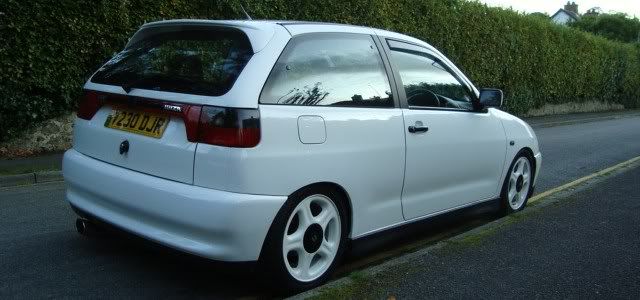
Anyway, went about lowering my car some more, dropped it another 25-30mm on the rear, and another 10-15mm up front;
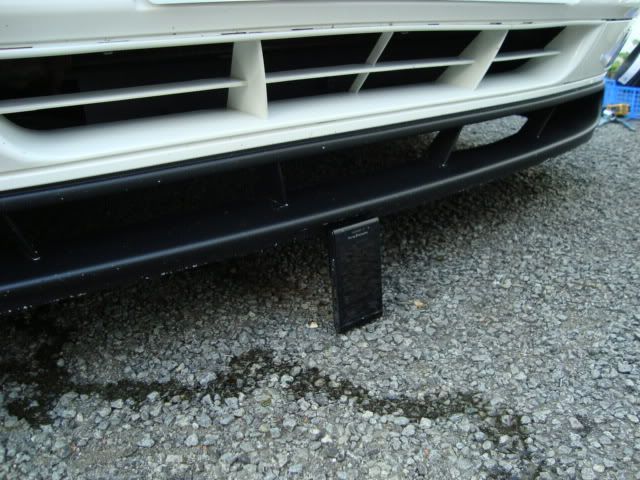
Even on the 8v standard wheels, already sits nicer imo. Once the ronals are fitted, spaced another 5mm on the rear, and camber sorted up front.") ;
;
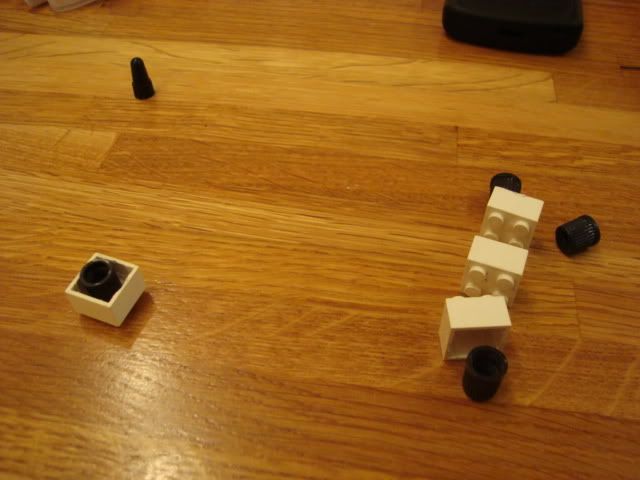
Oh and got a little bored, and since my mate's done it - I thought "what the hell";
CUSTOM LEGO ALPINE WHITE VALVE CAPS Y0!
Well since my seat bolster had more or less collapsed, I decided to rectify it by digging into my original 8v passenger side seat. As expected, the bolsters were mint. So I dis assembled both seats as follows;
Carefully prised off the fabric to reveal the foam and frame;
Removed fabric to reveal a fresh (10yr old) bolster (big improvement over the last!);
Before;
Old vs, Old?
New supportive bolster;
Anyway, went about lowering my car some more, dropped it another 25-30mm on the rear, and another 10-15mm up front;
Even on the 8v standard wheels, already sits nicer imo. Once the ronals are fitted, spaced another 5mm on the rear, and camber sorted up front.
;
Oh and got a little bored, and since my mate's done it - I thought "what the hell";
CUSTOM LEGO ALPINE WHITE VALVE CAPS Y0!
Last edited:
 . But they serve their purpose in this rather humid / wet weather (with no air con)
