Cheaper than another set of bbs ch thodunno what ur moaning at real lms are 3500 for 18" and just under 4 k for 19s lol
How can they justify asking 4k for a set of alloys, i think its a bit much IMO.

Cheaper than another set of bbs ch tho

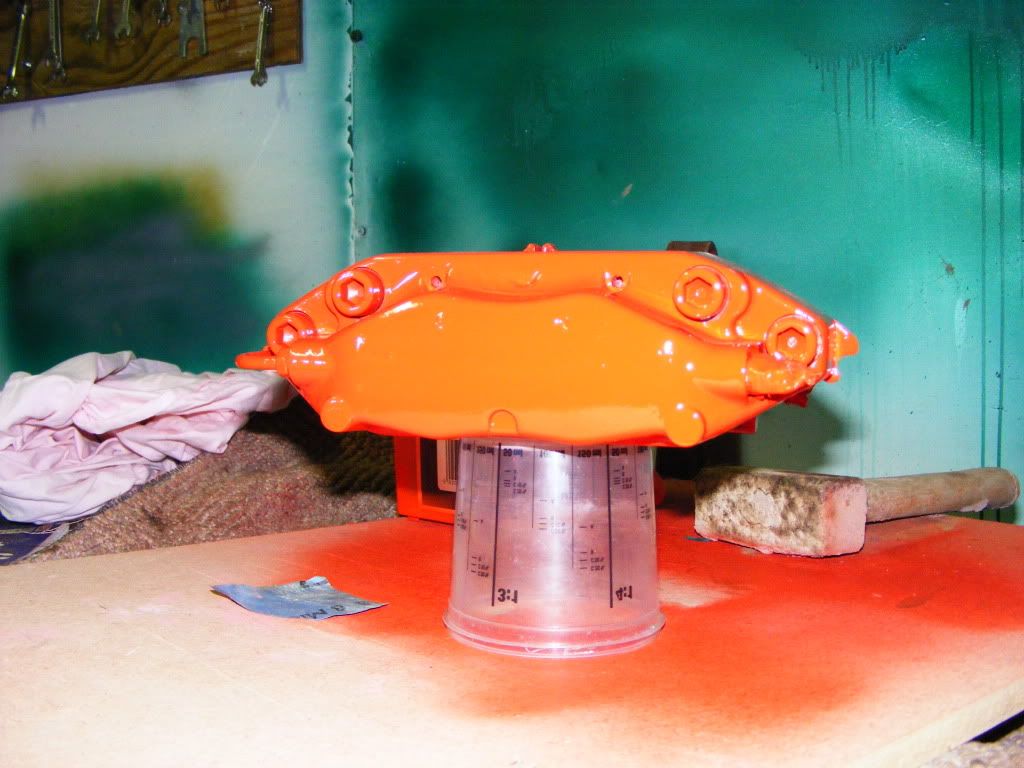
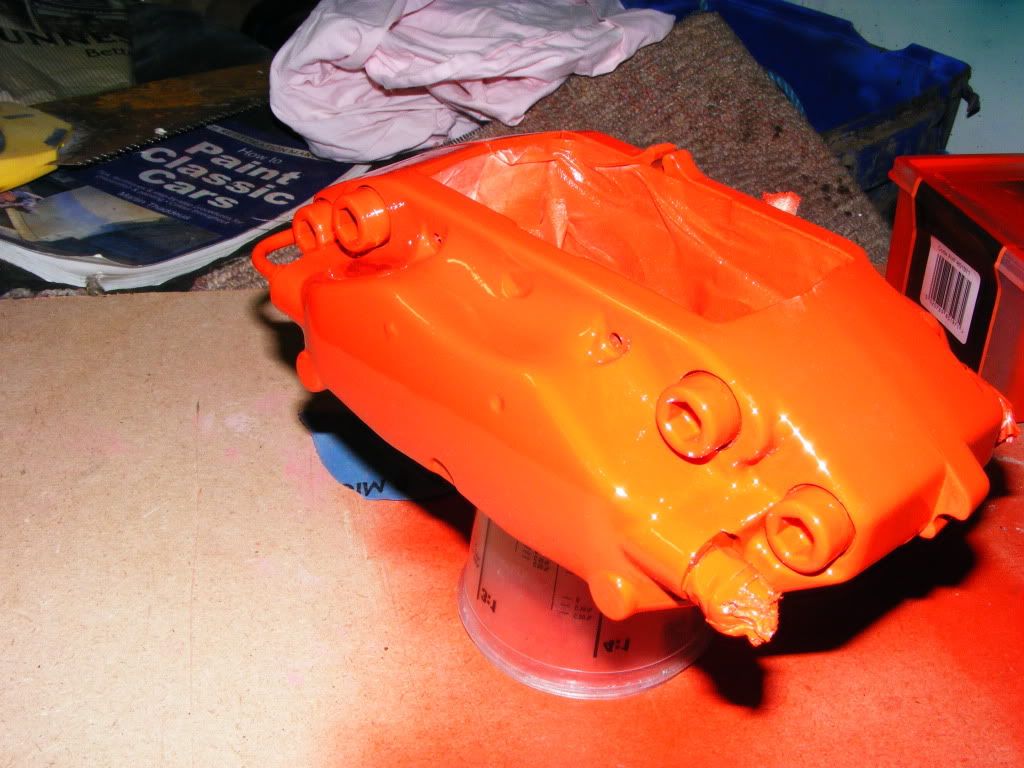
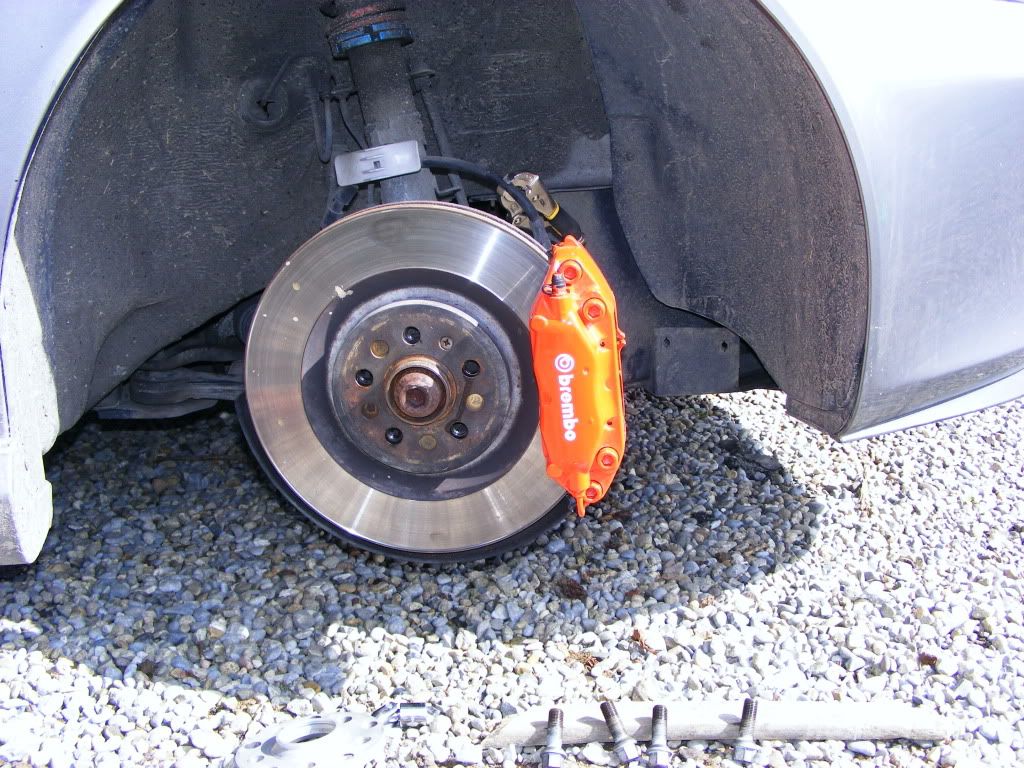
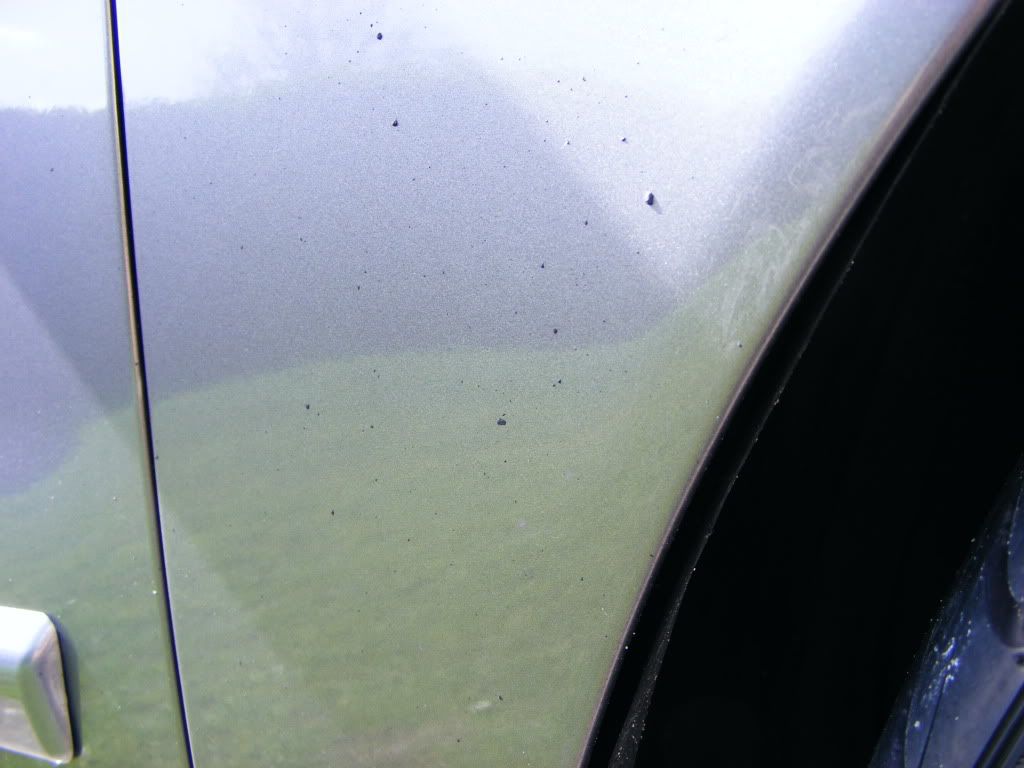
 I cleaned them down with pre-paint and made sure they were contaminant free, The colour i chose in the end was Signal Red, in the flesh its a very bright vibrate red, i chose this as my dad just used it to re-sprayed his spitfire back to its orginal colour and his spray gun and paint was all set up and ready to go .
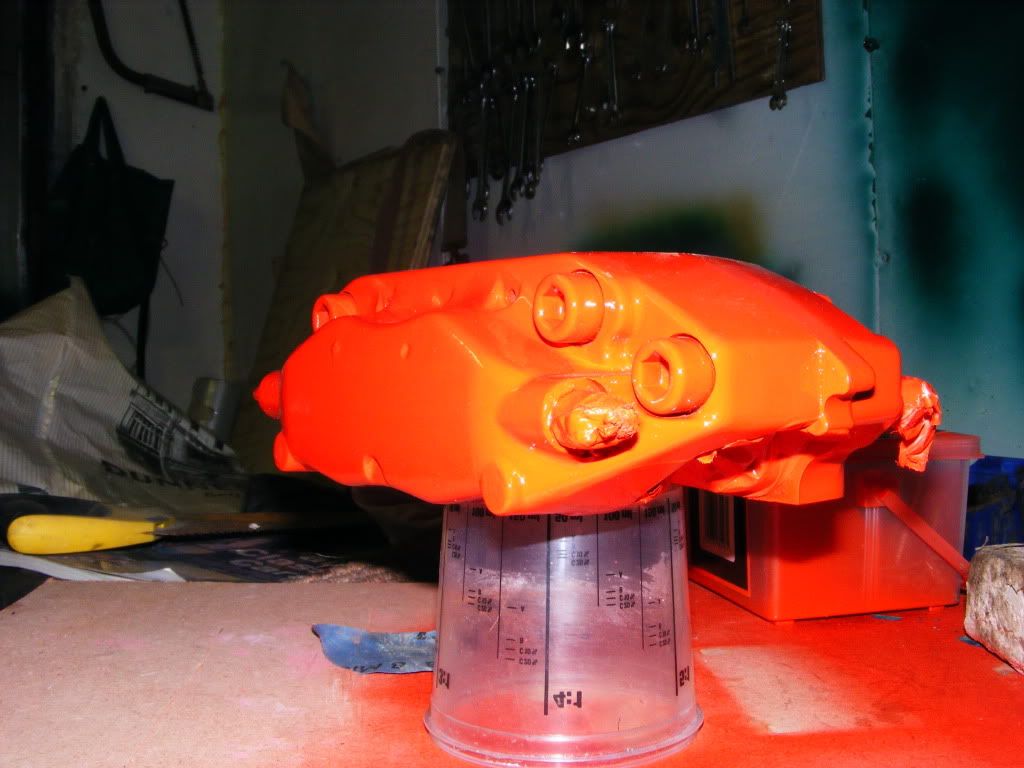


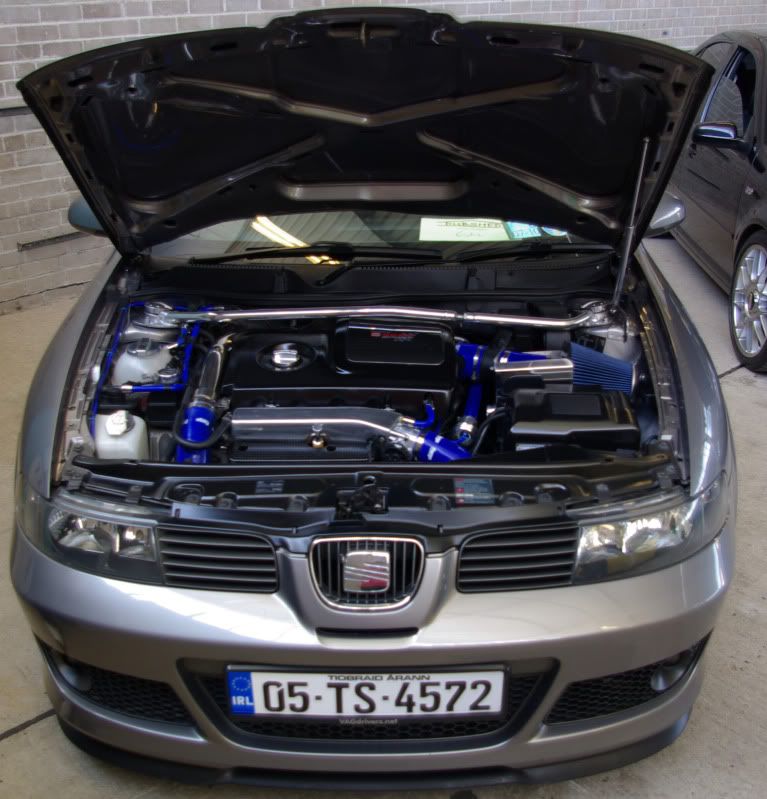
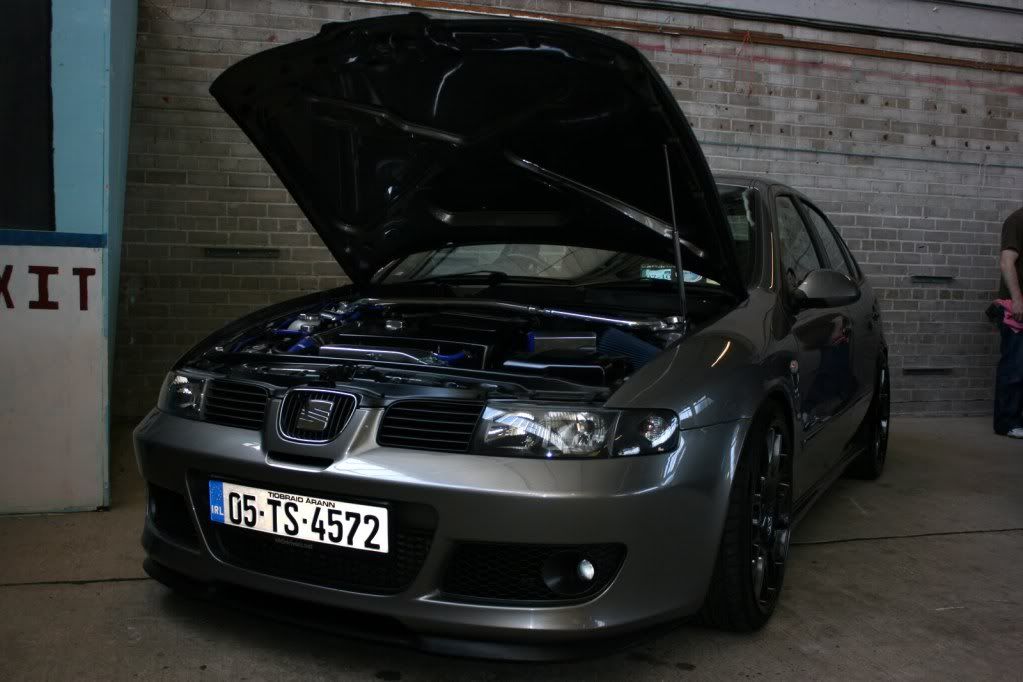
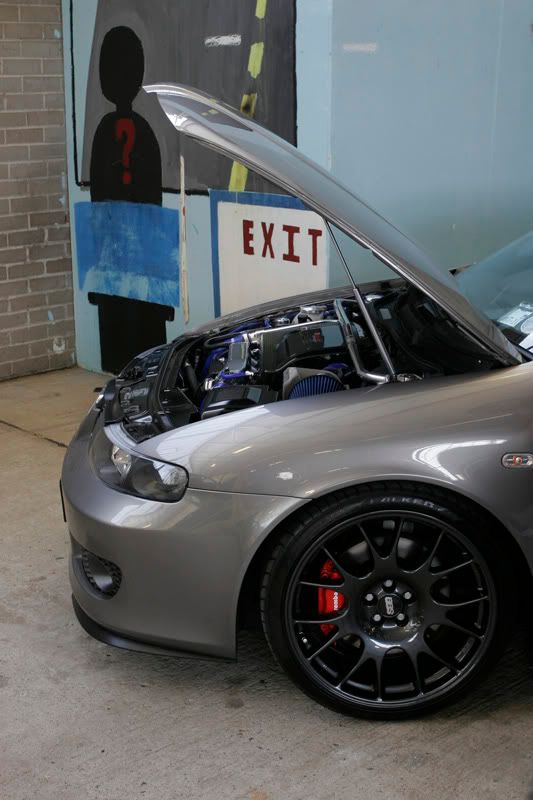
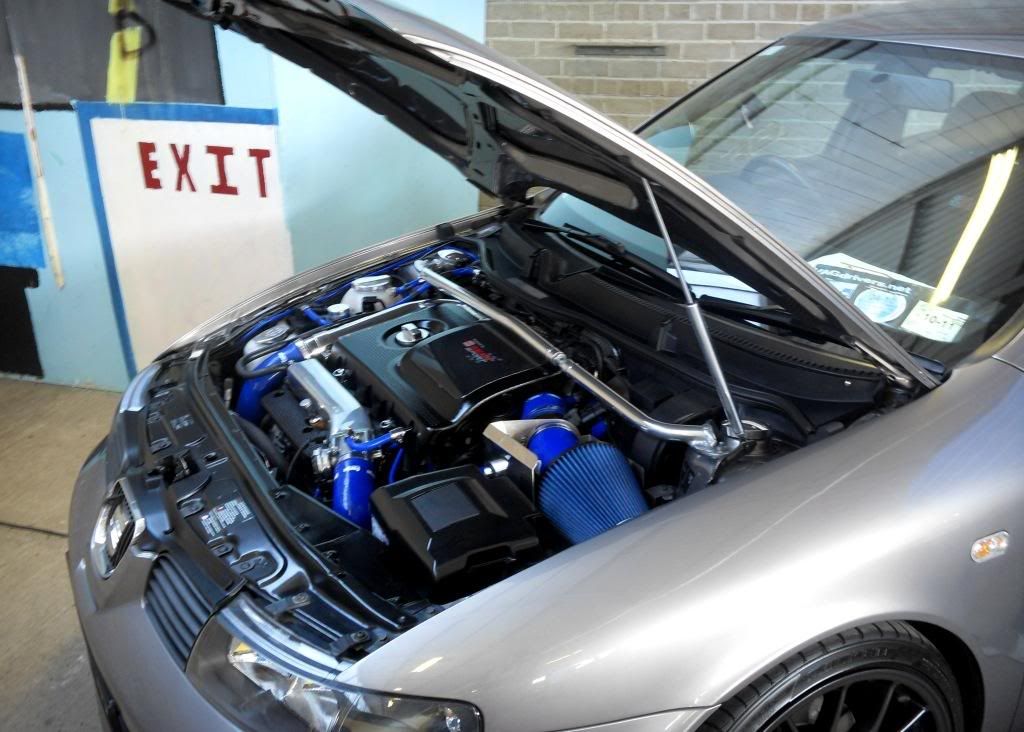
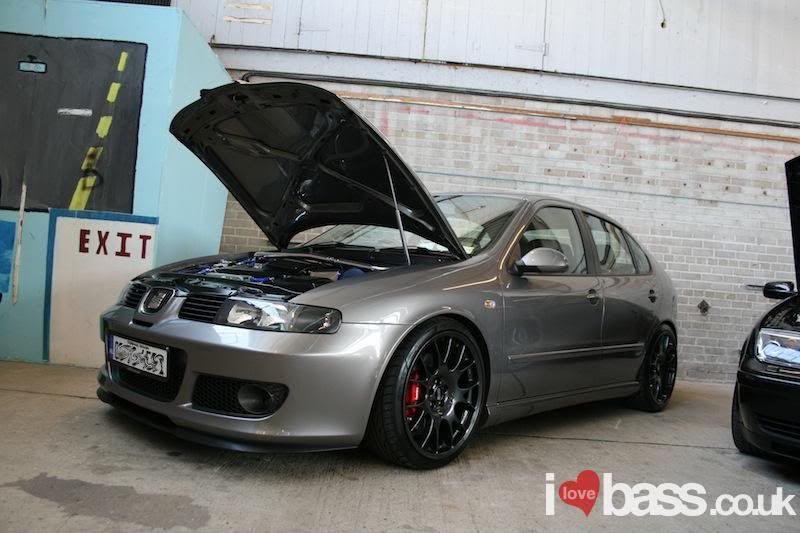
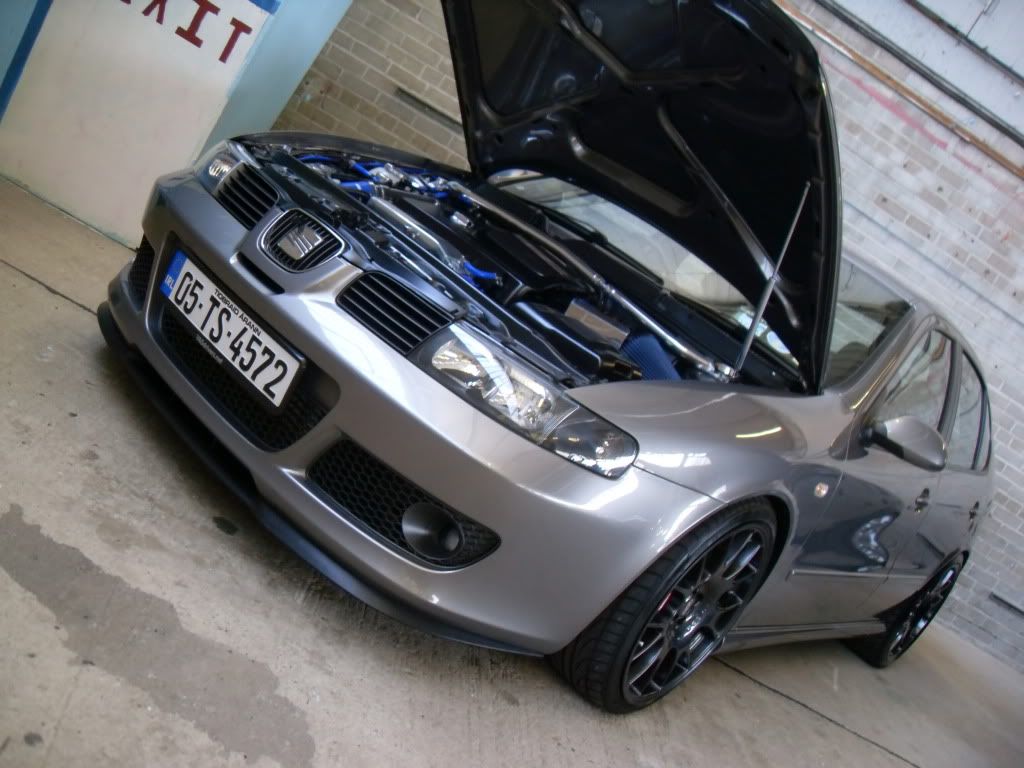
 It's not just a case of throwing a shed load of money at it either, It's the level of clenliness and choice of subtle but distinctive mods.
 )
)
 ) so if i was to run on 99ron there would be more gain to have.
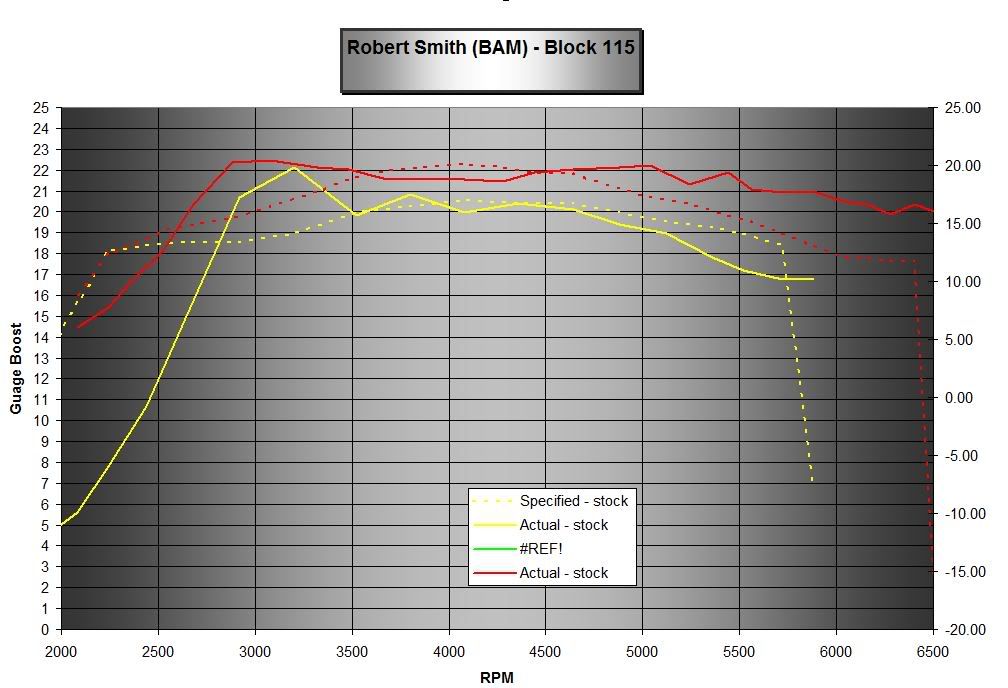


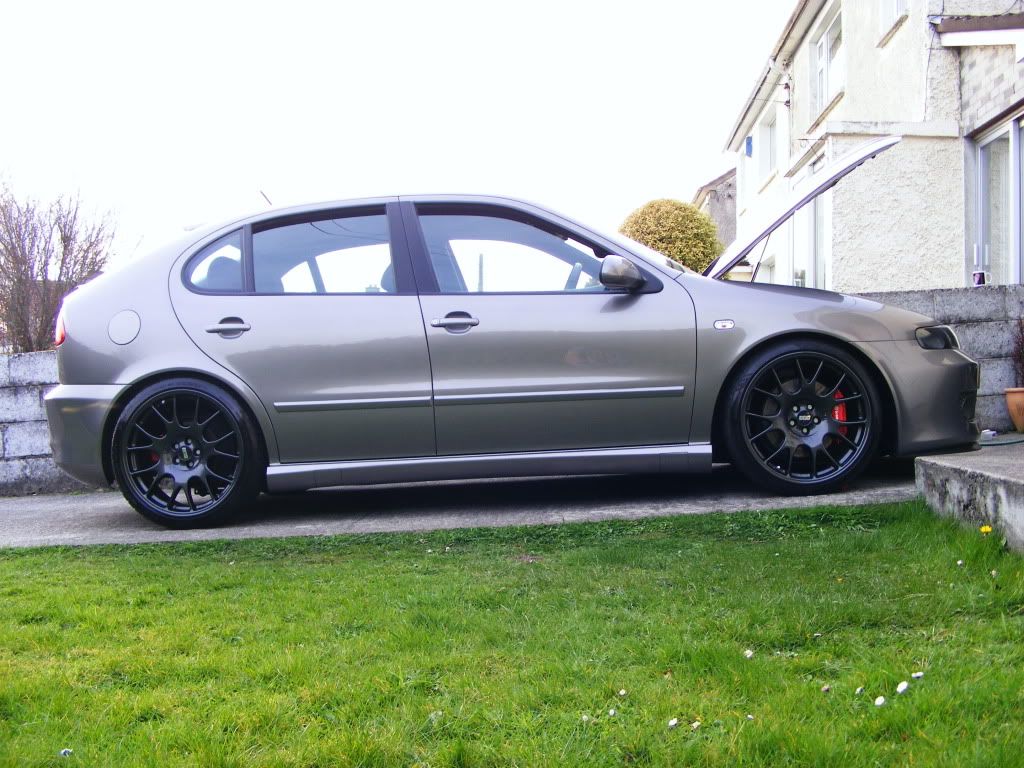
Car looking great, well done on the show results.
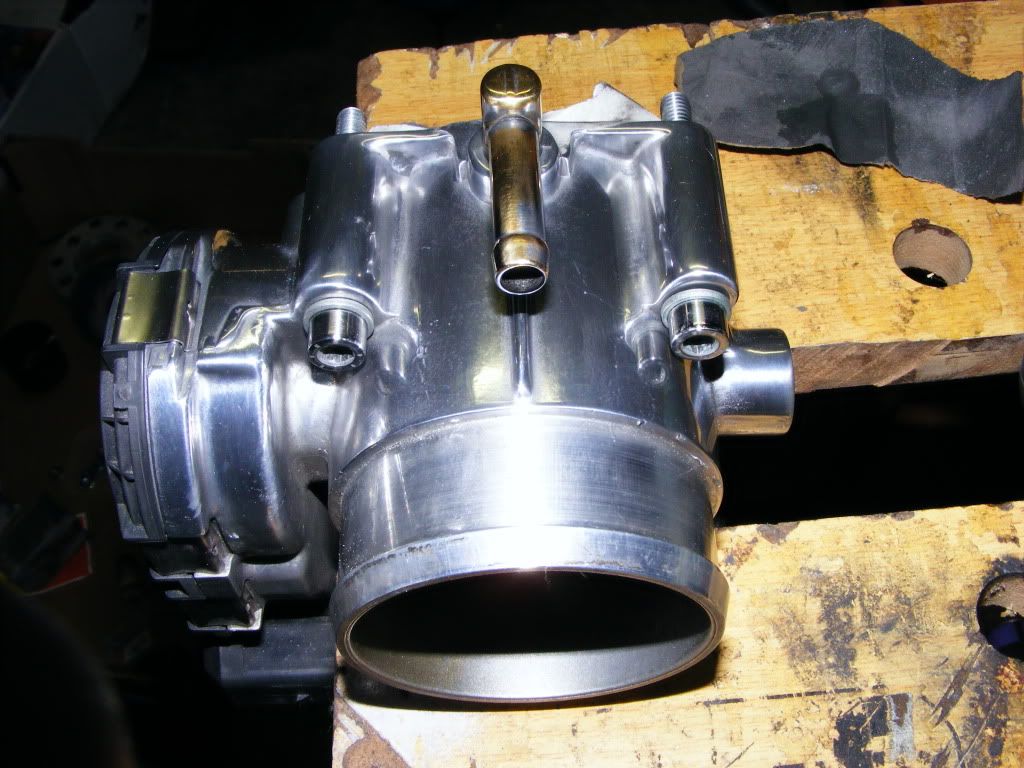
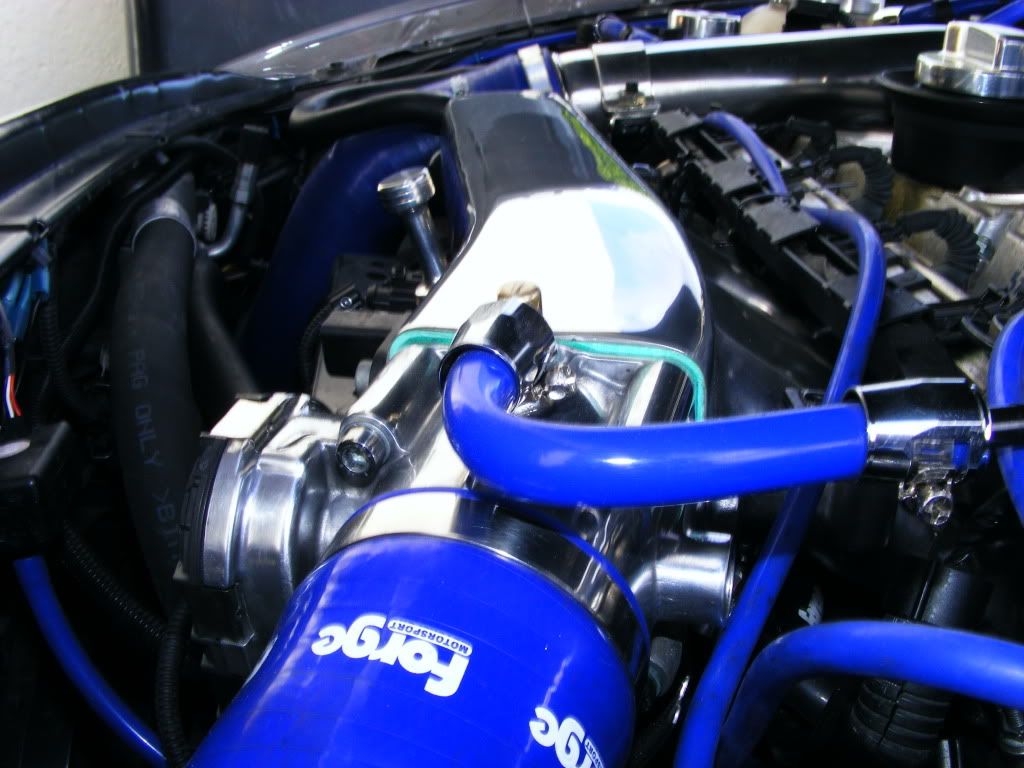
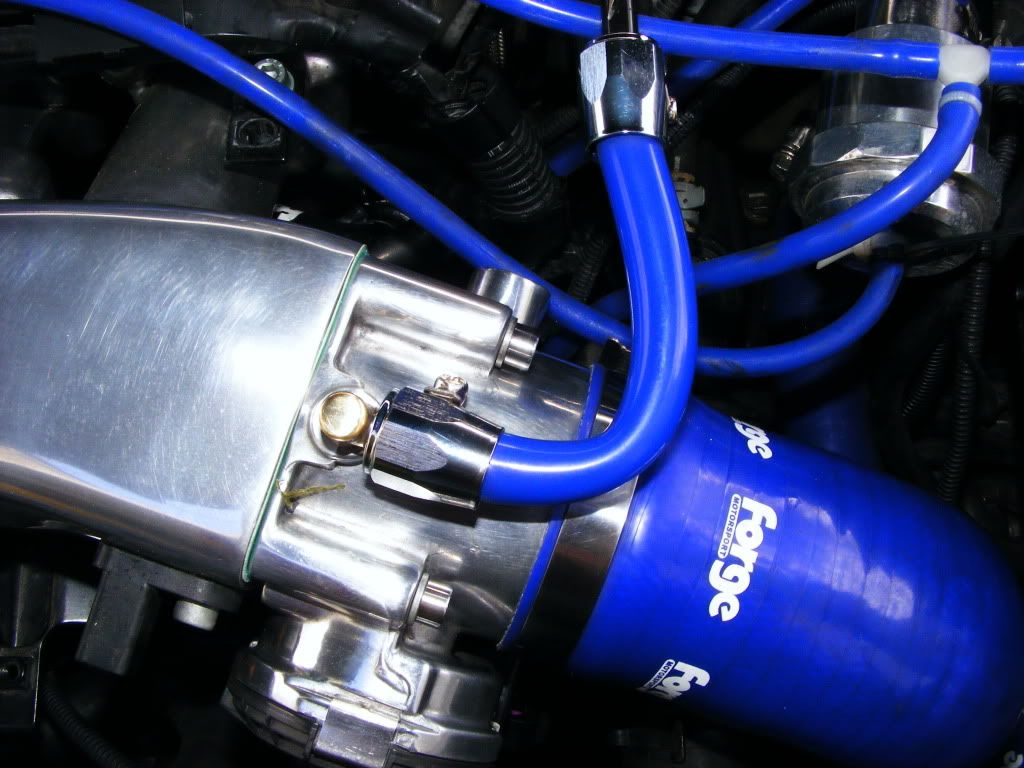
I'm very interested in alloy intercooler pipes, would be interested in getting sizes or more information on these from you when there done.
What have you found out about these so far?
Or are you only in the very early stages of this?

Sounds good.
Once the initial ones are done it would be very easy for a firm to make replicas of these.
Keep us informed
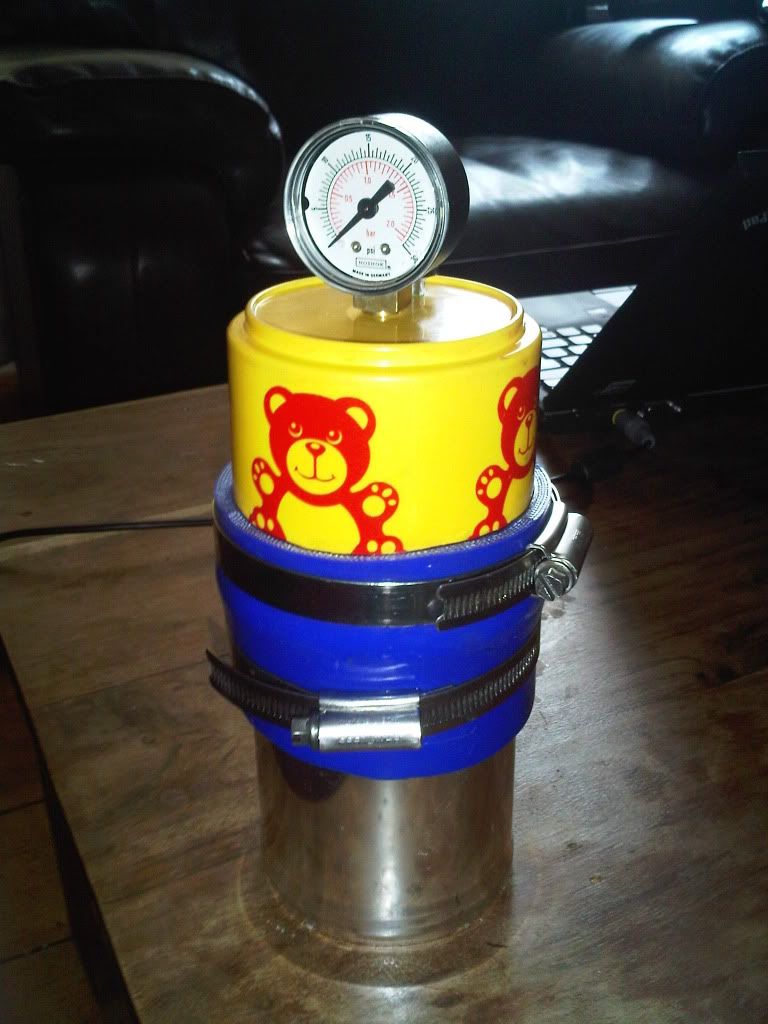

can you clearly hear the leaks? or is it a case of feeling round pipes?
