Practically yes, Will, that's all you have to do. However, it is technically not as easy as it sounds. Drilling a hole that would be perfect for the lens will not prove easy, and you'll also have to overcome the fact that the back of the lens will be sticking out of the headlight's rear, which means you'll not be able to properly fit the back plastic cover and will have to create something to close the head light with.
I've had this issue and resolved it...cut hole in back of cover and add a black pot extension. Stick with epoxy and finish with sealant...get straight D2S harness as its a better fit inside the headlight...photos to follow as I did this last night!.
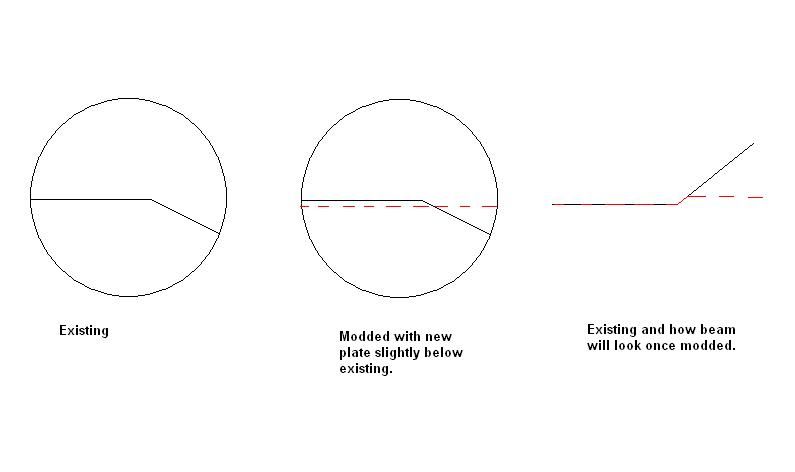
Also it would be better if you would point the head lights at a clear wall in front of you (rather than a floor), mark the alignment, and then try to match it with the lenses. Do it from a distance as it's different when you're doing it from a close distance.
Will means put them on the floor and point to the wall...not point them at the floor! ")
When you're done with all of that, just clean the headlight on the inside, clean the cover really well, re-seal them back together and let them dry, and then install them to your car and do your alignment magic. Afterwards you're good to go. I'd buy the FX-R lenses because they are very good quality, look good, and have a great alignment if done right. I believe those are the ones Rob purchased as well.
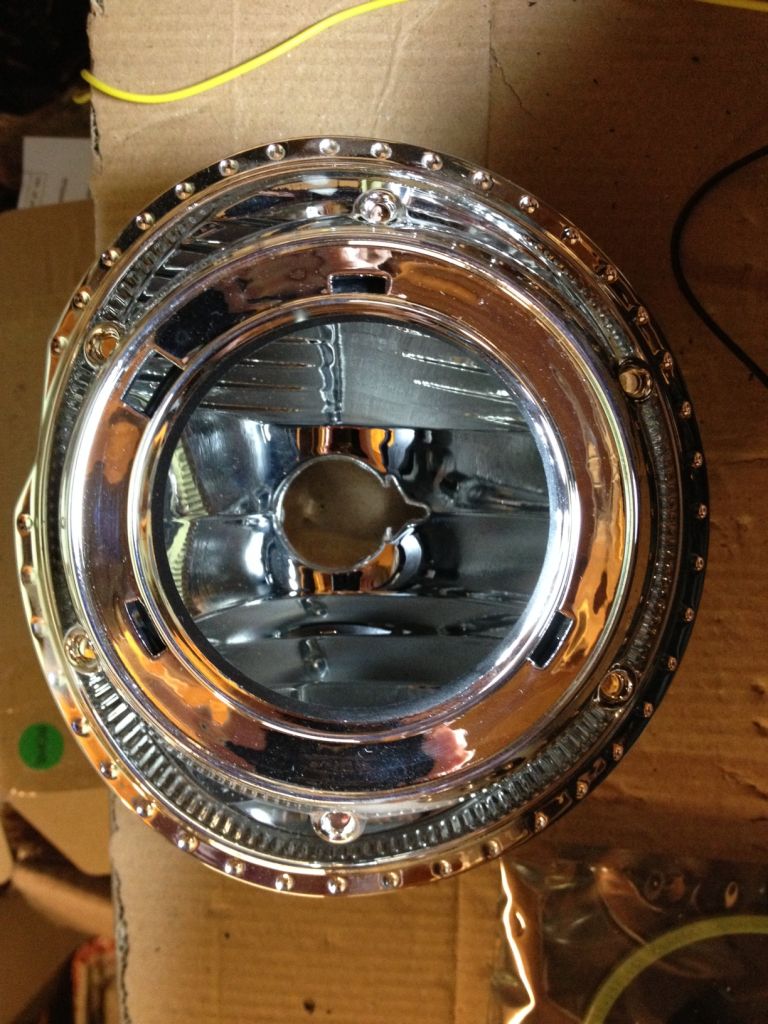
Use compressed air to clean the projector...no chemicals! Wash the shrouds and reflectors and perhaos use some alcohol wipes too to remove grease. I used the FX-R's however to make it easier you may want to use the Morimoto mini D2S ones. They have a 2.5 inch lens and are very good....more choice of shrouds as FX-R's are bigger than most! You can also use the existing reflector a bit better with the mini's.
Good luck, Will, and don't be lazy, just get on with them already!!