Robbie C's Ibiza Cupra

DaNnY_LaD

Big Turbo Leon Cupra R
Jun 2, 2007
4,814
1
Manchester,Walkden
www.myspace.com
Hey all,

Sorry it's all gone a bit quiet lately - been a bit pre-occupied recently!

We started back on the car properly tonight so I'll post a full update up with pics shortly :D

Cheers again Ian for your help on that Sunday - massively impressed with your car and it's given me the motivation I need to stay focussed and get mine finished now :)

Guessing it has a little black triangle and boobs then eh ?:ban::lol:
 

ian_cupra

Guest
Cheers again Ian for your help on that Sunday - massively impressed with your car and it's given me the motivation I need to stay focussed and get mine finished now :)

no worries mate, glad you enjoyed it. dont mind helping a friend out who's been messed about by others
 
Jan 8, 2007
2,958
1
Wiltshire
Day 8/9

OK so a couple of weekends back I met up with Ian at Donington Services to swap our JBS manifolds so I can get on and fit mine while waiting on JBS for their new cast design to become available. Massive thanks to Ian for driving down and meeting me, really appreciate your help and loved the car too ;) I think it was what I needed to convince me it really might just be worth all this hassle after all.

Taking the turbo with me to compare, we found that even Ian's manifold still fouls on the silencer by ~1mm, but much much less than my own JBS manifold at least. Having had a fiddle at home the only real way I can see round this is to grind away part of the lip from the silencer as Borg Warner quoted Turbo Dynamics a three month wait for an unsilenced compressor cover... :(

I can't stand bodging things but I seem to be completely out of options here now. I'm a little concerned as to whether the temperature of the manifold will have any detrimental effect on the turbo when it's going to be sat so close - anyone care to comment?

Here's how it lines up at the moment:

P1000546.jpg


P1000545.jpg


P1000544.jpg


P1000543.jpg


Here's how my original JBS manifold looked, for comparison:

P1000476.jpg


P1000471.jpg


P1000472.jpg


We're going to gently attack it with a die grinder later in the week pending any specific feedback I get on here. After speaking to Alex at BDM we also tried loosening off the bolts that hold the compressor cover to the turbo to ensure it was clocked completely accurately but there was no room for adjustment whatsoever.
 
Last edited:
Jan 8, 2007
2,958
1
Wiltshire
Not to be deterred, I have also since received the proper hardware kit from HiSpec to finish off my brakes, after also getting hold of some 3/16 copper brake line to replace the OE steel lines that run between my braided hoses and the ABS pump.

Here's a shot of the caliper to bracket/carrier bolts, showing the OE on the right, incorrectly supplied M10 x 30 in the middle and the required M12 x 50 (1.5 thread pitch) on the left which is now in place:

P1000538.jpg


Rotor/bell, caliper/bracket and bracket bolts:

P1000539.jpg


Compared to OE 280mm disc:

P1000540.jpg


Getting the caliper lined up:

P1000542.jpg


We then made a start on replacing the hard brake lines with the copper pipe. Here's the OE steel passenger side compared to the new line:

P1000547.jpg


Fitted in place:

P1000549.jpg


P1000550.jpg


The rotors, bells and calipers are now pretty much fully fitted and aligned both sides now and tomorrow we're going to make up the driver's side brake line to finish these off before having another look at that fuel pump.

Benny kindly forwarded a picture of his LCR pump installed which shows it to be sat at the same angle as mine so it must be nearly there, we shall see...

That's it for tonight folks, let me know what you think, cheers :)
 
Last edited:

__B3NNY__

OEM with a 'Twist'
May 5, 2005
3,449
1
Oxford
Glad to see things are slowly coming together for you bud, you know its going to be worth it ;)

I just cat think what the problem could be with the fuel pump as it took me about 30minutes max so your mech friend should have no troubles at all unless somthing is A-miss?

How different was Ians to mine? seeing as there still k03 hybrids but made by different companys and mapped by different people.
 
Jan 8, 2007
2,958
1
Wiltshire
Cheers mate, yeah should all be worth it in the end. Never again though... :)

Yeah not too sure why that fuel pump is posing a problem - my mate's putting it off at the moment but we'll soon see hopefully.

Difficult to compare yours to Ian's accurately side-by-side but I would say Ian's felt a bit more agressive with the mapping and the noise on spool-up and lift off is immense :) Both impressed me. It would be interesting to see them on the same straight of road.
 

ian_cupra

Guest
:D i'm up for that, although mine is totally stripped :lol:

glad its coming together mate, bet you cant wait to get it back on the road
 

ibizacupra

Jack-RIP my little Friend
Jul 25, 2001
31,333
19
glos.uk
that proximity to mani wont have any effect on the turbo... just create some gap so it wont touch when hot and expanded. it wont melt or anything nasty
 

__B3NNY__

OEM with a 'Twist'
May 5, 2005
3,449
1
Oxford
:D i'm up for that, although mine is totally stripped :lol:

glad its coming together mate, bet you cant wait to get it back on the road

Lets av IT!

Shame theres not a 1/4miles at the national meet, id be more than happy to bring some tools and chuck the back seats out:lol:

You coming to the national meet Robbie?
 
Jan 8, 2007
2,958
1
Wiltshire
Sorry it's been so long without an update again guys... I've been fairly busy over the past month and even out of the country at one stage but I'm going to get this thread back on track this evening with all the latest updates over the past few weeks so sit tight and enjoy.

Benny - I won't be at the National Meet now unfortunately as I need to crack on with mine :(

Alex - Yeah we tried it with all lines disconnected but there was no room for adjustment
 
Jan 8, 2007
2,958
1
Wiltshire
Day 10

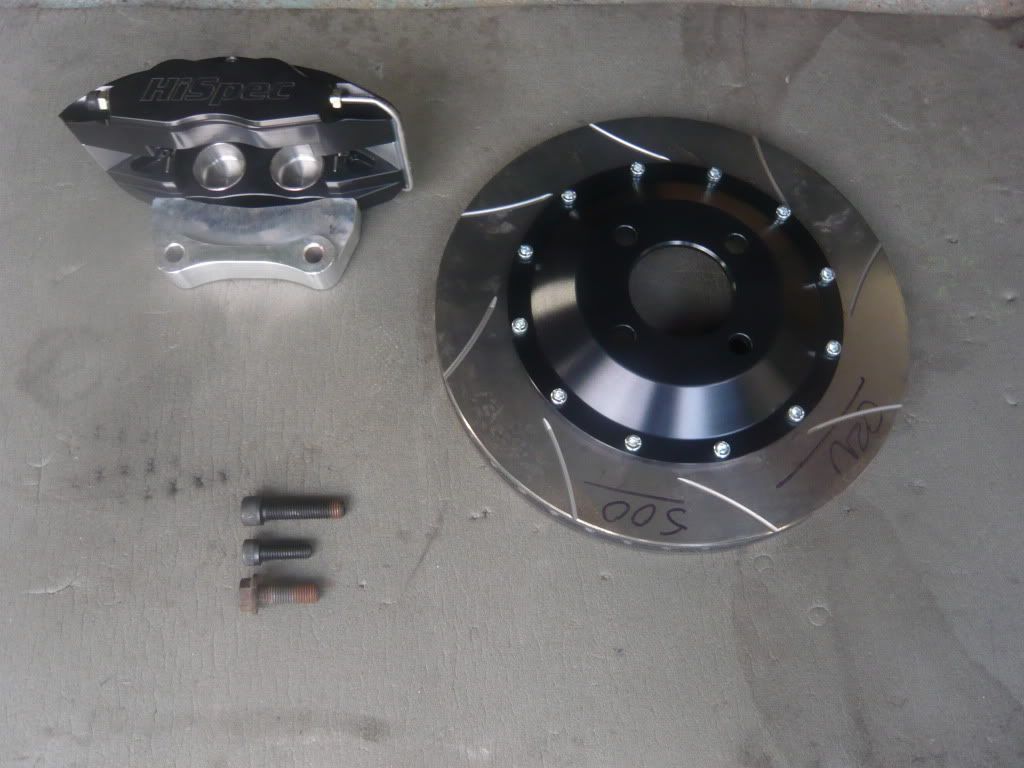
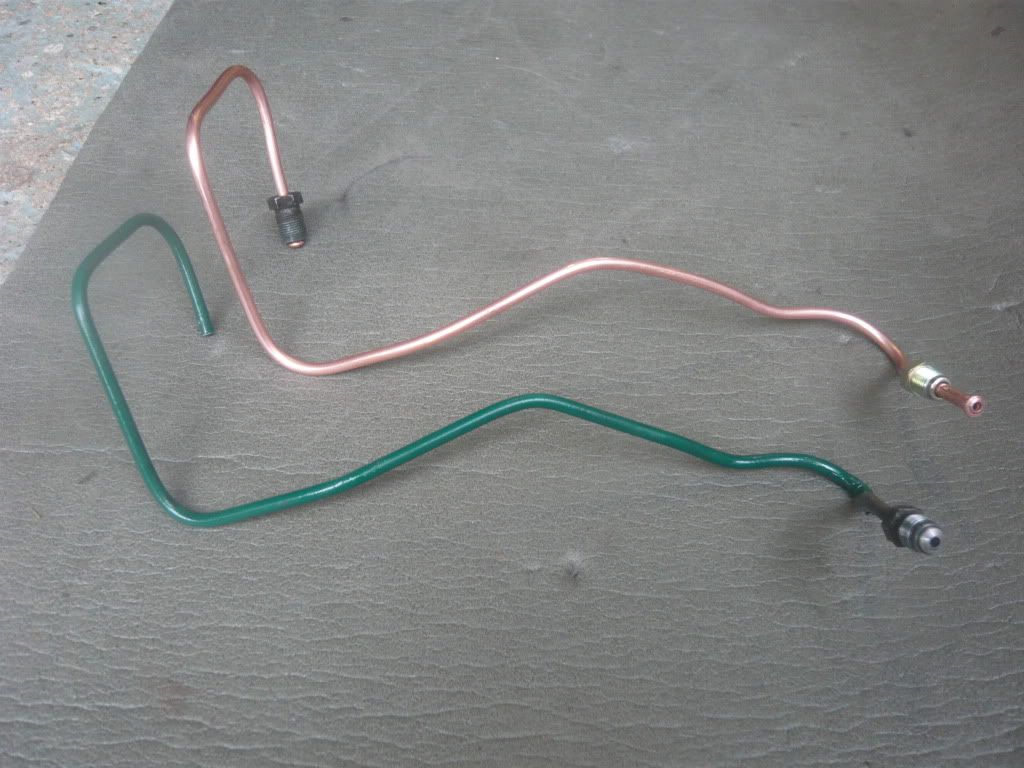
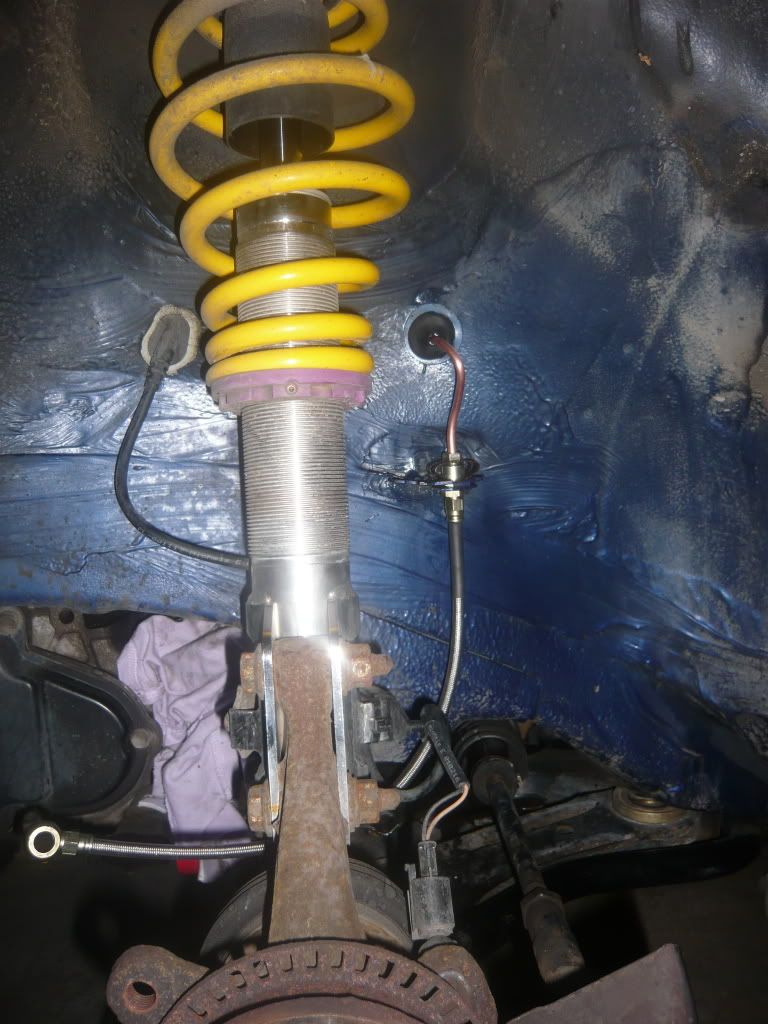
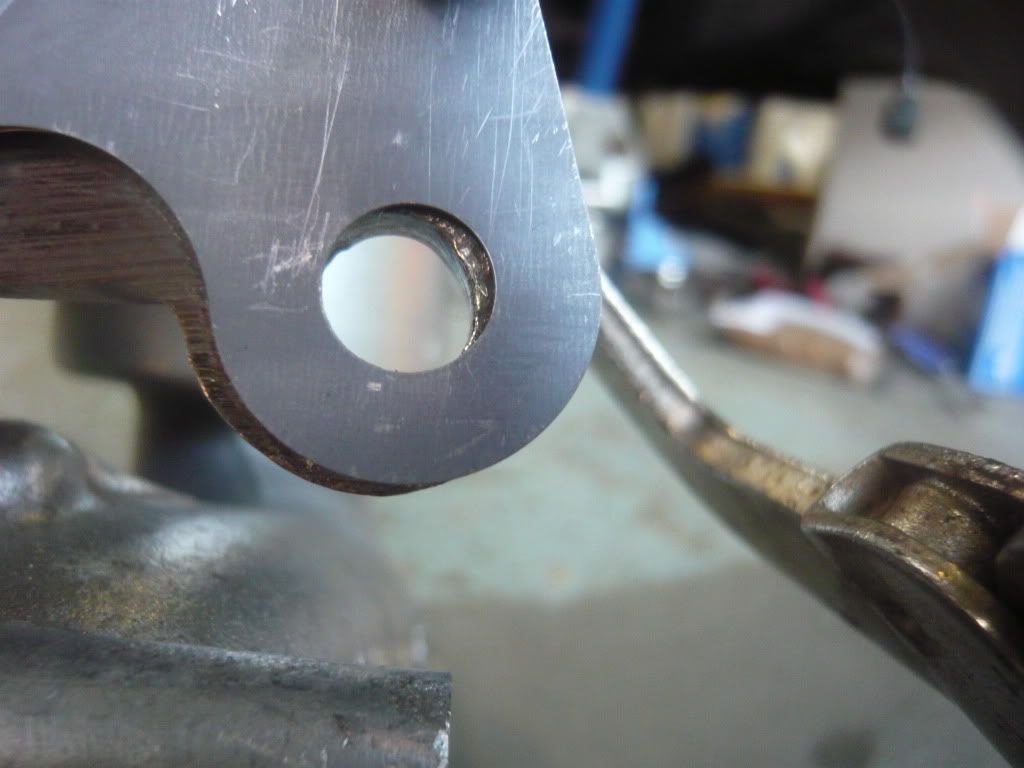
Picking up where I last left off we finished off my HiSpec brake conversion by making up the offside hard brake line:

P1000551.jpg


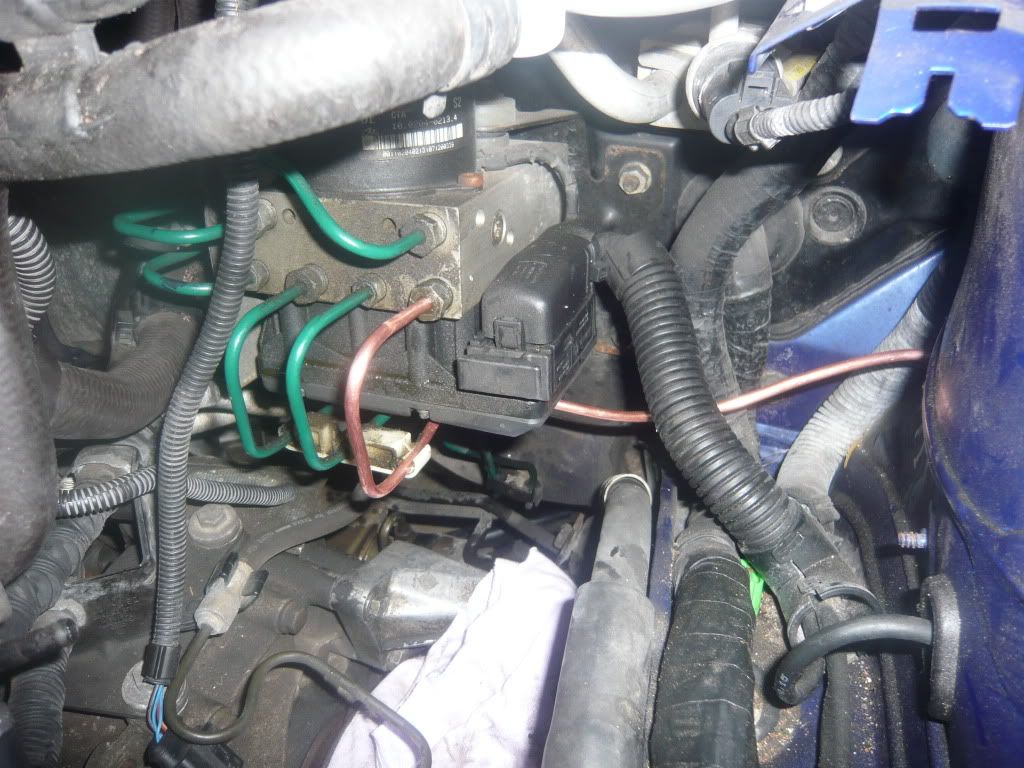
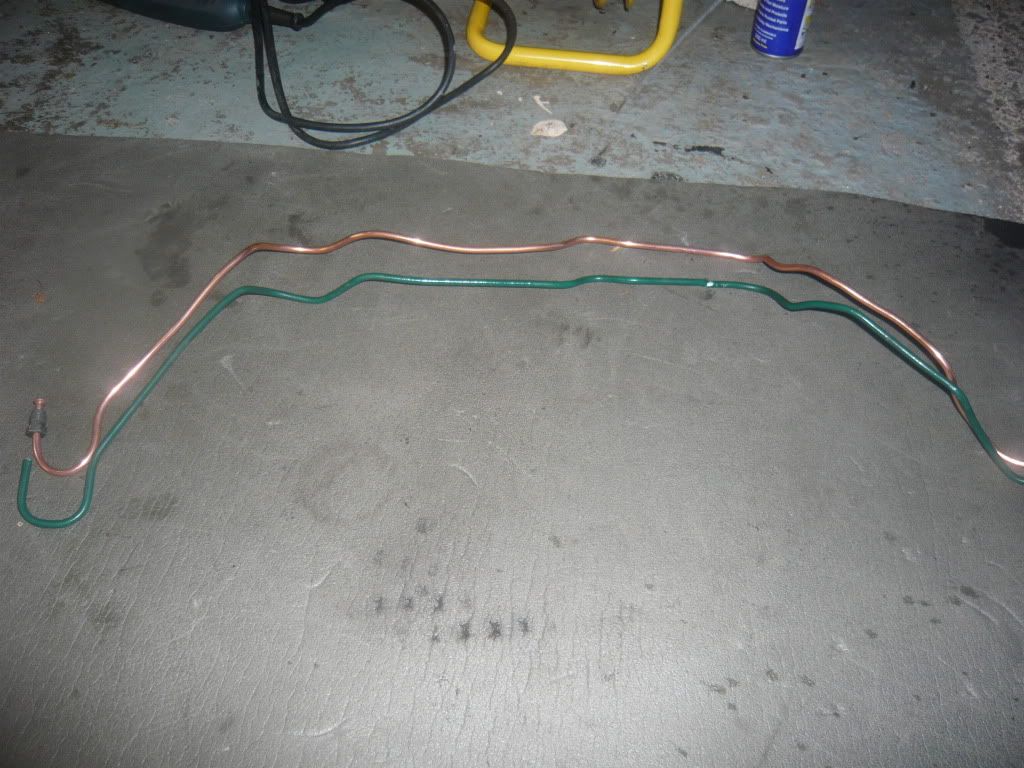
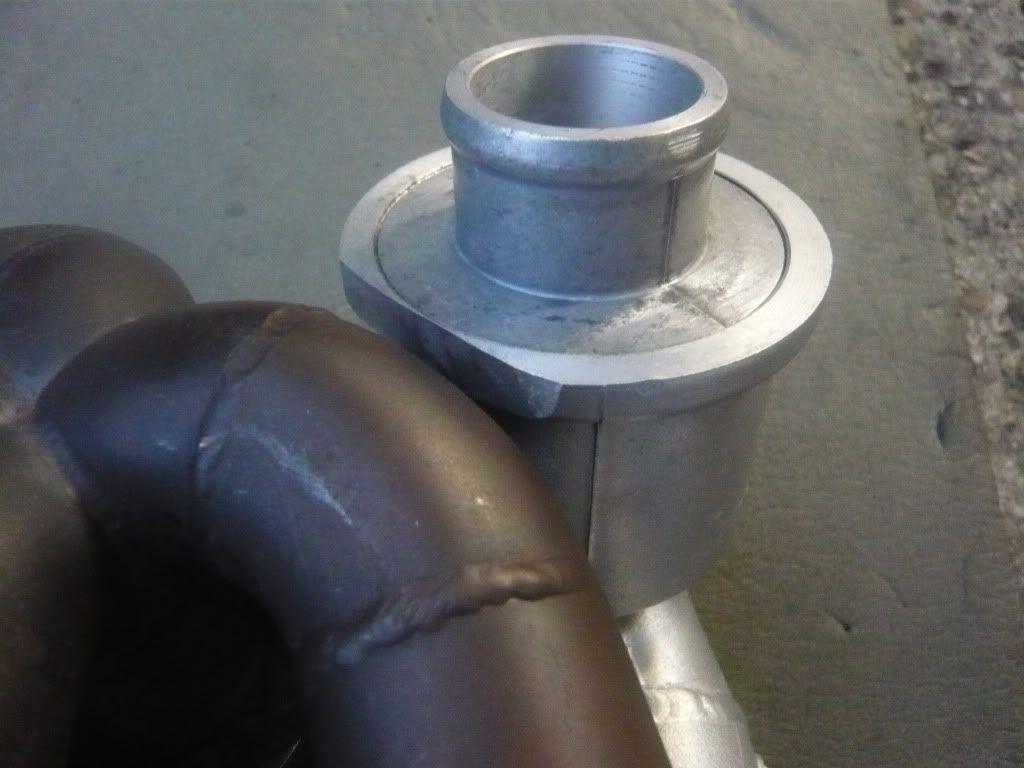
As per the above pic, we made the mistake of bending the copper line to shape before getting it lined up and fitted in the engine bay. By the time we'd got it in place and where it needed to be it had become so bent out of shape that it was pretty much beyond repair so we took a different approach and put a new, straight line into the engine bay and bent it into shape in situ which proved much easier and effective.

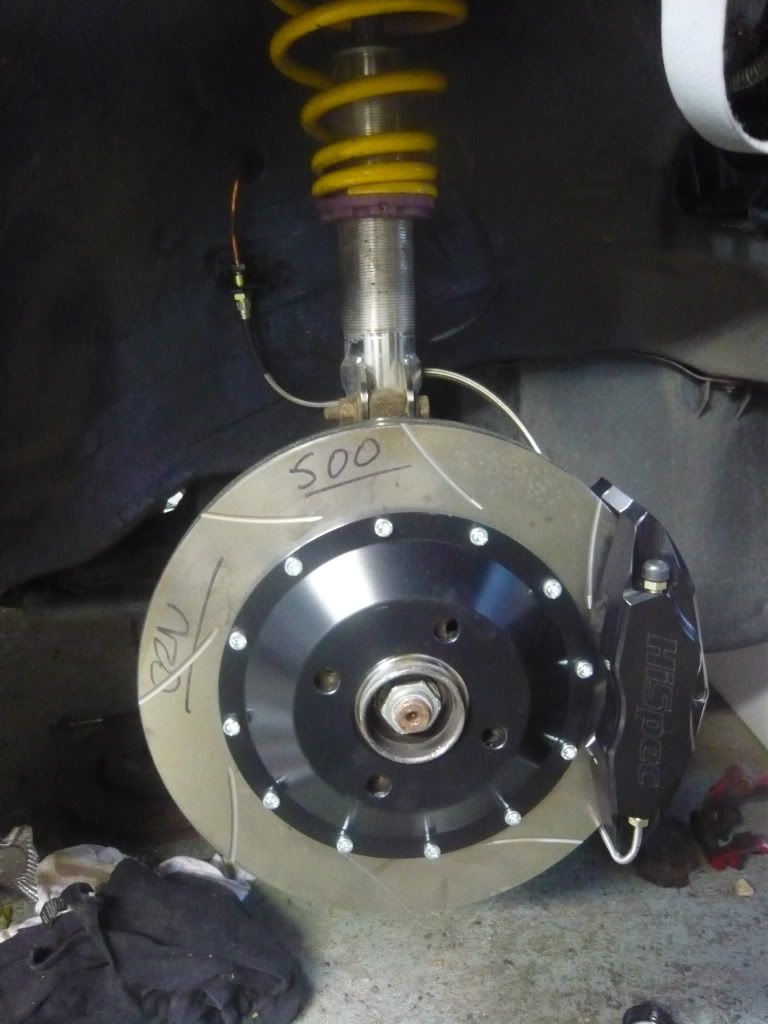
We then tried to finish off the brakes by affixing the braided lines to the calipers but found these were some 70-80mm too short as the kit was made up for a MK2 Golf GTI and not specifically an Ibiza. A quick phone call to HiSpec resolved the situation and they were happy to make up a second set to the correct length of 49cm free of charge :)

P1000586.jpg


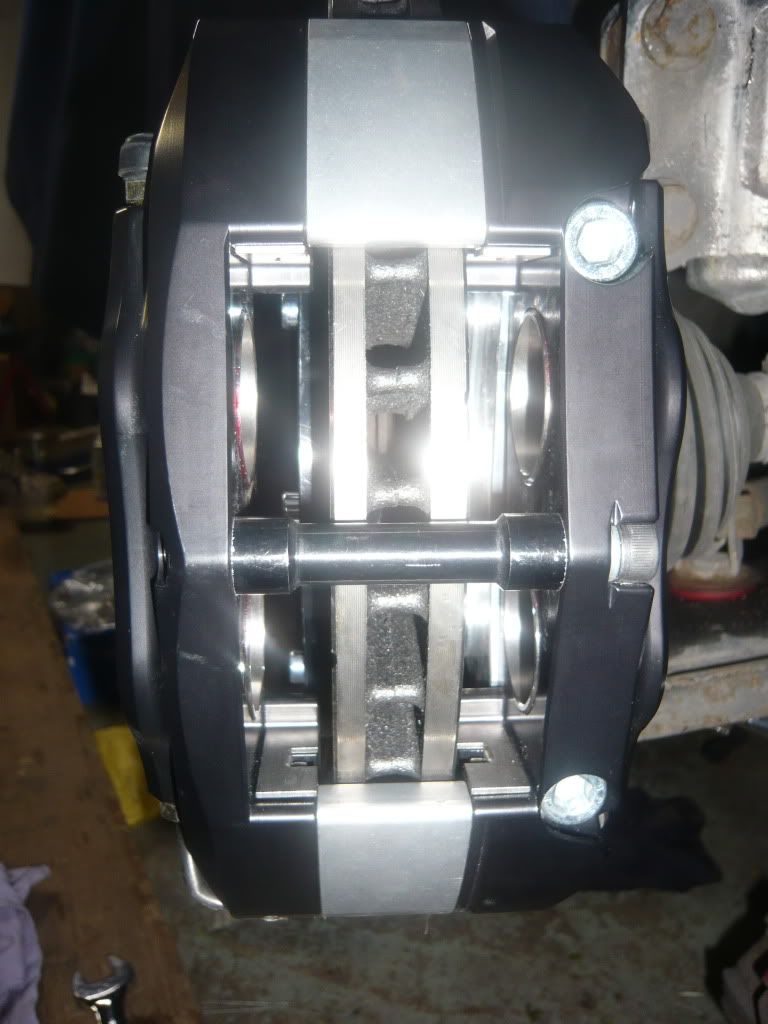
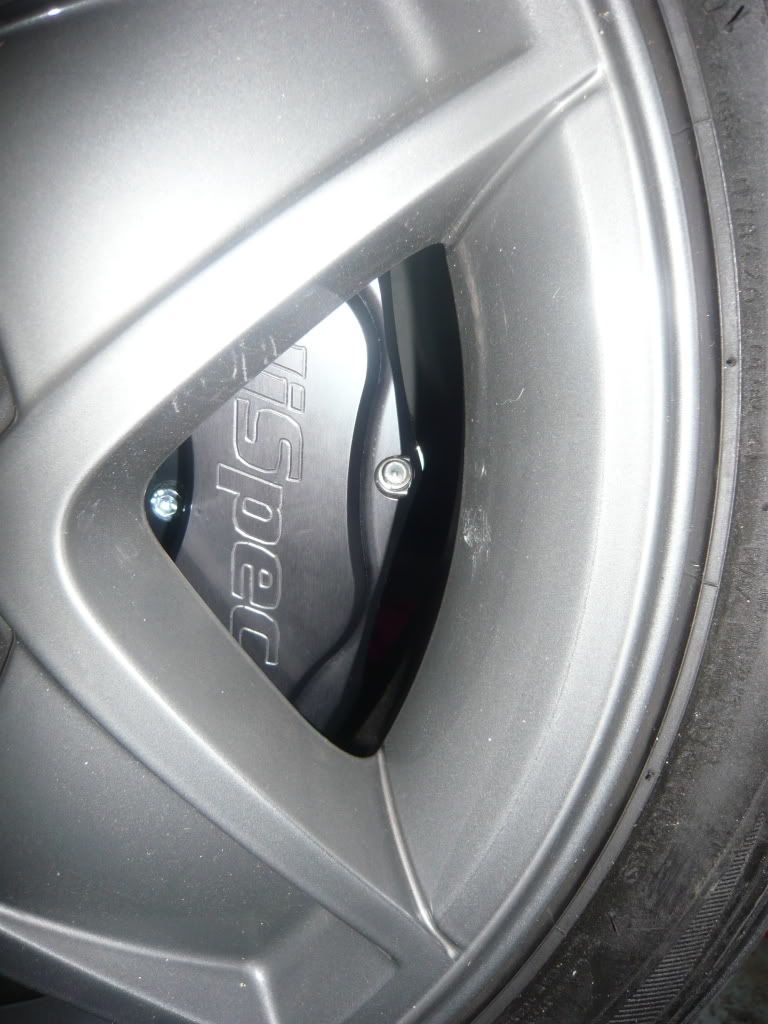
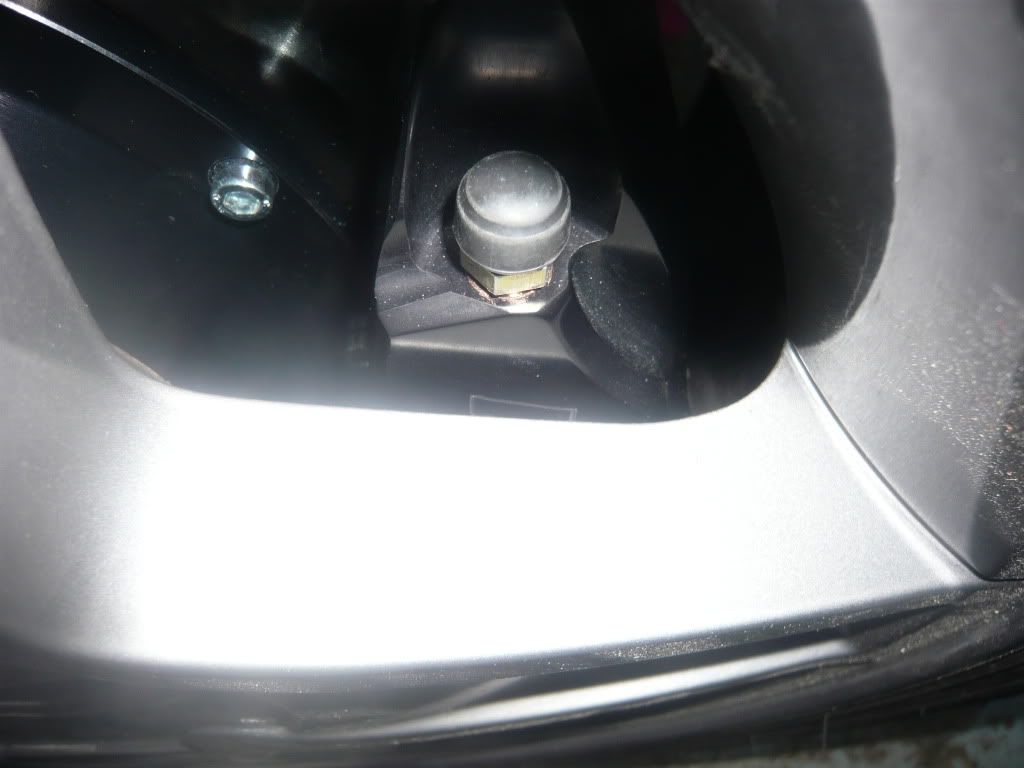
Then, judgement day as we decided to try and fit a wheel over the brakes to see if the spokes cleared the calipers. By my initial calculations I expected 2-3mm at best but once lined up I was pleasantly surprised to find a comfortable 3-4mm:

P1000561.jpg


P1000558.jpg


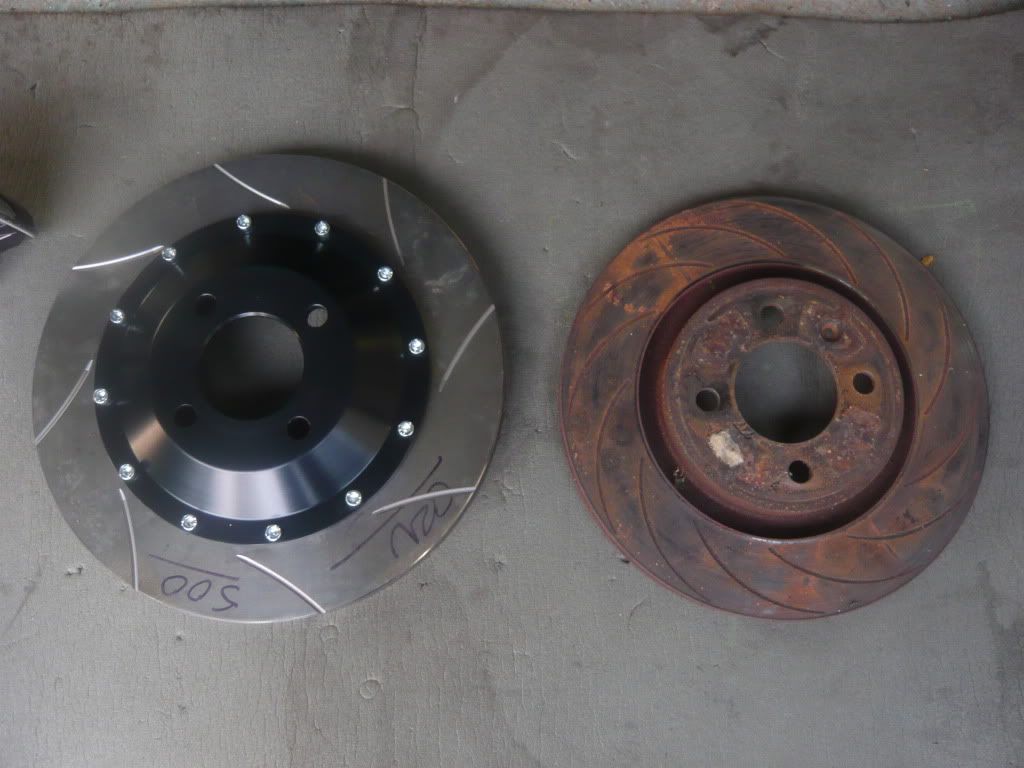
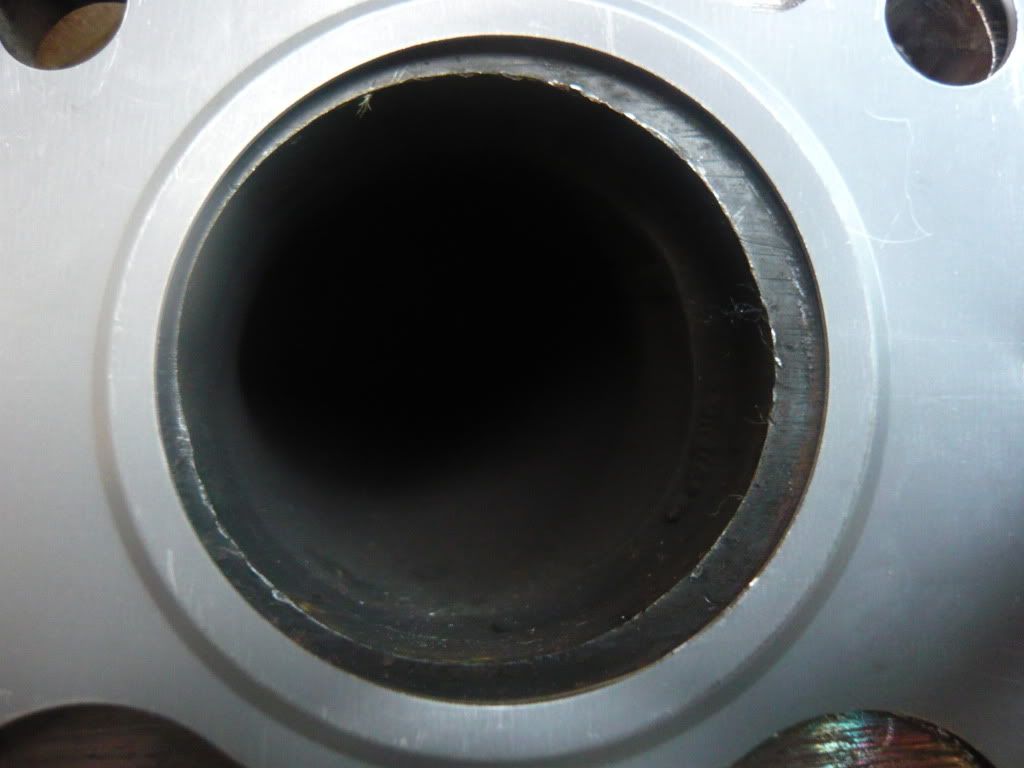
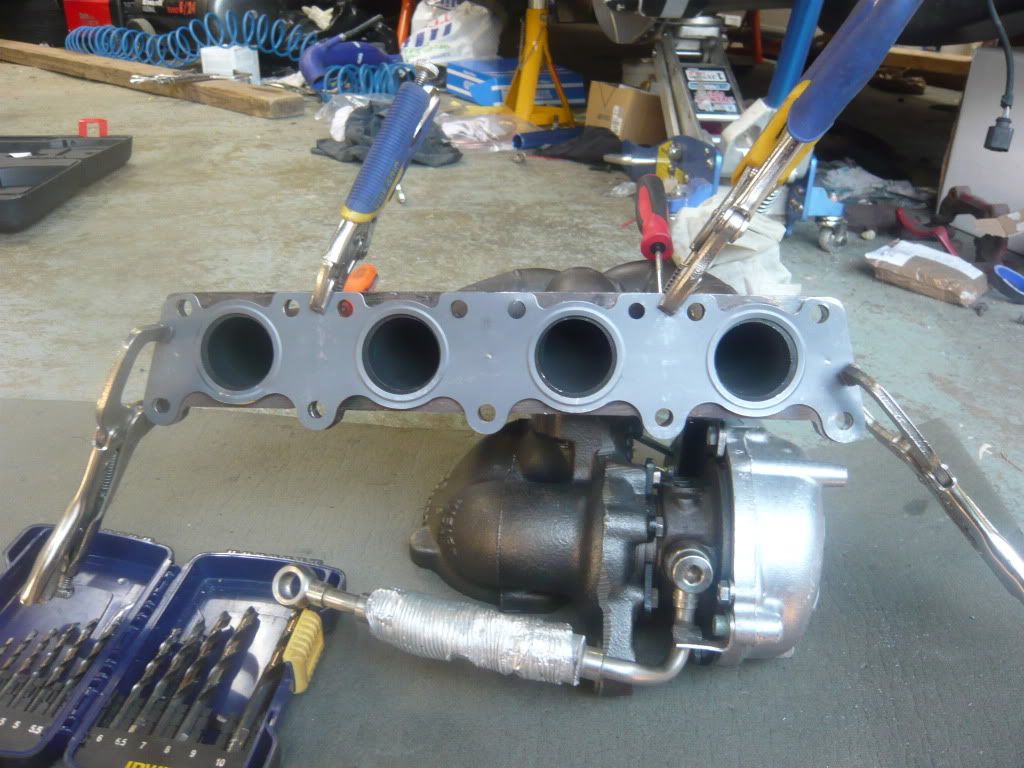
This completed the brakes, offering a nice alternative to the Wilwoods that fit straight under standard Cupra alloys :D

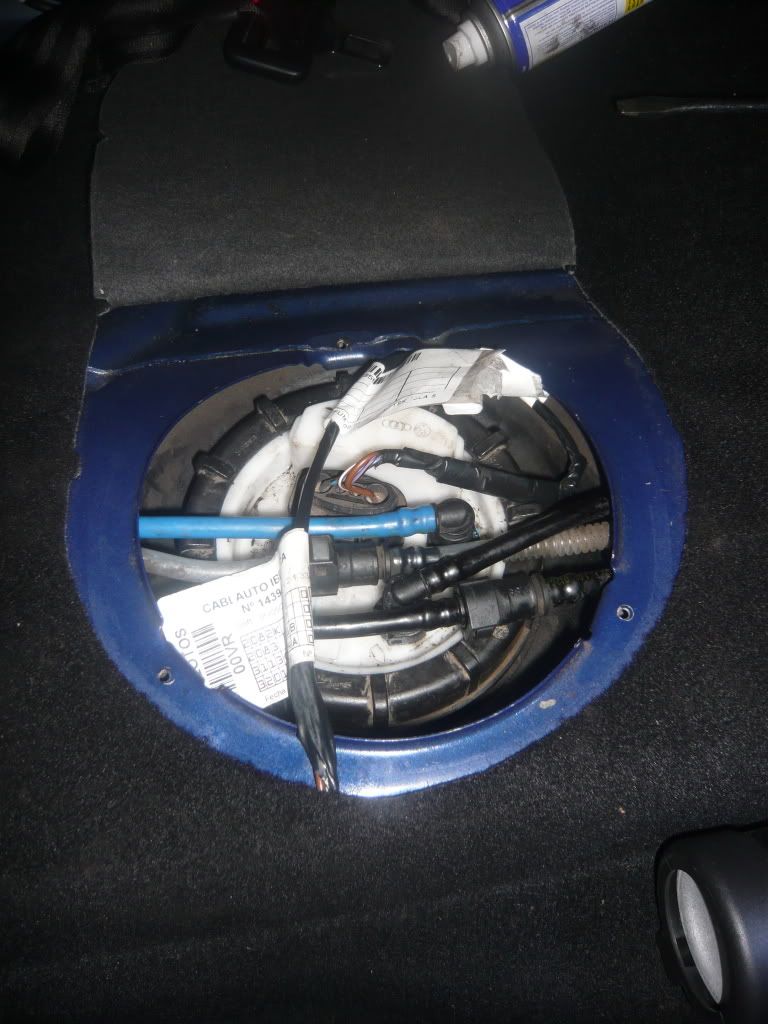
To finish off the night we then decided to take another shot at the fuel pump, using Benny's picture as a good guide. After a few minutes fiddling we found that we did have it in the right place as suspected (lined up with the arrows on the tank and pump) but we'd struggled with getting the ring seal to secure in place.

Upon closer inspection we found that the inner thread on the seal only has one pickup, meaning you have to screw it a full rotation before it secures itself and sits flush as expected. We had expected it to sit flush much sooner and so had questioned whether the pump was in correctly when in fact all we had to do was persevere screwing it in for a full rotation before it sorted itself out :doh: :redface:

P1000552.jpg


That finished the evening off nicely, progress at last! :)
 
Last edited:
Jan 8, 2007
2,958
1
Wiltshire
Day 11

Warning: If you are sqeamish, look no further :(

OK, the day I had been dreading... after exhausting all other feasible options the time had come to do the unthinkable and take a die grinder to the lip of the silencer on the turbo in order to make enough clearance for the JBS manifold to fit correctly. To make it quite clear, I *hate* doing things like this but at this stage I am out of options :(

So, a few (very painful minutes) later of watching bits of turbo fly into the air in tiny speckles of expensive metal dust we were left with this:

P1000581.jpg


P1000582.jpg


P1000583.jpg


P1000584.jpg


P1000585.jpg


And so, at last, I have a manifold that fits the turbo (sold as OE fitment...)

As you can see there's really not a lot of meat left on the lip but hoping it will stand up to the abuse I'm preparing to throw at it once back on the road.
 
Jan 8, 2007
2,958
1
Wiltshire
Day 12

Here the real fun begins...

Now that the manifold was attached to the turbo the next job was to get this bolted onto the engine. After a lot of messing pushing, pulling, tucking coolant pipes and general blue language we found there was just no way this was going to even fit down the back of the engine without removing my strut brace and (wait for it), rocker cover... With the air con left in place things were just far too tight down there without taking these off first, making it a real PITA.

With everything removed, the turbo and manifold were placed in situ and so began the attempts to line up the manifold to the head and get the studs in place. After a lot more swearing we found that the holes in the flange of the manifold just didn't quite want to line up straight with the head, presenting yet more issues...

Removing it from the engine bay once again and studying the holes against the manifold gasket soon revealed why we weren't having much joy... they simple didn't line up very well at all:

P1000593.jpg


Cylinder 1:
P1000594.jpg


Cylinder 2:
P1000595.jpg


Cylinder 3:
P1000596.jpg


Cylinder 4:
P1000597.jpg


P1000600.jpg


P1000601.jpg


P1000602.jpg


P1000603.jpg


P1000604.jpg
 
Last edited:
Jan 8, 2007
2,958
1
Wiltshire
P1000605.jpg


Notice this one is particularly bad, where we were having the most issues:
P1000606.jpg


P1000607.jpg


Not to be beaten, out came the file and die grinder to elongate some of these holes in order to give a better fitment... when attempting to re-fit the manifold back on the head we also managed to snap a manifold stud where the hole to the bottom-right of cylinder 4 which was particularly offset still wasn't quite lined up enough. Luckily the aid of a blow torch and a removal tool saw it come out without too much pain. I'm now waiting on a new stud from SEAT before we get this fitted in place once and for all which all being well should be this coming Sunday.
 
Last edited:
Jan 8, 2007
2,958
1
Wiltshire
Day 13

While waiting on the turbo/manifold we decided to crack on getting my custom Pro Alloy intercooler lined up and ready for the 2.5" ali pipework. Even using Alex's brackets to move the radiator and condenser back into the engine bay it soon became clear just how little space we had to work with, especially with a 65mm deep core.

I was initially hoping to get this fitted leaving the OE plastic mesh in place like Cupra_Neil managed with his AM cooler that mine is based upon but upon closer inspection this would only be marginally possible if the FMIC was offset to the right, as the condenser sits at an angle and is simply too far forward on the driver's side. Wanting everything to line up perfectly we therefore decided to scrap the mesh (it will be replaced with some aftermarket material) and go about "remodelling" my bumper to accomodate the core in a central location as desired.

I know other people on the forum have managed to fit 65mm FMICs without losing the OE mesh but a few calculations revealed this is only because they are using smaller universal cores, often sat upside down so as the end tanks don't foul the condenser. I was very much deluded to think that my particular core would ever fit behind the bumper without some significant trimmage :(

Here's it lined up with the bumper perched on as far back as it will sit before we started trimming:

P1000613.jpg


In order to get in sat in place we cut and welded some steel brackets onto the crash bar and used a threaded rod which screws into the top of the core. This will all be sprayed black and tidied up before its finished but you get the idea:

P1000619.jpg


P1000622.jpg


P1000621.jpg


P1000620.jpg


We tried sanding some plastic off of the back of the OE mesh near the end tanks to see if this would grant us enough clearance but it's not even close:

P1000614.jpg
 
SEATCUPRA.NET Forum merchandise