Time for some much needed updates.
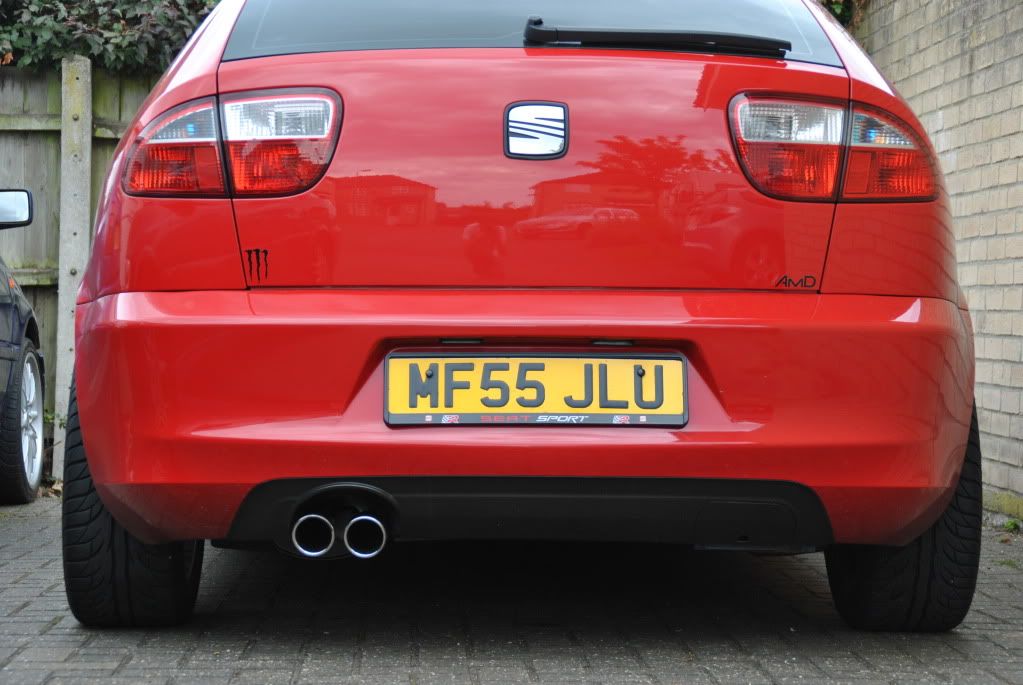
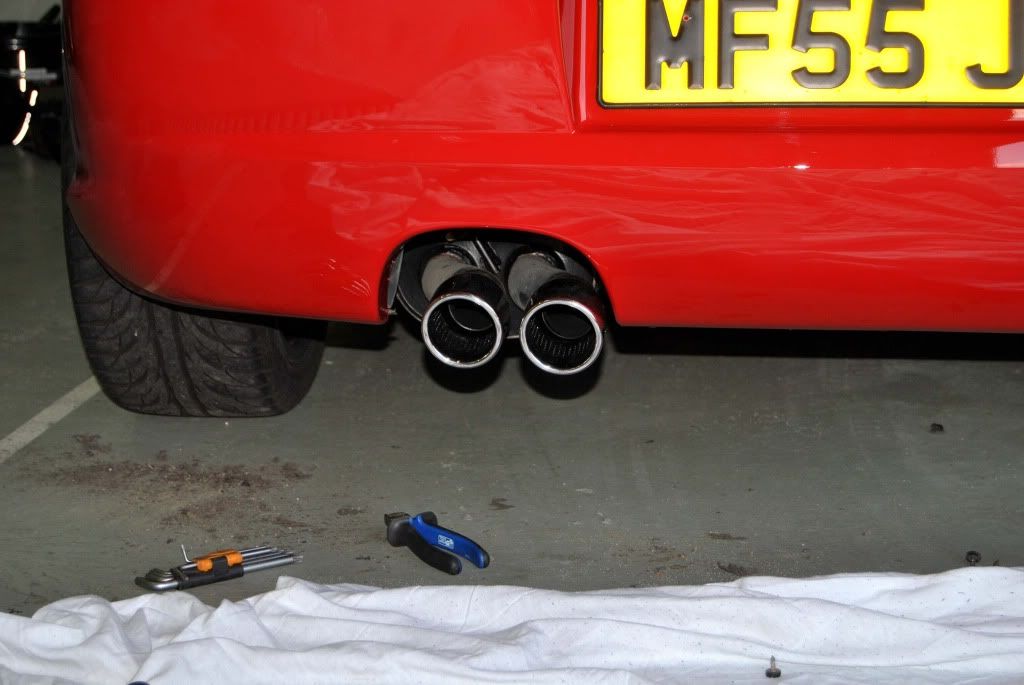
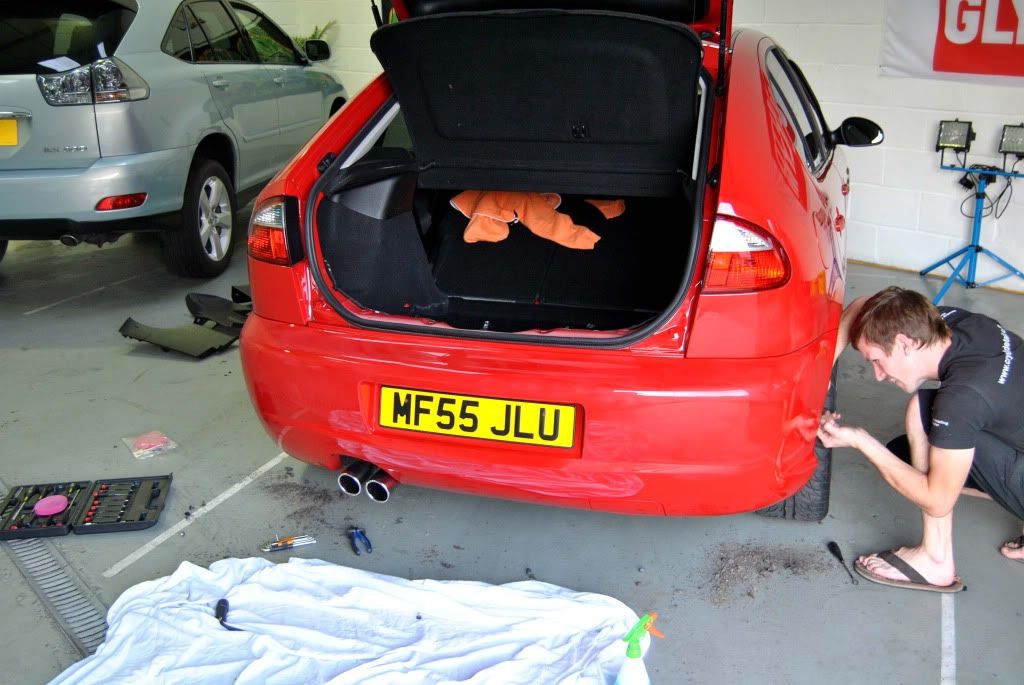
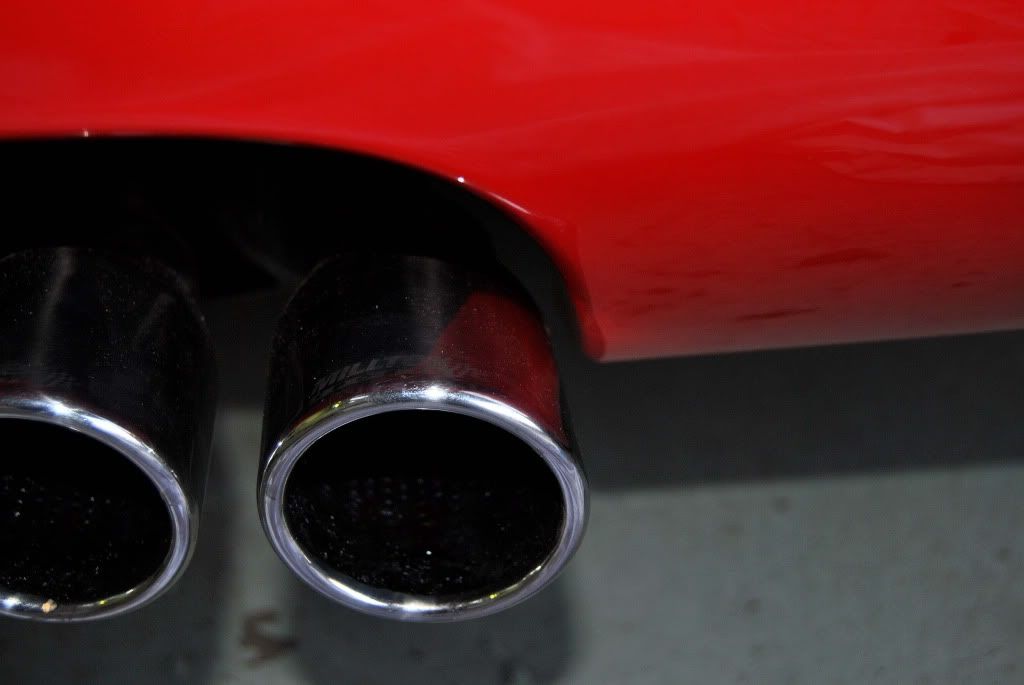
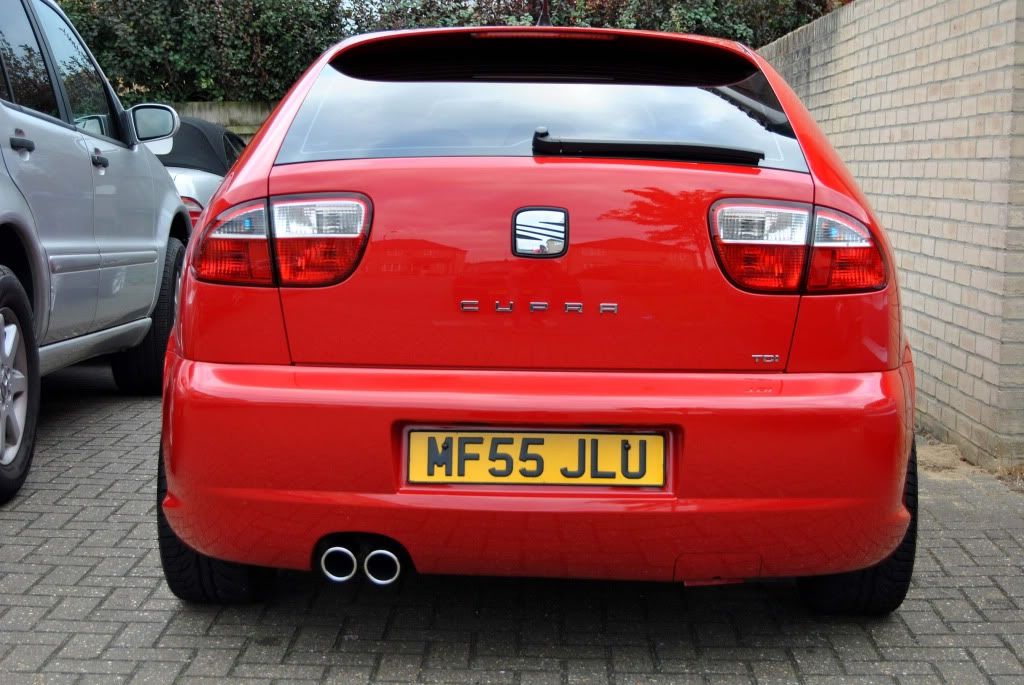
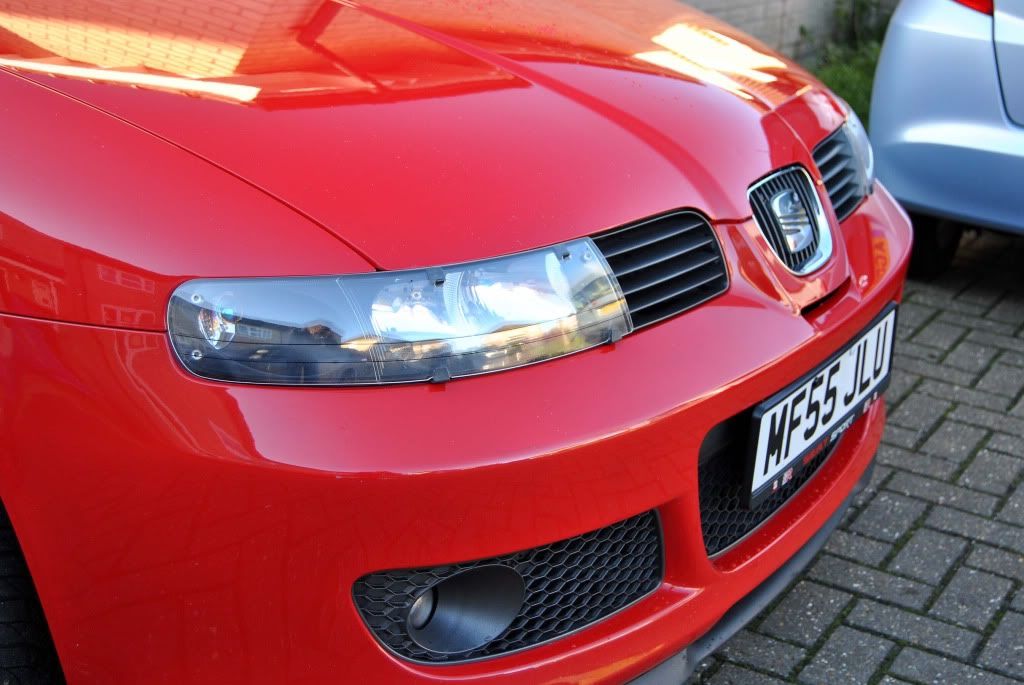
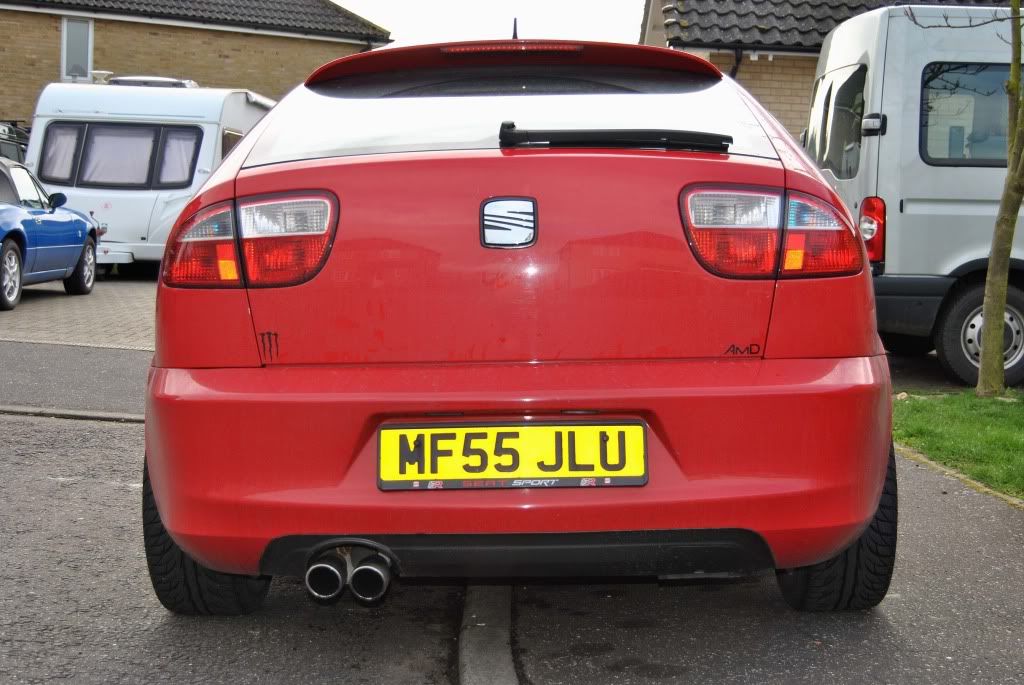
Well the exhaust system was adjusted ages ago and now sits like this within the bumper recess.
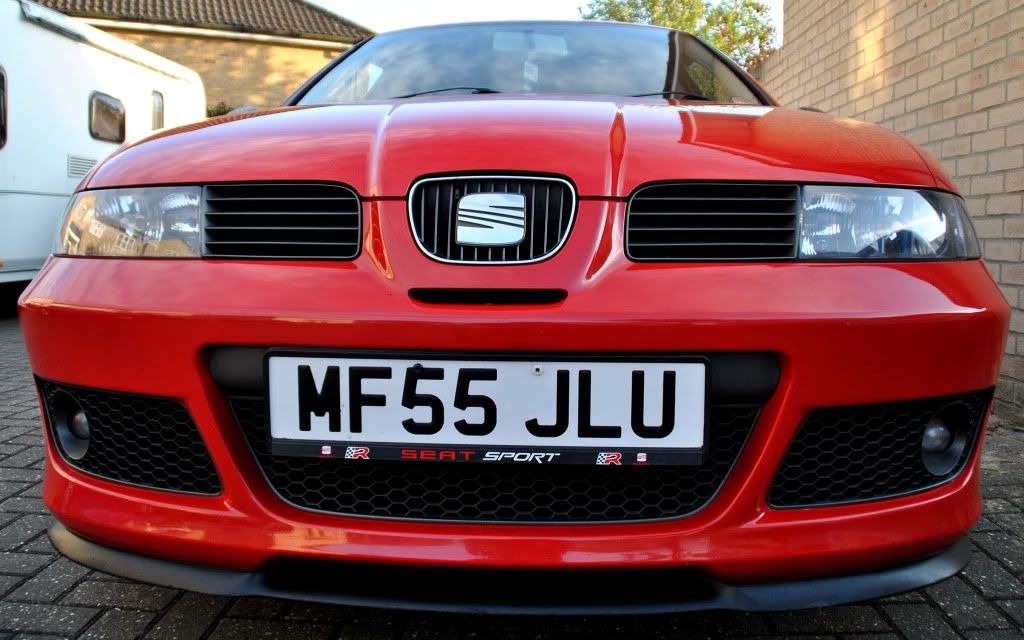
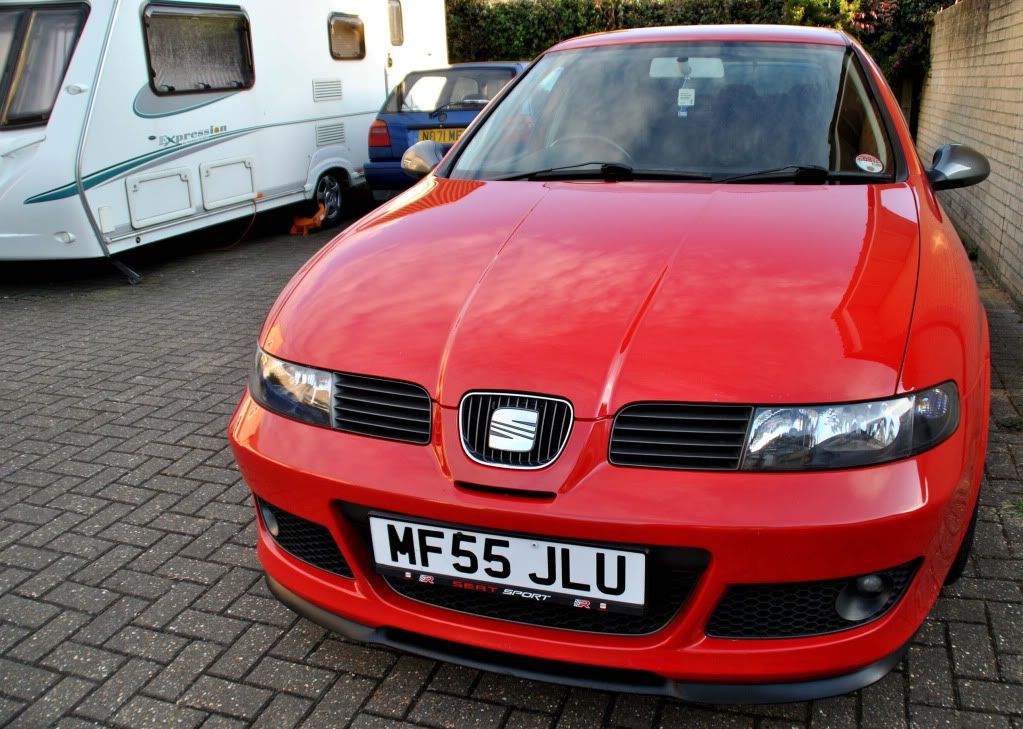
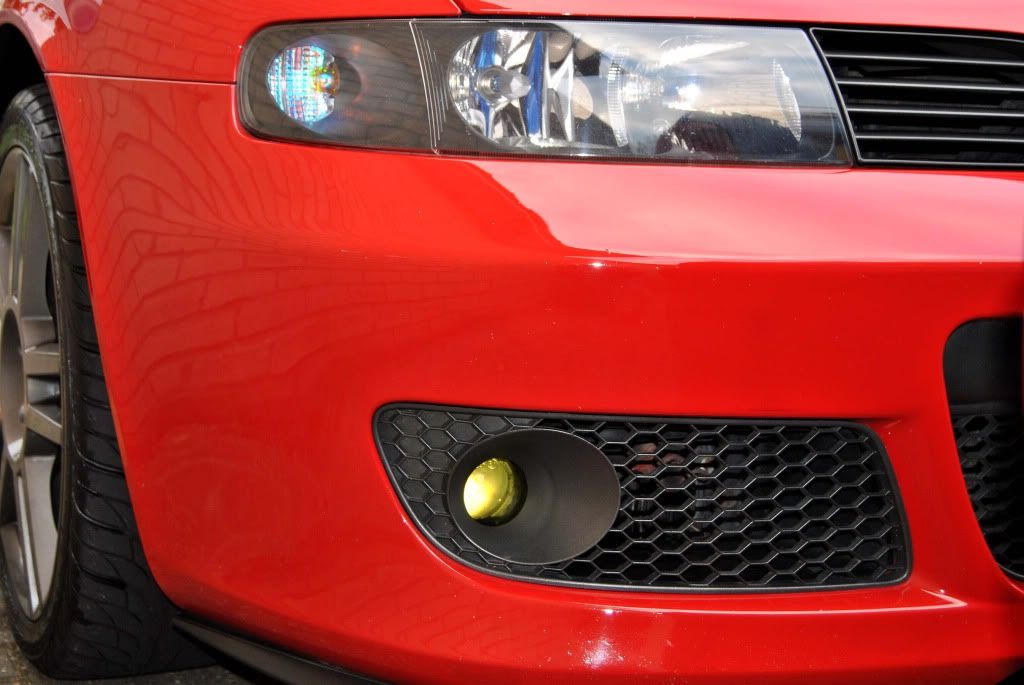
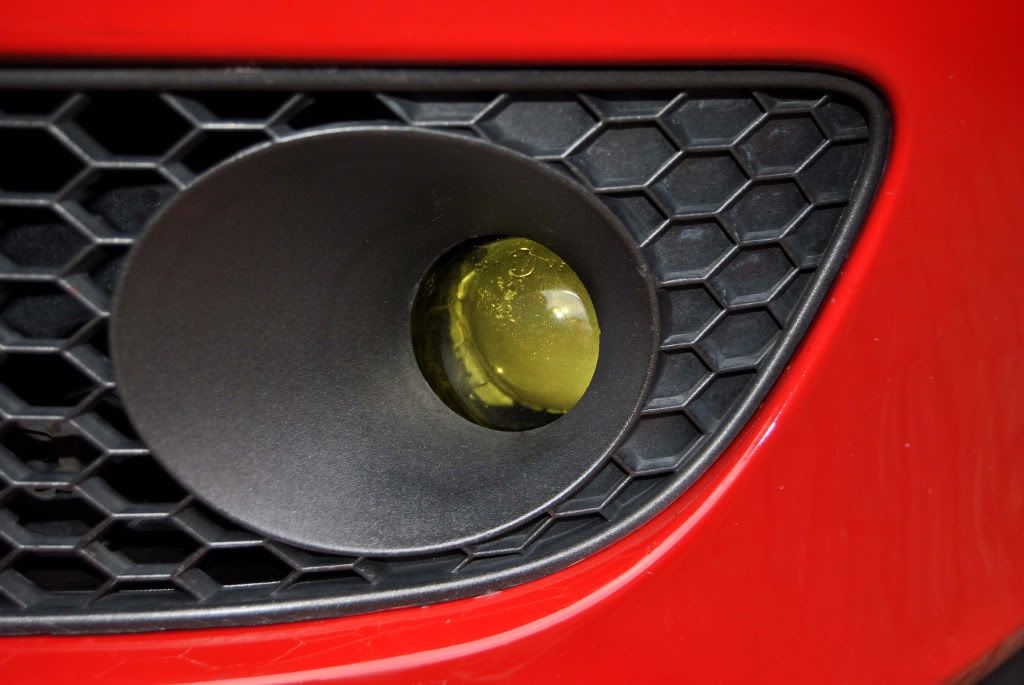
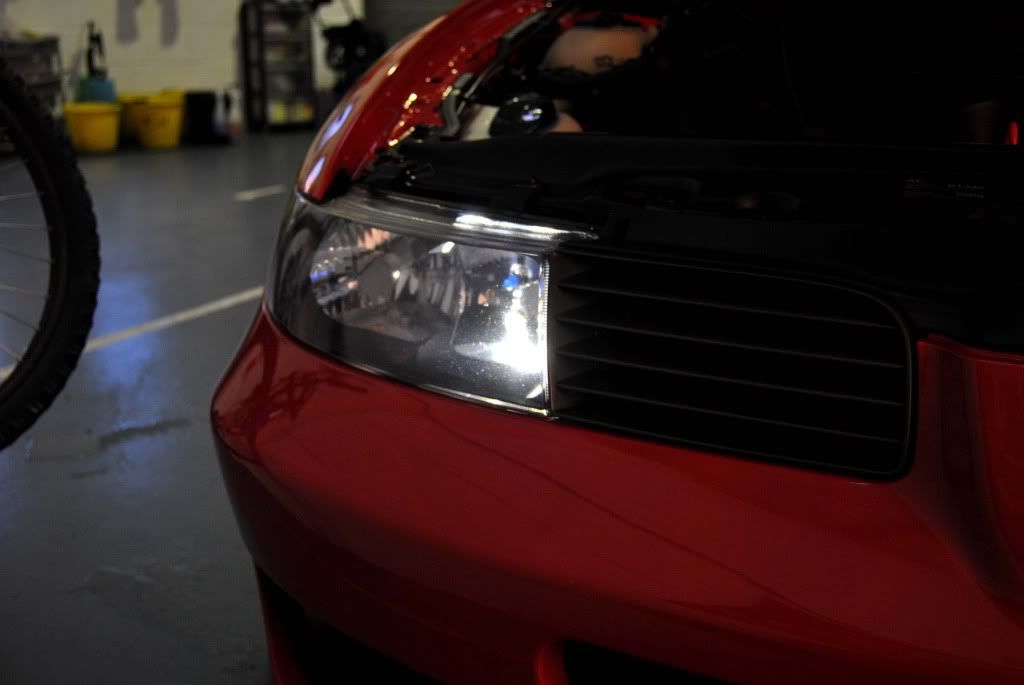
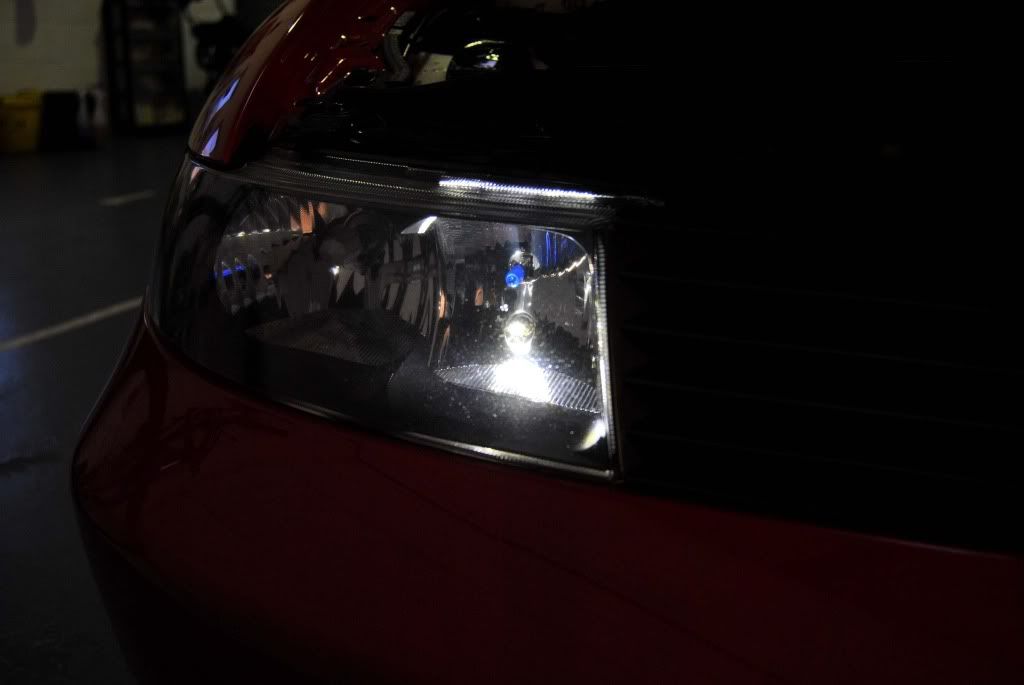
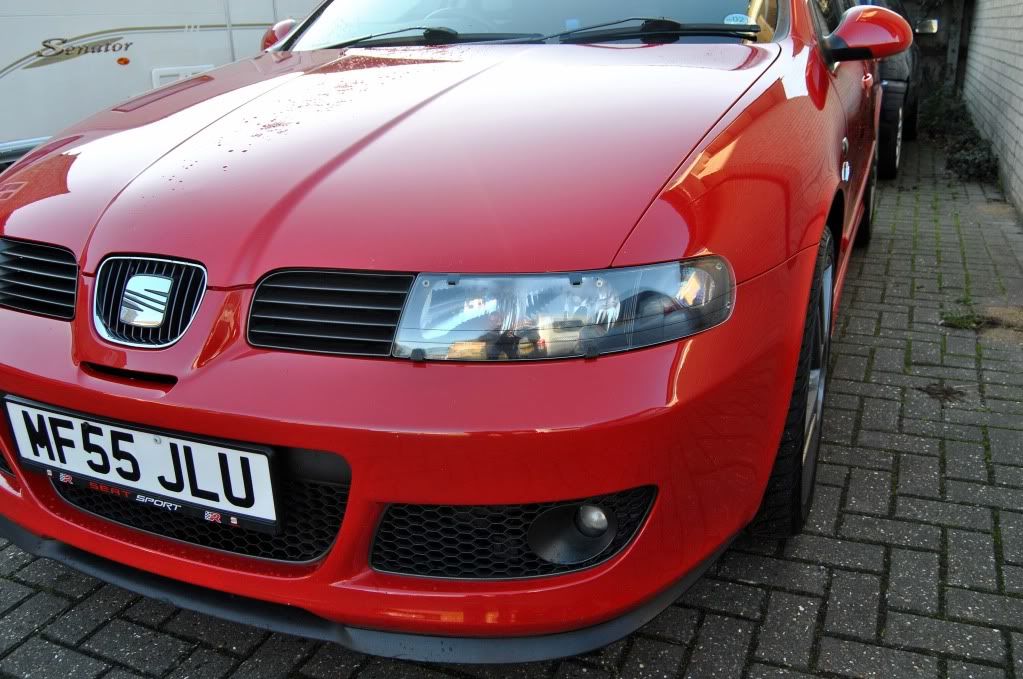
Lamin-x'd the front fog lamps:
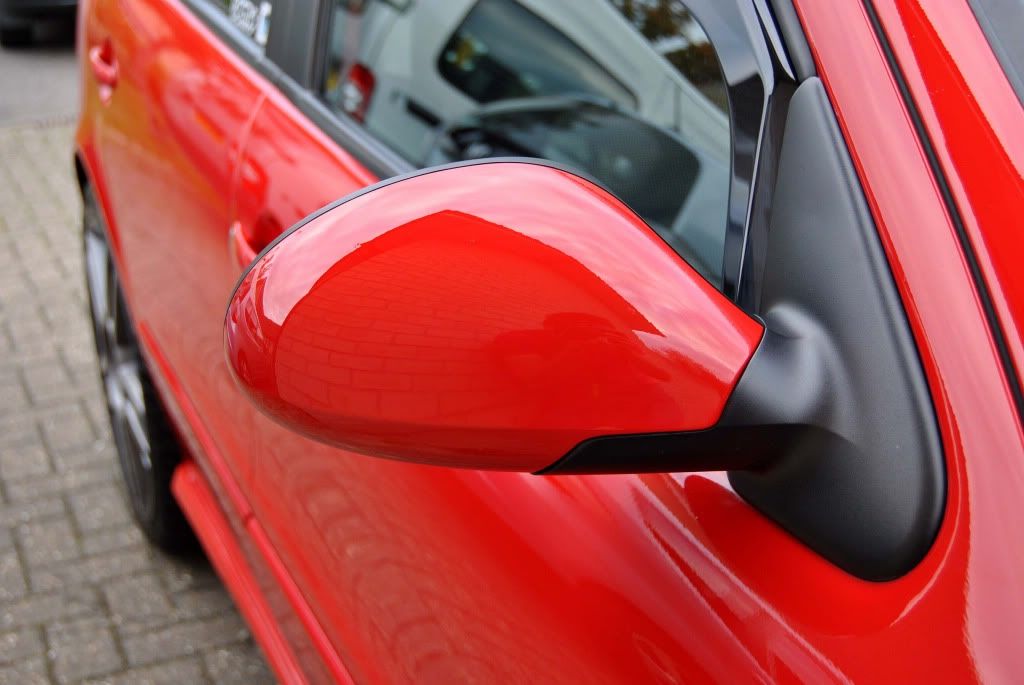
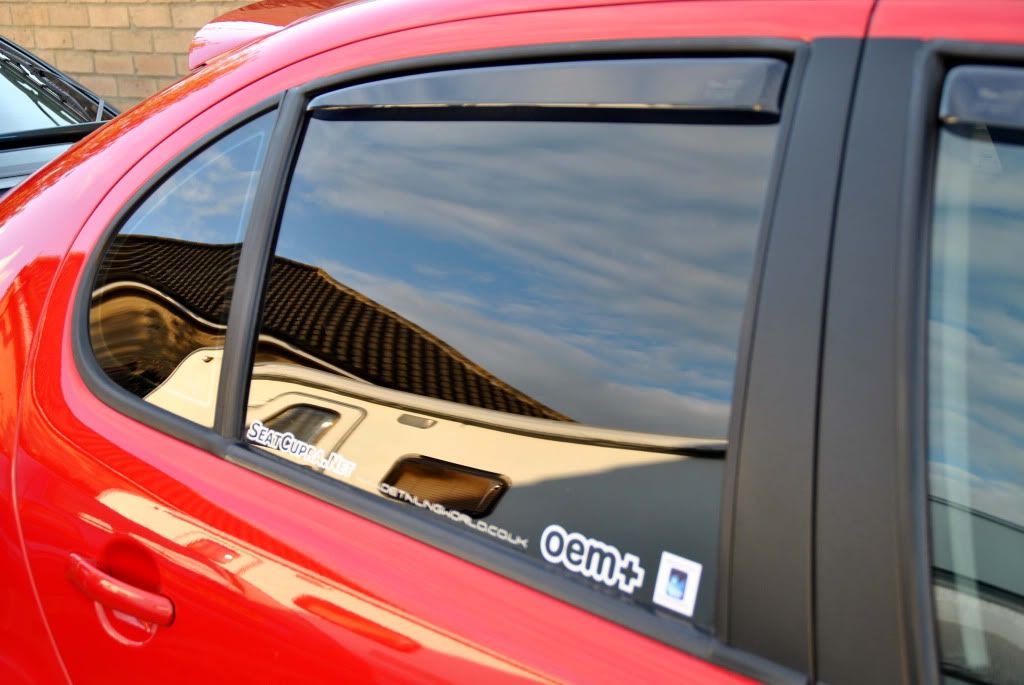
Colour coded wing mirror caps:
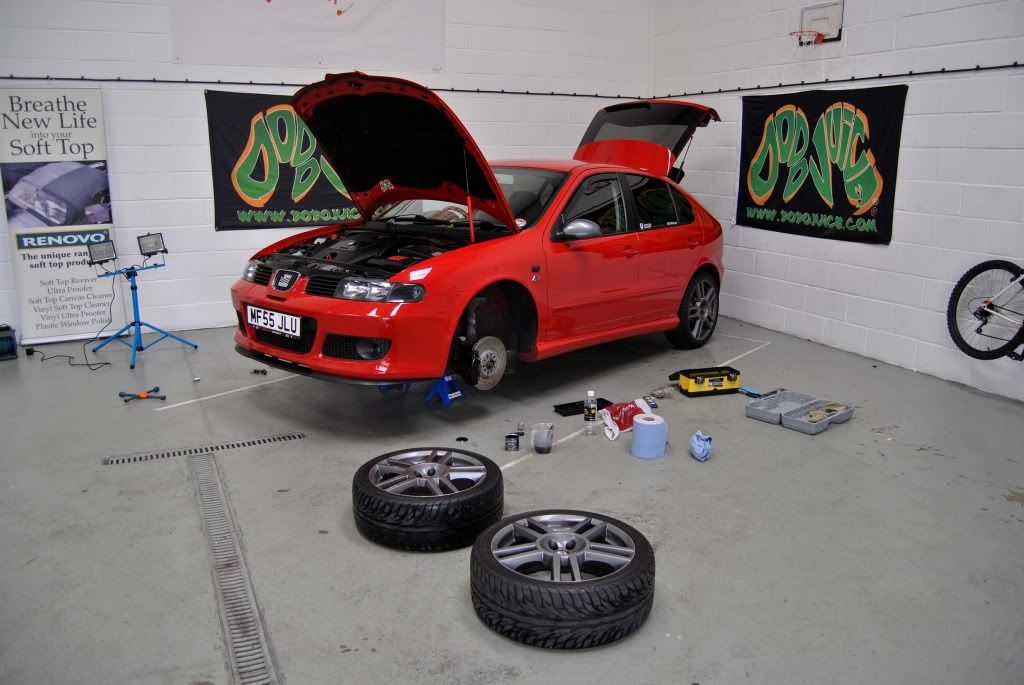
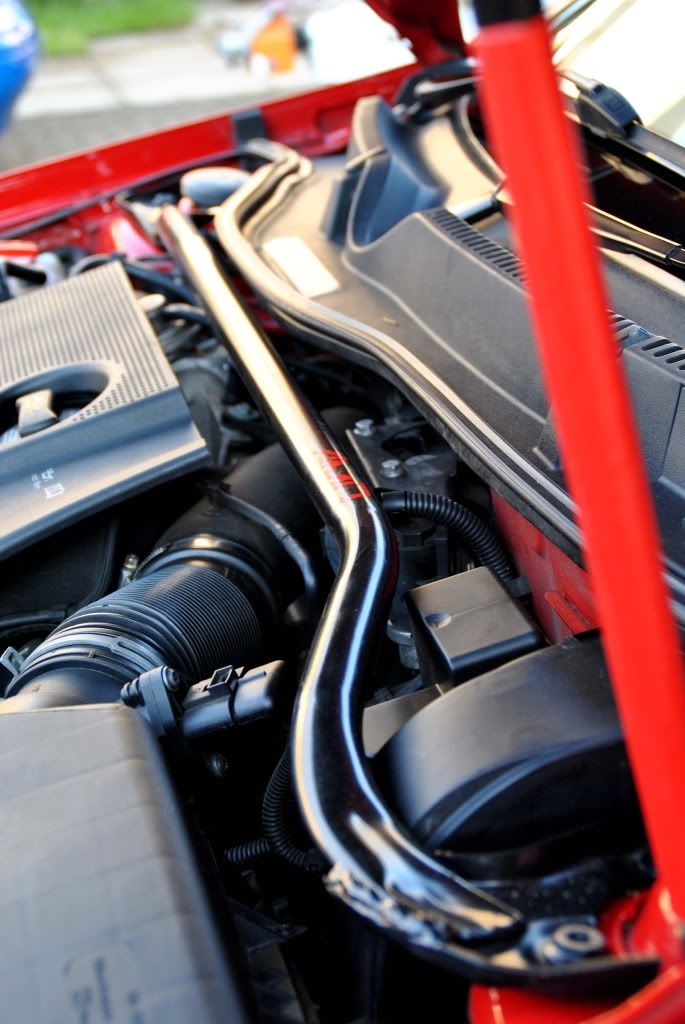
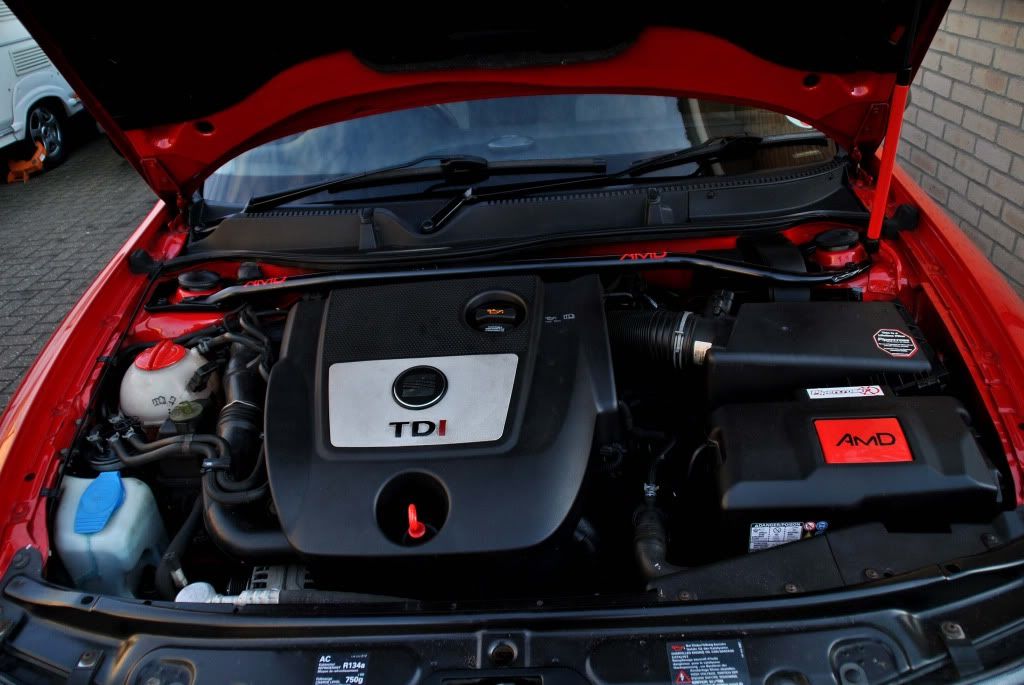
And finally within the last couple of weeks I have had the car re-mapped at AmD
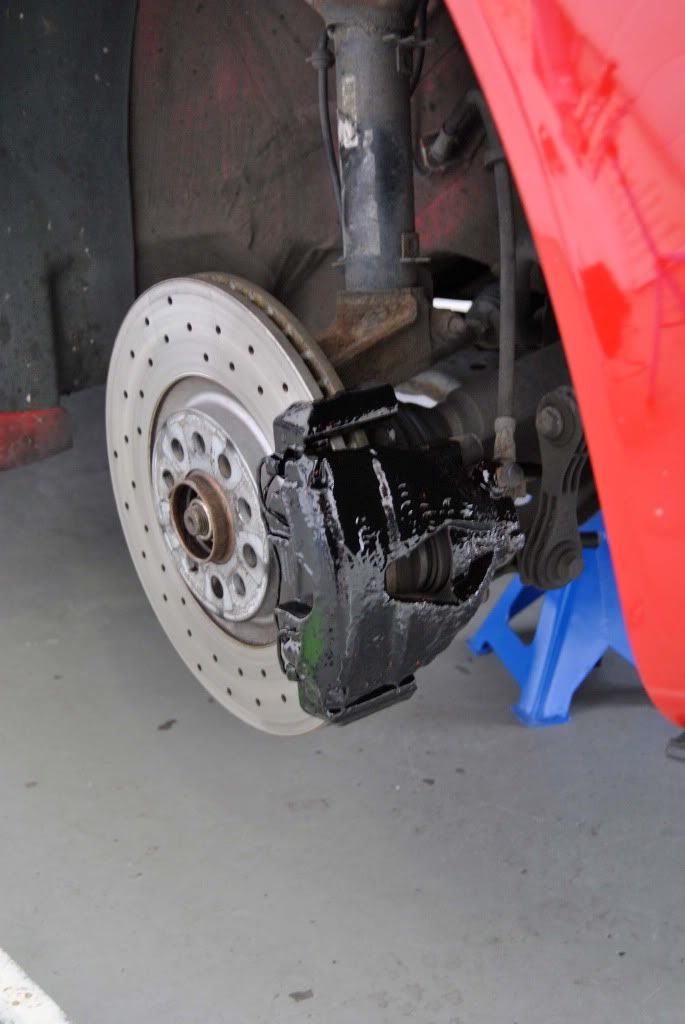
Car achieved about 190bhp (unadapted) which hopefully means the figures will go up a little more once the car has got used to the new set-up. Also I had the large bore downpipe fitted so the Milltek exhaust system is fully complete.
Initially impressions is that i have a new car basically!! Pulls amazingly well and seems so much easier to drive just in general. However the only downside is that the clutch is now slipping, I pretty much knew this was a gamble with the car covering 107k on the original clutch and flywheel.
Apart from that the car is running great and im just enjoying it right now.
Plans for next year if my pockets are deep enough:
Sach uprated clutch and replacement oem flywheel (£1k+)
110k
service (first priority @ £200+)
Cambelt and waterpump replacement (£312 supplied and fitted)
Full front end re-spray (£500-600)
Alloy wheel referbisment (£200)
Front and rear anti-roll bar upgrade (£250+)
So an expensive list but this will be well spread out throughout the year hopefully.
Thanks for looking - Liam.
")


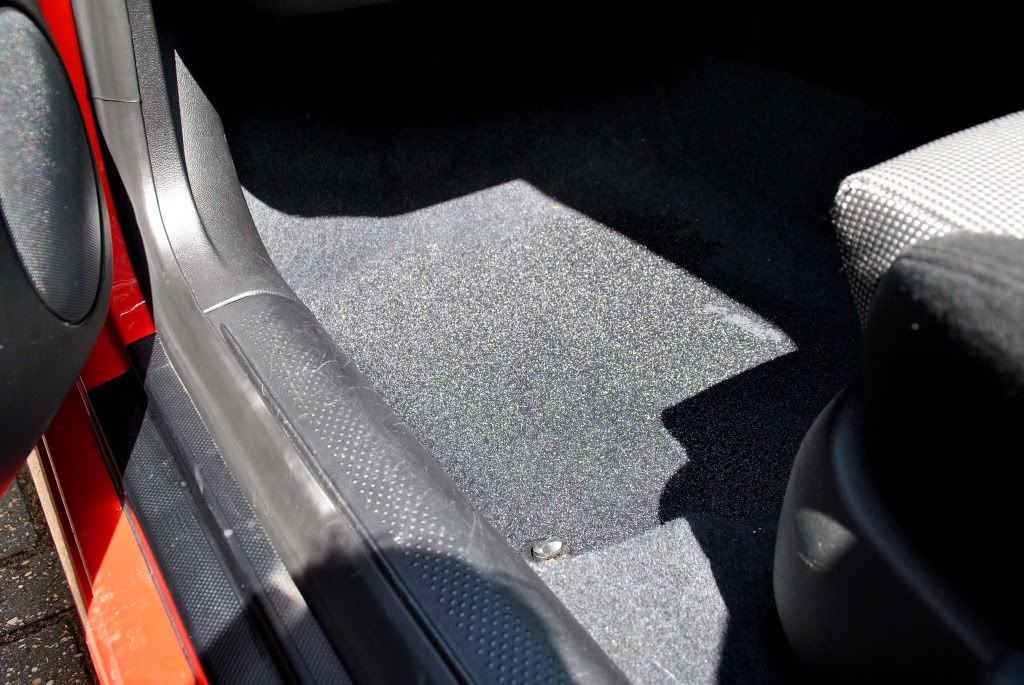
![[:@]](/forums/styles/seatcupra/oldforumsmileys/furious.gif "Furious [:@]") within a week of having it fitted after heavy rain fall my passenger footwell was completly saturated. After some research on the forum it appeared the pollen filter had not been put back in correctly - This has now been rectified by the windscreen company in question.
within a week of having it fitted after heavy rain fall my passenger footwell was completly saturated. After some research on the forum it appeared the pollen filter had not been put back in correctly - This has now been rectified by the windscreen company in question.