I'm sure this wont bring many good replies lol, but here is my car...
Basic spec was:
45mm ITB's
120mm Ram pipes
Cat Cam 421's (wildest possible on standard pistons)
Standard exh Mani
Decat, into a full 2.5" exhaust
Lightened flywheel
Pico 350cc Injectors
Cometic H/G
No AC
No PAS
Omex 600 running it all, all mapped by me.
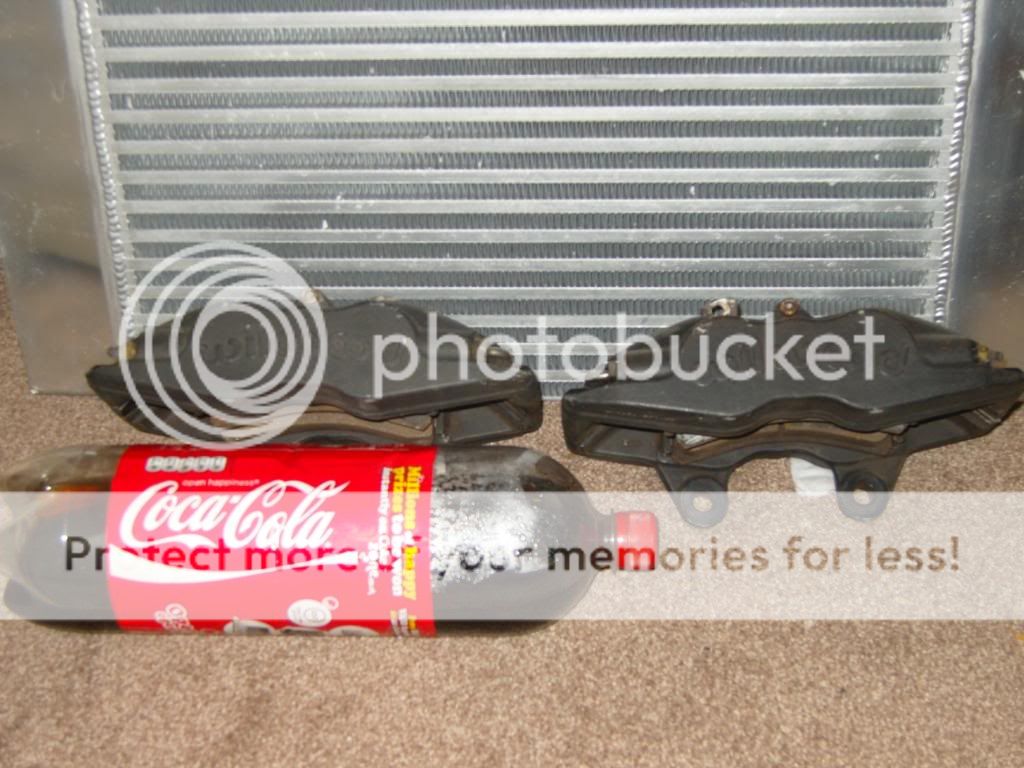
Carbone Lorraine Pads
HC Discs
R888's
KW Coilovers set up with 1' Toe out(f) 2.5 neg camber, 2 neg at the rear
Polybushed
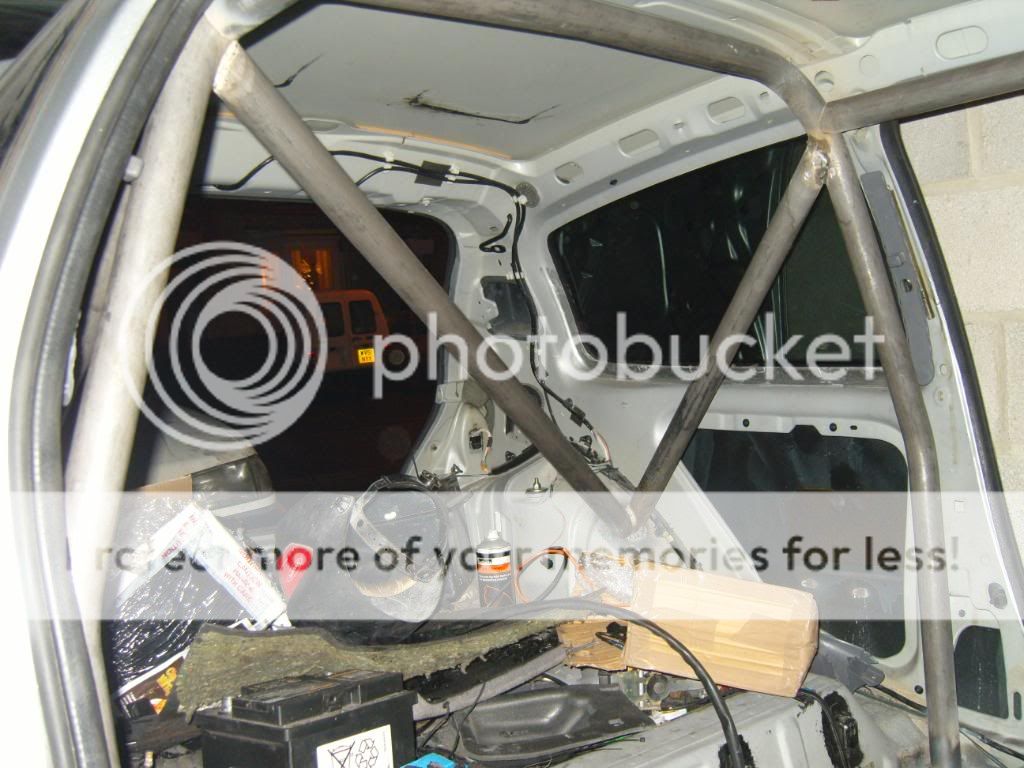
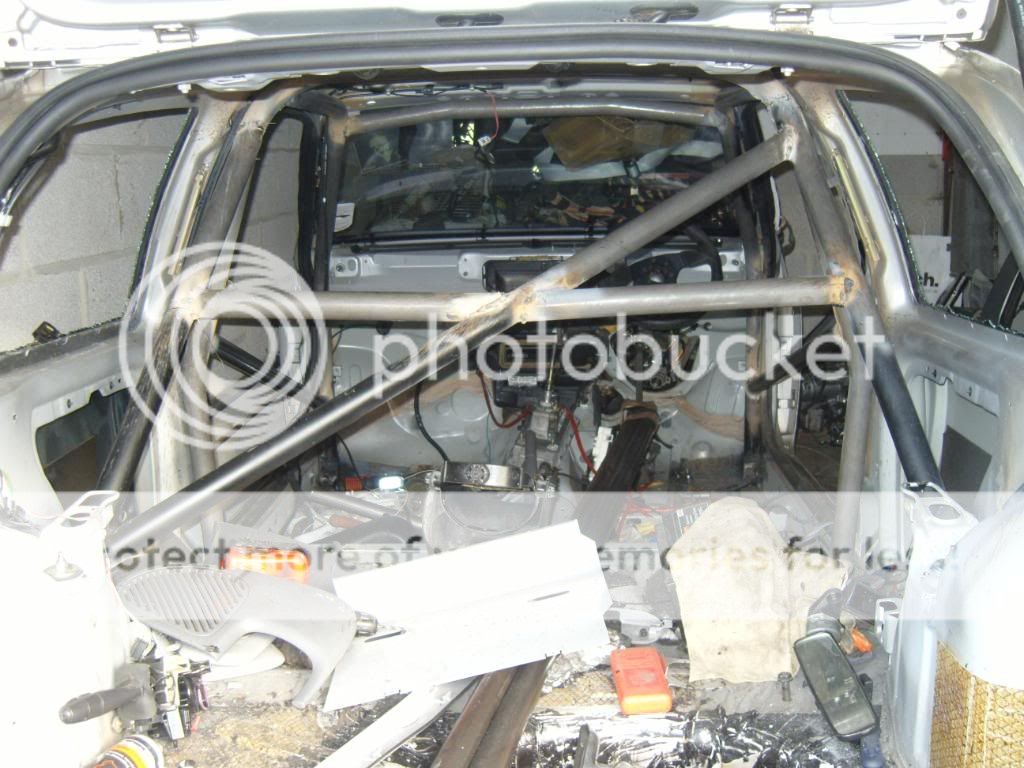
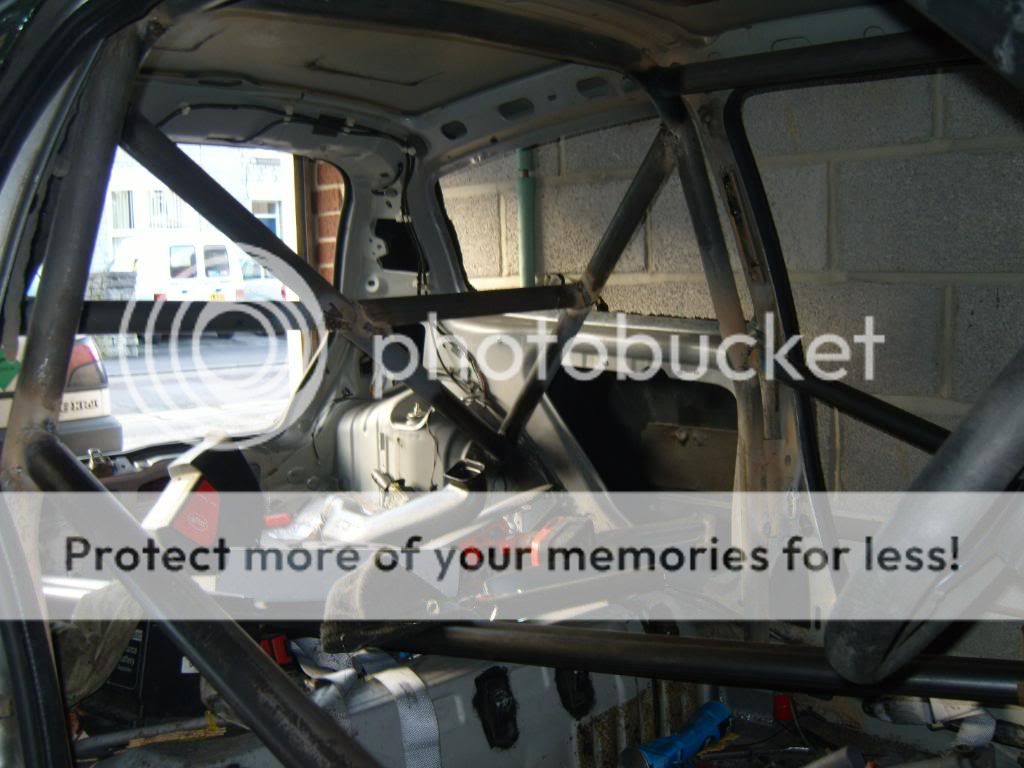
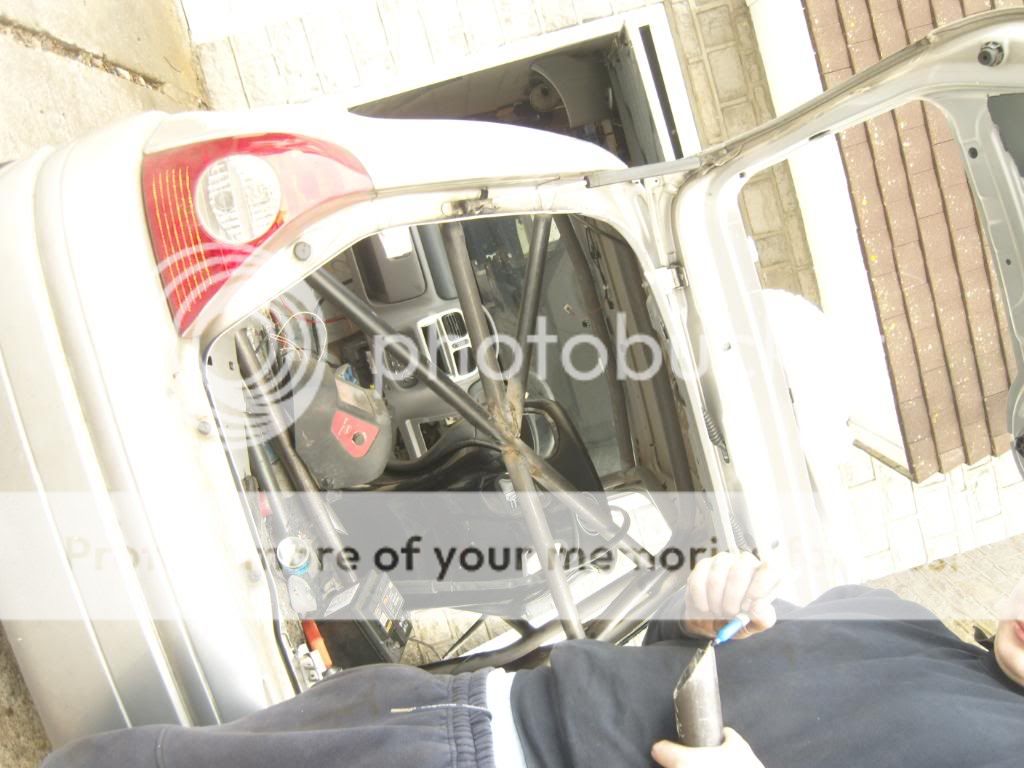
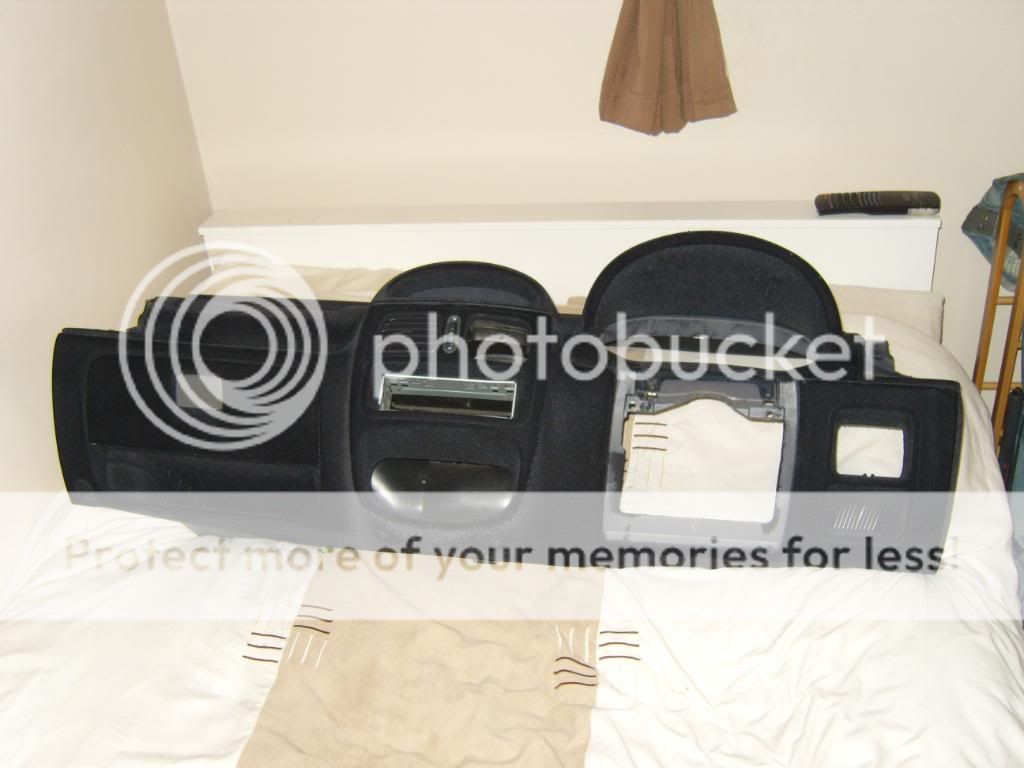
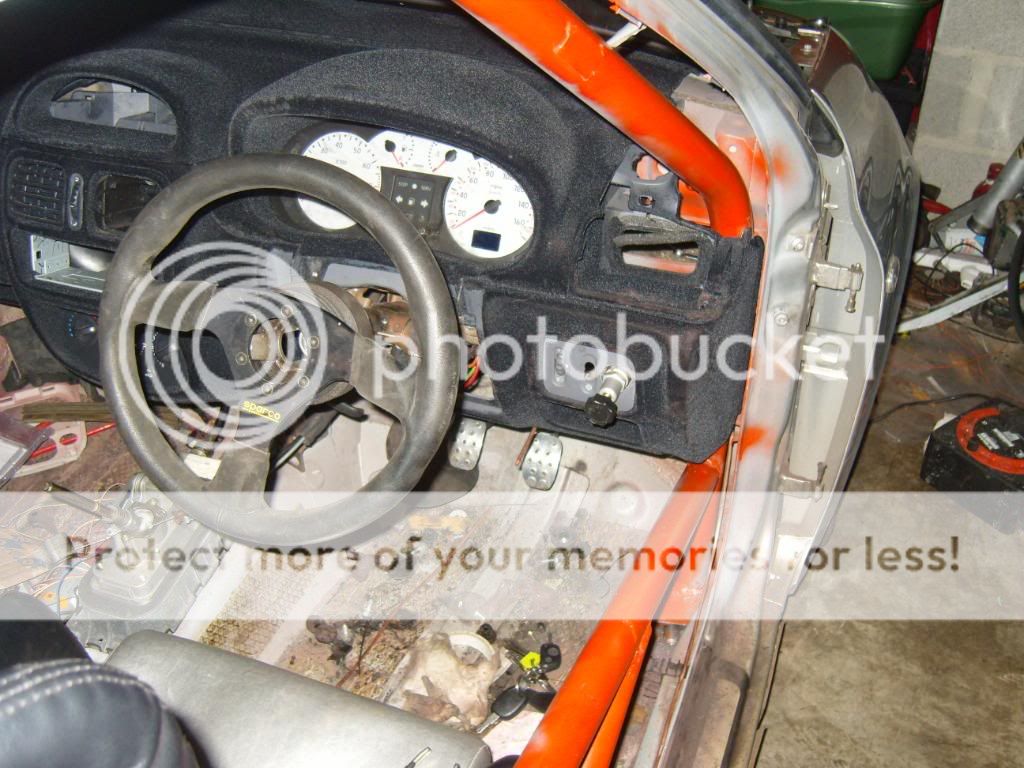
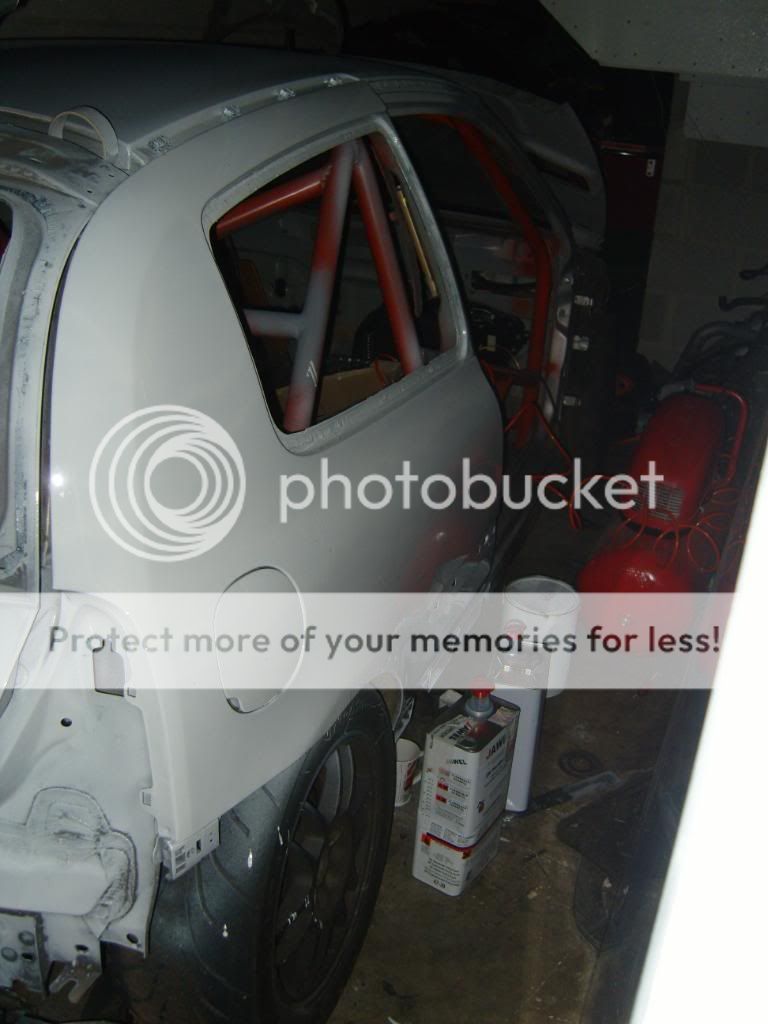
Stripped interior with fibreglass seats 4 point harnesses
Sparco 300mm Wheel
oil temp and pressure guages
Wideband guage
Think thats it...


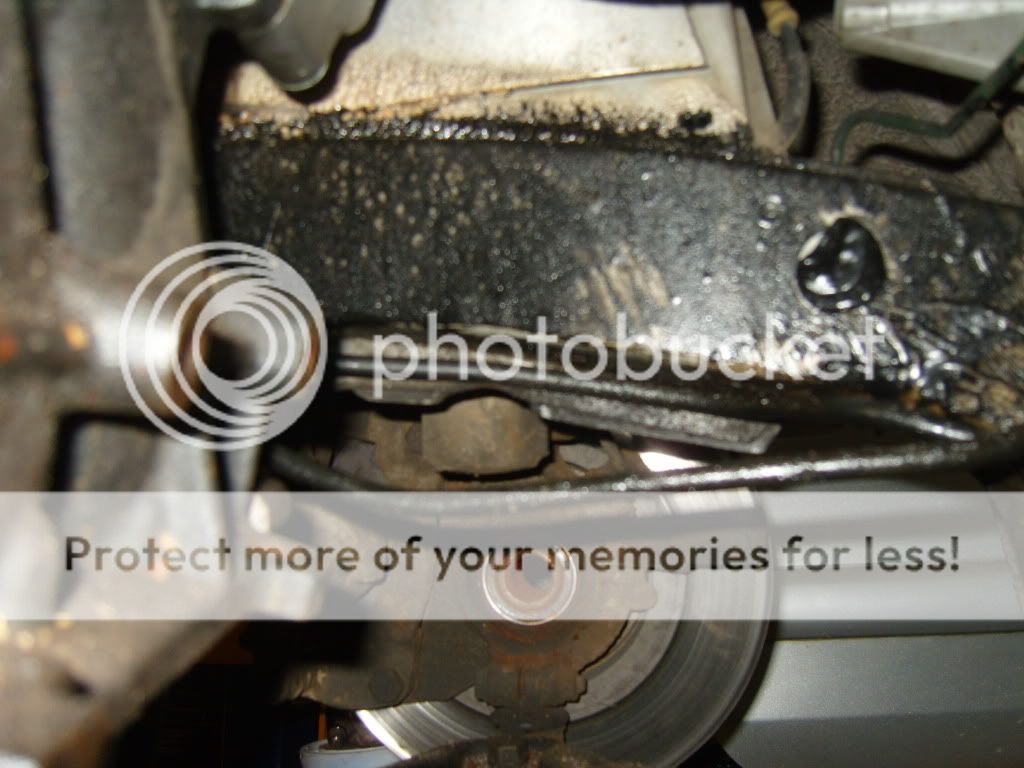
My CL Pads [ ]
]
http://s432.photobucket.com/albums/qq49/dunlop172/?action=view¤t=SS100018-1.flv
Looks wonky, but its the angle of the pic/road.

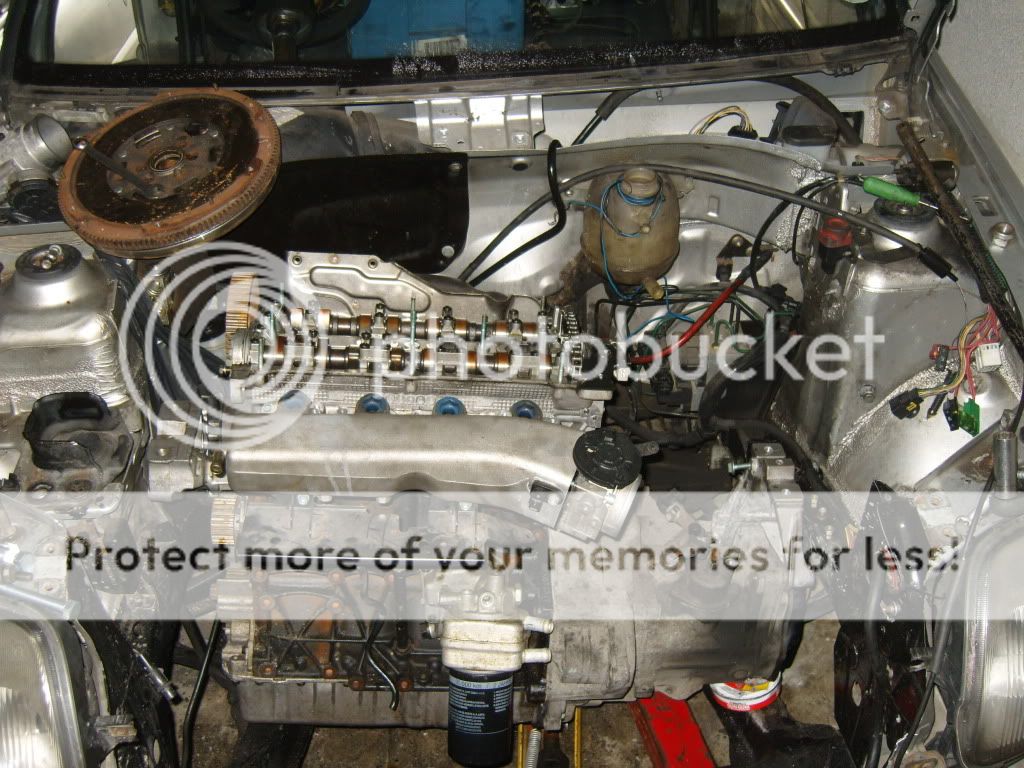
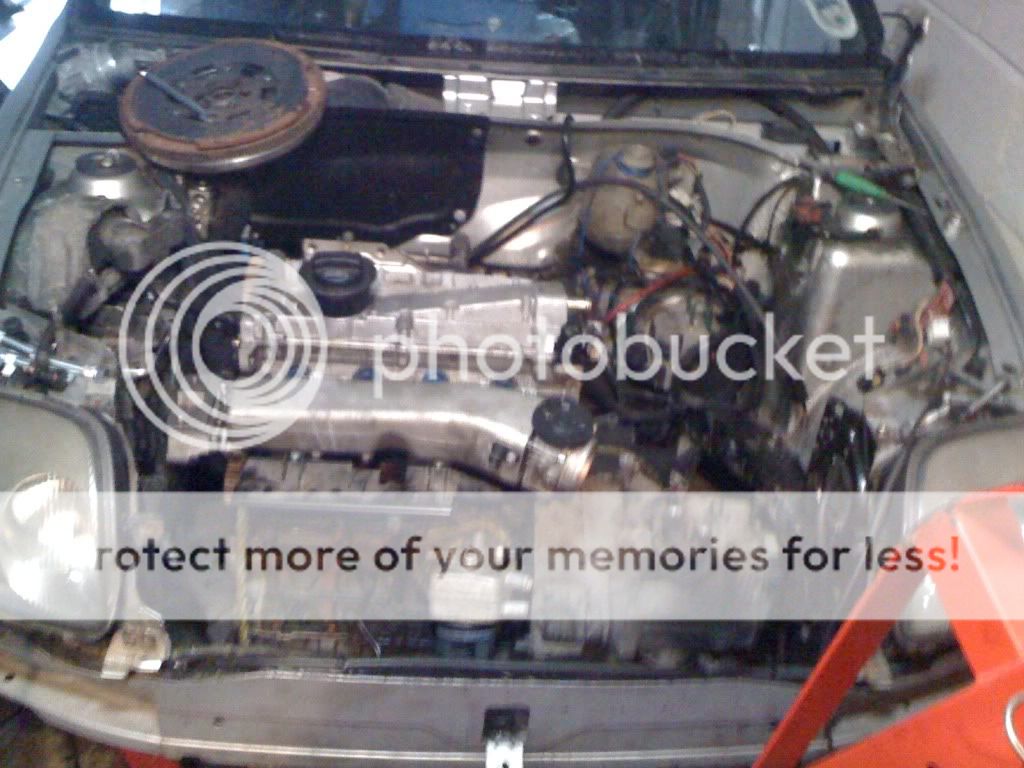
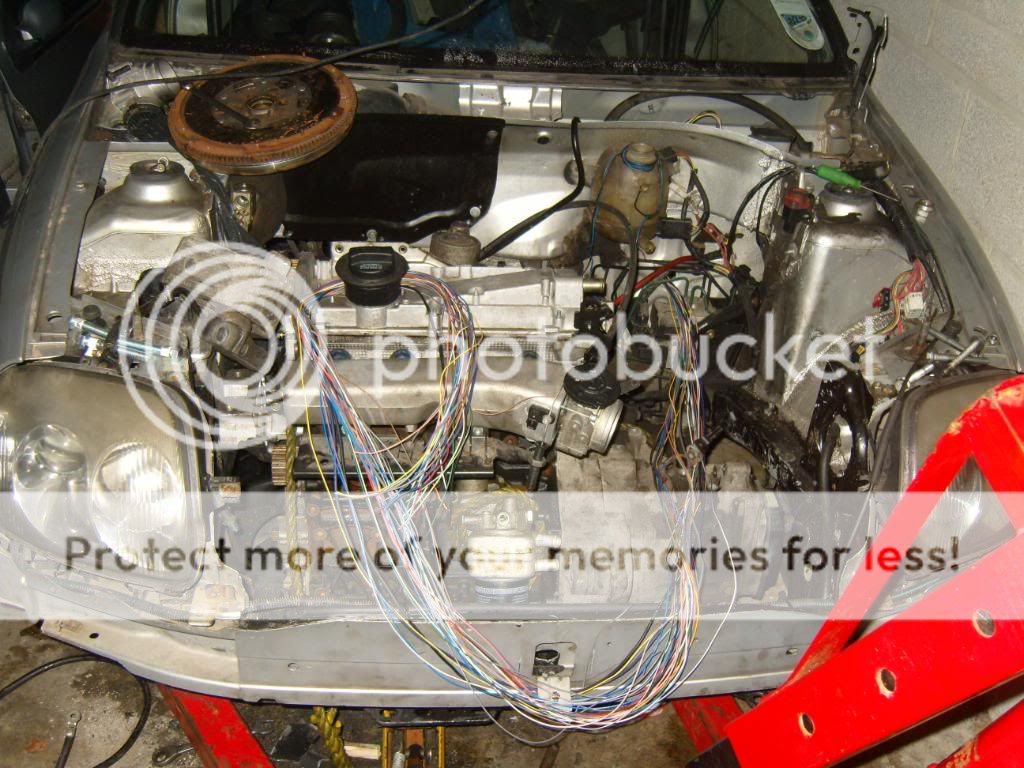
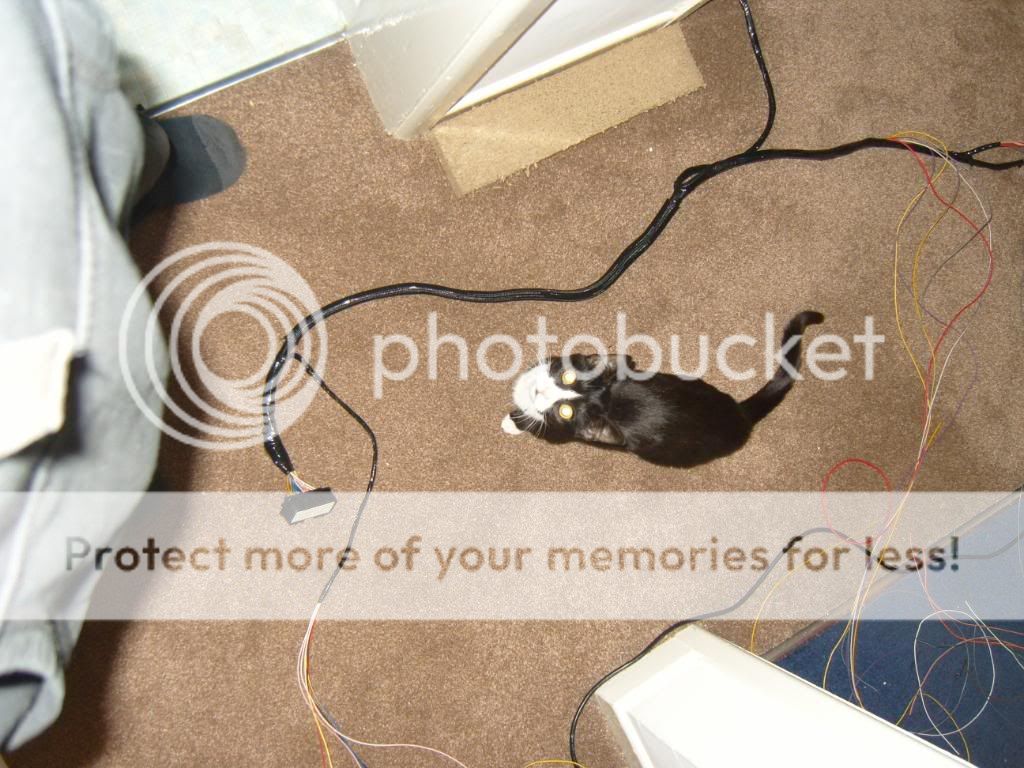
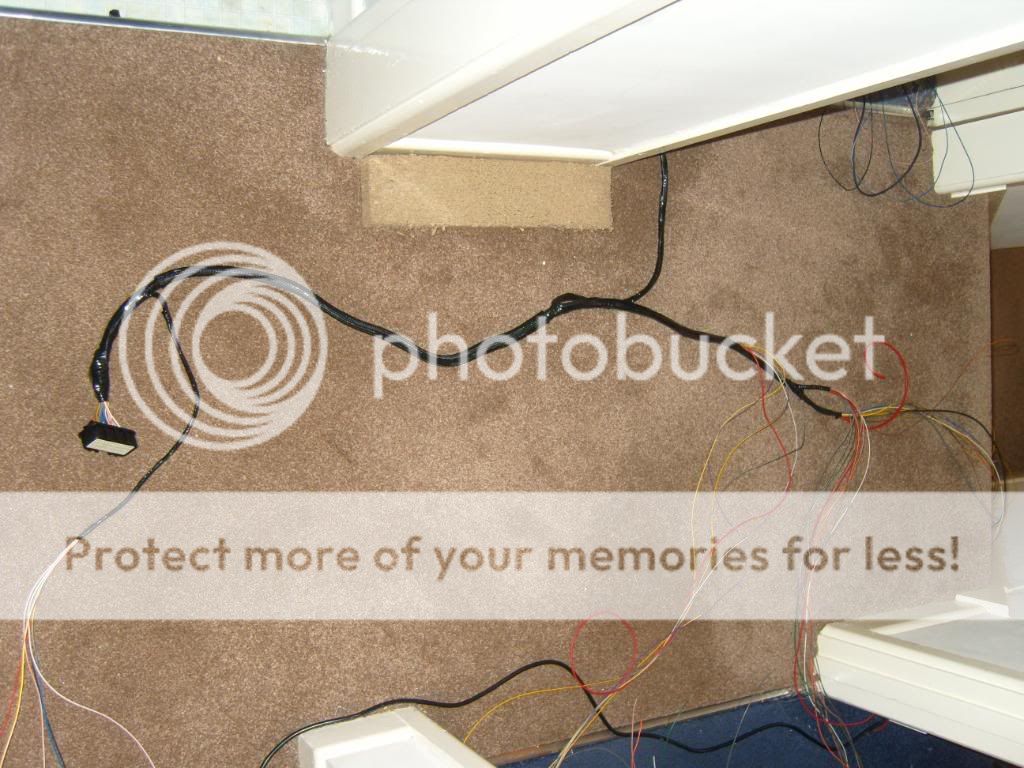
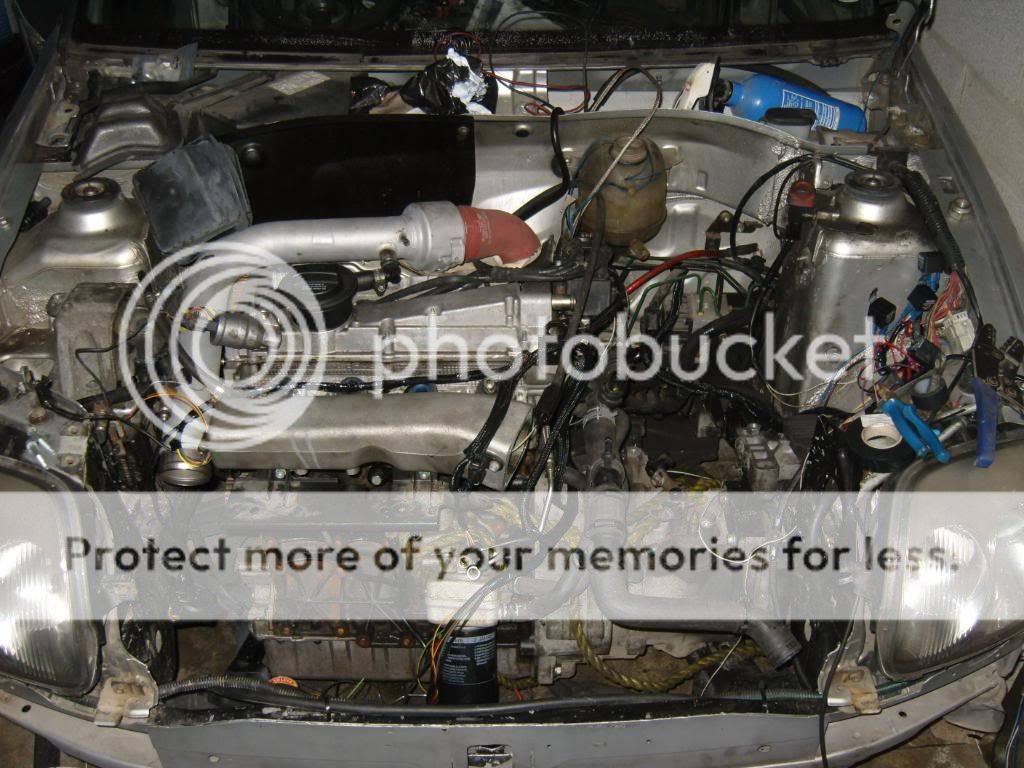
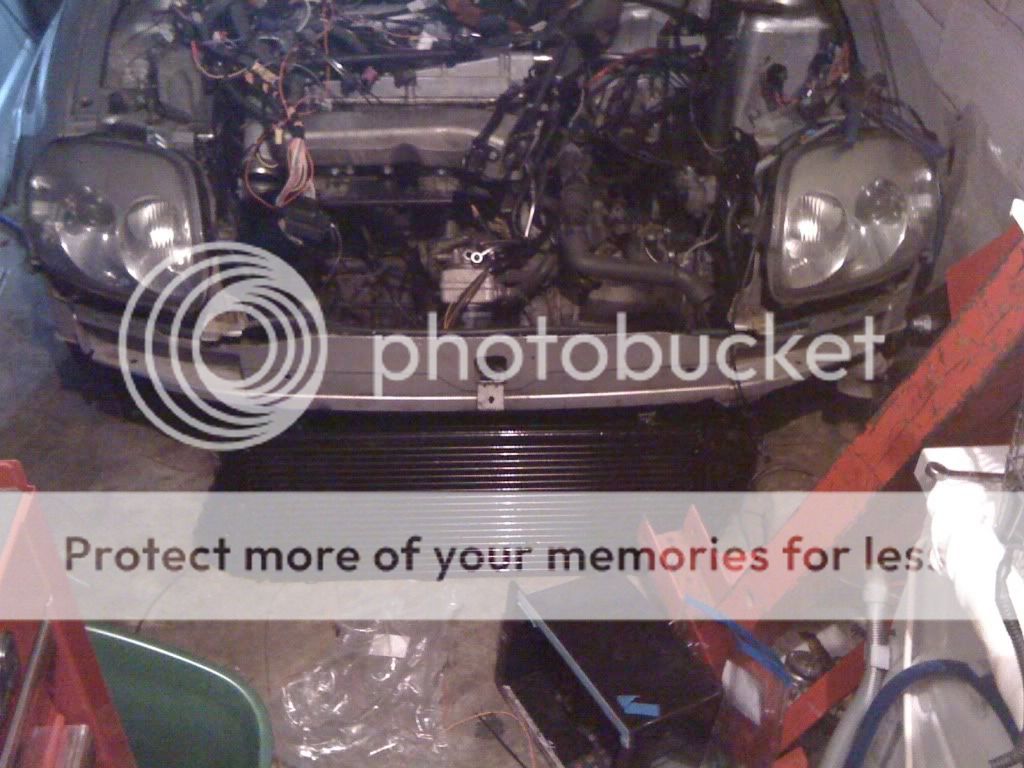
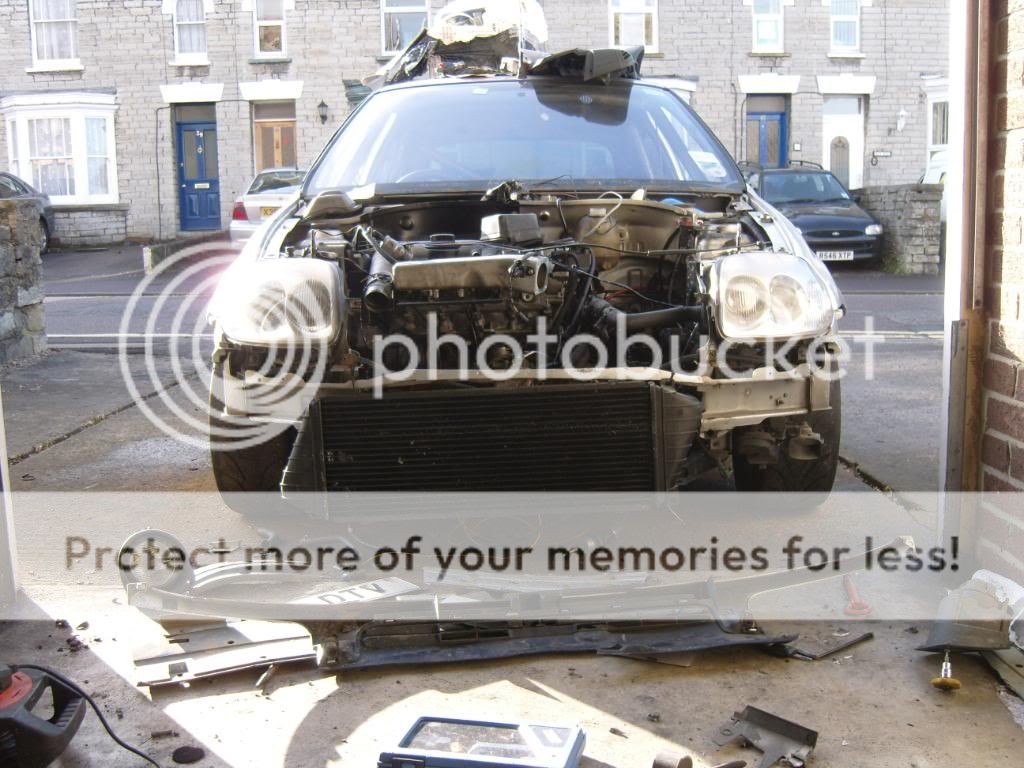
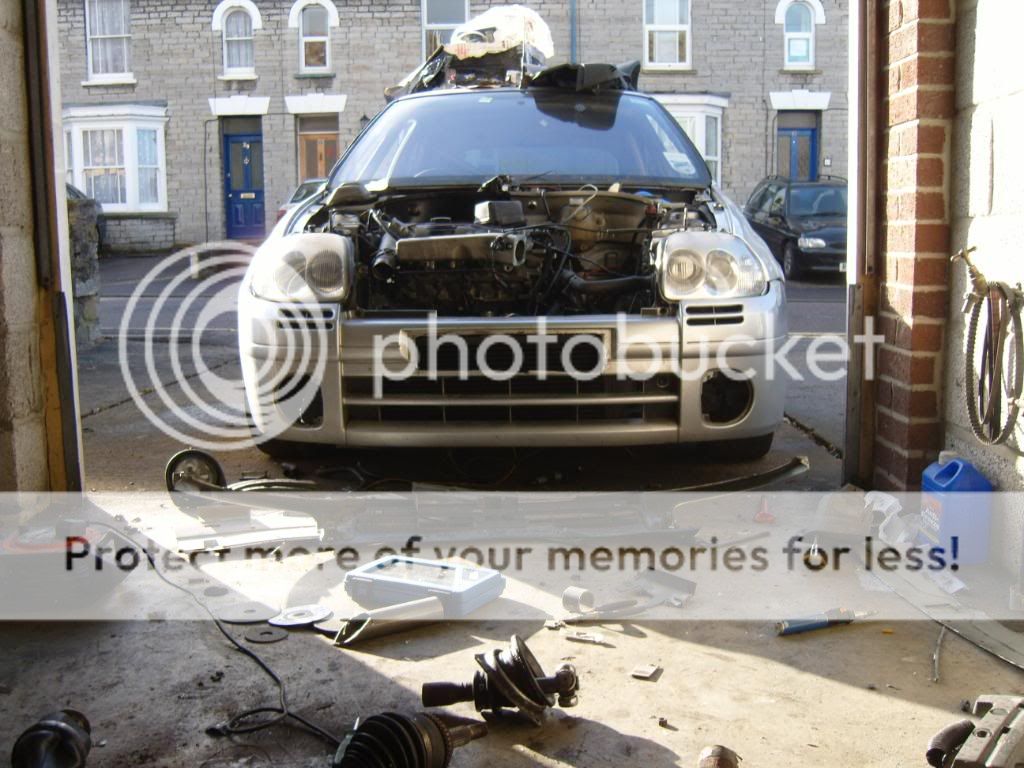
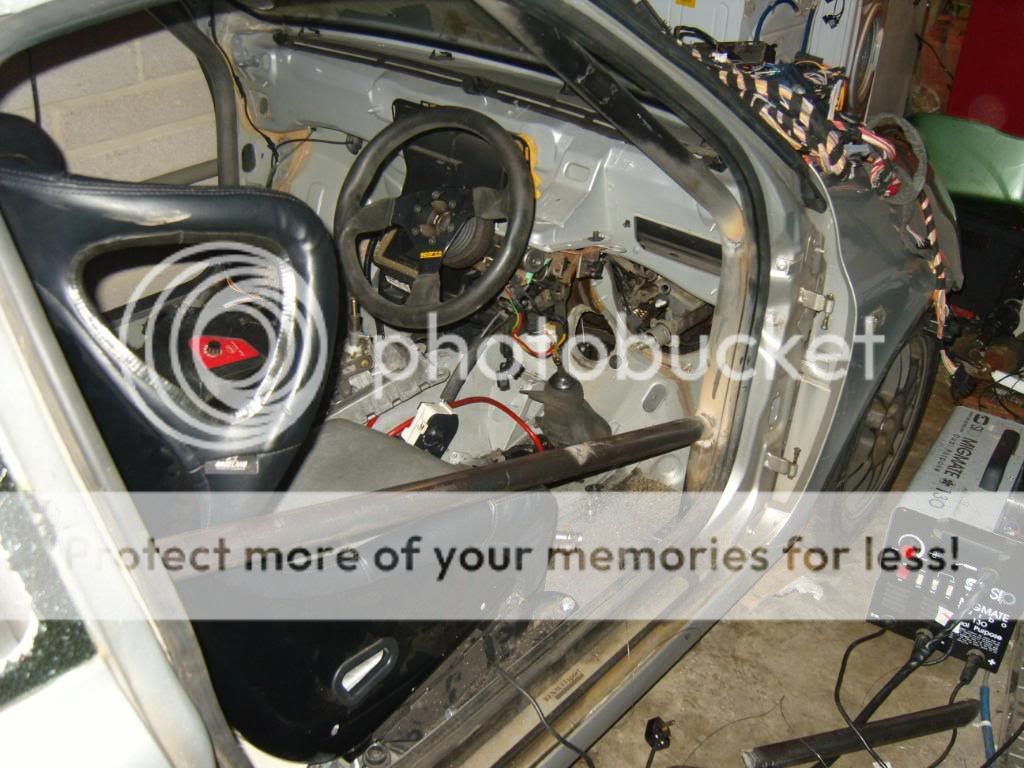
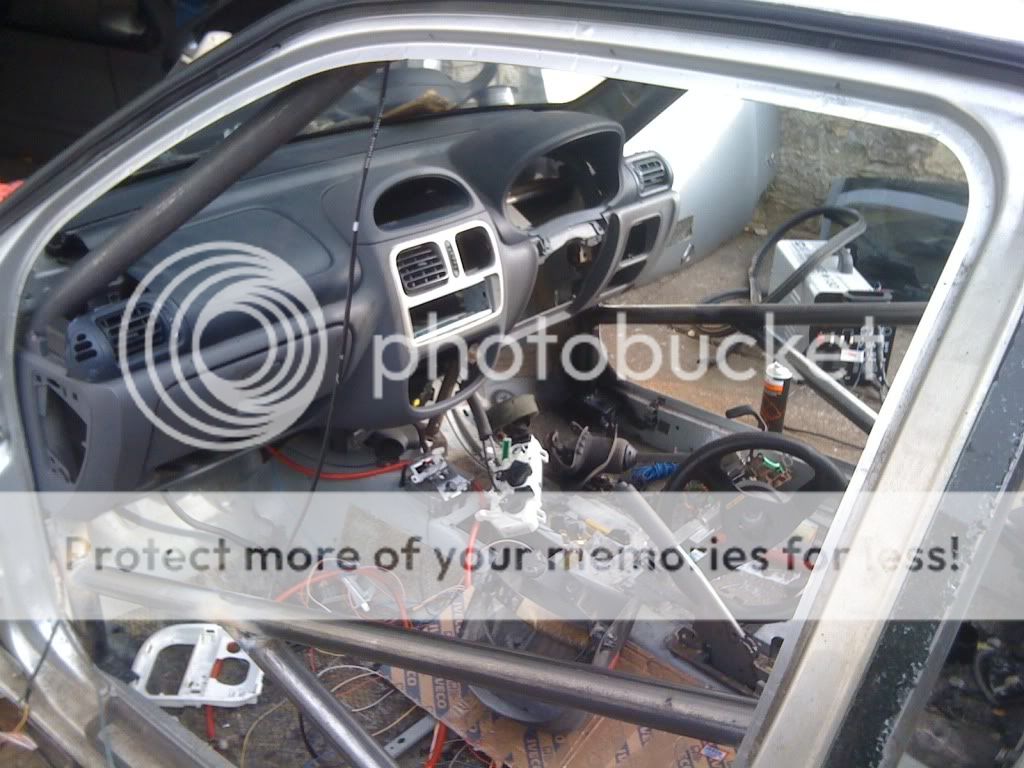
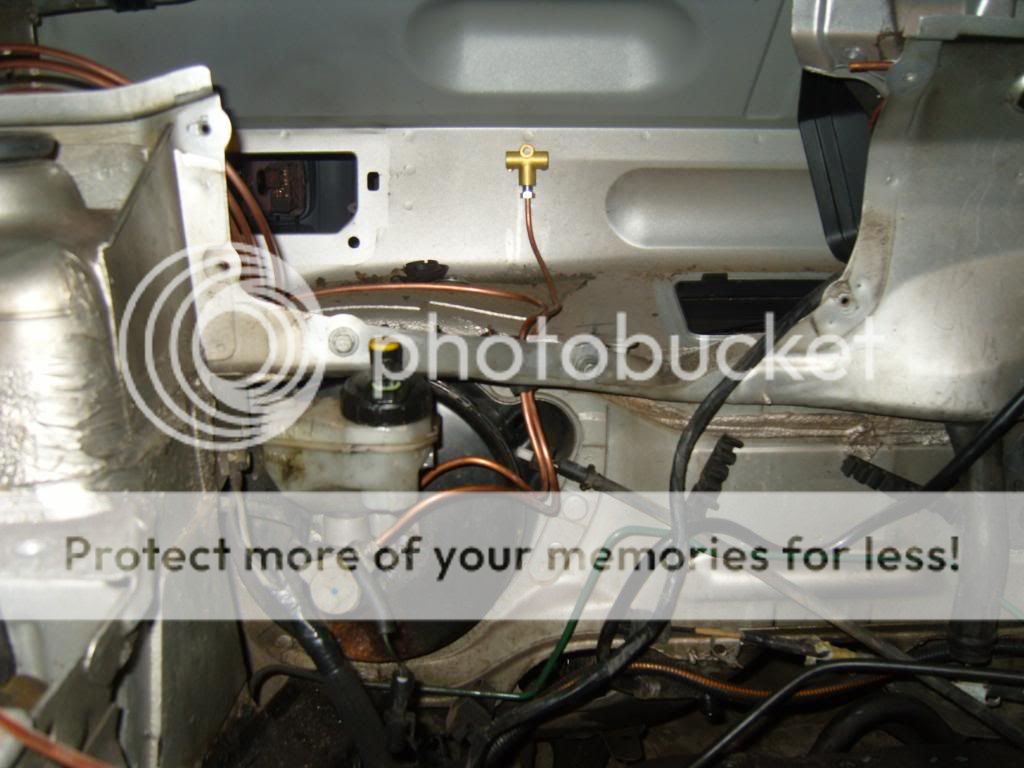
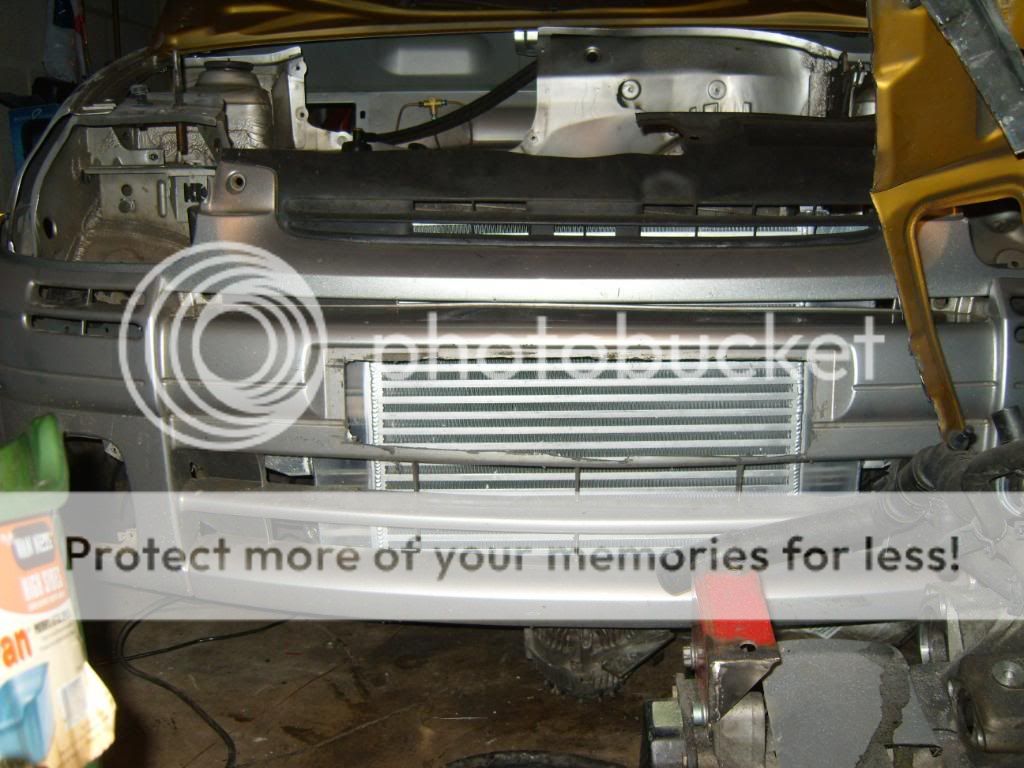
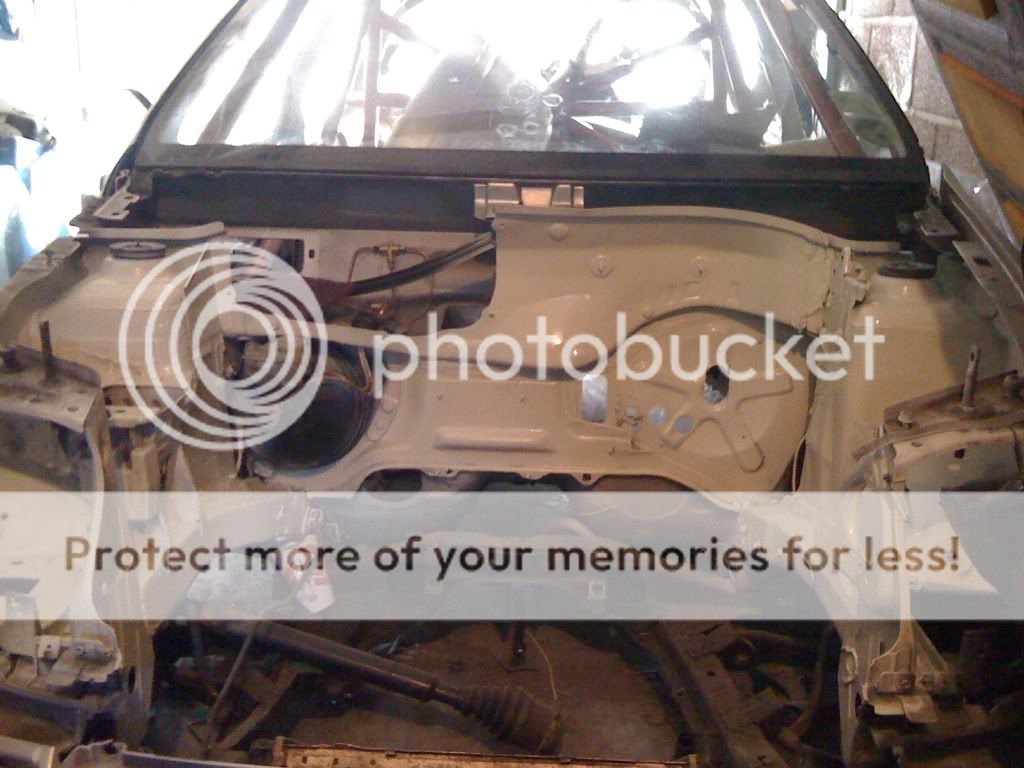
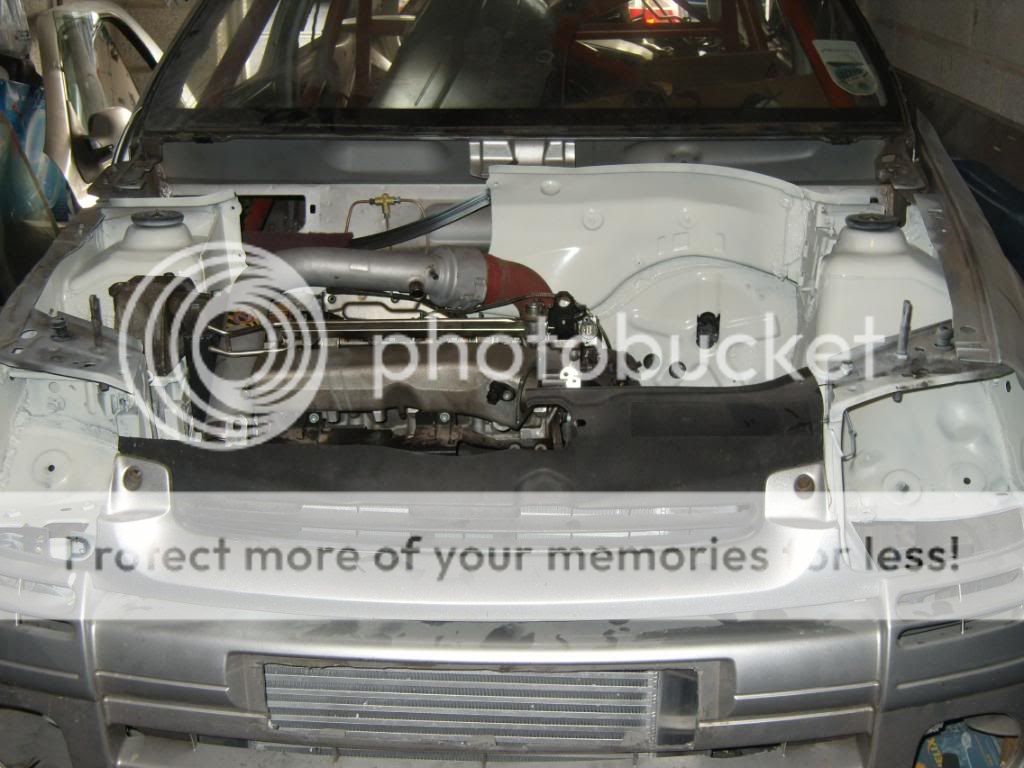
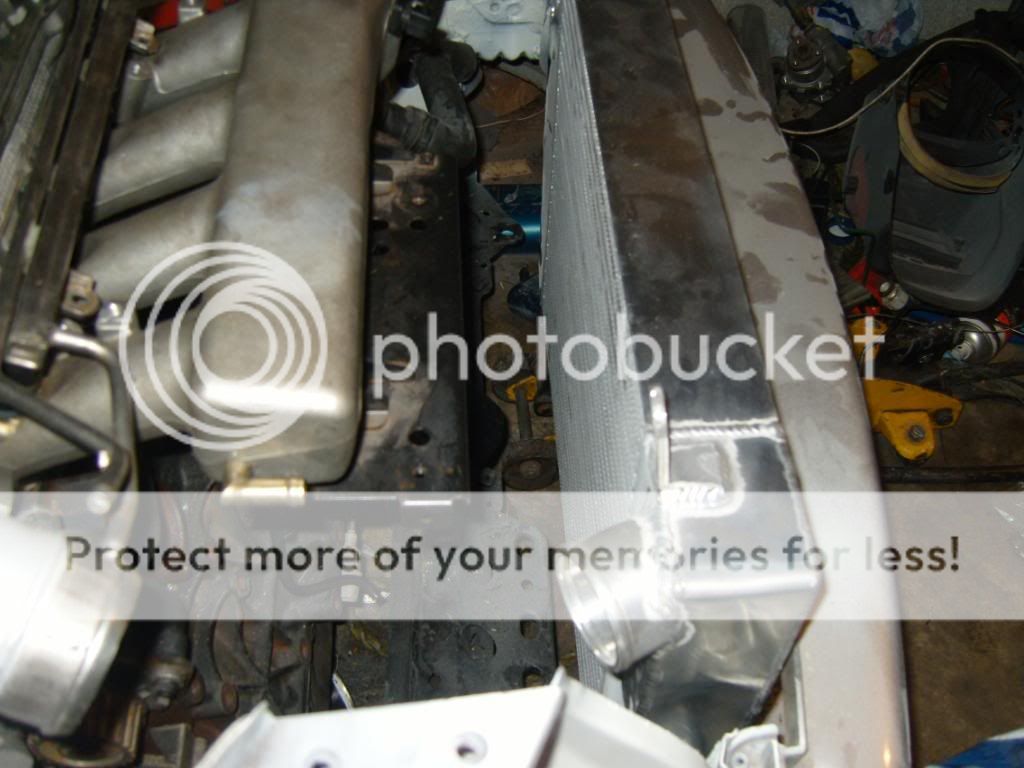
Midway through running in and re-wiring engine loom:

A few vids on my local airfield of when it was ITB'd, all for the new owner of the engine, just wanted vids...
2nd gear pull
http://www.vimeo.com/7660242
0-80
http://www.vimeo.com/7660282
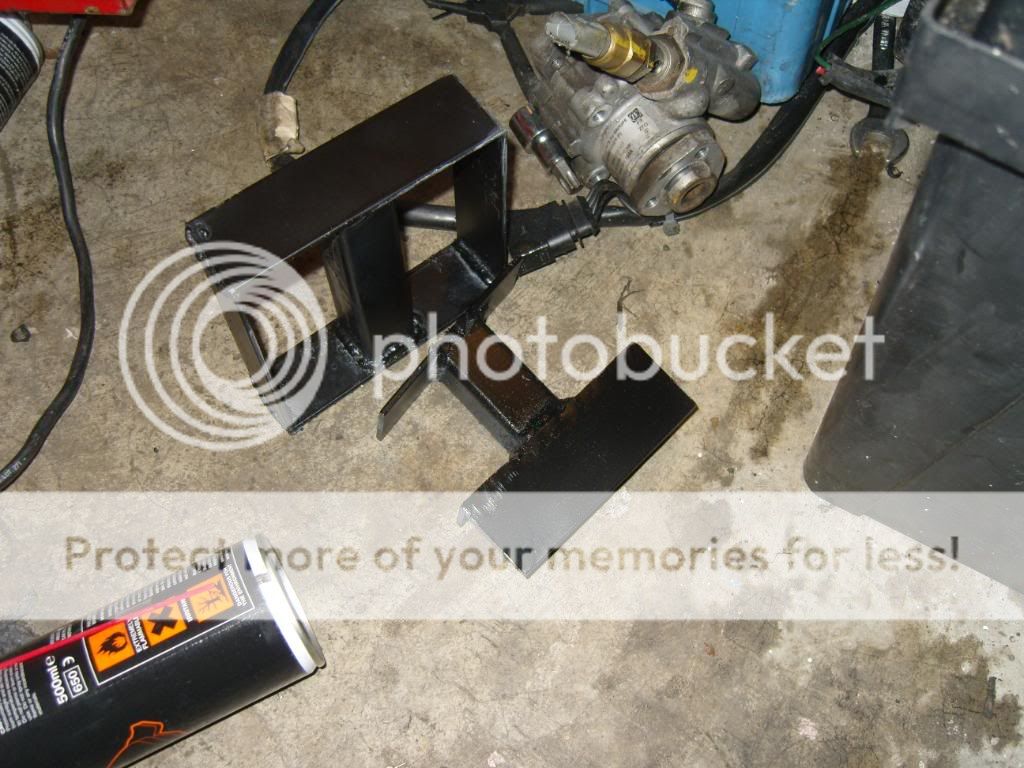
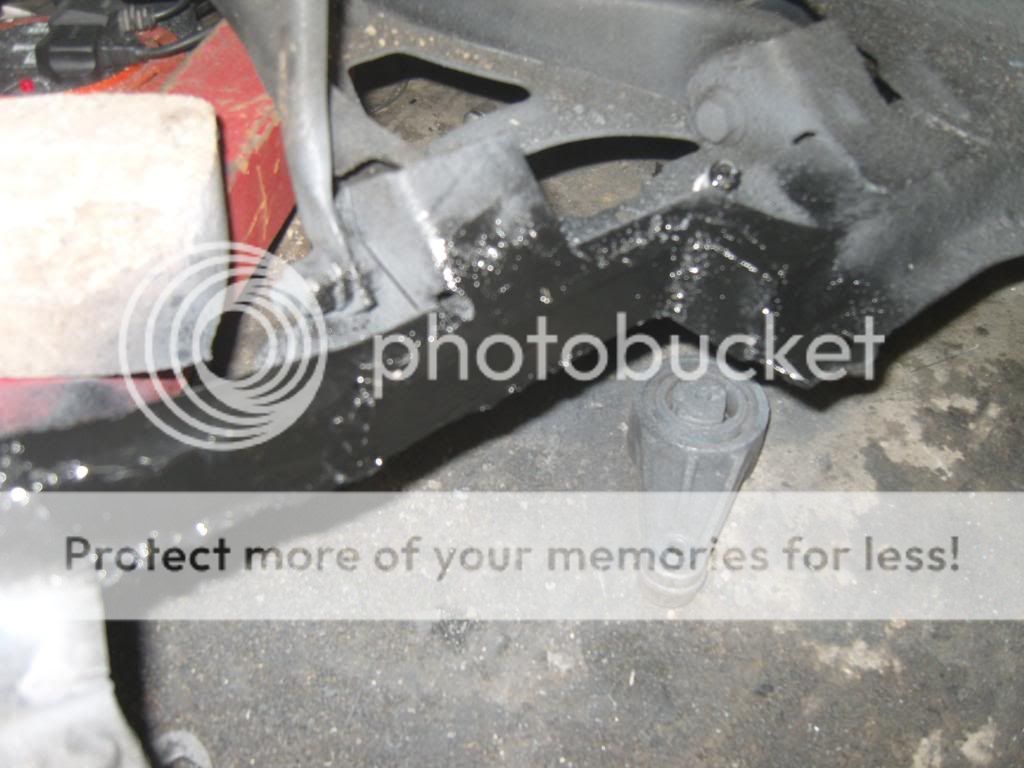
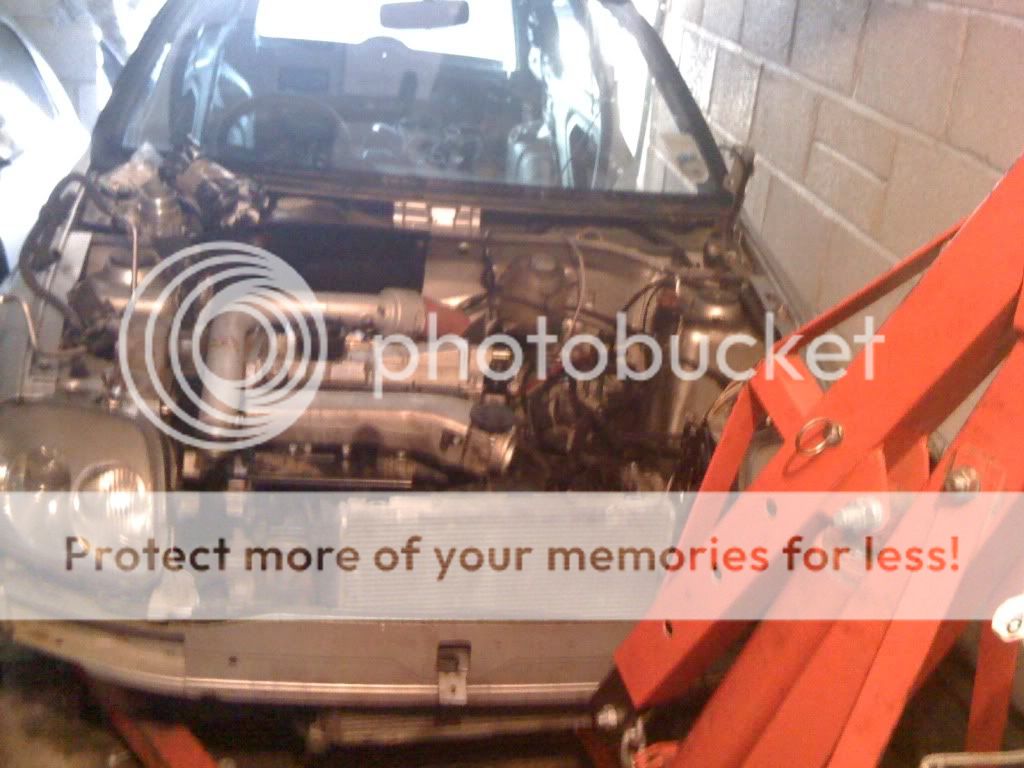
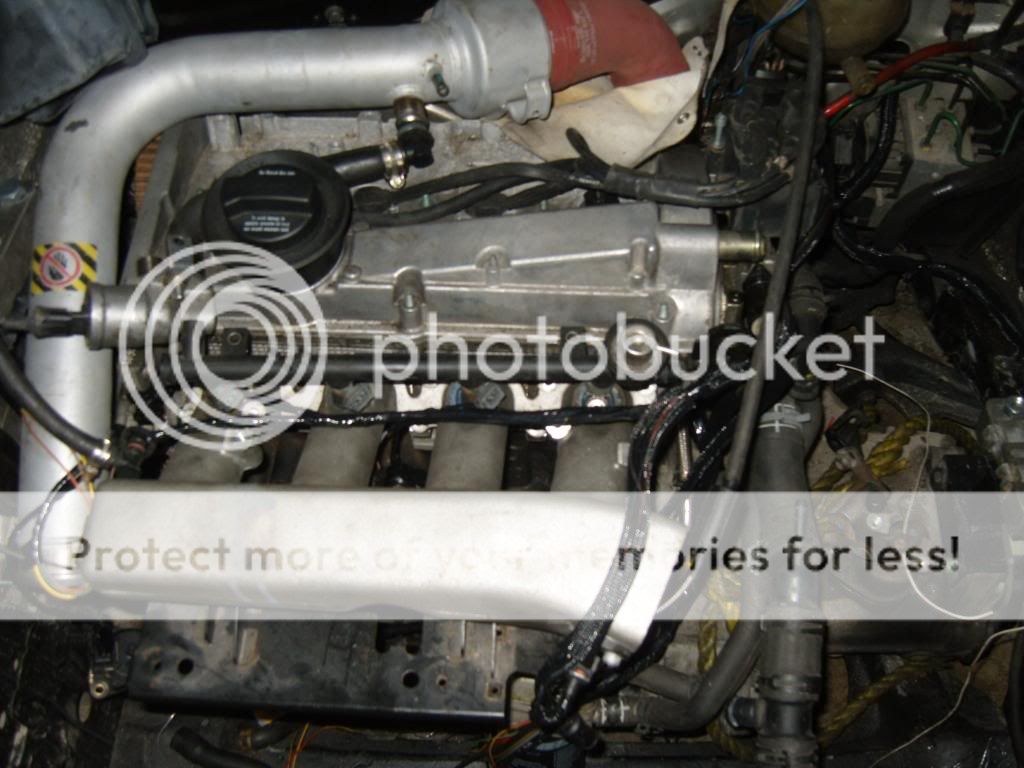
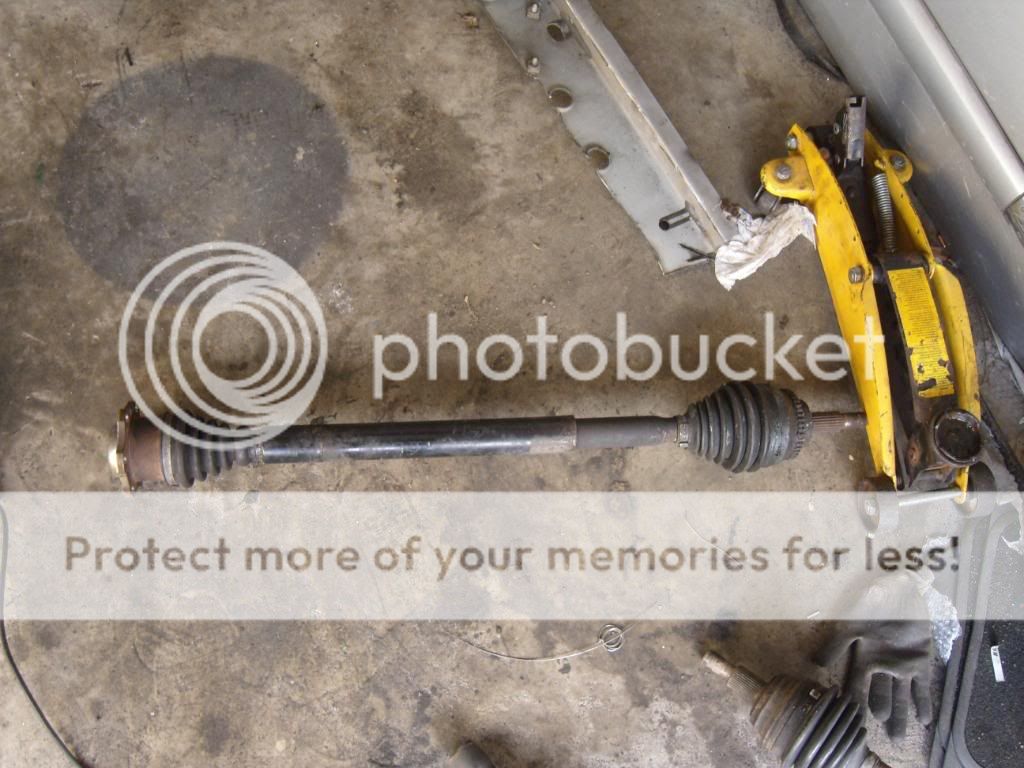
And whats going in(all will be come clear now...)

BAM engine, on 22k [:y:]
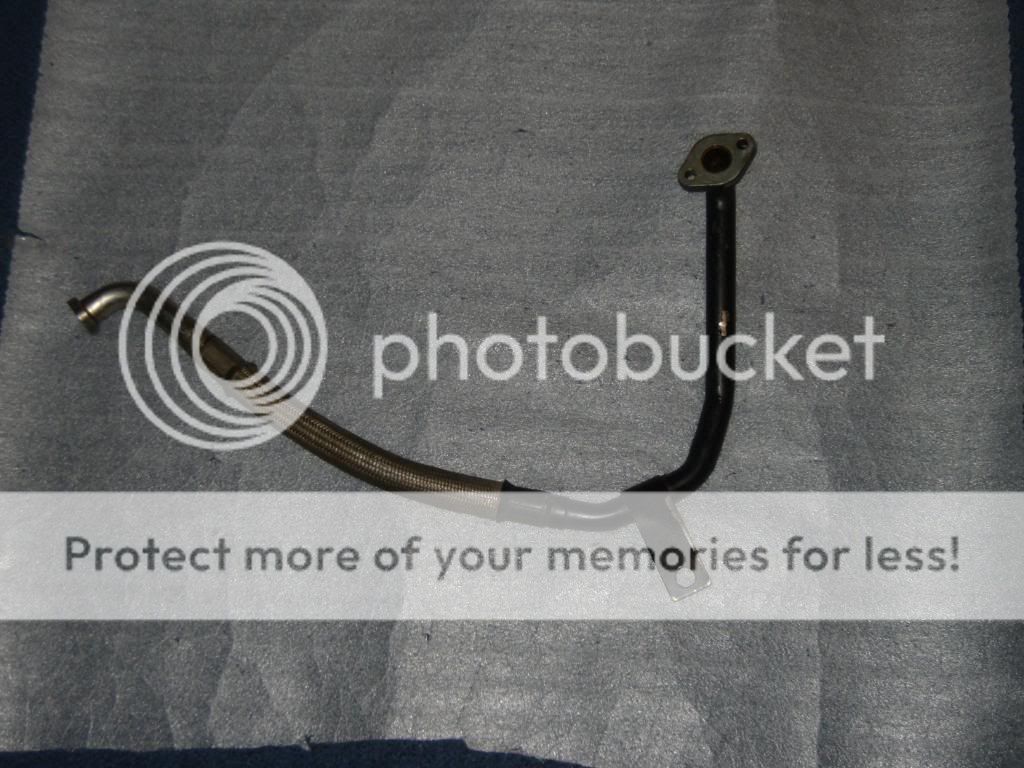
K04 with TT downpipe

With 02J Box.
Basic spec was:
45mm ITB's
120mm Ram pipes
Cat Cam 421's (wildest possible on standard pistons)
Standard exh Mani
Decat, into a full 2.5" exhaust
Lightened flywheel
Pico 350cc Injectors
Cometic H/G
No AC
No PAS
Omex 600 running it all, all mapped by me.
Carbone Lorraine Pads
HC Discs
R888's
KW Coilovers set up with 1' Toe out(f) 2.5 neg camber, 2 neg at the rear
Polybushed
Stripped interior with fibreglass seats 4 point harnesses
Sparco 300mm Wheel
oil temp and pressure guages
Wideband guage
Think thats it...
My CL Pads [
] http://s432.photobucket.com/albums/qq49/dunlop172/?action=view¤t=SS100018-1.flv
Looks wonky, but its the angle of the pic/road.
Midway through running in and re-wiring engine loom:
A few vids on my local airfield of when it was ITB'd, all for the new owner of the engine, just wanted vids...
2nd gear pull
http://www.vimeo.com/7660242
0-80
http://www.vimeo.com/7660282
And whats going in(all will be come clear now...)
BAM engine, on 22k [:y:]
K04 with TT downpipe
With 02J Box.