Coops's Black Leon Cupra R - UPDATE: Miltek De-Cat Fitted and sounding sweet!

coops10

Newbie
Sep 1, 2009
734
0
Middlesex
www.coops-photo.co.uk
Nice work mate. Just had a read and your making the right choices with your upgrades/mods!

I was told recently by AMD that alot of the bushes on my car are starting to go. So I'm going for the full superpro polybush kit down there in next couple of weeks. I won't need the dogbone mount though, already had that done, so going to speak to them to check that part(and labour time for dogbone change) is removed from the total price.

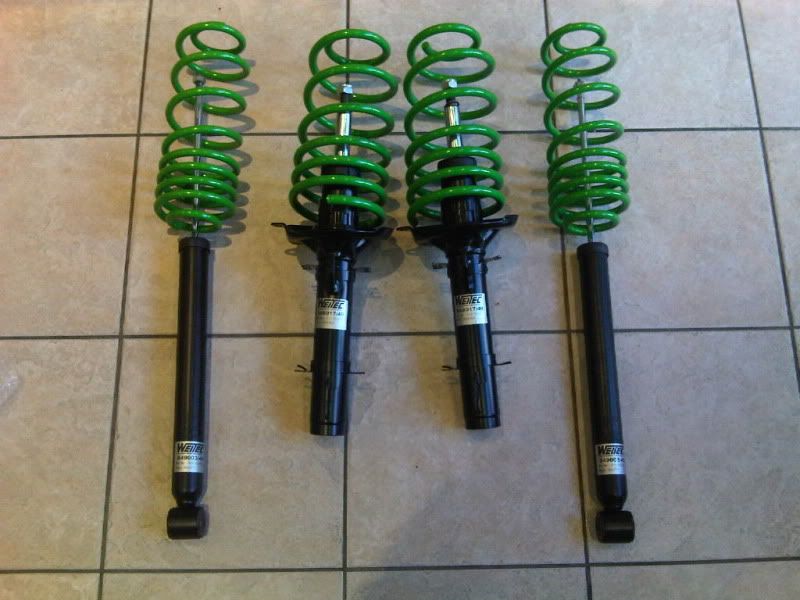
I had AP coilovers fitted at AMD and I'm going for the same ARB setup as you. While off yet though :(

Thats exactly what the told me too :whistle: Getting really excited about how it should handle after the upgrades now, cant wait! :bleh:

Am sure it's great, probably is better in some way than the Whiteline one but I'm a tight-arse Scot and am also saving for a house so can't really justify going the extra £100 :)

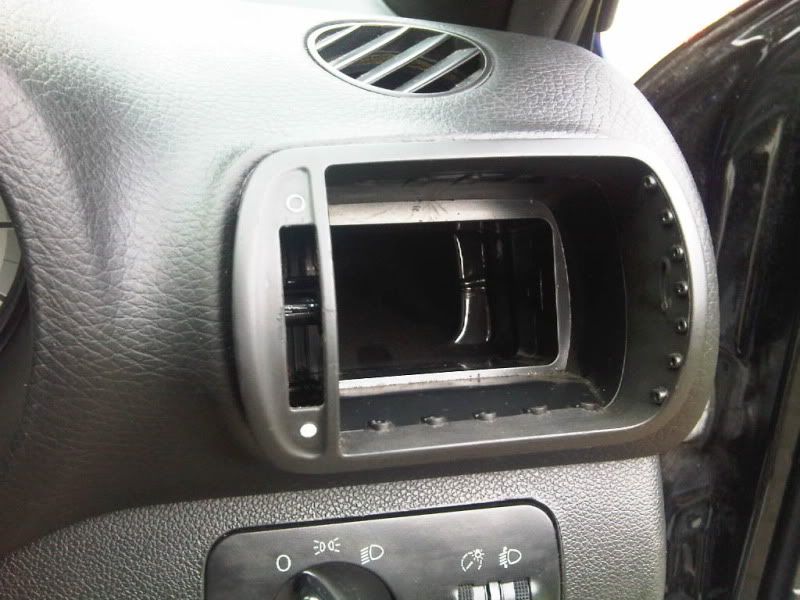
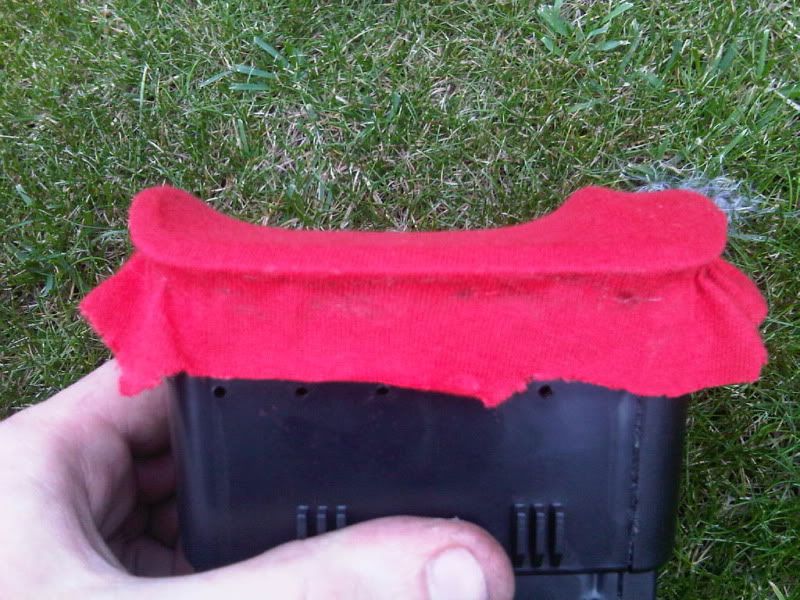
Meant to say about your 007p, that does look like what Forge would describe as "reverse orientation". I've been running mine like that for a while now, a few folks on here do the same. No real issues reported but particularly this way round you might find you need to swap the spring for a yellow one if you're remapped and running higher than standard boost, reason being that this way round the boost is acting against the bottom of the piston rather than the side so the green spring may not hold the valve fully closed when it's meant to be.

That said it looks like you're running a cold-side relocation kit? Maybe that's not an issue then if that's the case, might be better posting the question in the mk1 Leon section.

It is mapped and running 250bhp so should be higher than standard boost. Looked at the forge site and they want £12 for a yellow spring + postage so I think Ill just leave it this way around lol. There is a green one in there currently.
 

coops10

Newbie
Sep 1, 2009
734
0
Middlesex
www.coops-photo.co.uk
Todays task was to clean the interior and engine bay. Forget to get pics of the interior :(

I cleaned the engine bay with hot soapy water (washing up liquid) which did a respectable job on the dirt and grease. It was then washed off with cold water. To finish up and for a bit of protection I gave the pipes a little coating of WD40 followed by a rub down with an old rag. Came up quite nicely...

IMG00122-20100822-1405.jpg
 

coops10

Newbie
Sep 1, 2009
734
0
Middlesex
www.coops-photo.co.uk
I was bored today so decided to fit a boost gauge. I did buy a Nomad a-pillar pod to fit it in but the halfords gauge I had was 52mm and the pod 60mm. :x !! So i decided to make my own :)

IMG00123-20100822-1741.jpg


First step was getting the vent out and working out how I was going to do it. Decided all the vents and mech would need to come out

IMG00133-20100822-2021.jpg


So they did!

IMG00124-20100822-1741.jpg


Then I offered up the gauge in the vent to see if I liked it. I did!

IMG00125-20100822-1759.jpg


Next step was to stretch an old t-shirt over it to get the shape

IMG00126-20100822-1759.jpg


It was secured at the edges with hot glue.

IMG00134-20100822-2022.jpg


Then I mixed up some fibreglass resin and coated the t-shirt in it until it was fully saturated

IMG00130-20100822-2015.jpg


It got two coats and set super hard.
 

coops10

Newbie
Sep 1, 2009
734
0
Middlesex
www.coops-photo.co.uk
IMG00135-20100822-2104.jpg


I also reinforced the back of it with some P40 fibre glass too, the total thickness in the middle is probably around 5-6mm. Should be plenty strong enough.

The front was sanded down loads but still needs more work. It also needs to be skimmed with filler and smoothed down. A job for this week :)

IMG00132-20100822-2019.jpg


I wanted to check the gauge so wired it up and gave it a test. Perfect! It also matches the OEM Dials perfectly. Very happy with it!

Thats all for today.
 

BobsIbizaS

Guest
nice work with the boost gauge dude. should be getting mine tommorow but im having a piller mount :) DIY
vent mount looks cool tho!
 

hoggy90

Full time sexaholic
Nov 14, 2009
689
0
Scotland
best bet would be to push something in the back of the vent whilst drilling ( if this is what you decide to do ) to offer a little support....looks good the coops...do the vents come out easier in the leon than the corsa? ha remember all the fecking about i had to do when i painted my centre console lol
 

coops10

Newbie
Sep 1, 2009
734
0
Middlesex
www.coops-photo.co.uk

I thought about something like this, not sure how well it would cut fibreglass though?

best bet would be to push something in the back of the vent whilst drilling ( if this is what you decide to do ) to offer a little support....looks good the coops...do the vents come out easier in the leon than the corsa? ha remember all the fecking about i had to do when i painted my centre console lol

I re-enforced the back of it with more P40, so its pretty think now, probably 4-5mm, should be strong enough :) (famous last words maybe...)

Yeah just put a screwdriver under the lip and they pop out! Corsa ones wernt too bad one you had the 'technique' ;)

Boostgaugenite.jpg

and thats how it will end up;):)

Cheers mate, looks good! How did you cut the hole for the gauge?
 

coops10

Newbie
Sep 1, 2009
734
0
Middlesex
www.coops-photo.co.uk
Spent another four hours on the pod tonight after work...

IMG00141-20100825-1851.jpg


Started off by trial fitting the pod in the car, fits perfect.

IMG00142-20100825-1912.jpg


On the way home from work I bought a hole saw kit from Wickes after suggestions from a few people on forums. Cheers! It worked a treat and cut the hole in the pod surprising easily :)

IMG00143-20100825-2025.jpg


Put some female bullet connectors on the wires in the car, this is for easy removal of the pod / gauge if needed.

IMG00148-20100825-2035.jpg


Added the male bullets to the gauge wires, added a bit of electrical tape too as the plastic insulation became loose as it was crimped.

IMG00149-20100825-2118.jpg


This is after the first skim of filler and lots and lots and lots and lots and lots of sanding :lol:

IMG00150-20100825-2121.jpg


Trial fitting the gauge again, looks good!

IMG00152-20100825-2127.jpg


Gave it a quick spray of primer and it still needs a bit more work. I ran out of time so thats it for today :(
 
Adrian Flux insurance services - discount for forum members.